Henry Ford once said “Failure is simply an opportunity to begin again, this time more intelligently.” Or something close to it. I’ve seen several different versions of the quote so I’m not sure which one is the original. Never the less, my plywood storage rack from a few weeks ago was a failure.
The reason why I built my last plywood rack the way I did was at first glance it was the most efficient use of space to store plywood. But after using it a few times I realized two problems that outweighed the space efficiency. First, it actually took up way more than 4′ of wall space. With the sheet goods in the rack four feet of wall space is taken up. Then when a sheet is pulled out it doubles the wall space to eight feet. Once removed from the rack the sheet needs to be rotated 90 degrees to clear my garage door which makes the effected wall space a total of twelve feet. The second problem, and most annoying, was the difficulty of picking up a full sheet of plywood and rotating it 90 degrees to clear my garage door.
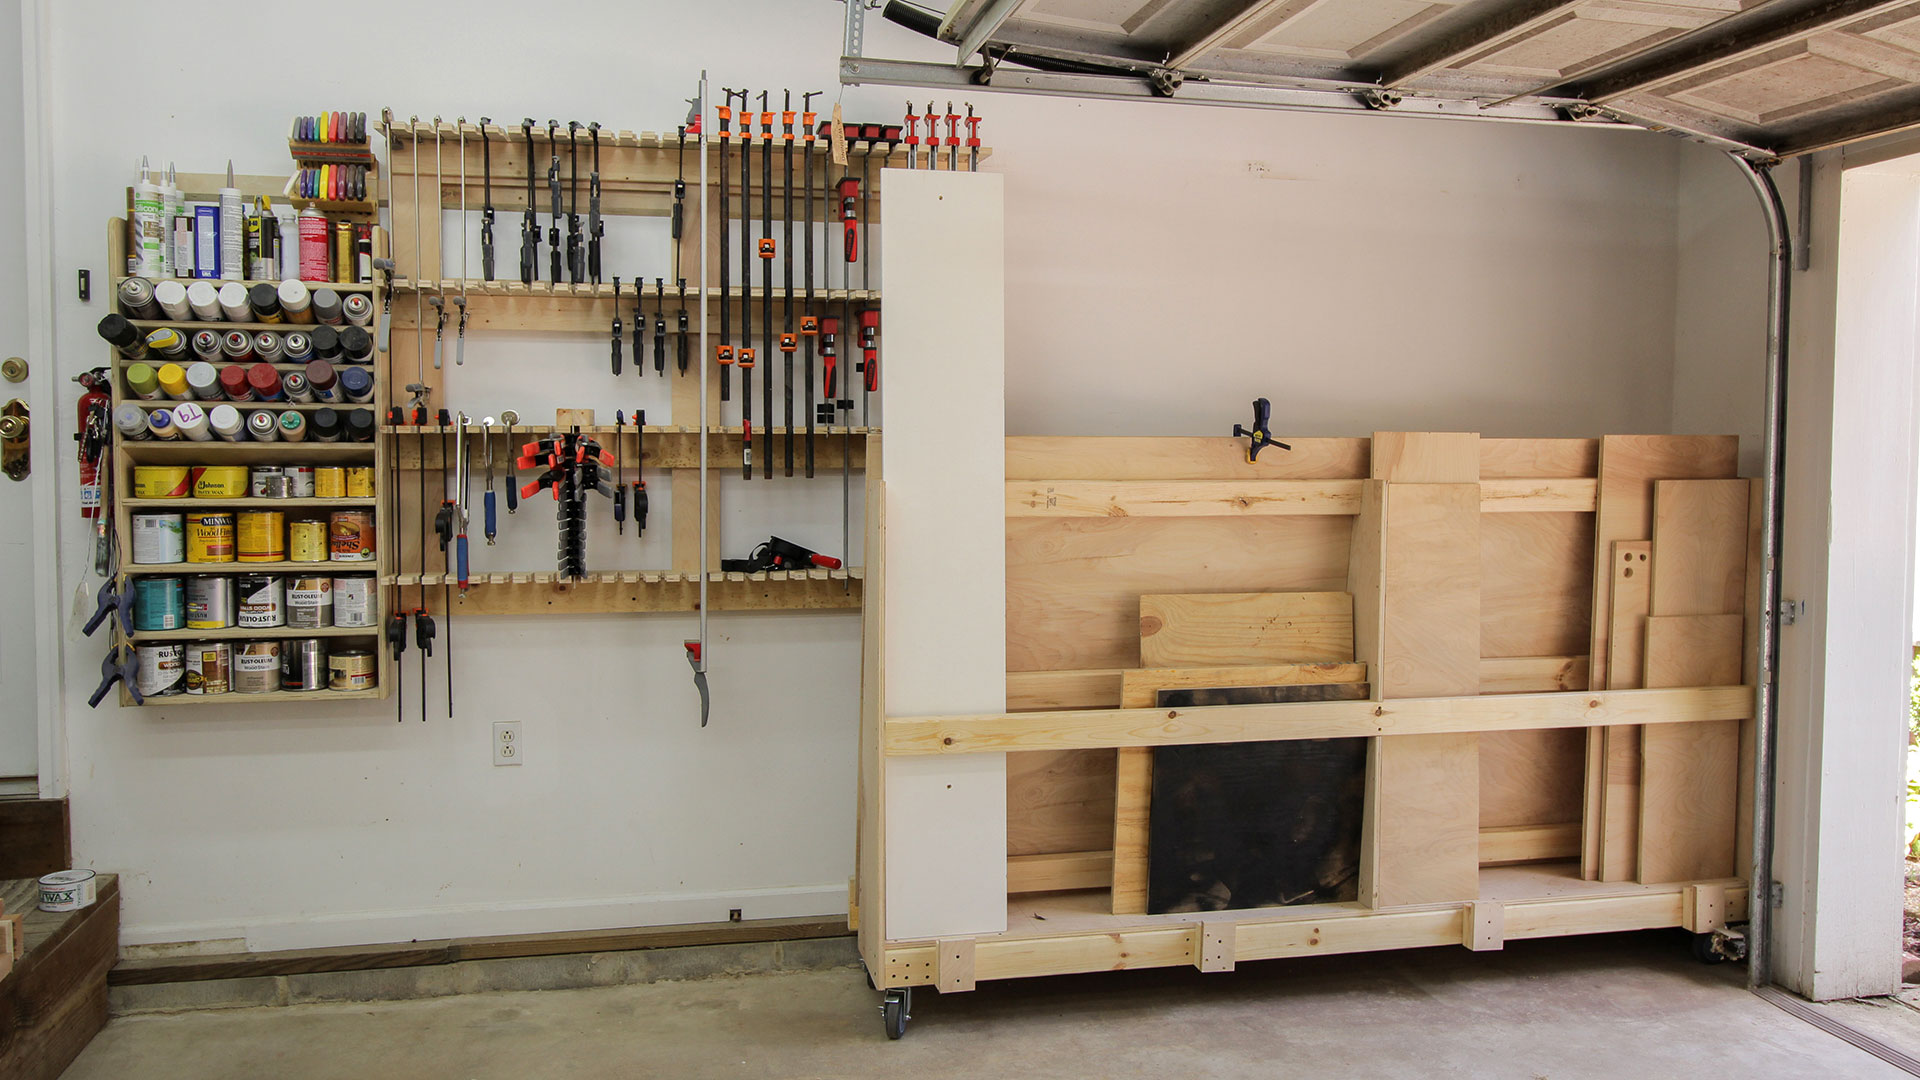
The solution is a rolling plywood cart that stores full sheets horizontally. This would allow me to roll the entire cart to my truck for easier unloading and it would also allow the sheets to be picked directly off the cart while only taking up eight feet of wall space. After searching online for ideas I used SketchUp to design a cart only to find out that what I designed was very similar to the plywood cart in issue 205 of Wood Magazine. So to make things a little easier I just used their plan.
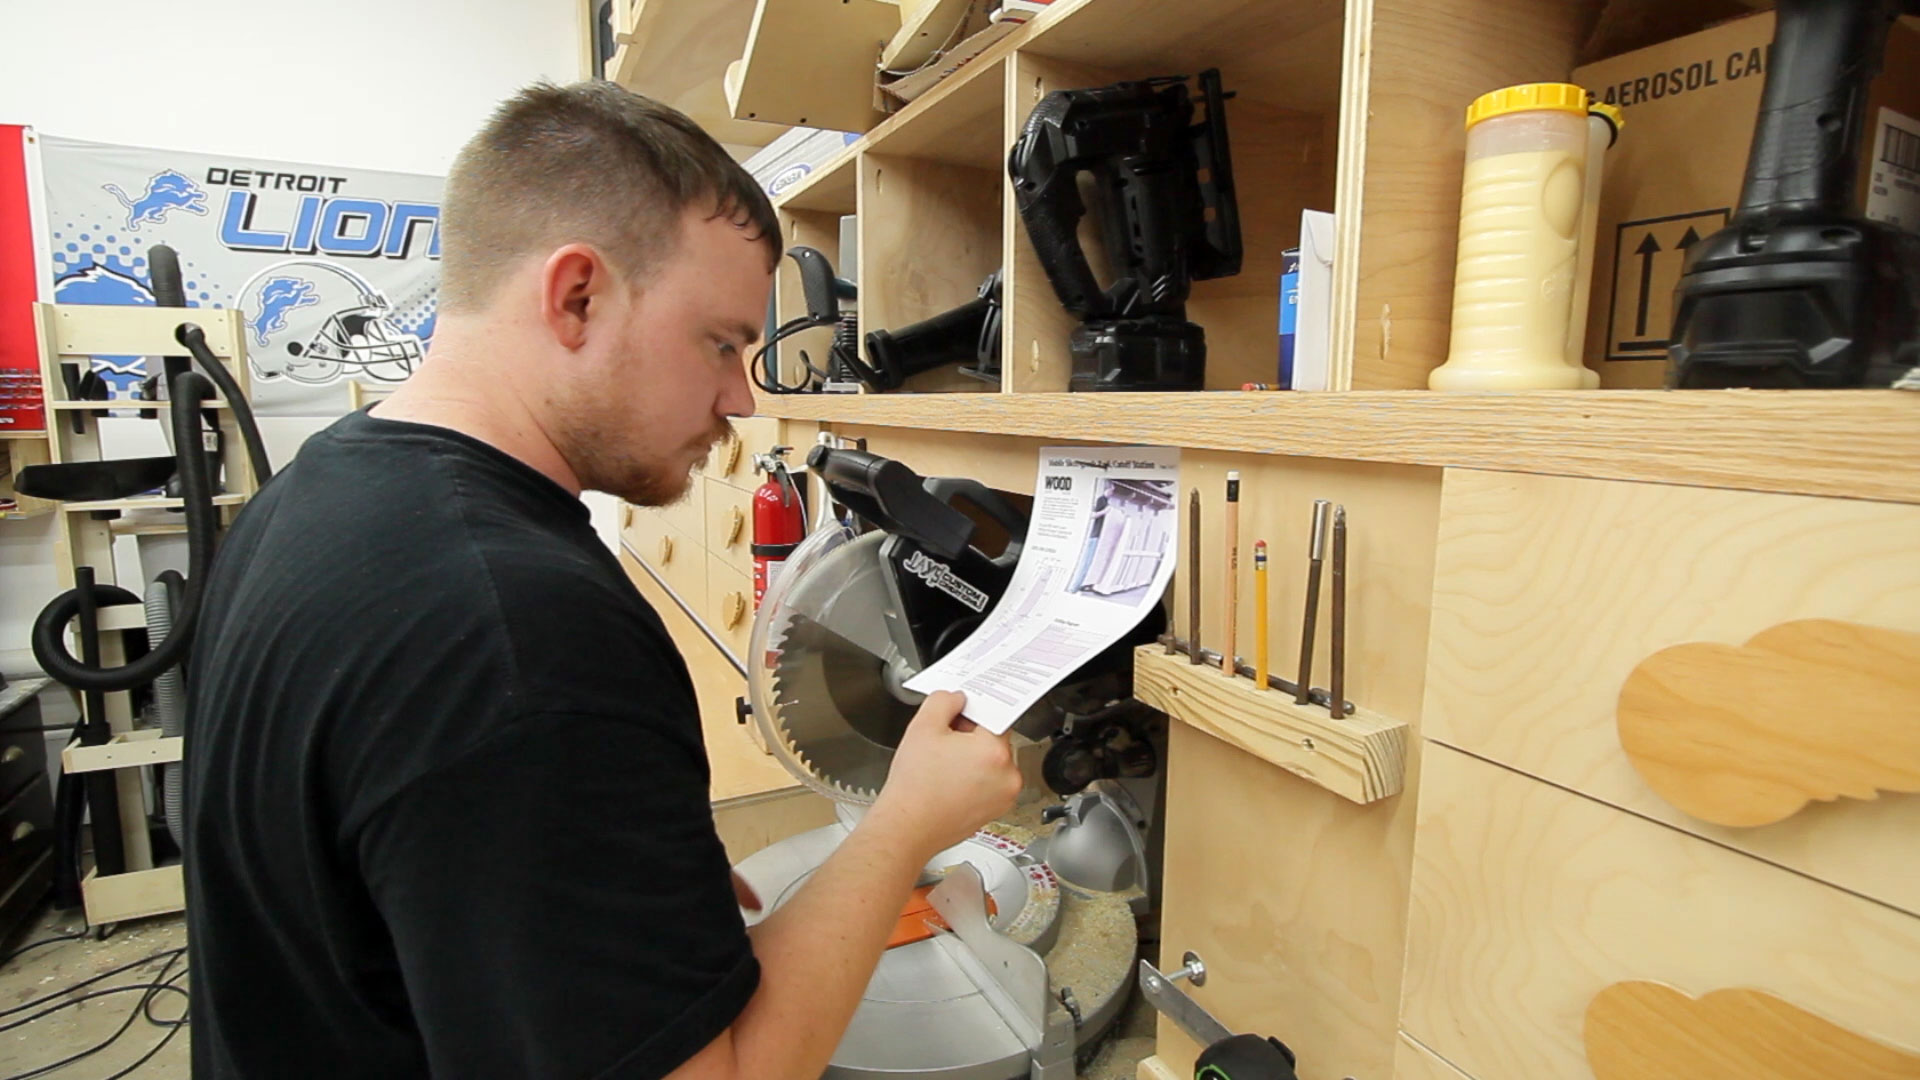
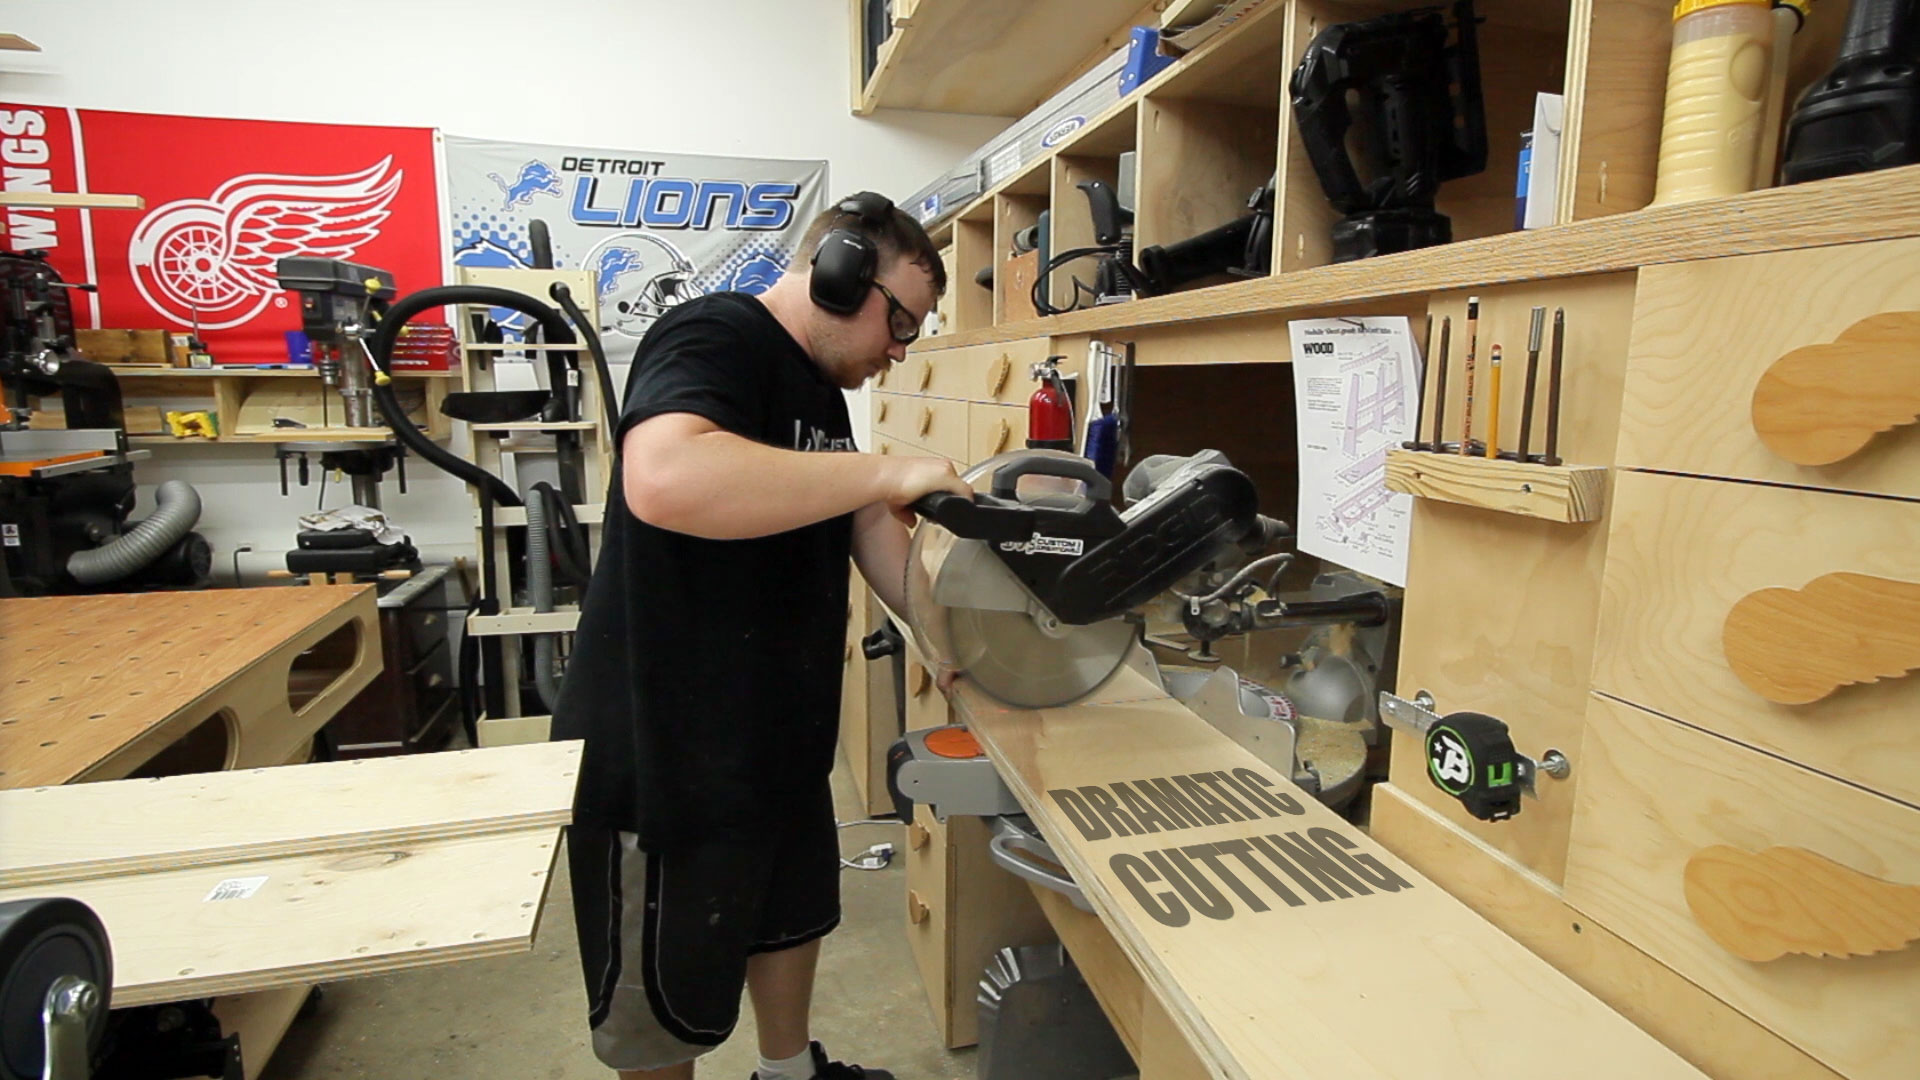
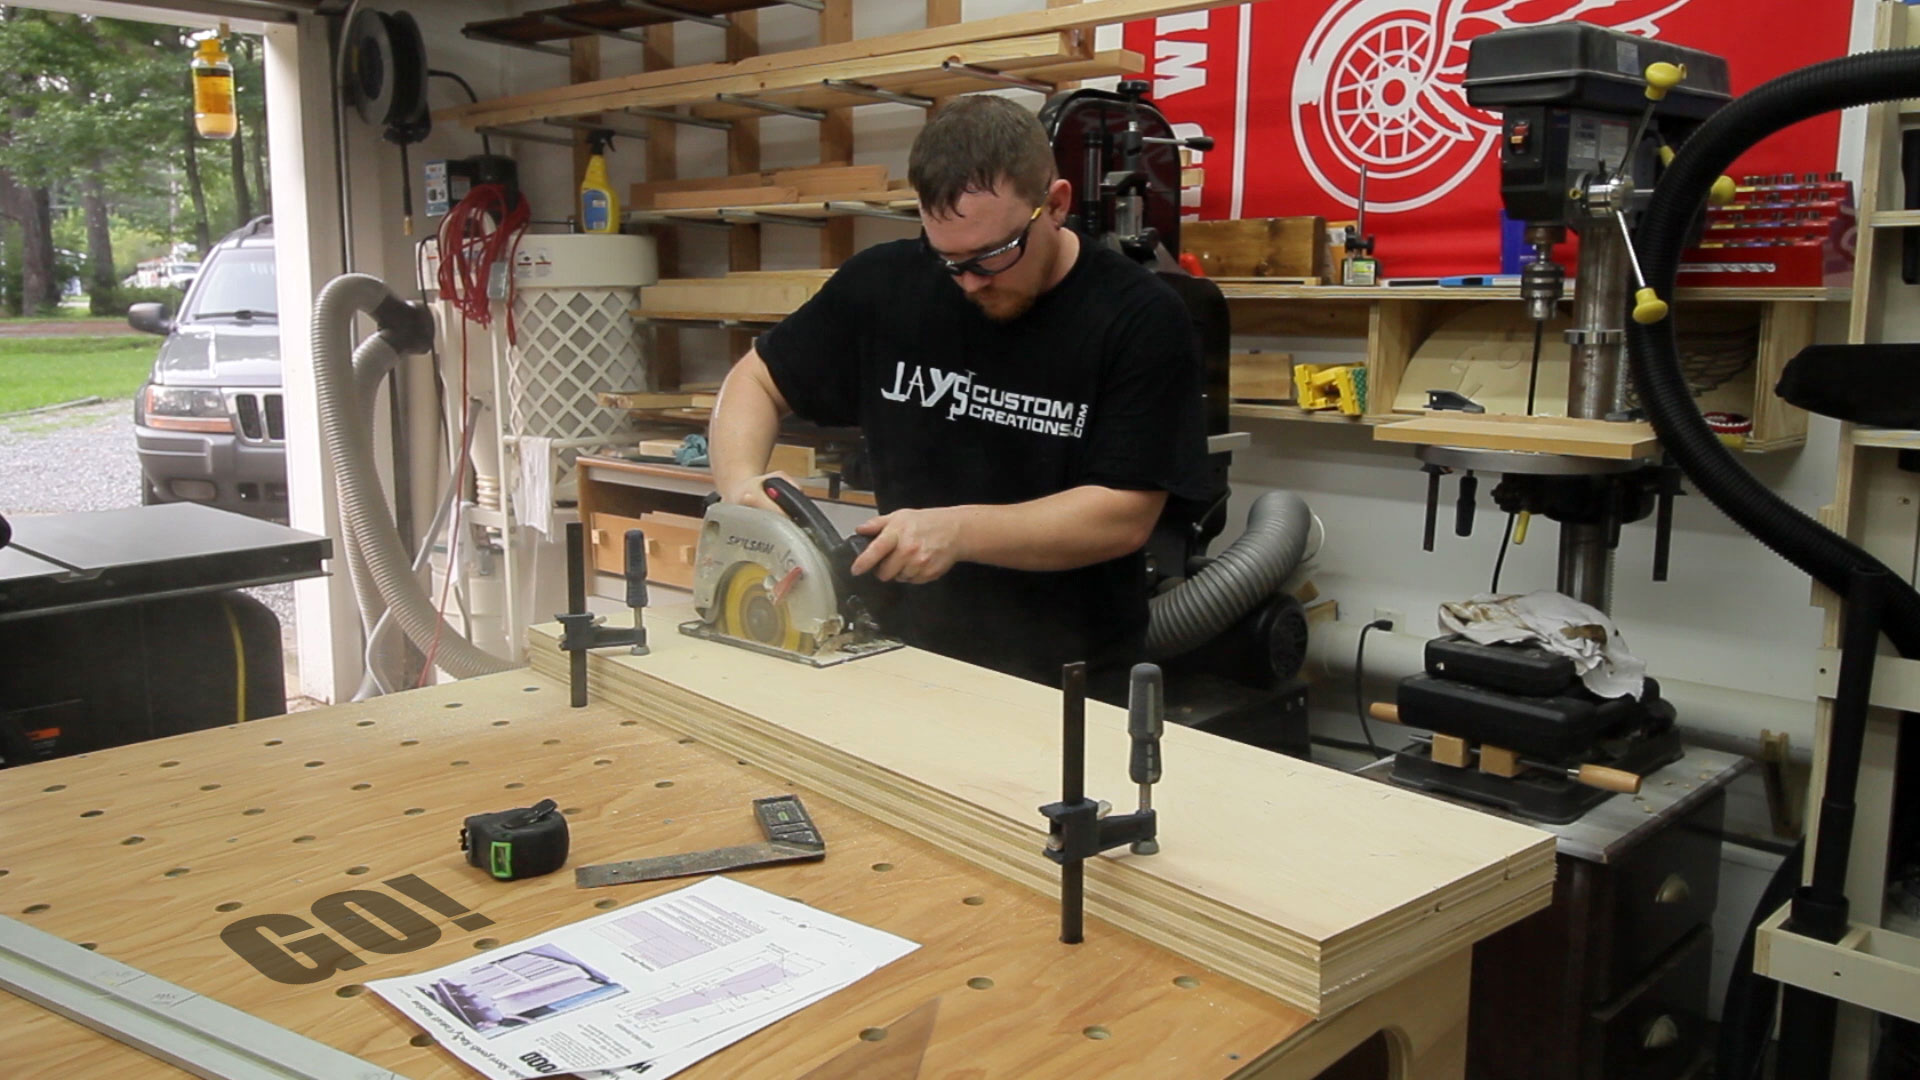
Any time I’m making a lot of cuts at my miter saw station I always like to pin the cut list right next to the saw.
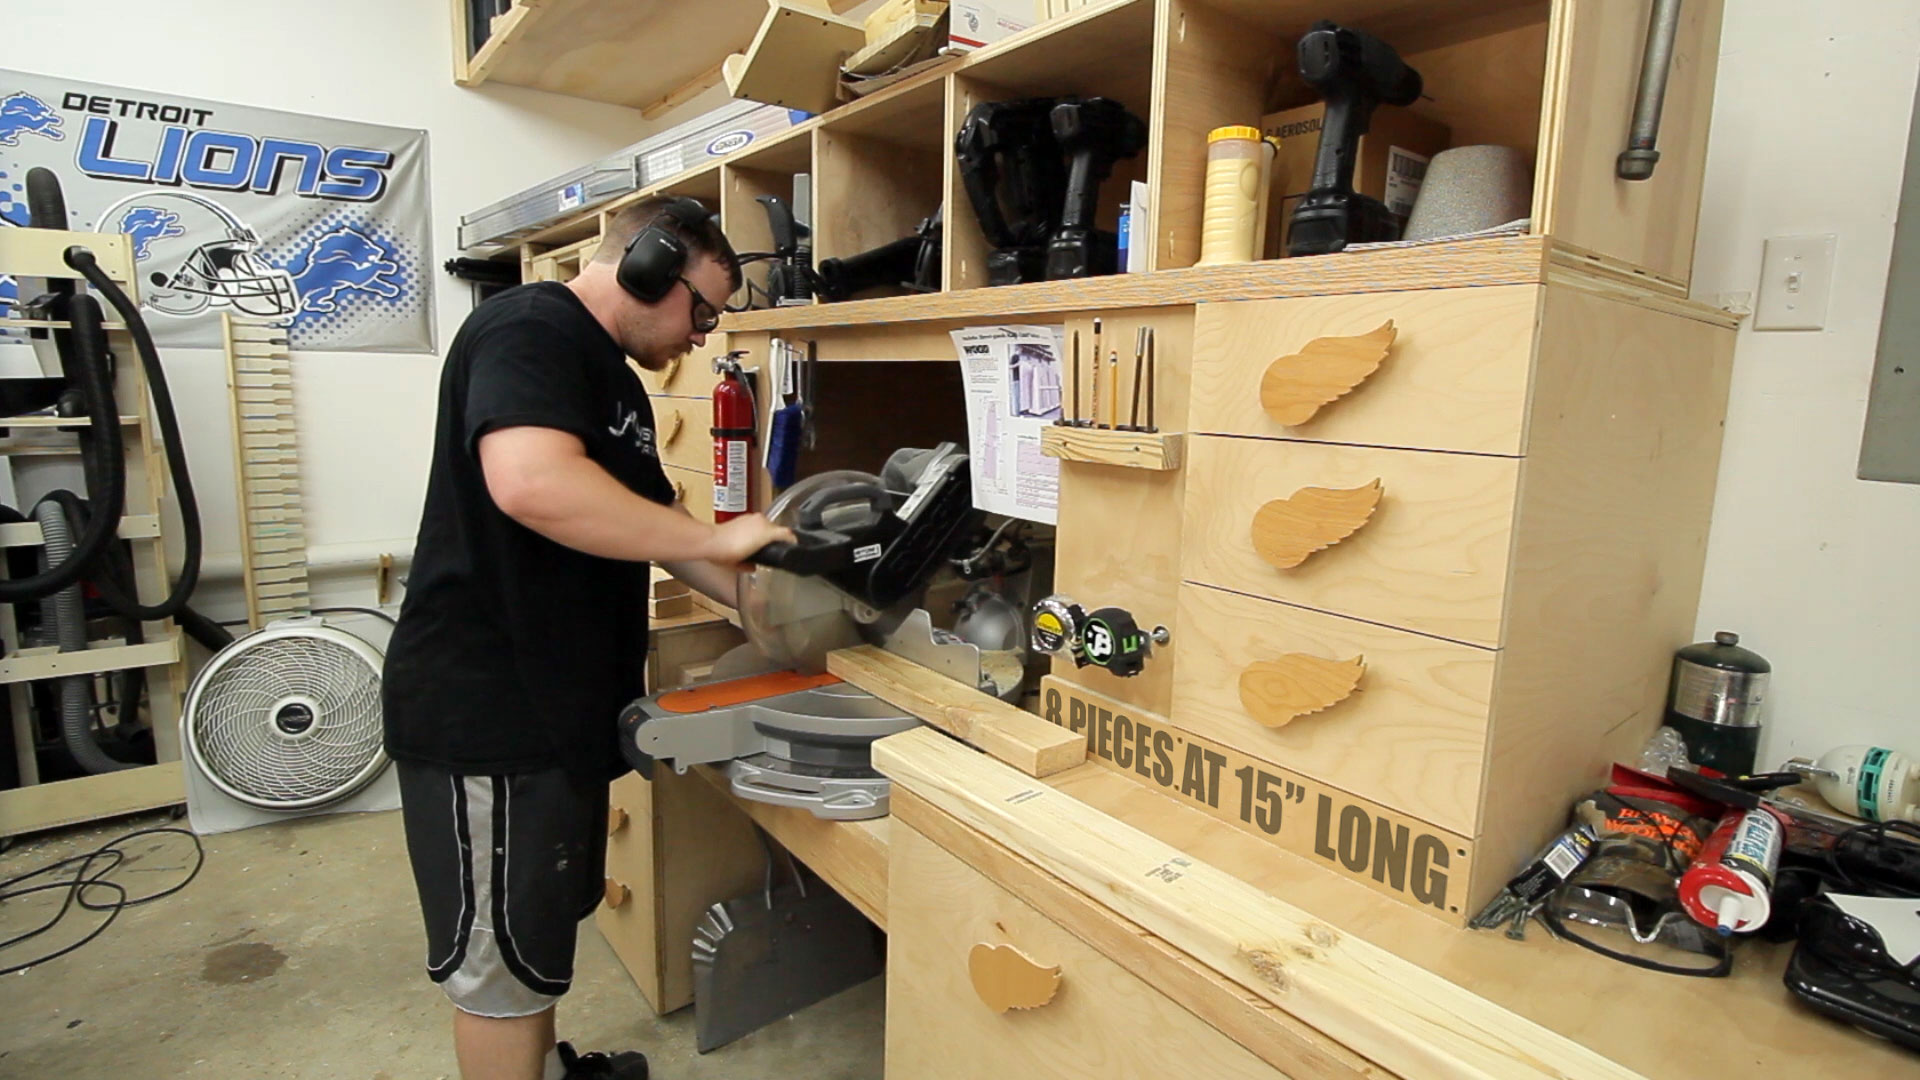
For the front to back pieces of the lower frame eight pieces of 2×4 are needed at fifteen inches long.
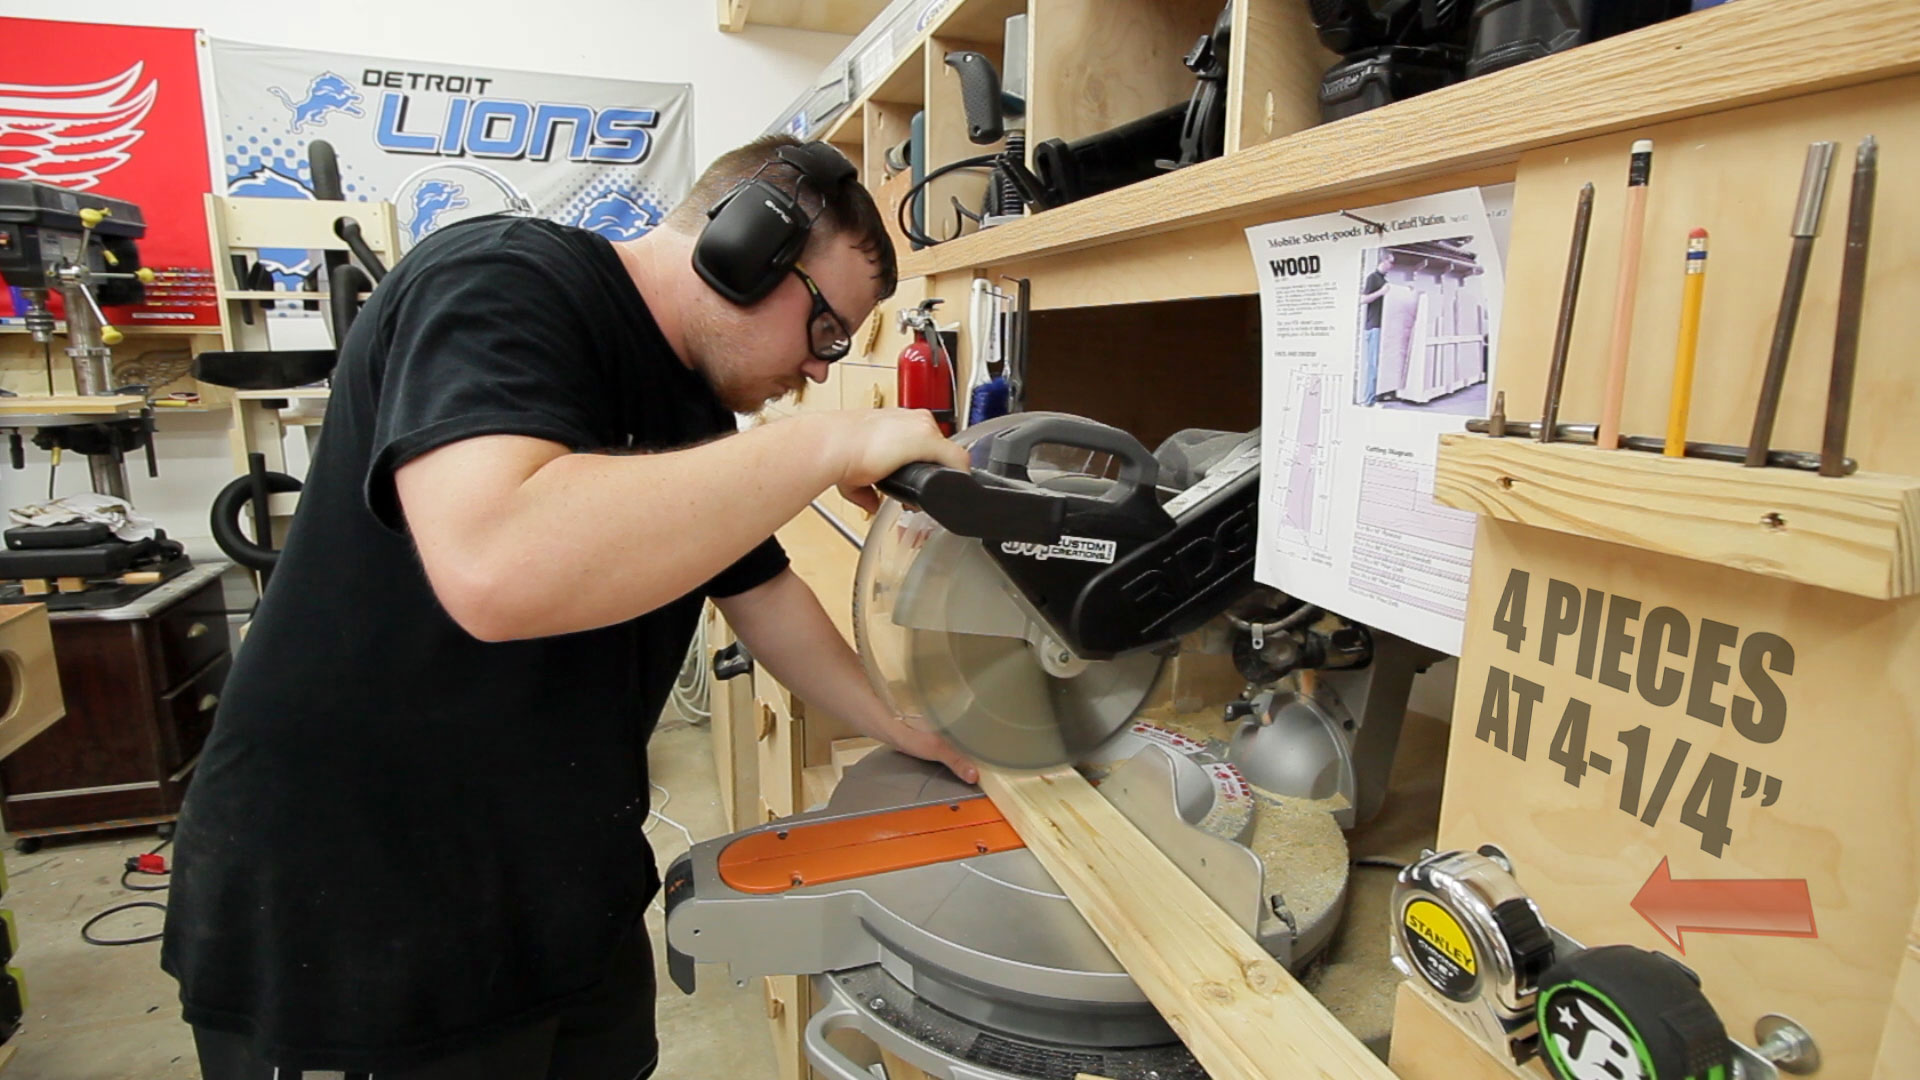
Once the structure is complete four support blocks on the back edge will support a full sheet so a circular saw and guide track can be used. These blocks are cut next.
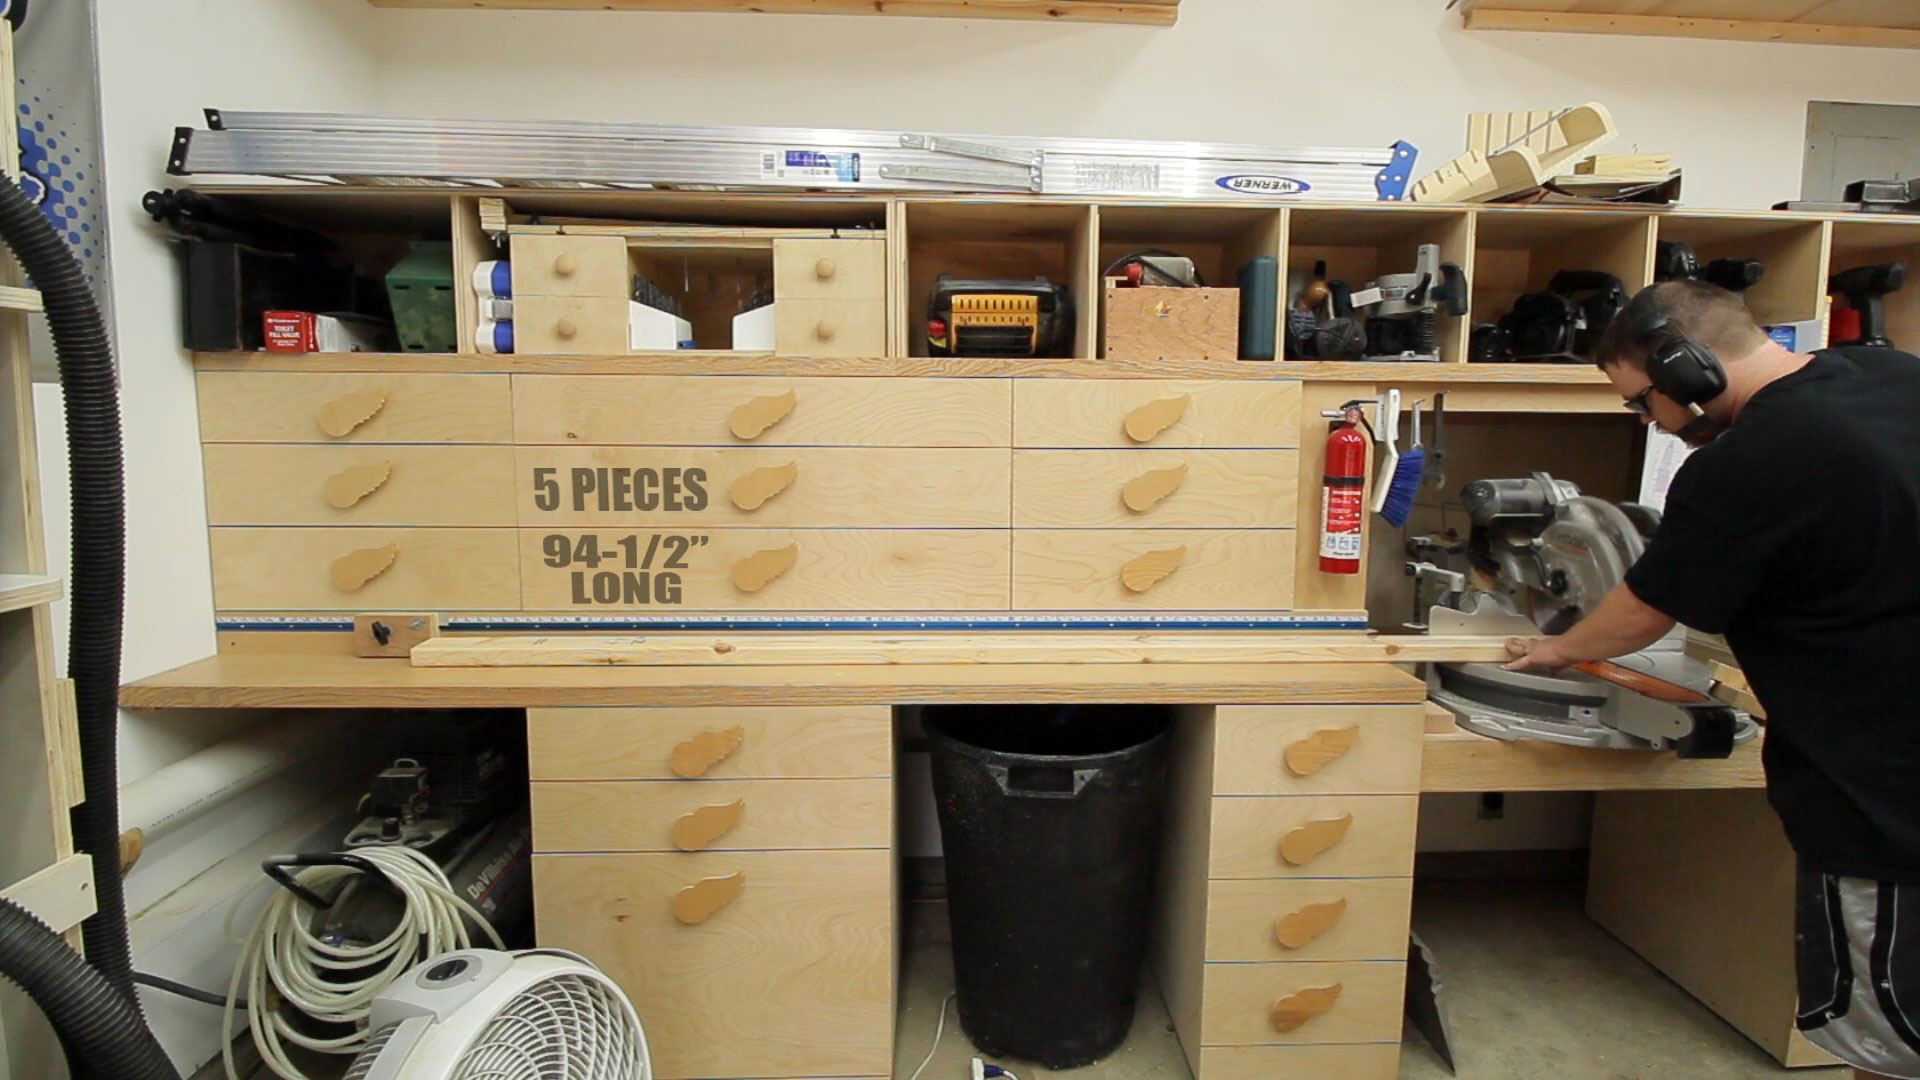
And finally five 2×4 boards at 94-1/2” long are needed for the upper supports and the back piece of the frame.
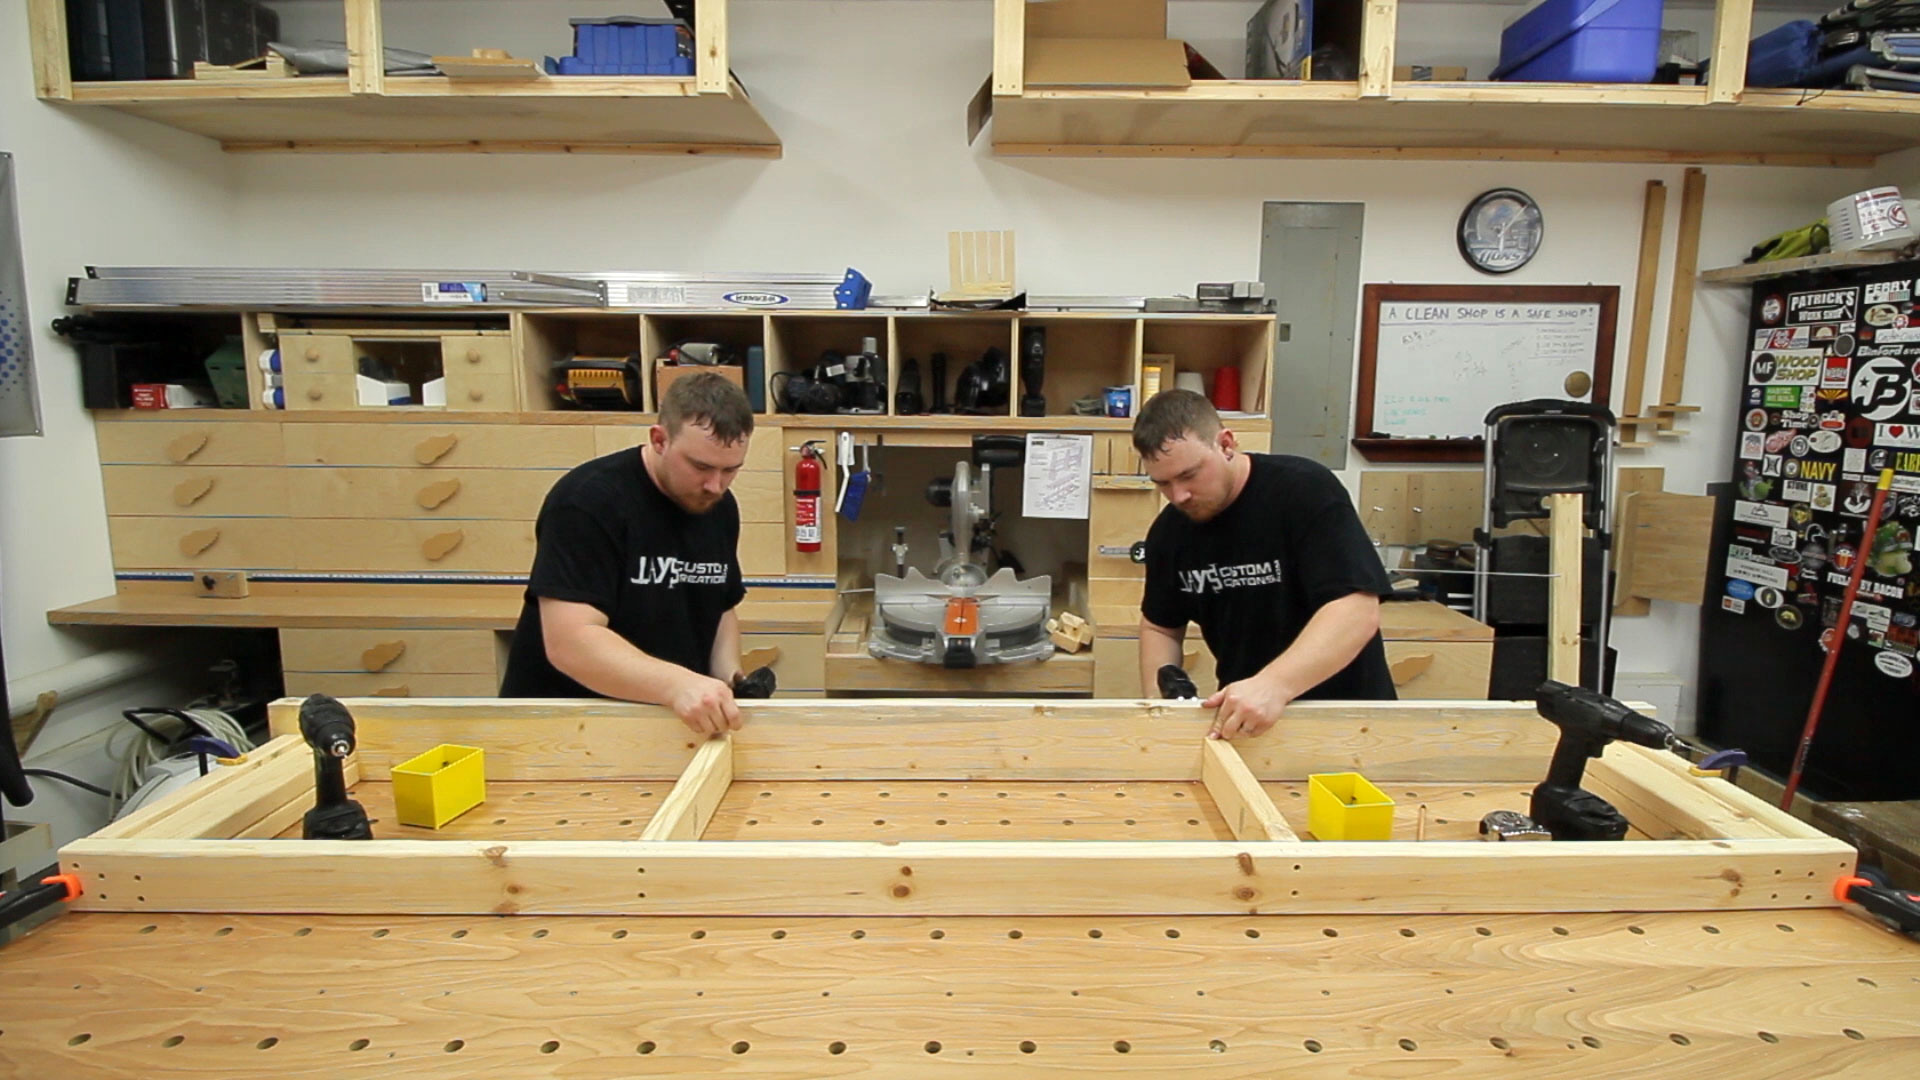
When possible I like to cut all of my lumber before I start assembly. This makes the assembly process go by much faster. Especially when both me and myself are working.

The joinery is simple butt joints with 2-1/2” screws. I didn’t use glue on the lower frame as it will be plenty strong enough without it.

The front side of the frame is a full eight foot piece of 2×6. Very seldom do projects call for a full length board picked up off the shelf. The extra height in the front will aid in preventing the plywood from sliding forward and falling off of the cart.
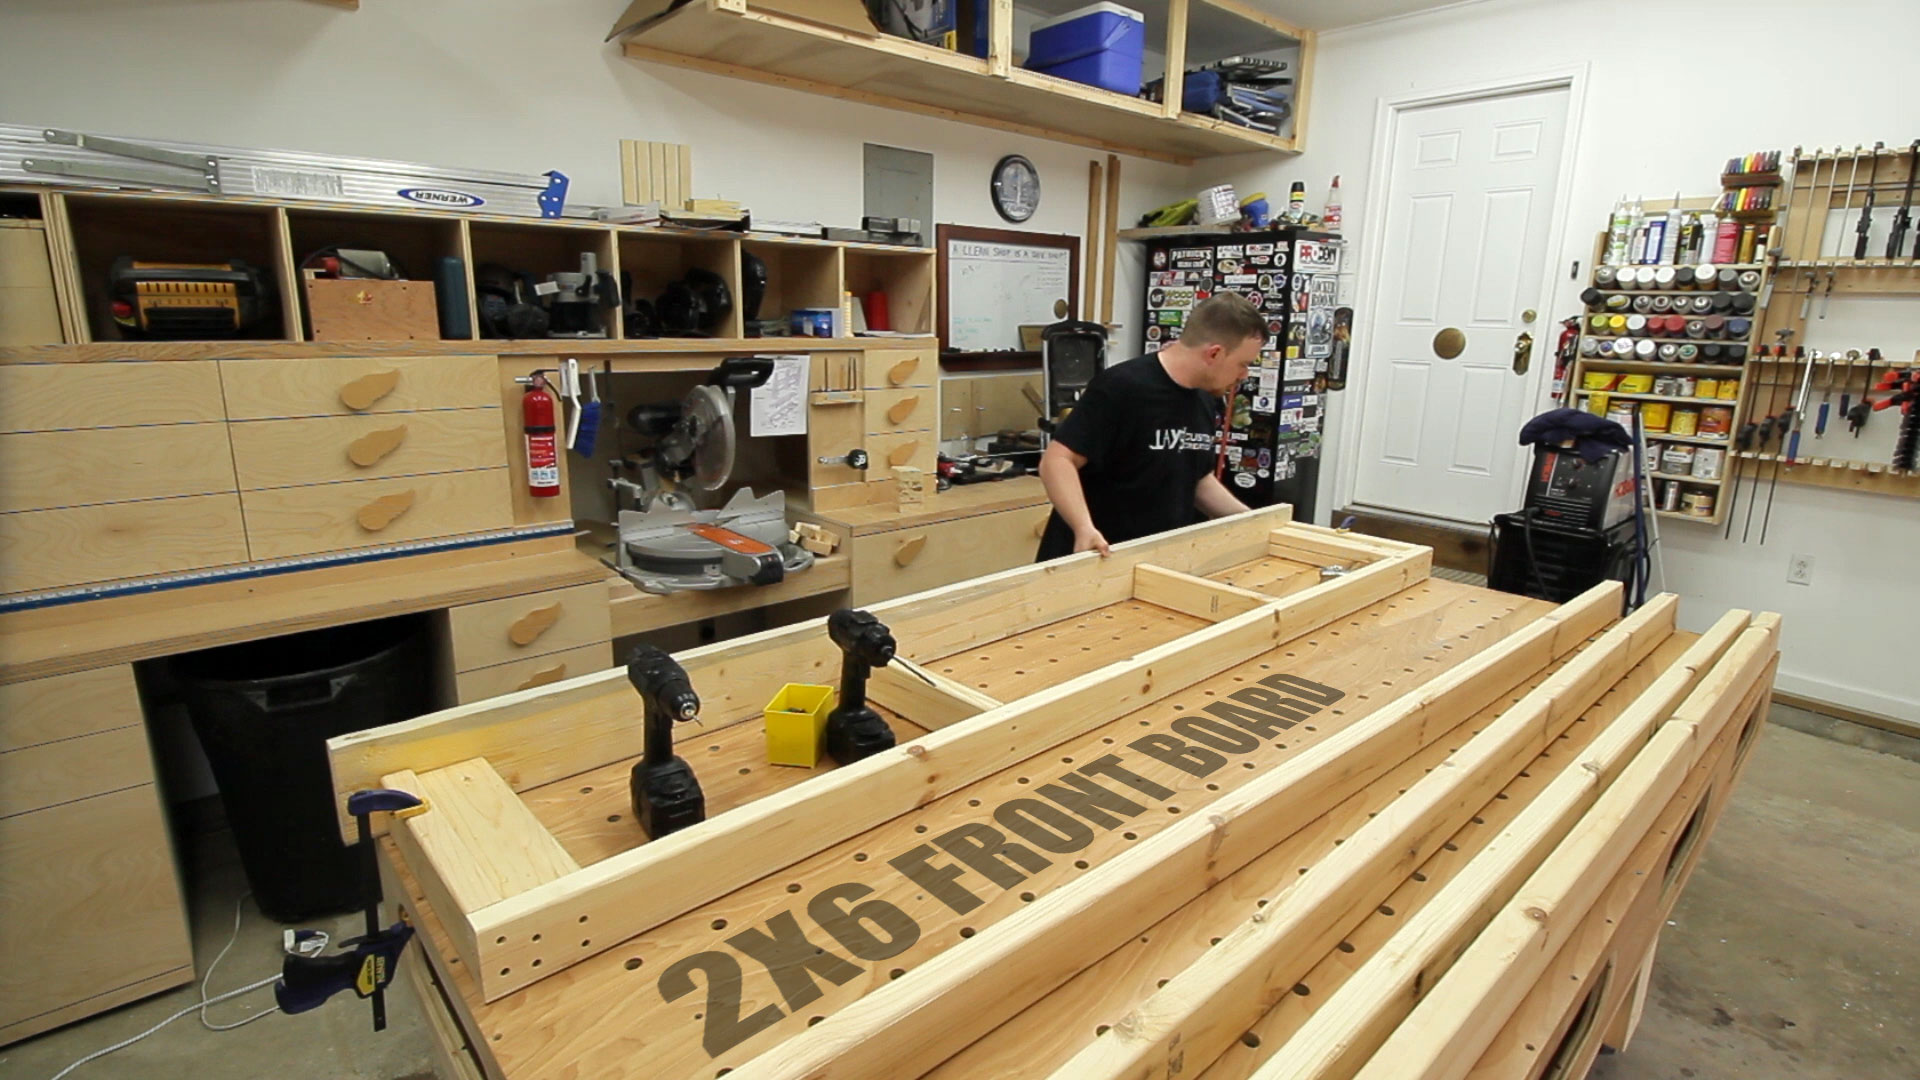
Again, no glue. Just regular butt joints and 2-1/2” screws. Predrilling for all of your screws is a good habit to get into. This will prevent the boards from splitting when working with dried lumber.
I’m really happy with the casters I used for this project. I have no clue what brand they are but they are 4” swivel casters I picked up from Lowes for about $10 each. Before installing them I let them sit upside down and I filled the inside of the bearing housing with a dust resistant Teflon spray lubricant. I let the spray dry before installing and the difference it makes is amazing.

With the lower frame complete I cut the plywood panels to size. I used 3/4” PureBond hardwood plywood from Home Depot for this. It’s formaldehyde free and made in the USA which are both things I love. These were actually the pieces I removed when I re-did my Paulk workbench.
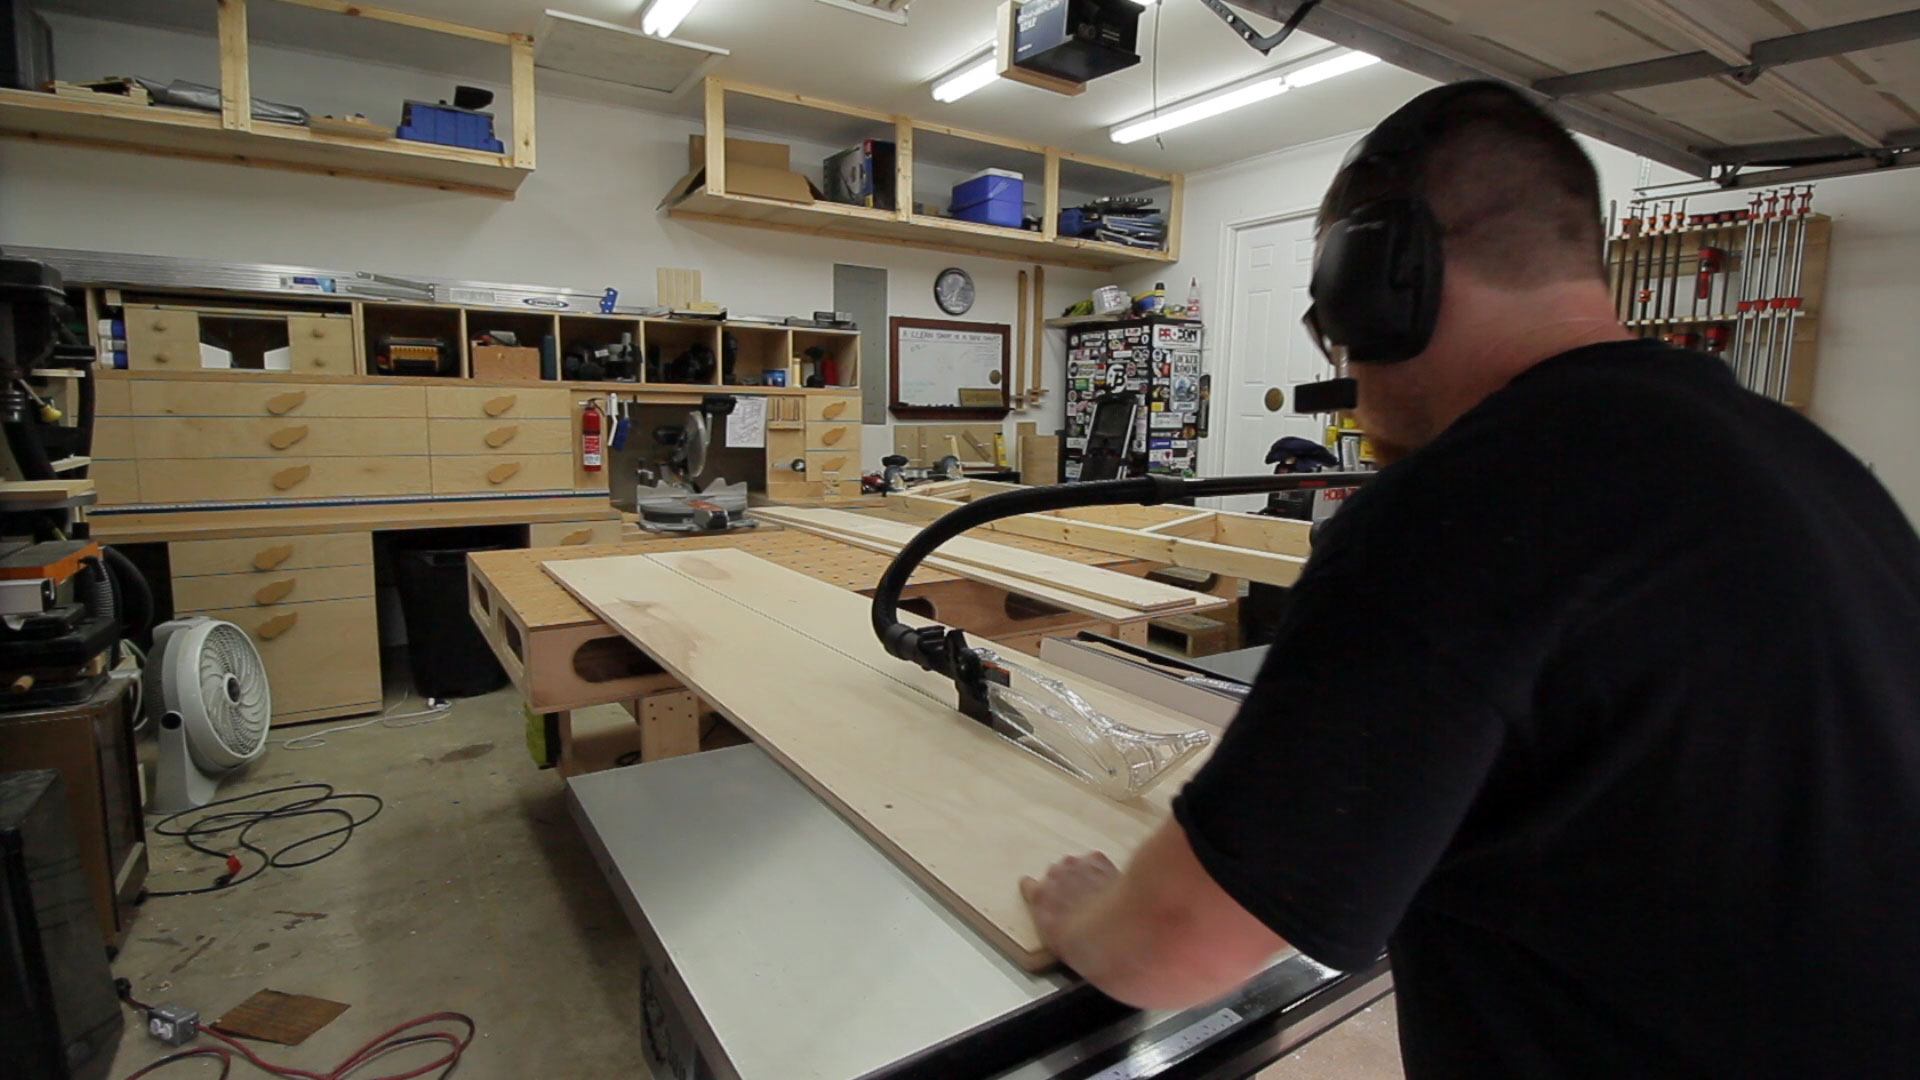
After ripping the plywood to the final width I used my miter saw to cut them to length. Since having a proper miter saw station I have yet to use a crosscut sled on my table saw. It’s nice to have a reliable station for crosscutting.
The plans from Wood Magazine provide all of the dimensions for the panels and notches. I transferred all the dimensions to just one of the three panels.

A circular saw can be used to cut all three panels at the same time while referencing off the single marked panel. The amount of dust that this circular saw spews everywhere is incredibly annoying.
With all three panels cut two can be removed and the notches for the center panel can be made. These notches are all sized for the 2×4 boards that will run horizontally and provide lateral support.
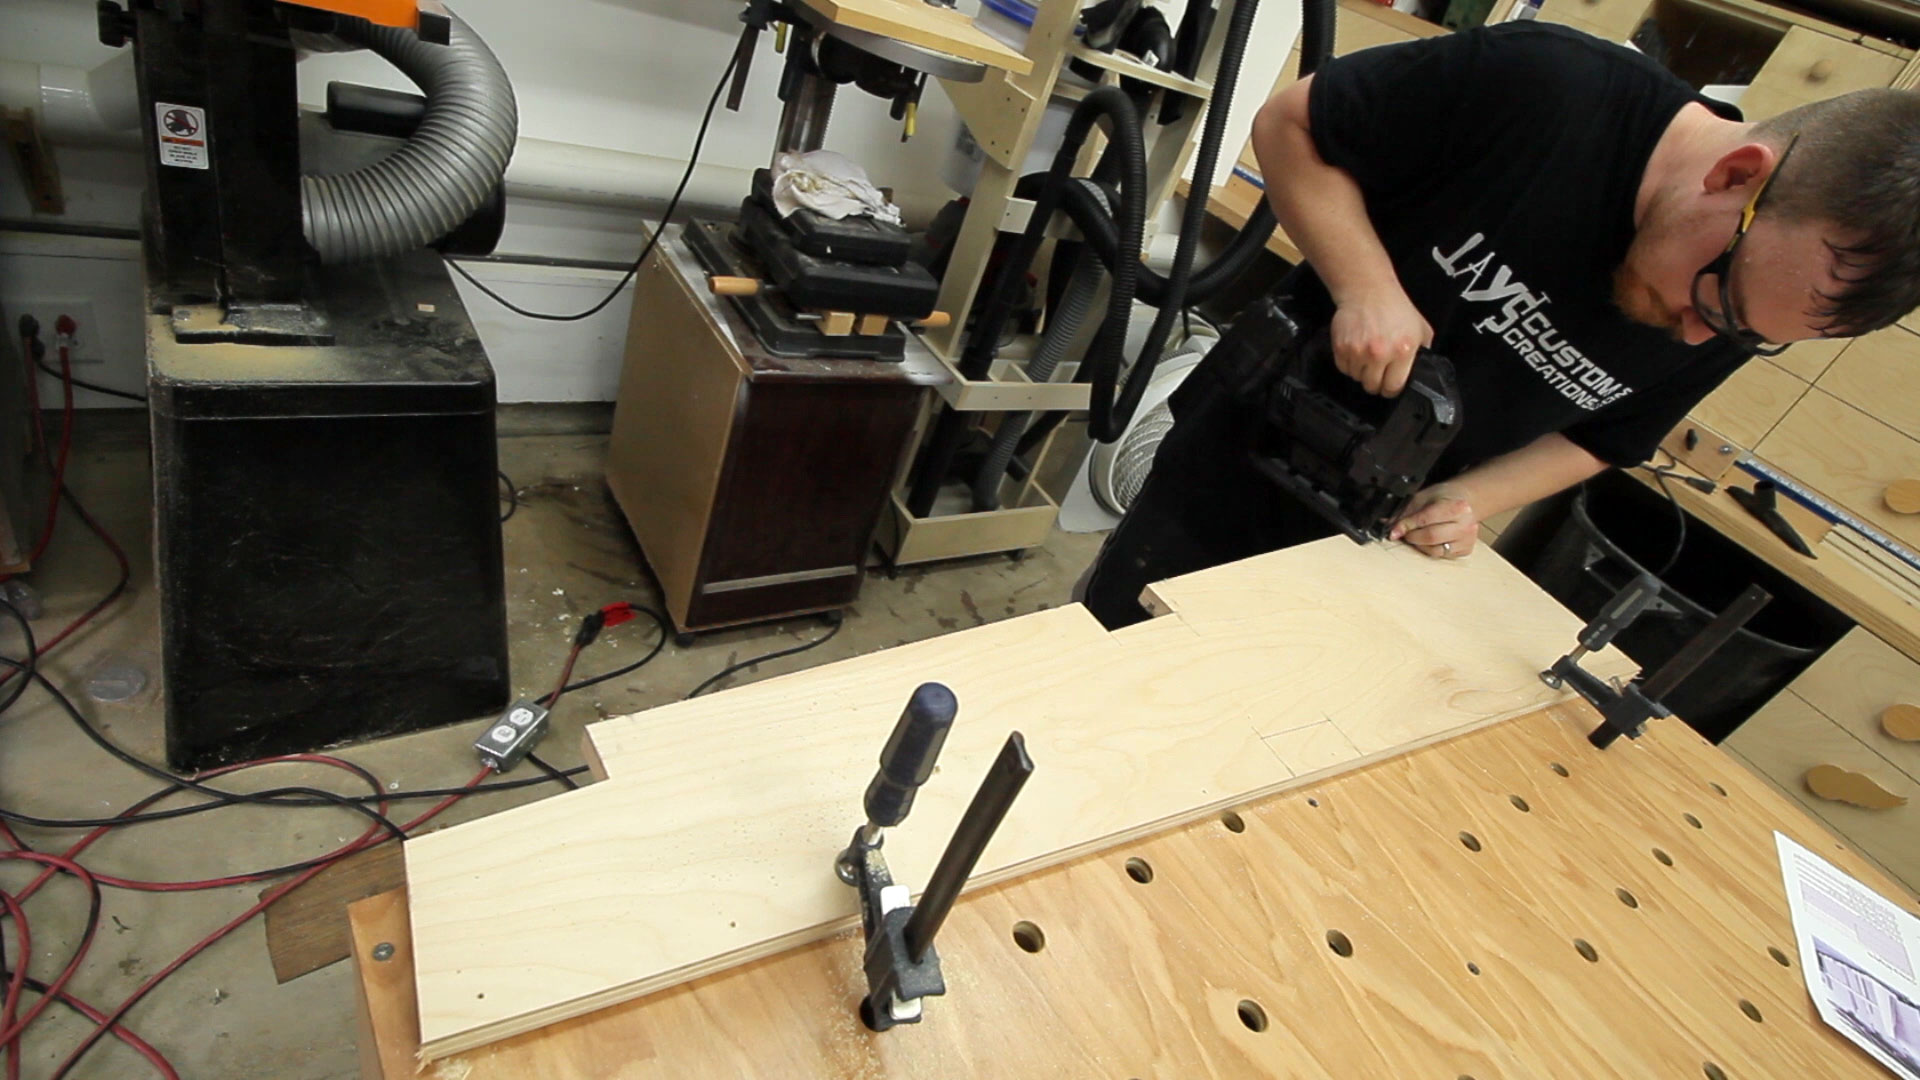
The outside panels can be installed first. To make this easier I clamped my twelve inch speed square to the panel to act as a reference edge. If you’ve been following my builds for a while you will know I love using this large speed square. It’s incredibly handy as you will see again in just a minute. This made installing the side panels super easy. I used glue and some 1-1/4” screws to secure them.
With the side panels installed the center panel and the horizontal 2×4’s can be installed. For the time being I held the center panel in place by clamping the speed square to it to act as a foot. The 2×4’s are secured with 2-1/2” screws through the outer panels.
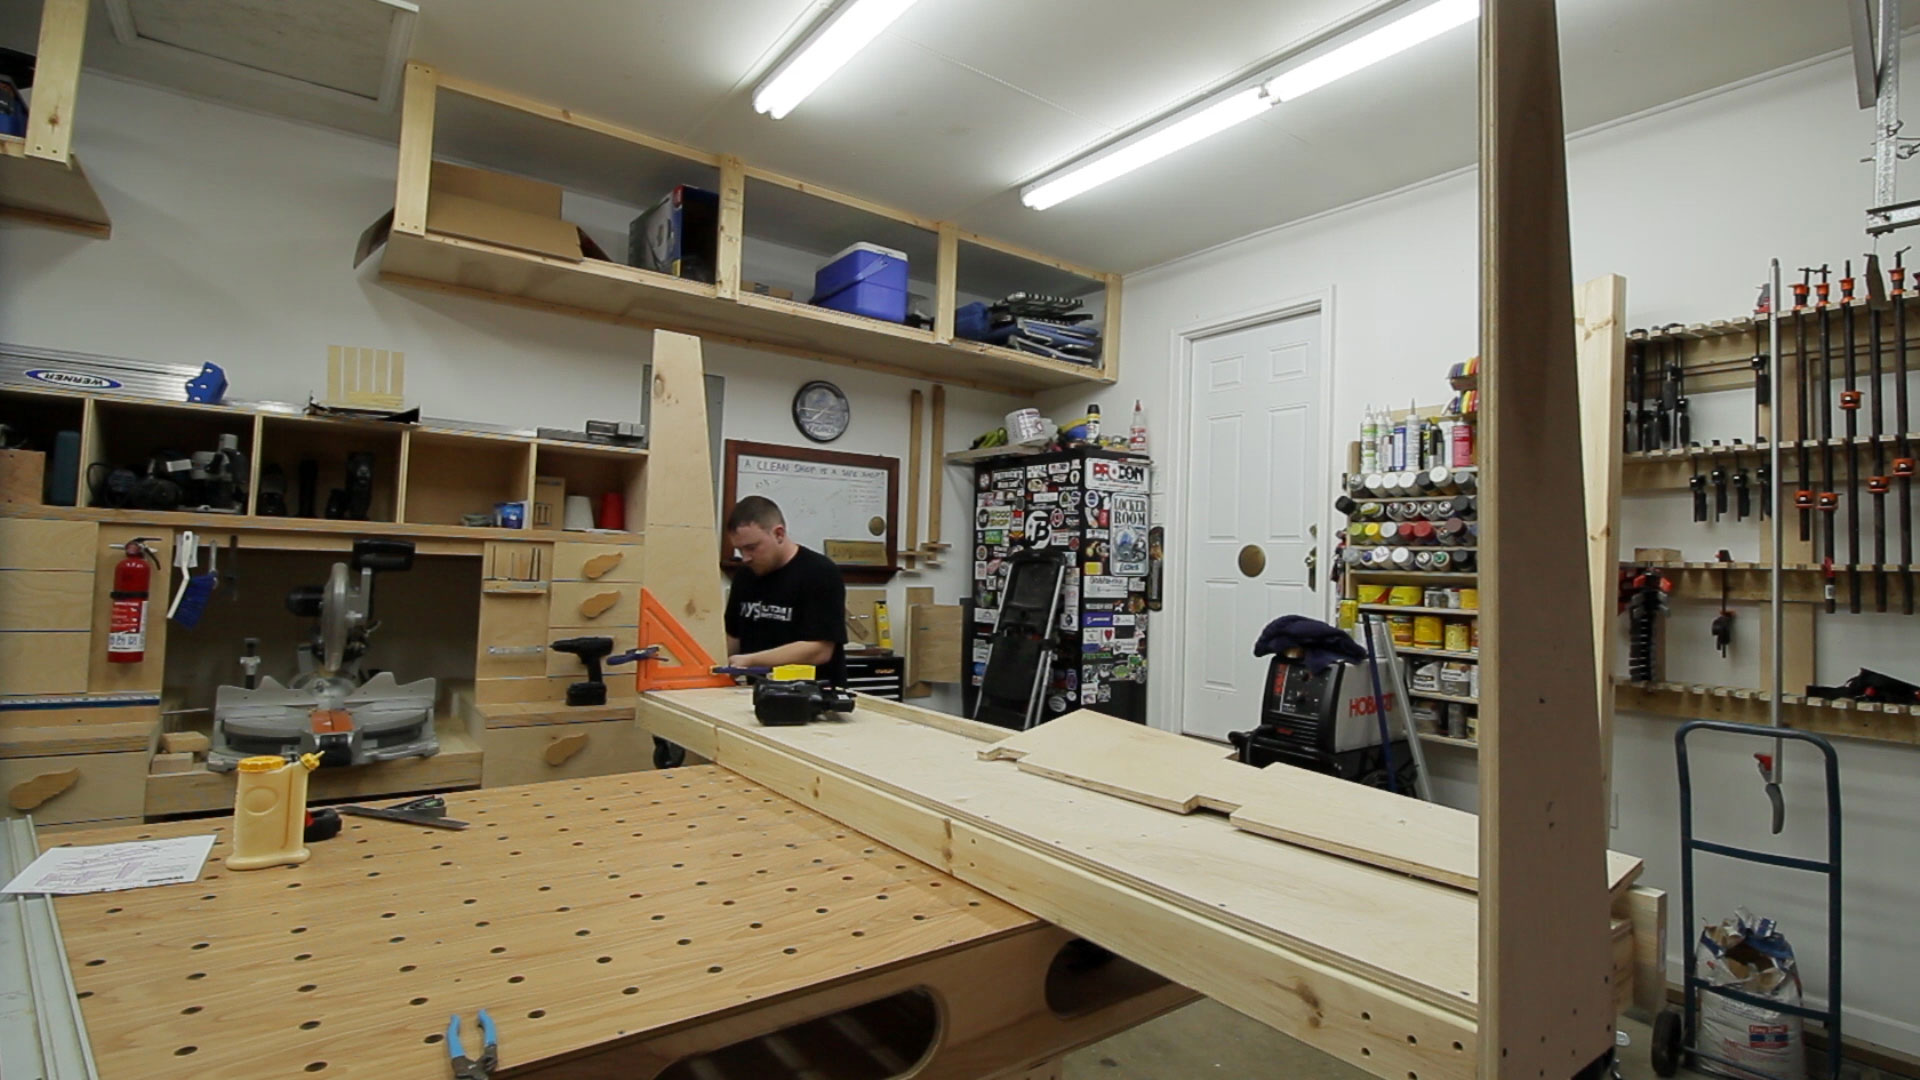
There are a total of four horizontal 2×4’s for lateral support. Three in the front and one in the back. The back area also doubles as a storage location for plywood off-cuts.

The center panel is positioned 50” from one side and is secured with two screws through each horizontal 2×4 board. This allows a full 48” wide off-cut to be stored in the back when necessary.

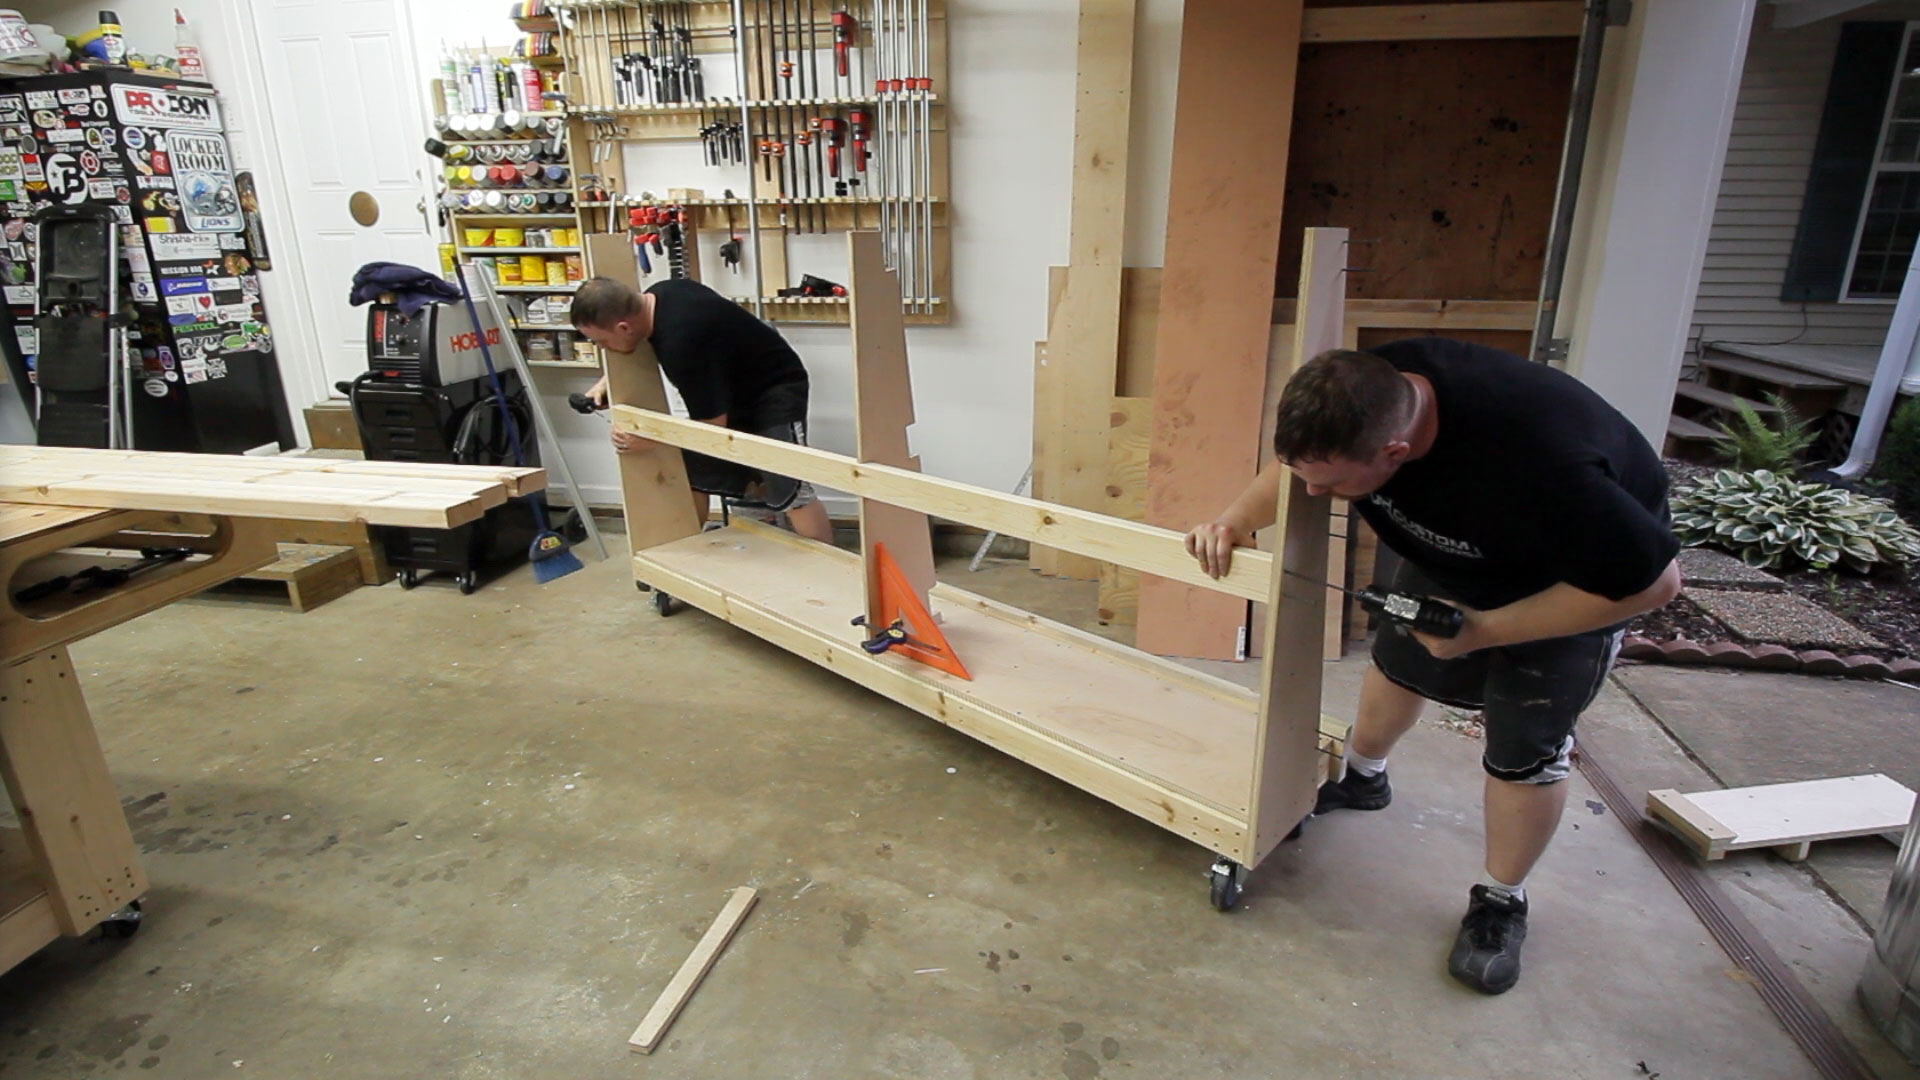
Finally the blocks can be added to the back of the lower frame. These allow a full sheet of plywood to be clamped to the back of the cart and broken down with a circular saw and a guide track.

With the cart completed I dismantled the previous rack and loaded it up. Having all of my plywood sheets and off-cuts stored in one rolling cart seems to be working out great. I really like the fact that I can roll this wherever I need to reduce the distance I need to carry sheet goods whether it’s loading the cart up or taking a sheet to the table saw.
For the free PDF plan provided by Wood Magazine click here to open it in a new tab or right click and select “save as” to download it to your computer. Even if you don’t use the plan provided I hope that you are able to get some ideas form this project and learn from my mistake. Sometimes the idea that looks sounds the best on paper isn’t the best in practice. Thanks for stopping by folks and I’ll talk to you again in a few days.


Jay, Love what you do. Love the videos. I built a cart similar to what you have done here. I had started with putting 4 casters ended up going with 6 and actually wish now that I would have put 8 on mine. Once the thing is loaded down with wood it gets to be a real pain to move. Here is a pic of mine http://www.pbase.com/damin69/image/153796027.jpg
I used four casters on mine and with it loaded up it moves very easily.
Thanks for the pic! I added the wedges to mine and it turned out great!
I was worried about where you going to place that huge rack, ( dot, dot, dot ) , but of course you already had figured that out. It’s been great to see your shop develop over time. What tool do you use for your graphic overlays? The first time you doubled your image I was kinda spooked by it, but I’m learning to like it, I see now that it serves to condense time, which I appreciate. I enjoy your vids and am impressed even more so by your website. Kudos to you sir.
Thanks Chet. I use Photoshop to generate the overlays.
I wish I had your site a year ago when I made mine. I guess it is time to rebuild. Thanks Jay for your good work!
Never too late to make changes :)
Jay, there’s so much I love and appreciate about this video.
First, thank you for sharing your “failings”. Too many woodworkers do not show their errors; your failing being the design of the first rack. I like knowing you can make mistakes too. Plus. I can show it to my wife and say “see he needed to redo something he just built” and maybe I can redo my workbench.
Secondly, I really appreciate the nod to source! There’s a couple of YouTube woodworkers that make something and say “look what I desigened and made” but its a direct copy of a plan from another source! I want to say, “Just tell us you got the plans from another source…and show us how to do it and changes you might make. We’re here because we like you and your work…but be honest!”
Which is one of the reasons I enjoy following you and your work!
So really…thank you for being honest and authentic!
-Tony
Thank you very much for your kind words and feedback Tony. I very much appreciate both of them. Thank you.
Nice, now
Ops, sorry for last post. Nice rolling cart. It will be my weekend project.
Nice plywood cart, in future you may convert it into panel saw…
Hi Jay, It is said that a man who has never made a mistake, has never made anything. You also learn from your own mistakes, but a wise man learns from from the mistakes of other’s. OK enough of the sermon. I’m sure you will find this rack far more practical to use.
For years I’ve had a fixed horizontal rack in a similar position next to my garage door and for most of the time it has been suitable. But dragging out sheet from behind (always seems to be the one need for the job) can be a pain at times. I can see my rack “growing” wheels very soon.
Keep up the great video’s.
Pete
Jay, What a great rack. Now you have room to really stock up sheet goods in the winter time so you don’t have to take that grueling one hour each way drive to get supplies. I’m telling you, having those extra pair of hands really speeds things up for you esp. when your on a dead line! LOL
Man you have a nice RACK!
Hi Jay,
I noticed that your tools are now black. Did you paint them?
Looks like a great cart. I’ve been looking for a good plan for one of these for awhile now. I had also found another plan for a station to rip sheets of plywood. You state you can do this on the back of this cart. Could you please demonstrate how this is done? Would be great to not have two separate units in my small garage.
Thanks,
Chad
Jay, you kind of look like me now when you get done, covered in sweat from head to toe. I’m in Bama and I’m not saying its hotter than where you are but a couple of Hobbits asked me where to throw the ring at a few days ago. I bet you’re missing the A/C from your old apartment shop. Don’t do like me and get caught up in what you’re doing and forget to drink water. Keep the projects coming and thanks for all the ideas.
I’LL make one for me. This is the best I’ve seen so far. Looking at the video, it seems to me that you have no less hot working at night. I prefer our 29 ° C day and 22 ° C at night in Quebec City. It’s hot enough . (71,6°F/84,2°F)
Jay, I love the design. I enlarged the base plywood to 30″ and scaled everything accordingly on my plan. What dust resistant Teflon spray lubricant did you use?
My wife and I downsized from a 4 bedroom colonial with a 900 sq ft garage to a condo. My former shop was under the garage [900 sq.ft. but a 70.5 ceiling].
thanks for all the good ideas.
Mike
Hey Jay, love you work and all the effort you put into all the projects you do. I’m finally getting around to making this rolling rack for my shop and was wondering if you have any thoughts on only making a 6′ version? I rarely keep full sheets around my shop (only purchase them when I am ready to do a project) so this rack would really just be for cutoffs and such. What do you think? maybe you could talk some sense into me!
6′ Would be just fine. You could even hold 8′ pieces on it as well if you decide you need to at a later date.
Jay,
Great build. I have these plans from Wood magazine. In regards to the panel saw side of the rack, Would you just slide the panel off the end and cut or do you think there is a way to keep the panel centered on the rack while cutting, without cutting the supports or cross members ? Do you have any plans or ideas on upgrading this design?.
Hi Jay. Hope everyone is well there in this time of Covid-19.
Wondered whether the Rolling Plywood Cart is still in use, and how it has worked out. I am currently taking up the entire two car garage, but am working on getting back to half, ie, reducing my footprint. I am interested in both storing a few sheets, and in using the backside of the rack to cut sheets, and wonder how that has worked out, or if there are any changes you might suggest at this point.
Best wishes,
Joe
Hope the cart held up, I’m about to try and make one!