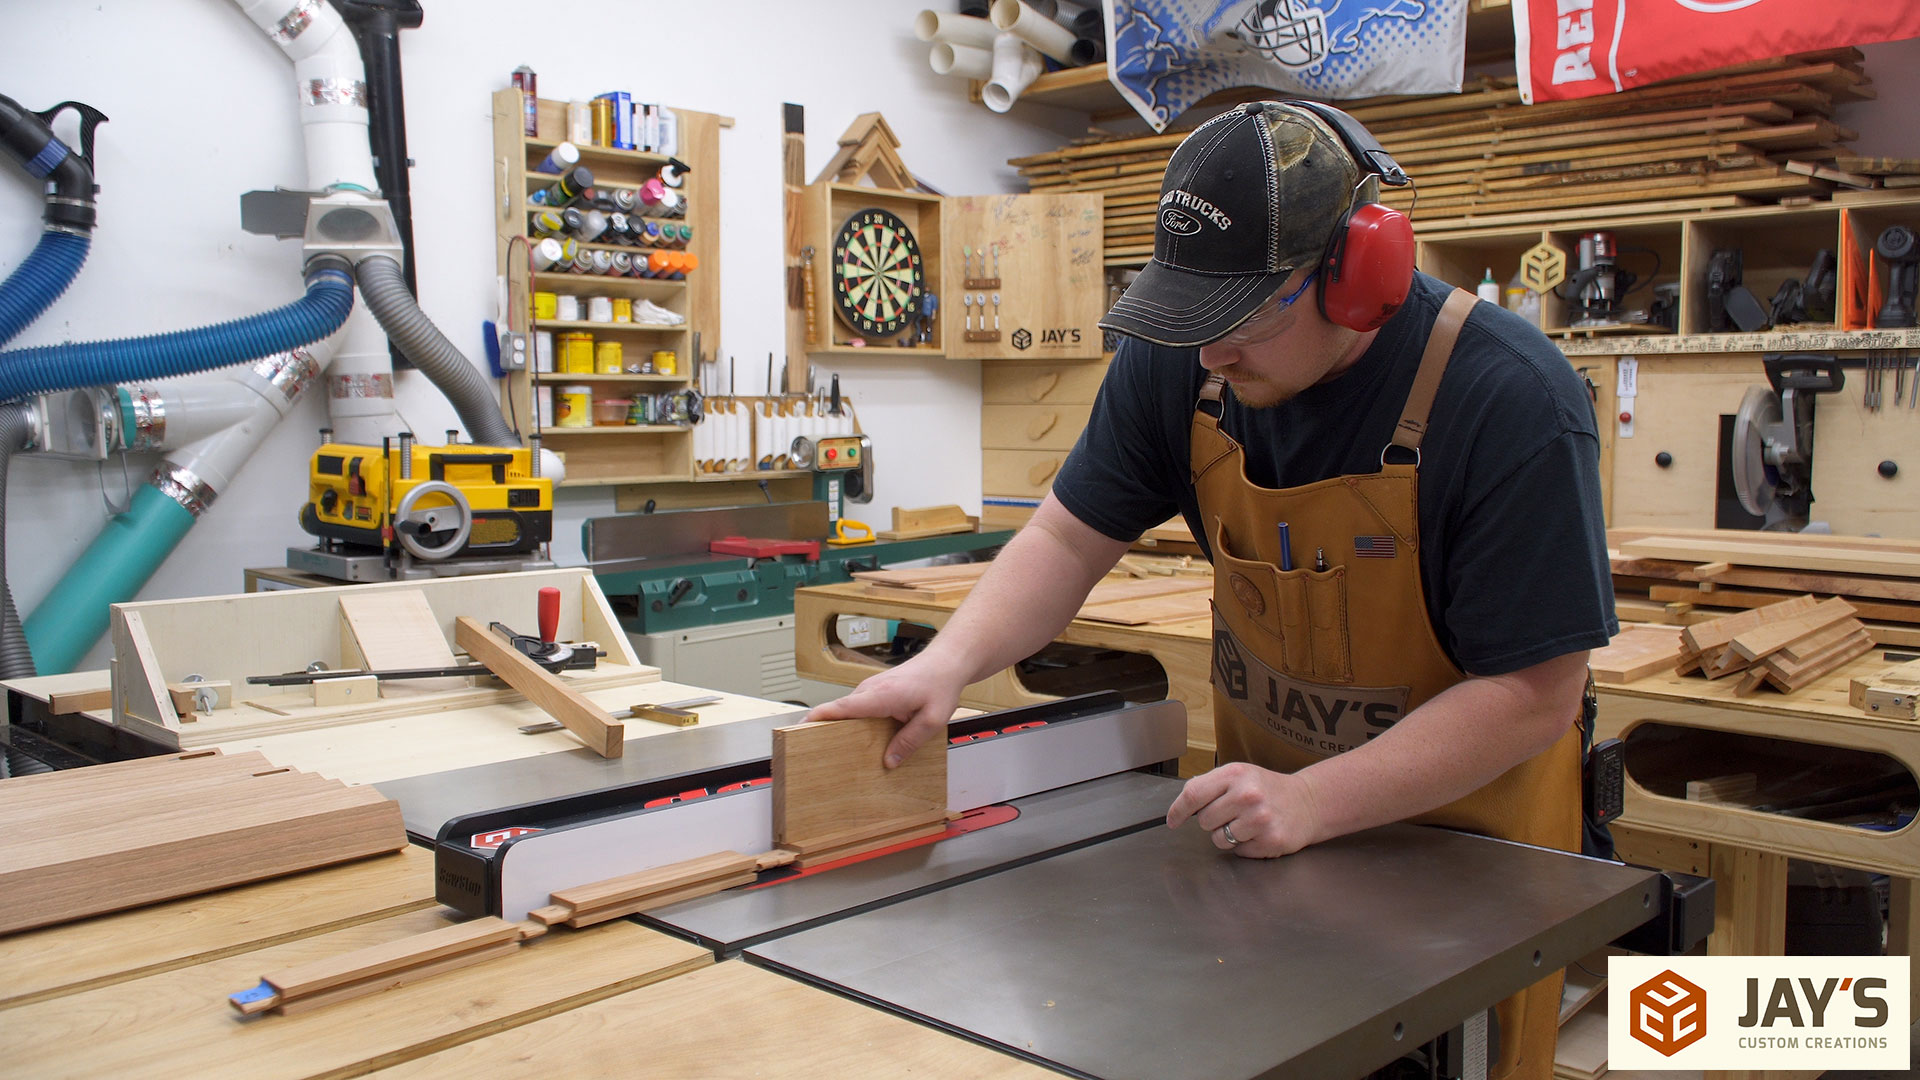
In the last video we covered tongue and groove joints and we cut the panels to fit. In this video we wrap up the first half of the build with the lower rail arches interior rabbets, and the work surface and top shelf panels.
In the video I said I would have plans for this project but because making this project, editing this style of video, and putting this long of an article together is incredibly time consuming I simply ran out of time to put together a set of plans. Plans take a while to do as well. If there is enough interest in a set of plans I’ll put them together. If you enjoyed this build and would like to show your support for the content I make consider purchasing one of my other project plans I have available. Thank you.
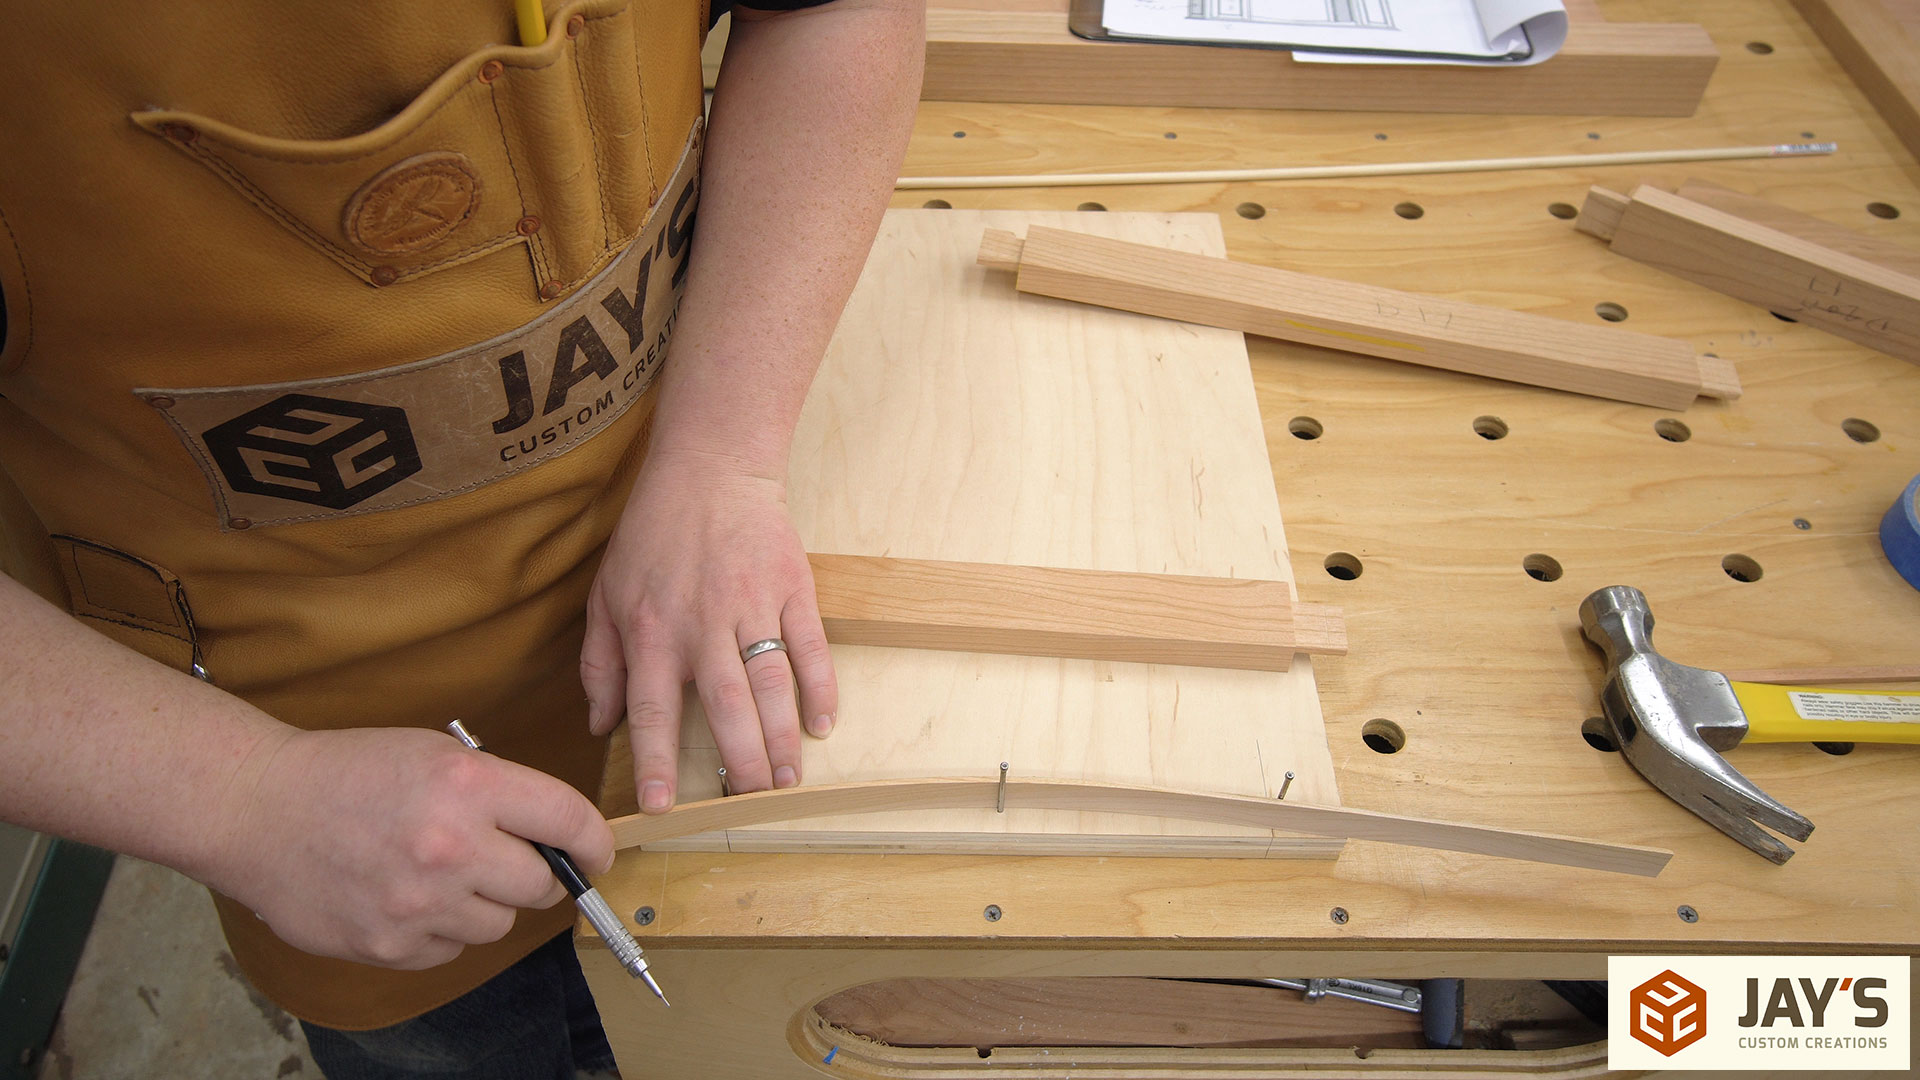
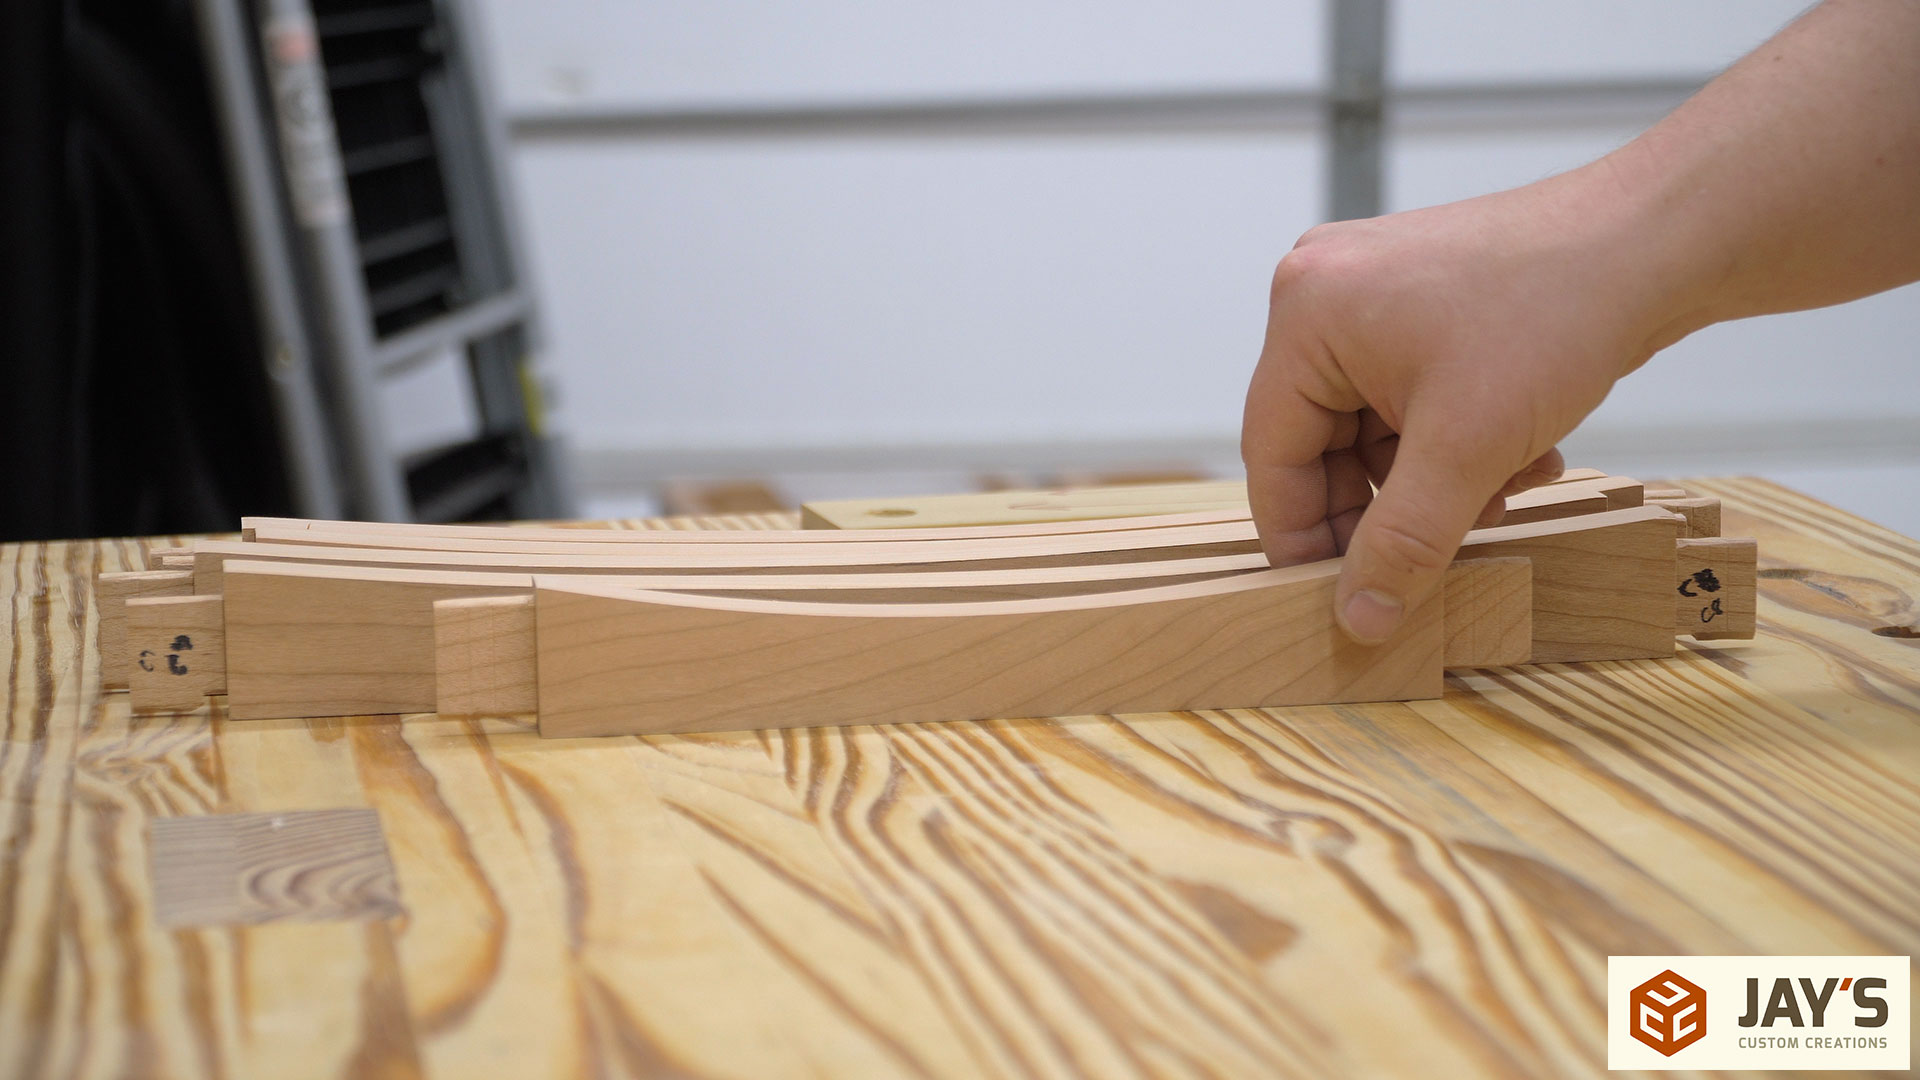
The most important part of the arches is consistency and to help with that we are making a plywood template to mark all of our pieces with. I used 3/4” plywood for this but ideally 1/4” material should have been used. For the template I bent a piece of wood around three nails to establish an arc. I don’t like using wood though. Wood will almost always bend inconsistently when used in situations like this so to give me a left and a right option for the template I left the right side as is and bent the left side a little more to give a different look.
After making a short and a long template we roughed them out at the bandsaw and trimmed them down to the line with a spokeshave. If you’re using thick template material like I am you need to make sure the profile shape is square to the wide faces of the material. This is important because if you are only going to use one side of the template having this face not square will result in two different profiles to trace.
After comparing each side of both templates we decided to only use the modified left side of each template. This just means when we mark the material we just mark half at a time and flip the template over for the other half.
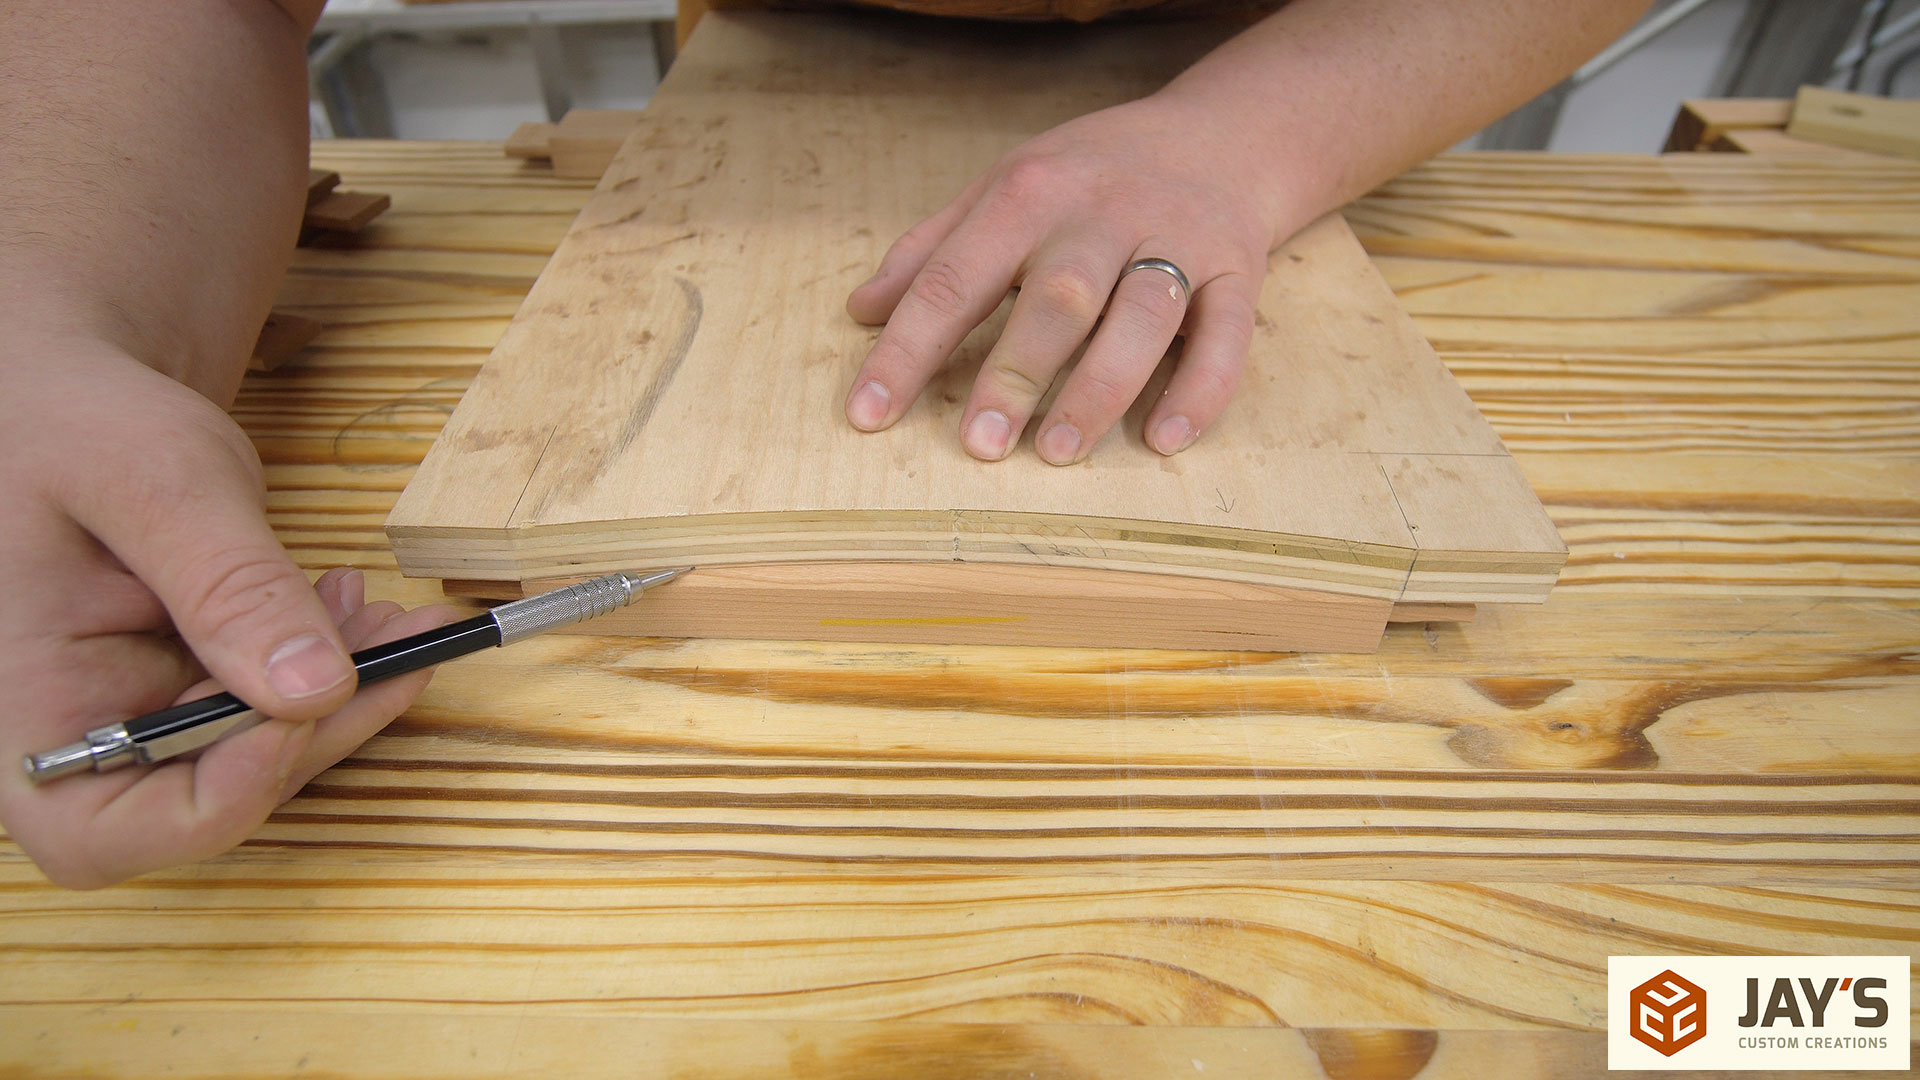
The process for cutting the final material is the same by roughing everything out at the bandsaw and then using a spokeshave, card scraper, or sandpaper to get down to the pencil line.
As far as template use goes you could get one of the pieces to the final shape and then use a pattern bit on the router table but I wanted to show that you can still get good, consistent results without template routing.
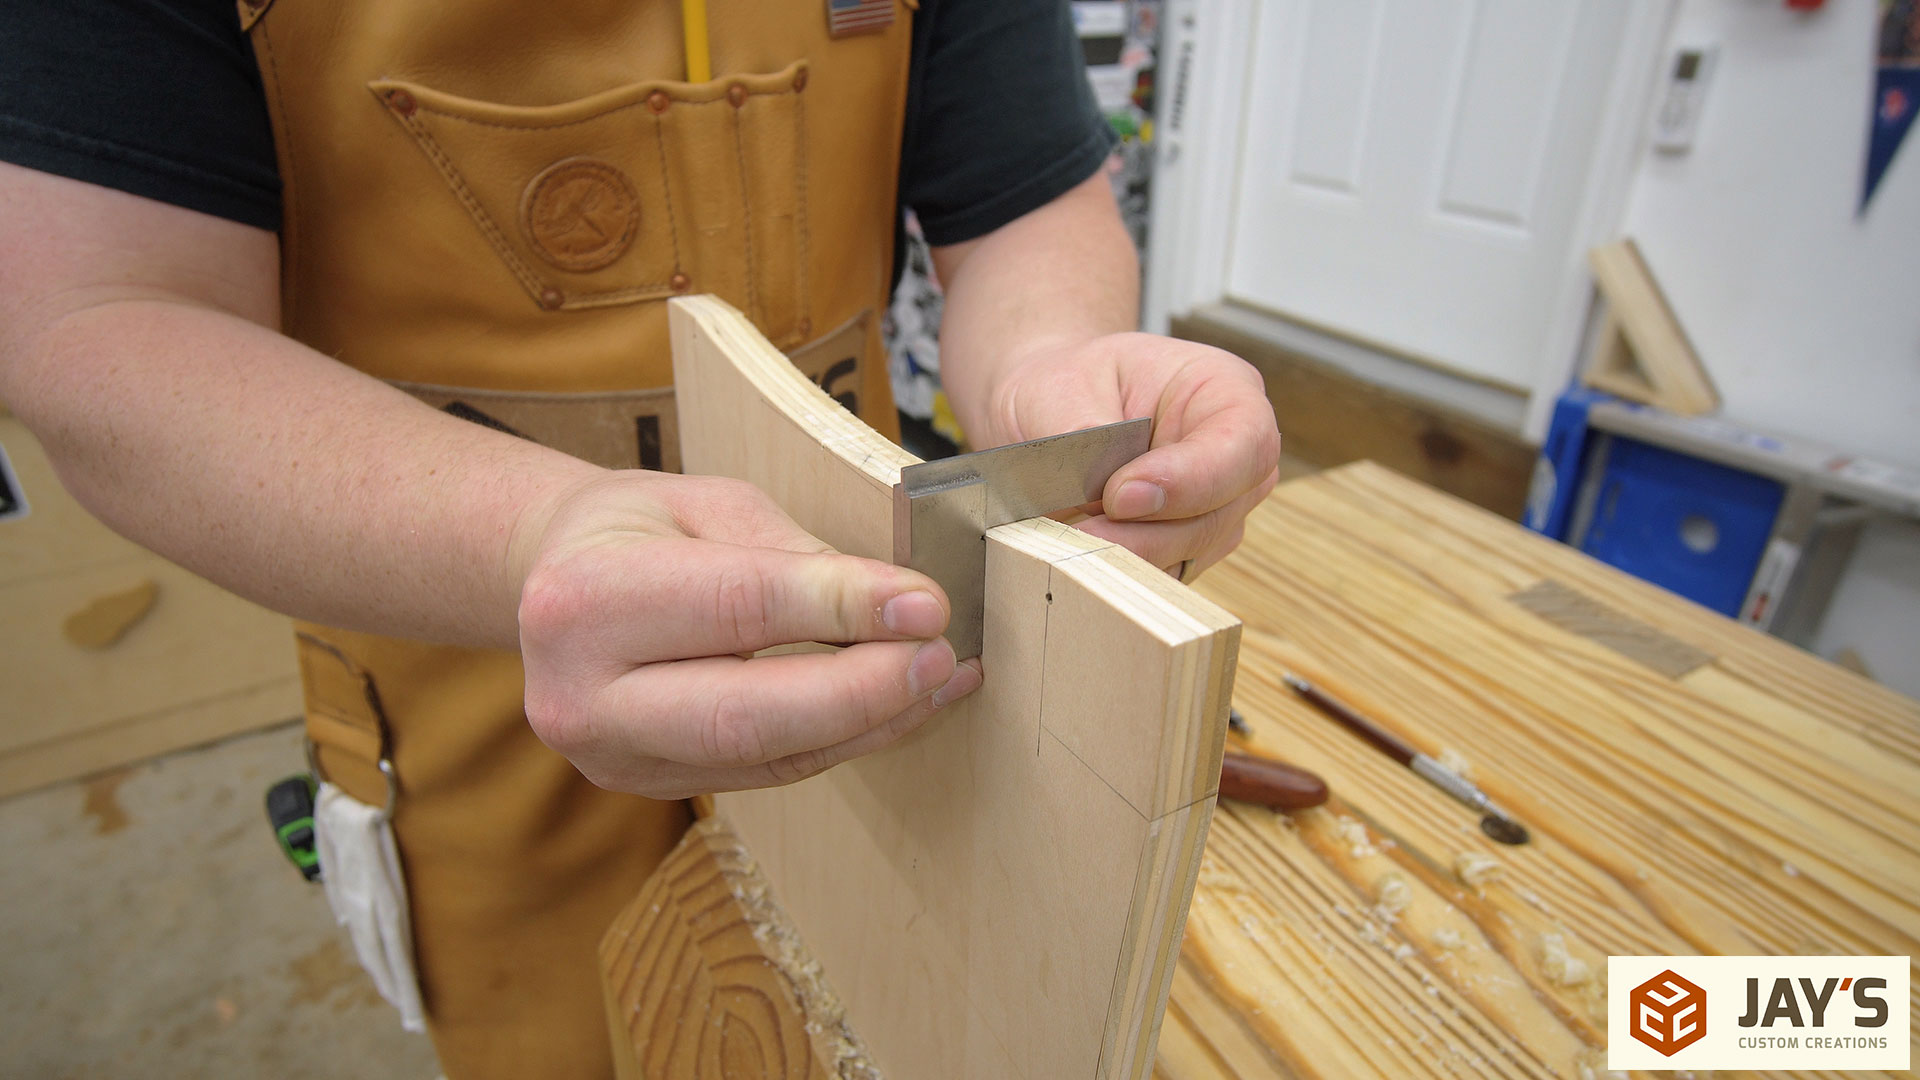
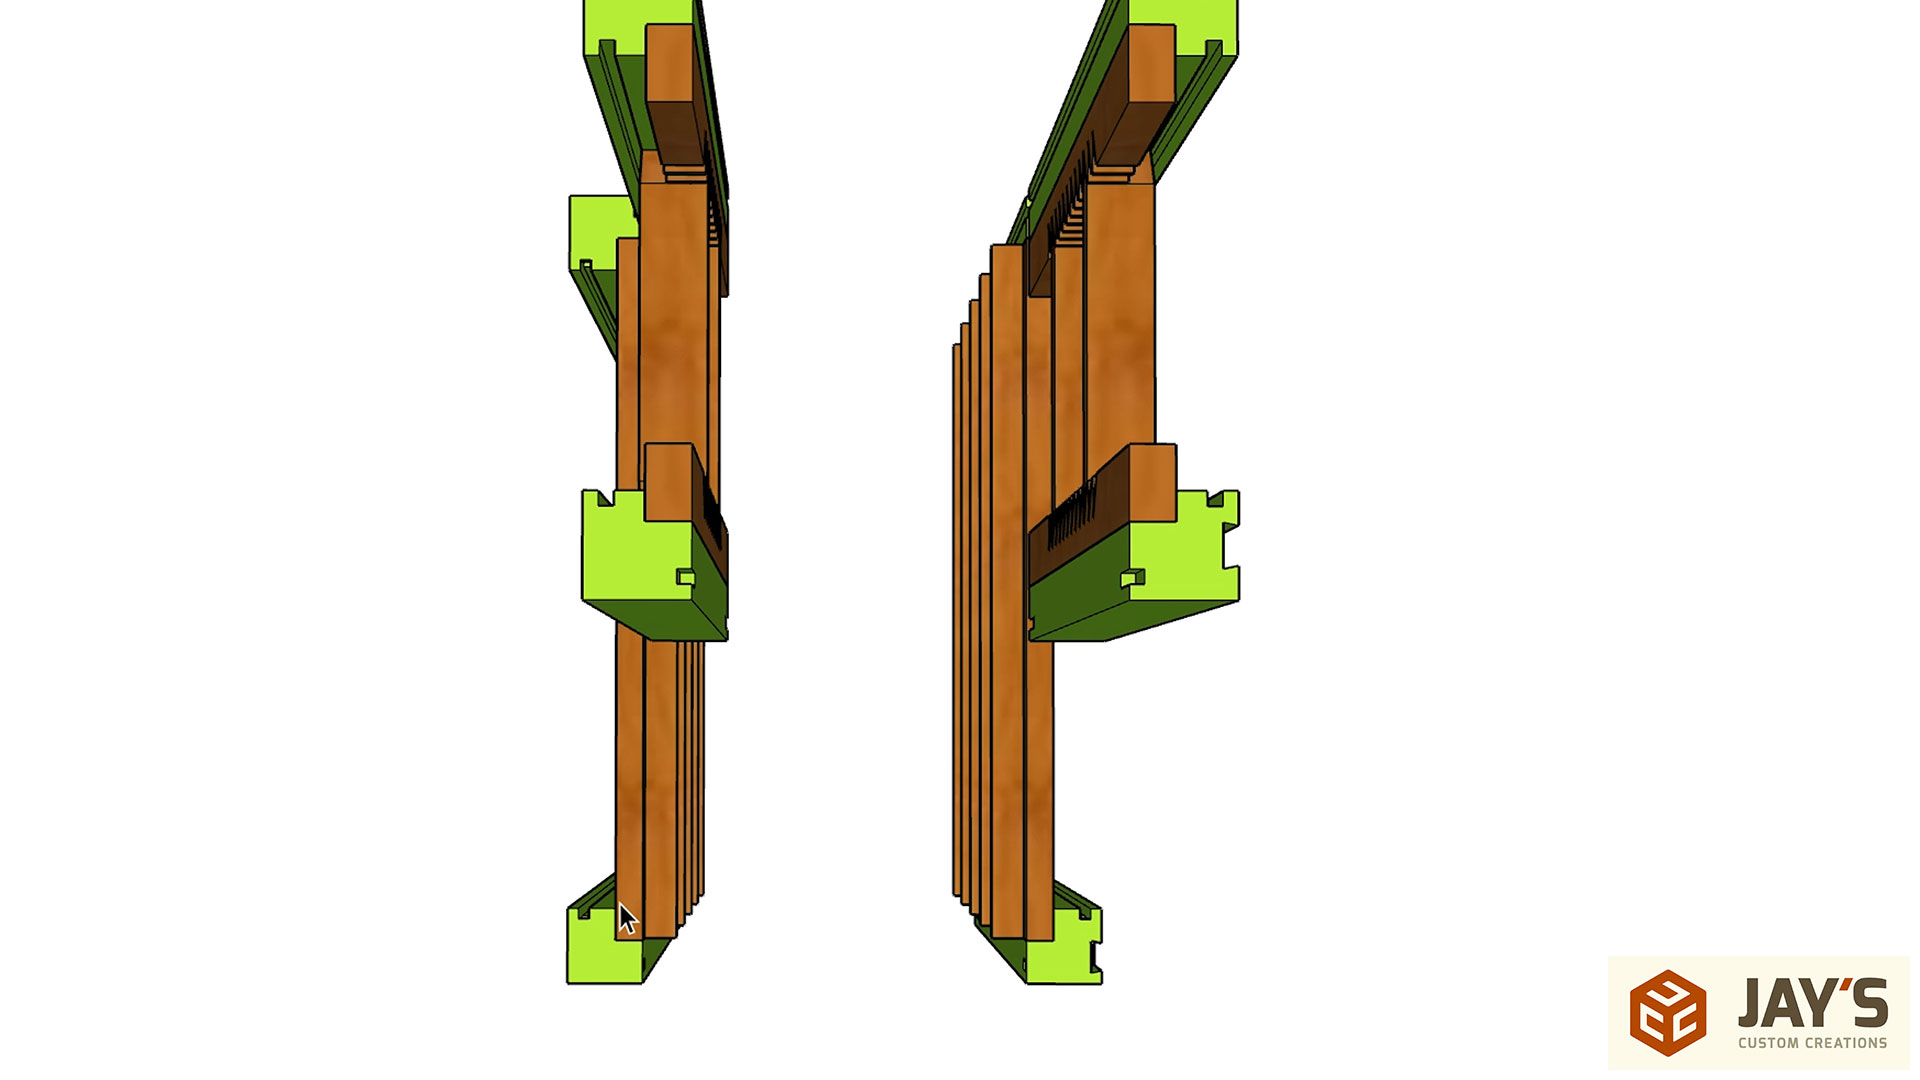
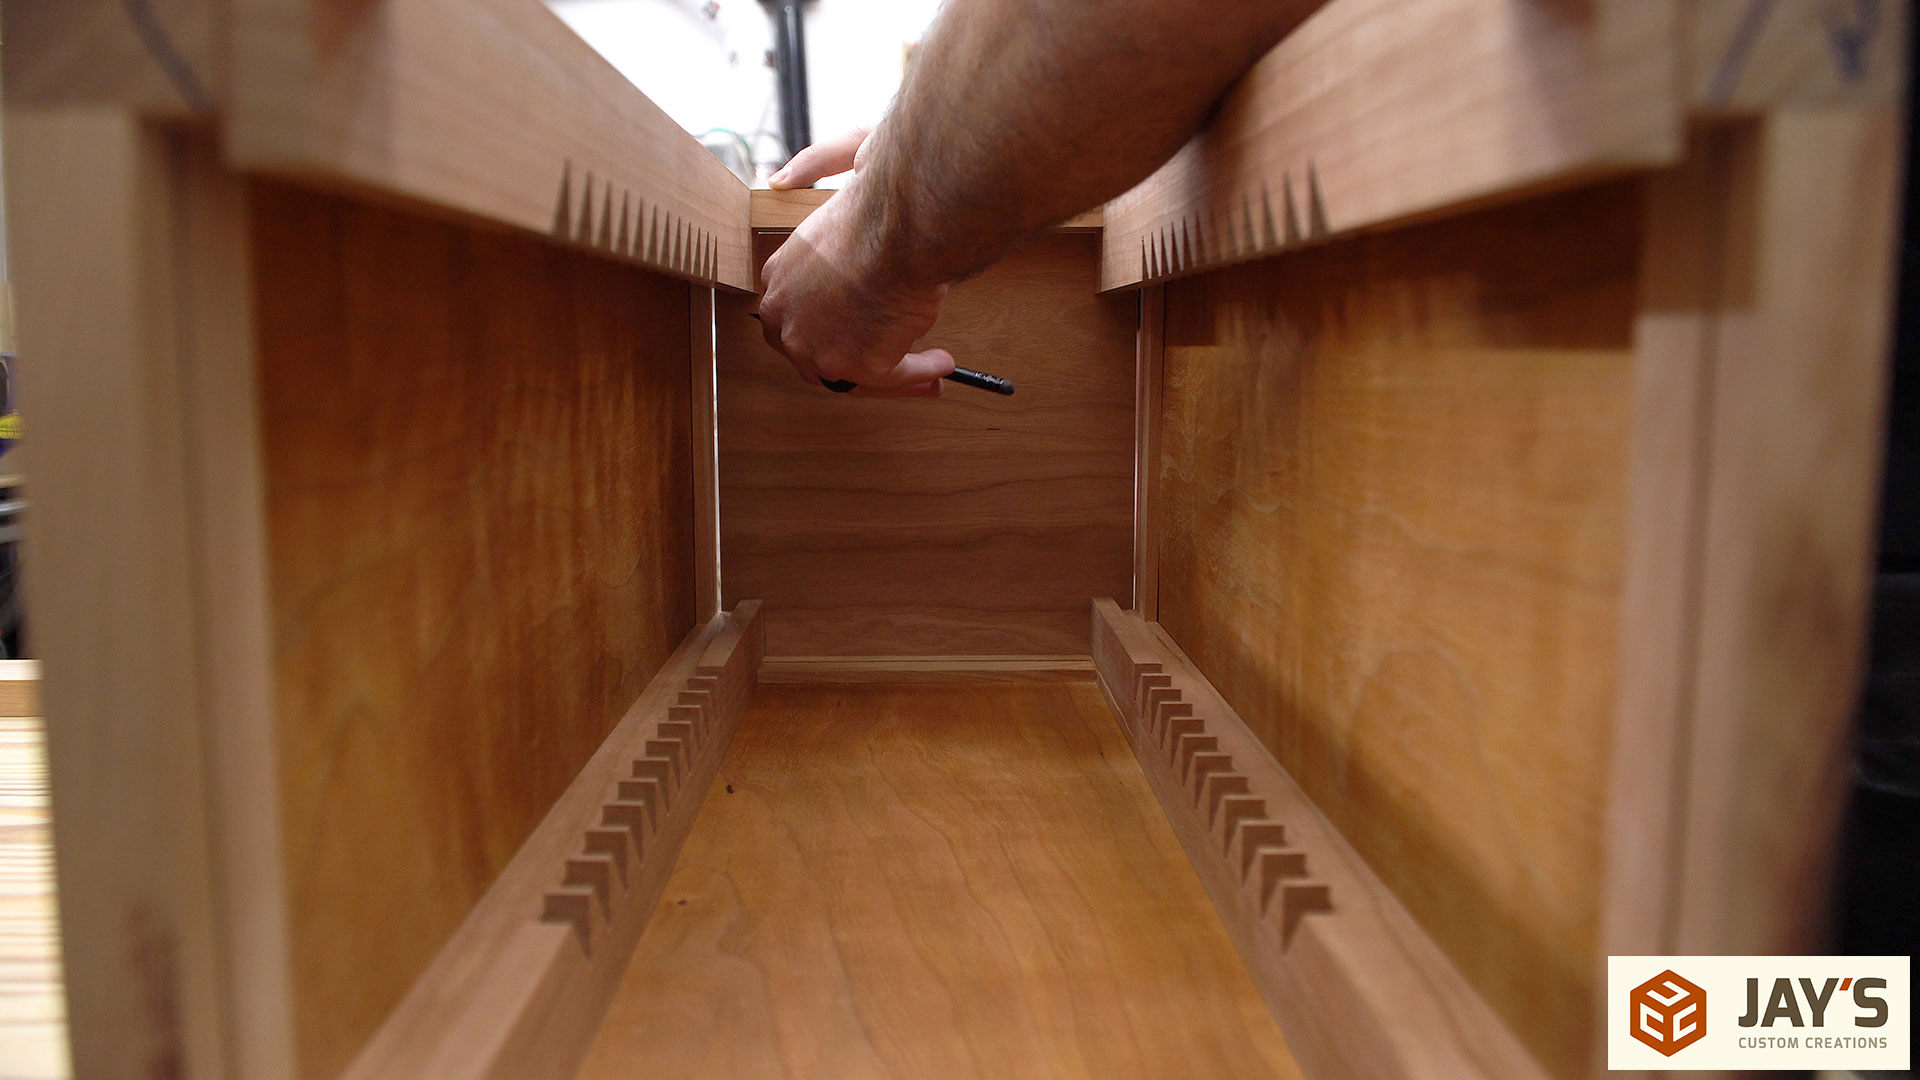
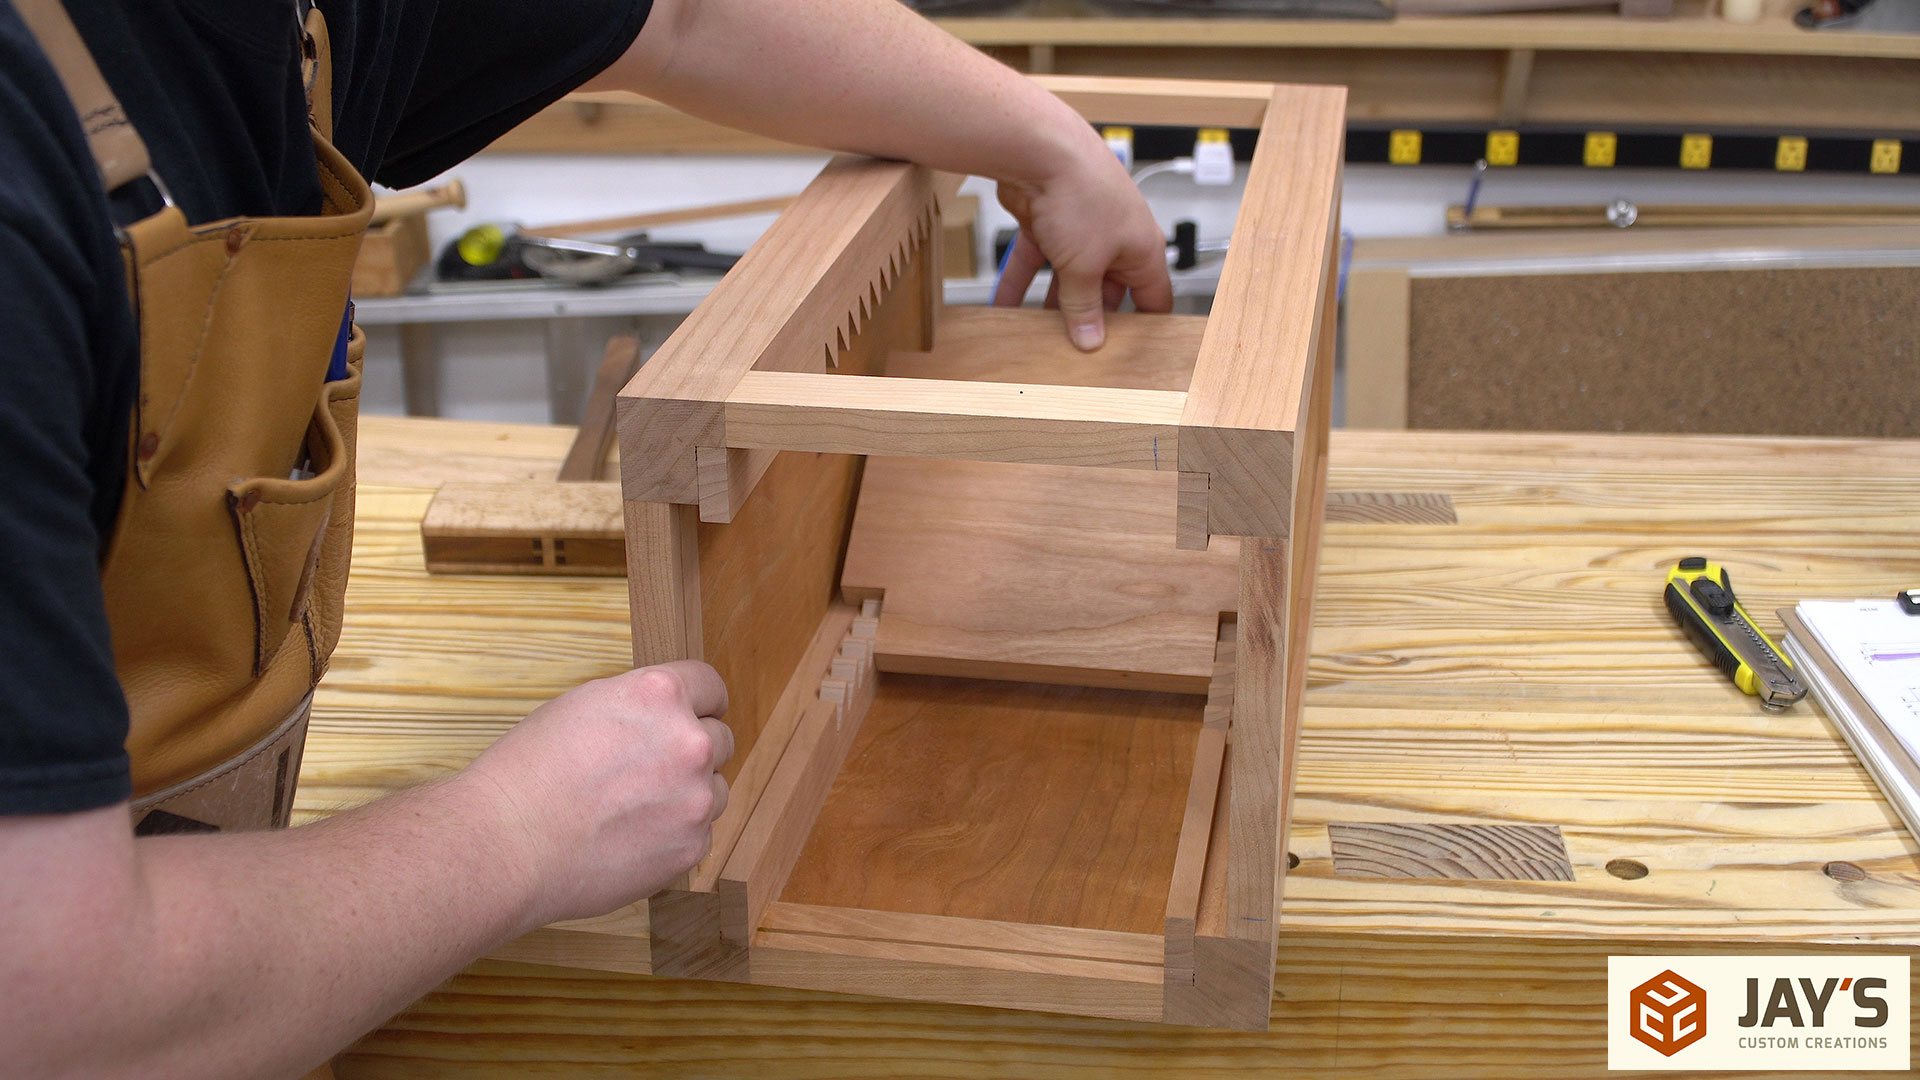
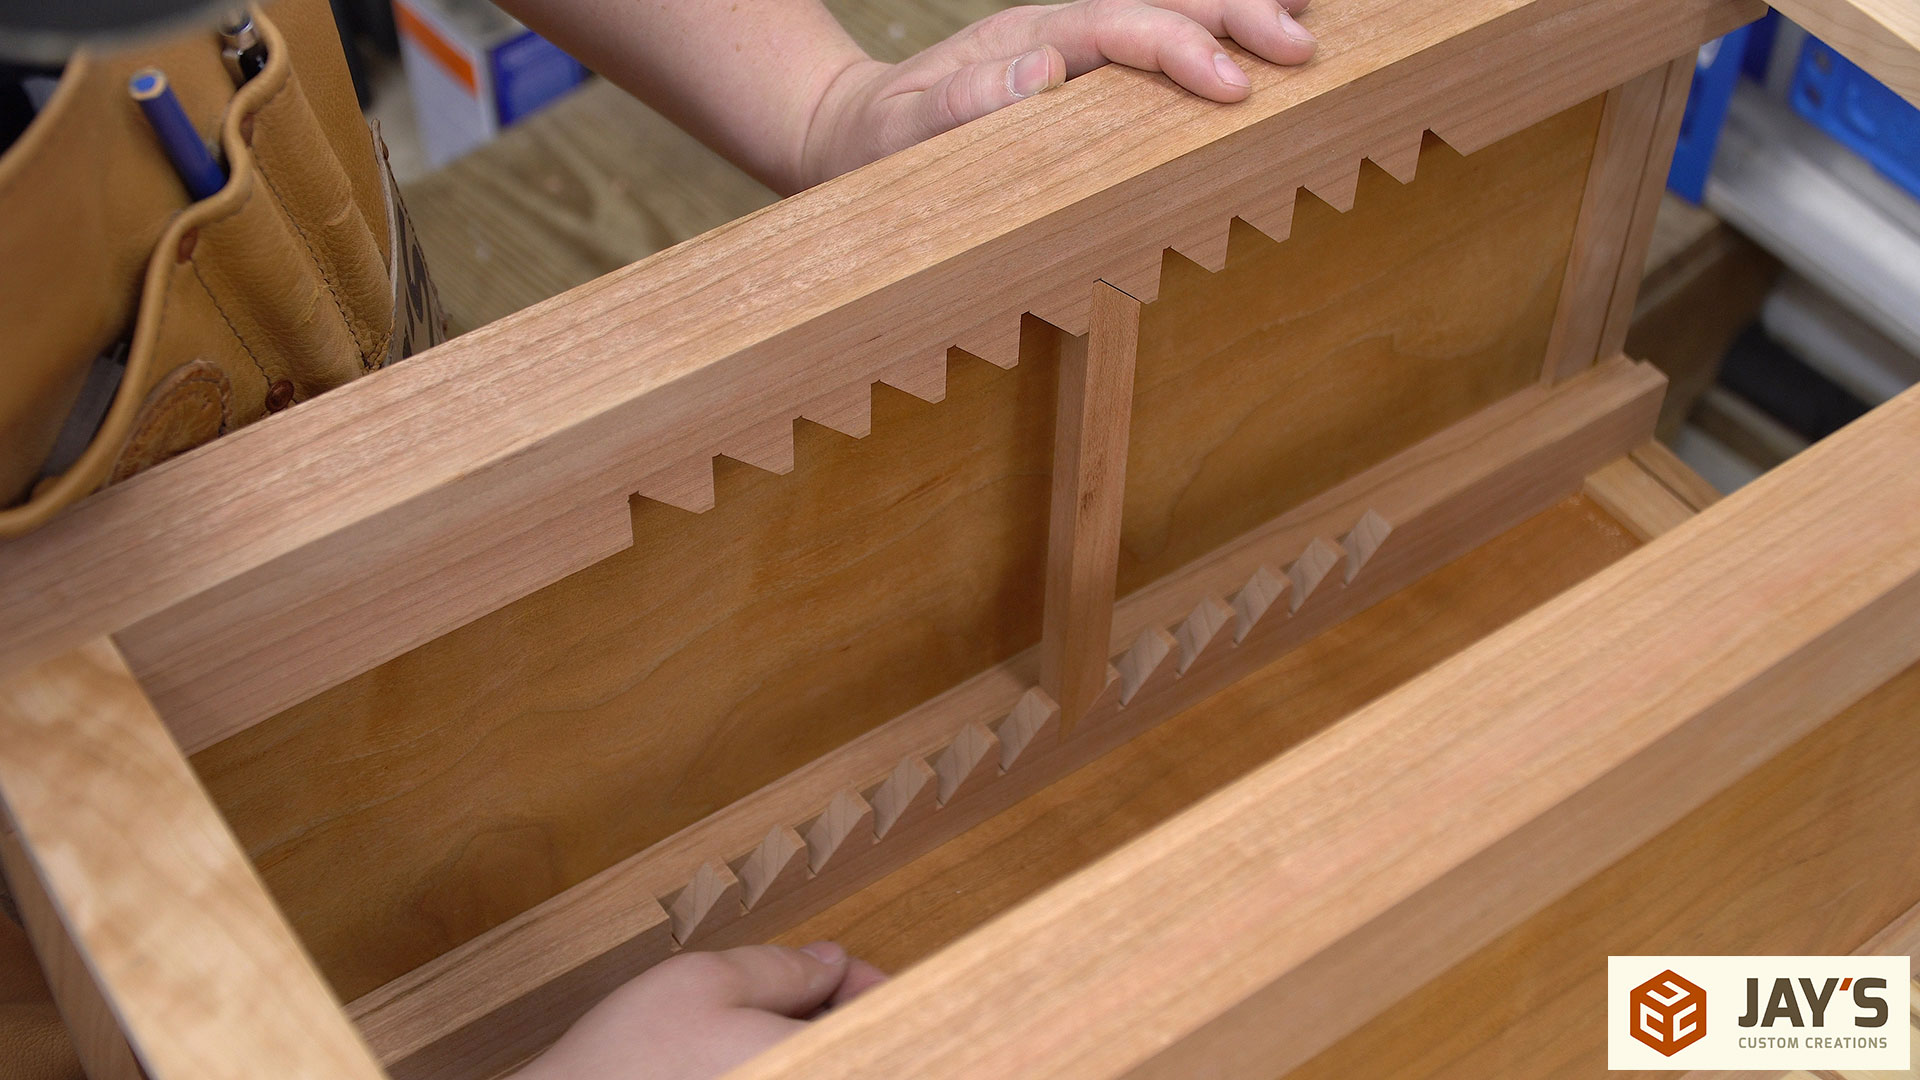
Next up is the interior corner rabbets. All four cabinets will have either drawers or shelves inside. The easiest way to accommodate both the drawer runners and the sawtooth shelf hangers a simple rabbet can be cut on the inside corners. This diagram shows a top down view of the corner pieces in green.
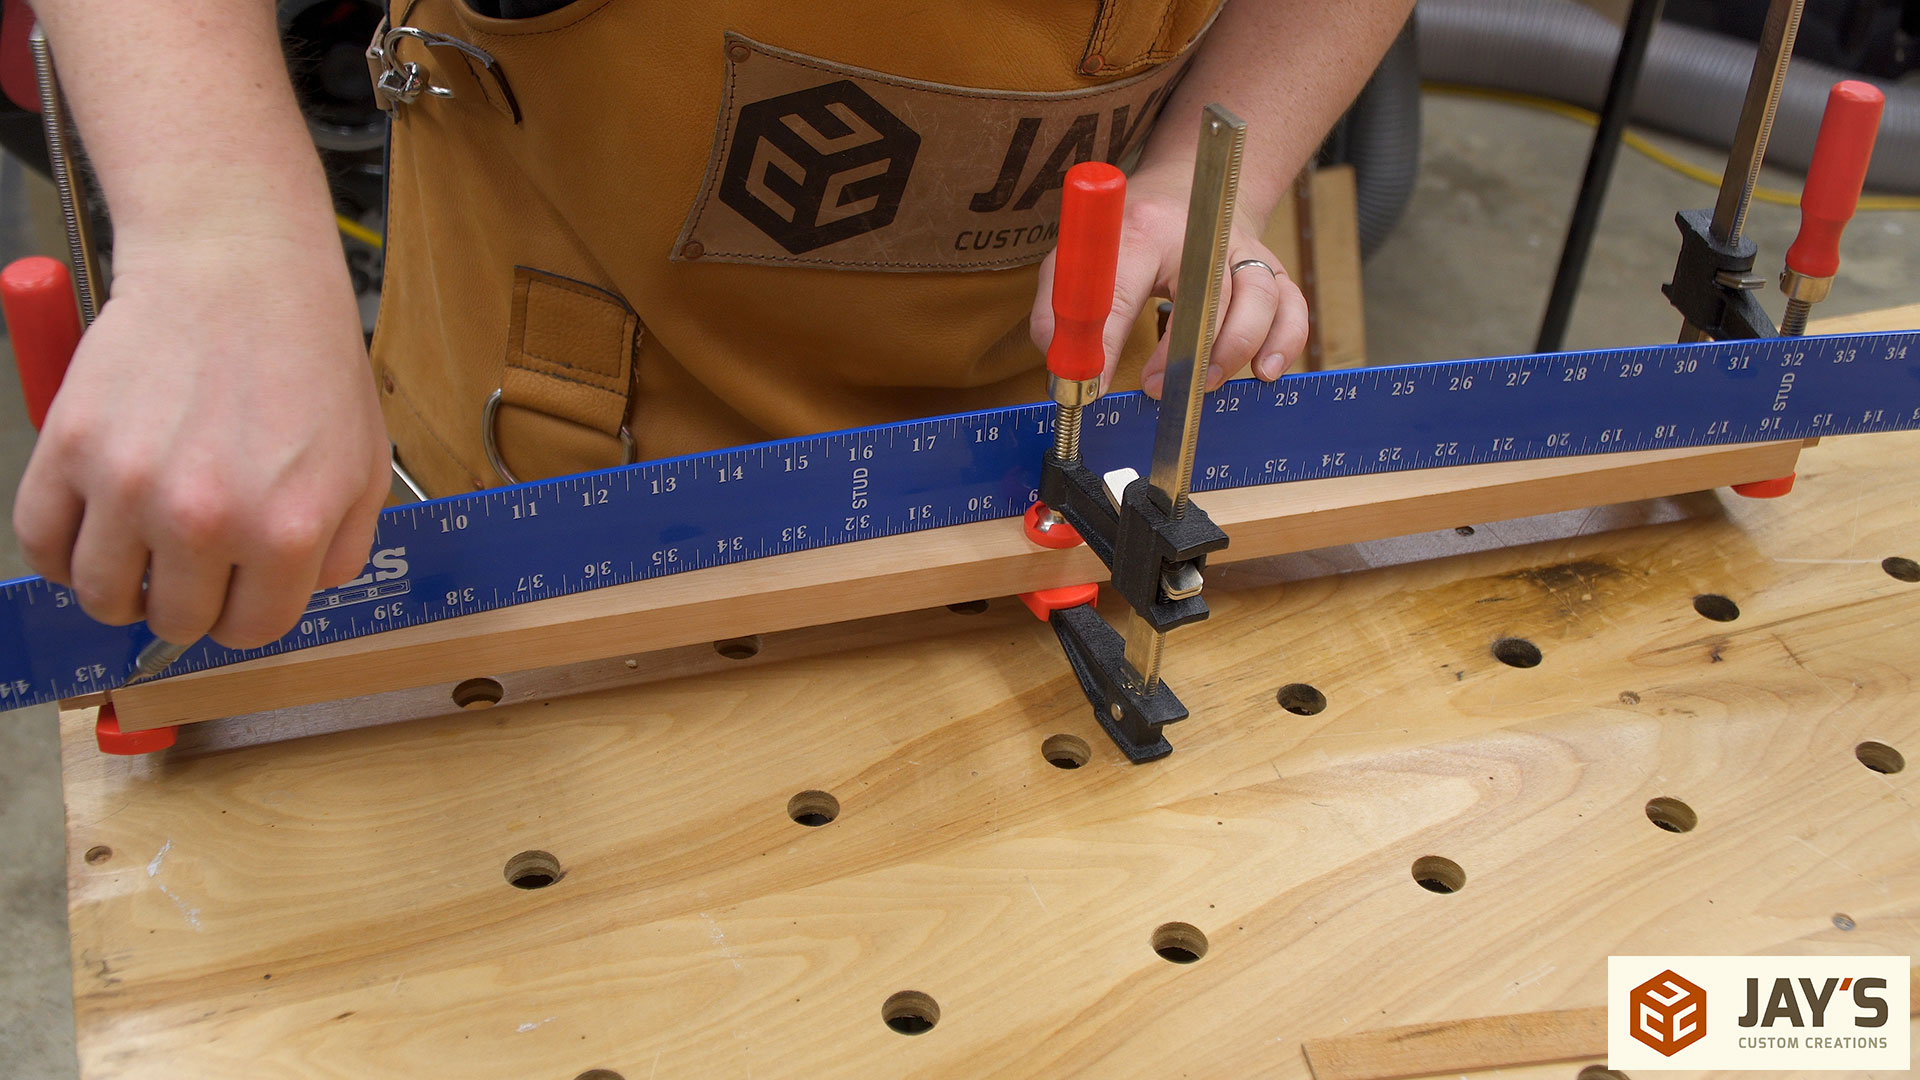
Before doing the final assembly on the cabinets we decided to complete the work surface panel and top shelf panel so that we would be prepared to do all of our glue ups and assembly at the same time. After milling to final thickness we used a few number 10 biscuits to help maintain alignment during glue up.
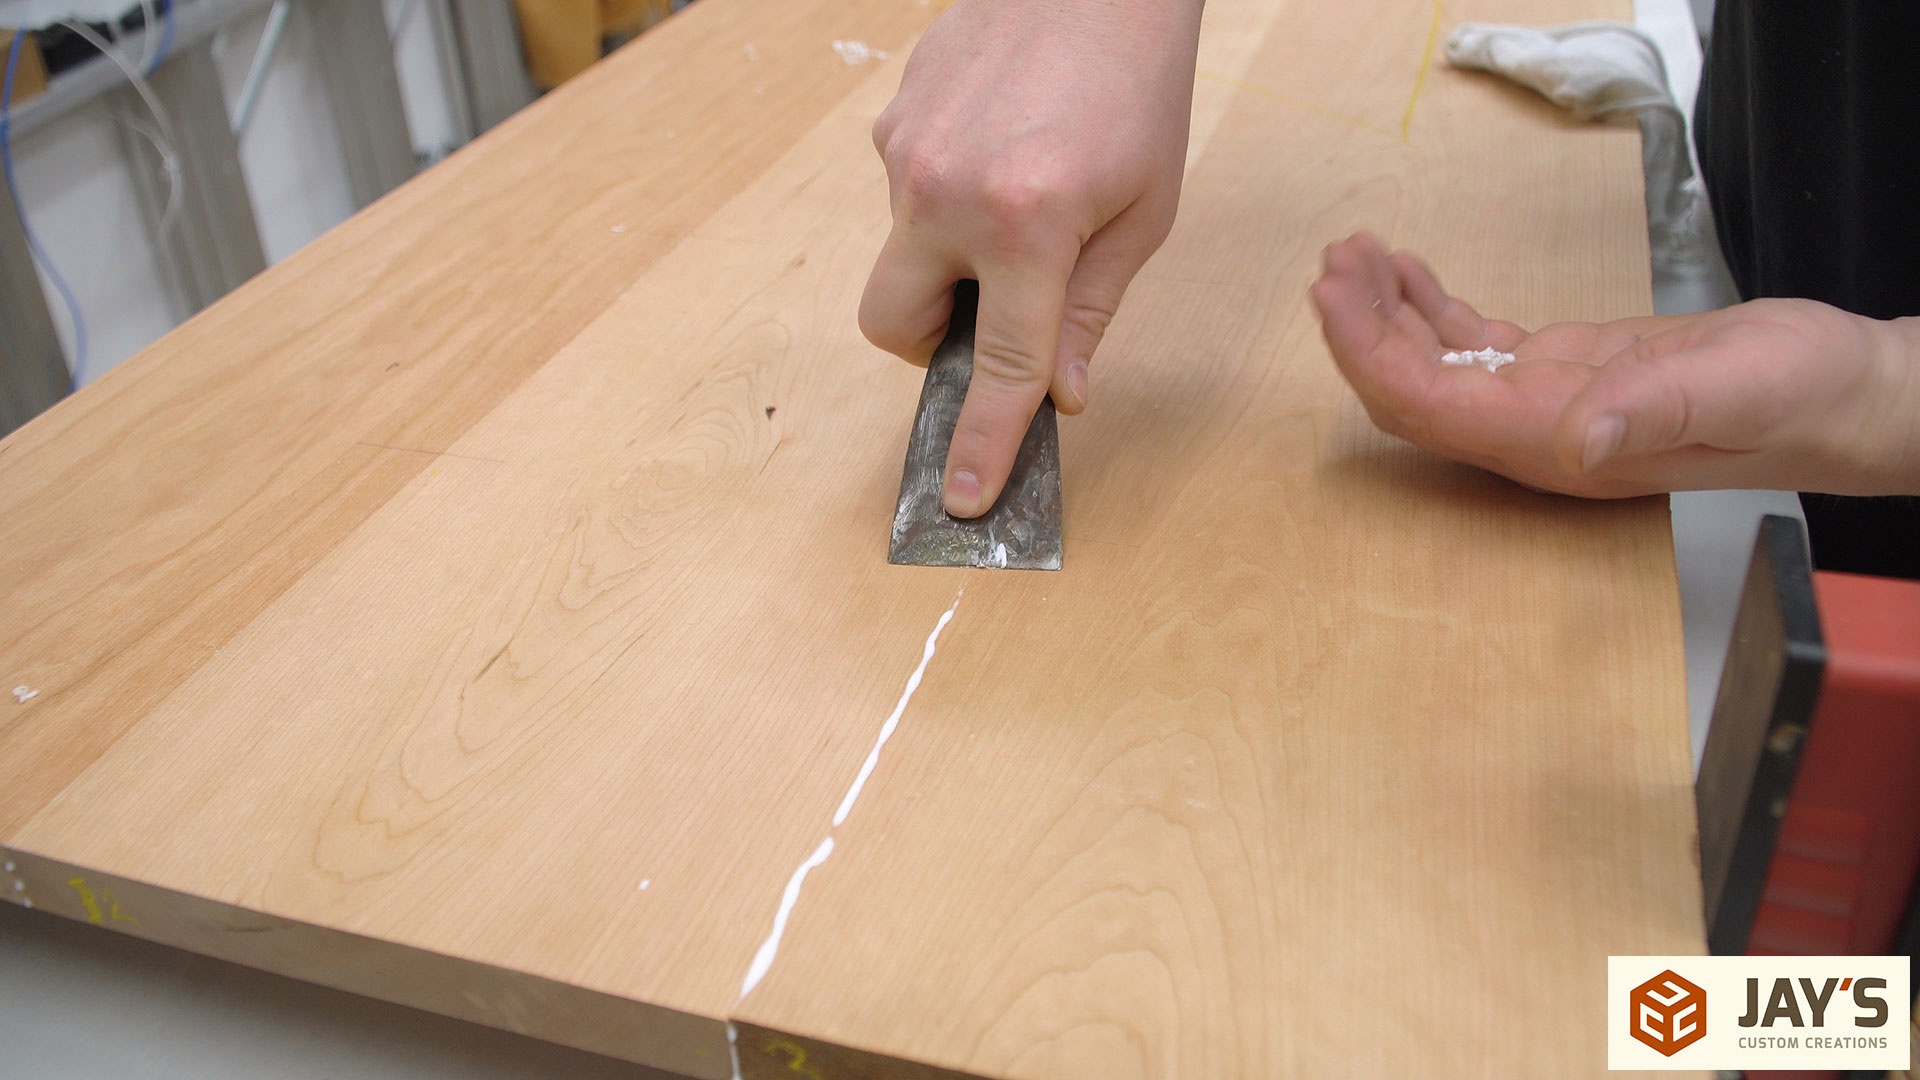
Right about here is where we realized the change in direction for the project. So from here on out we set the base cabinets aside for later use and are going to re purpose the top cabinets into something else. Also, removing the glue squeezeout is easiest when the glue has skinned over slightly.
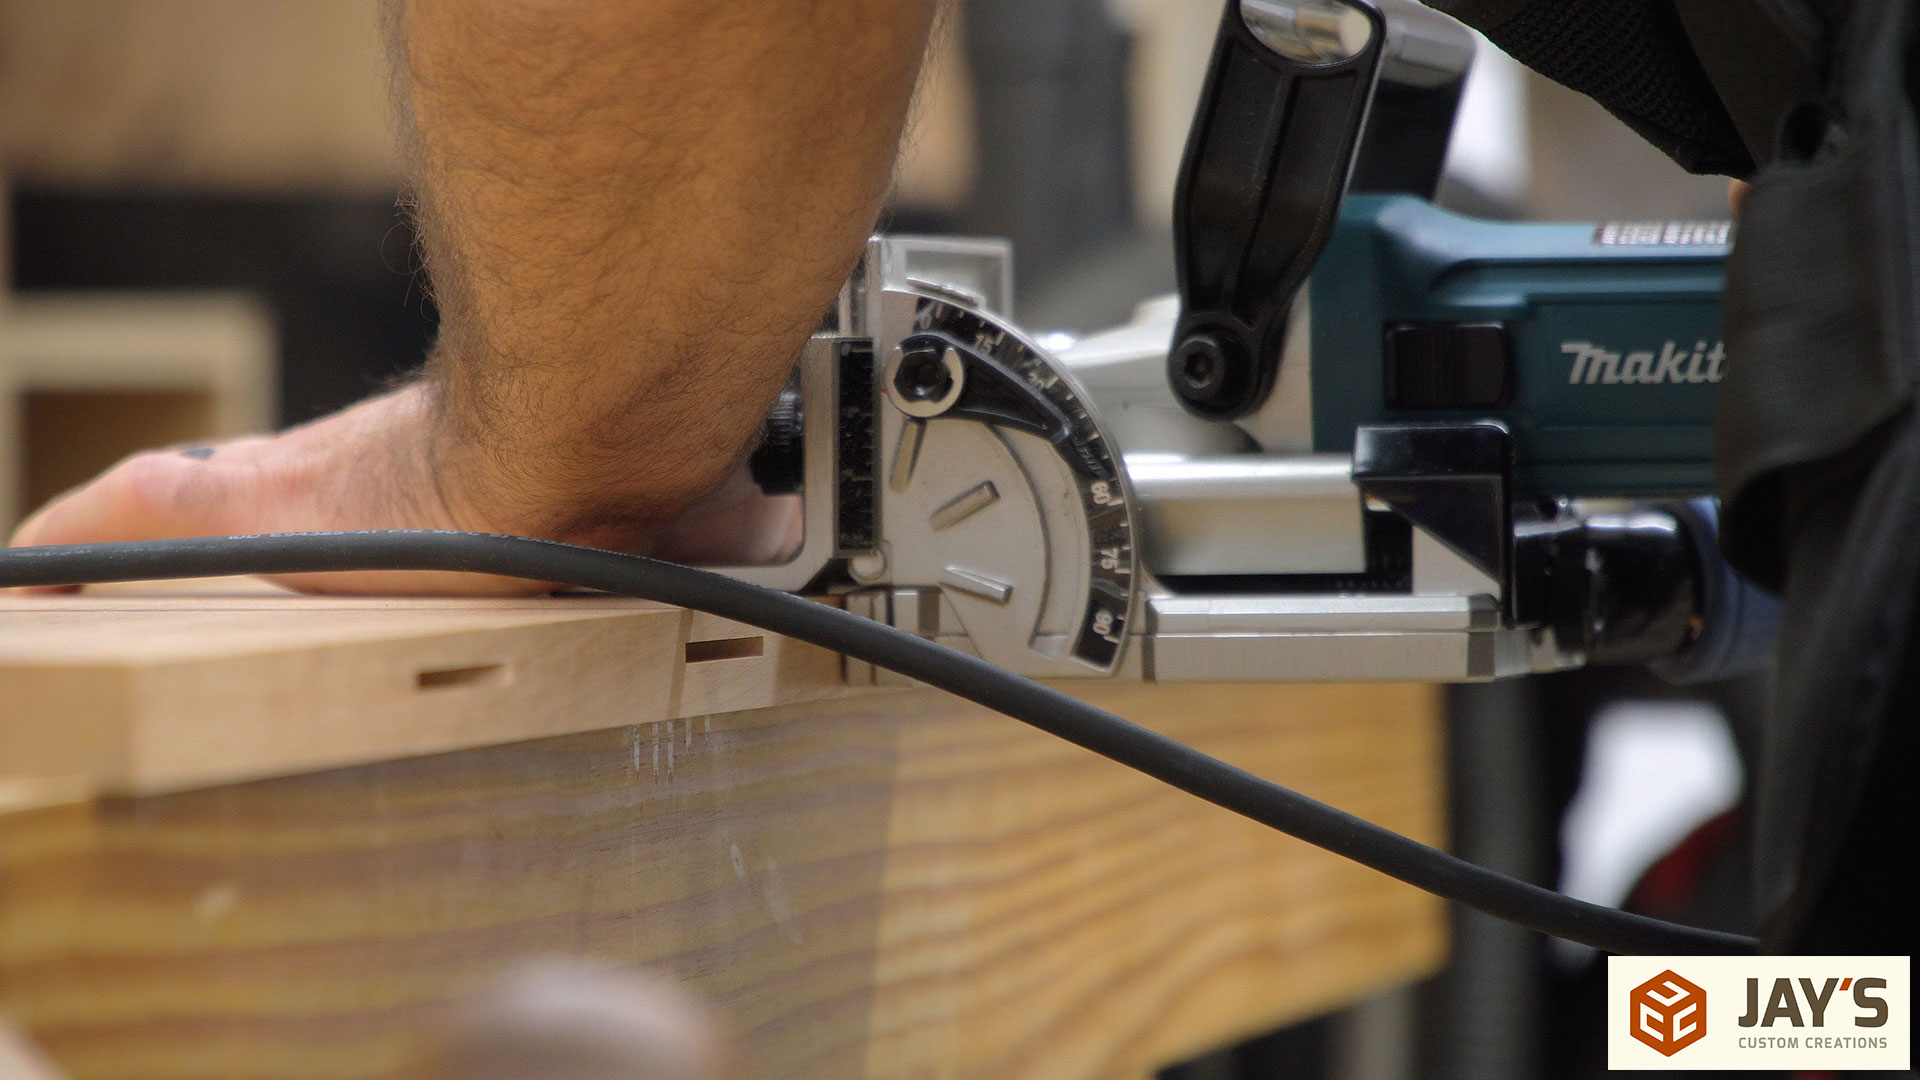
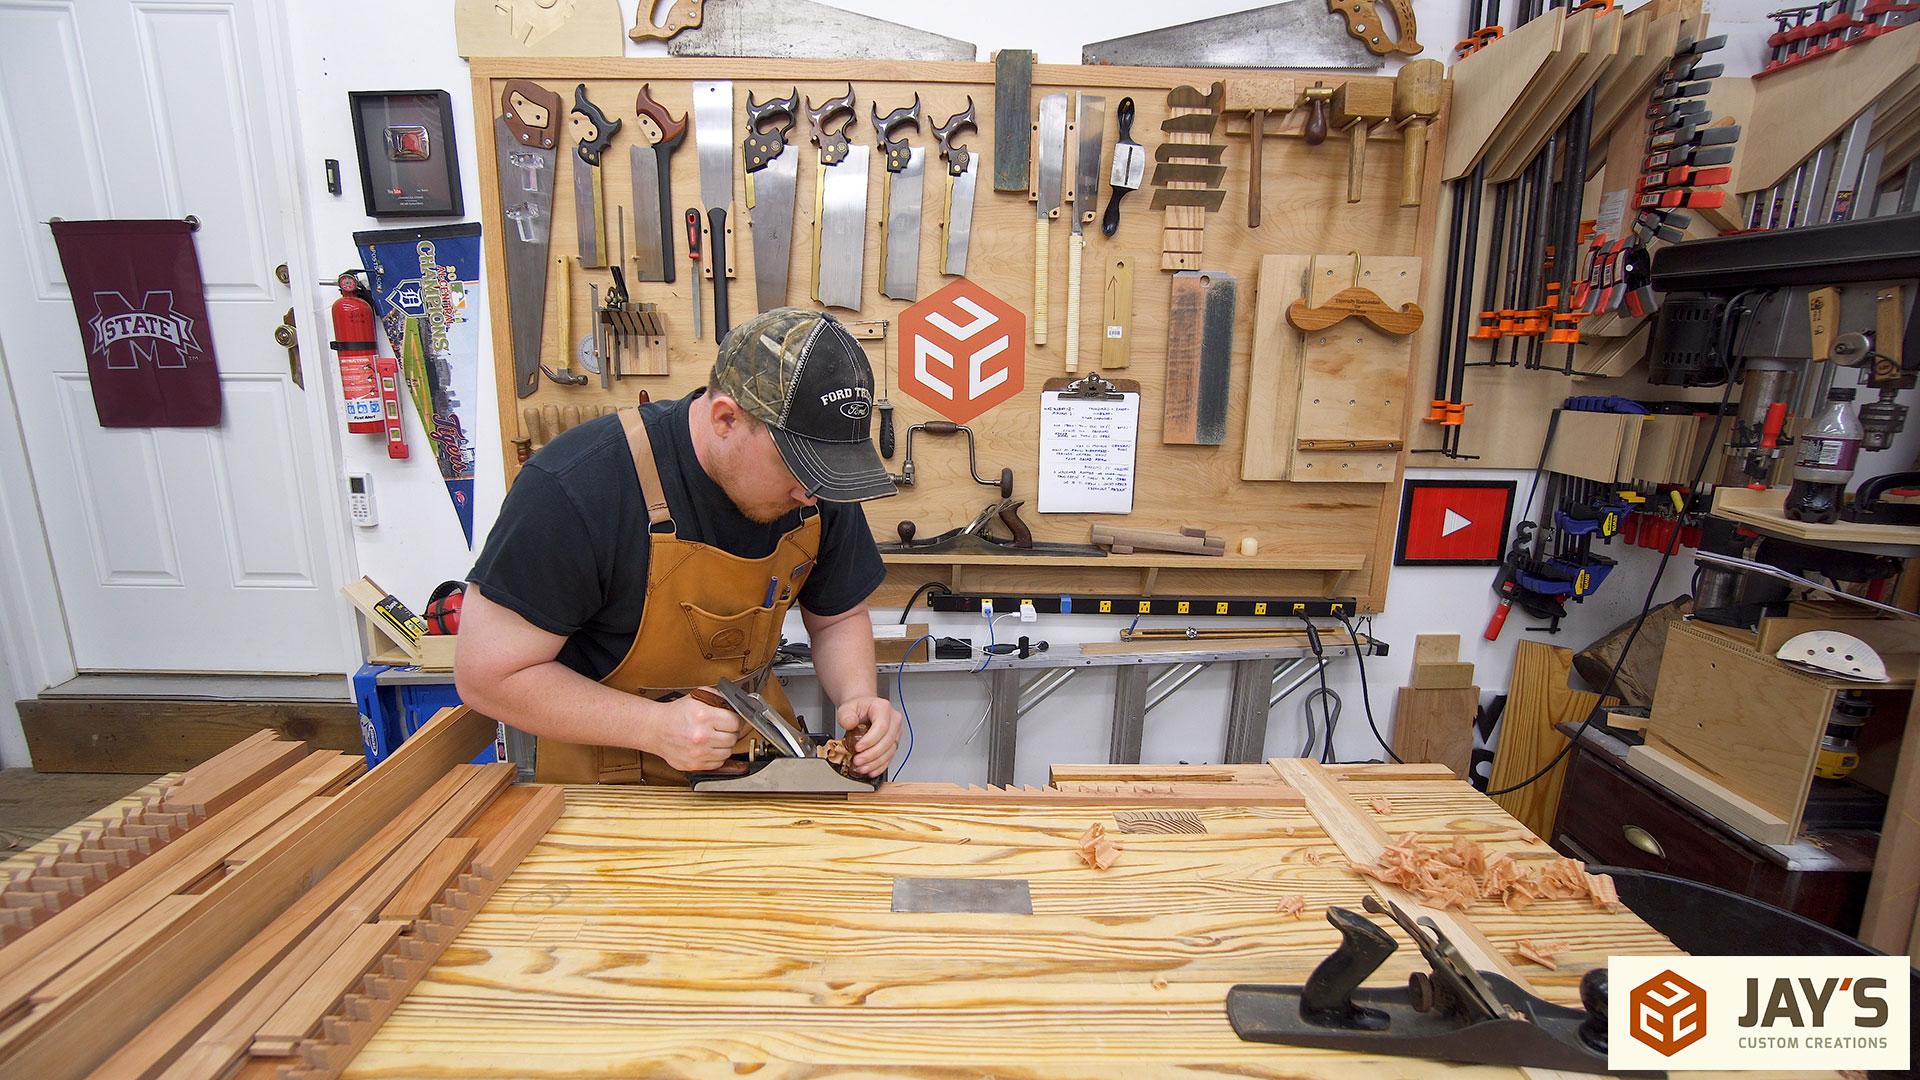
The project change included more mortise and tenon joinery on the inside of the cabinets to attach connecting rails. Just like before, we used a plunge router with an edge guide for these. If you haven’t seen my universal edge guide attachment for a router I’d suggest checking it out.

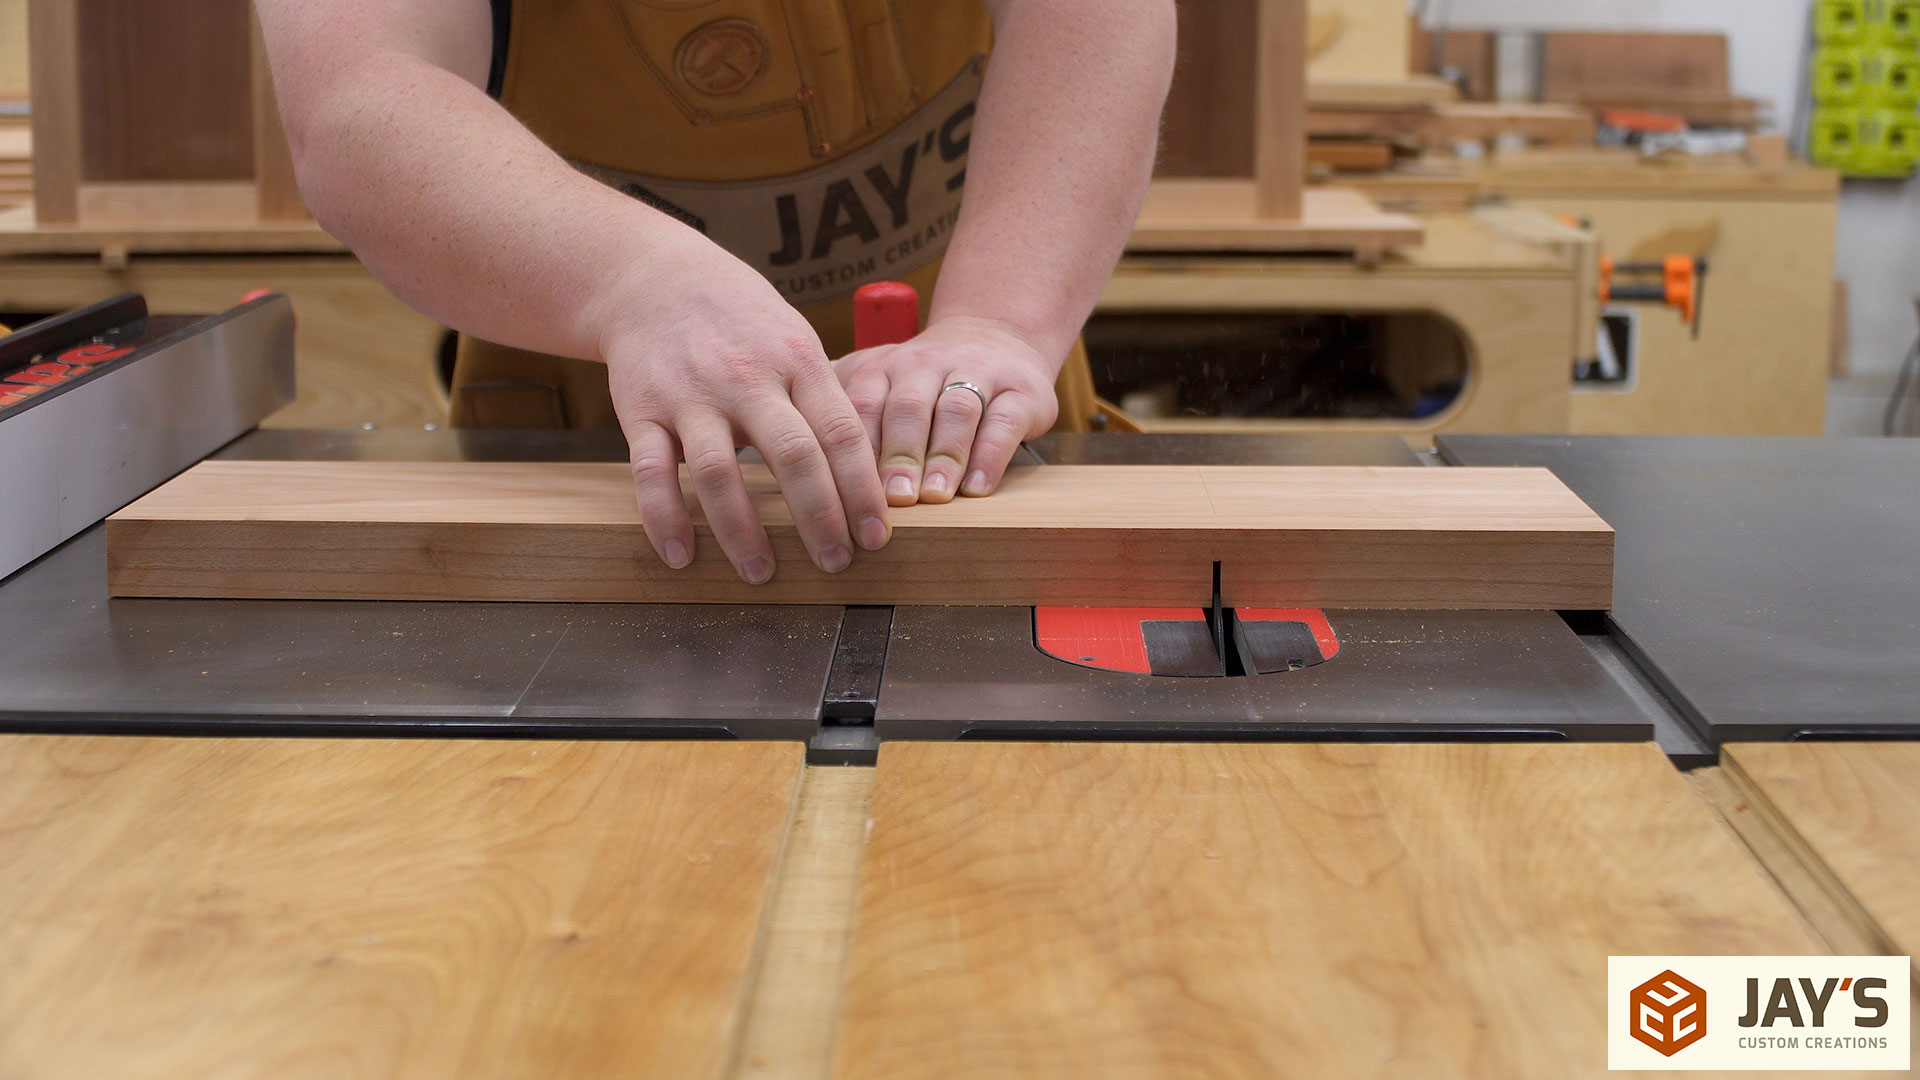
With the material selected for the rails we repeated the milling process once again. The front top rail is exposed so we took the time to get a good-looking piece and cut a new reference face so that the grain will be a little more parallel to the edge. Because the back top and back bottom rails will not be seen we used some material we had that didn’t have a good color match. Areas that won’t be seen like this are a good way to use up some of the less than perfect stock.

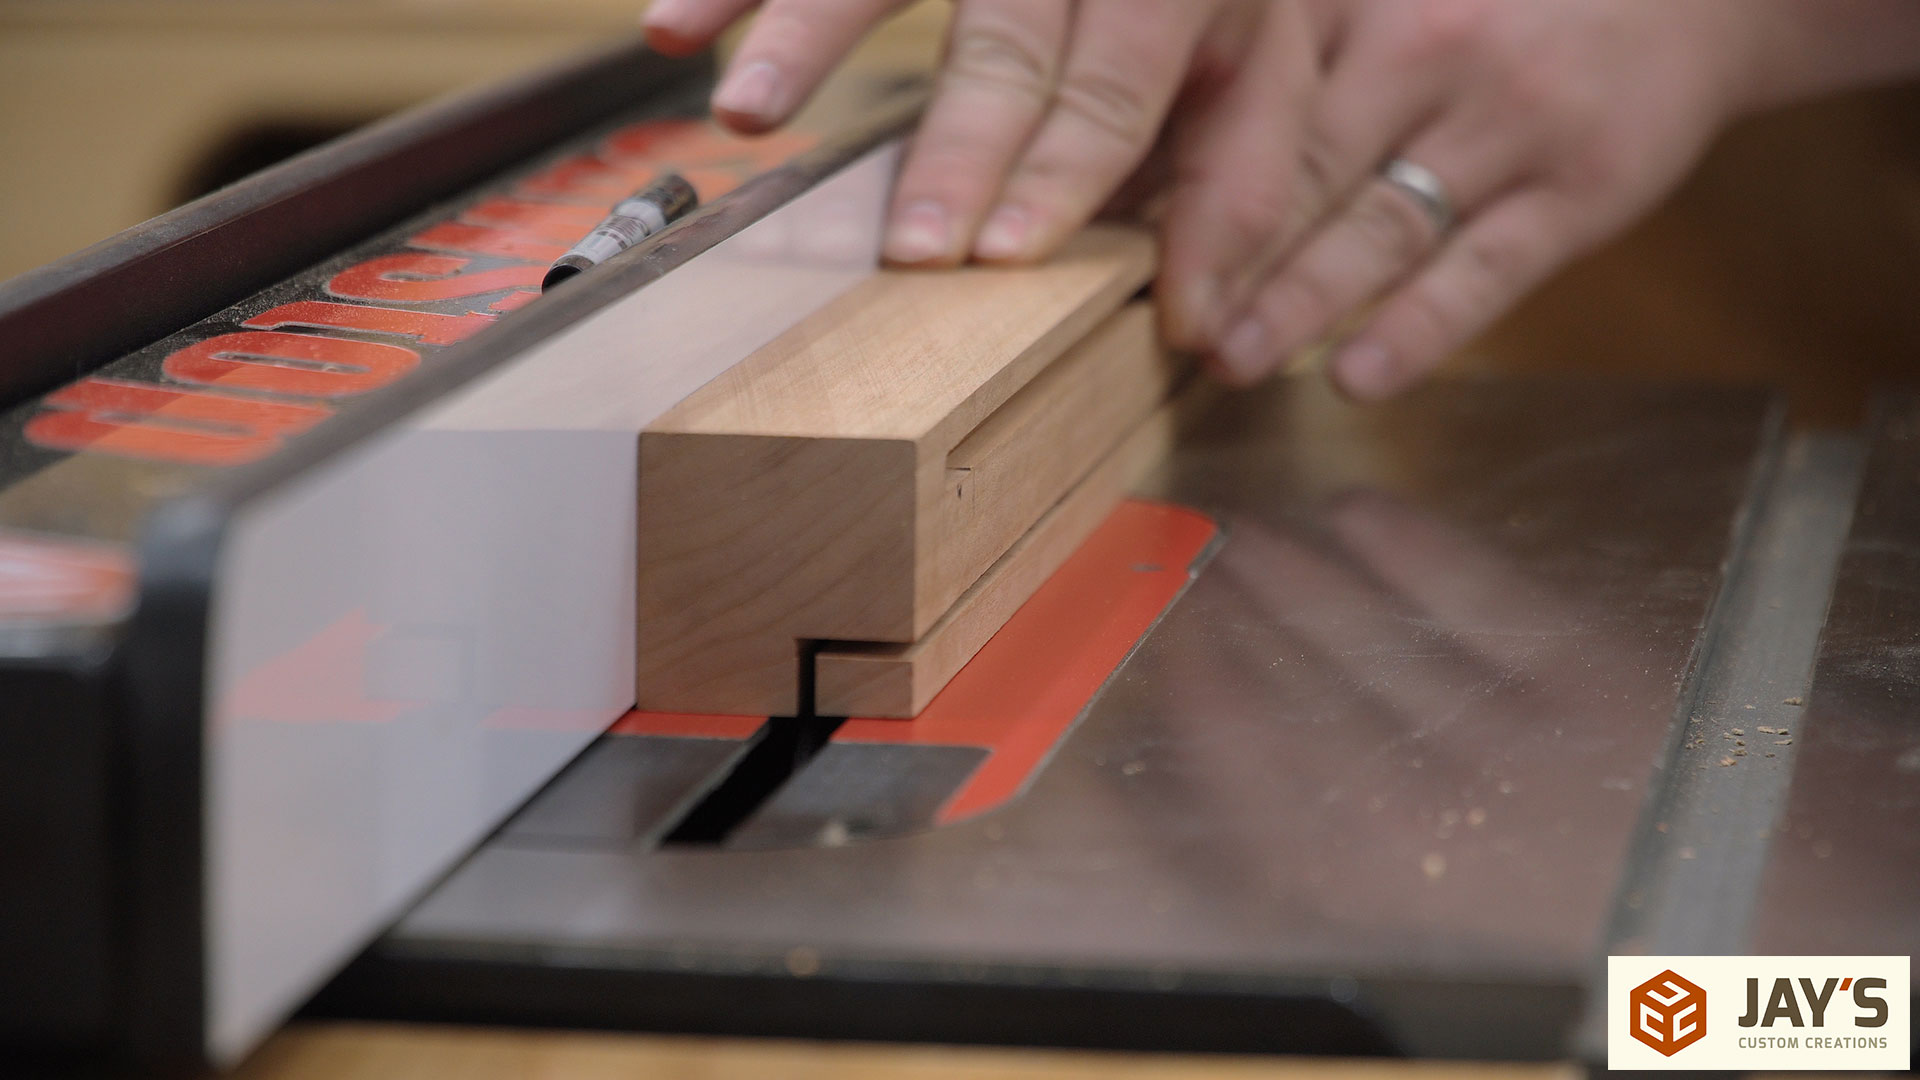
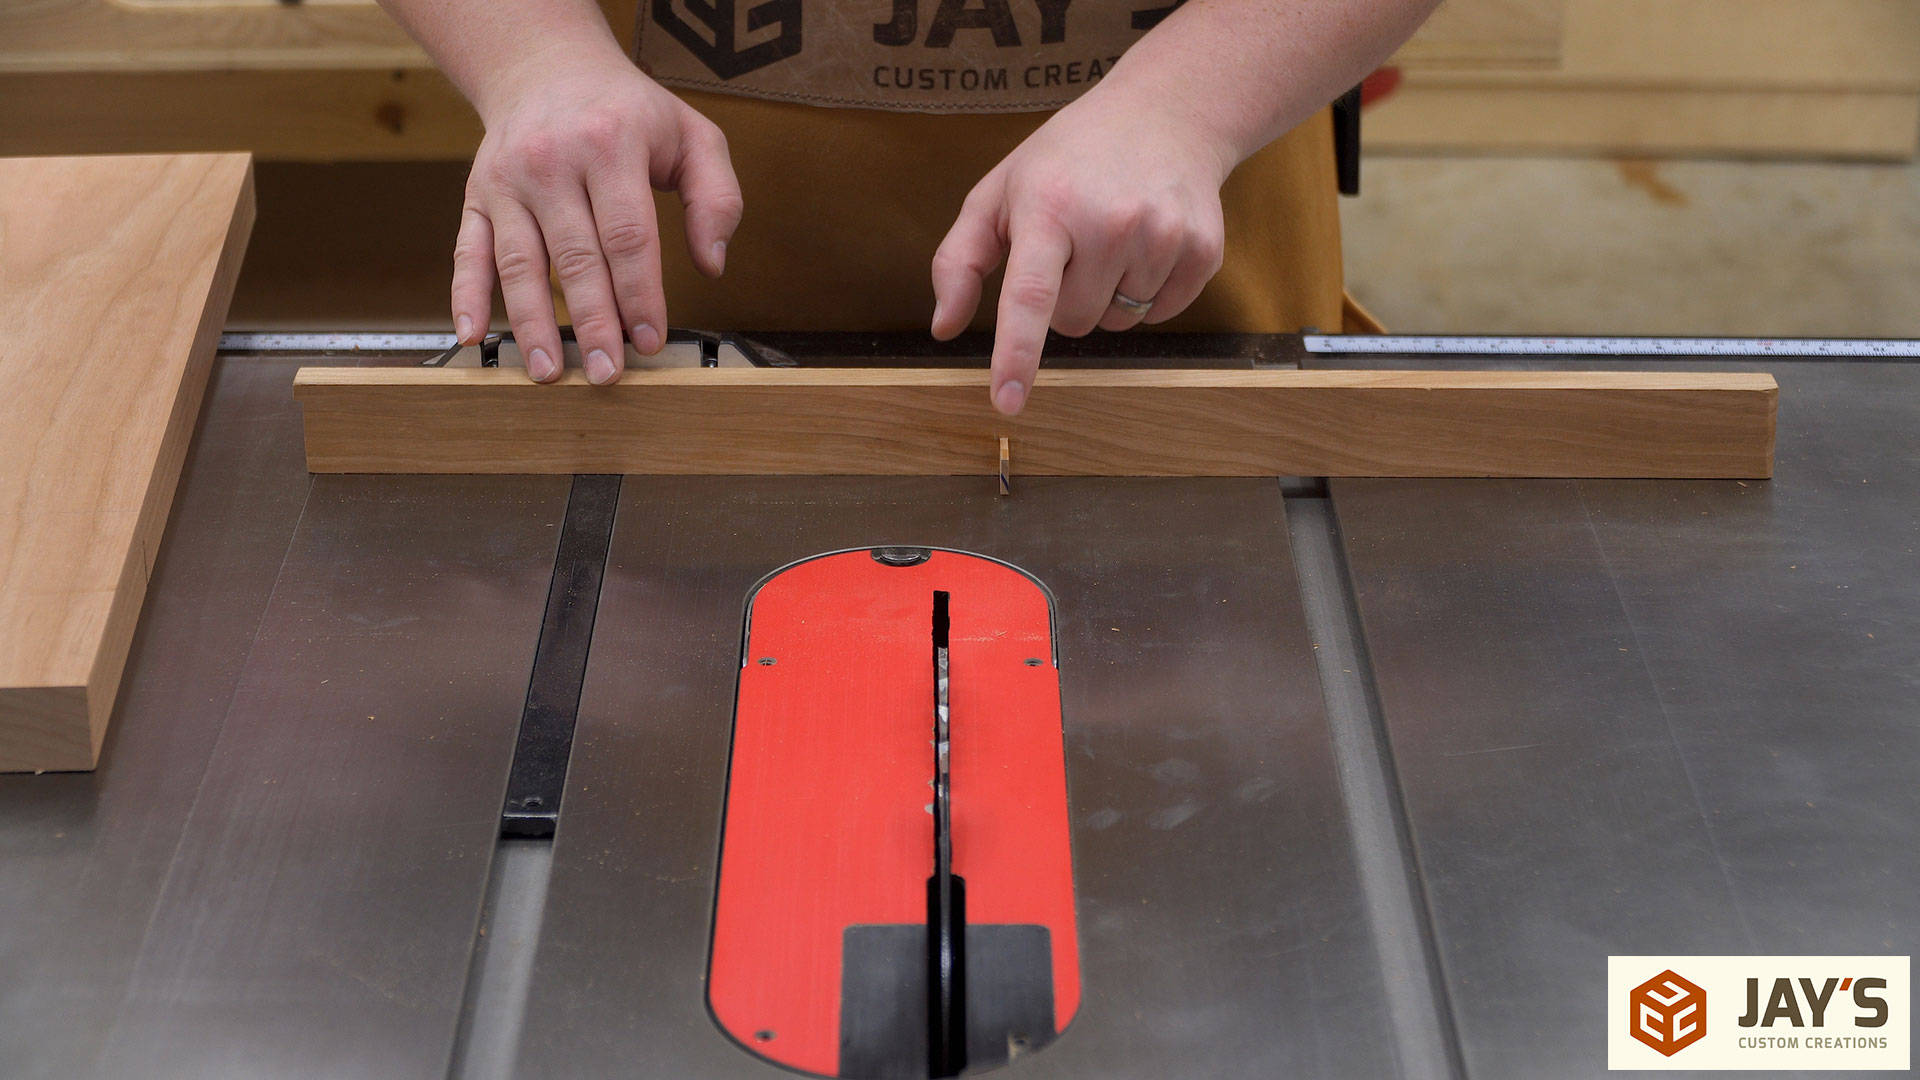
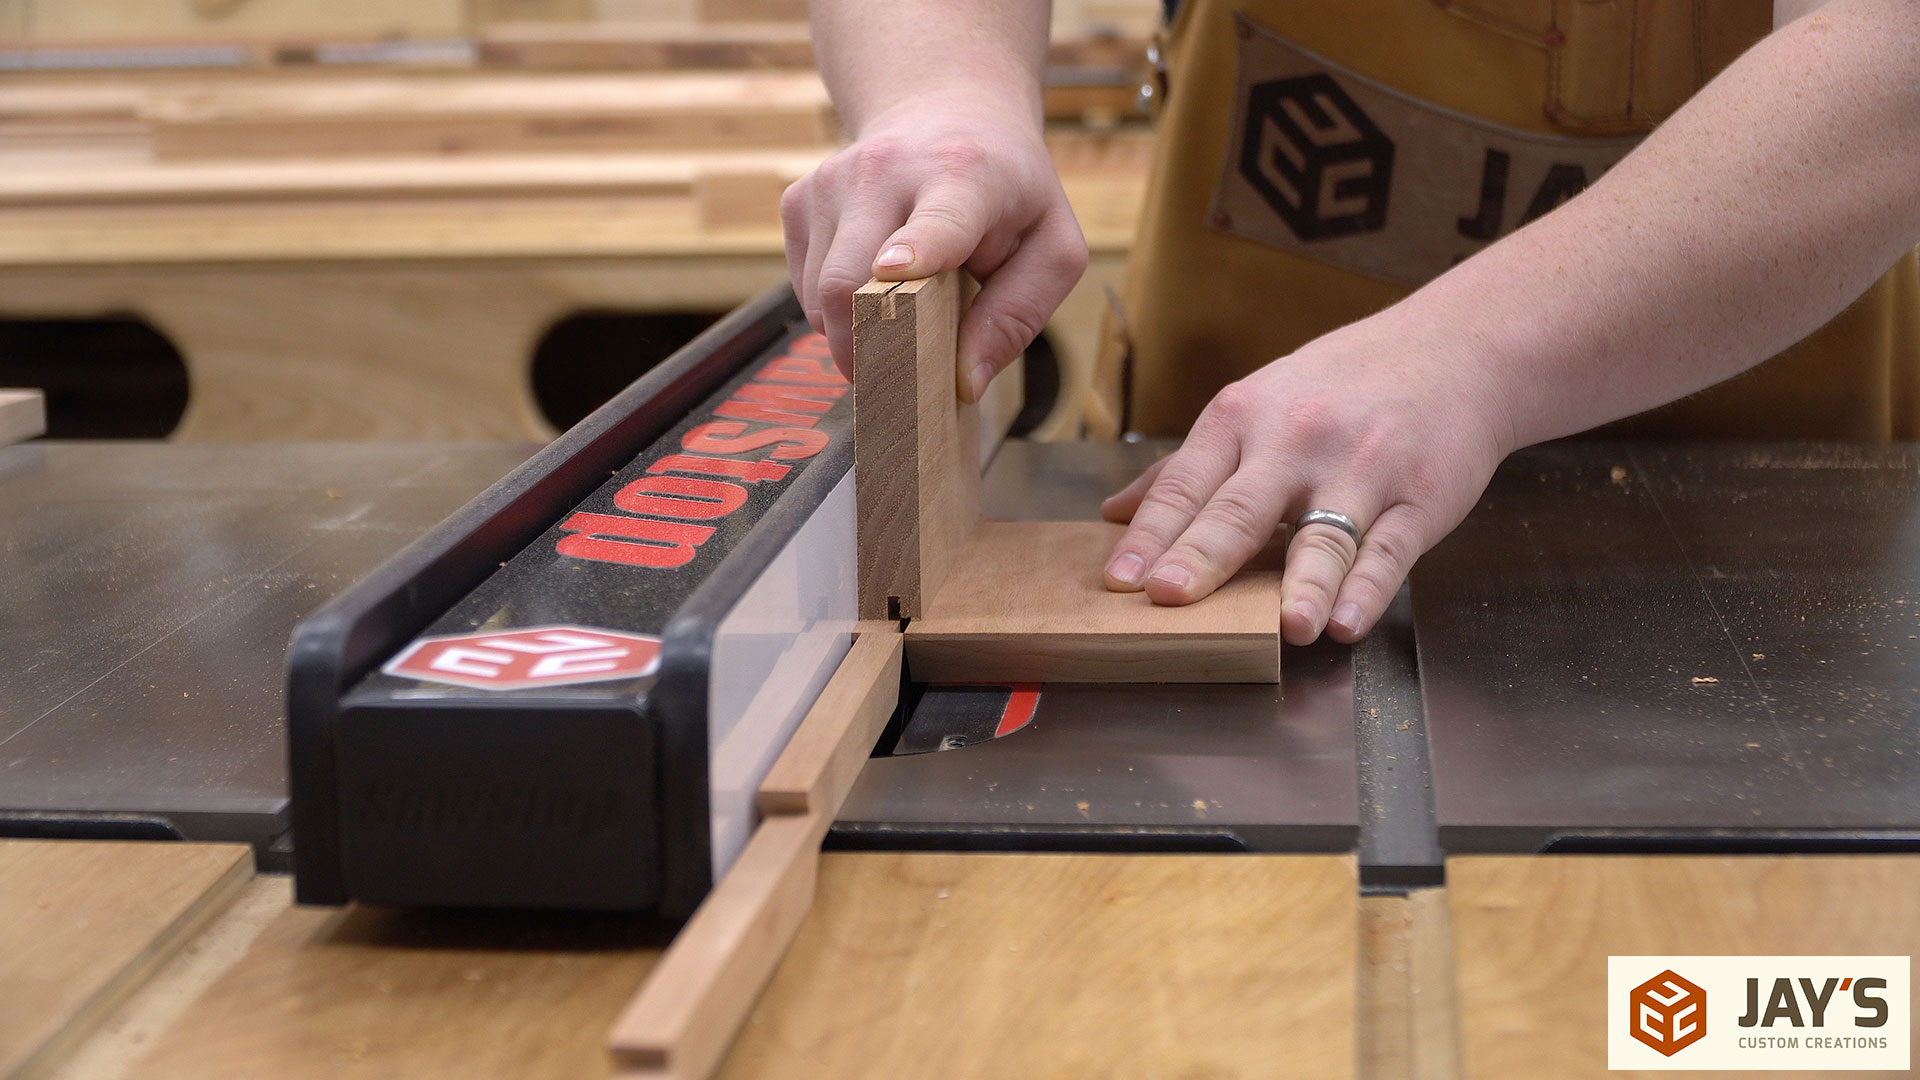
All three connecting rails get a tenon cut on each end and to do so we used the same process as before but because we only had to cut 6 tenons instead of 64 we cut them with a regular table saw blade instead of the dado stack.
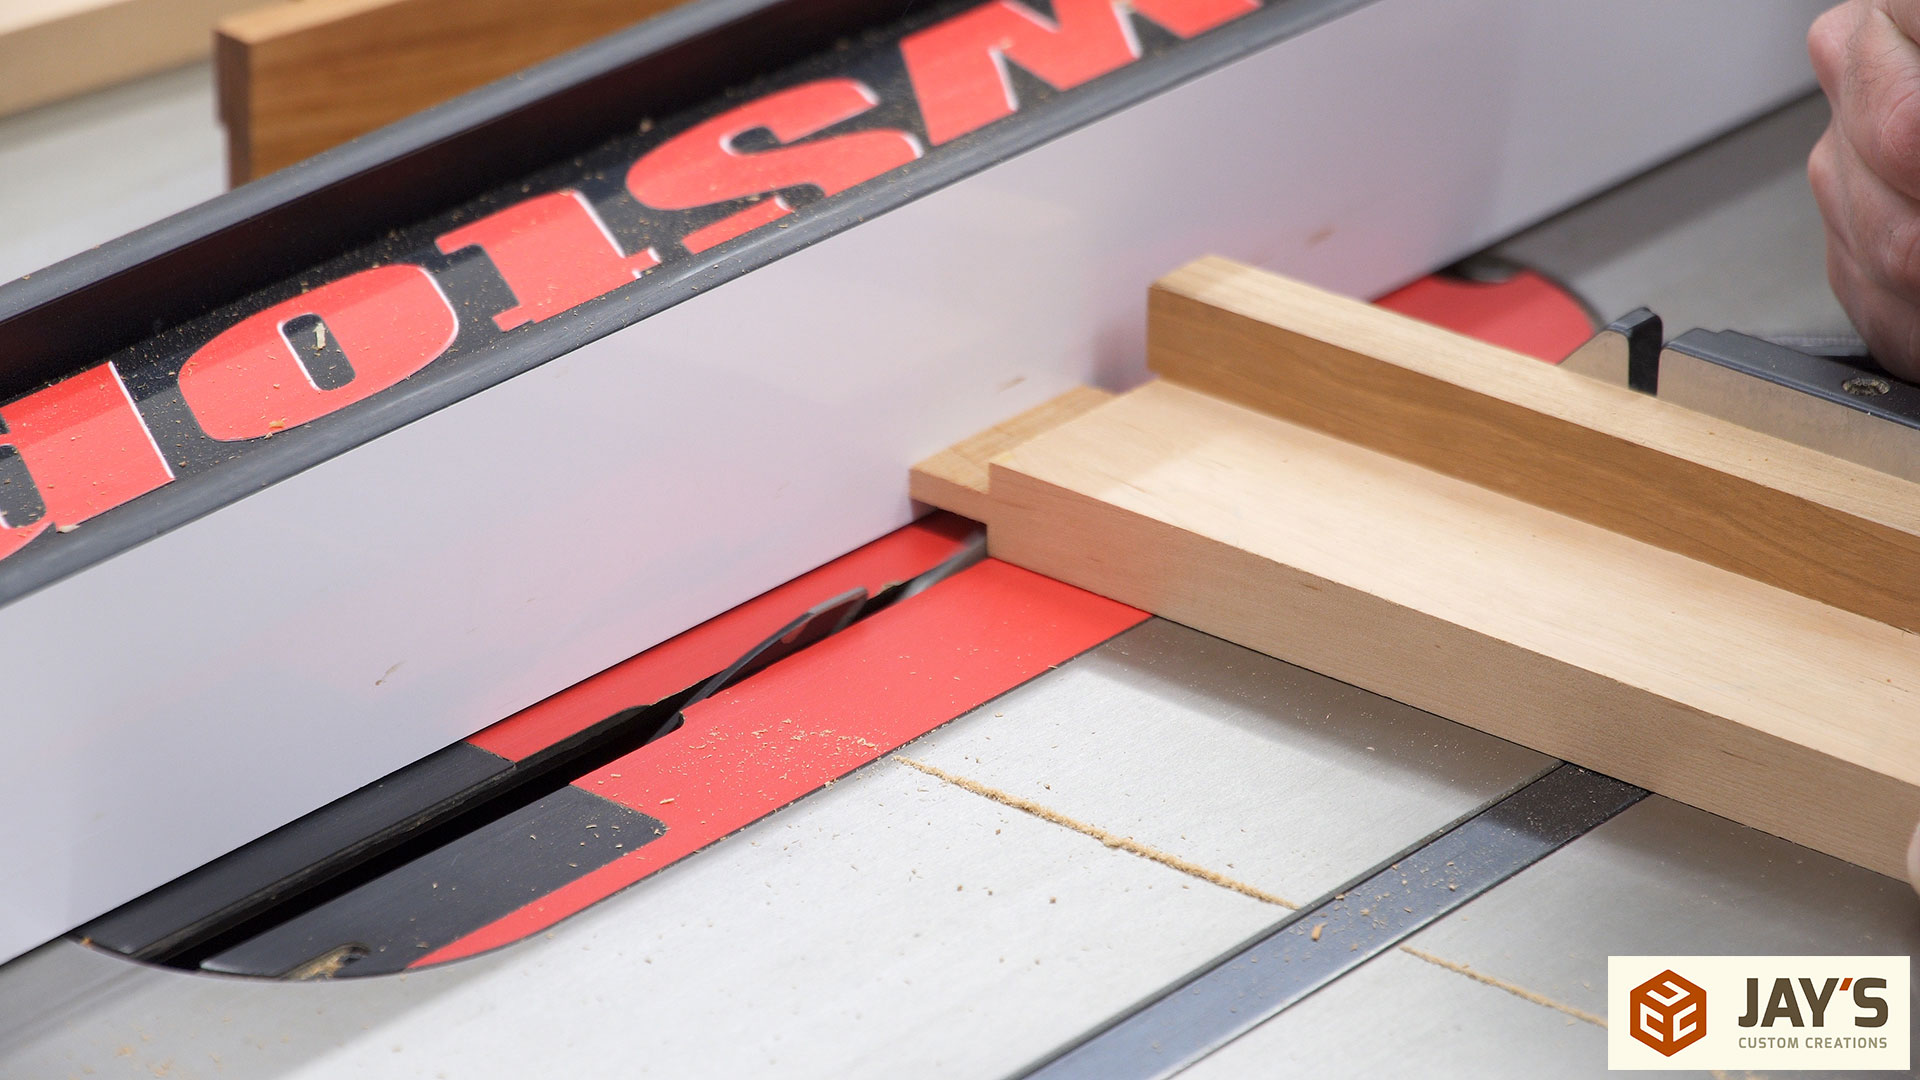
To reduce confusion as well as tool setup time we sized all of these mortise and tenon joints to be the same. The only difference is that the top back rail is wider than the rest and will have a 45 degree angle cut on the bottom. This will be for an integrated french cleat which will make hanging the cabinet much easier.
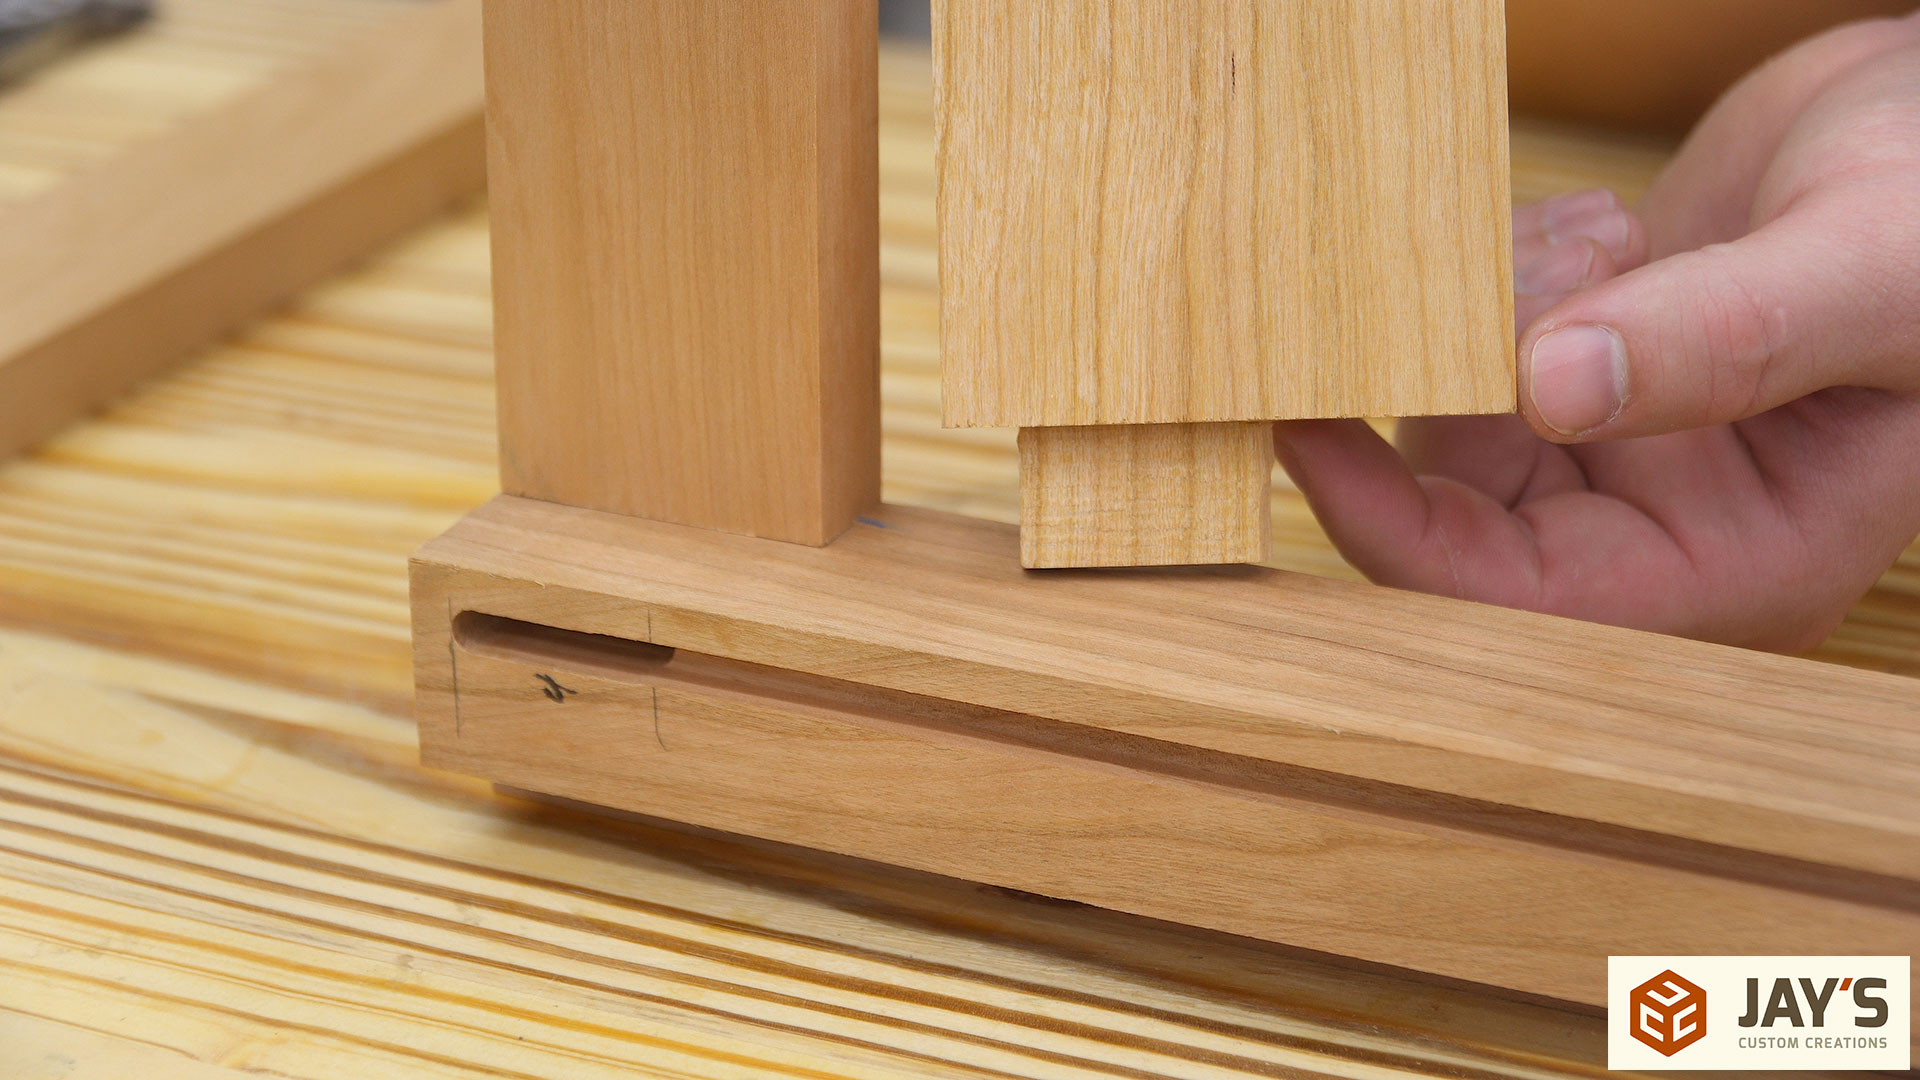
Here you can see the angle cut on that rail as well as a matching cleat piece. The cleat will be attached to the wall and then the cabinet can slide over the cleat.
French cleats are great for hanging heavy items but the 45 degree angle that is cut is often brittle. A few passes with a block plane to remove the sharp edge is all that is needed.
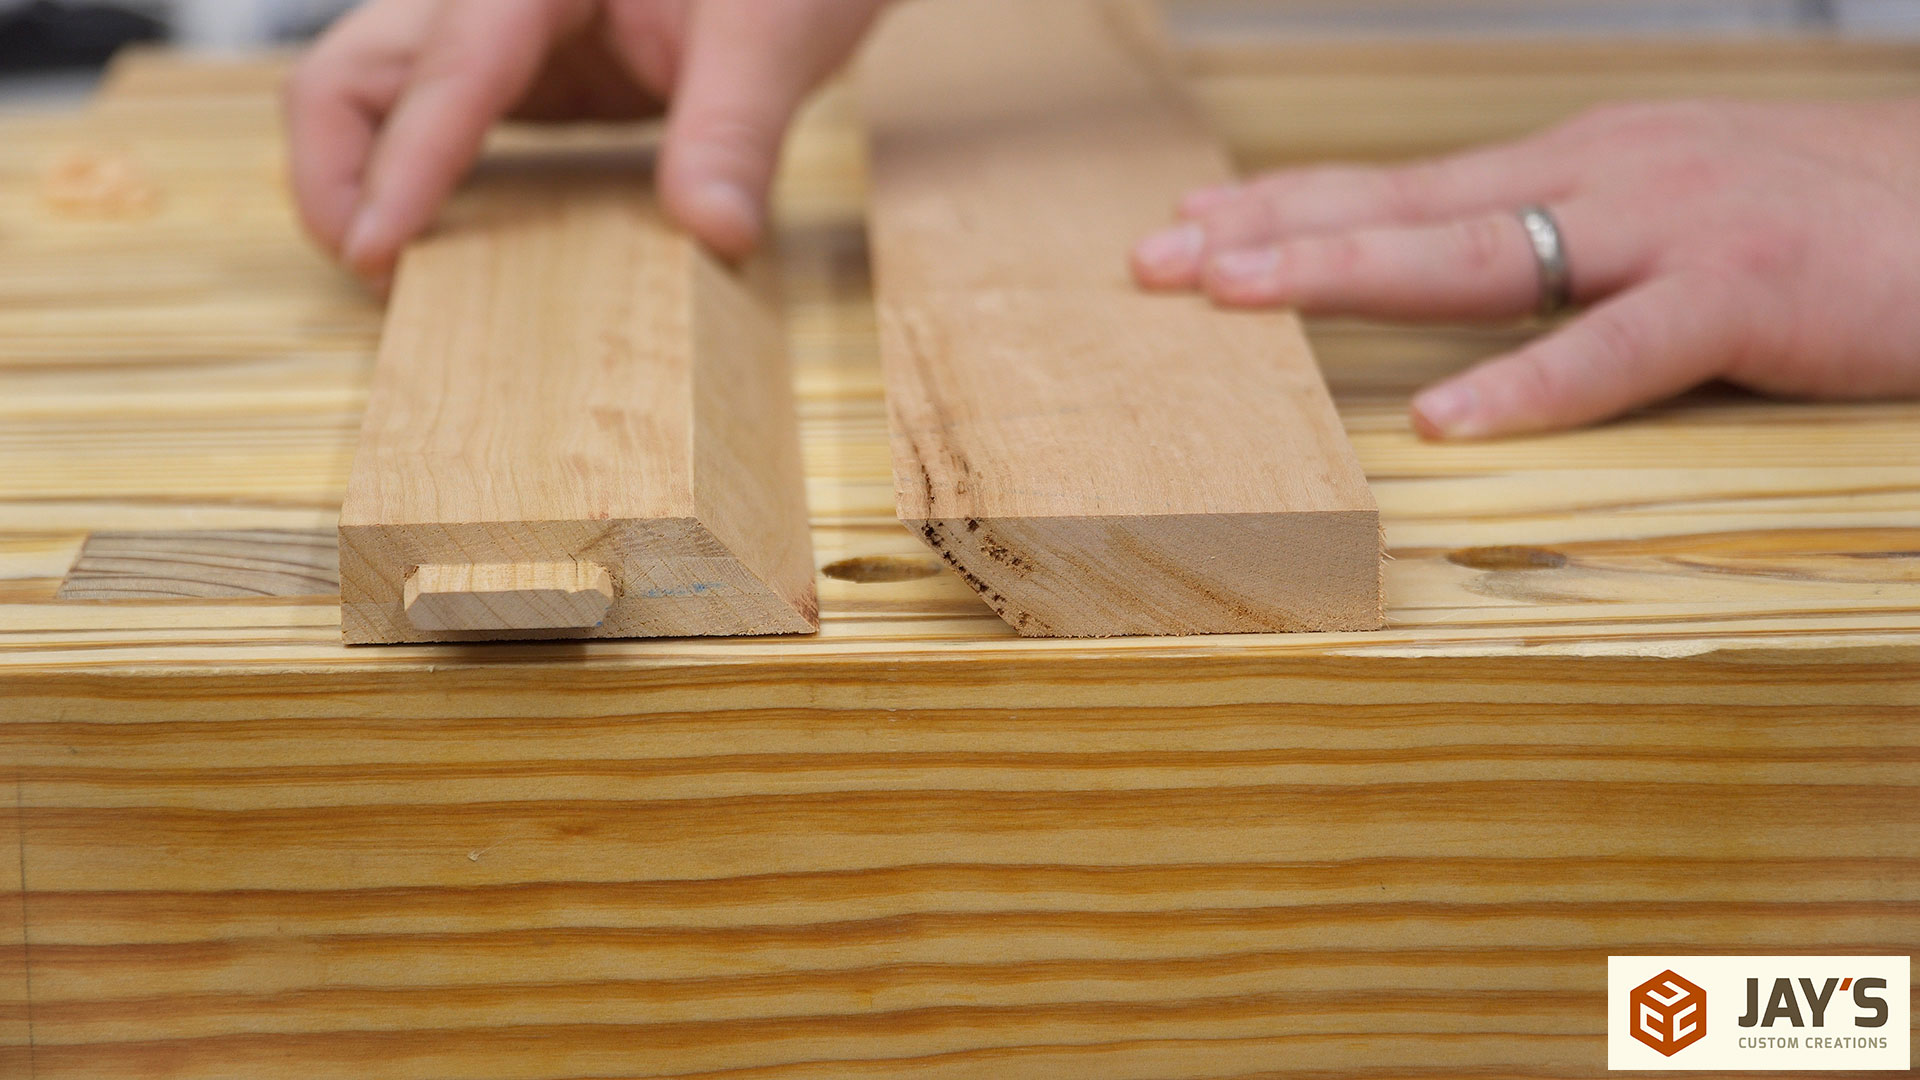
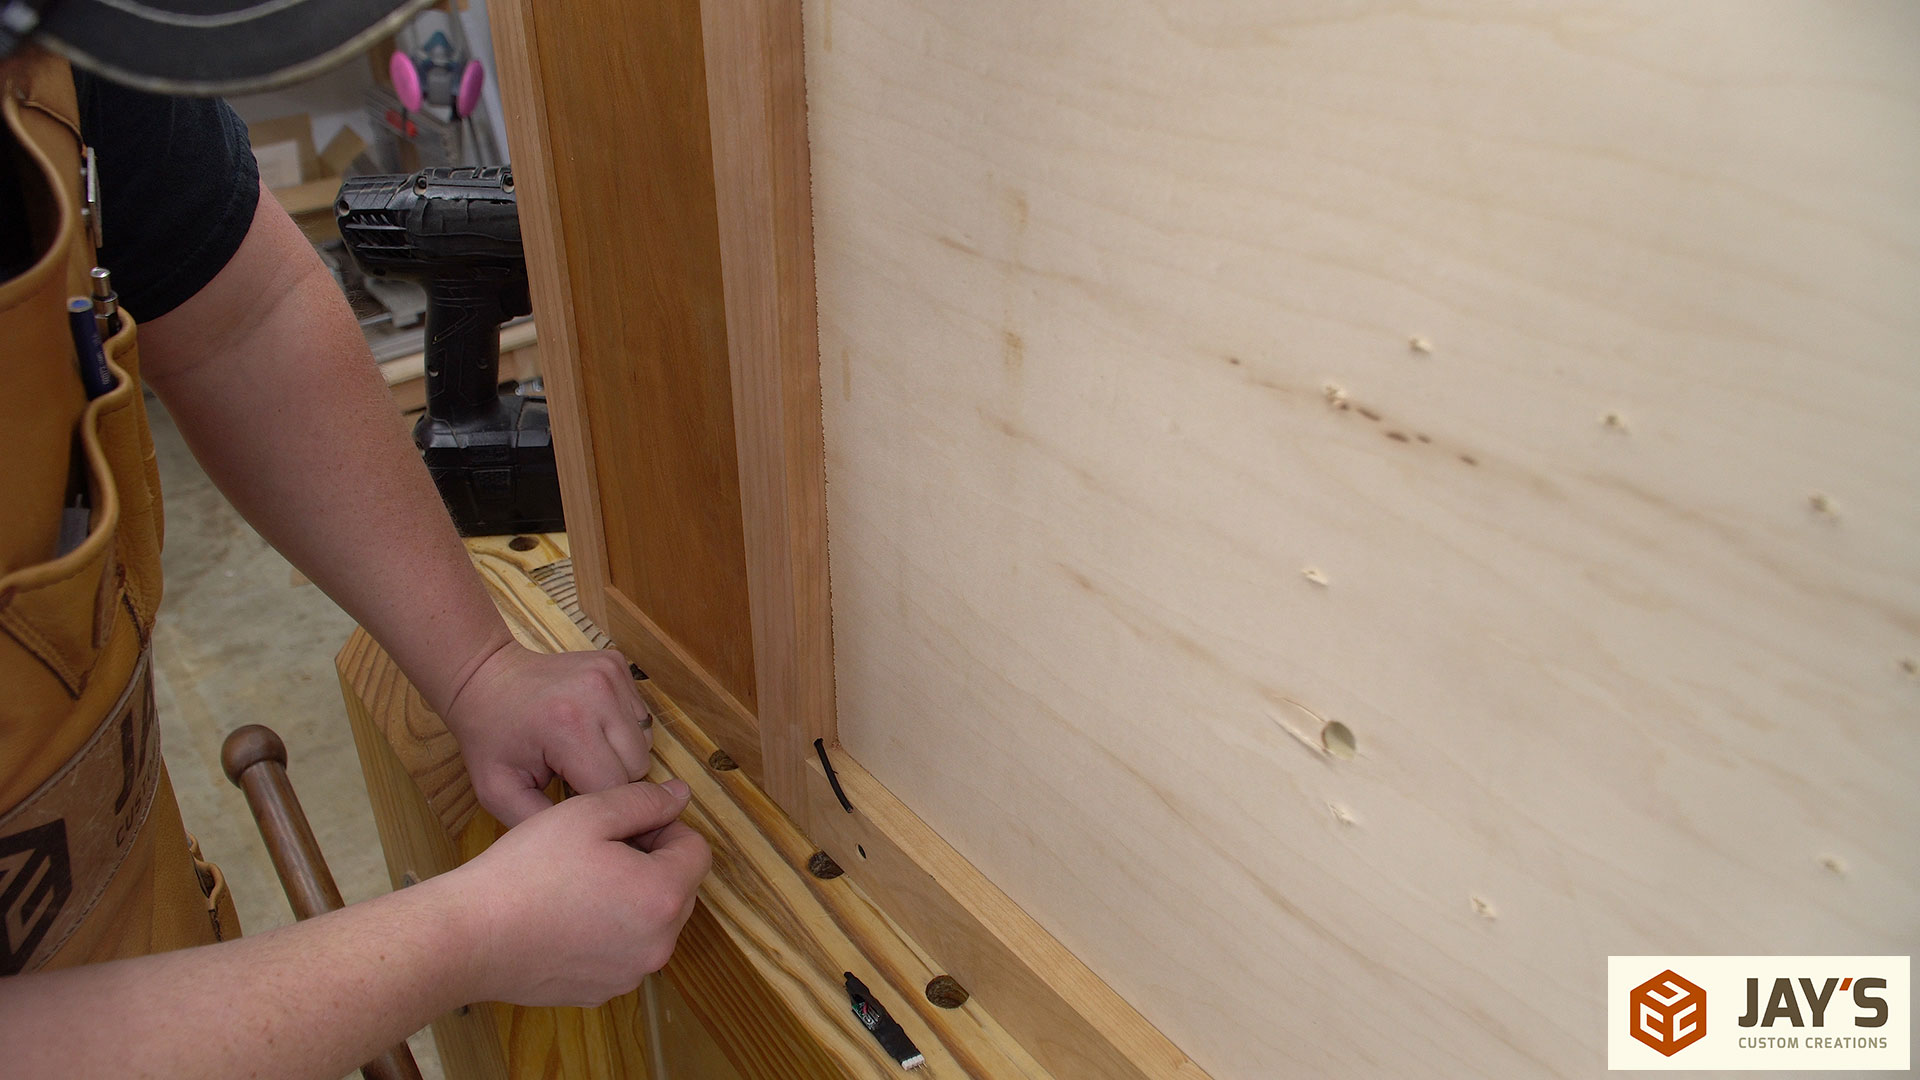
The top and bottom panels are going to be attached with table top hold down clips. You can make your own (commonly called table top buttons) but these are pretty inexpensive and reduce time in the shop making a part that is purely utilitarian.

To use the clips a groove is needed on the inside face of all the rails that will be touching the top and bottom panel. For the clips I used I set the blade to be 1/2” away from the fence and 1/4” deep.
To make the front arch piece I put a few clamps in place on the front rail, bent a long flexible piece of metal around the clamps, and traced the arc. Using a much more consistent material like this will result in a much more consistent bend when compared to wood. There are too many variations in wood to have a consistent bend. However, I didn’t have anything in the shop that was flexible enough to bend over the nails when making the templates for the smaller arches so I went with wood in that case. You can see the difference in bend quality in the video though.
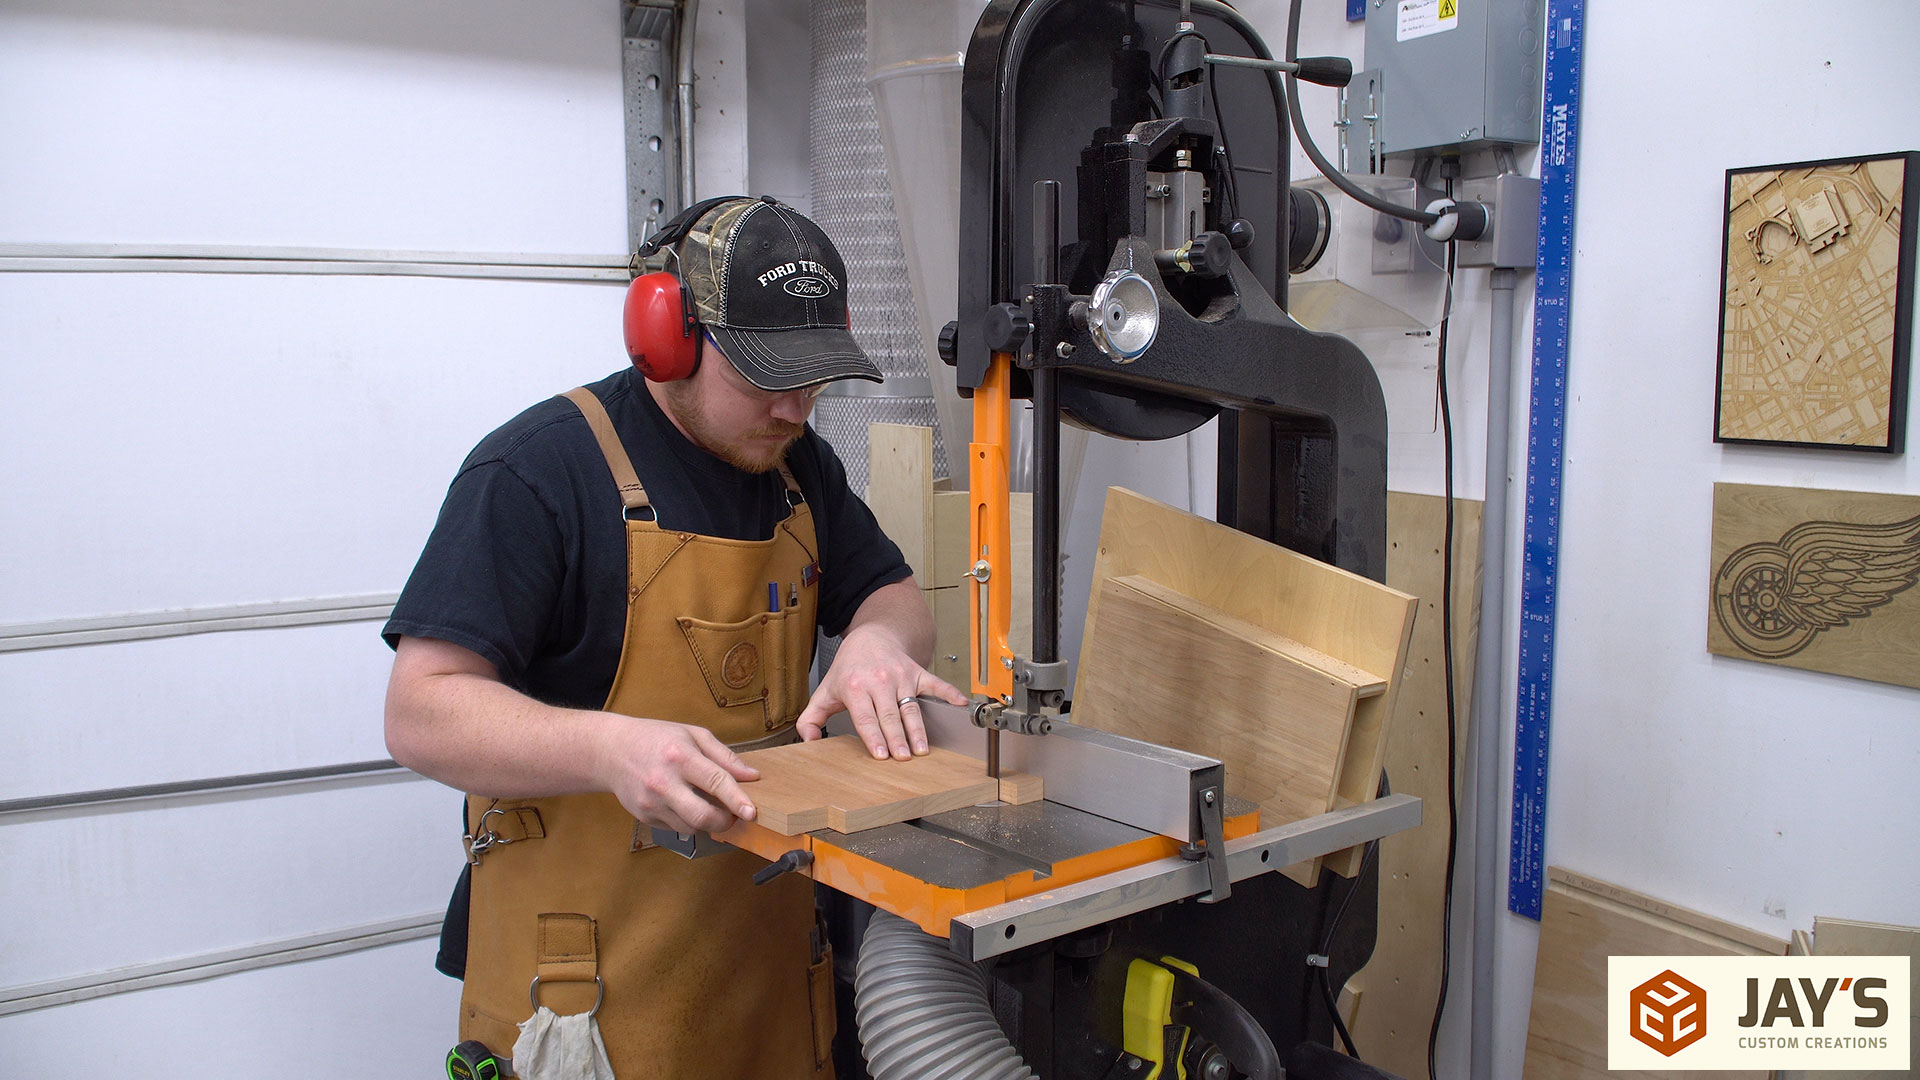
The same process of using the bandsaw to rough out the arc and then a spokeshave to get to the cut line is used for the front arch rail.

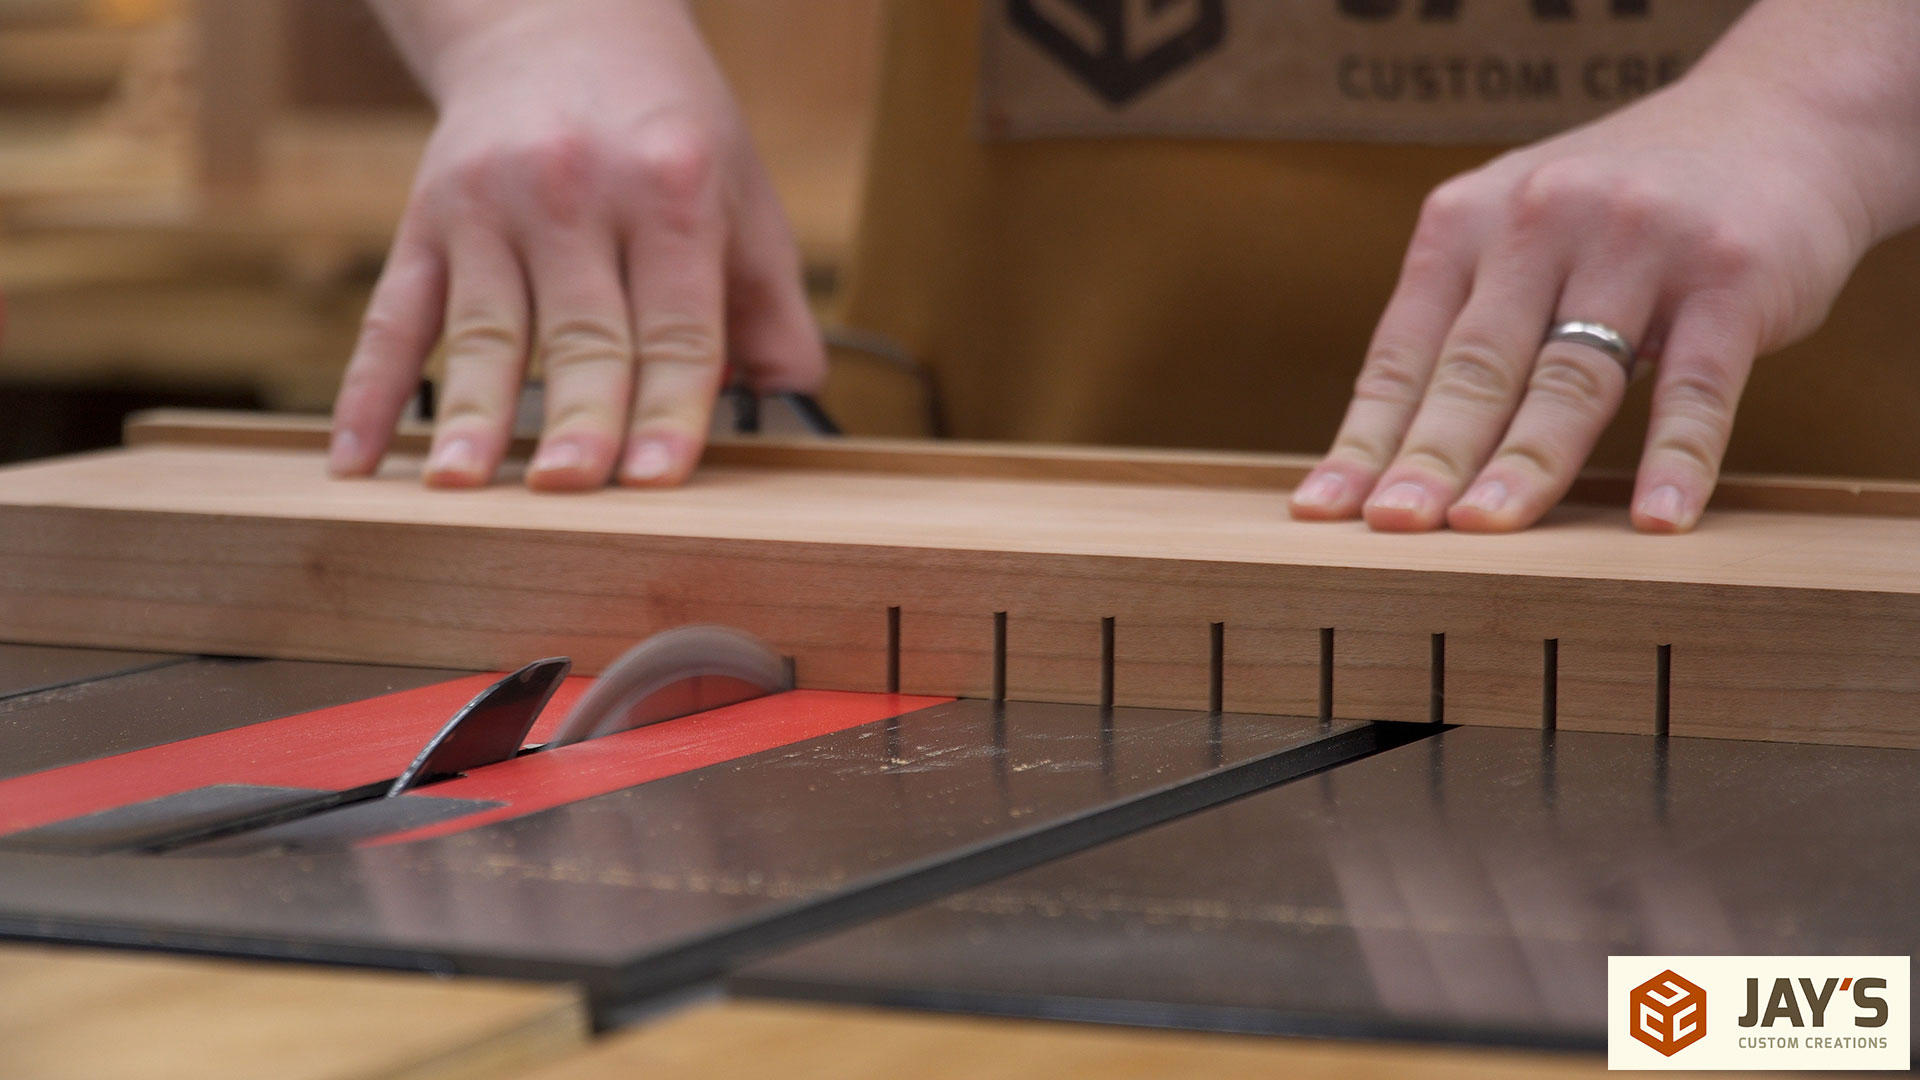
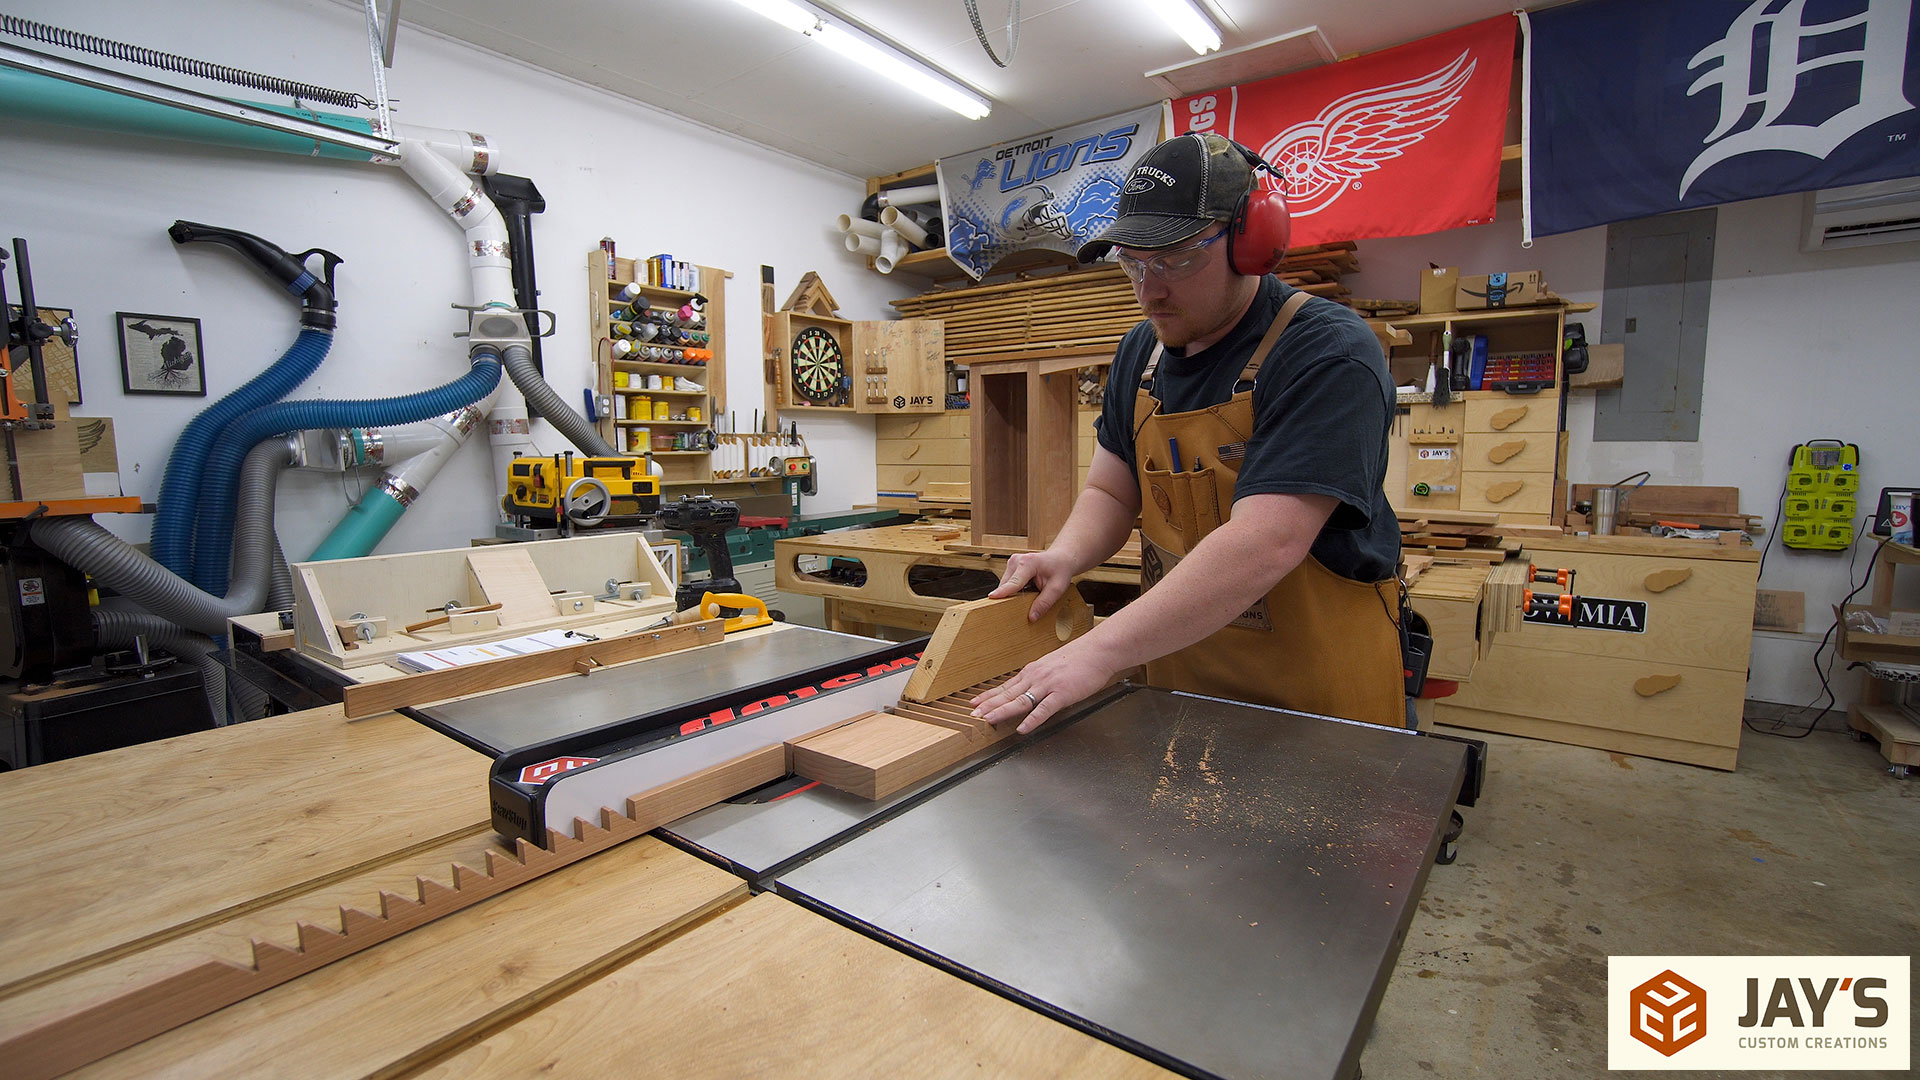
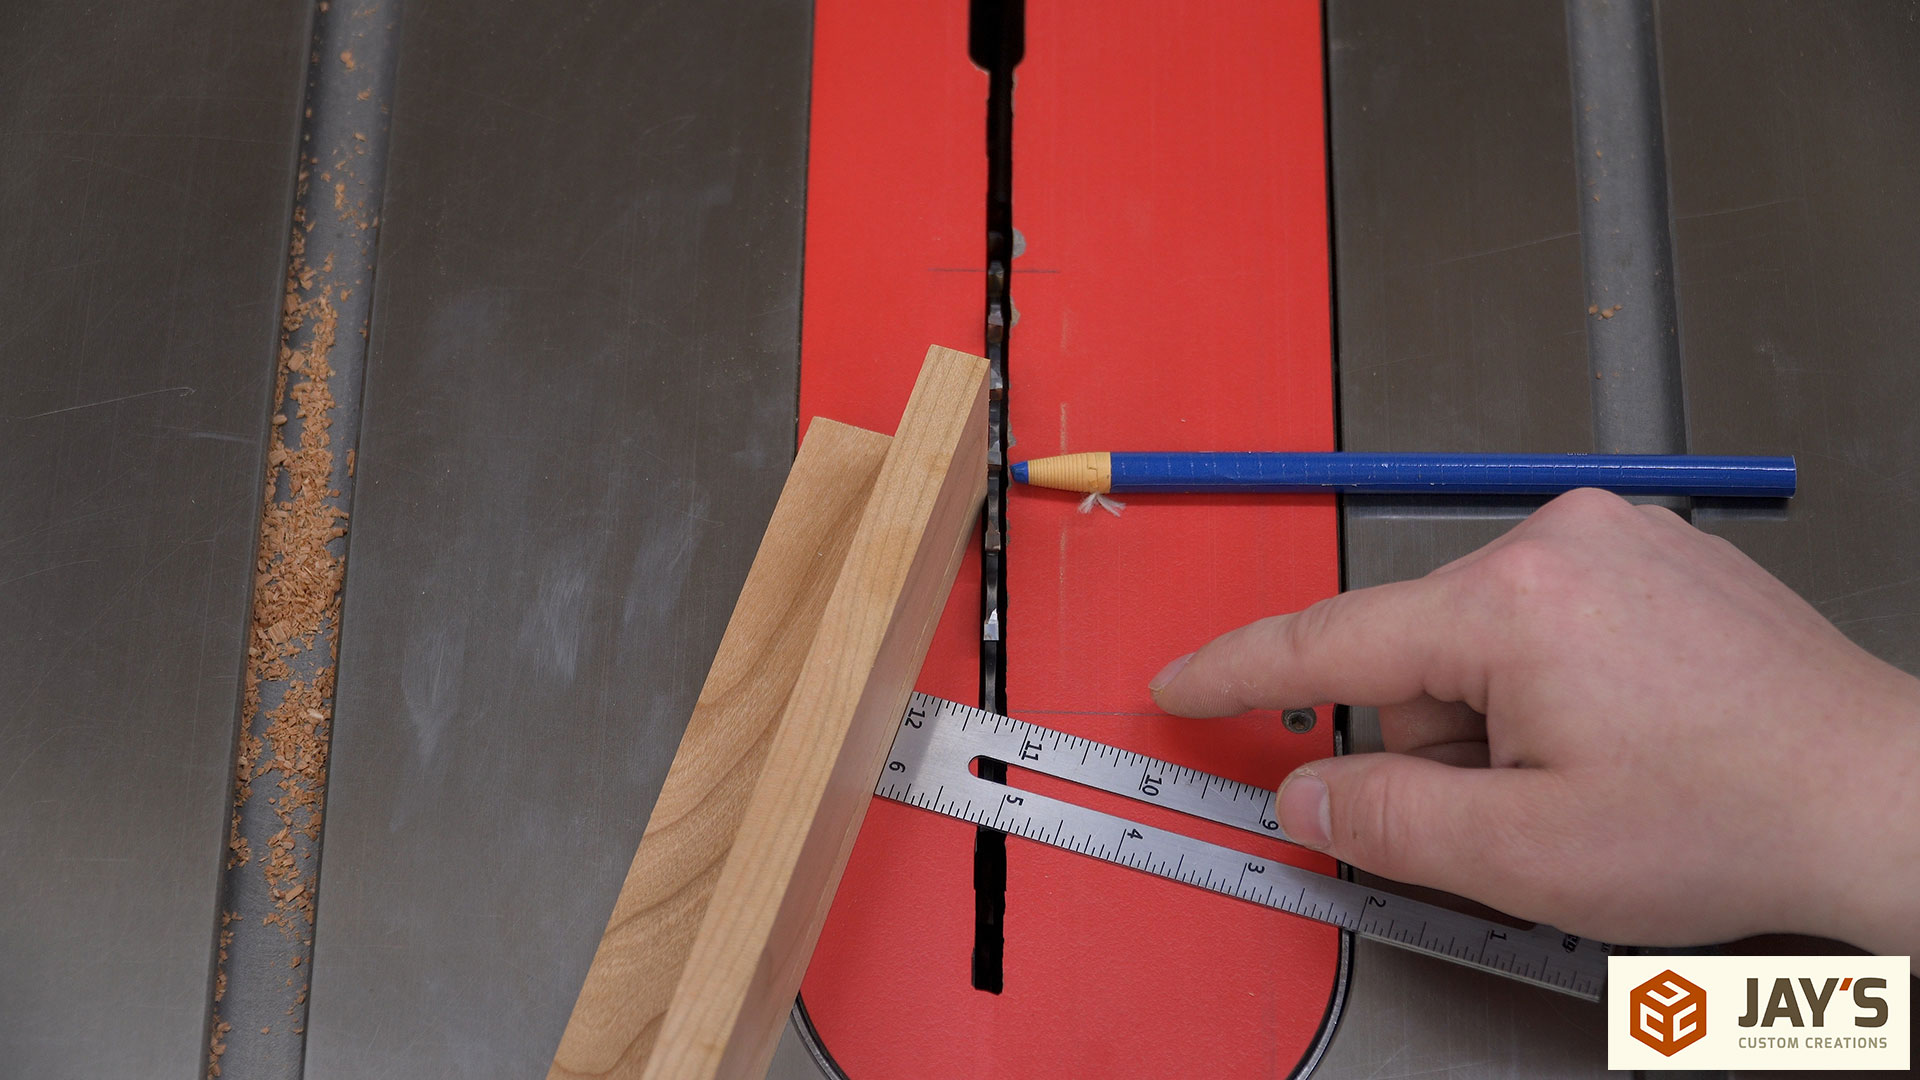
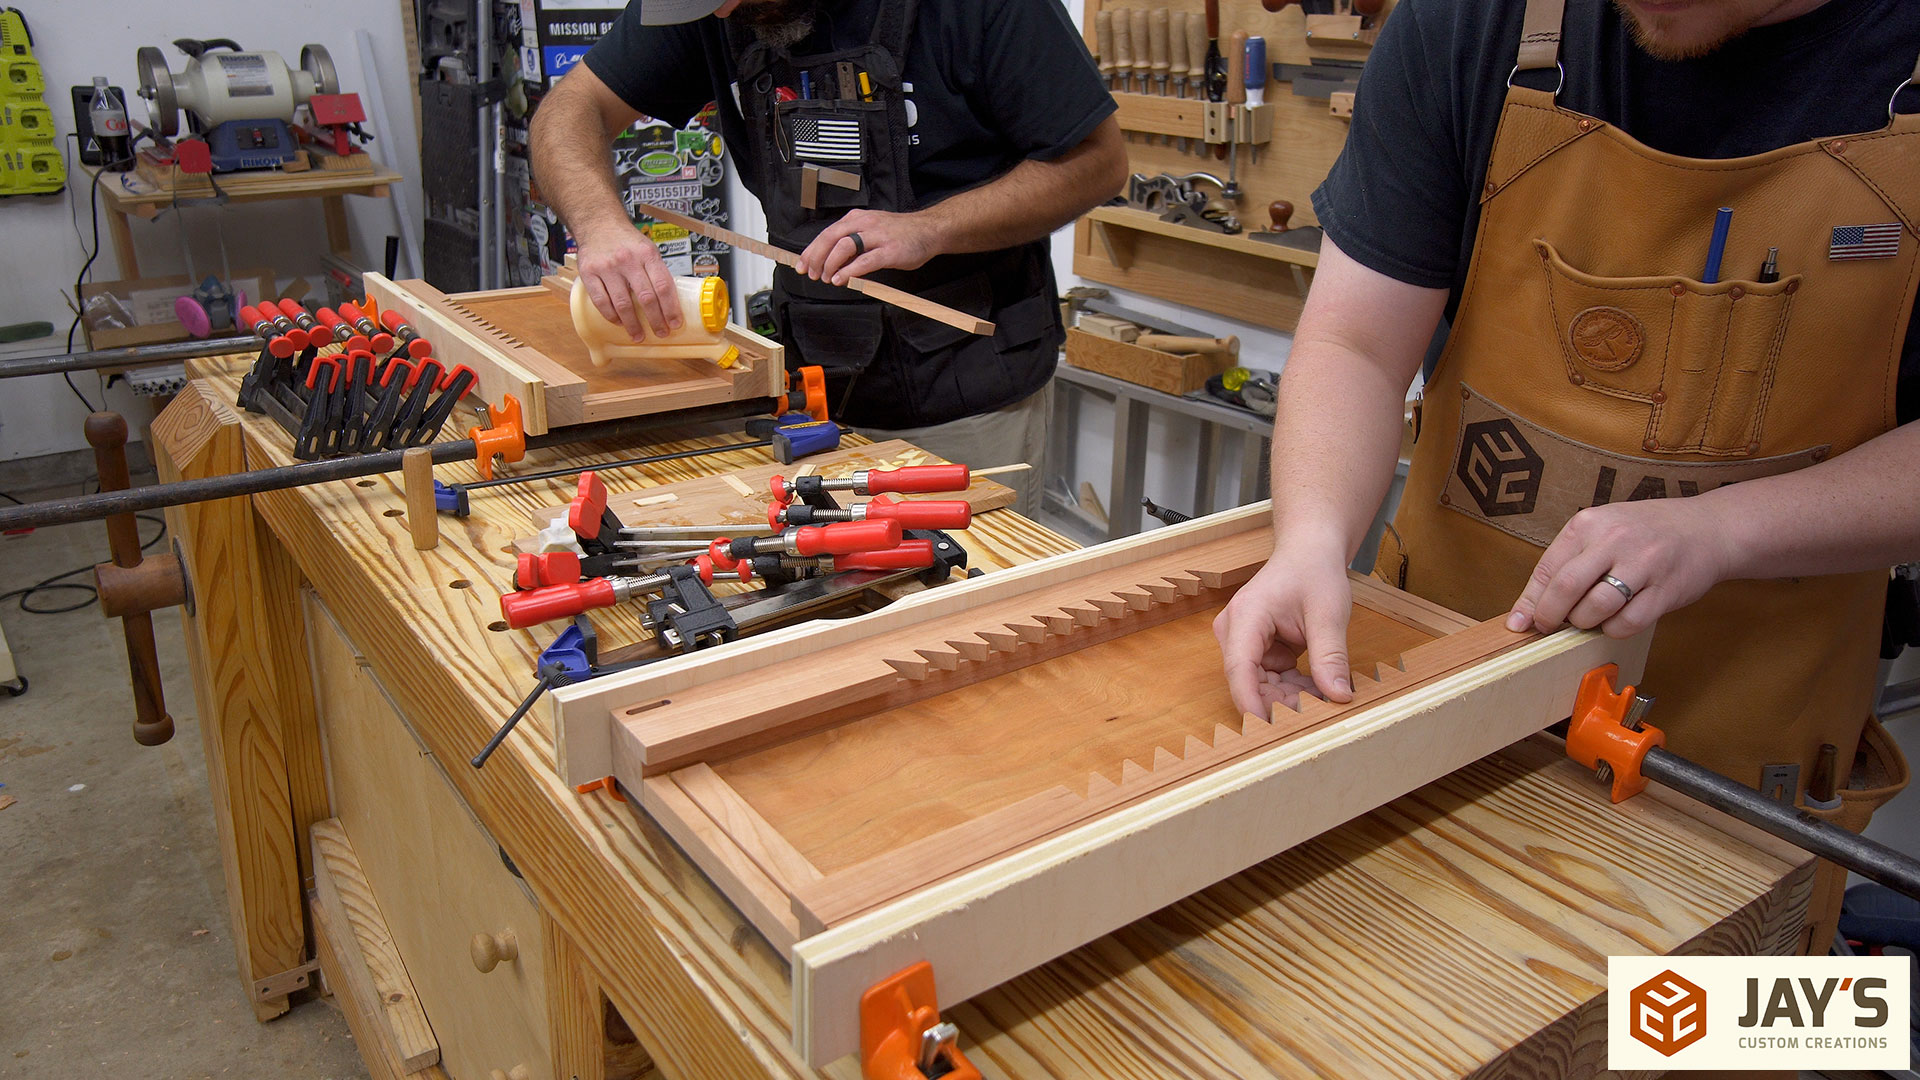
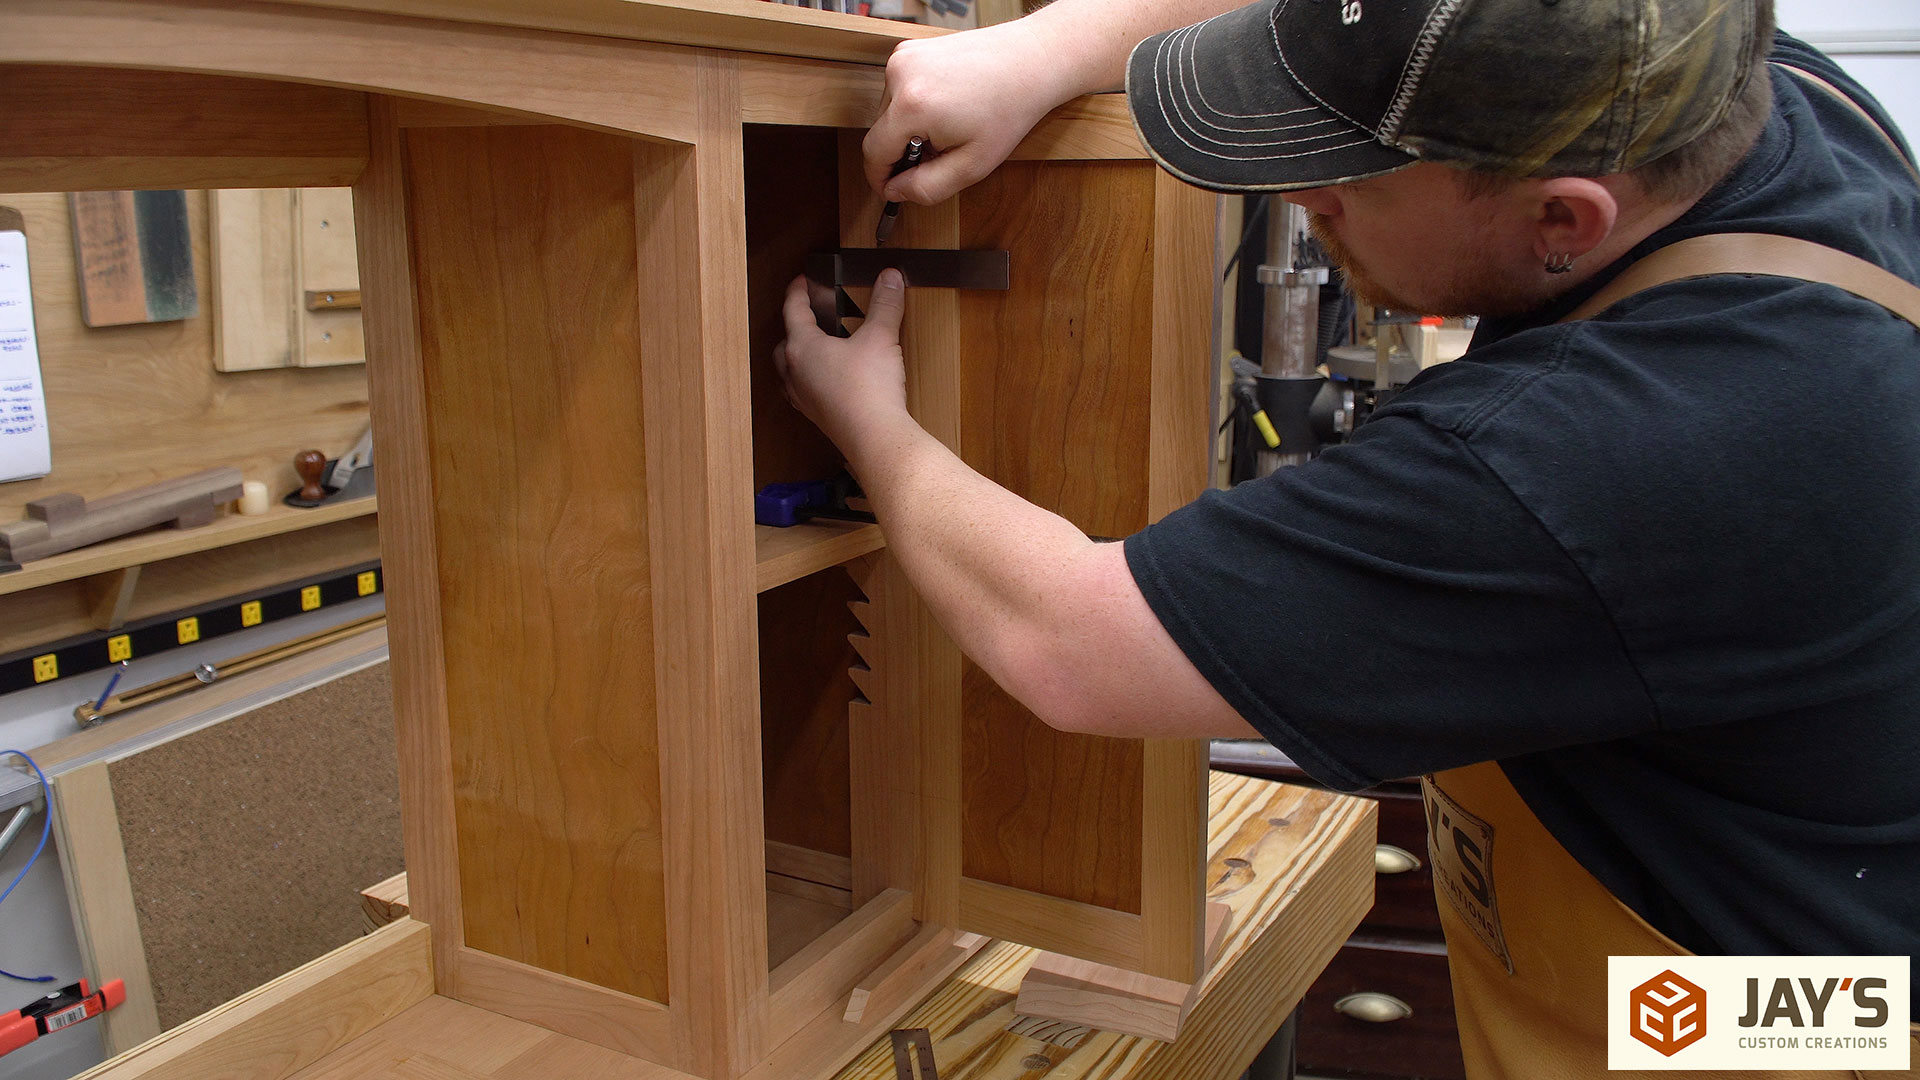
The interior shelves will be adjustable and in the interest of trying something I haven’t tried before I chose to go with a sawtooth shelf bracket system. I needed eight of these hangers for the two cabinets so to cut down on the number of cuts as well as increase the accuracy from piece to piece it makes sense to mill a larger block into the profile needed and then rip eight individual brackets out of the block. Here I’m cutting the first starter kerf into the milled block.
With one kerf cut I added a sacrificial fence to my miter gauge and also added a kerf sized key positioned one inch away from the blade. This gives me a jig that works the same way a box joint works.
The first kerf on the block of wood is placed onto the kerf sized key and a new kerf is cut. The process is repeated to establish all of the 90 degree cuts needed for the sawtooth brackets.
To make the angled cuts the blade is tilted to 45 degrees and the miter gauge fence is shifted so that the angled cut intersects the bottom of the vertical cuts. To dial in the placement of the fence I used a scrap block against the side of the blade to extend the blade position to my work piece. This gives me the exact location of the blade and allows me to dial in the fence position without making any cuts.
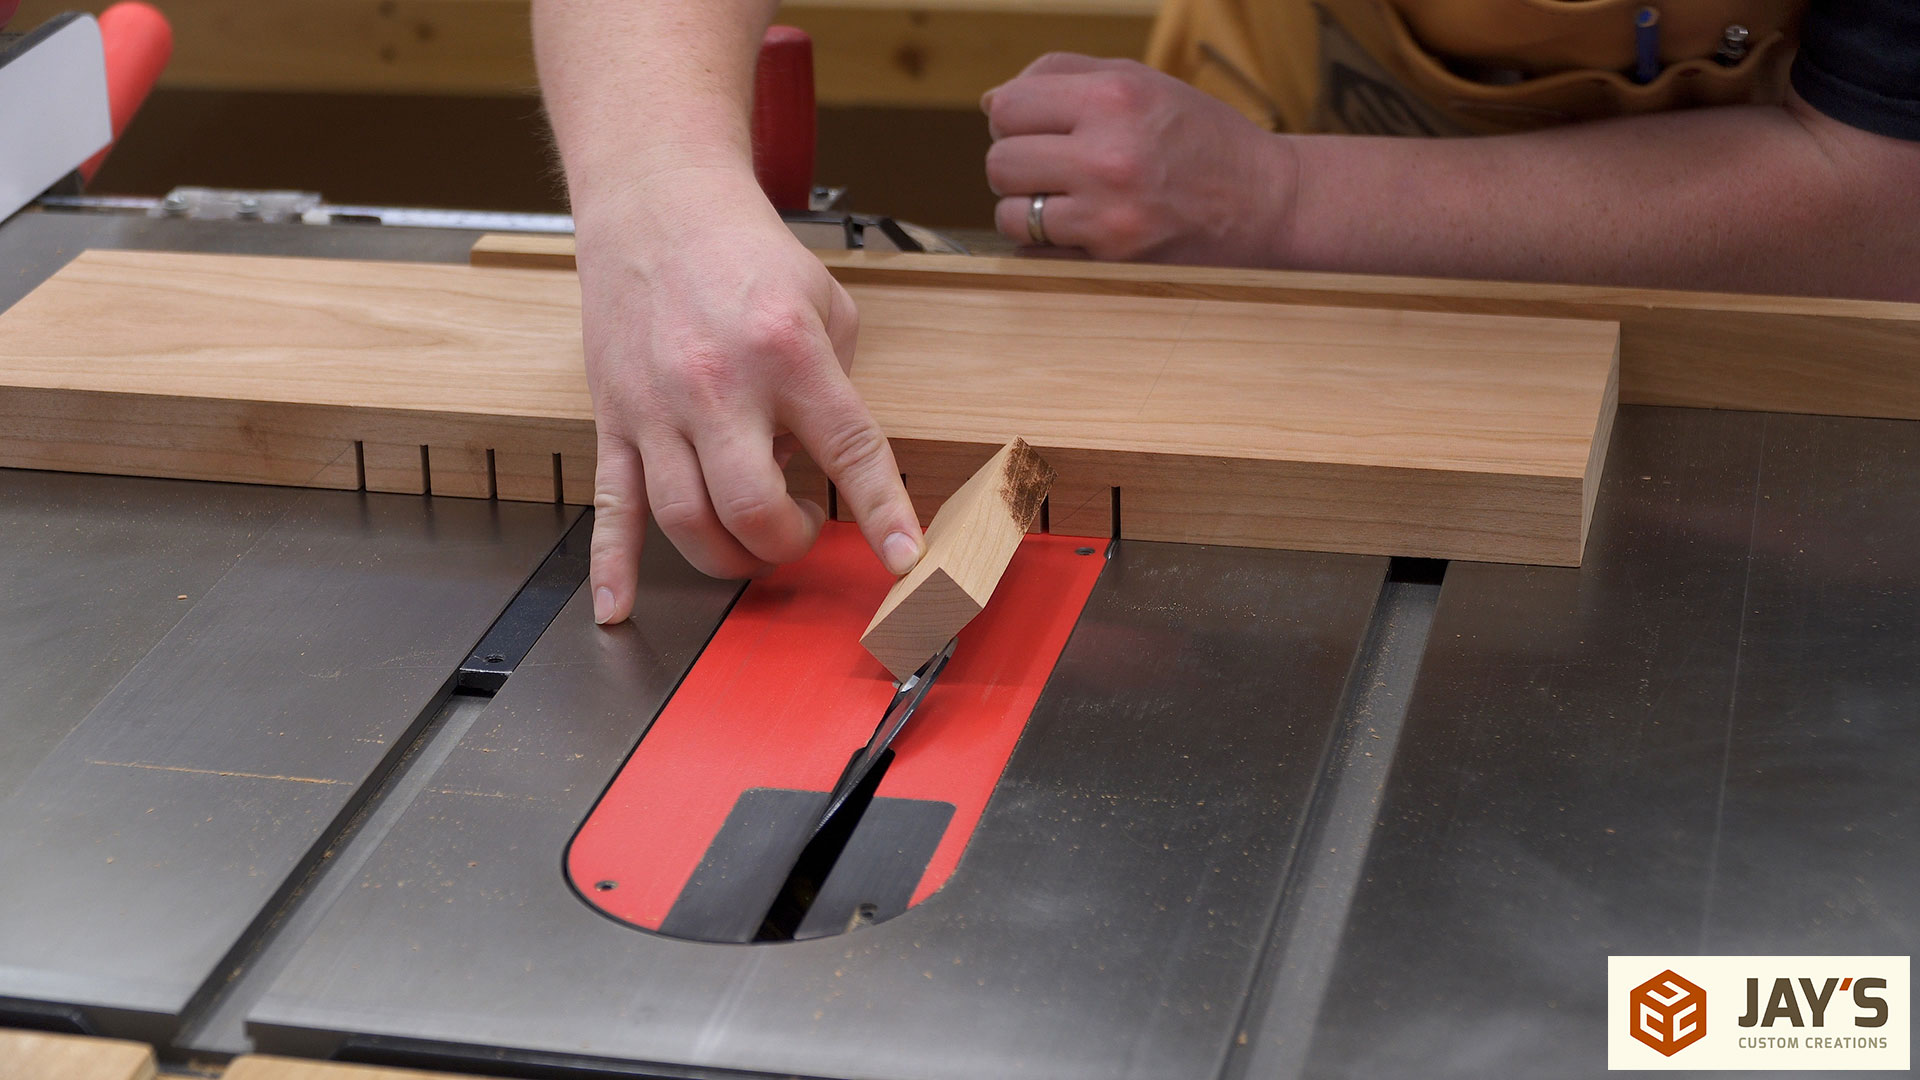
Due to the fact that the last setup created another kerf cut in the sacrificial fence, when the 45 degree angle is cut into the fence a small triangle of supporting material is cut out on the fence. I had to glue this back in place before making these angled cuts so that there would be material in the fence to push the waste piece forward and past the blade and not get trapped between the blade and the rest of the material.
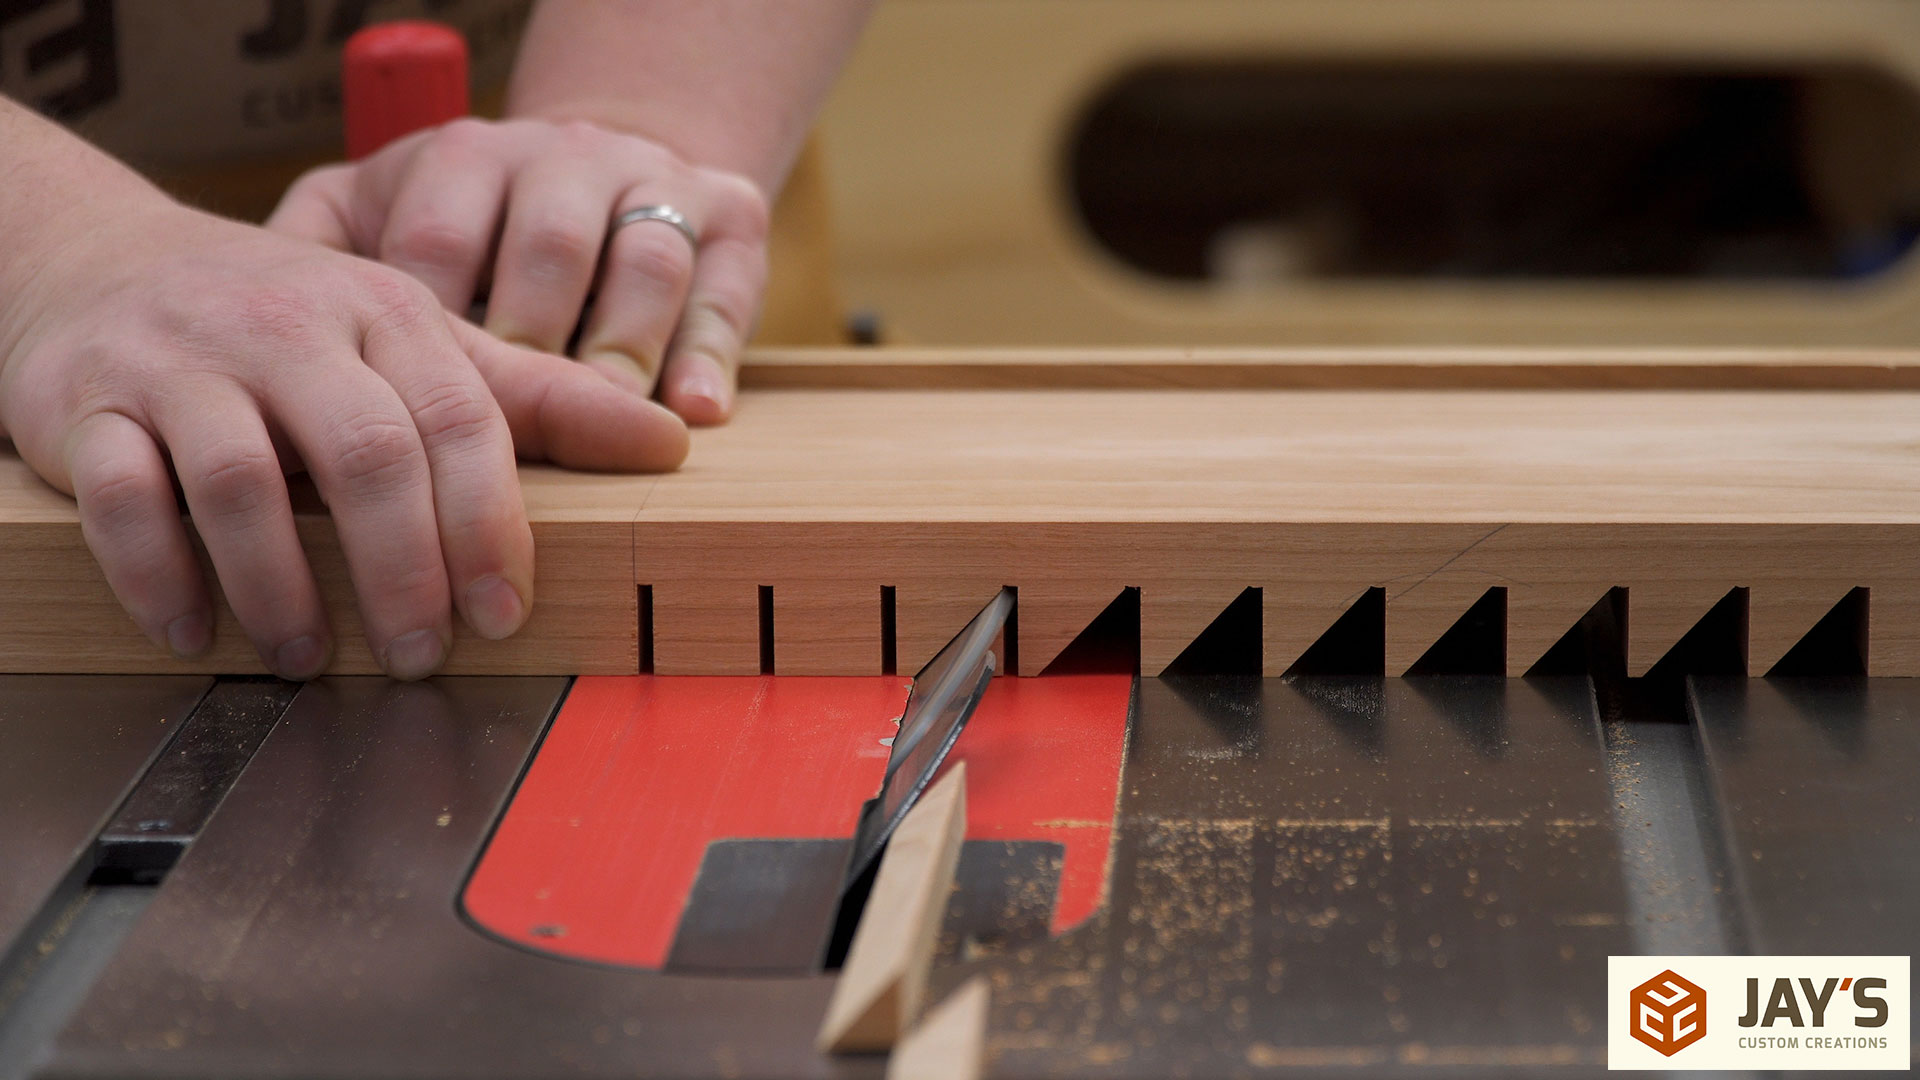
The jig will work with every angled cut except one. The last angled cut needs to be completed without the miter gauge fence due to the fact that there is no kerf to accurately reference off of the fence key. To position this cut accurately I determined the saw fence position with the block in its last position on the key and moved the fence by one inch, which was the spacing for each tooth in the block. I also used a spacer block between the fence and the work piece in this case. Then the miter gauge fence is removed and the block is referenced off of the stop block and saw fence to make the final angled cut. This should work perfectly so long as you offset the saw fence the same distance as the key-to-blade offset.
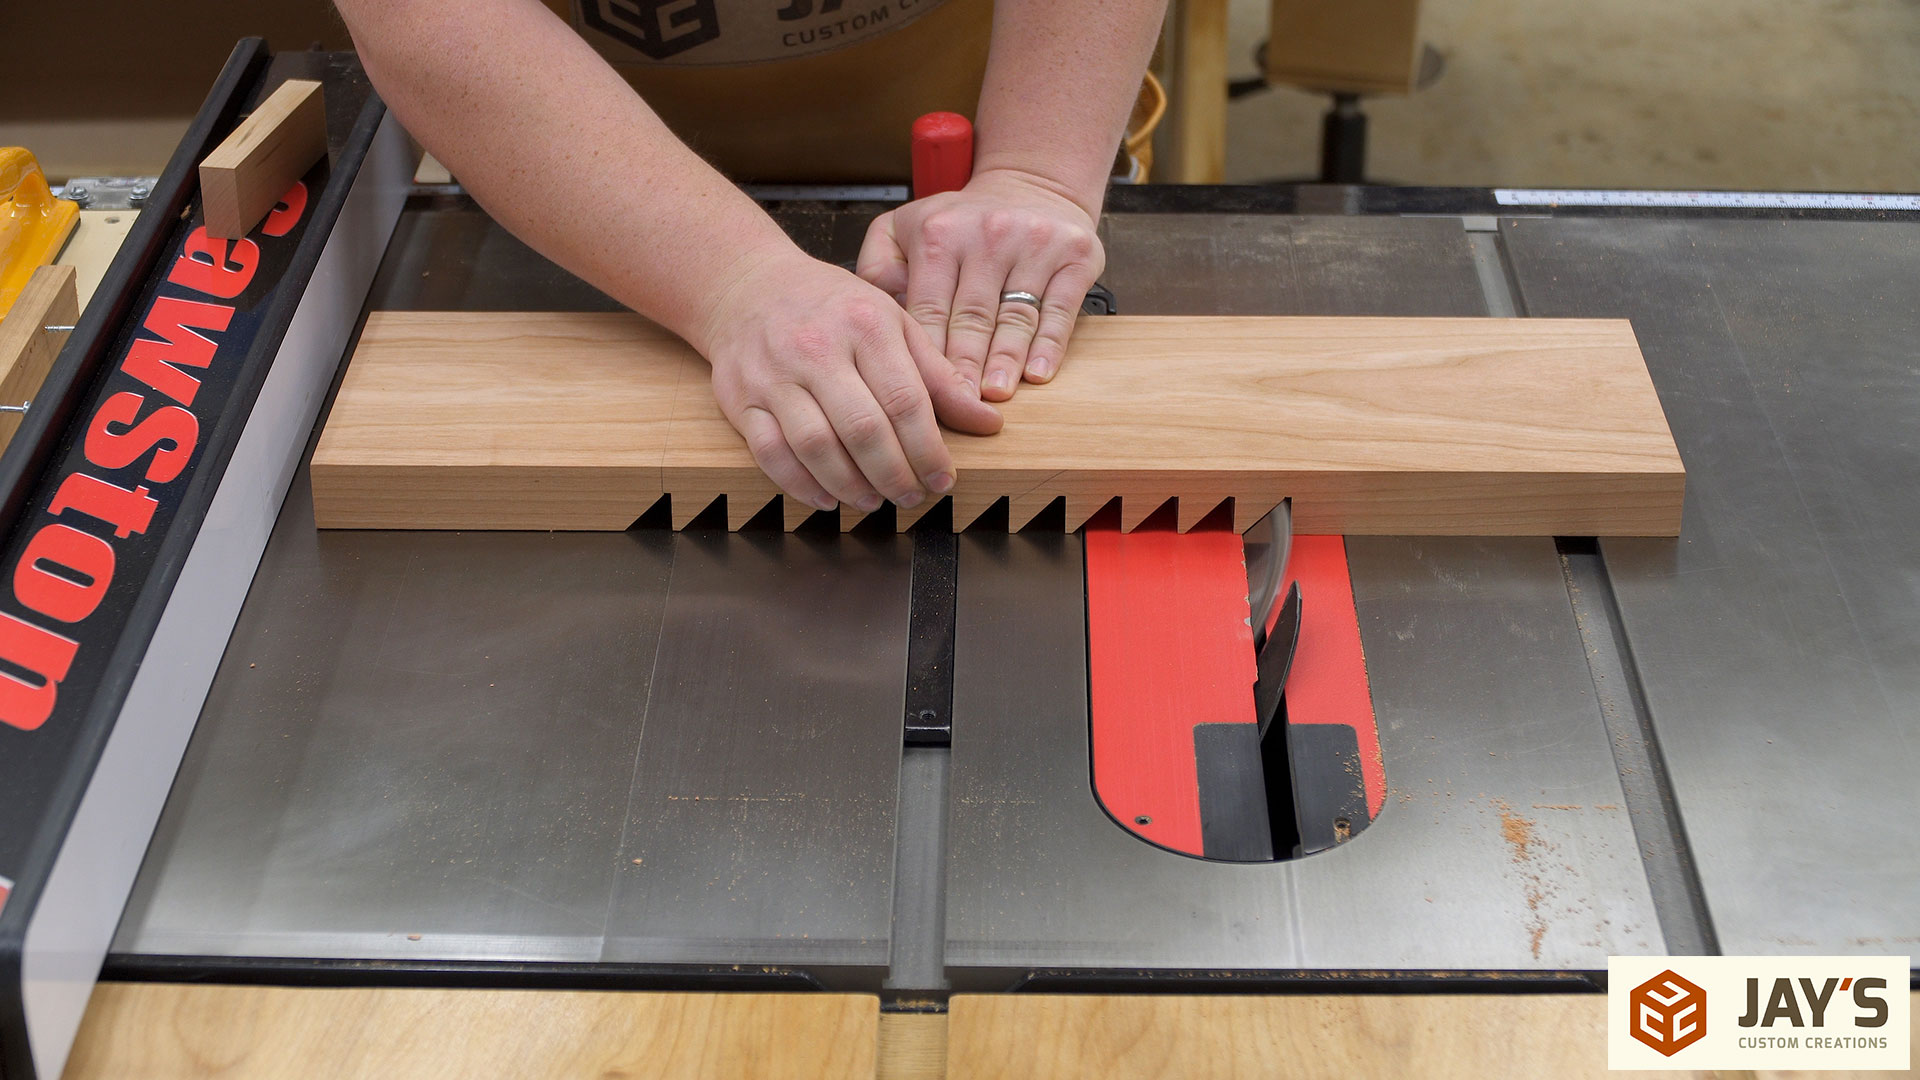
Now that the profile is established eight 1/2” thick brackets can be ripped out of the block. We actually cut ten of them just in case one broke. It’s a good idea to cut an extra with stuff like this but luckily we didn’t need them.
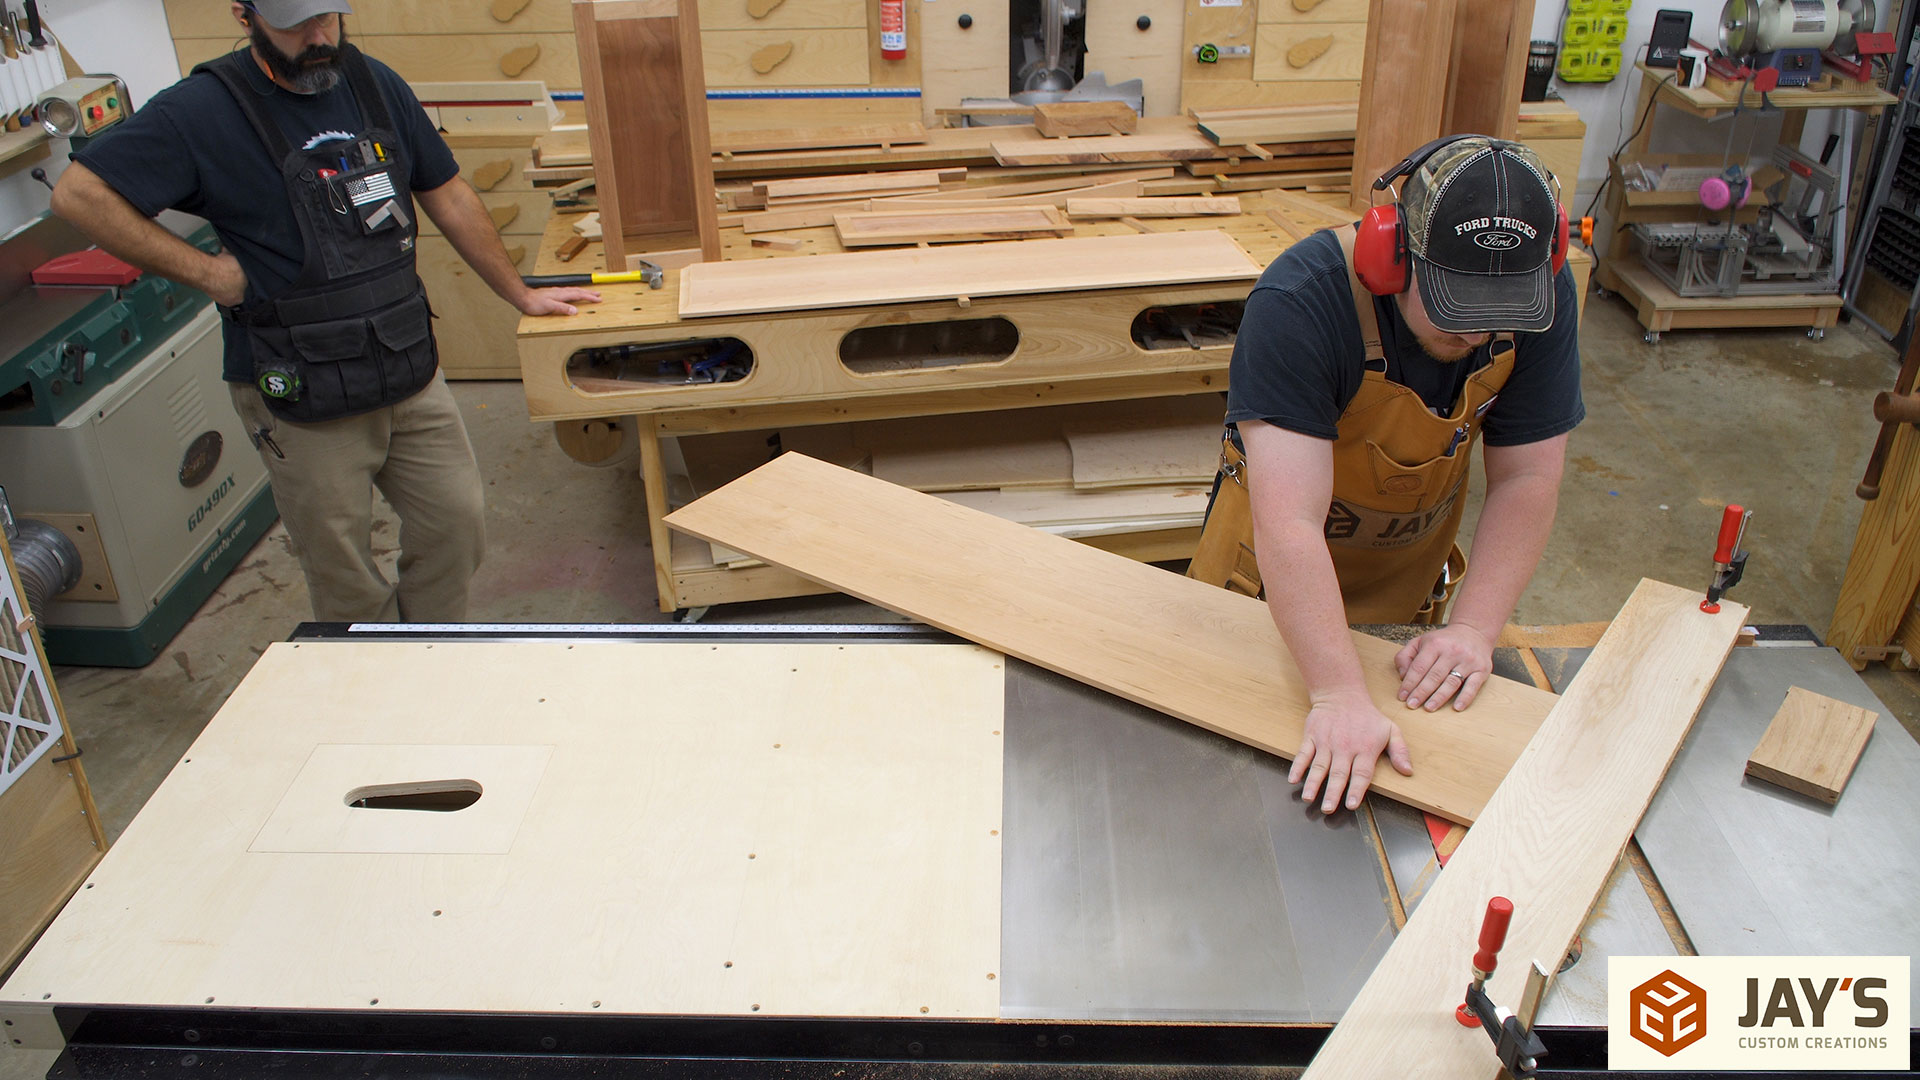
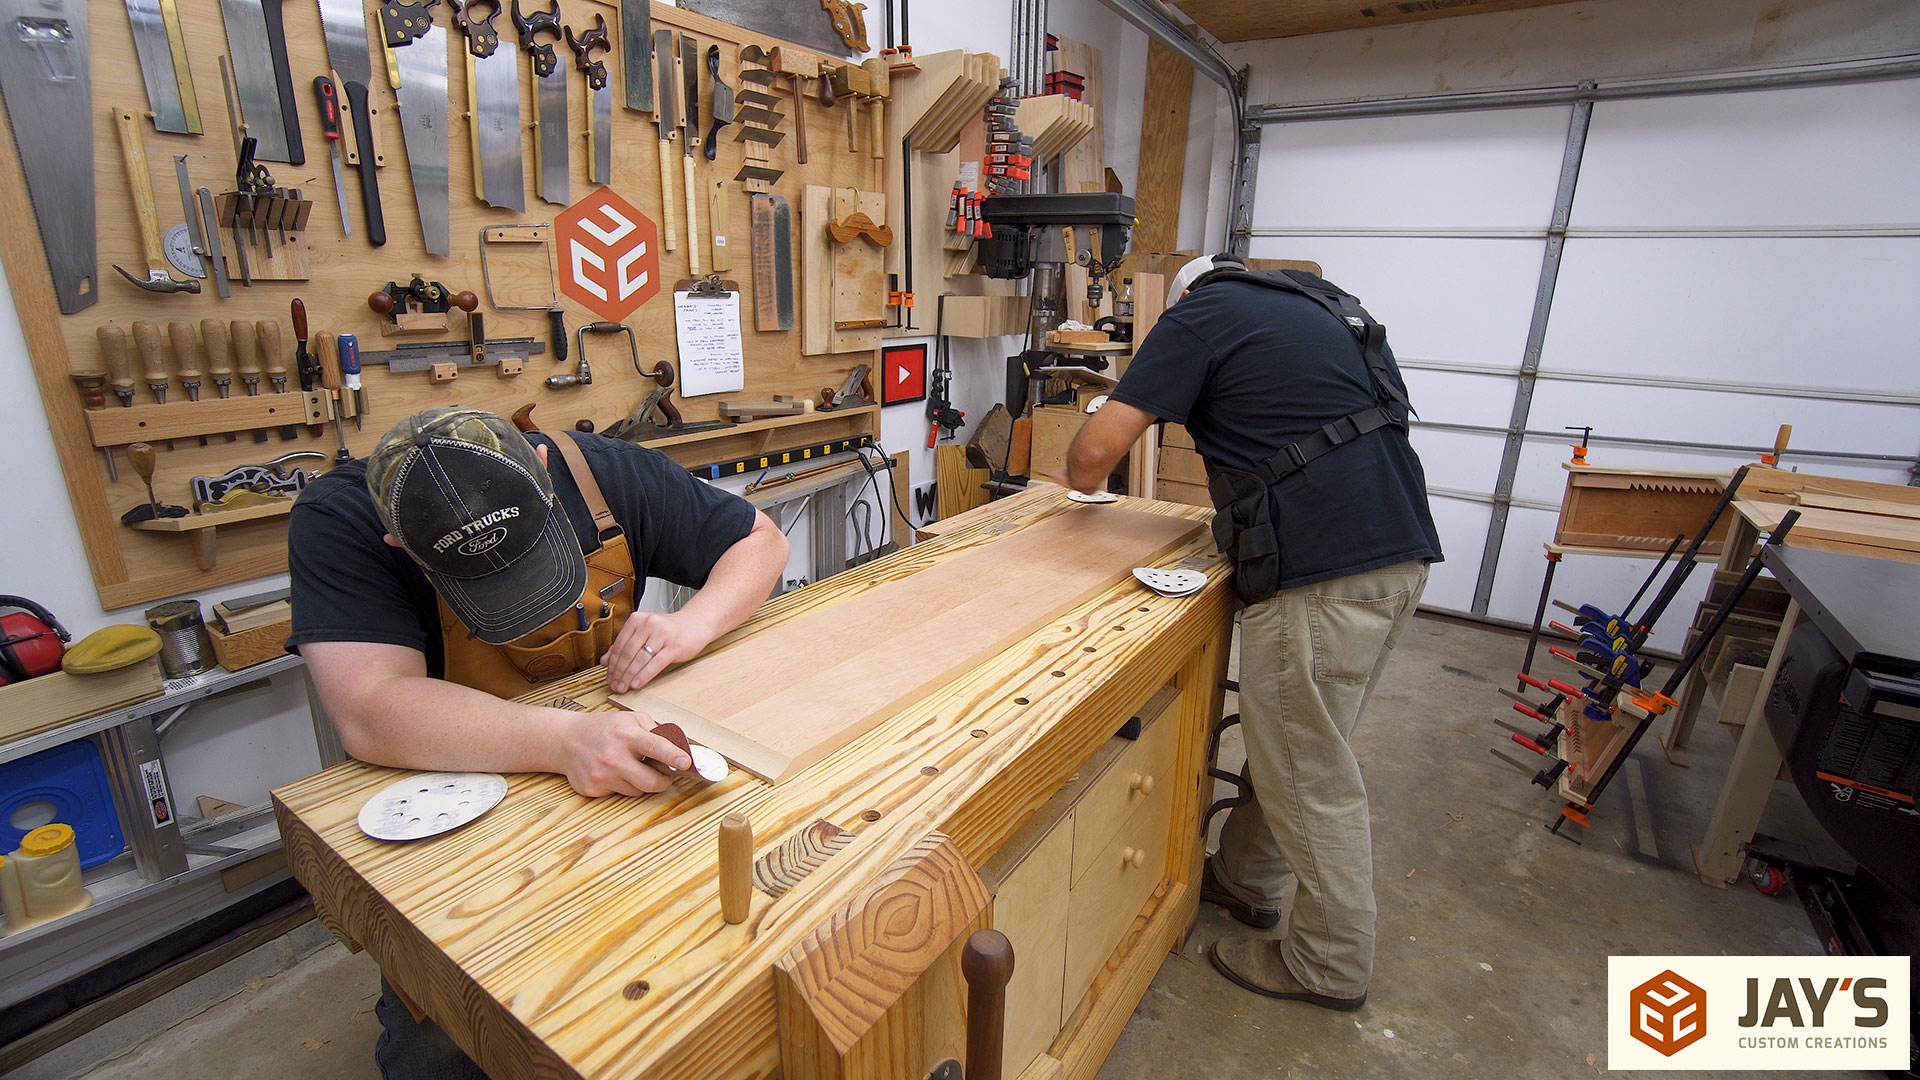
Next up we sized the top and bottom panels to their final size and setup for the coves on the table saw. Shawn recorded this video for his channel but it’s a pretty basic setup. Set the blade height to match the rise of the desired cove and angle the sacrificial fence so that it intersects the center of the blade and the distance from the fence to the opposite side of the blade at the furthest forward position is equal to the desired run of the cove. Once the angle is determined we put a pencil line on the table, clamped the fence to the table on the pencil line, and slowly raised the blade with the motor on to take about 1/16” to 1/8” per pass.
After a test block confirmed our setup was good we ran both the top and bottom panels. Cutting coves on the table saw is a great way to get a custom cove profile that you might not have a router bit for. The downside of this is that it won’t produce as clean of a cut as a router bit and will require more sanding and touch up work.
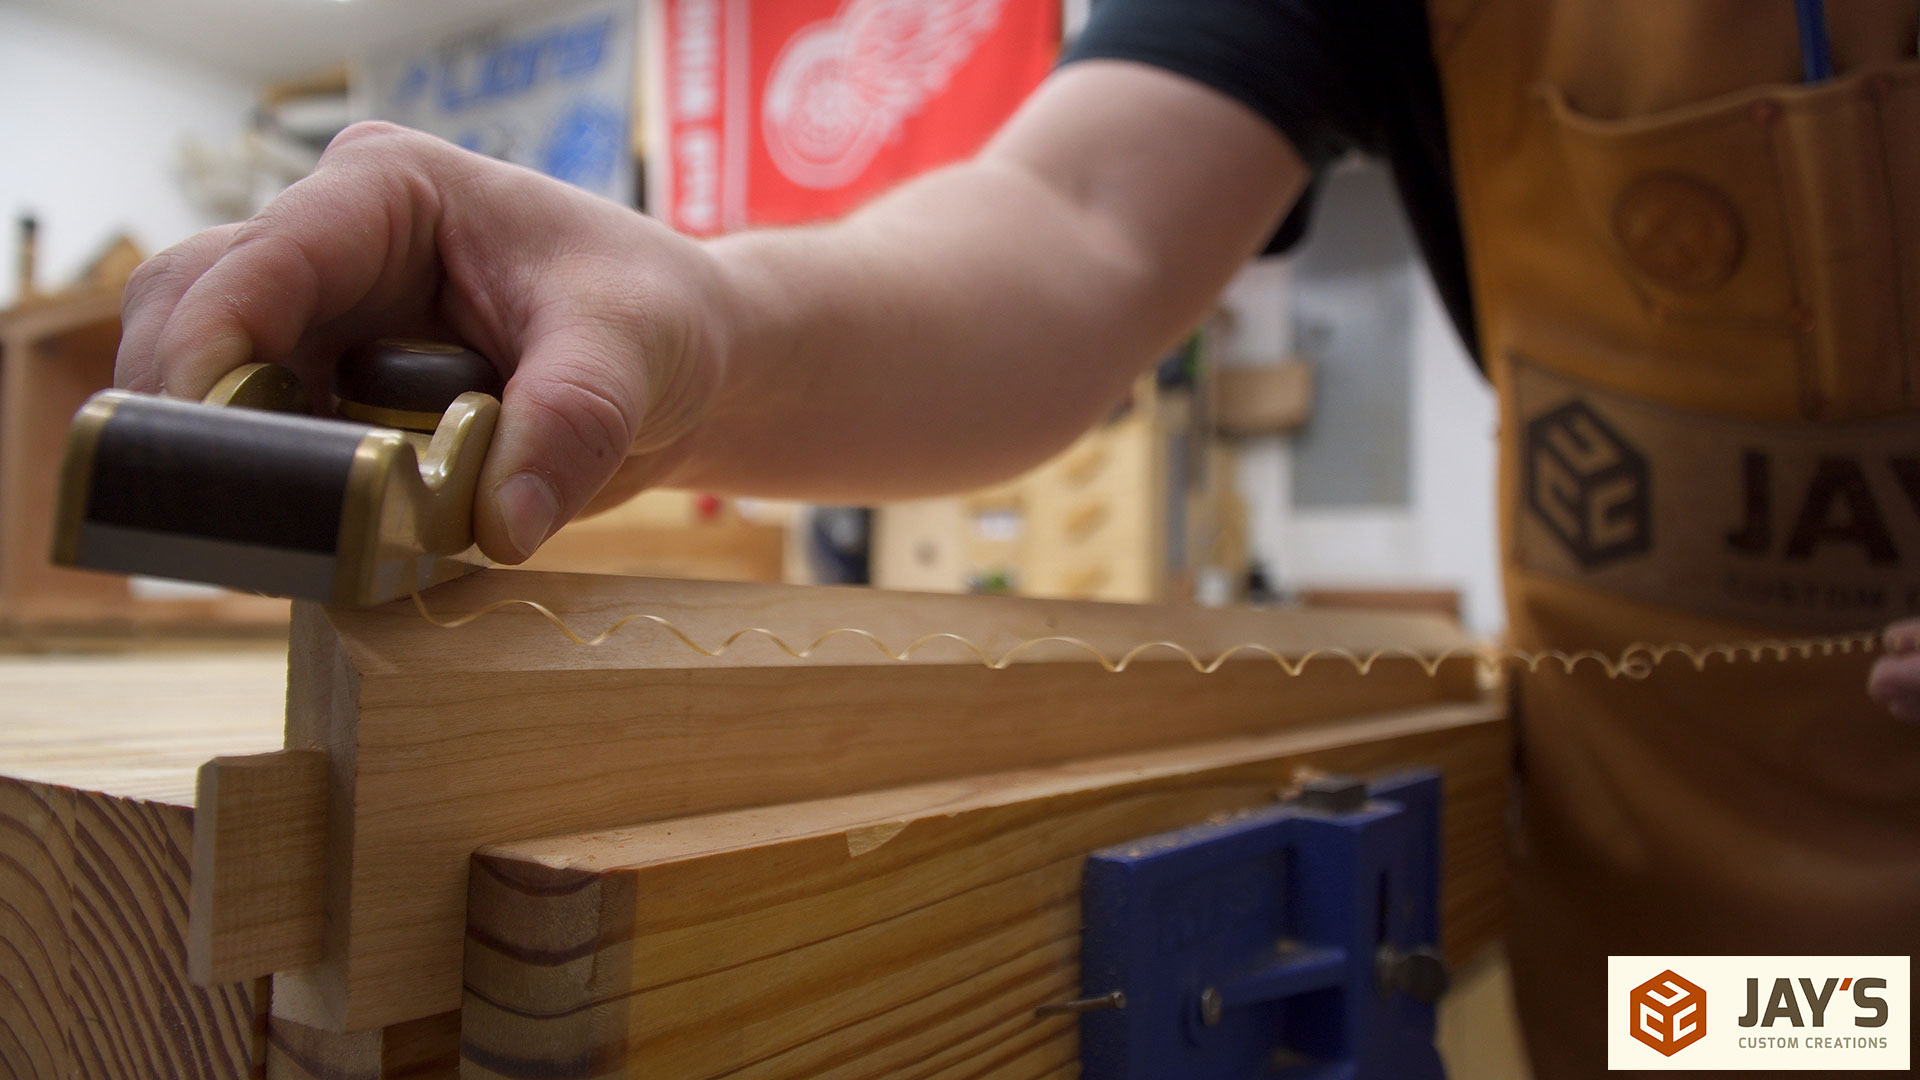
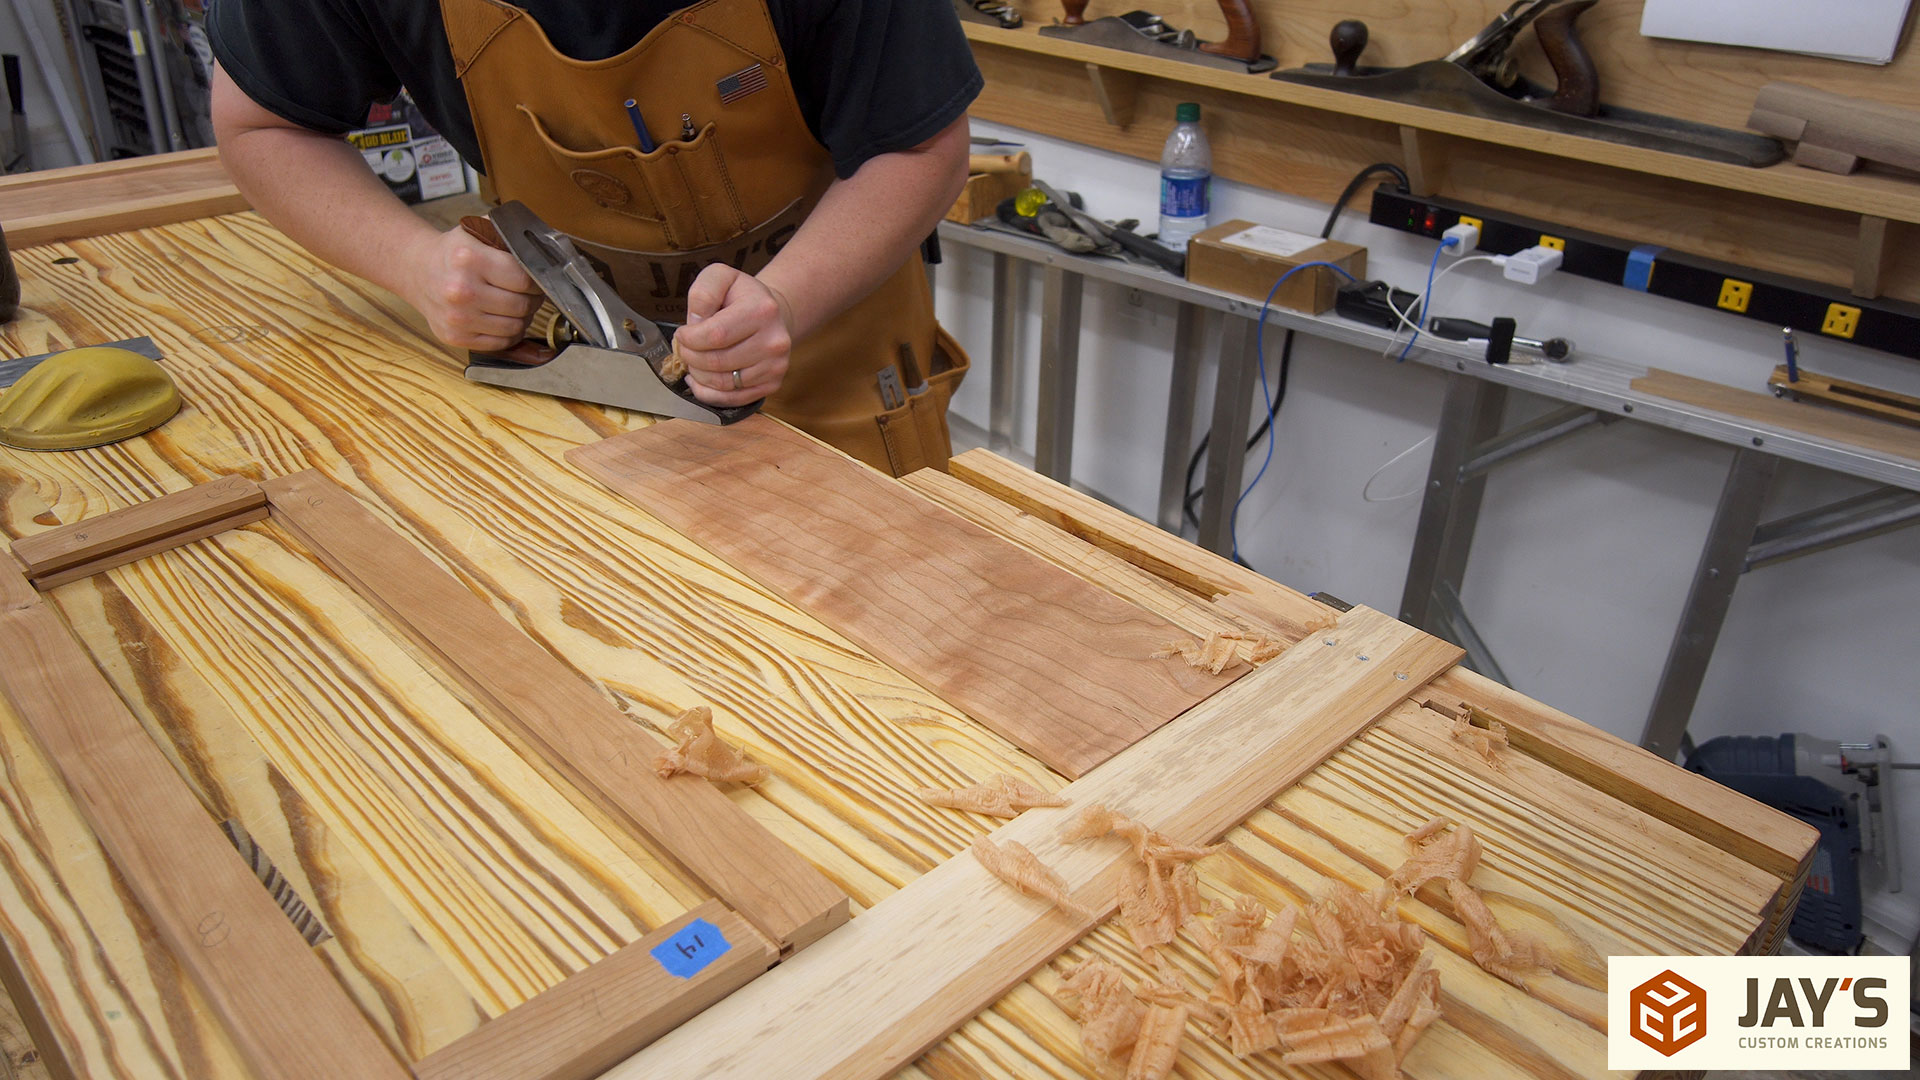
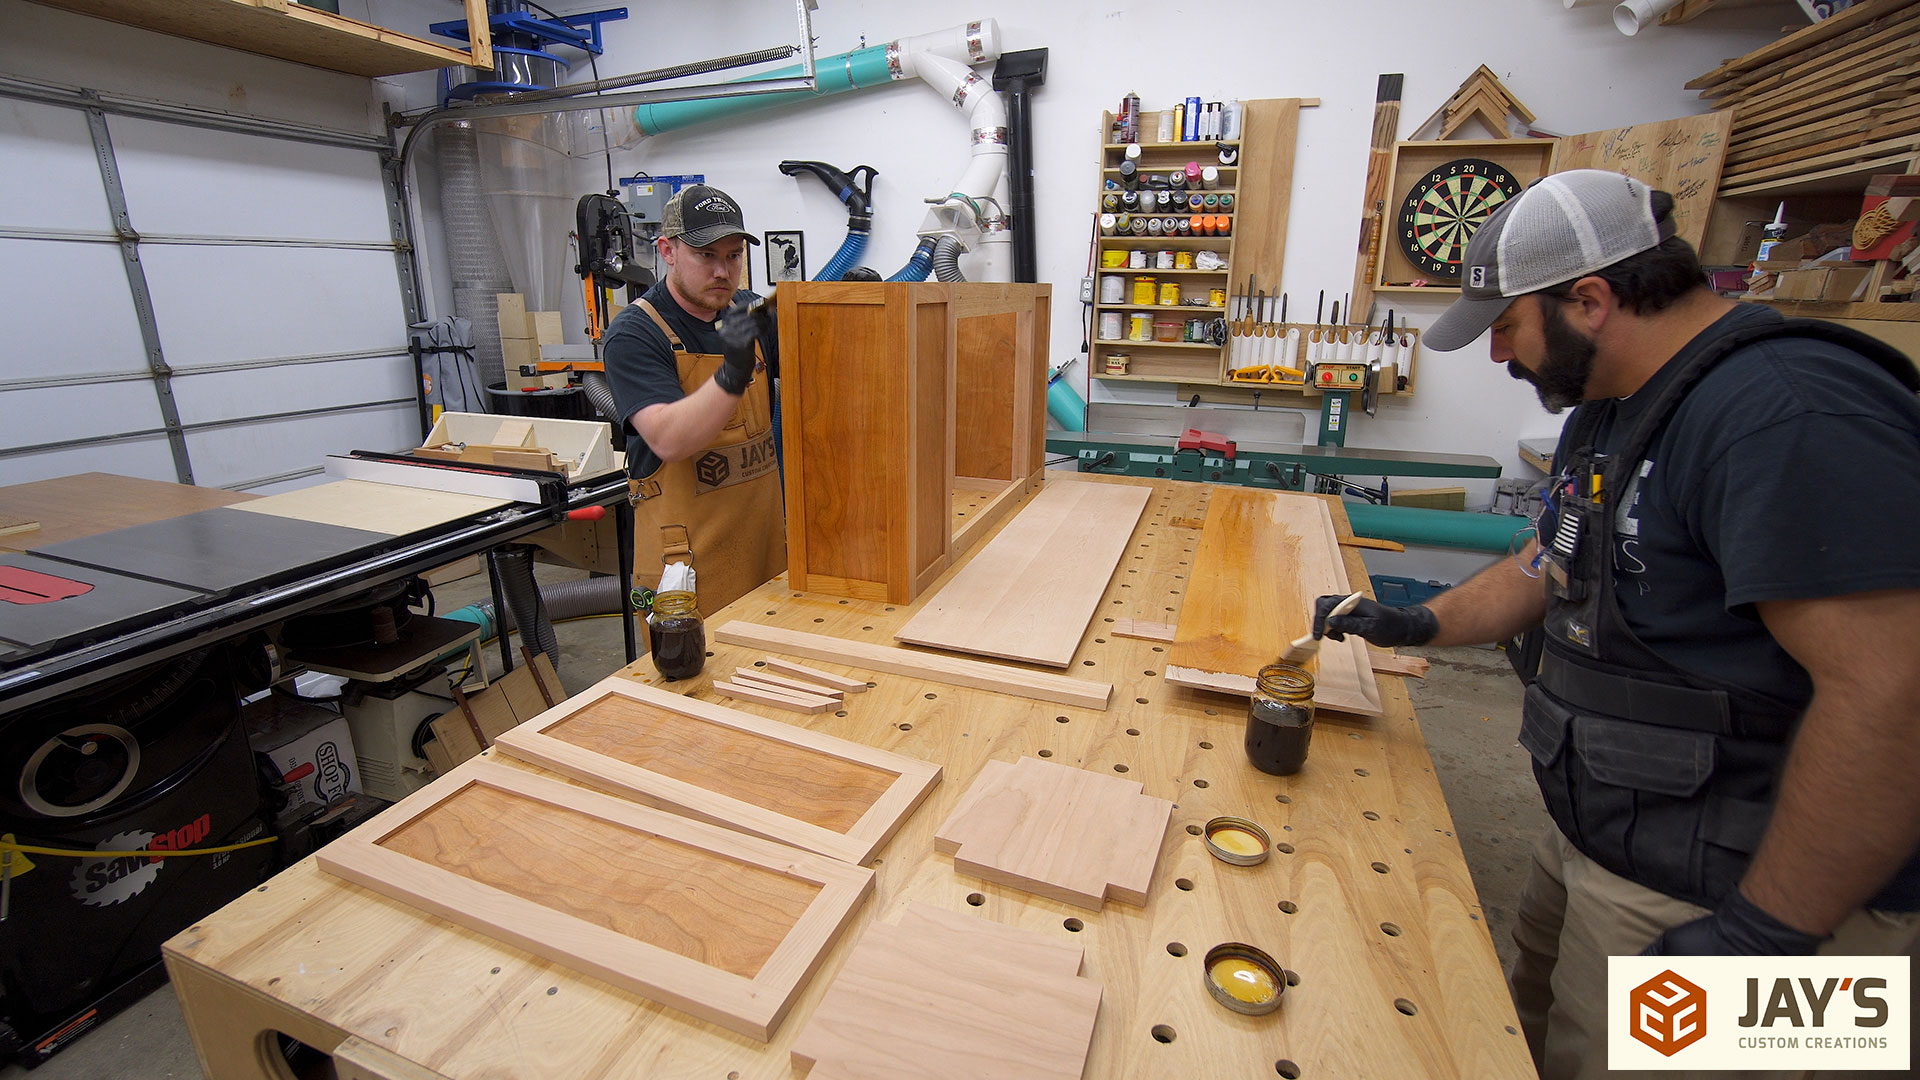
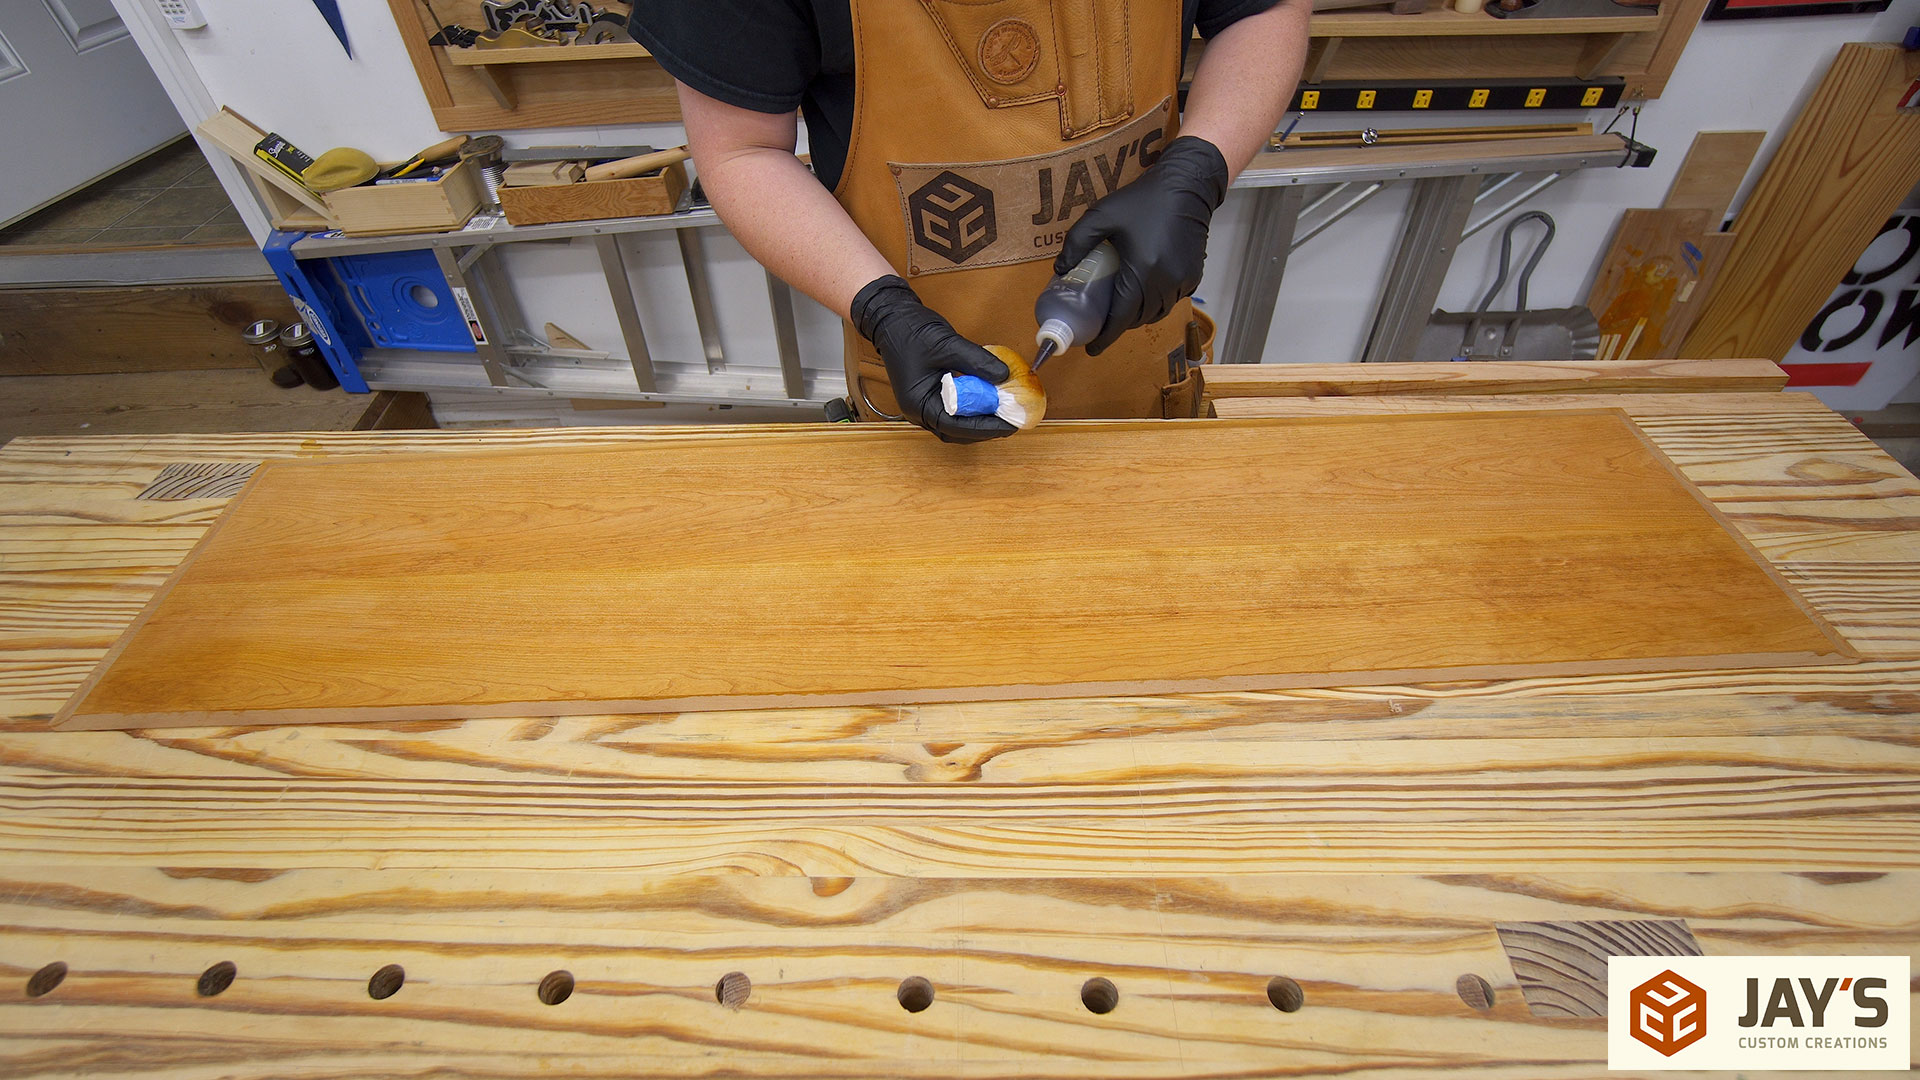
Surface prep before assembly can finally begin. We want to prefinish the panels so that if the panels shrink once installed there won’t be a gap of unfinished material showing. To prep the panels we used a hand plane to do the bulk of the work and then sandpaper to dull down the surface texture of the wood. This is to hopefully reduce some of cherry’s natural blotchy appearance. How a plane, scraper, and sandpaper affect the appearance of wood after a finish is applied is demonstrated quite well in a recent The Wood Whisperer video.
For a finish I’m using garnet shellac. Shellac is a really forgiving finish and the garnet color is commonly used on cherry or other species where the reddish hue of the shellac compliments the wood nicely and gives it more of an antique look.
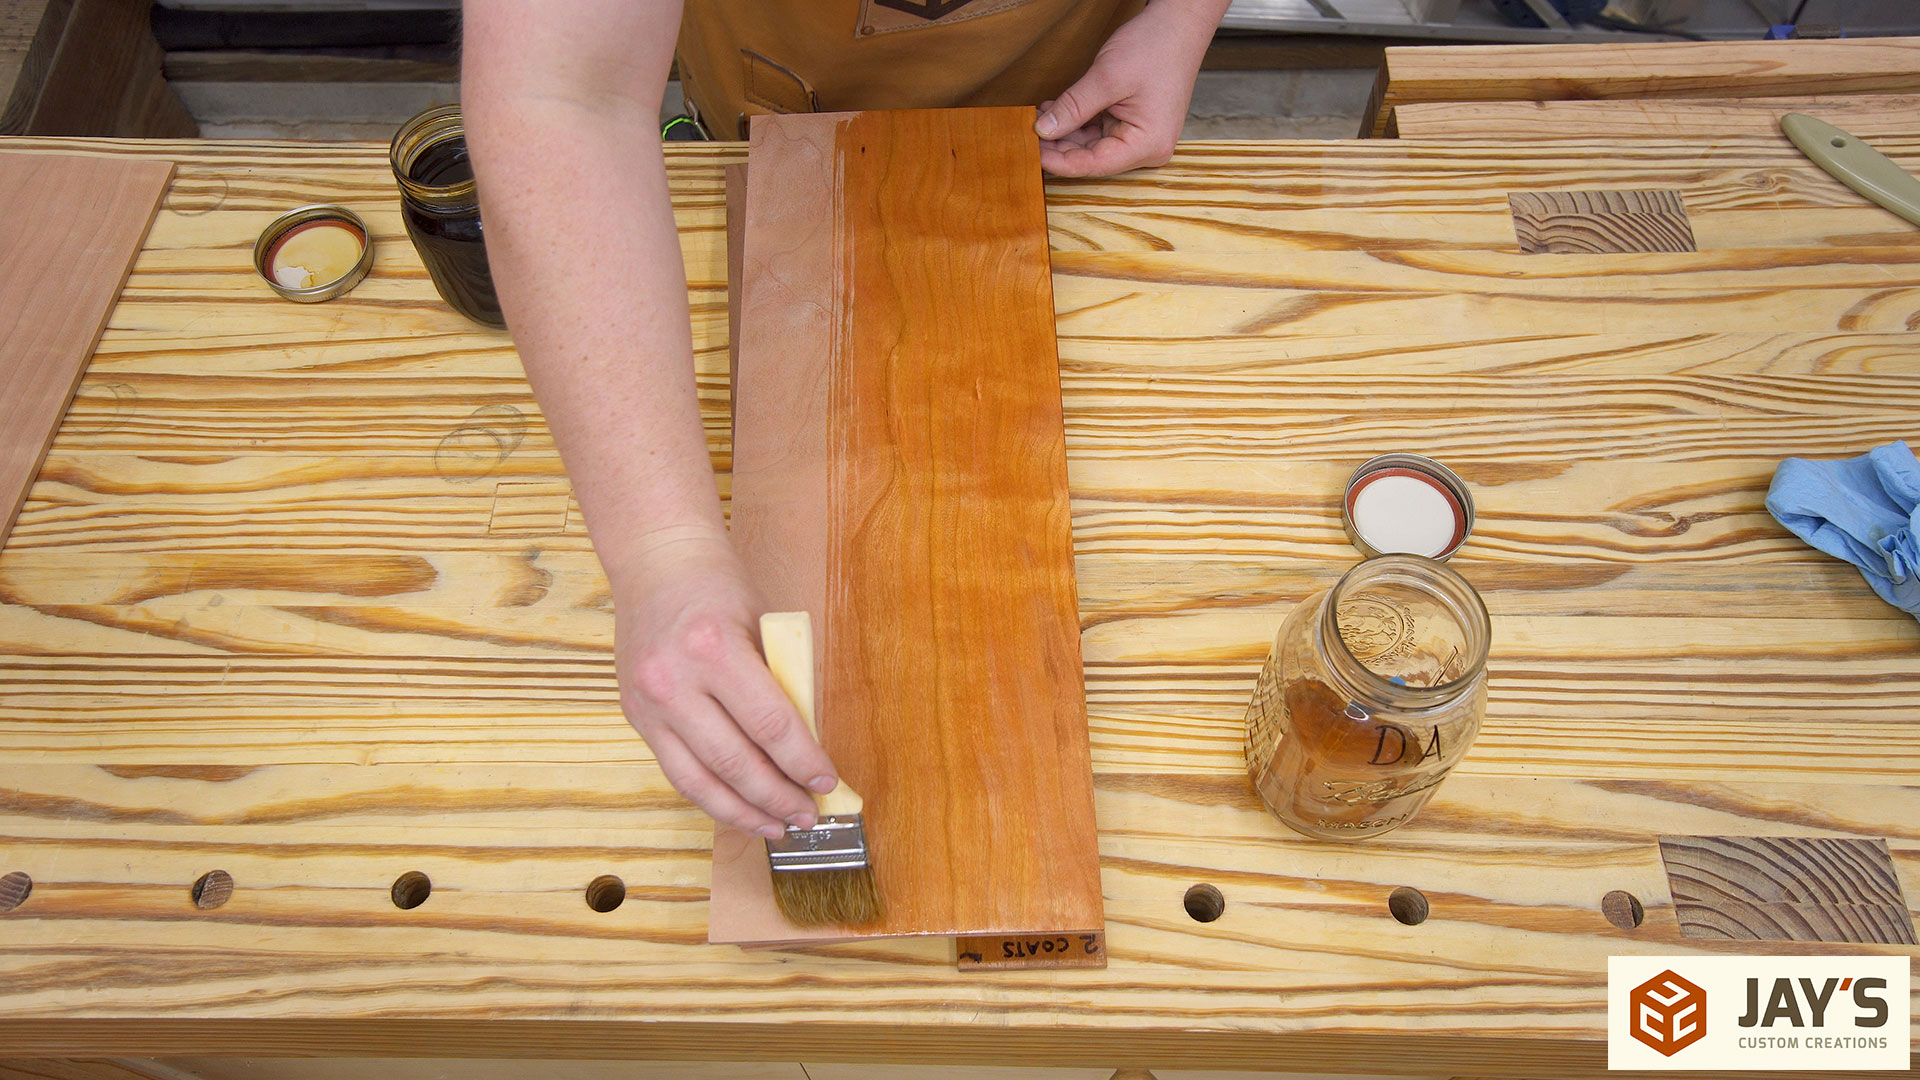
After applying one coat to the panels the same surface prep is needed for all of the interior faces of every component. It’s going to be much easier to remove mill marks on the inside faces before assembly.
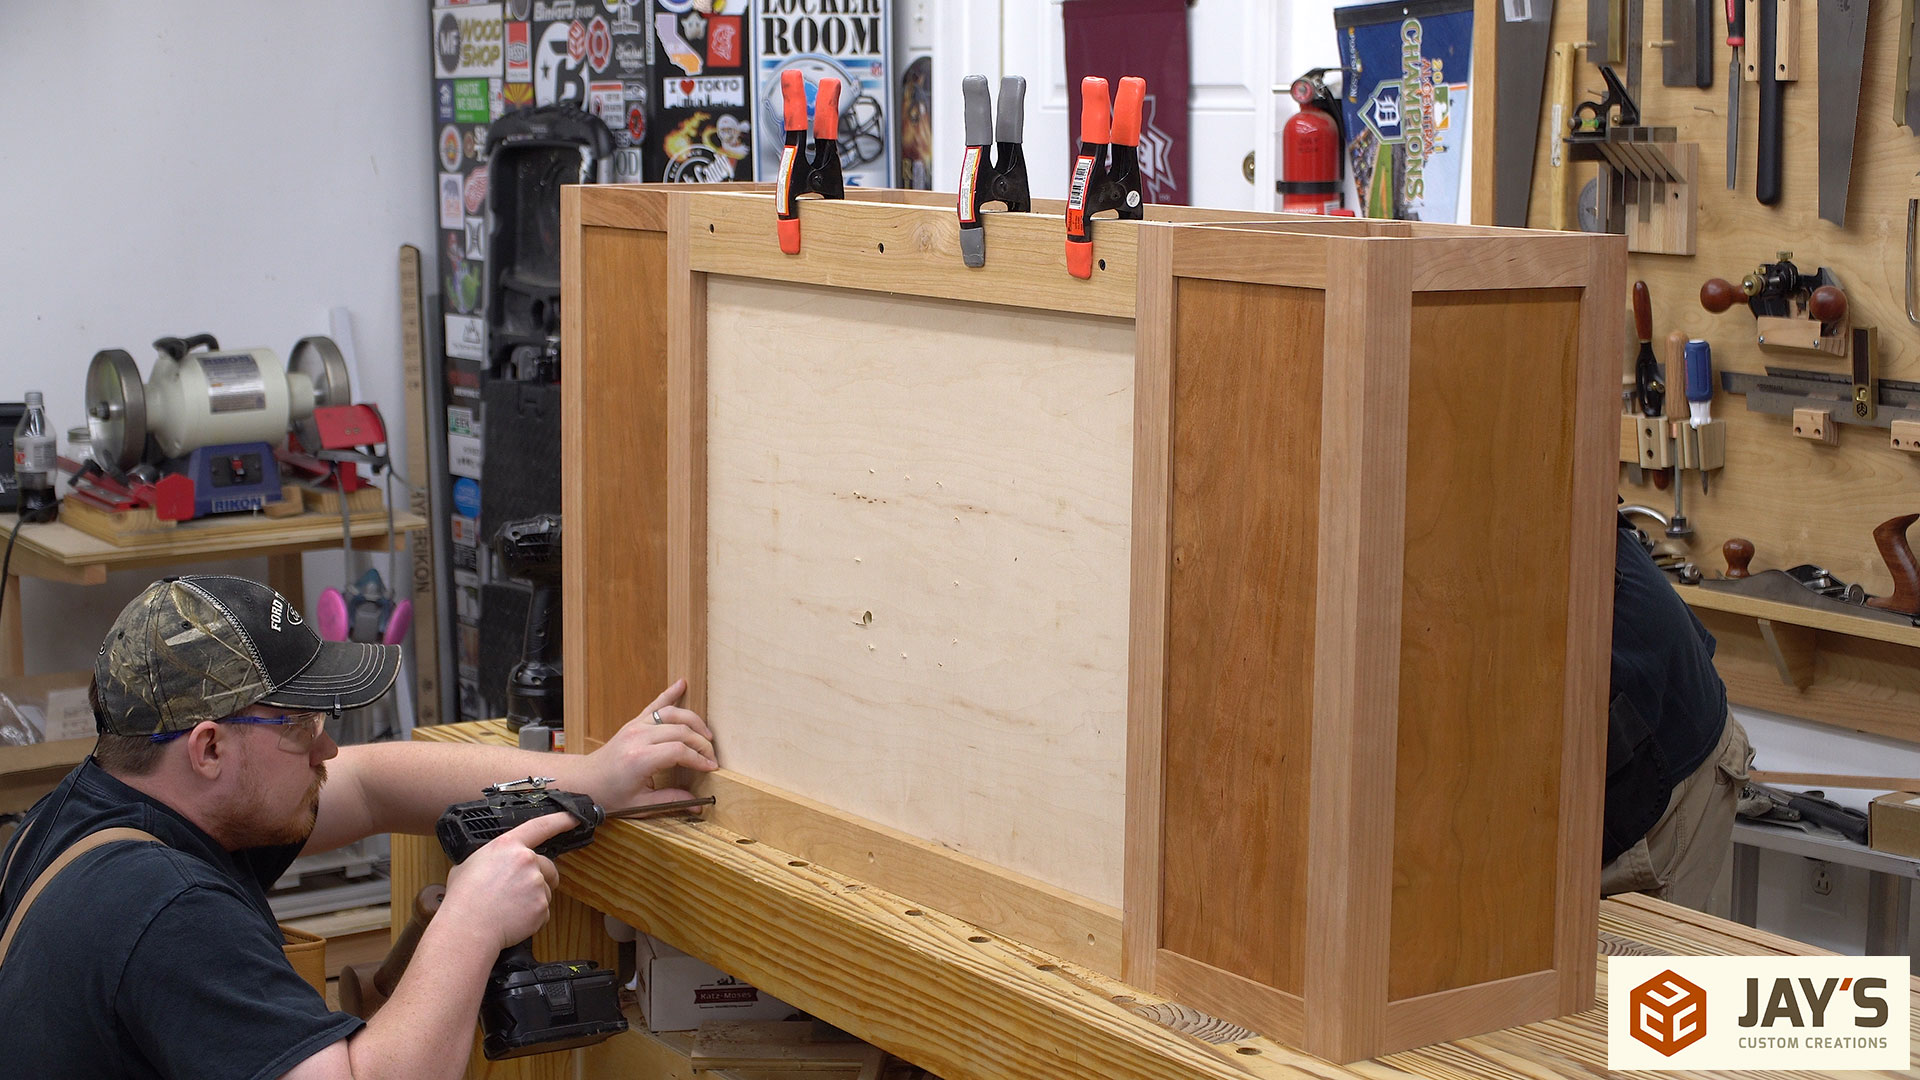
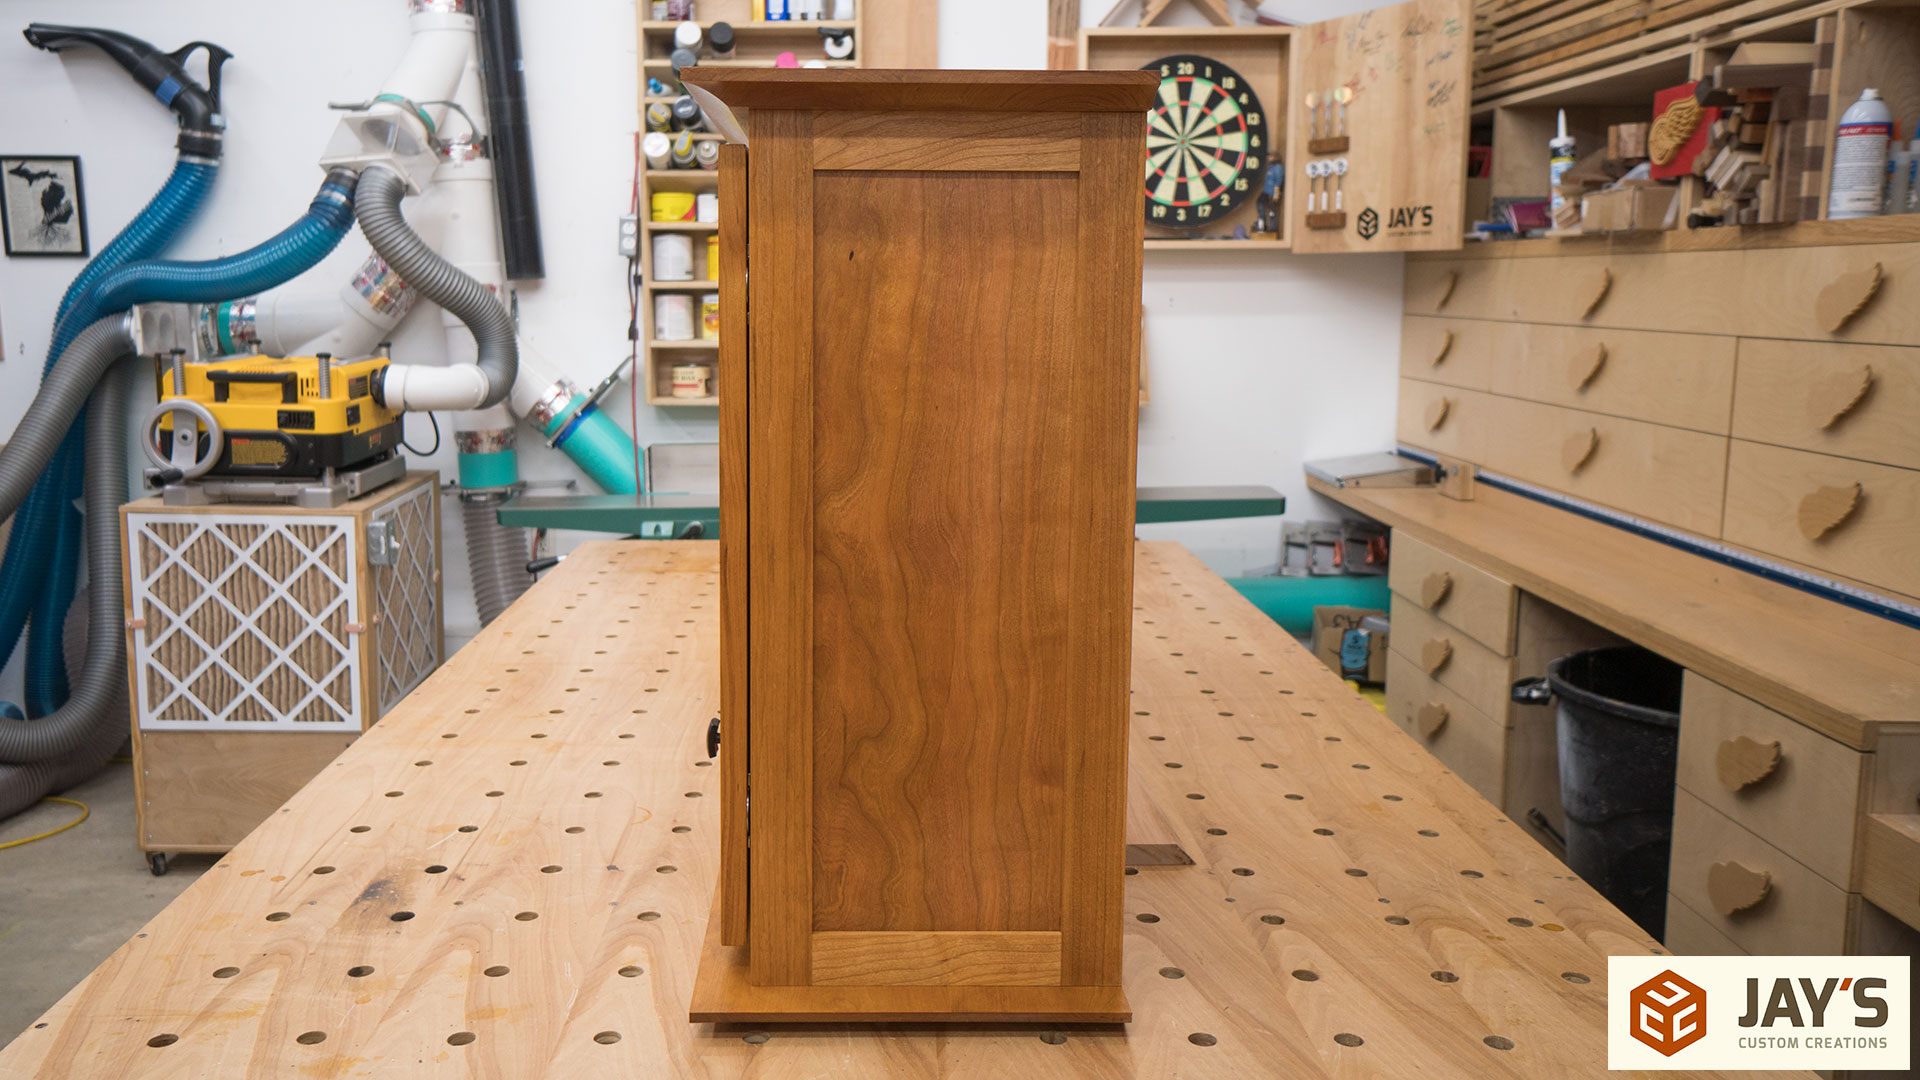
Finally the assembly can begin and we broke it up into a few stages. First the doors and cabinet sides are assembled. Then the sawtooth brackets are added to the inside of the side assemblies.
While waiting for glue to dry on all of those we switched to sanding the coves to remain productive. We finished that day with the final case glue up and then I picked up the next day with a little more surface prep on the dartboard side of the cabinets and then glued in the connecting rails.

To make the small shelves we used some of the offcut material from the top and bottom panels. In order for these to sit flush on the shelf supports but also extend to the walls in either direction the corners need to be marked and cut out at the bandsaw. It’s best to sneak up on the fit in this case because we don’t want the shelves to rattle around but we want them to be adjusted freely with no problems.
To make the supports we cut another piece of the leftover material to the longest length between the sawtooth brackets, cut a 45 degree bevel on each end grain side, and tested the fit. Once the fit was confirmed four shelf supports can be ripped out of the piece.

And here’s how the system should work.
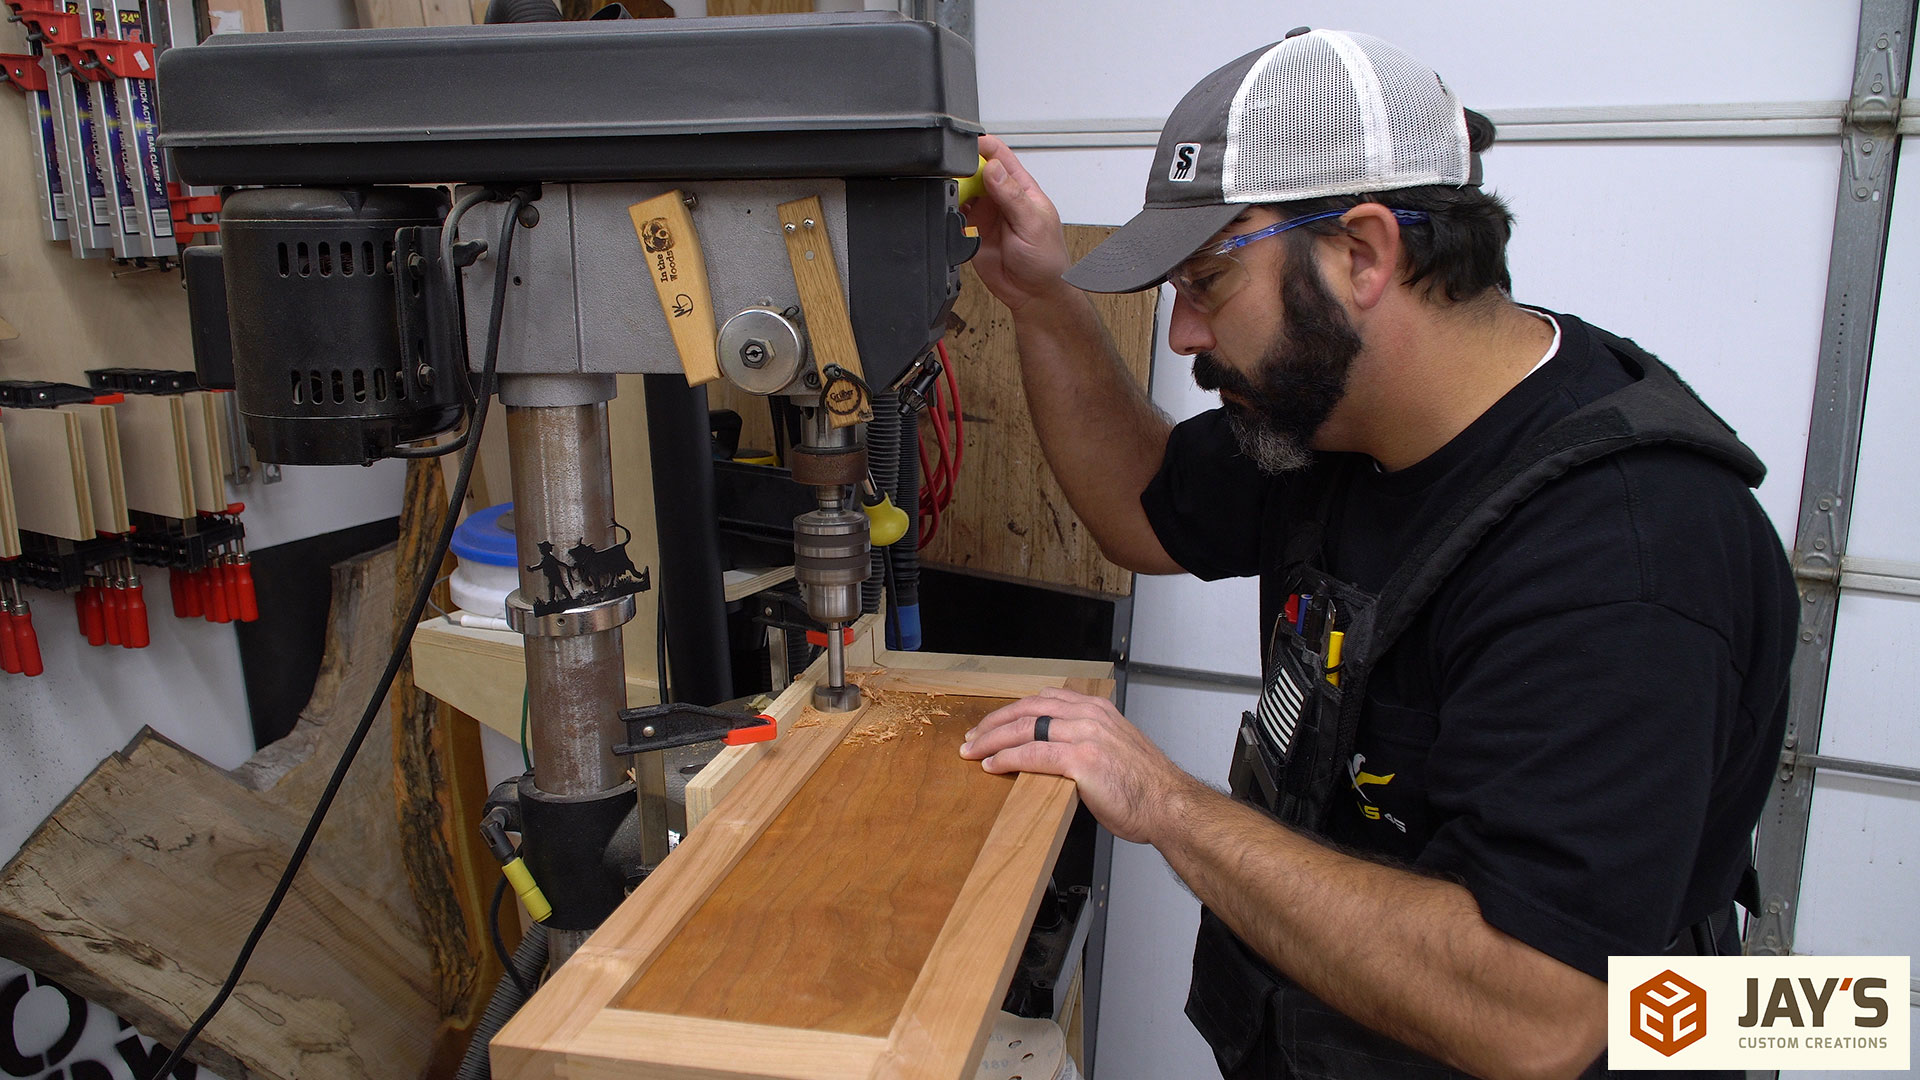
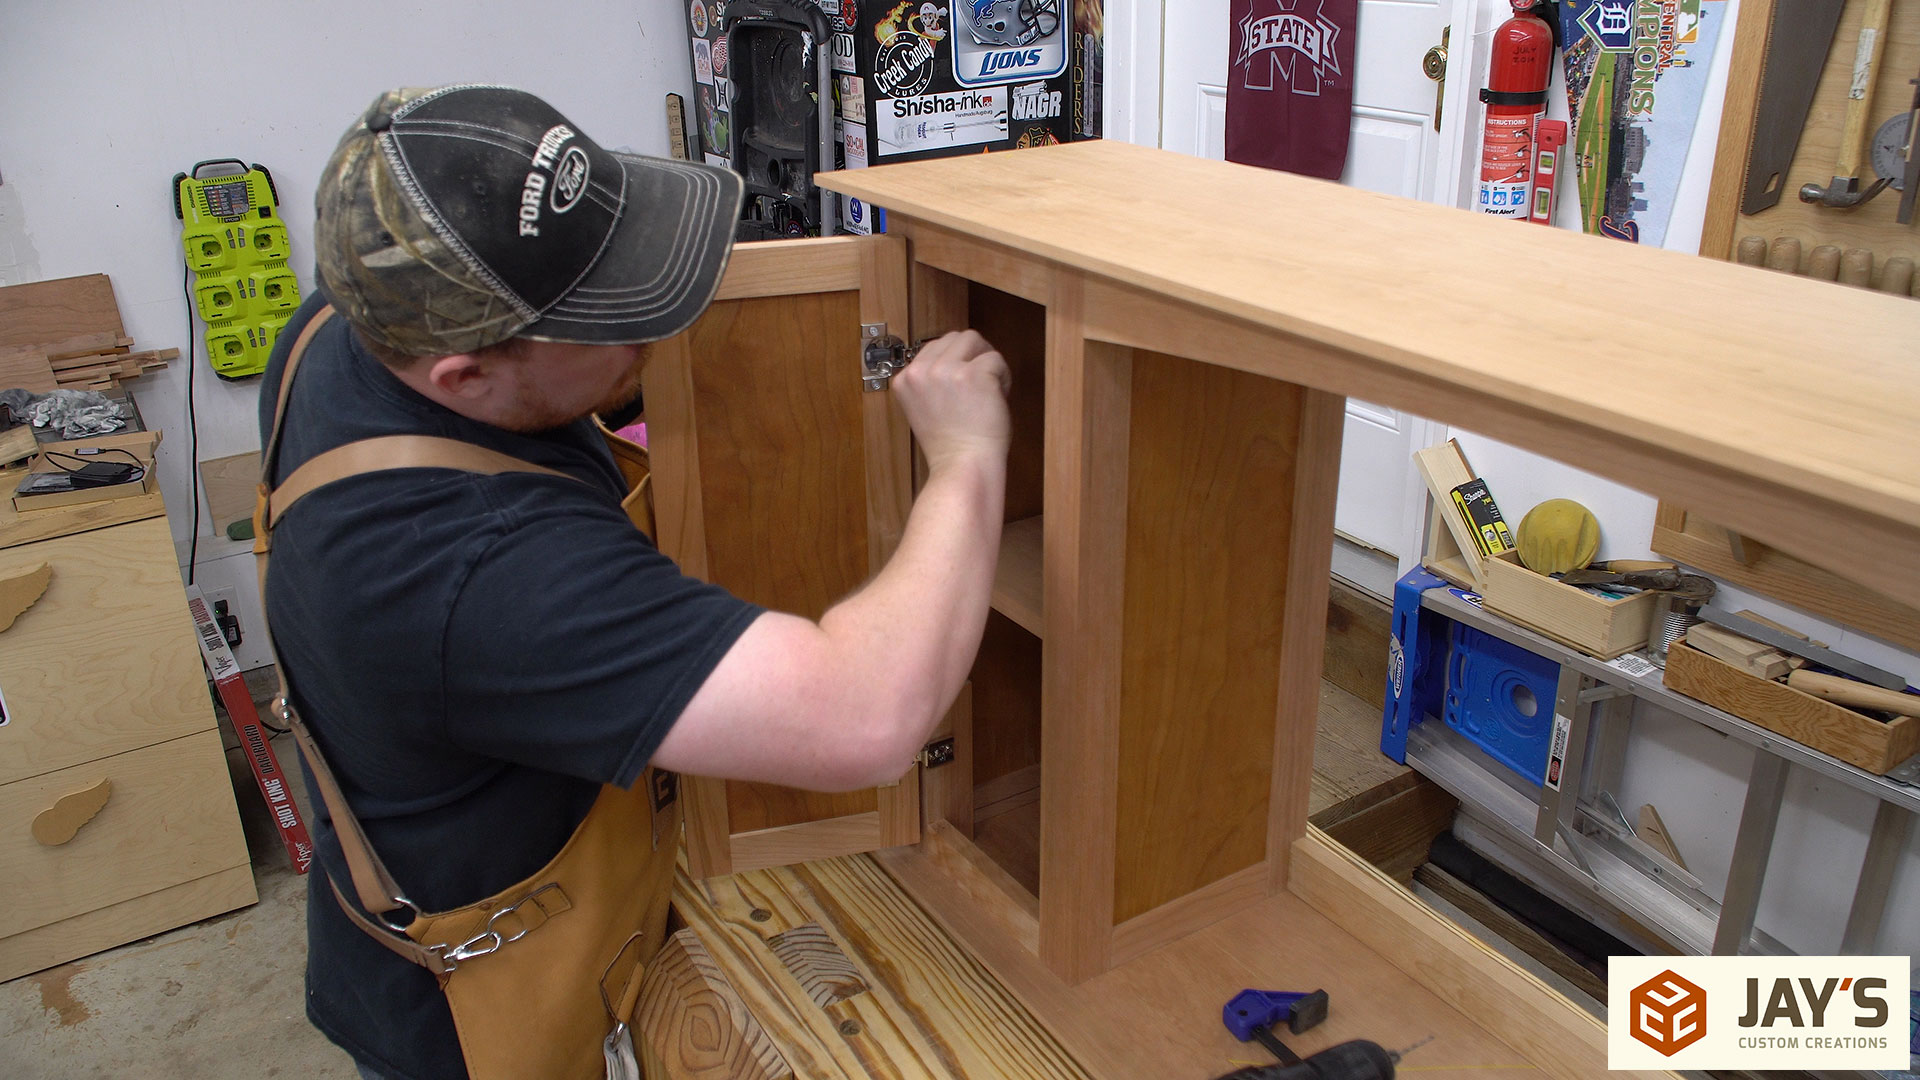
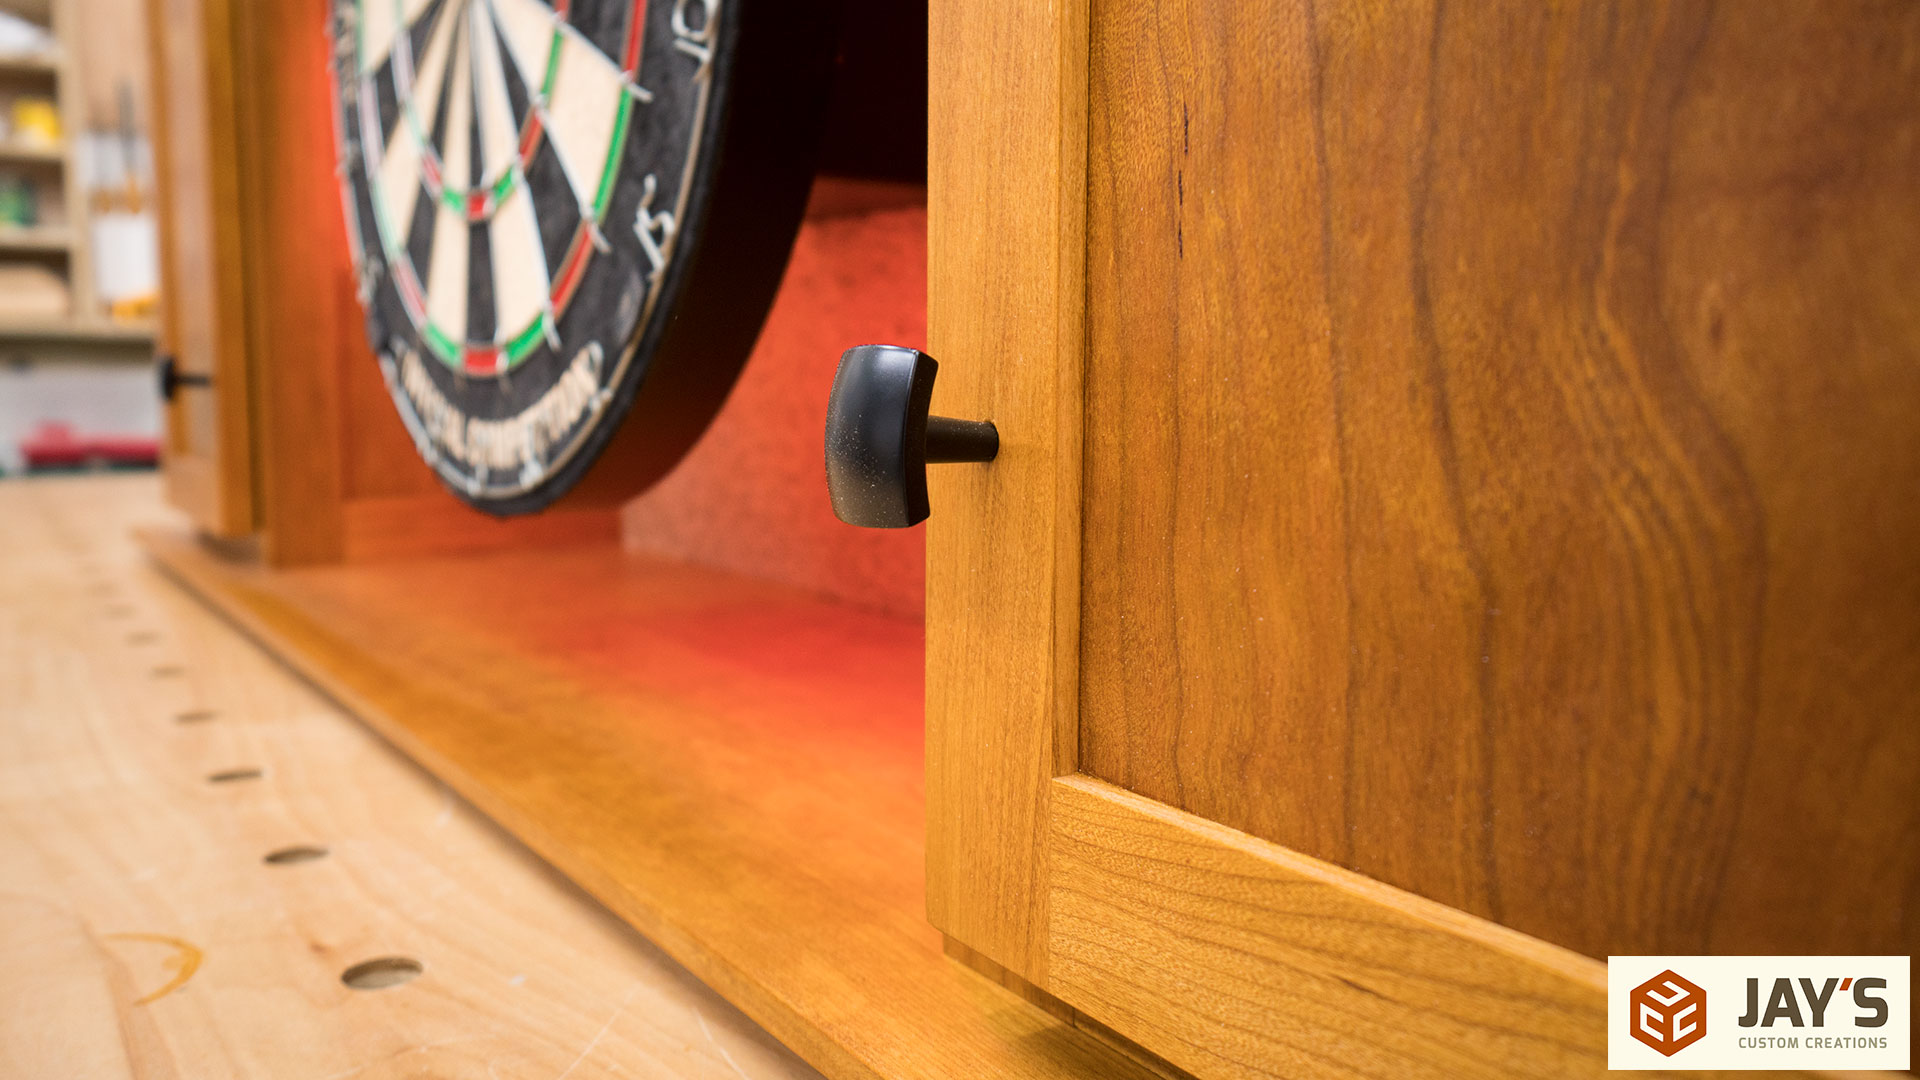
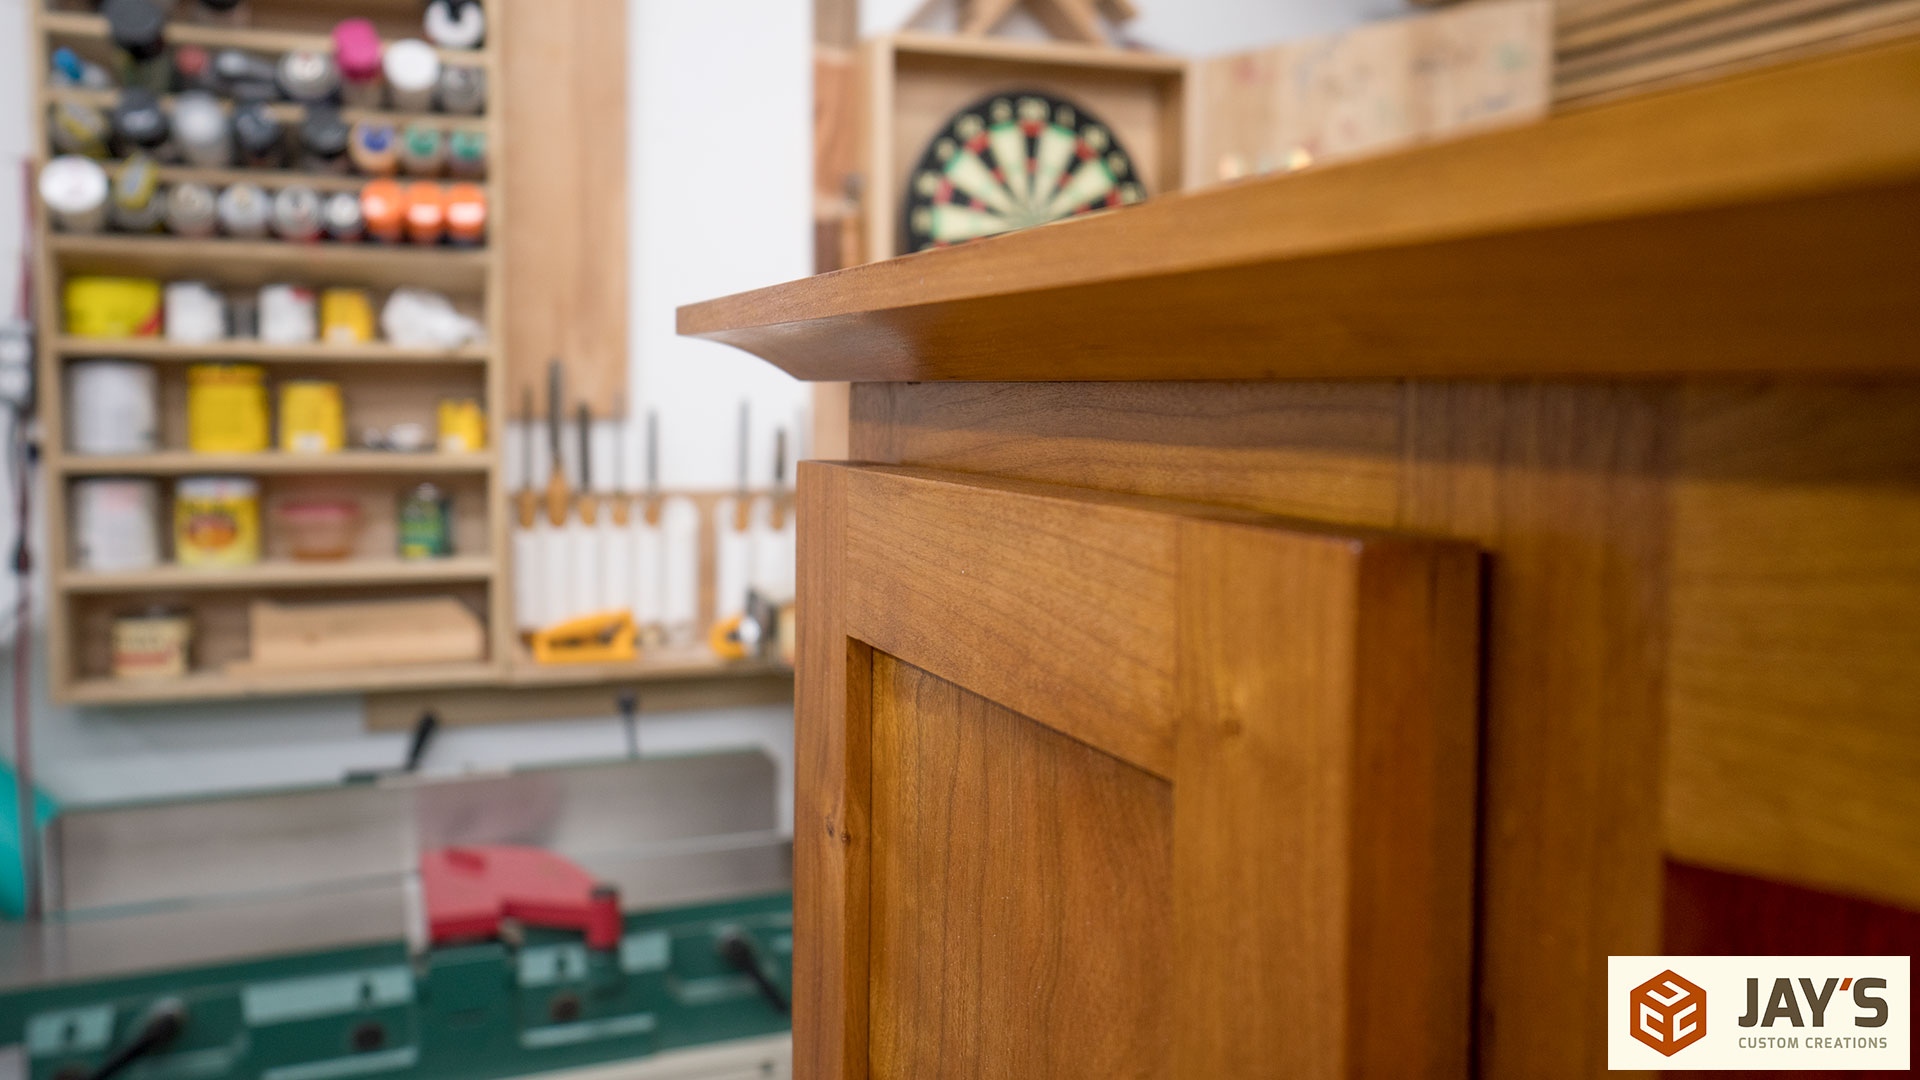
For the doors we chose to use some nice soft closing overlay cup hinges. A spacer block was used to elevate the door to the appropriate height and from there a centerline for each hinge can be drawn on both the door and the inside of the cabinet.
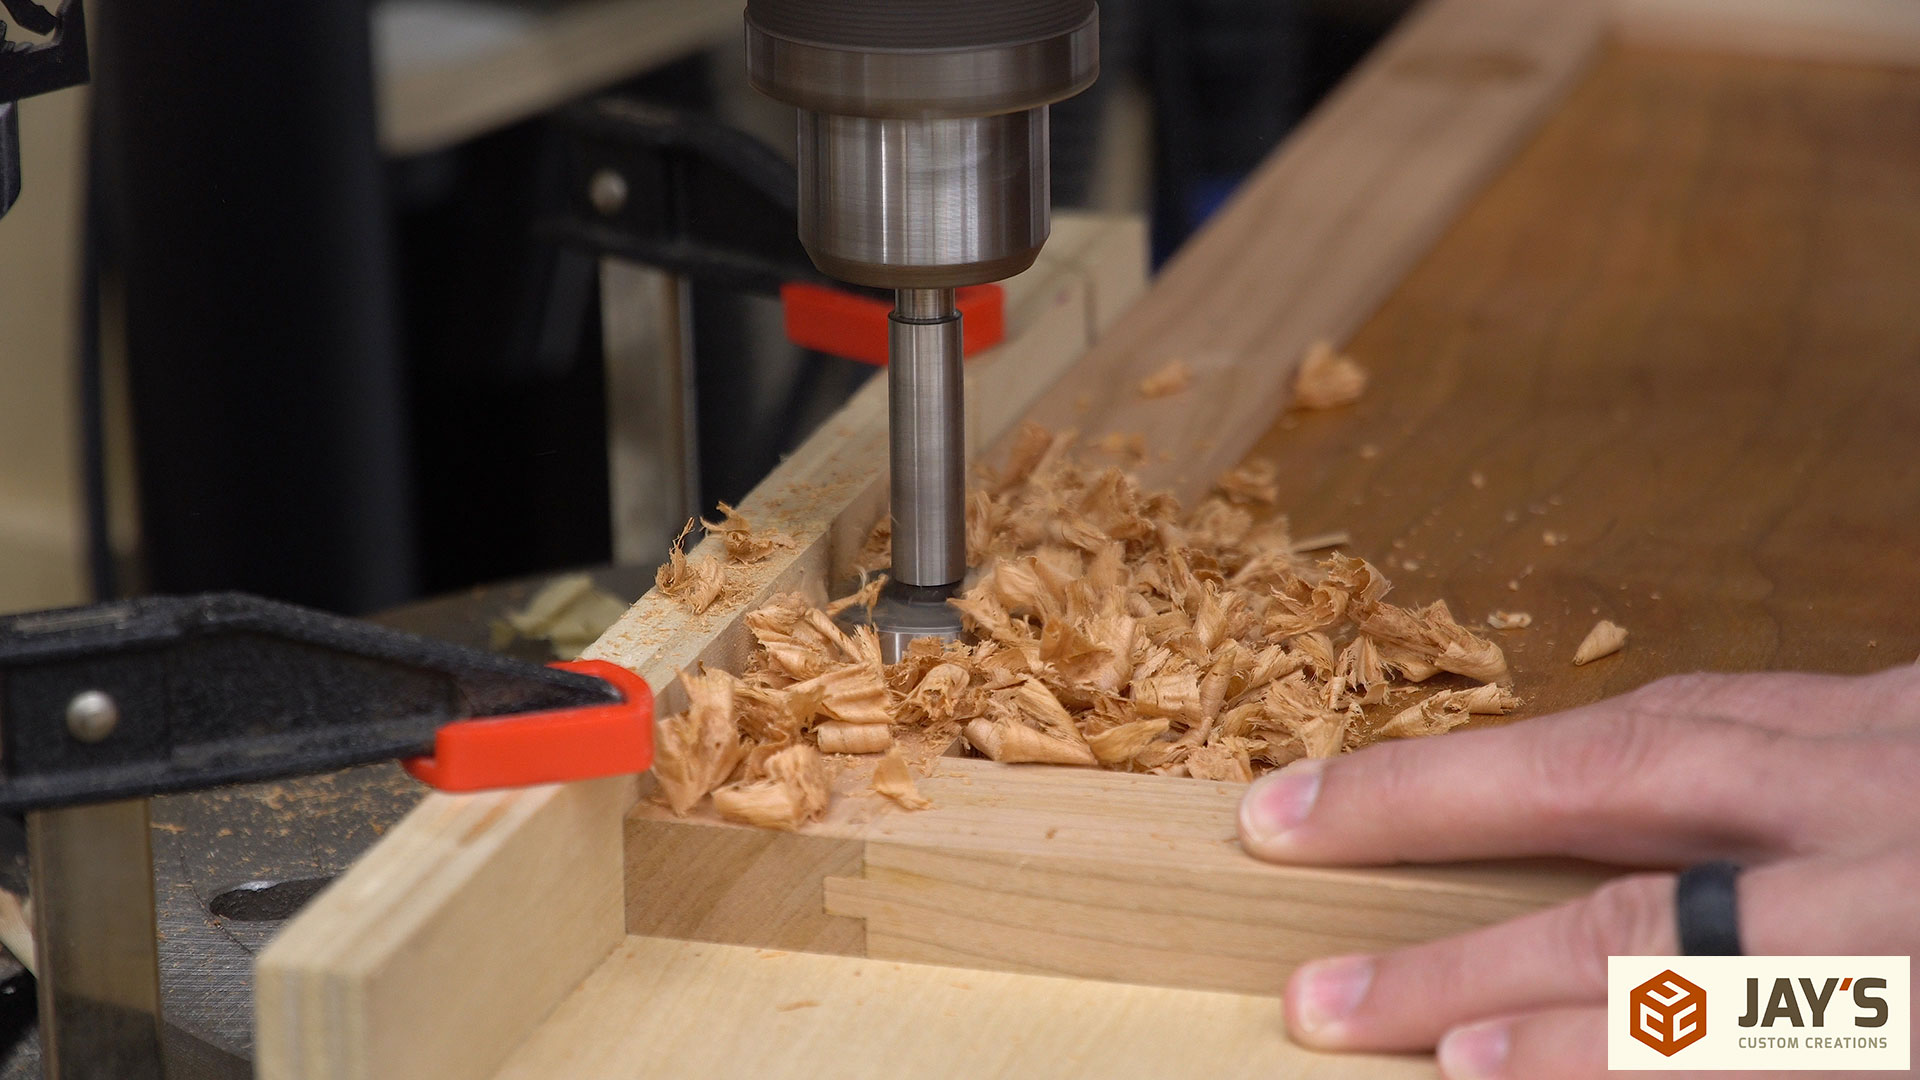
These are seriously the easiest hinges I’ve ever installed. After verifying the drill press fence placement all you need to do is drill an appropriate sized hole on the centerline that was just marked, screw the hinge to the door, and then attach the hinge to the cabinet with a screw through the centerline on the cabinet. It’s seriously that easy. Then you can turn the adjustment screws as needed to align the door.
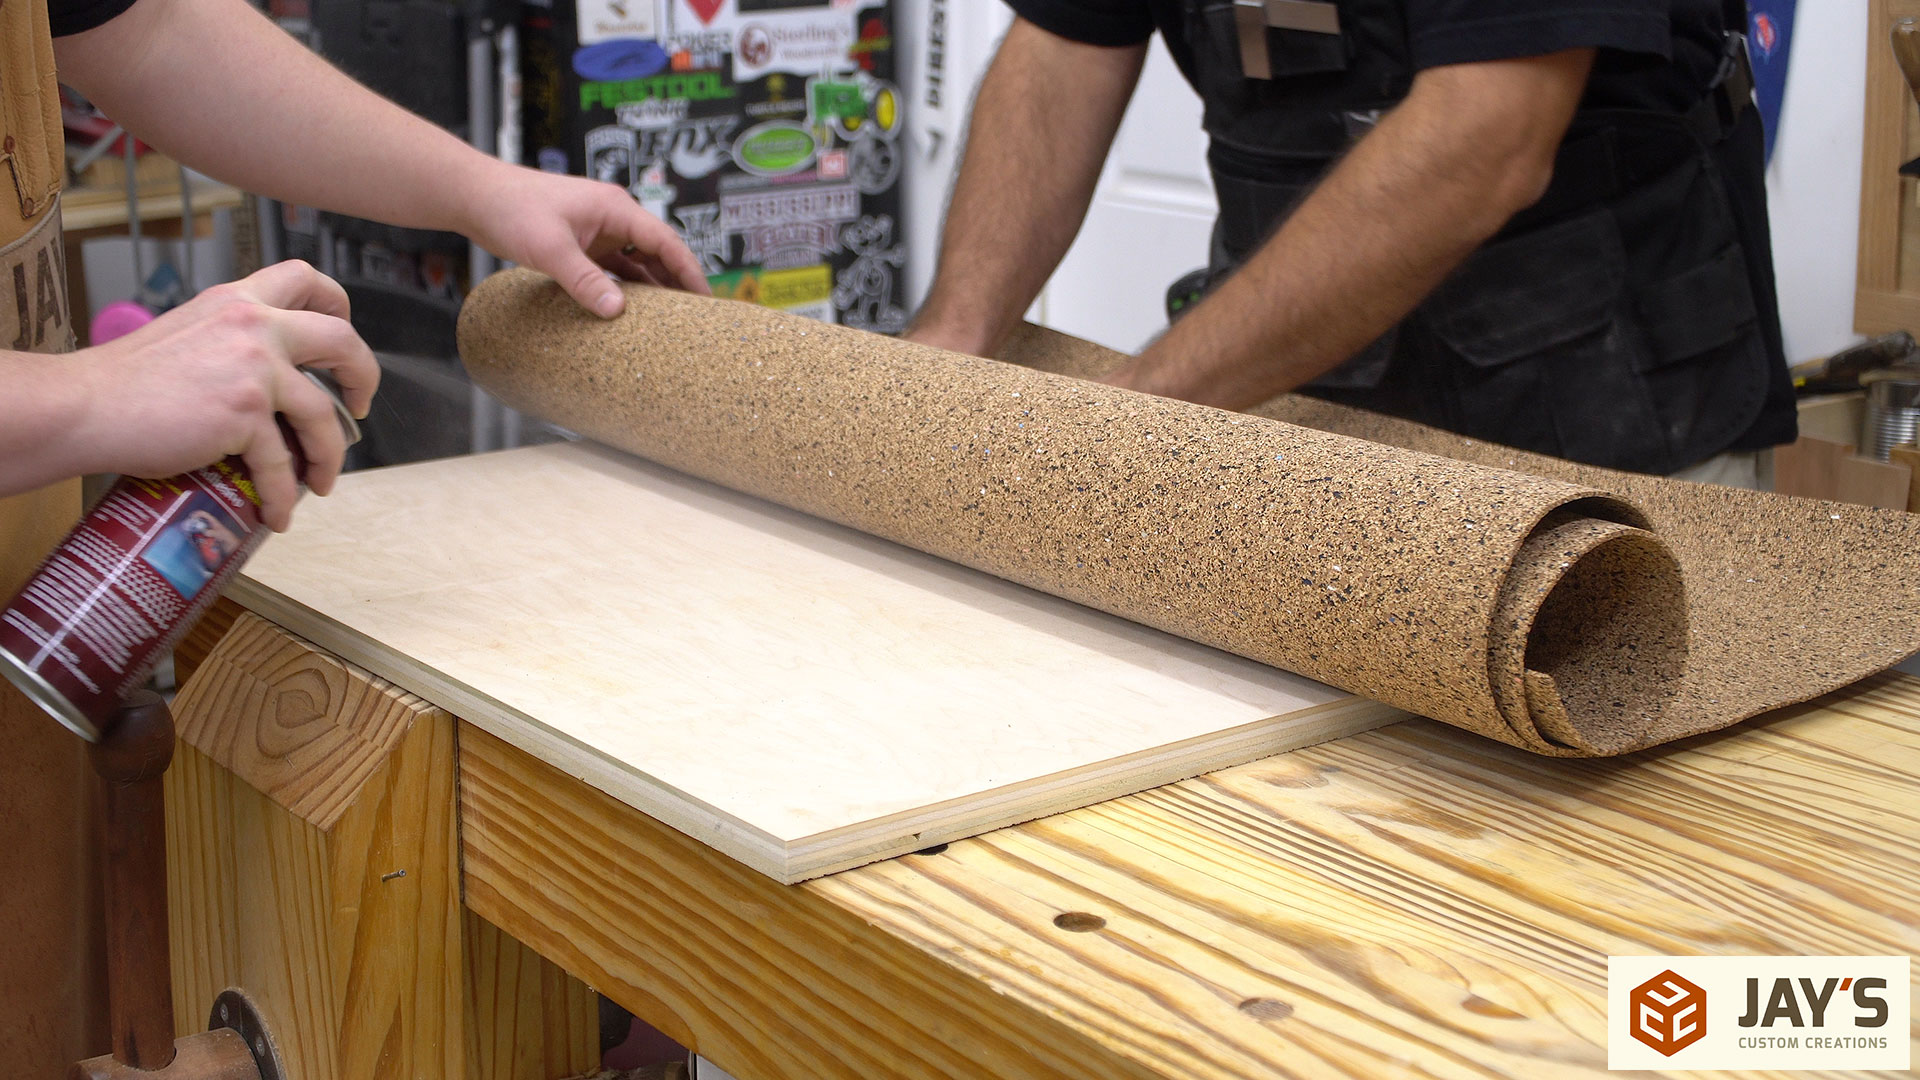
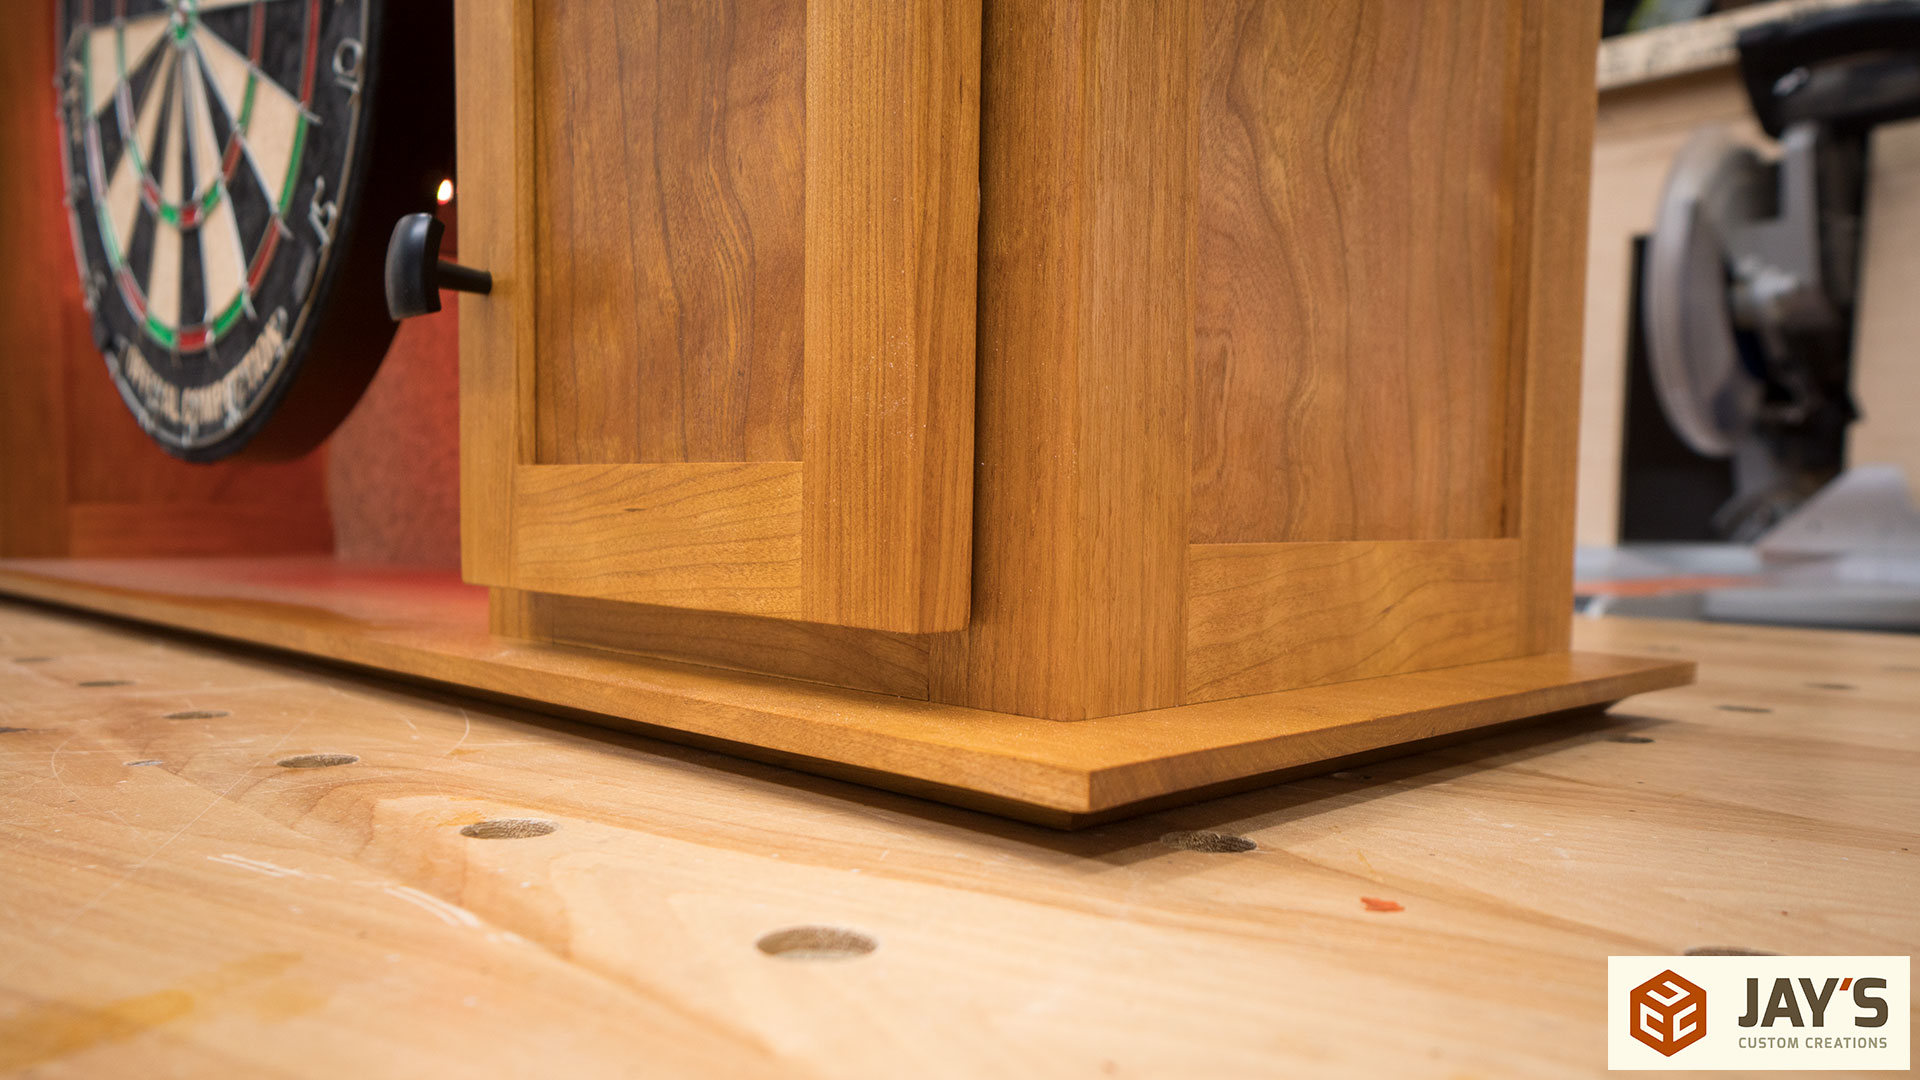
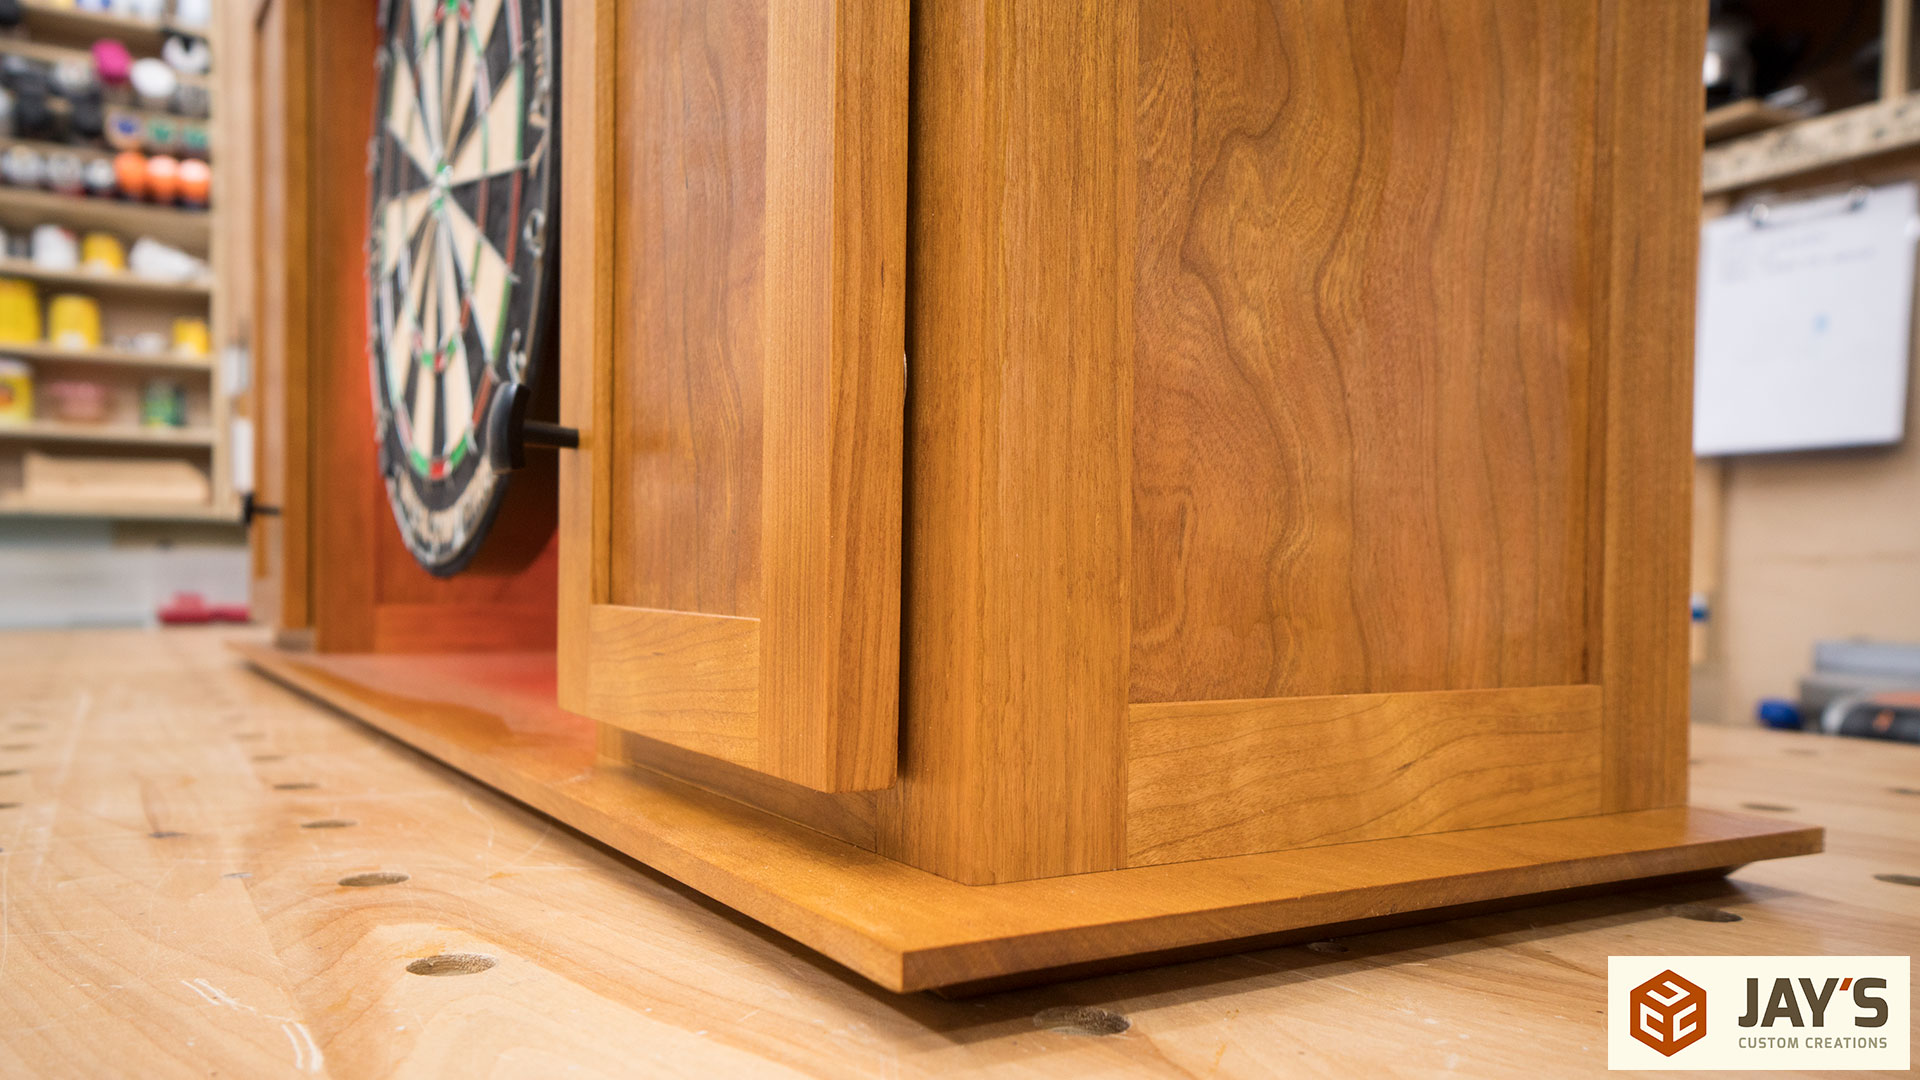
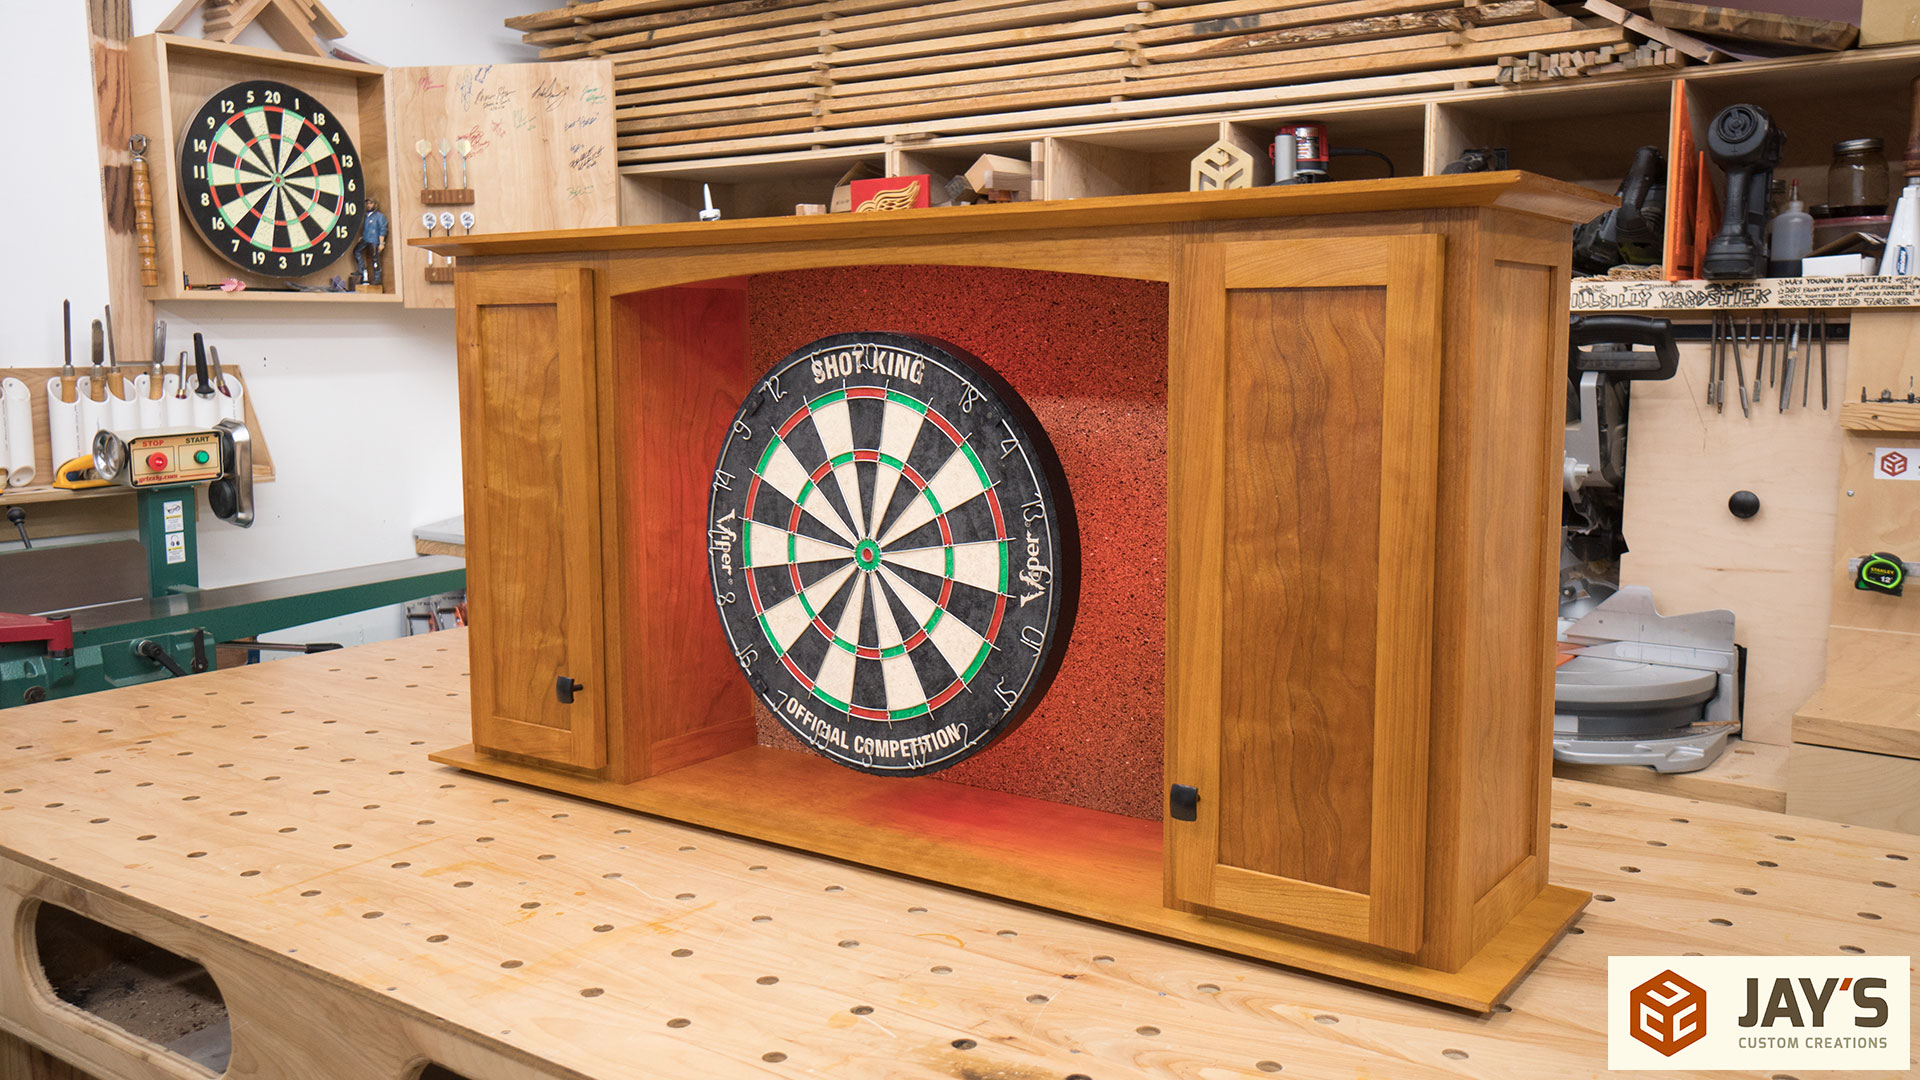
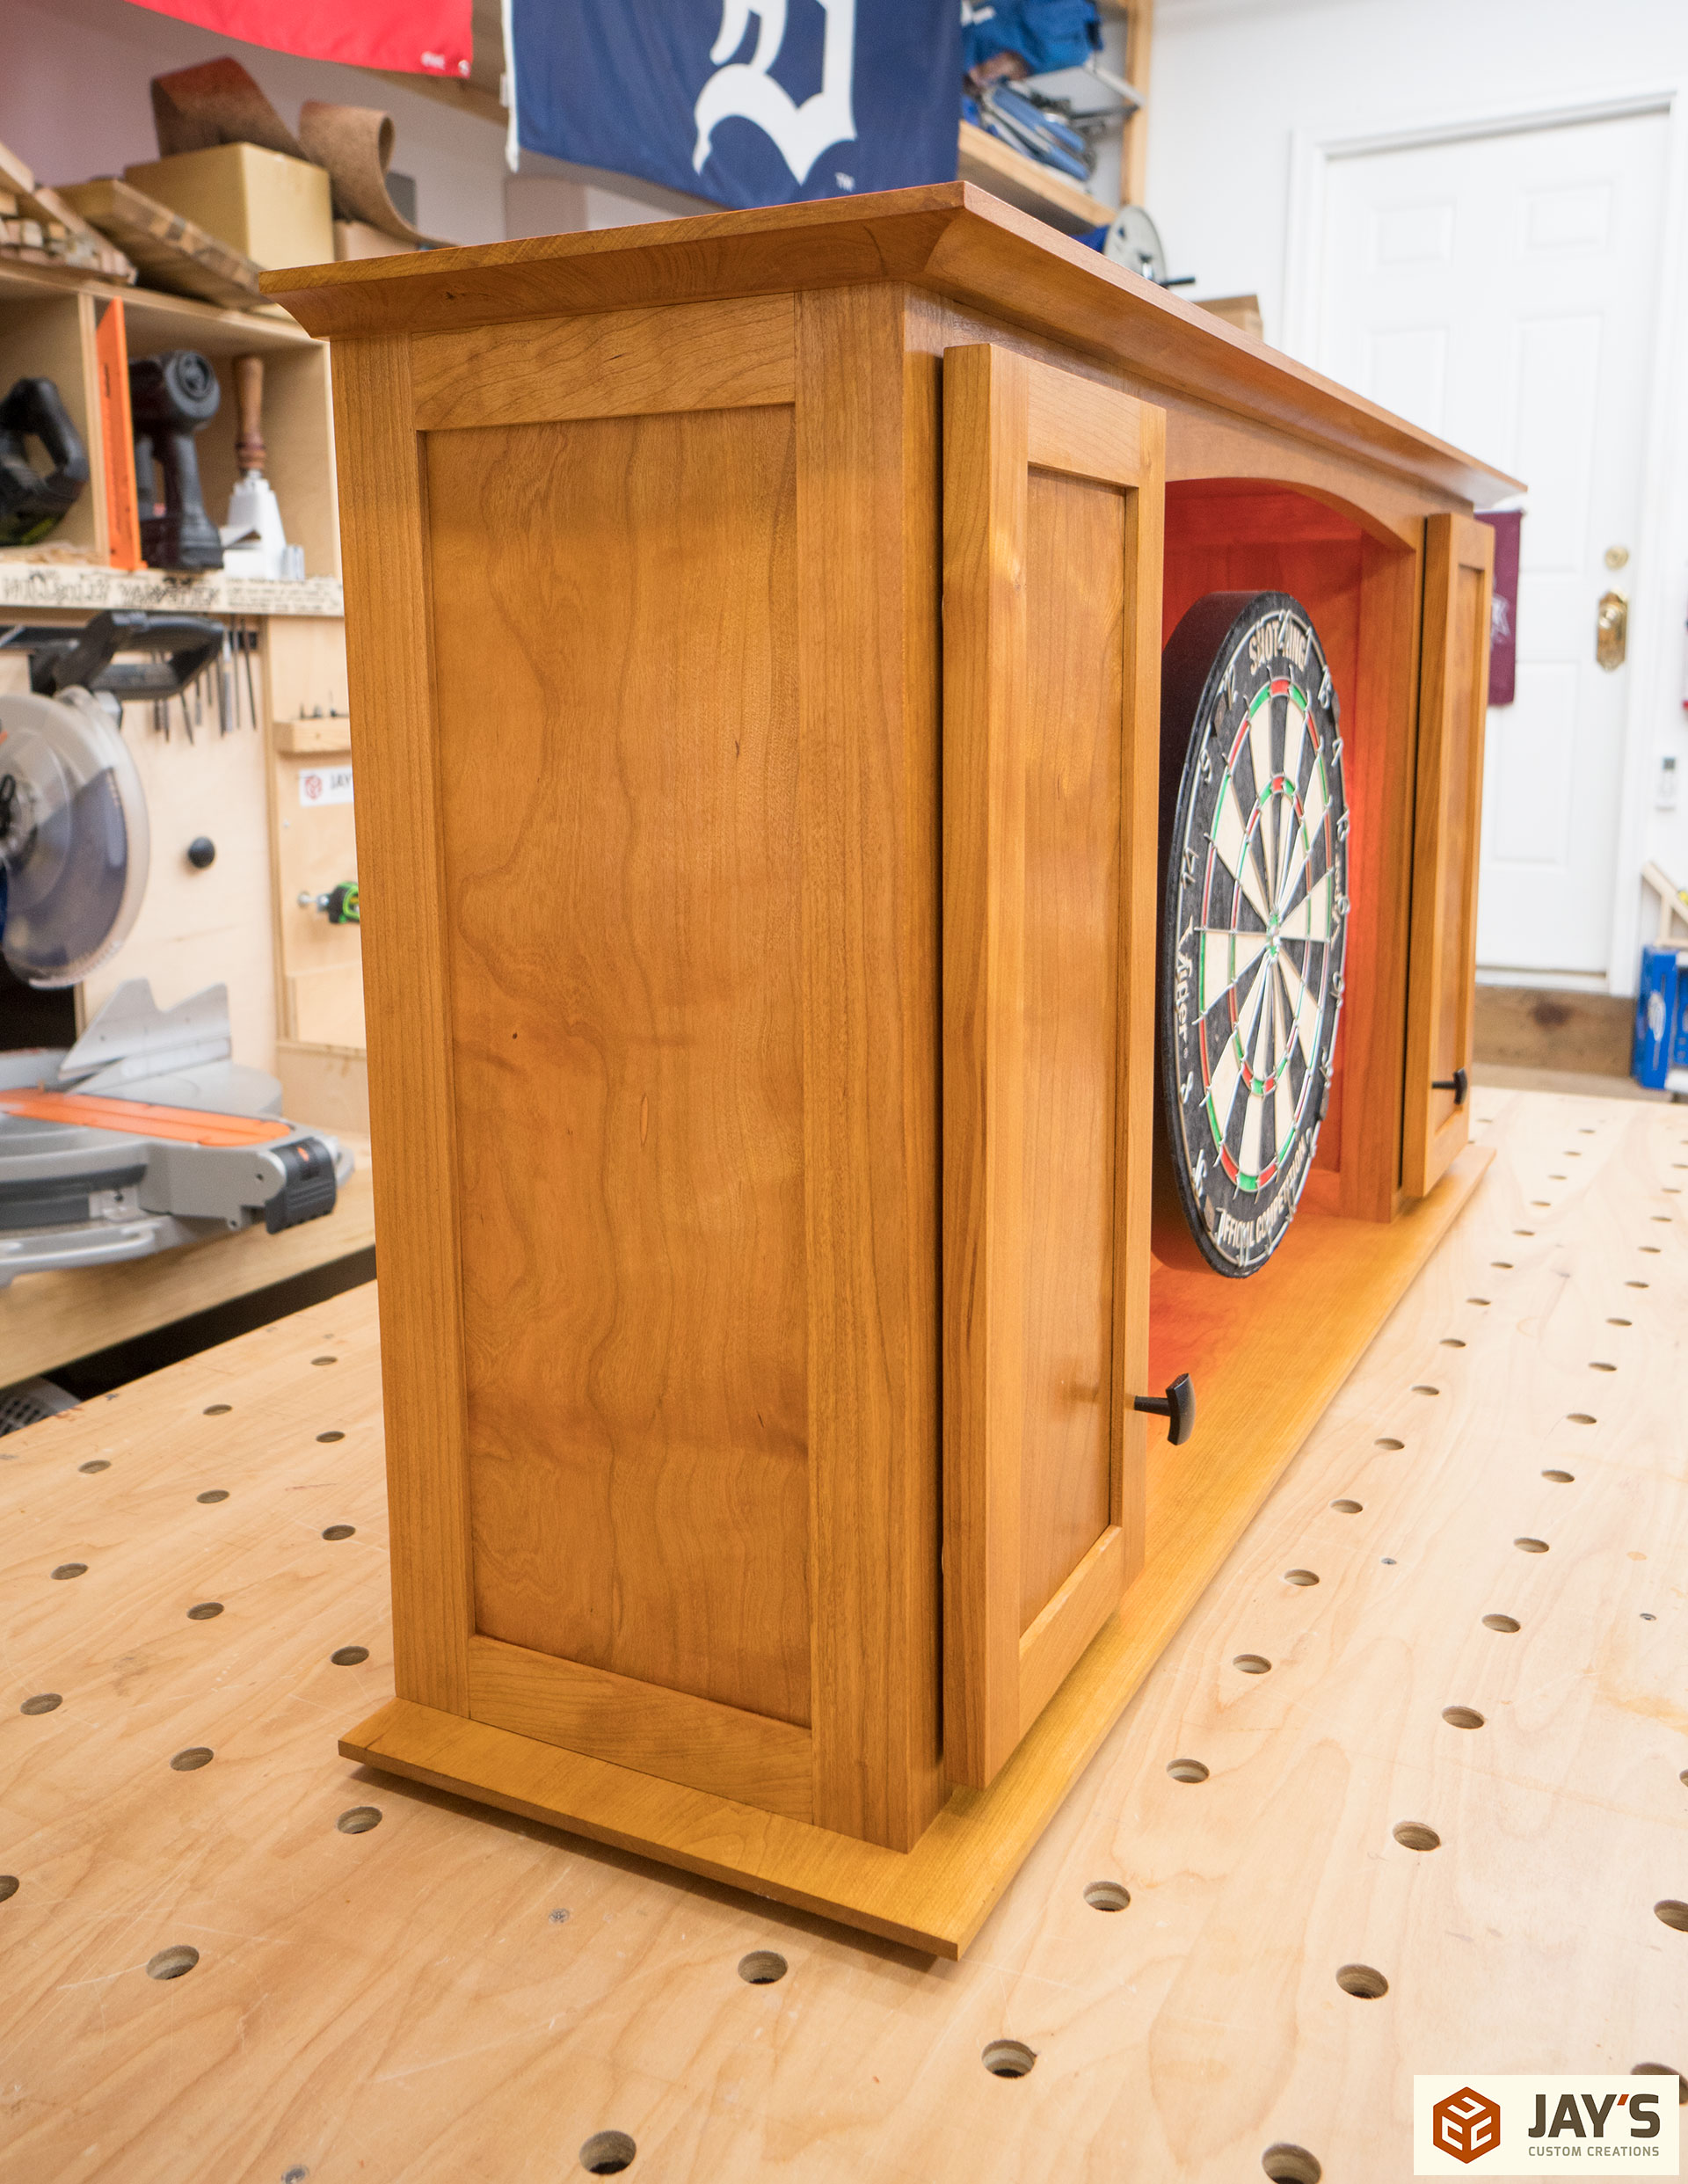
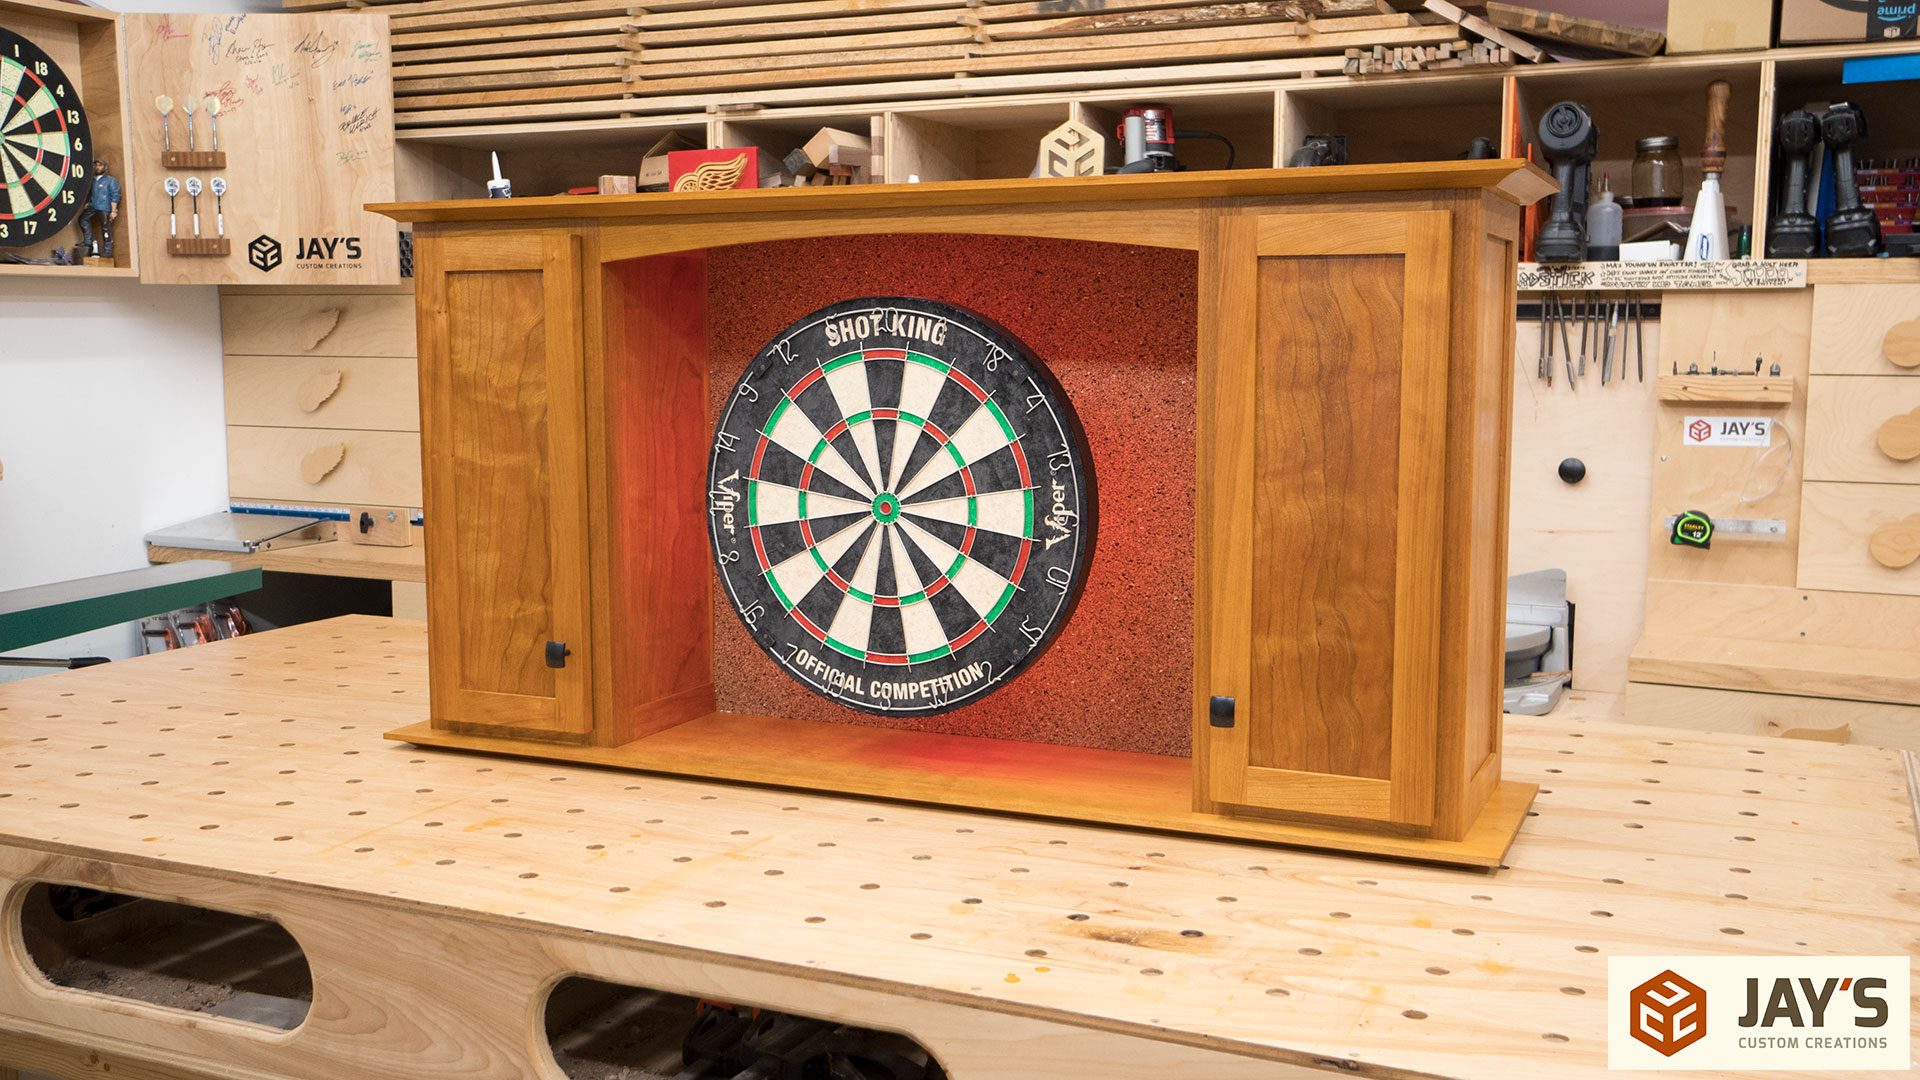
So as I already discussed, Plan B for this build was to turn the top into a dartboard cabinet. A 3/4” plywood back panel was cut and fit to go between the cabinets and in front of the back rails and we covered it with a thin layer of cork.
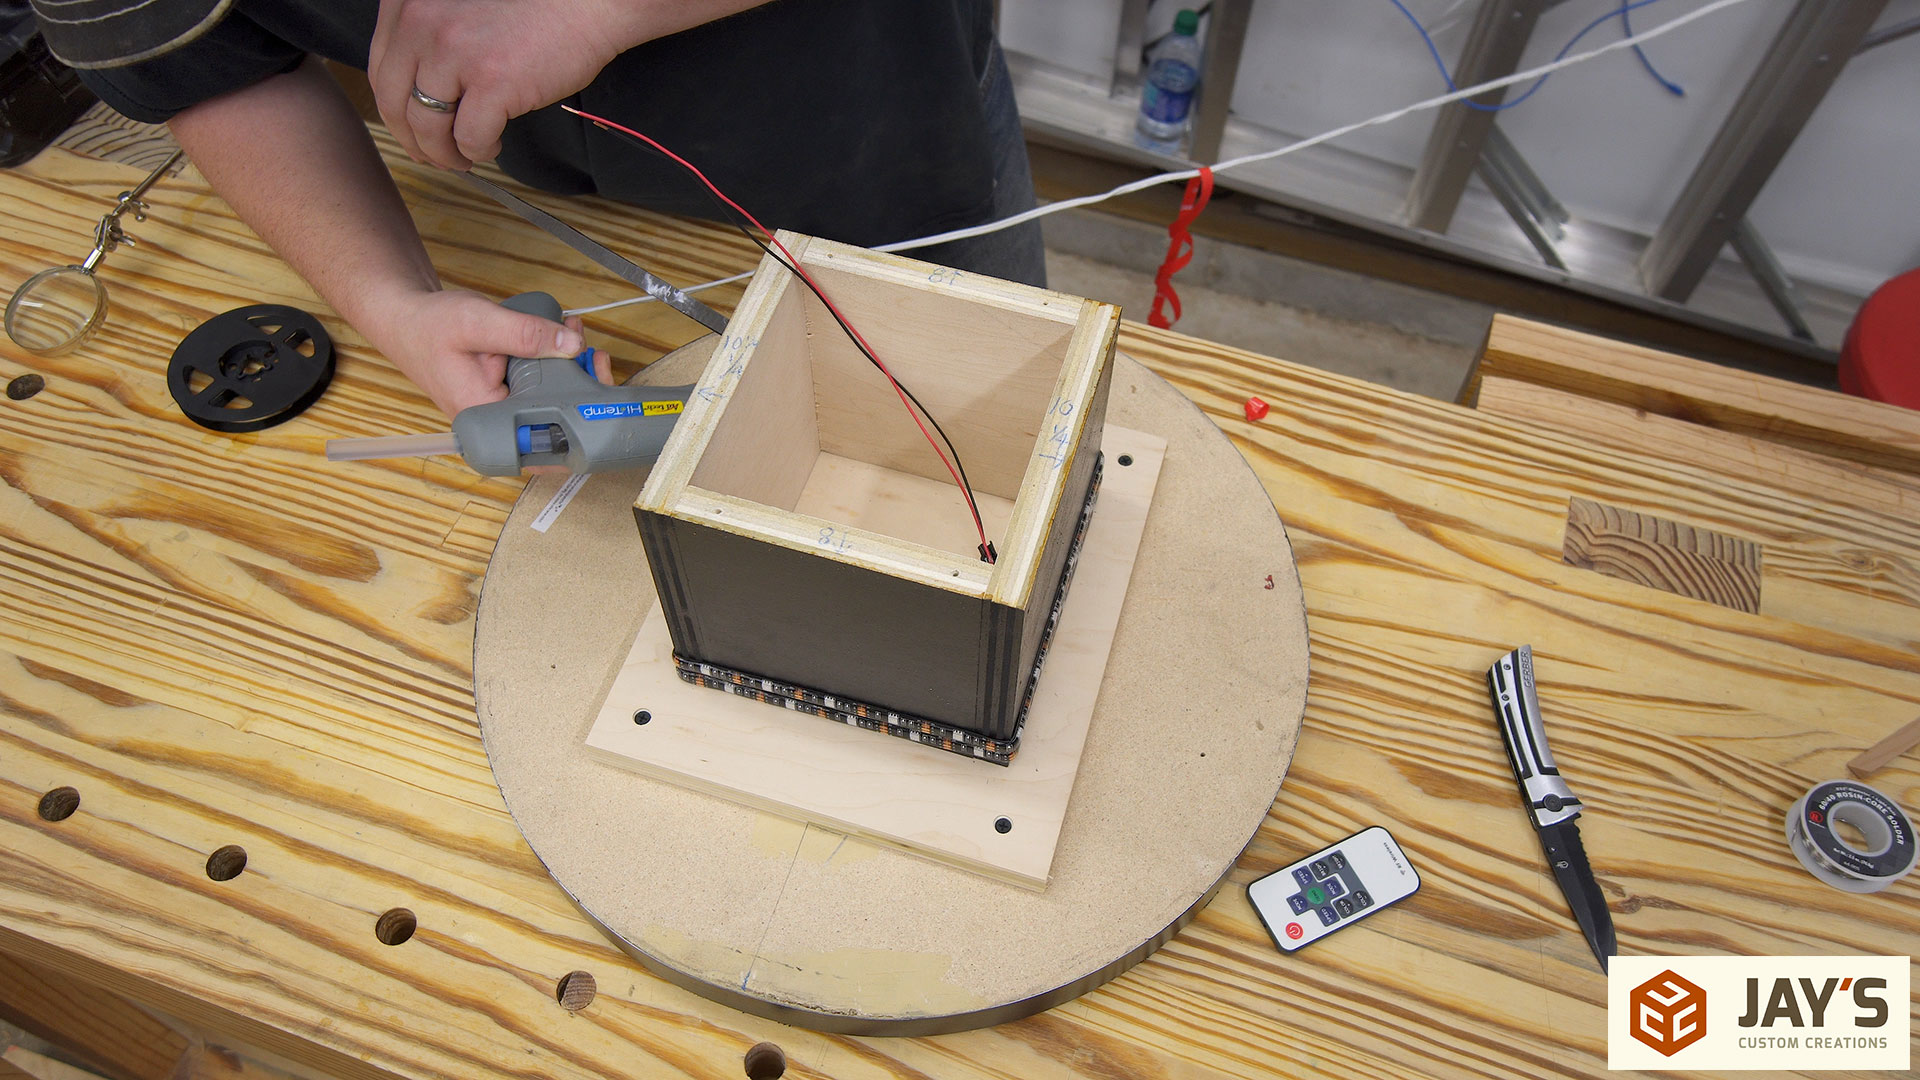
To give the dartboard more visual interest we are going to offset it from the cork panel and use these LED lights for a backlight. To eliminate an ugly power cord hanging down from the cabinet we chose to go with a battery-powered light kit. The cool thing about this is that it can be run off of four AA batteries or any USB power supply.

With the corkboard sitting in place we determined the center location for the offset box, traced around it with a knife, and removed the cork so the box would sit flush on the back panel.

Then we drilled mounting holes as well as a larger hole for the light power wires.

The dartboard cabinet is secured to the back rails with three screws through each rail. This keeps the connecting hardware on the back side and will never be visible when the cabinet is mounted.
A small hole is drilled on an angle through one of the interior corner posts to allow the battery pack to be accessed through the bottom of one of the cabinets. All of the wires will be neatly tucked away and never seen.
We painted the offset box black so it wouldn’t visually stand out if someone looks behind the dartboard on an extreme angle. To attach the dartboard to the offset box we added another piece of plywood as a mounting plate. This will be tight against the back of the dartboard and has no chance of being seen so we didn’t bother painting it.

The platform assembly was then attached to the cabinet so we could mount the dartboard. To make sure the dart board is attached perfectly center as well as aligned vertically we used double-sided tape to position it from the outside.
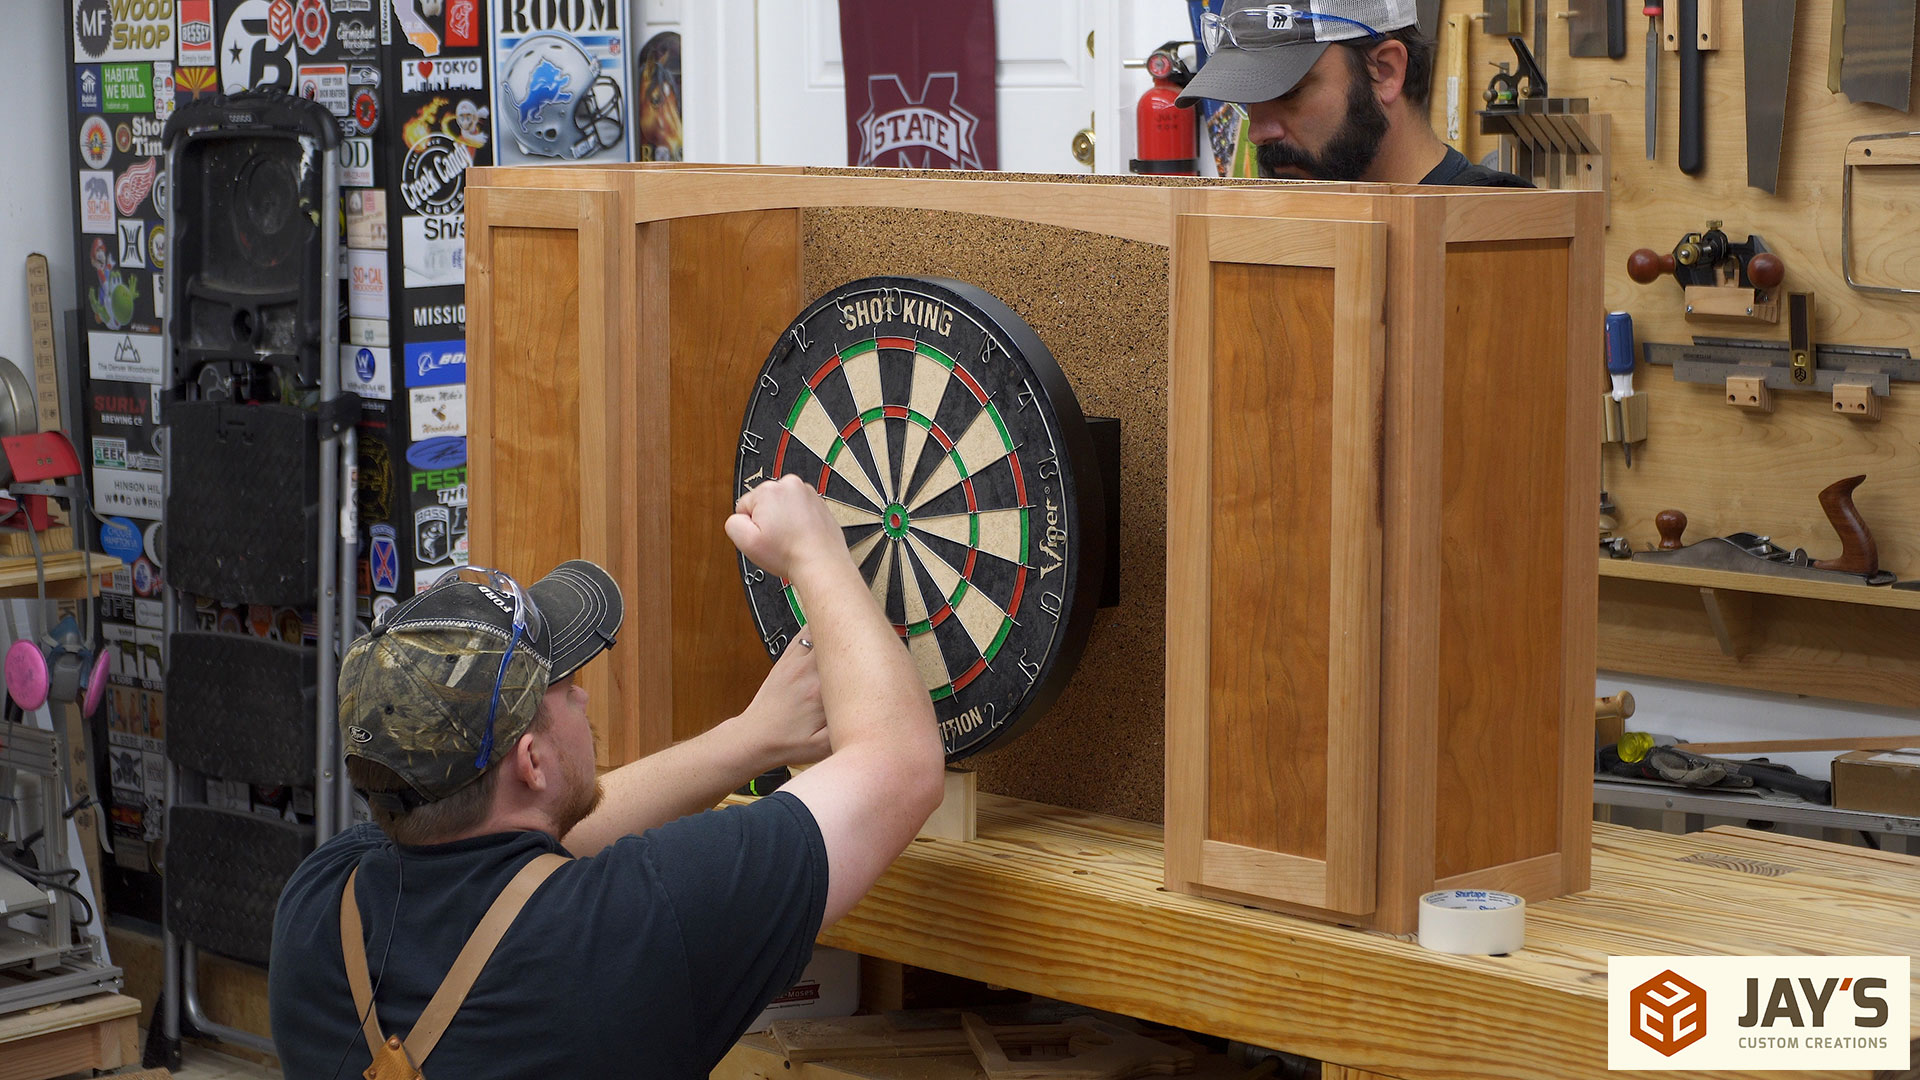
Then the platform can be removed and the dart board can be secured with four screws through the mounting plate.

After a final disassembly everything can get any last-minute surface prep and the finish can be applied. We are using the same mix of garnet shellac applying the first coat with a brush, sanding with a 320 grit sanding sponge after the first coat has dried, then adding a few more coats with a balled-up rag.

The last thing to do is add the LED lights, install the dart board for the last time, and secure the top and bottom panels with the table top hold down clips.
 And finally the project is completed. As you know, we started this build with a completely different outcome in mind. It didn’t finish as originally intended but we were able to make lemonade out of lemons, as the saying goes. Things don’t always go as planned. You may never encounter a big mistake like we made here. We could have simply scrapped the material and started over but we wanted to share the experience with all of you. Make your mistakes, learn from them, and move on more educated and with your chin up.
So why a dartboard cabinet? Well, that was the first thing we could think of to salvage the build and proceed with actually being productive. We’re not even sure if it will remain a dartboard cabinet. One could easily remove the dartboard and back panel, replace it with a mirror, and call it a whiskey or liquor cabinet. Regardless, it’s a quality piece of woodworking that is built to last.
So what are we going to do with it? We’re not sure. Neither of us plan on keeping it though. We haven’t decided 100% what to do but one idea was to auction it off and anything greater than the material cost invested would be donated to charity. The auction would be for a pickup only situation where the winner could pick it up and spend a day with us in the shop doing whatever he/she wanted in regards to learning something or simply talking shop for a bit. Either way, let us know what you think of the project as well as what to do with it. Have a great day!


I enjoyed the video and the time you take to explain the ways of doing things. You and Mr Stone do a great job together.
Nice save on this project. Great looking piece.
Dart board? The way I throw that thing would be a sieve. But I like the idea of a specialty bourbon showcase. Nice work.
That is one cool dart board. My wife play darts in our basement.Since I’ve signed up to your website, \I have enjoyed all your projects. And being in Canada in Windsor Ontario, which happens to be the only Canadian city south of the United States, it only takes me 15 minutes to get to a Detroit Tigers baseball game.
If your going to have a draw for the dart board, please put my name down. If I win I will pick it up on my way back home from Mission Texas. My wife and I are Winter Texans, Much warmer here than in Canada.