The picture below is my first computer cart for the shop. It was designed for a desktop computer and was used to connect to my Shapeoko 2 CNC machine. It’s a basic shelf style cart that my brother continues to use today.
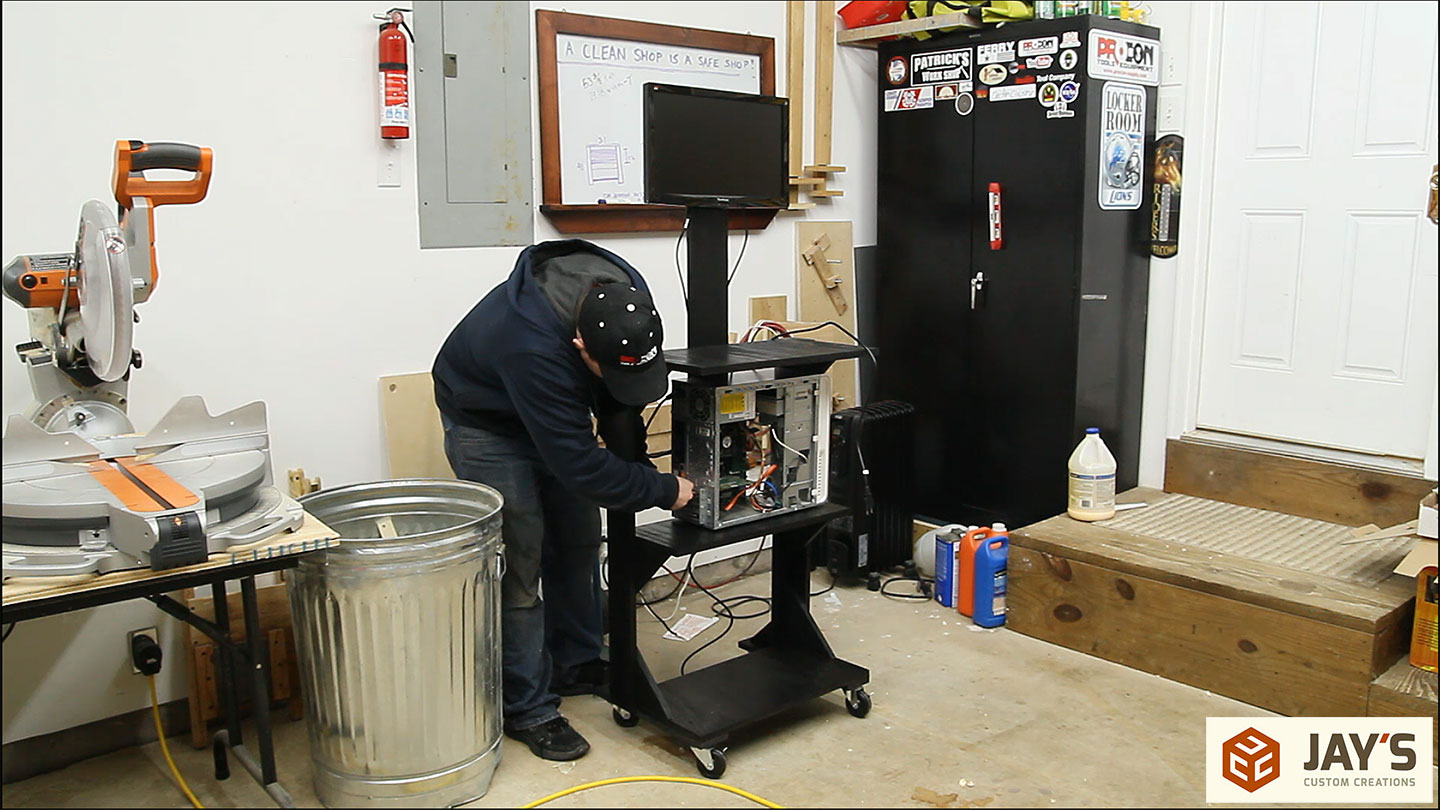
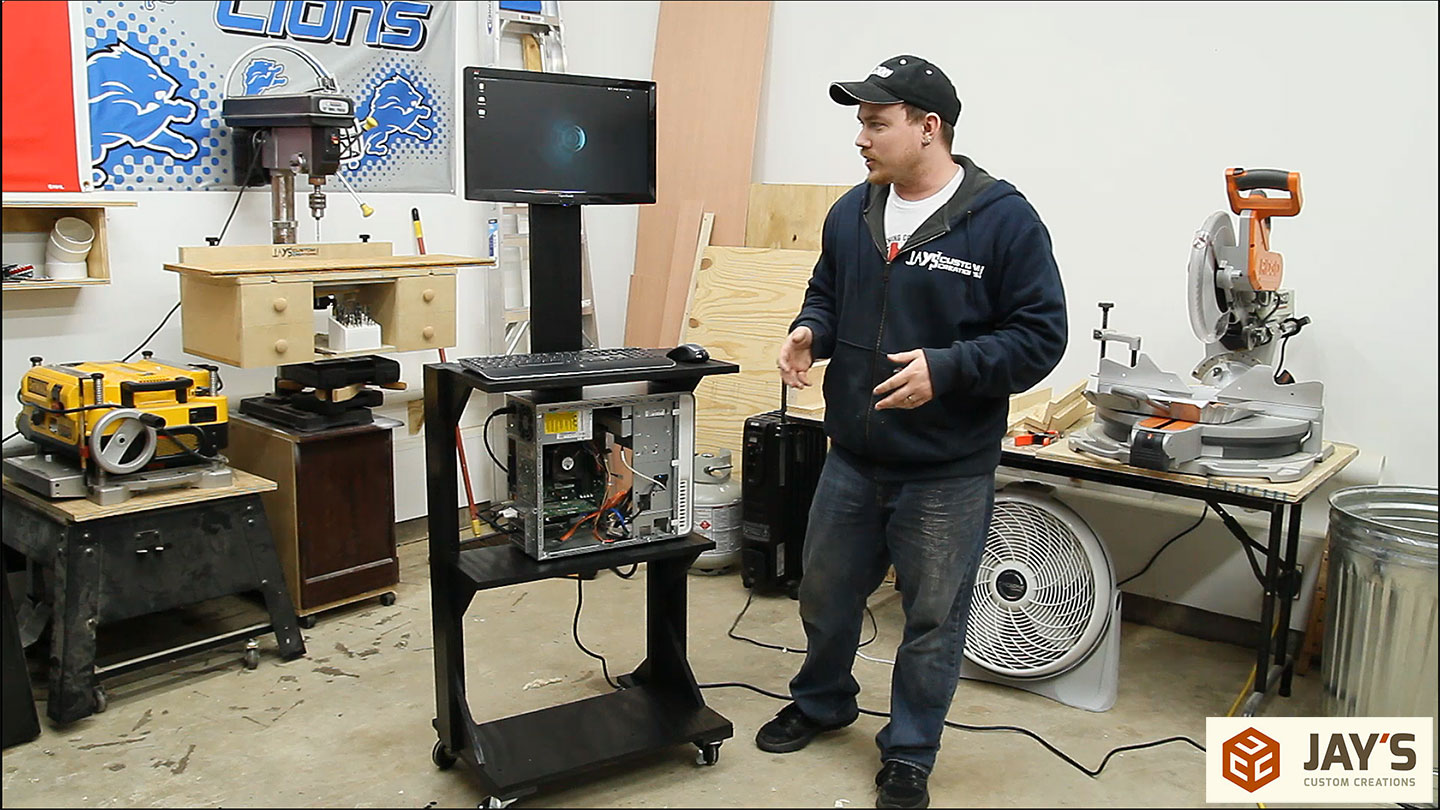
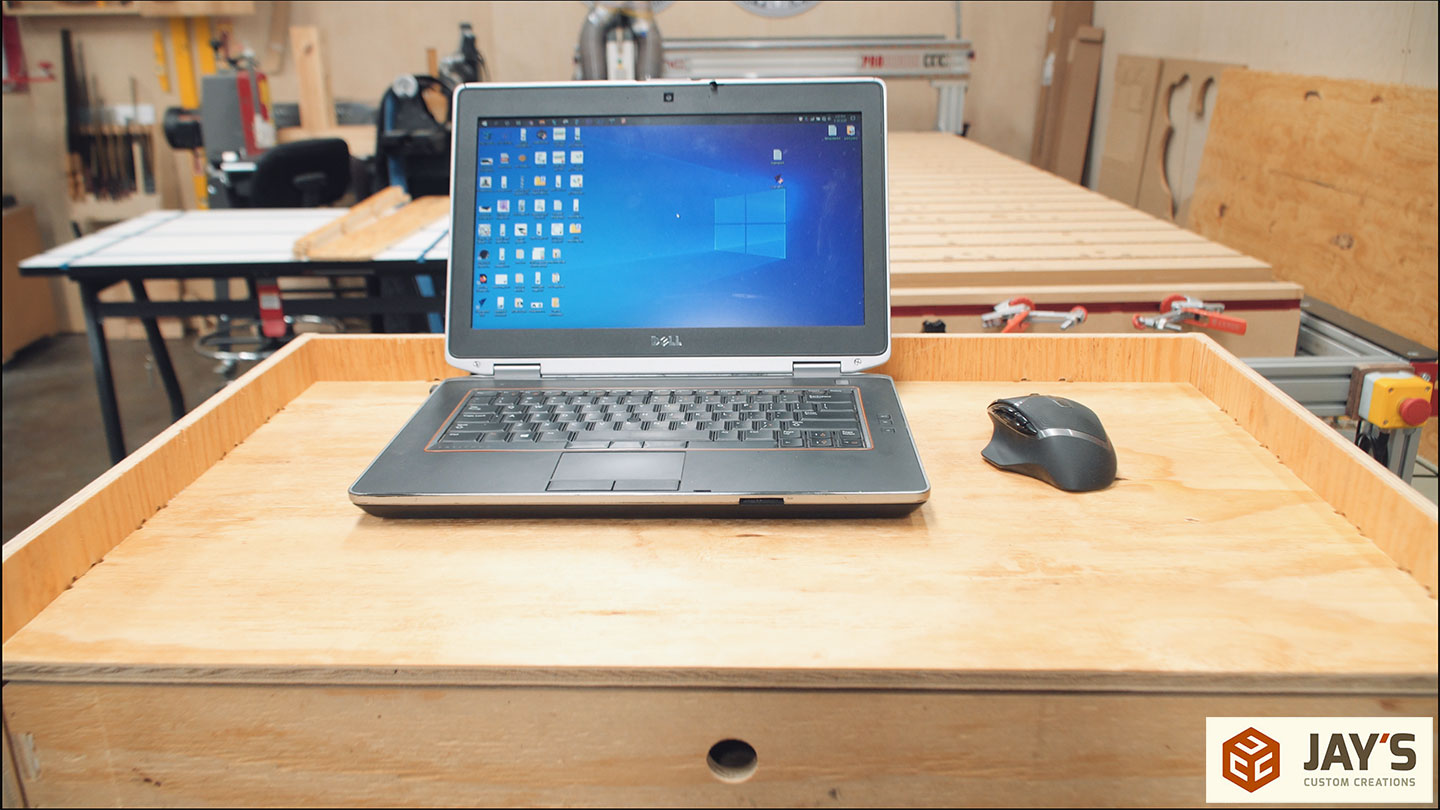
This is my second computer cart for the shop. It was designed for a laptop with an integrated control pendant stand. The interior area was supposed to house drawers but I never got around to making them.


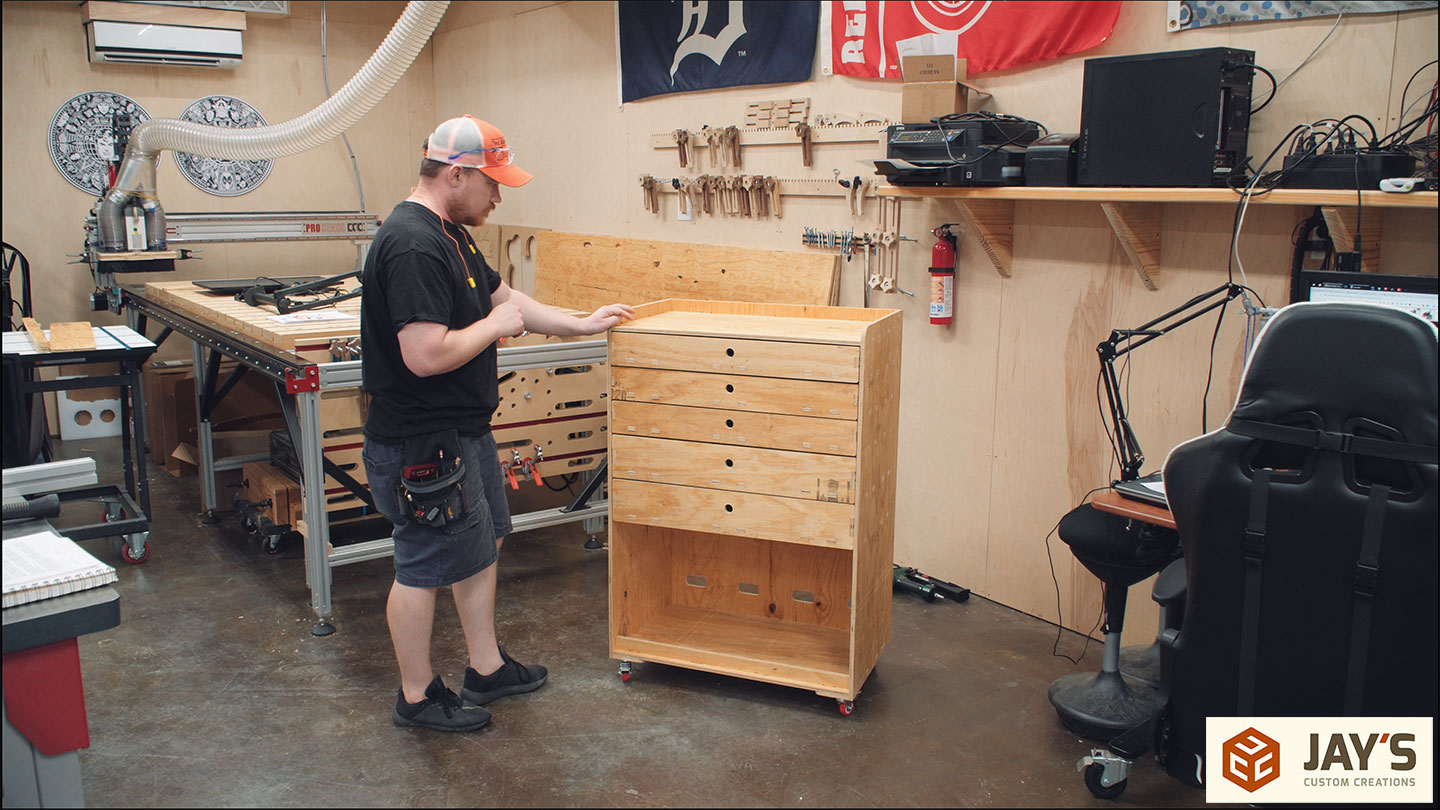
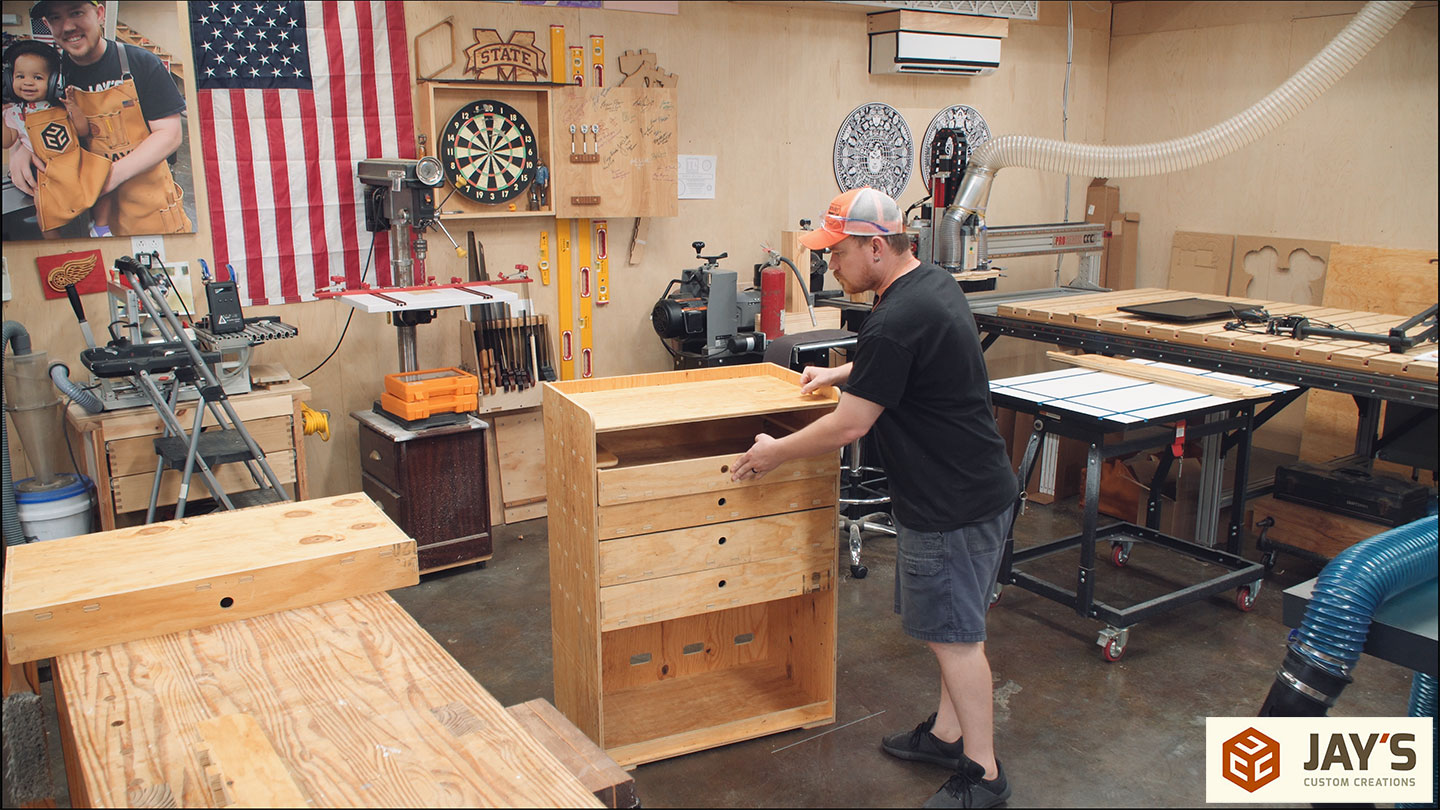
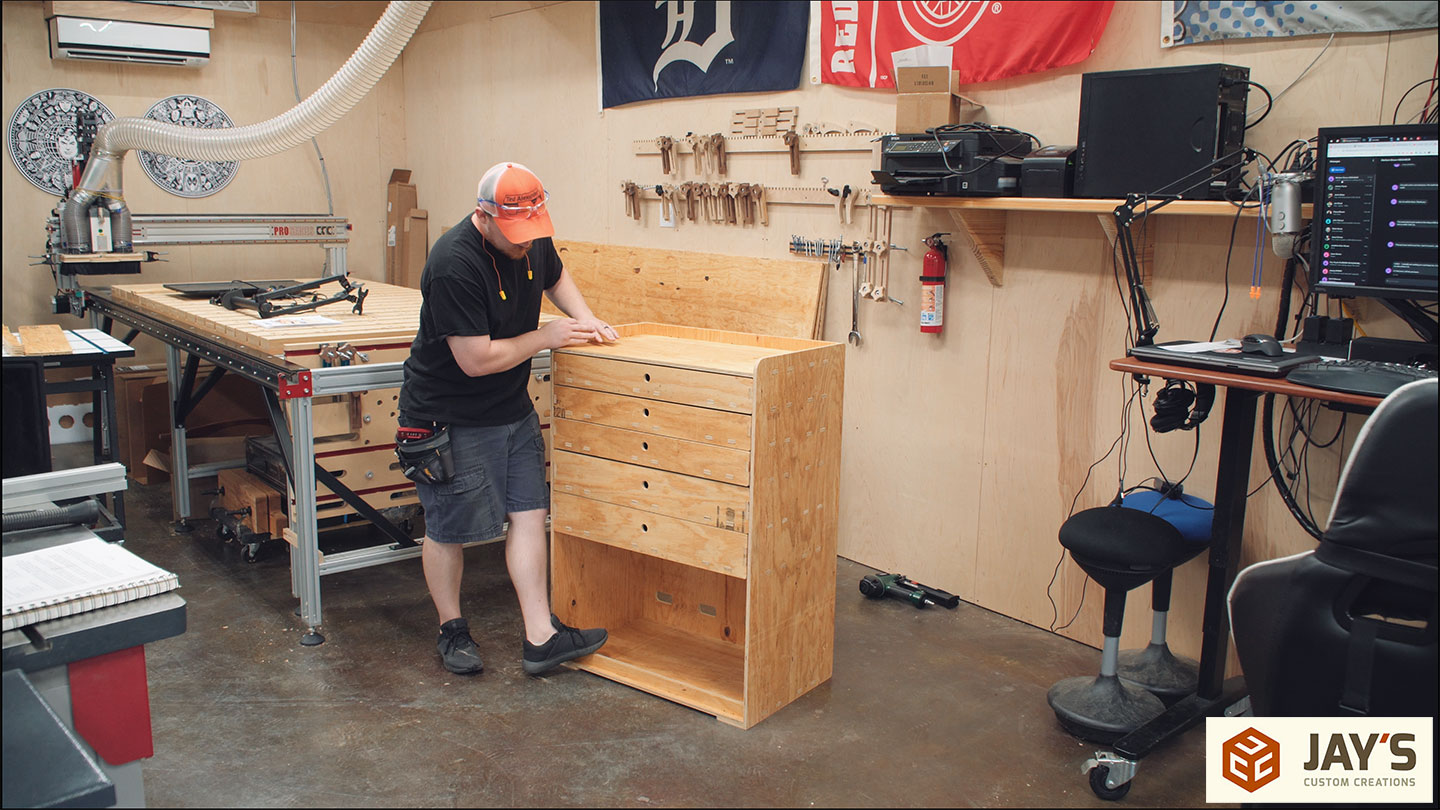
This is my third computer cart for the shop and the one I will make in this video. It has five drawers, cable management holes in the back, set up for a desktop or a laptop, rolls really easy and is made entirely out of three sheets of plywood.
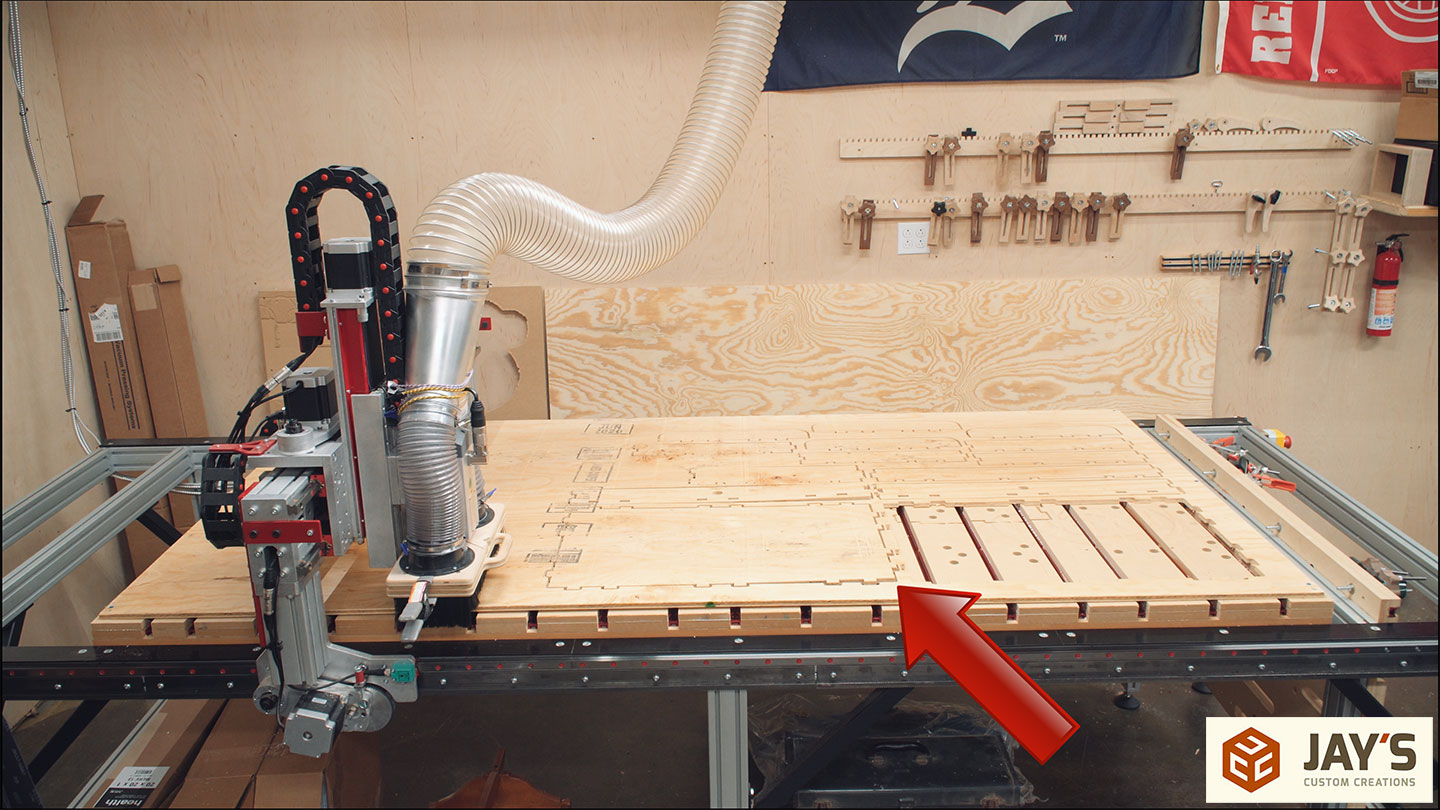
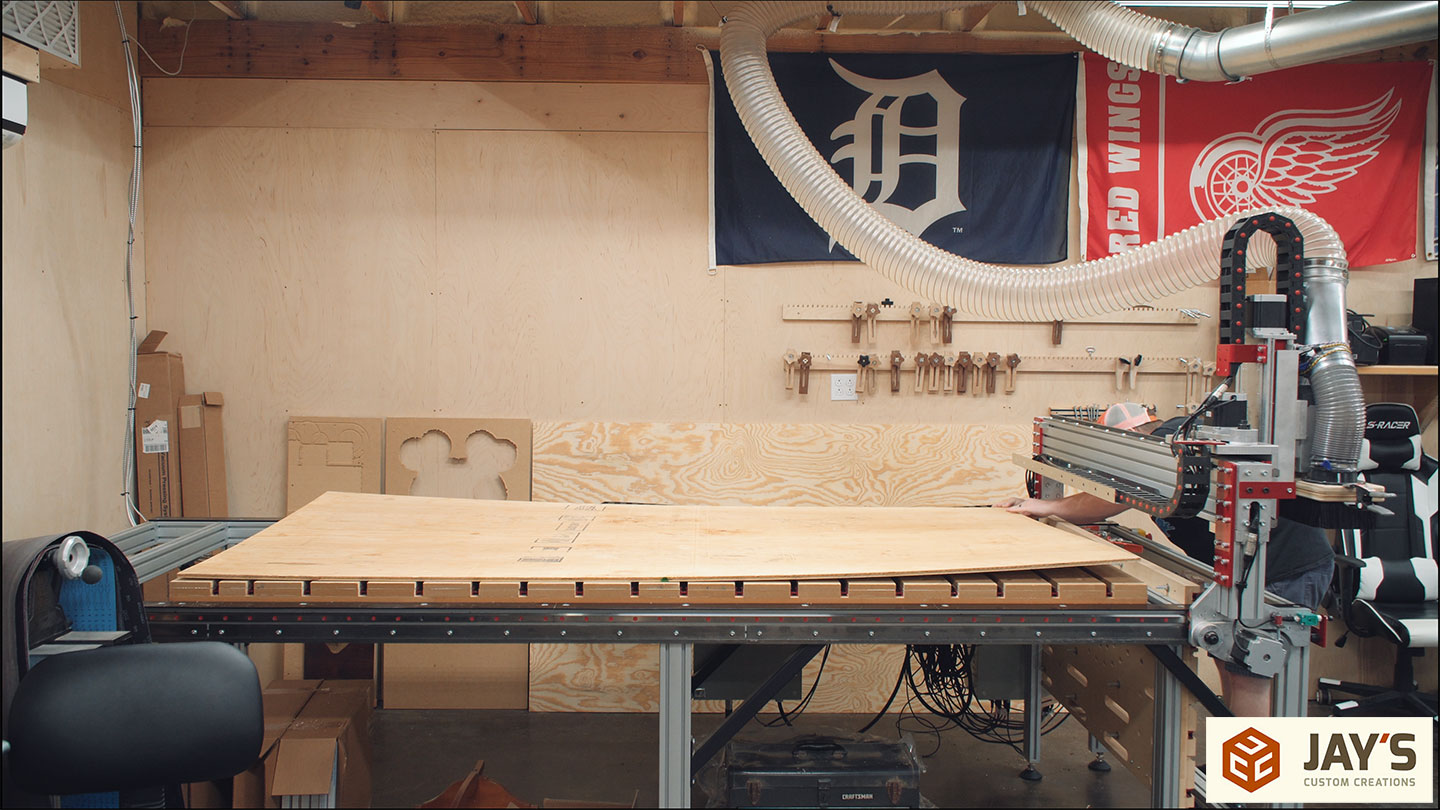
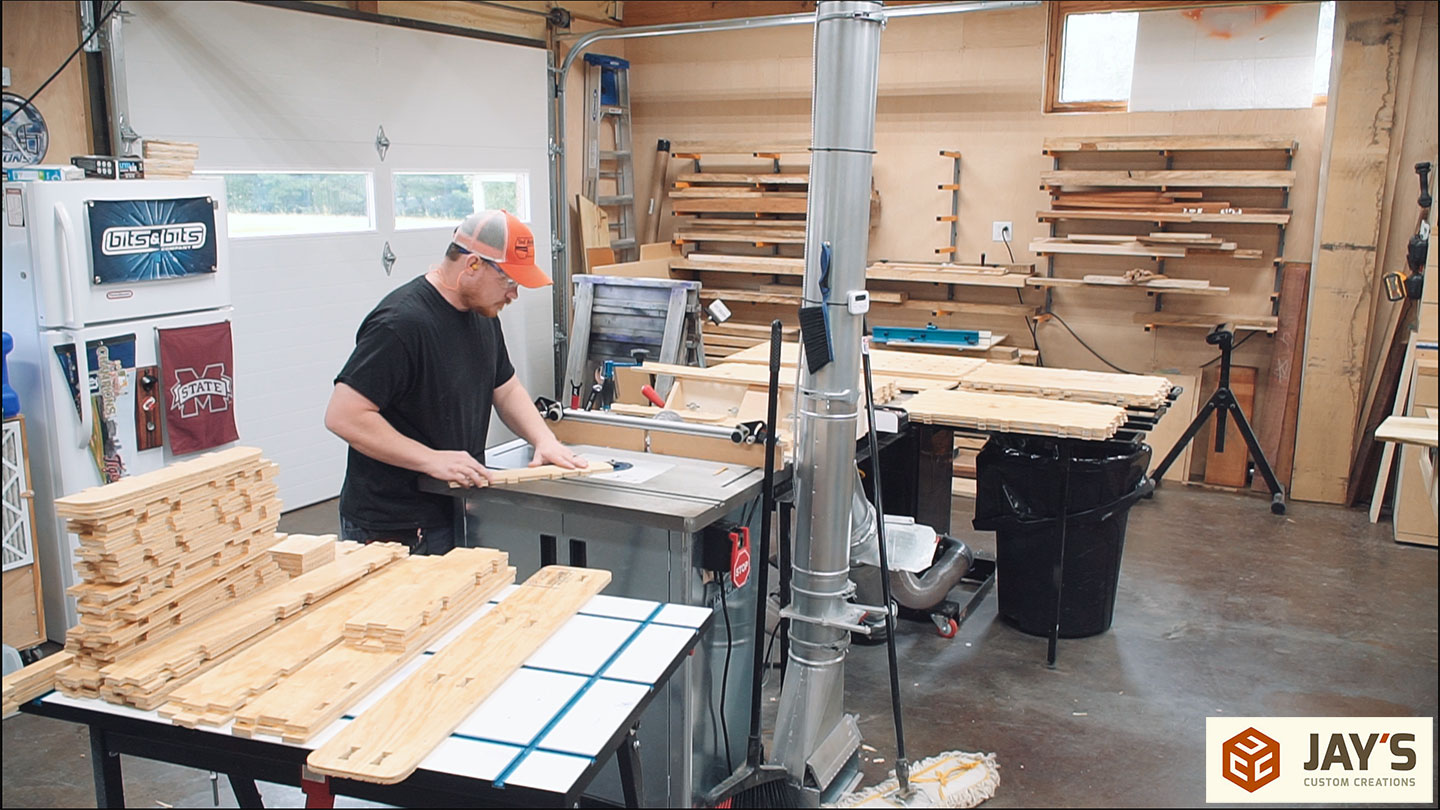
Speaking of plywood, I’m using one of the worst batches of 1/2” pine CD rated plywood that I’ve ever used for this build. As you can see it is warped quite a bit. I went ahead with the build because I thought most of the warp wouldn’t be evident in the smaller pieces. Also, this is a shop project, which allows for greater flexibility to experiment.
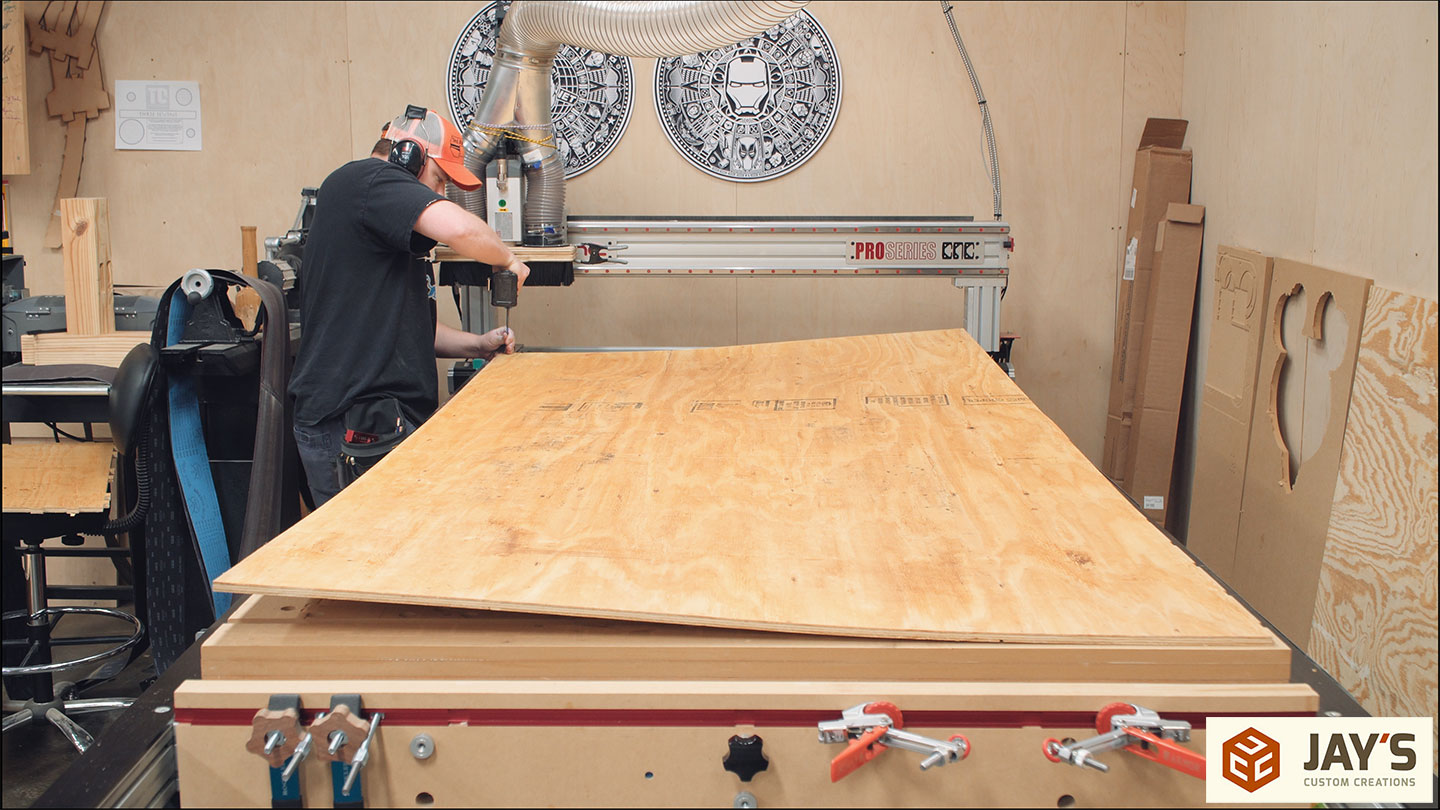
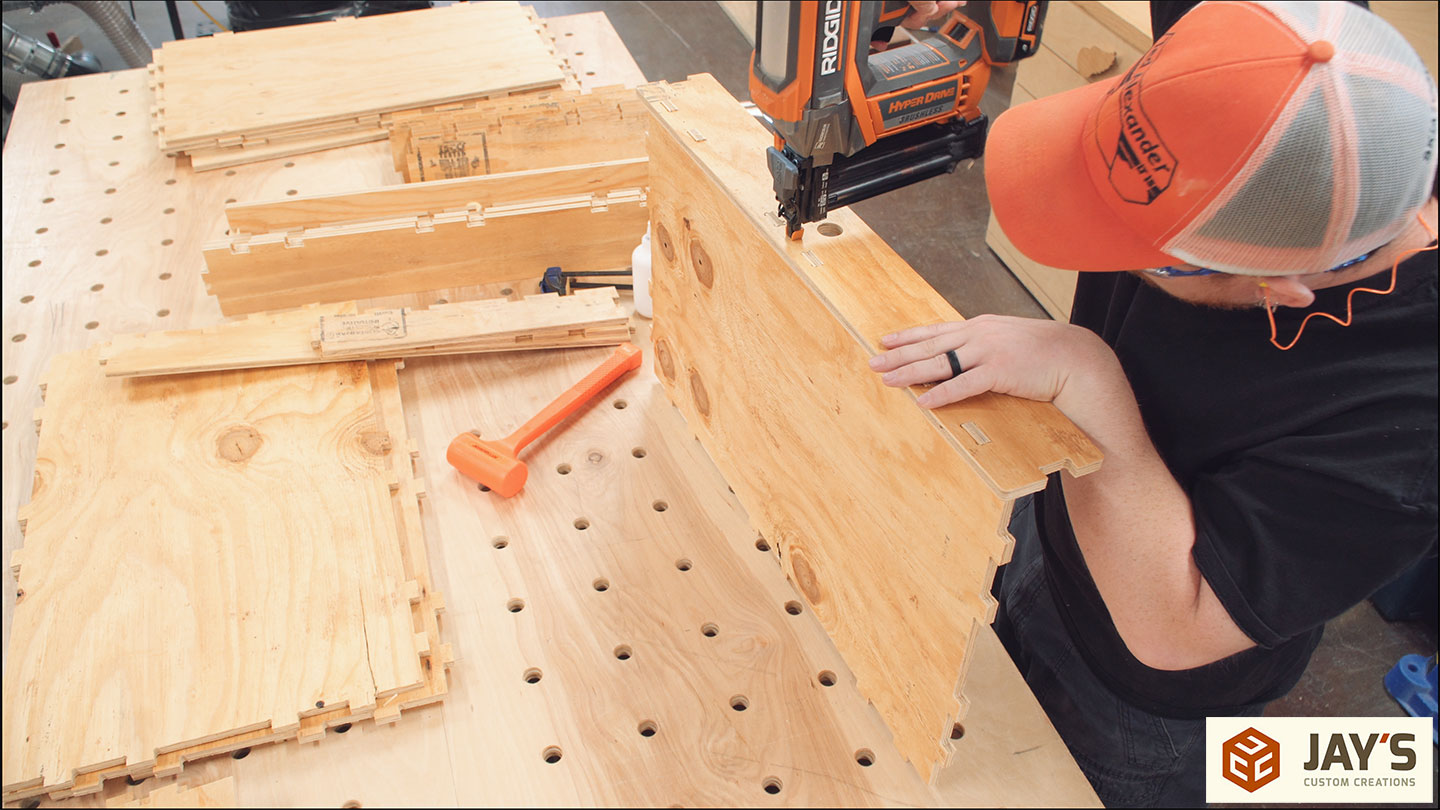
Because I don’t have a vacuum table, I normally secure sheet goods with a nail gun that fires plastic nails. In this case, I thought the bow resistance was too much so I used washer head screws.

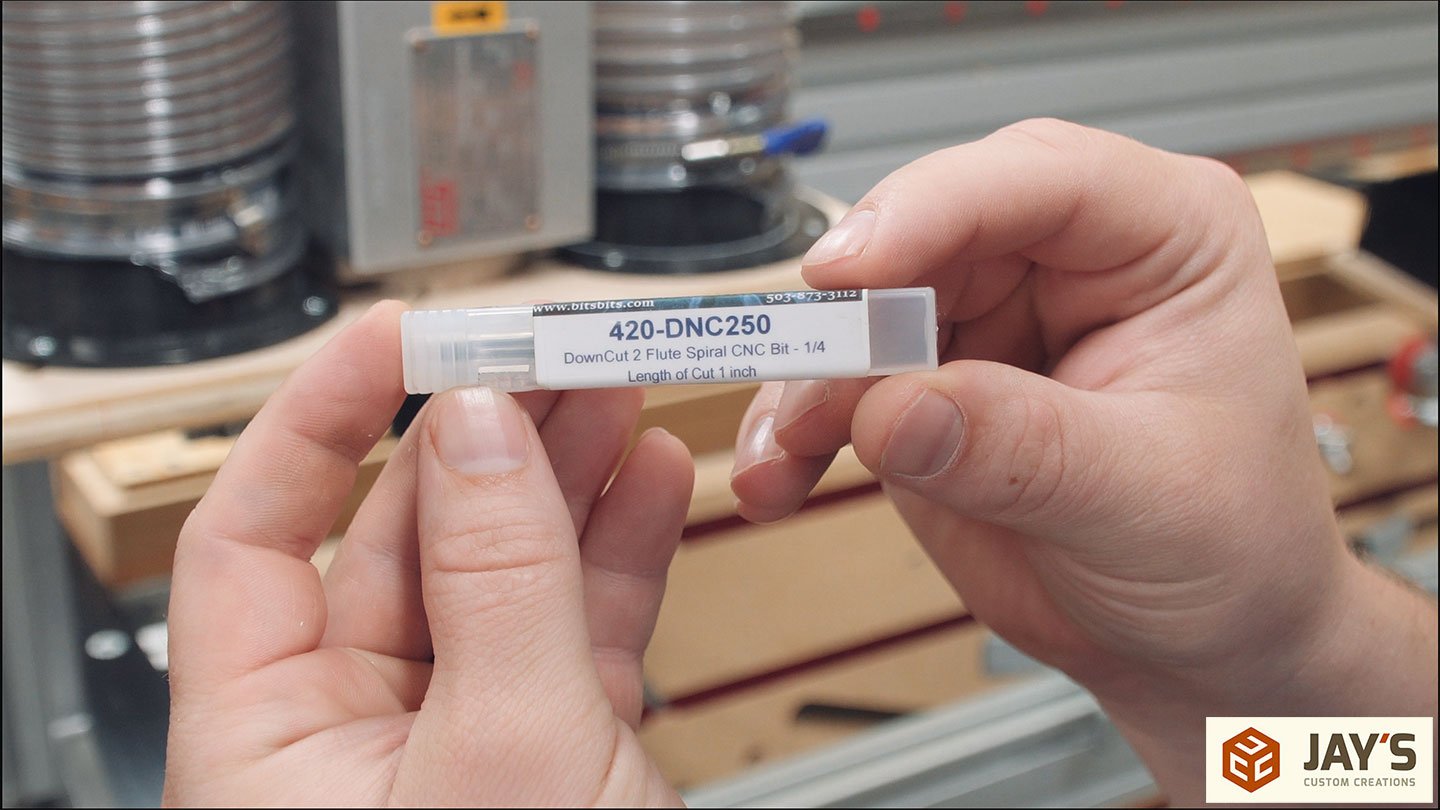
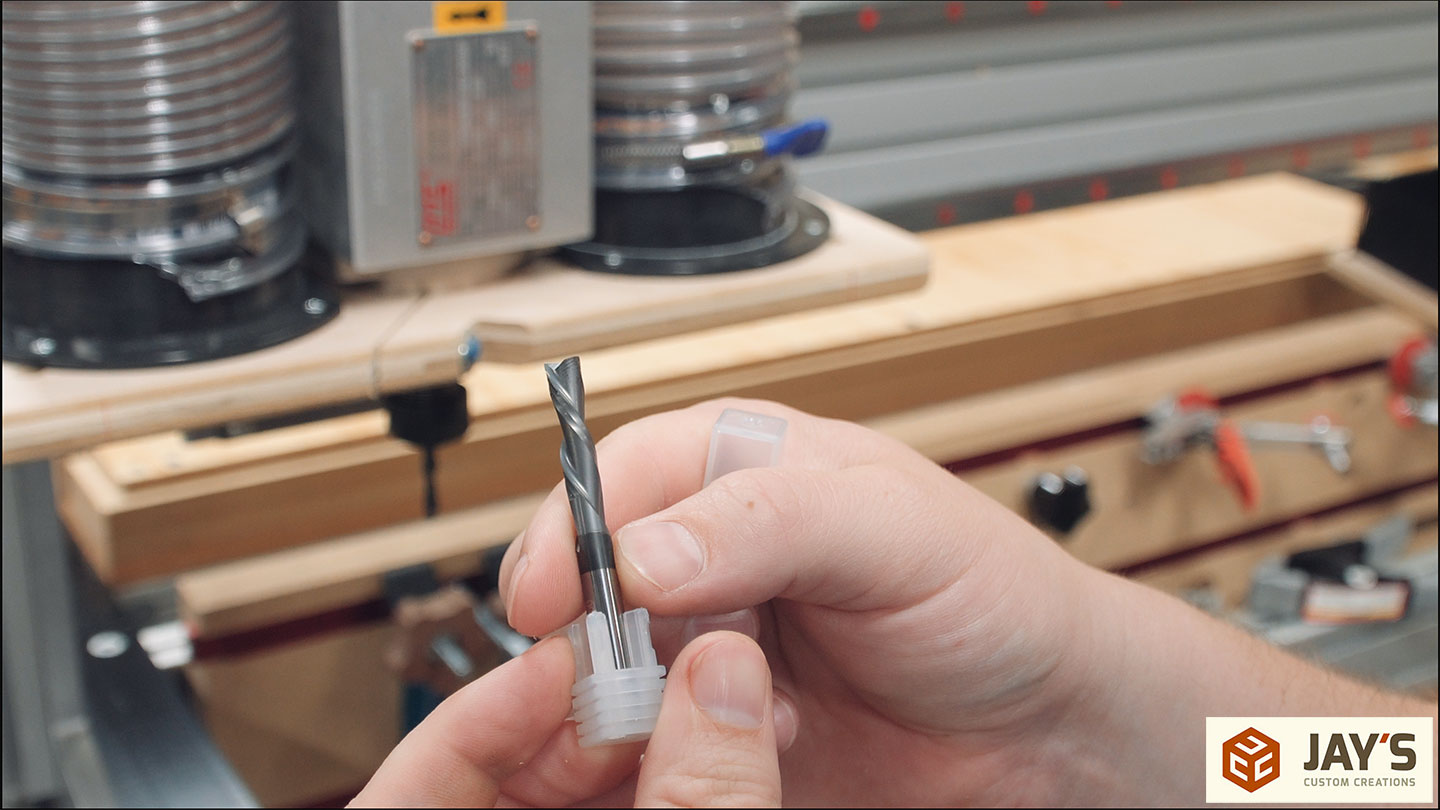
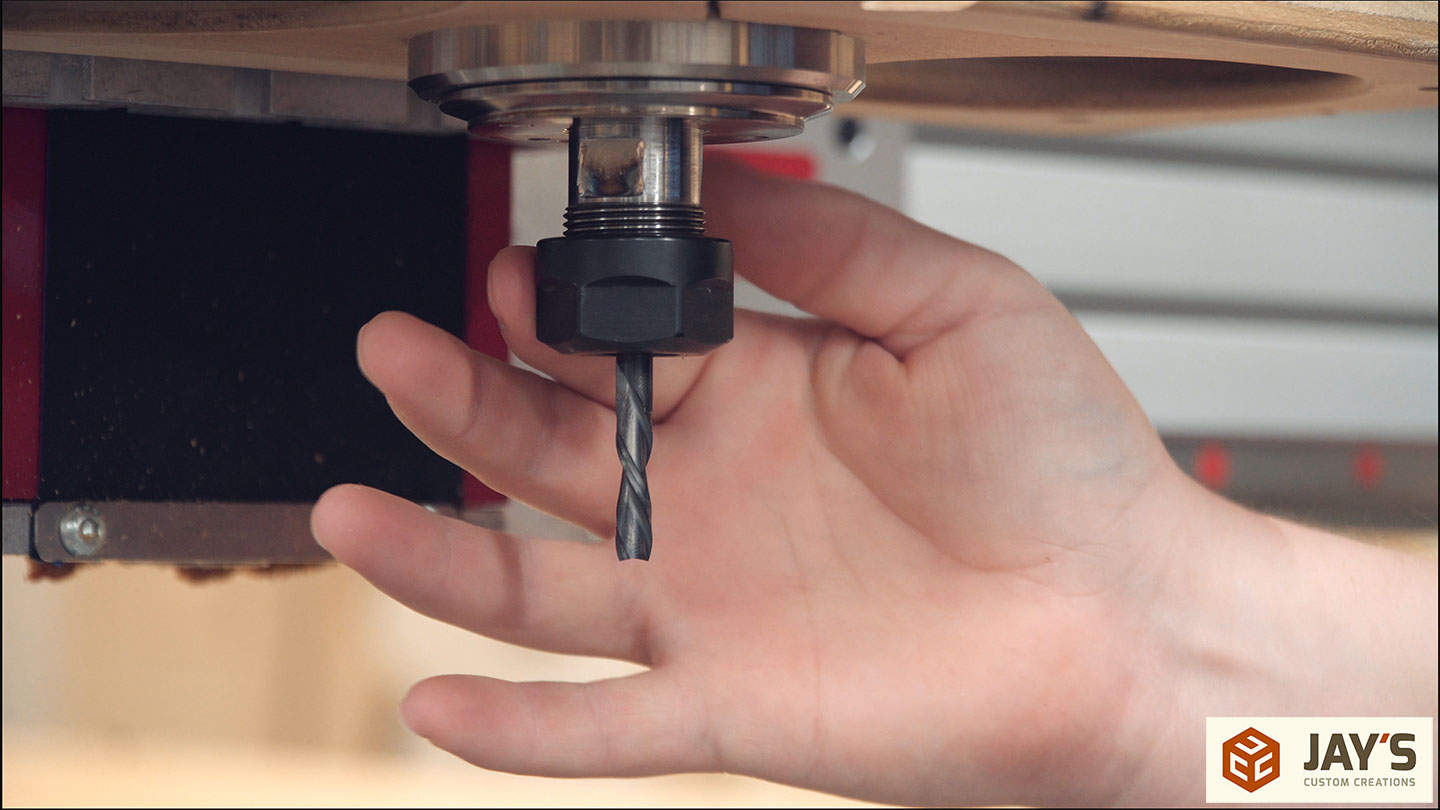
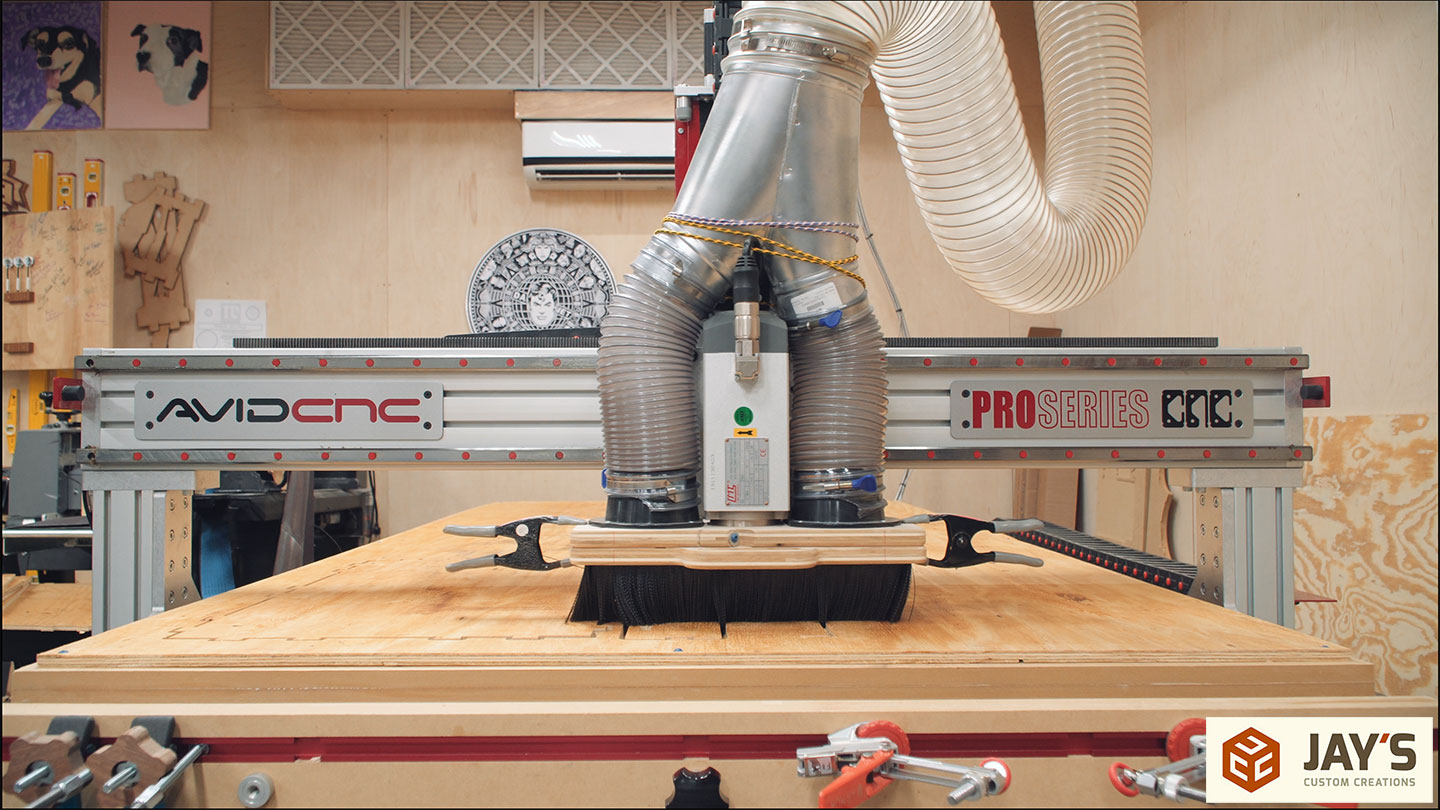
All of these cuts will be made with a 1/4” diameter two flute down-cut spiral bit. I get great quality bits from bitsbits.com and if you use the promo code JAYBATES you can save 10% on your order.
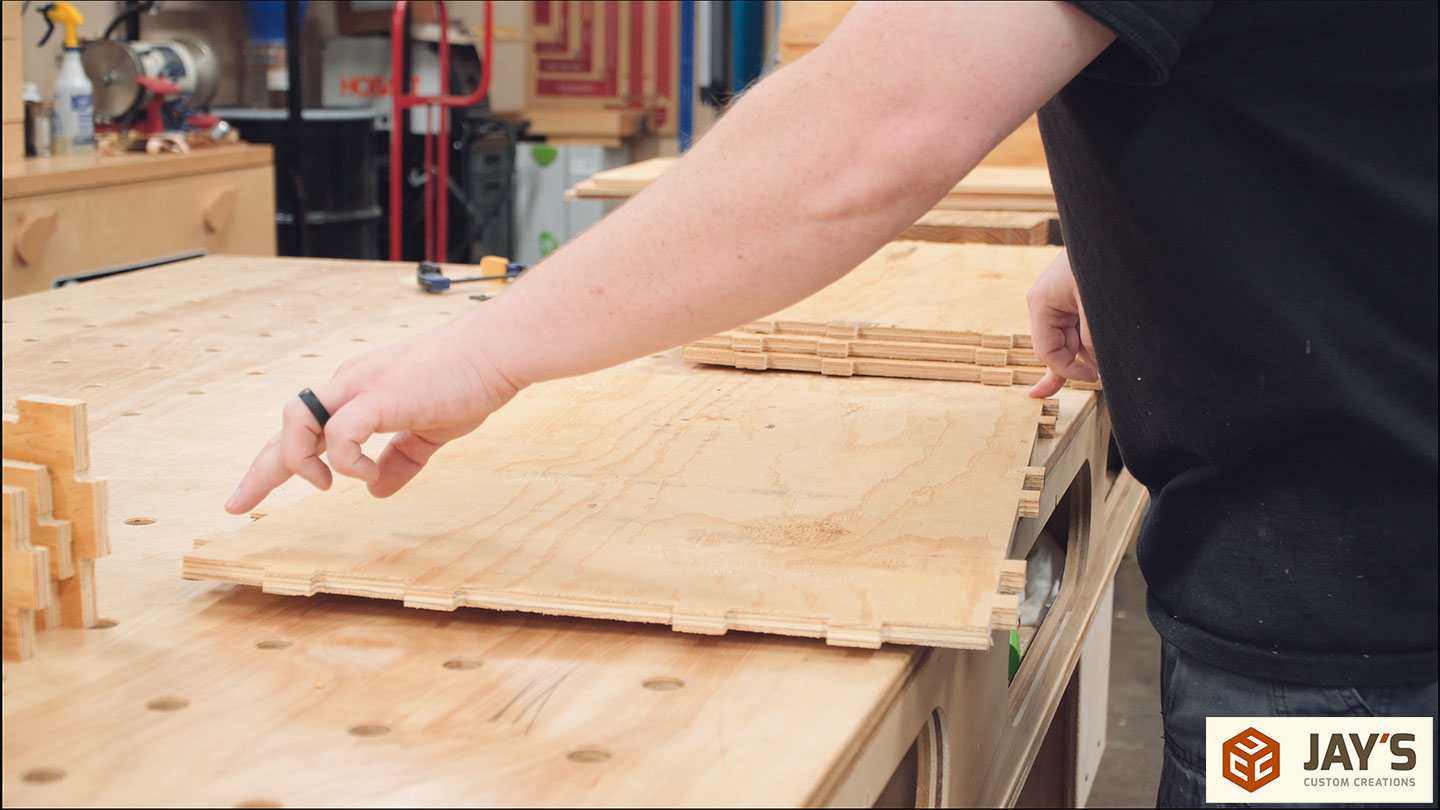
I learned a lot on the first sheet. The plywood has a bow in both directions so in some areas the center of the ply was forced down due to the bow and in other areas it was forced up. Here you can see how some of the pieces broke the tabs and popped up due to the stress in the plywood. Looking at the video footage, I was also able to see the dust boot forcing the plywood down in areas. This tells me that the bristles might be a little too stiff.
I experimented with different ways to pull the pieces off the machine with the easiest and quickest method being to just pull the sheet to the floor. I’ll knock the pieces free with a mallet once the next sheet is cutting.

First, I give the bed a quick vacuum to pick up any loose debris or dust piles.
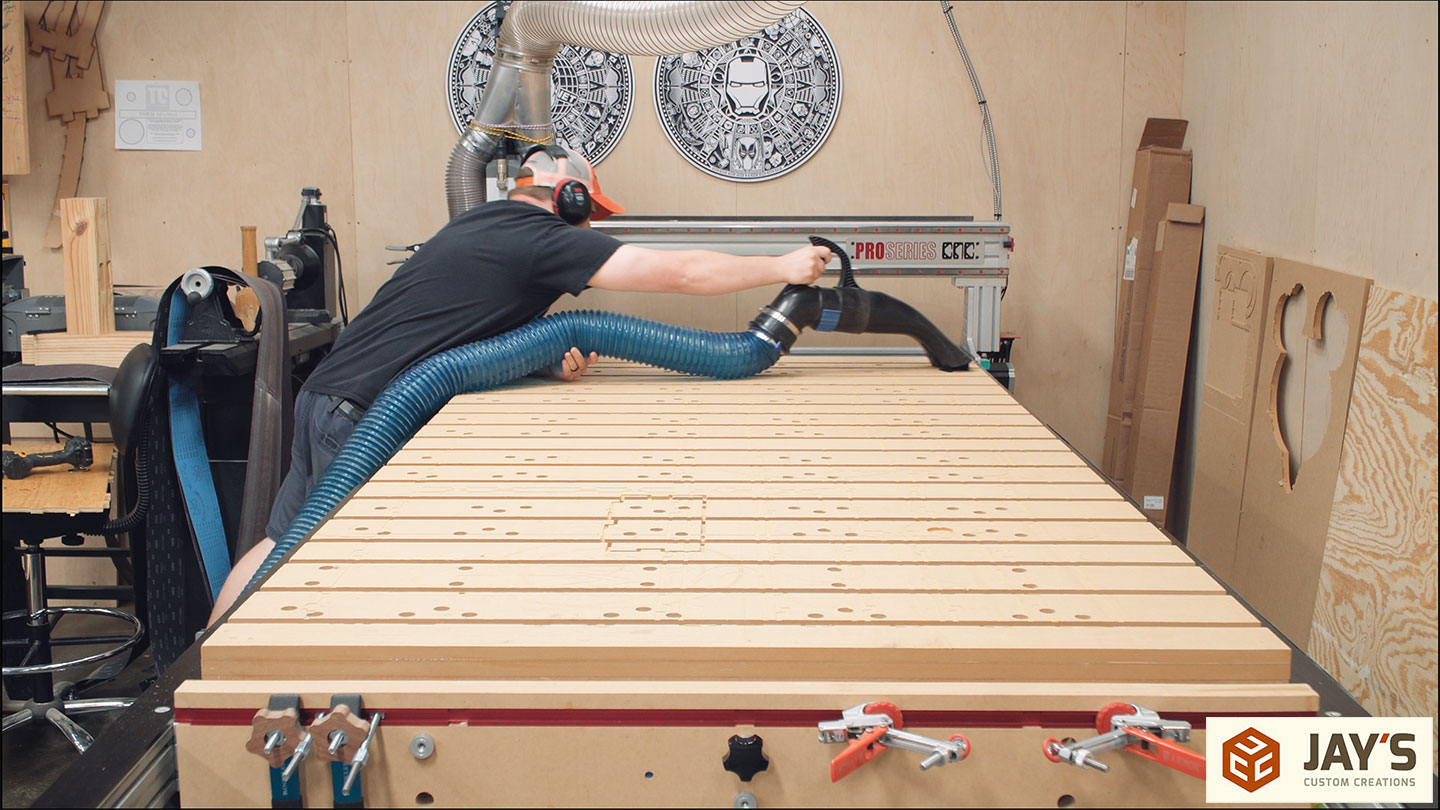
Then the next sheet is loaded and secured the same way. Screws are a must here. This stuff was way too warped for plastic nails.
Rinse and repeat for the last sheet.
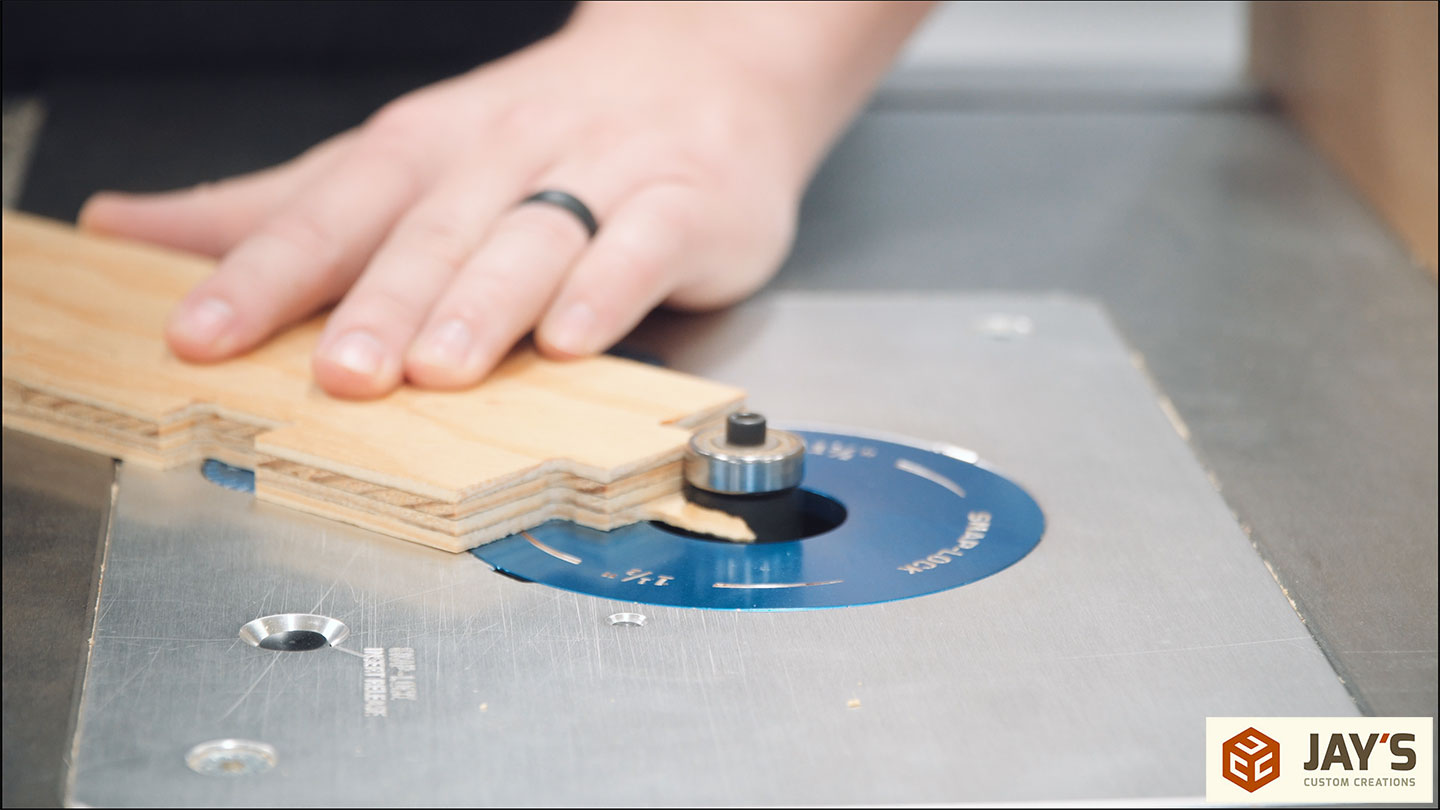
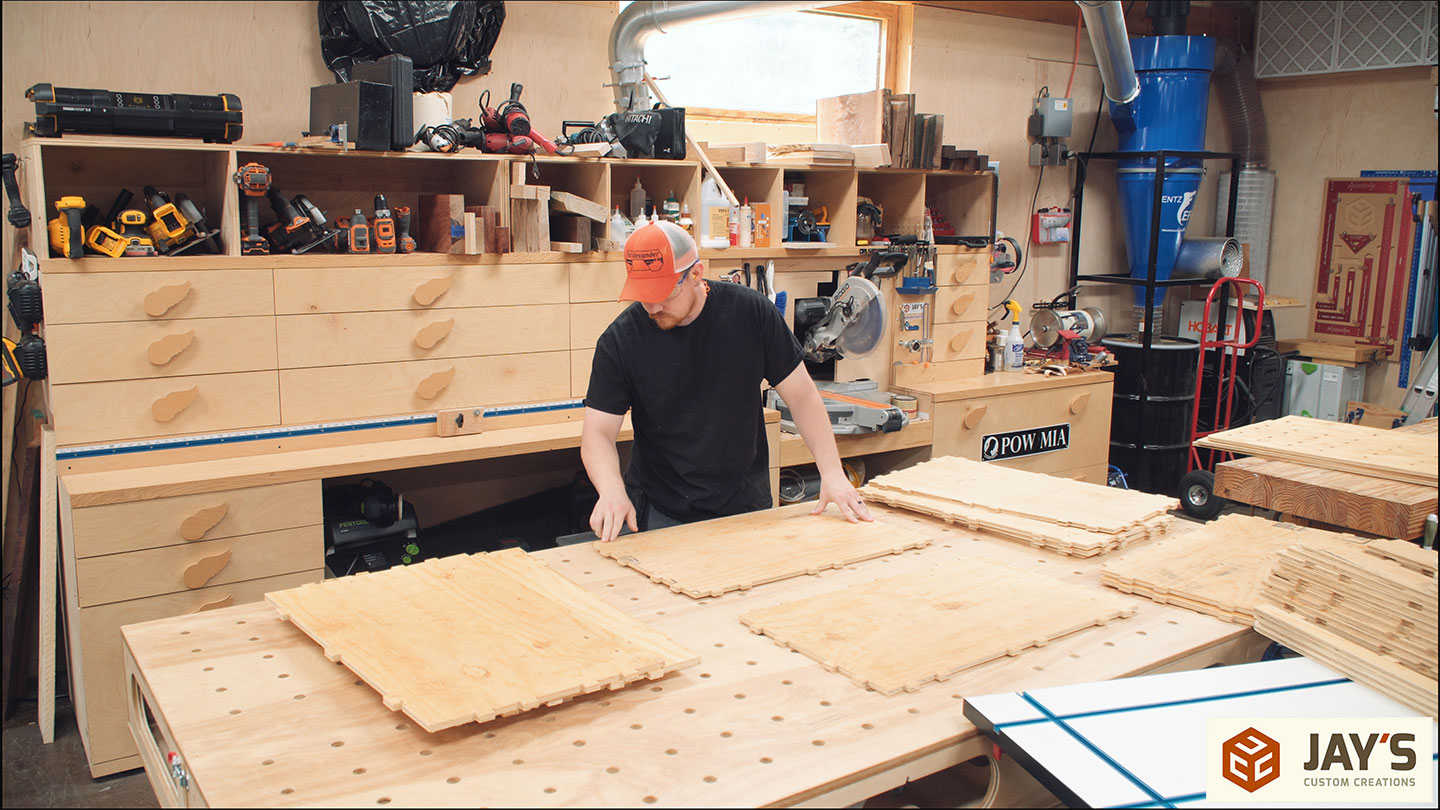
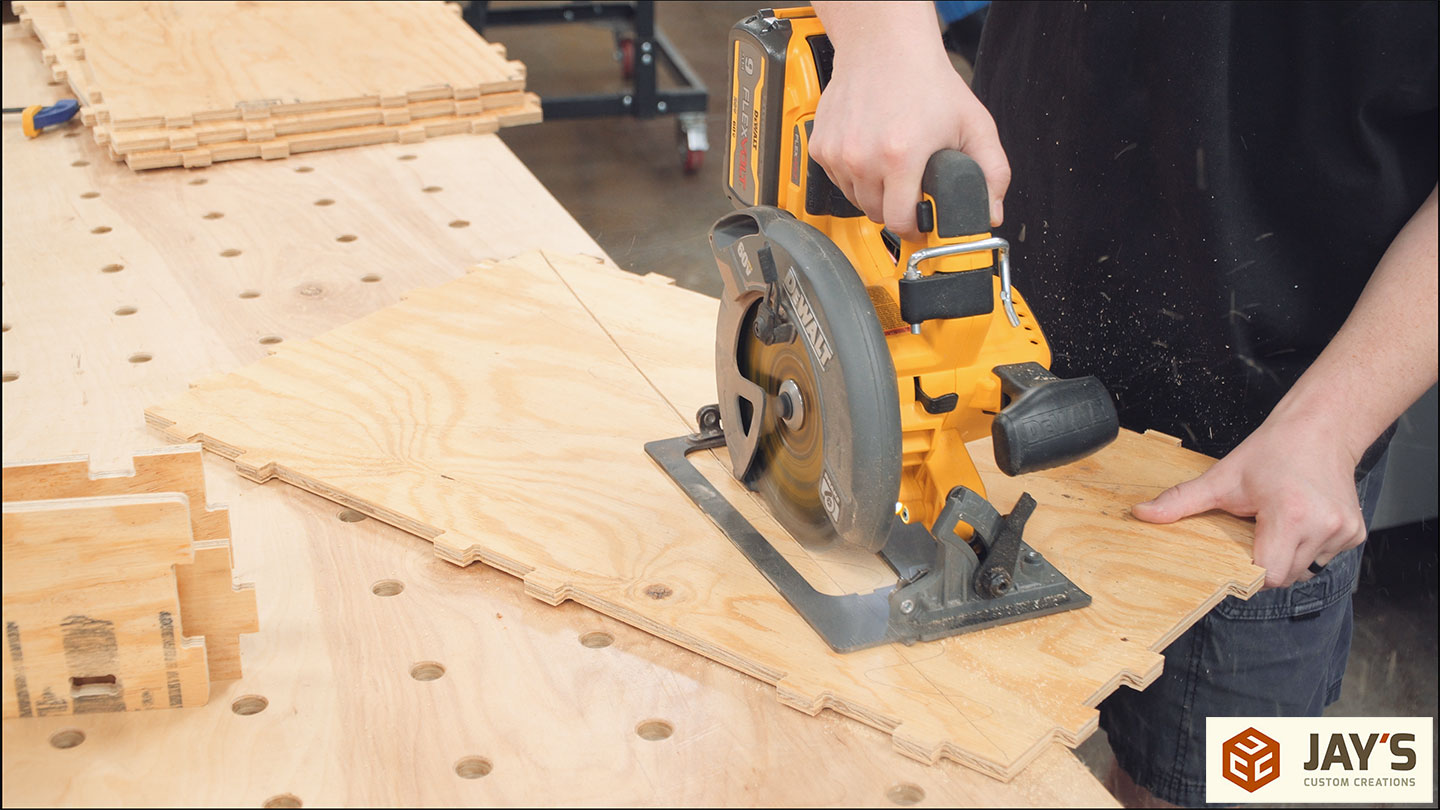
With all three sheets cut I started removing the tabs at the router table. I find that a large diameter flush-trim bit works the best so I make sure to not place the tabs on interior corners or tight areas when making the toolpaths. This is a production step where you just get in a rhythm and try to stay organized.

At the assembly table, I took a quick audit of all the drawer bottoms to see how bad the warp remained in the smaller pieces. Most of them were acceptable but I had a couple that made me a bit concerned.
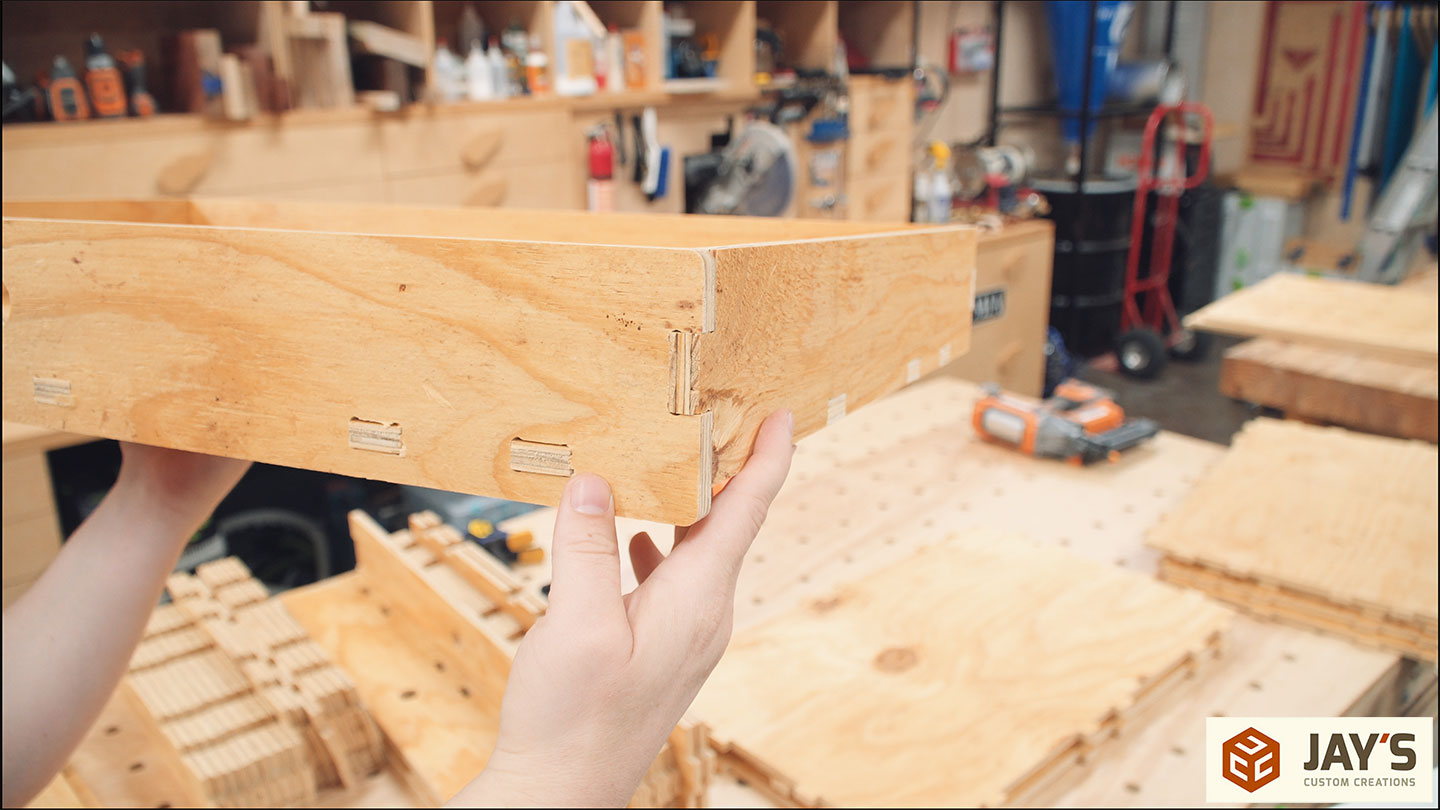
Before I did any design work on this build I cut a few test slots in scrap plywood to determine the appropriate joinery dimensions. It turned out that a slot width of .47” was perfect for this 1/2” CD plywood, which means the standard mortise width and tenon length are all .47” for these pieces. Here you can see the first dry assembly of a drawer and everything is holding together just fine without any glue or clamps.
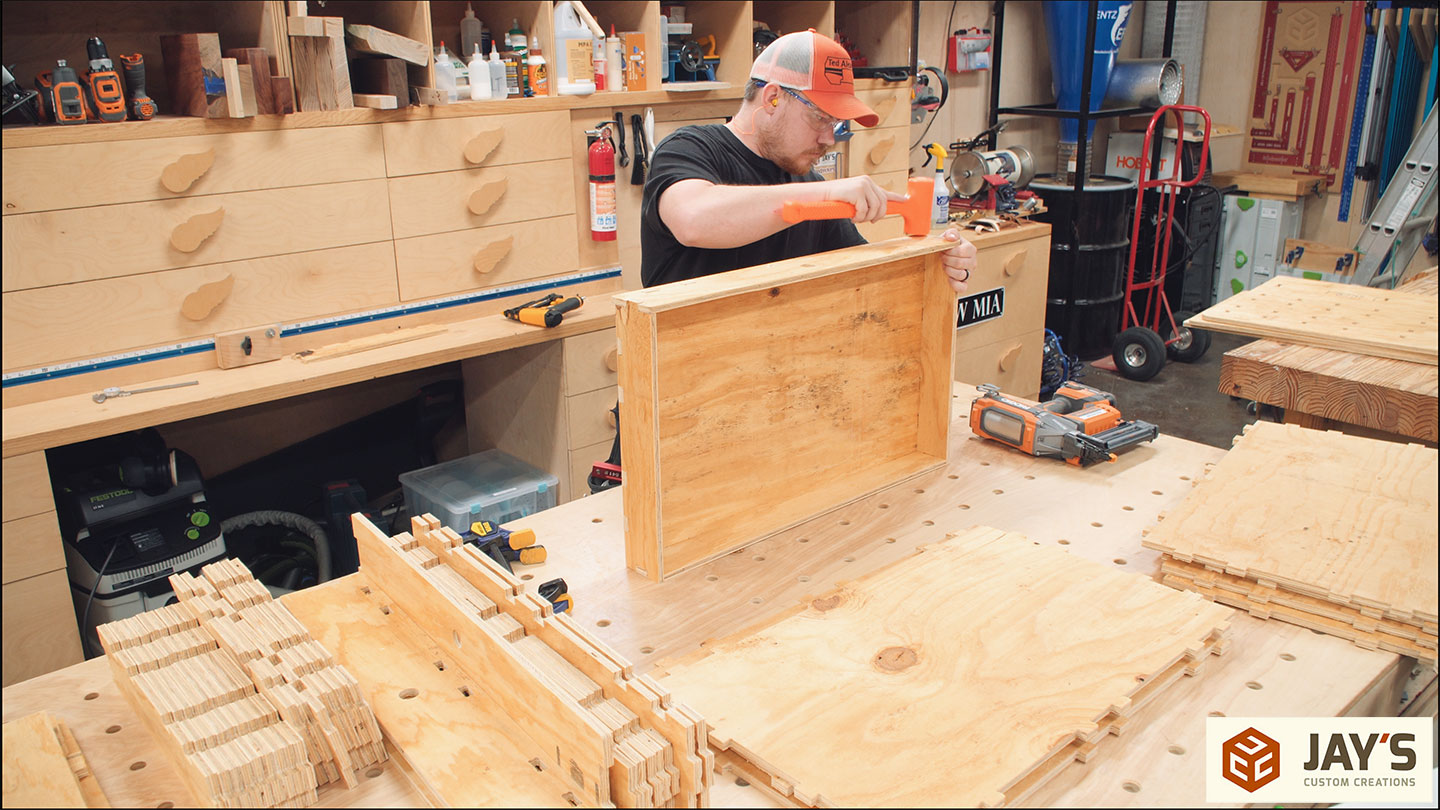
With at least one dry fit confirmed I went ahead with the assembly, starting with the drawers. Each joint gets a little glue and some brad nails to hold it all together. No clamps were necessary.


I did have one drawer bottom that had quite a bit of warp to it. My solution was to cut a shallow groove perpendicular to the bend direction hoping that it would lessen the warp slightly. It didn’t work as much as I wanted it to but it was enough to make a difference.
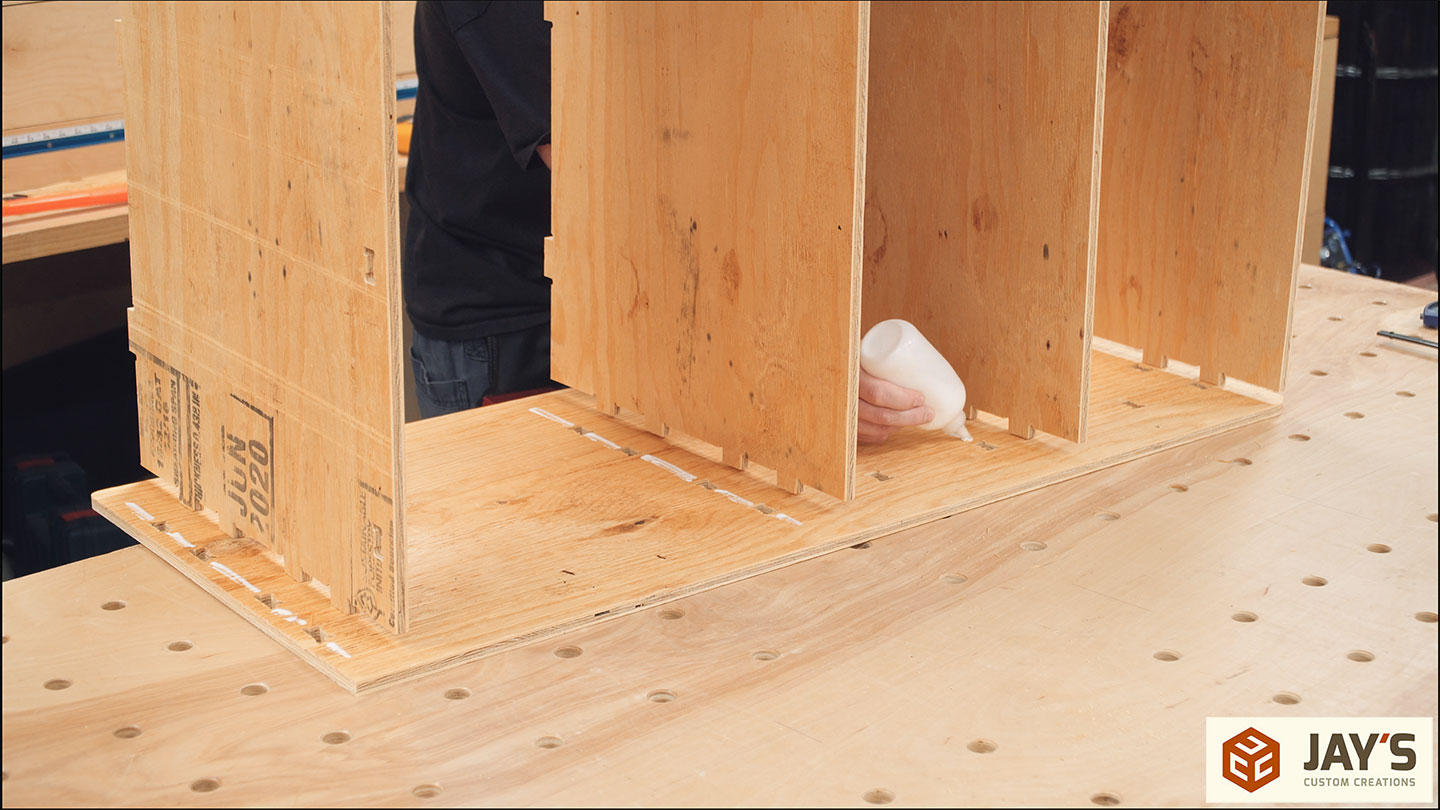
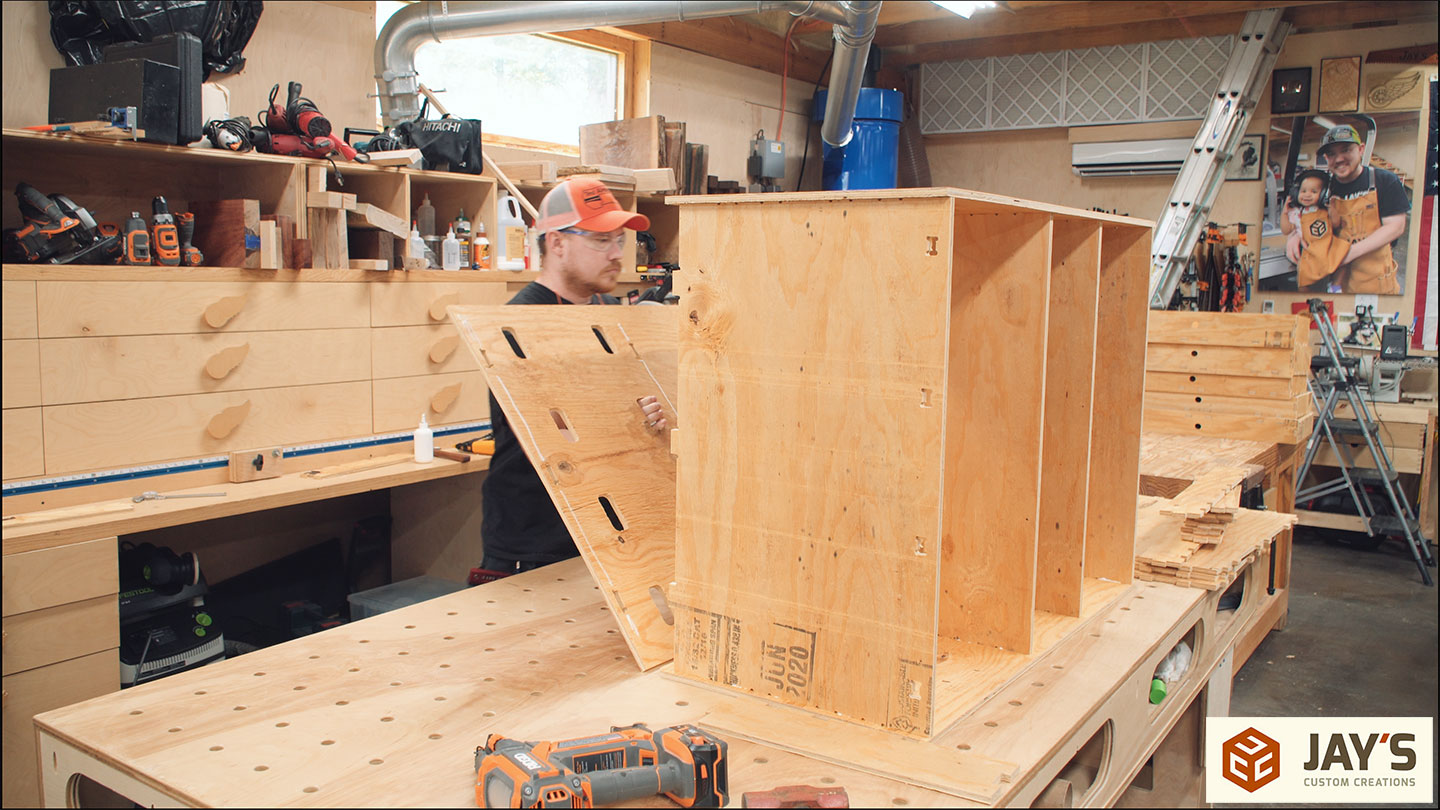
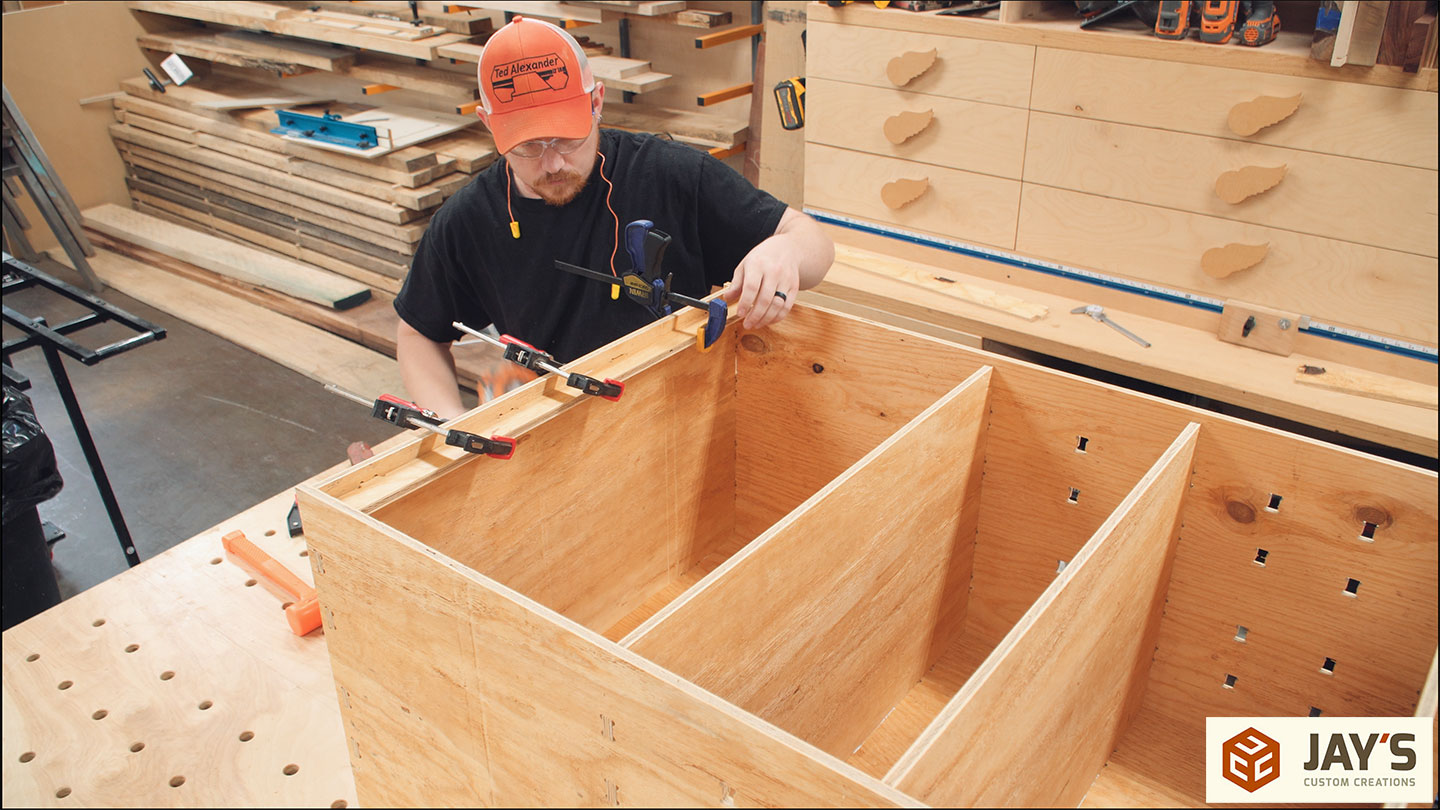
With the drawers done the case can be assembled. This was kinda tricky. There are four solid horizontal pieces, each one has four tenons on each end. Attaching them to the first side wasn’t too bad. After adding glue, I had to flatten out any bow to get all of the joints to line up and then drive the pieces home with a mallet.
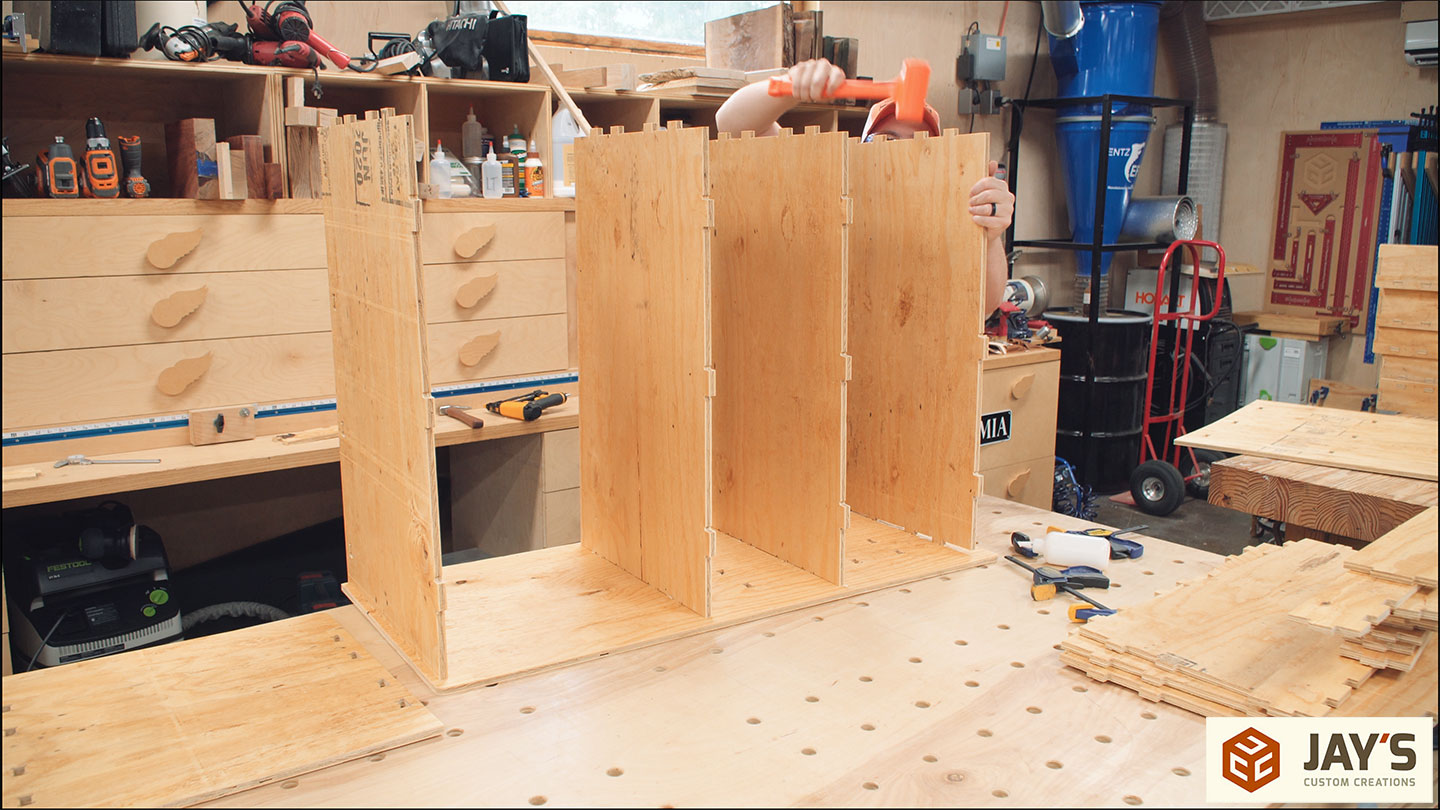
The somewhat challenging part came when I flipped the assembly over onto the other side panel. Everything was a bit more interesting on this side and a little more difficult to get the correct sequence of the joints closing.
I ended up getting the joints started, moving it to the floor, and using a sledgehammer to drive all the joints closed. This was more of a hassle due to the plywood trying to bend, putting more friction on the joints.
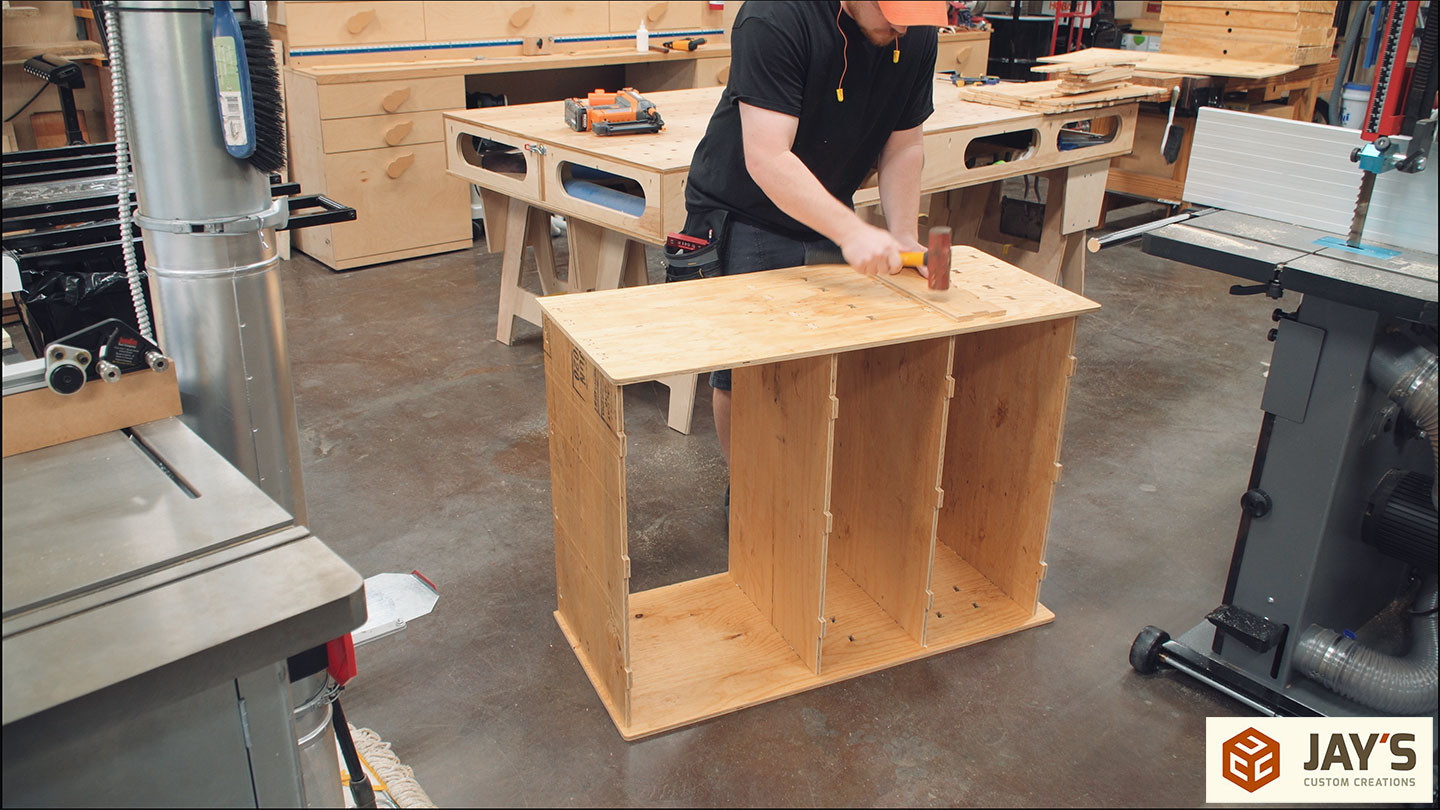
Then some nails because…shooing nails out of a nail gun is a lot of fun.
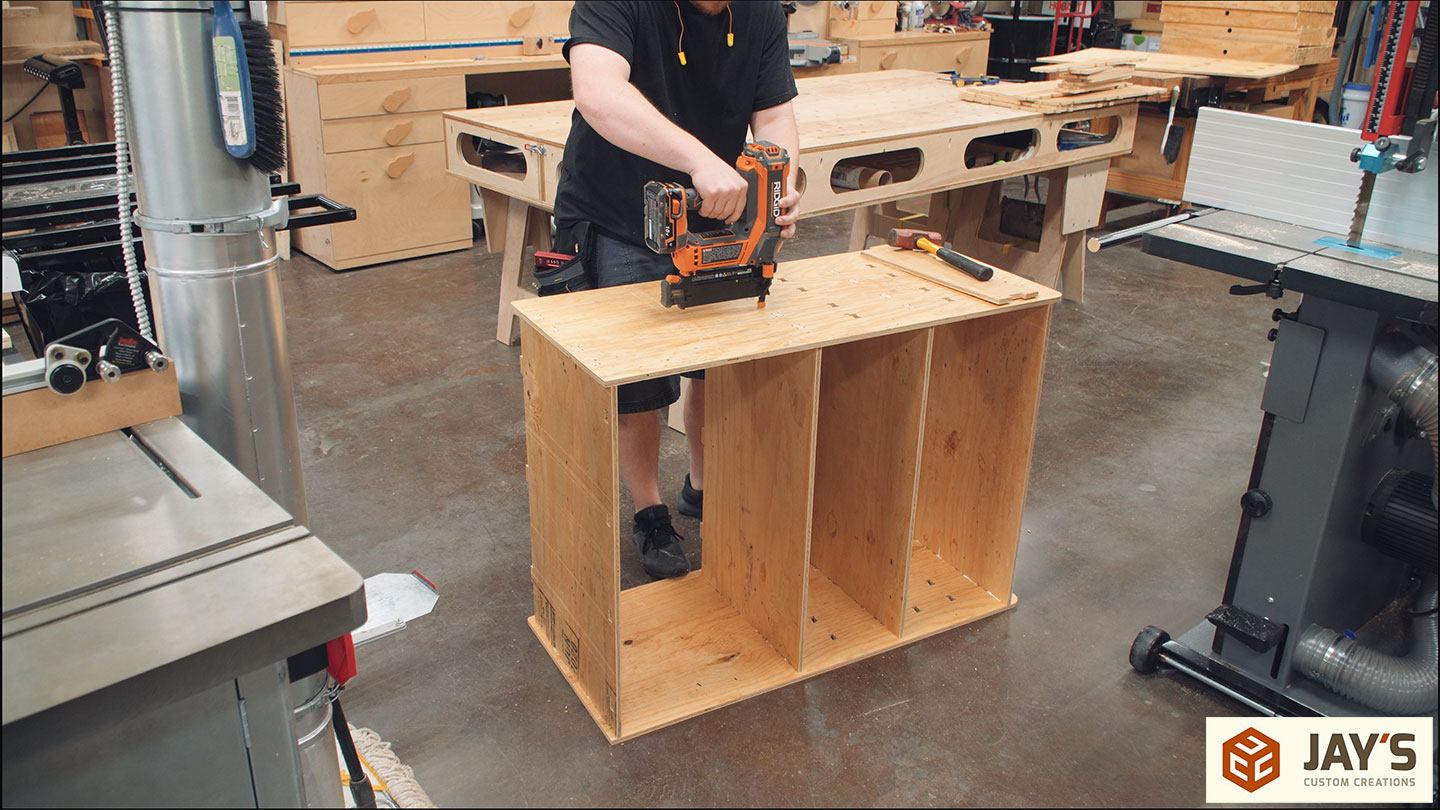
Without the back panel, the structure has a lot of flex. The easiest way to reduce or eliminate racking is to add a back panel…
Which is the next piece of the puzzle. The back panel fits snugly inside the side panels and is connected to the horizontal pieces with a total of twelve mortise and tenon joints.

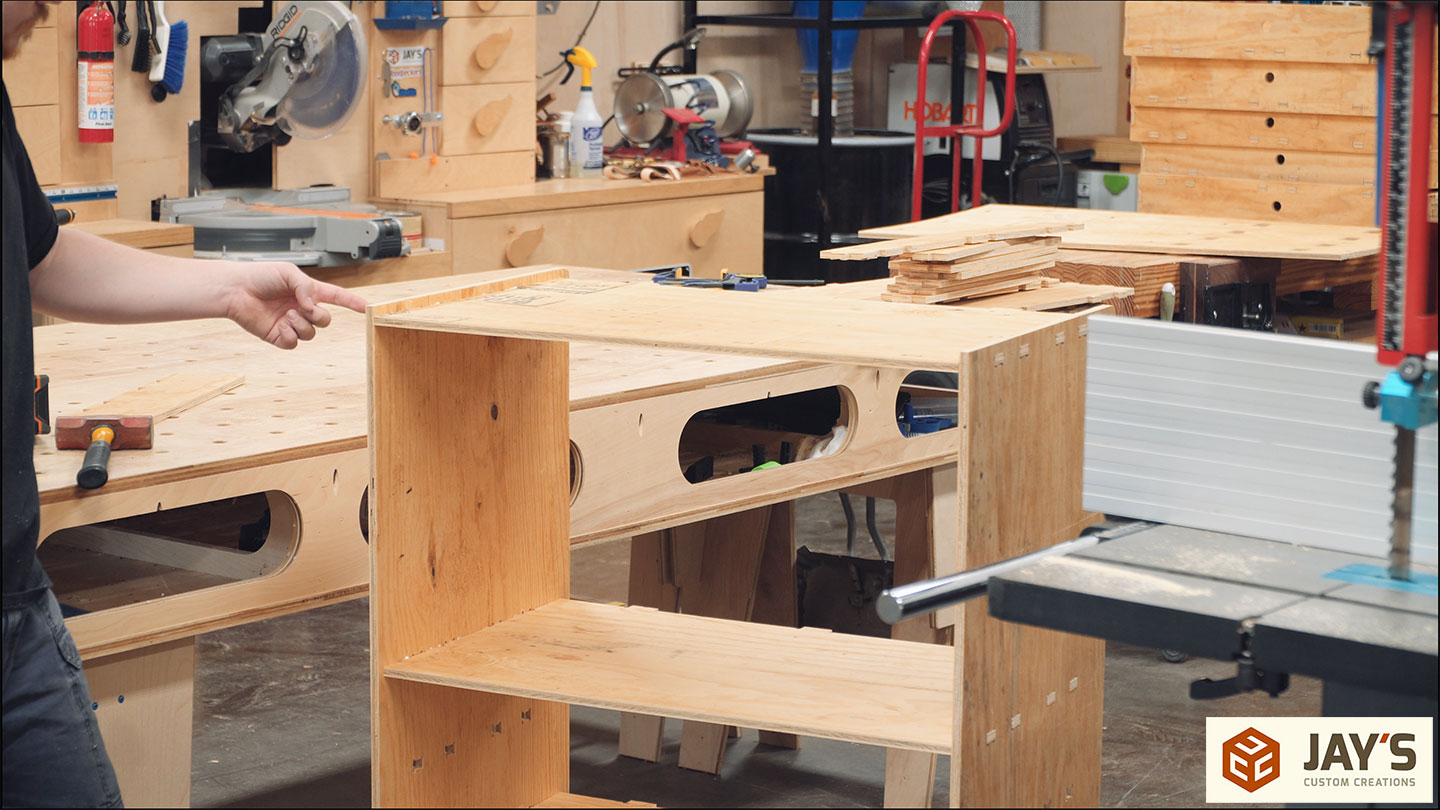
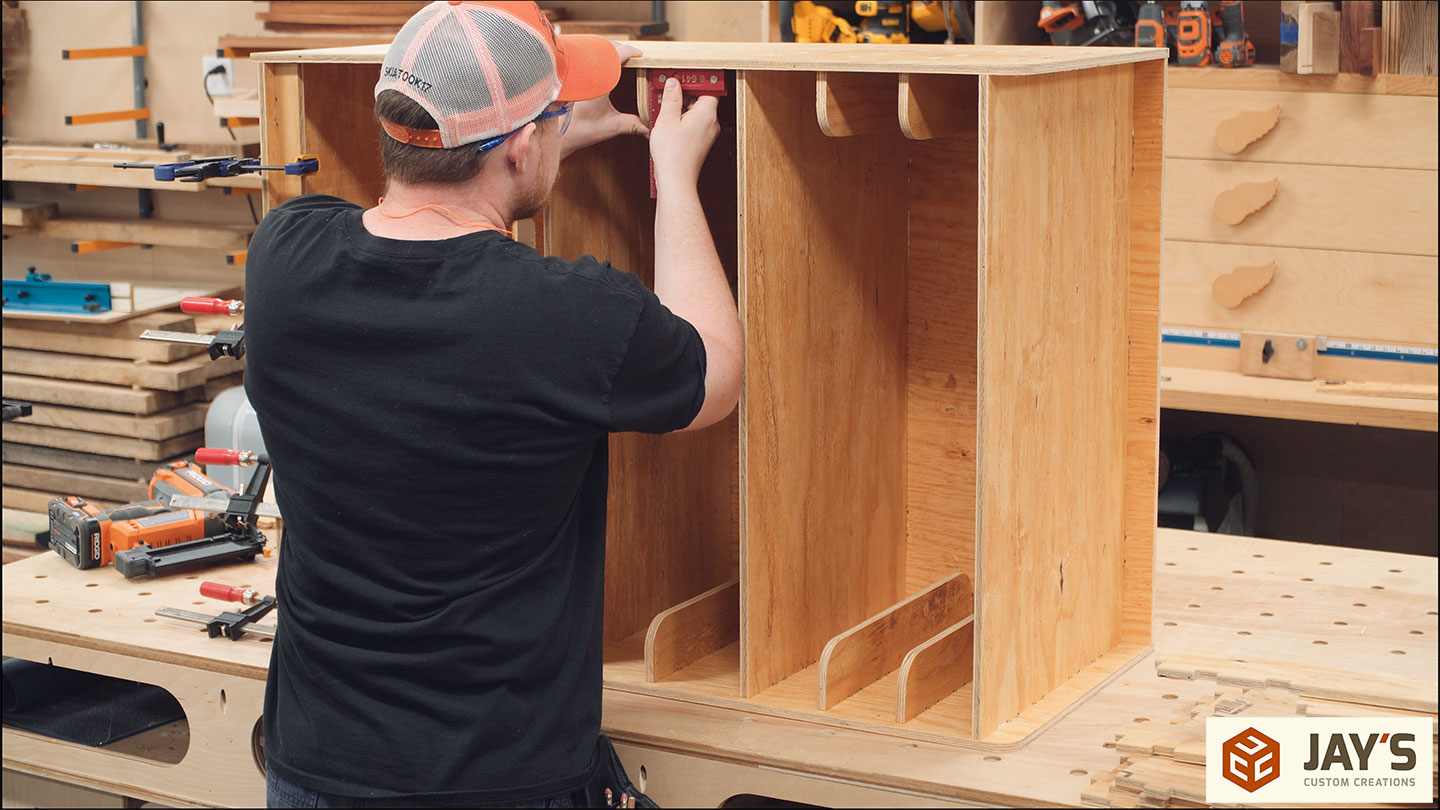
To add a lip to the bottom area and stiffen up the bottom panel a little bit a short wall is added with glue and clamps. The same technique of four mortise and tenon joints was used here.
Next up is the drawer runners. I got the drawer system inspiration from EvilMadScientist.com (https://www.evilmadscientist.com/2012/cnc-workstation/). I like what they did but wanted to simplify the situation a bit. No drawer stops, no drawer pulls, and no drawer false fronts. Looking back on this, I think the drawer runners should be shortened quite a bit as they are unnecessarily wide.

A quick check with a square to make sure the drawer runners remain perpendicular to the sides while the glue dries.
The plywood is only 1/2” thick so I added blocks to the bottom where the casters go. This will give enough material to use 1” washer head screws to attach the casters.

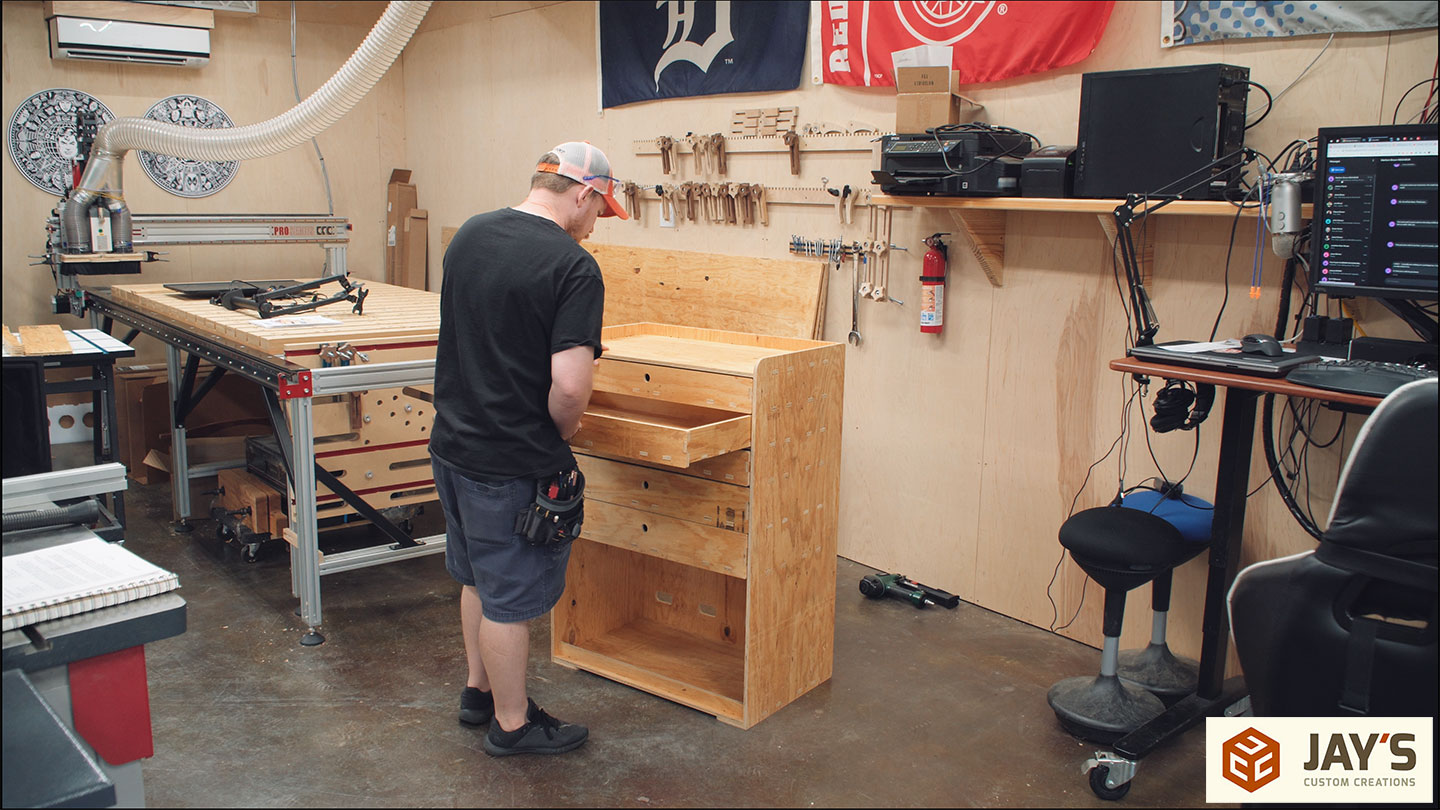
I was still awaiting the casters to be delivered that day so I went ahead and tested out the drawers. The drawer fronts are actually the drawer stops. They extend 1/2” below the drawer bottom and hit the drawer runners when the drawer is pushed closed. There is actually a small gap between the back of the drawer and the back panel. I designed them this way so that no matter what the front of the drawer will line up with the front of the cabinet. Everything slides as expected even without wax, which will be added after I decide if I’m going to paint it.
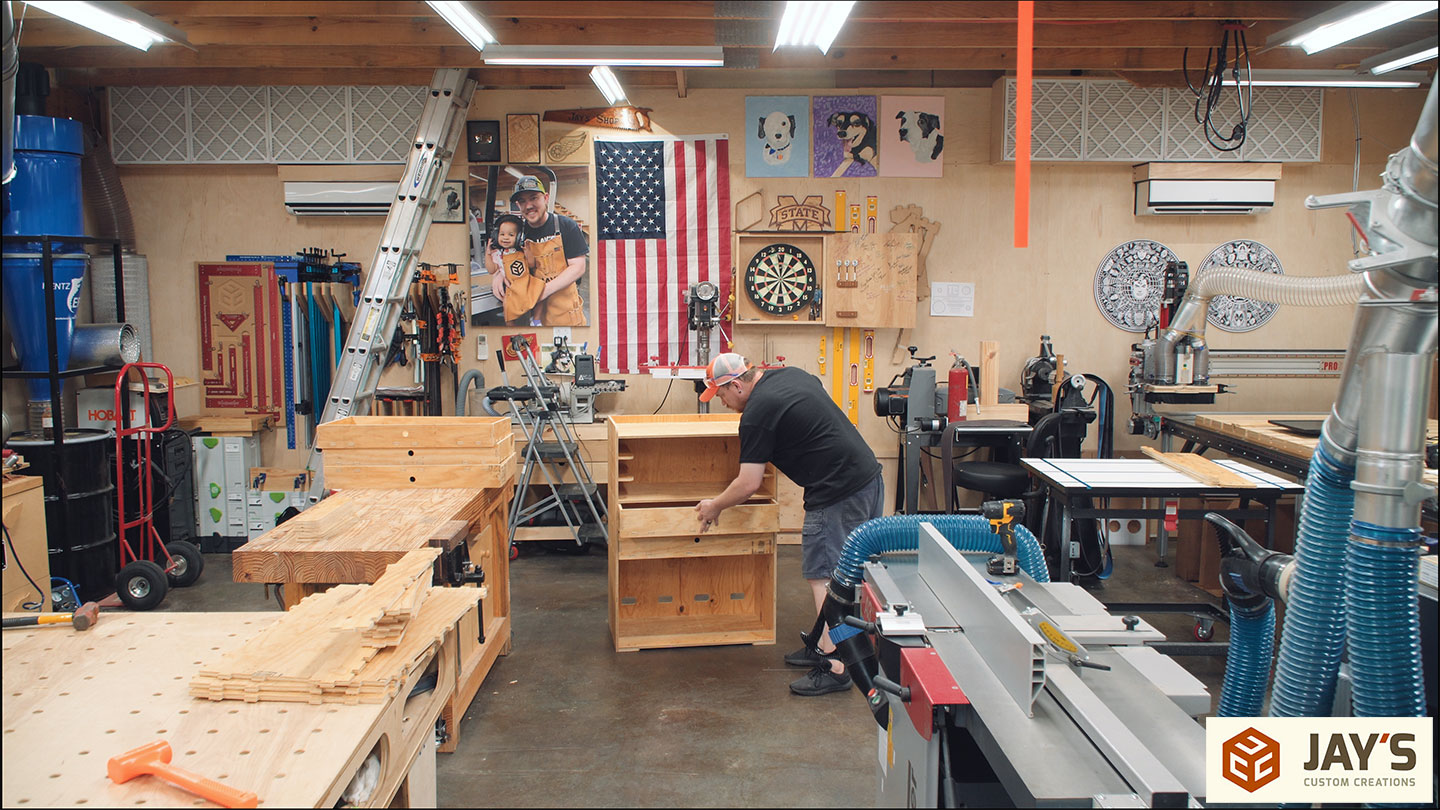

This is just cheap 1/2” CD pine plywood so I’m not expecting kitchen cabinet stability but I did want to see how much flex or rack was still in the completed build. With a foot immobilizing the bottom I was able to get a little flex out of the cabinet. But that is kinda expected with this grade and species of plywood. Plenty strong enough for this application though. All the flex is in the plywood itself and not in the joinery.
Conveniently, the casters arrived right on time and they were installed with washer head screws.

All that’s left to do is a little wire management.
Coming from the machine I have an extension cord for power and an Ethernet cable to communicate with the machine.
These are zip-tied together and the excess is fed through one of the wire holes in the bottom open area of the cart.

The extra is zip tied together, the laptop charger plugged in, and the charger wire and Ethernet cable are fed through the back and up to the laptop. Simple wire management and because this is a laptop that I occasionally use in my house there is no need to go crazy trying to hide the wires any more than they are.

That’s it. If you’re interested in the files for this build then check them out here or scroll further. Also, go to jayscustomcreations.com/newsletter to sign up for my email newsletter so you won’t miss anything that I publish. Have a good day and I’ll talk to you in the next video/article.

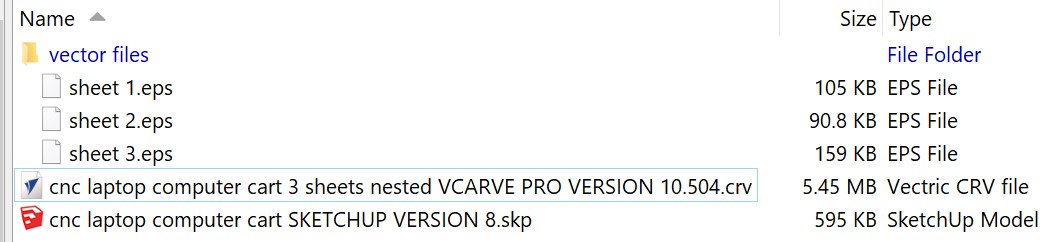
Computer or Laptop Cart V3 – CNC AND VECTOR FILES
$9.99
Description
This is version 3 of the laptop or computer carts that I’ve made for my shop. Version 1 can be found here and version 2 can be seen at the beginning of this video.
Some inspiration was taken from Evil Mad Scientist’s version which can be found here. They even offer free downloadable files for you to use. I encourage you to check it out.
These files are for a computer or laptop cart to be cut with a CNC machine. I used three sheets of 1/2″ CD grade pine plywood for mine. All mortise width’s and tenon lengths are .470″ in this design. I’d suggest cutting a slot out of scrap material with a .470″ width and testing it on your 1/2″ plywood before cutting anything. Just to see how good of a fit you will get. You can then adjust the allowance in each one of the toolpaths to either increase or decrease the size of everything by a tiny amount to get the exact fit you need for the mortise and tenon joints. The files contain a monitor mount as well but I did not include it on my cart as I am using a laptop. You will receive a download link containing a .zip file. The .zip file contains the following files:
Download links expire for security reasons. Download your files immediately and save them to your computer for your records. If you have any trouble contact me and I’ll remedy the situation.


Hi Jay,
I have a question about the Bit used. For cutting a circle with a router I have been using a straight cutting bit, can/should i use a spiral cutting bit for the circle?
Thanks,
Phil
You definitely can. I’d suggest a compression spiral bit for that.
Very timely design. With millions of teachers now working in an environment where we have to schlepp our computer gear and all of our other teaching supplies from room to room each hour, this is pretty close to what I was planning to build this weekend for my “mobile shop class”. My CNC isn’t big enough to make this exact cart but the general design will be easy enough to modify for pocket screws, biscuits, loose tenons or good old glue and nails.
Thanks and Cheers!
Hey Jay! I am not sure if you know of this product: https://www.amazon.com/3Dconnexion-3DX-700059-Spacemouse-Compact-Mouse/dp/B079V4PXYD/ref=asc_df_B079V4PXYD/?tag=bingshoppinga-20&linkCode=df0&hvadid=&hvpos=&hvnetw=o&hvrand=&hvpone=&hvptwo=&hvqmt=e&hvdev=c&hvdvcmdl=&hvlocint=&hvlocphy=&hvtargid=pla-4584070138246650&psc=1 it makes dealing with SketchUp a LOT easier. I have used some sort of 3D controller since 1986. Well worth the expenditure.
Hey Jay, great work as always. My friends in the medical field call this a COW. (computer on wheels)
Enjoy the weekend
Mike
I noticed your other computer desk in the last shots and curious if you decided not to use the loft as an office and what has become of it. It’s been great following all your success!