Part 1: Designing a Contractor Trailer in SketchUp
Part 2: Contractor Trailer Toolbox: Cutting and Assembly
Part 3: Custom Contractor Trailer Walkthrough
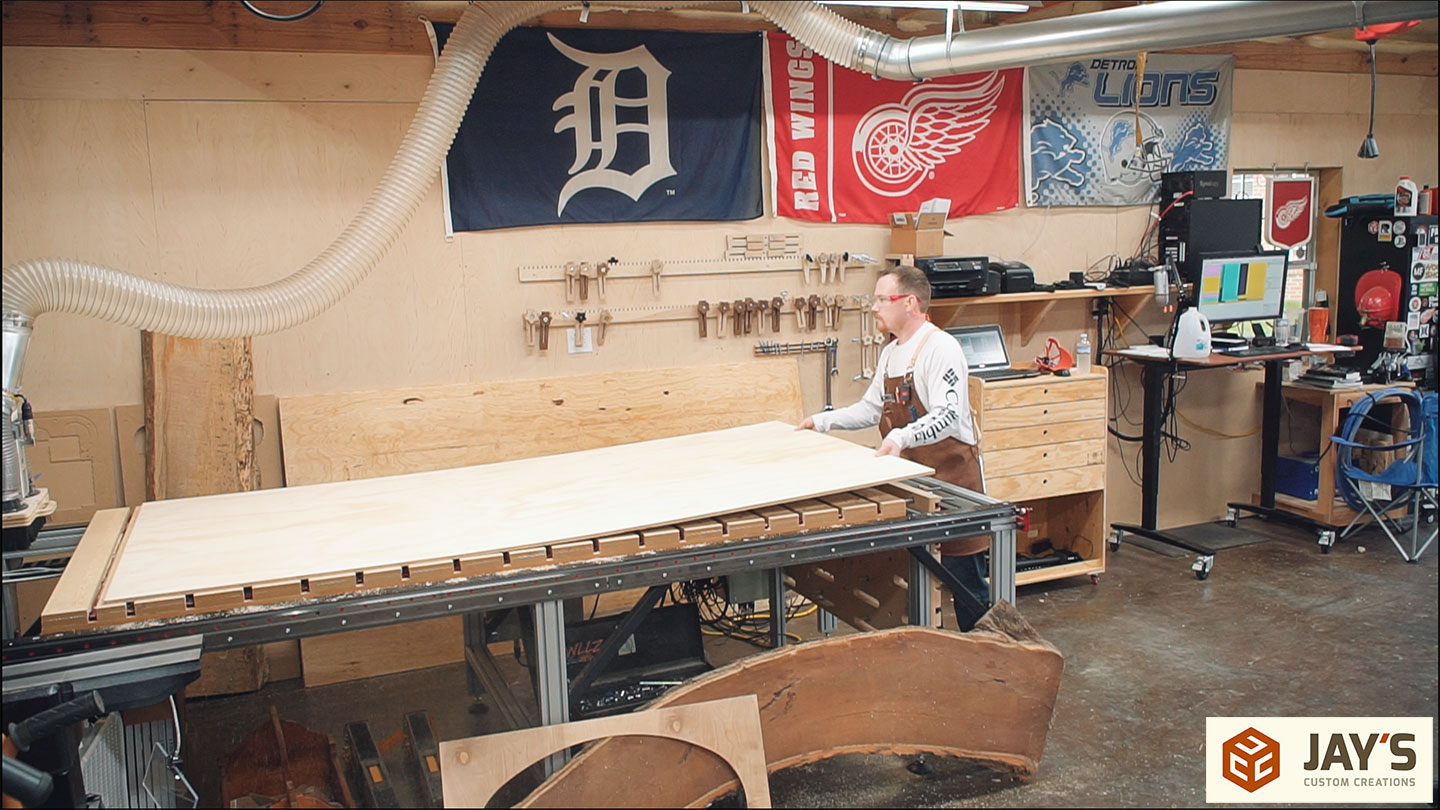
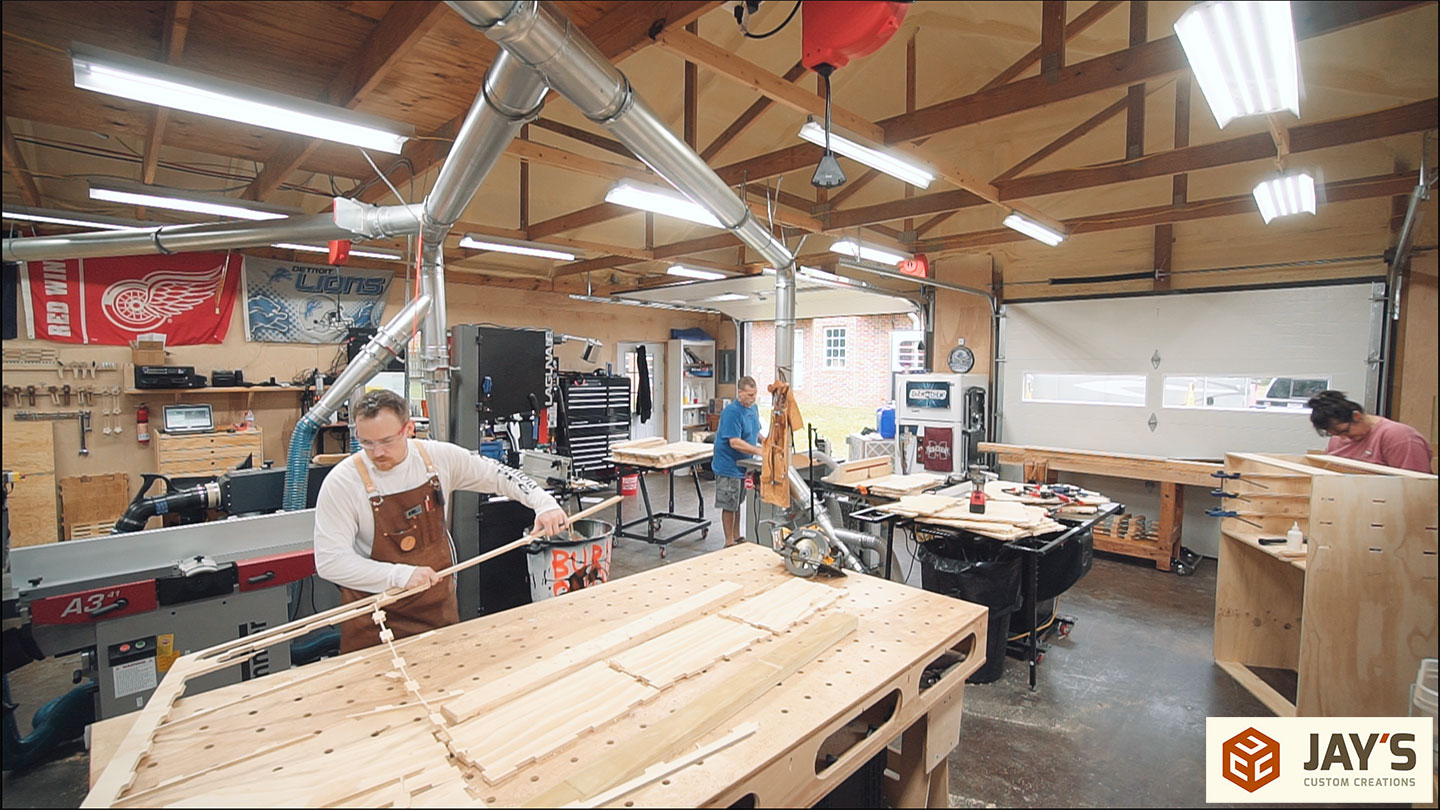
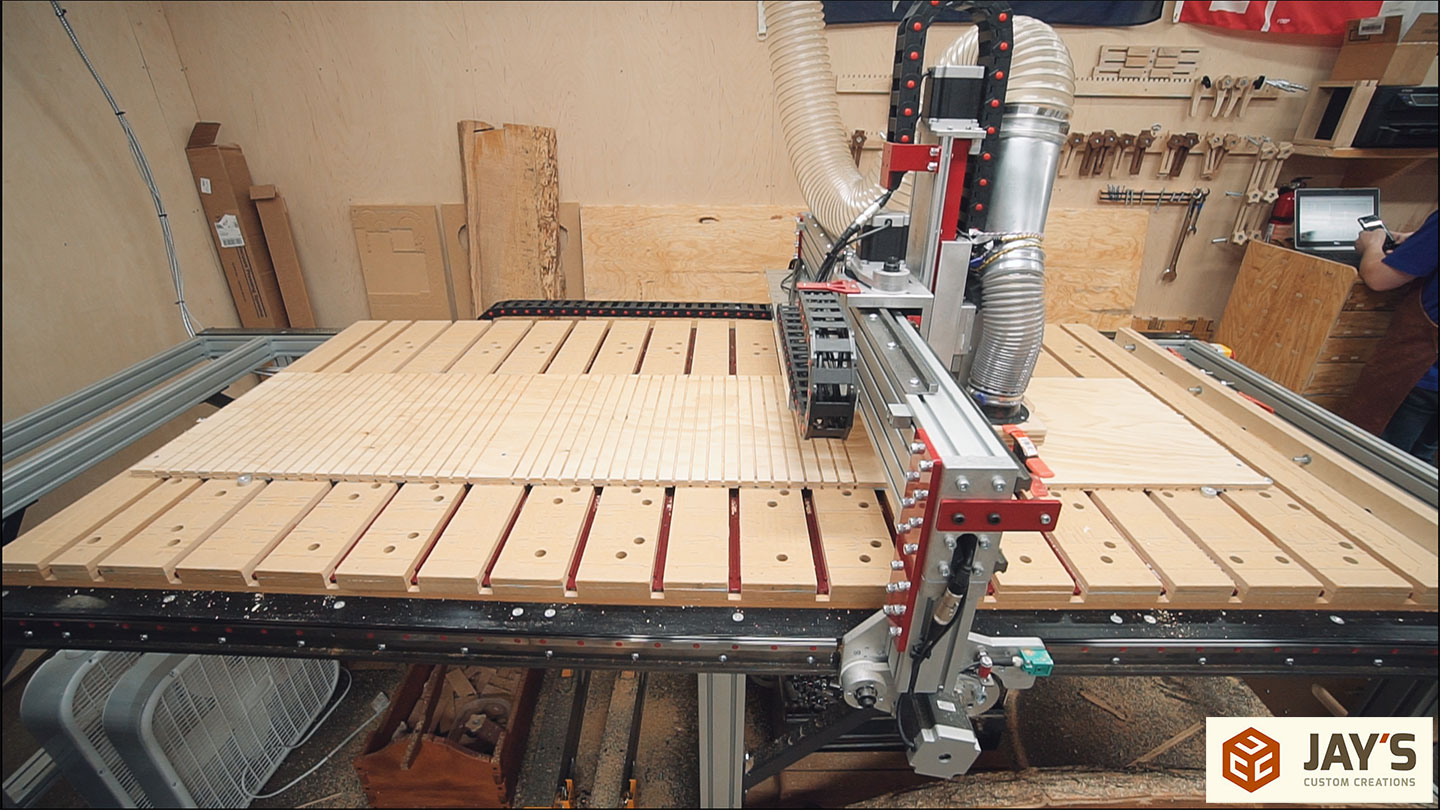
This project calls for 25 sheets of plywood. The majority of those are 1/2” thick, a few 3/4” thick, and a few 1/4” thick. 23 of the 25 sheets are cut on the CNC machine with the rest being basic table saw cuts. Cutting and assembling day started at 830am and we wasted no time getting the CNC running.
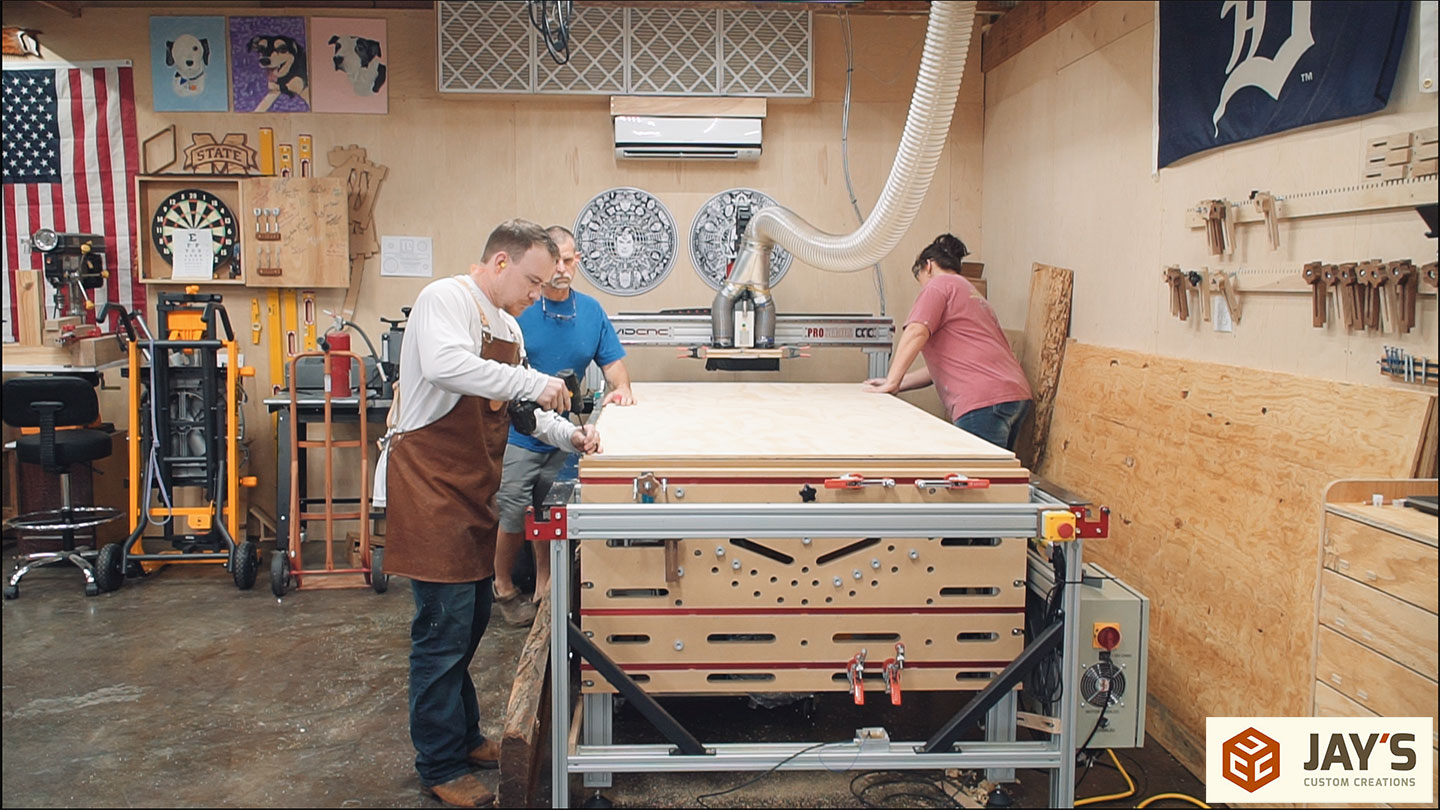
Our number 1 priority for the day was to keep the machine running. We can always find something to do while the machine runs so no matter what, when the machine stopped we needed to unload, load, and start it up again quickly.
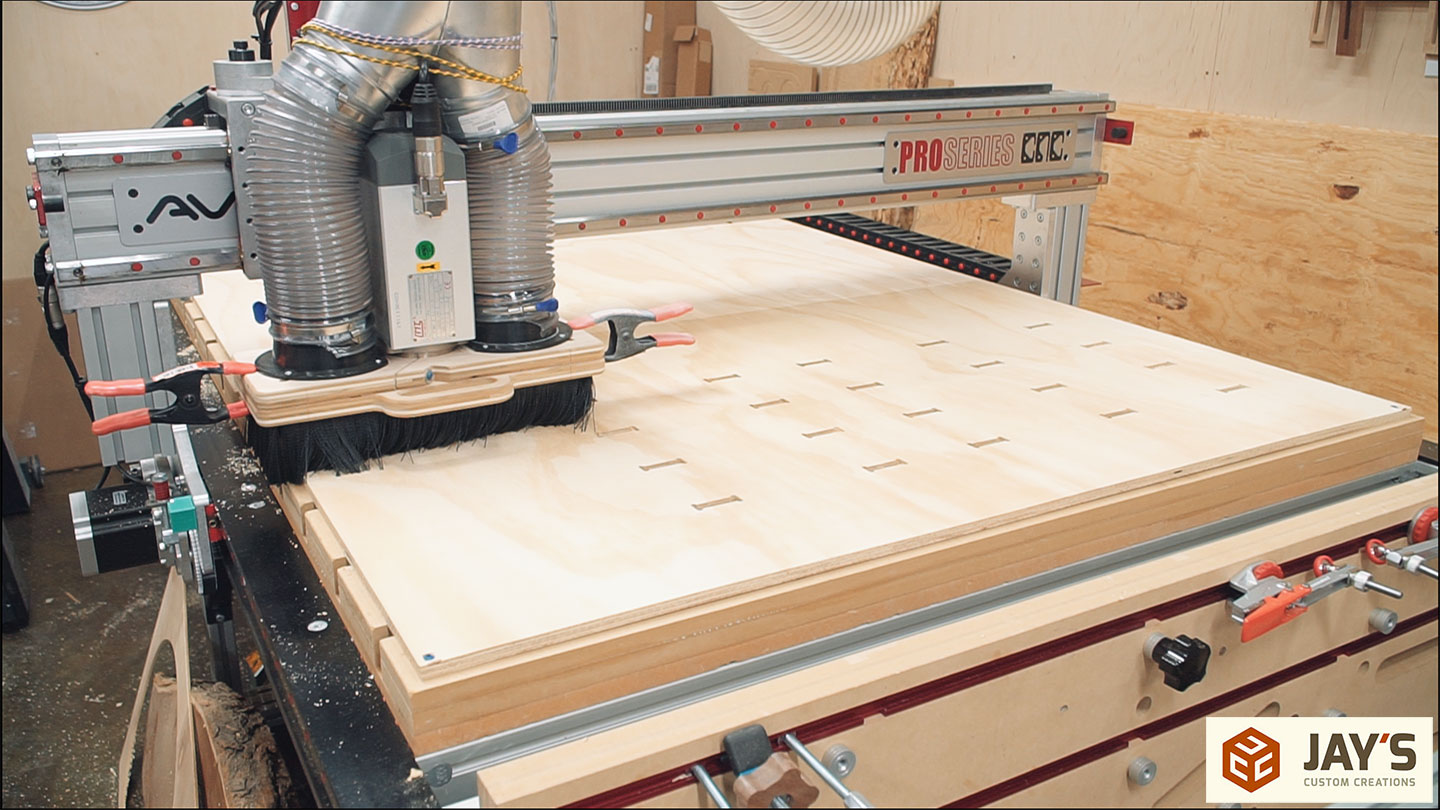
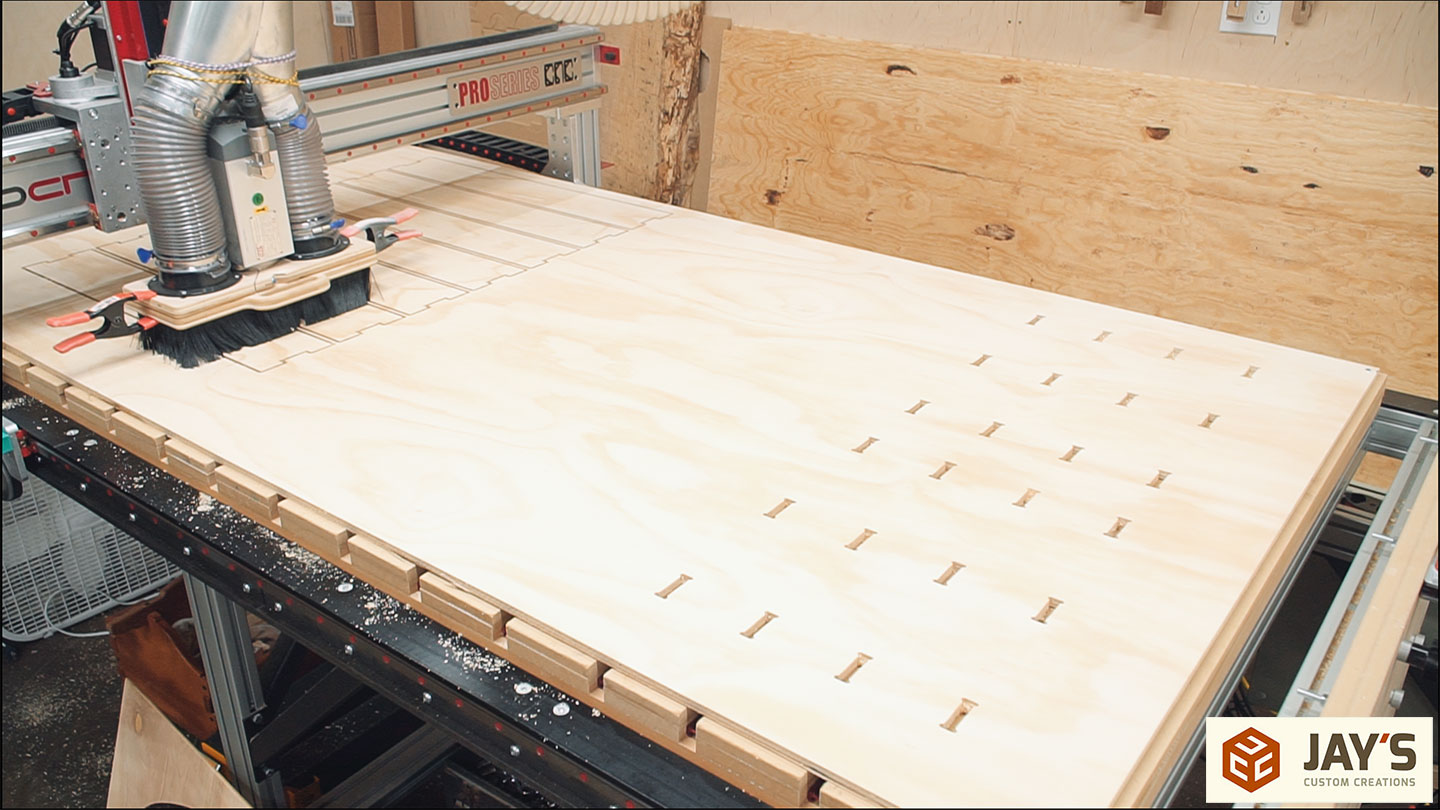
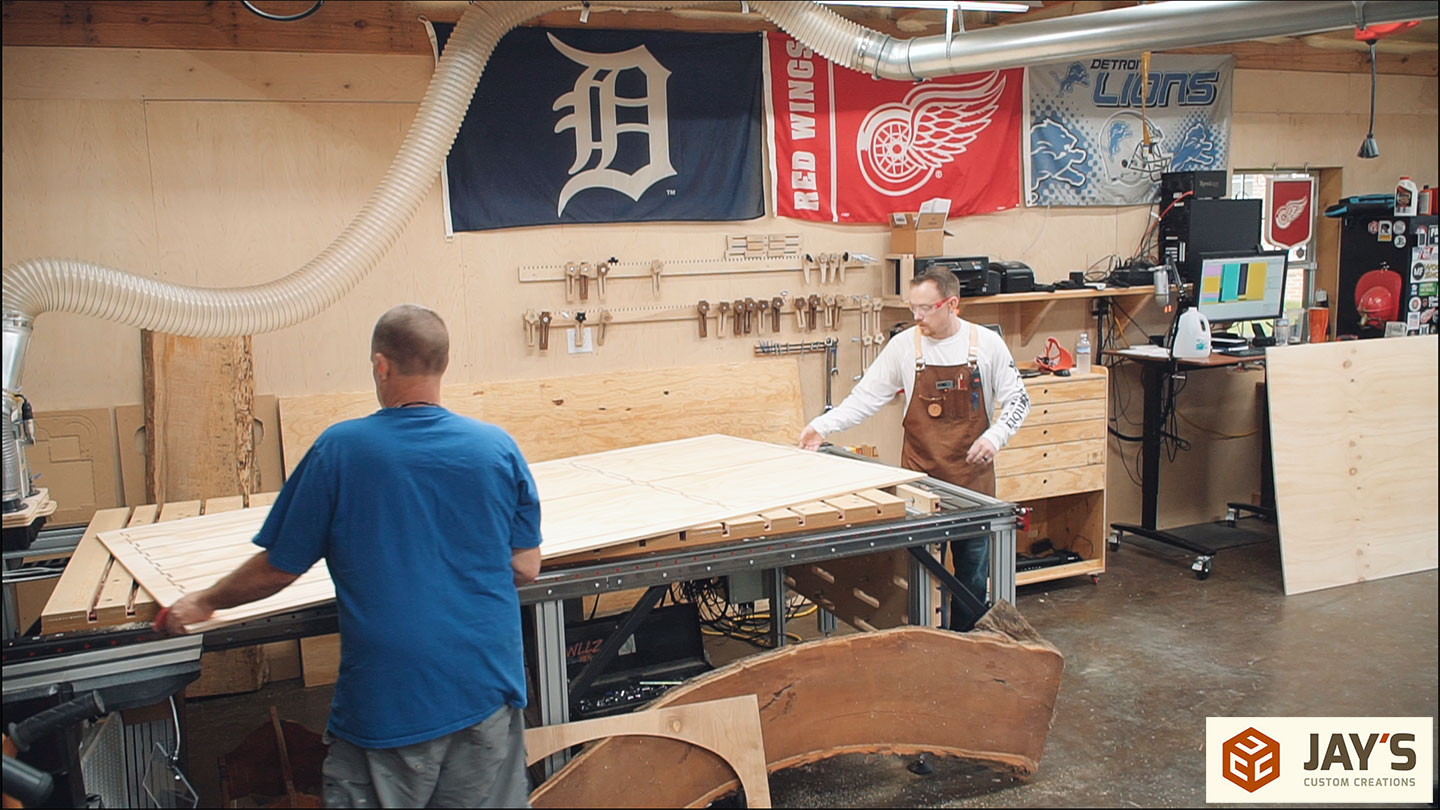
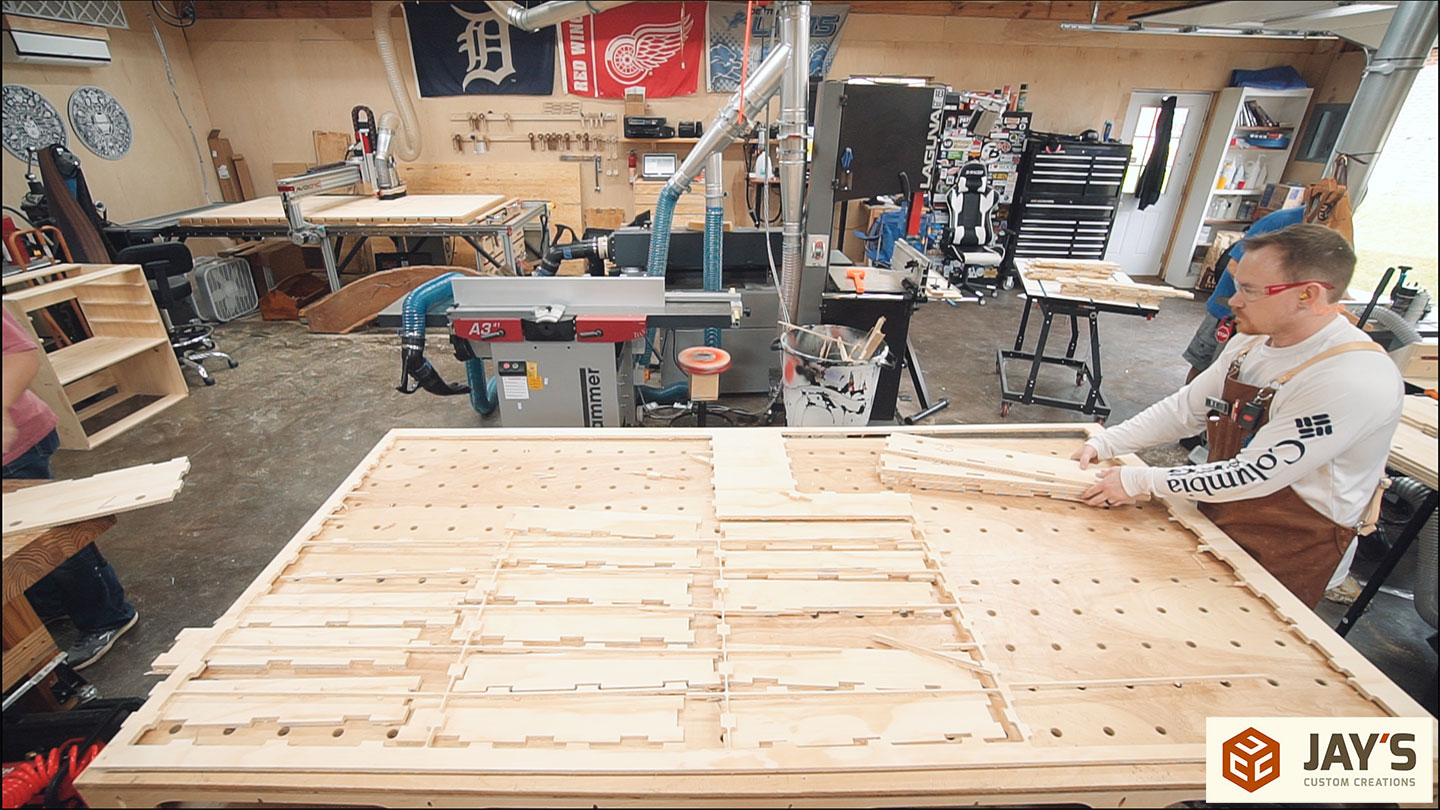
Ben and Mistye aren’t familiar with the nuances of CNC design or CNC cutting so during the first sheet, I made sure to let them know how tabs work. Small tabs are added to the toolpaths to prevent the pieces from shifting after the piece is cut. This is necessary when you don’t have a vacuum table on the machine. As you will see later, instead of removing the parts piece by piece on the machine the entire sheet is moved to the assembly table where the pieces can be removed from the waste.
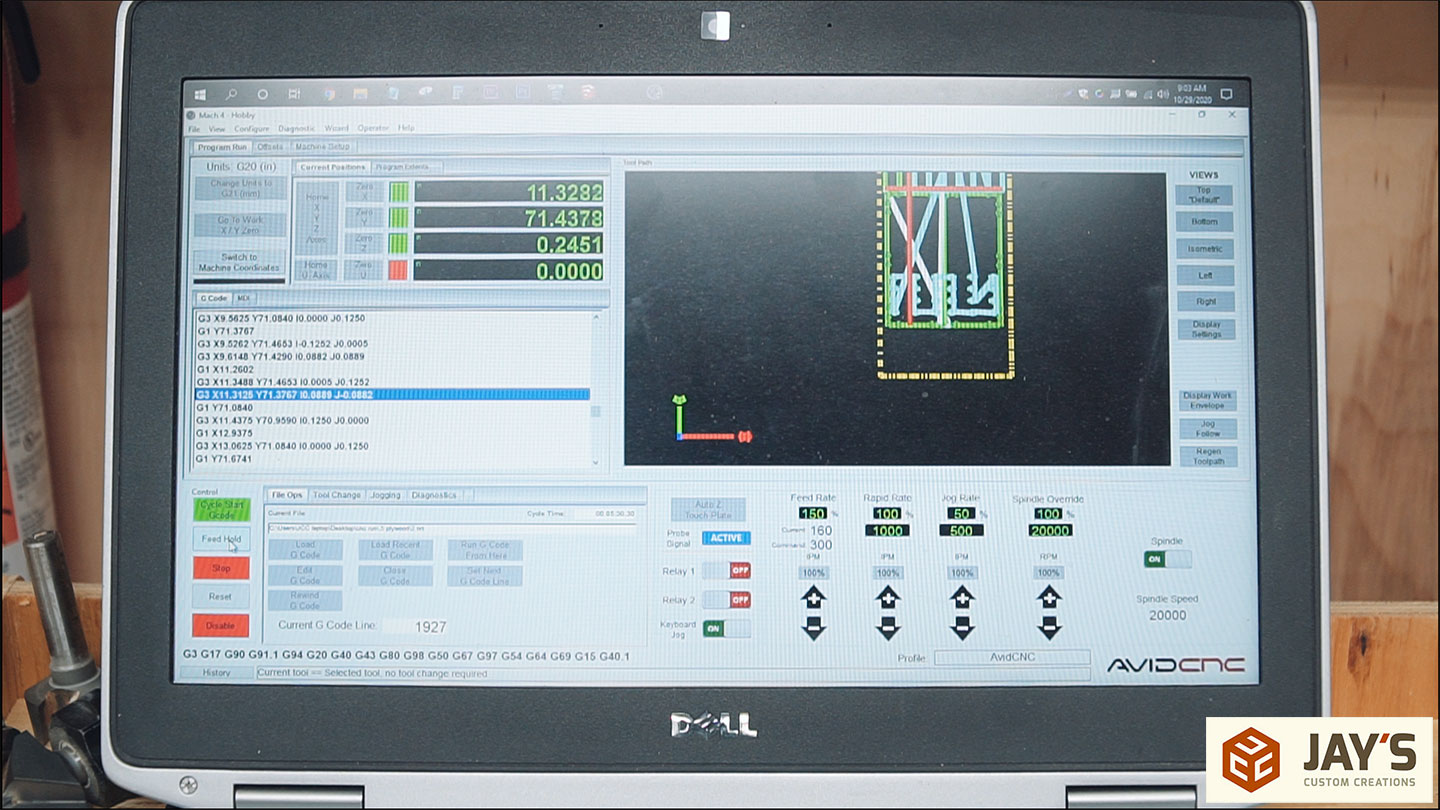
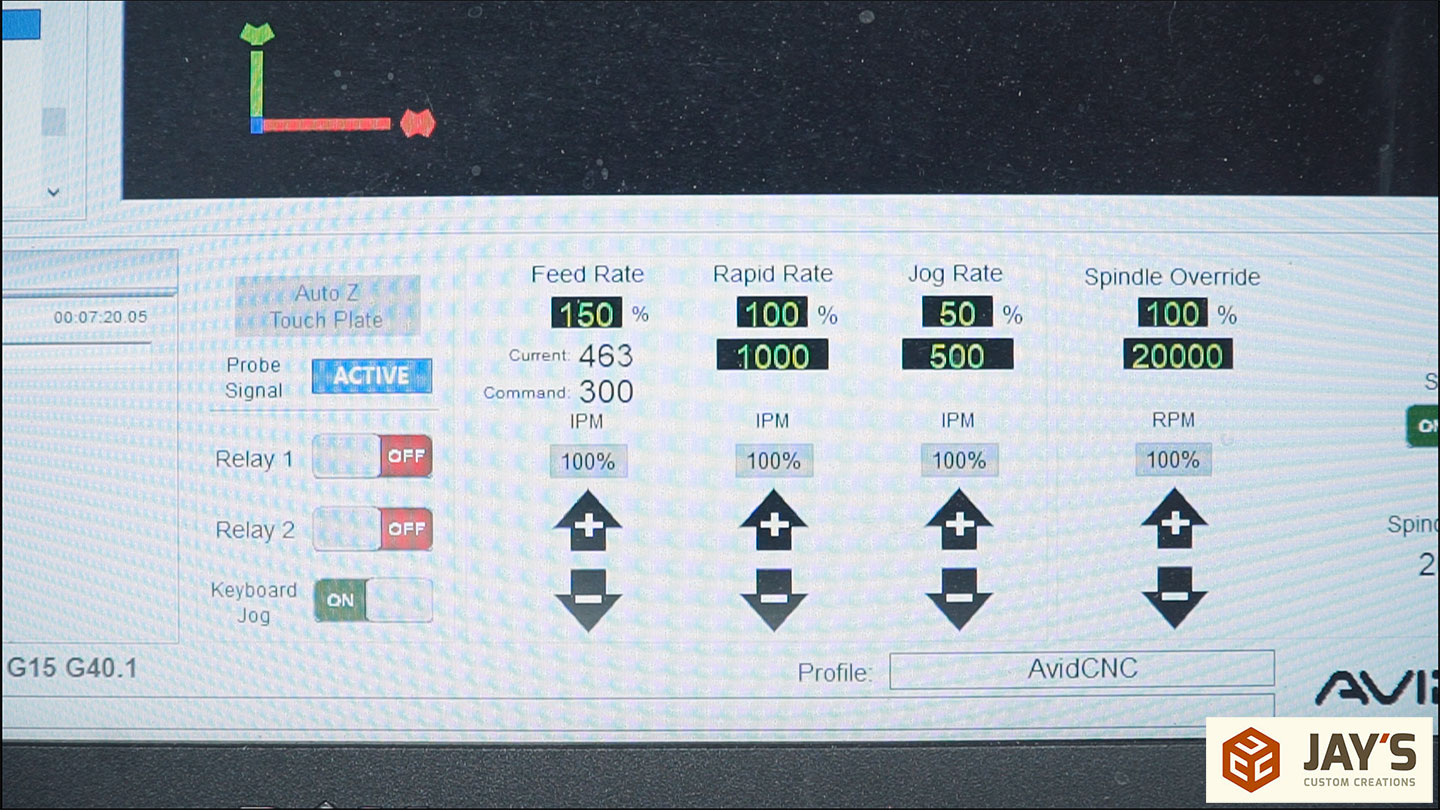
For all 23 sheets, I ran the same 1/4” diameter 2 flute spiral downcut bit from Bits&Bits.com (use code jaybates to save 10% at checkout). It’s an Astra coated bit which reduces friction and heat buildup, which therefore prolongs the life of the bit. All of the toolpaths were set at .250” depth of cut, and 300 inches per minute travel. While cutting the first sheet I increased the travel in Mach4 to 150% which put it at 450 inches per minute. I did forget to adjust the spindle RPM though. Luckily, we didn’t see any decrease in cut quality with the increased chipload.
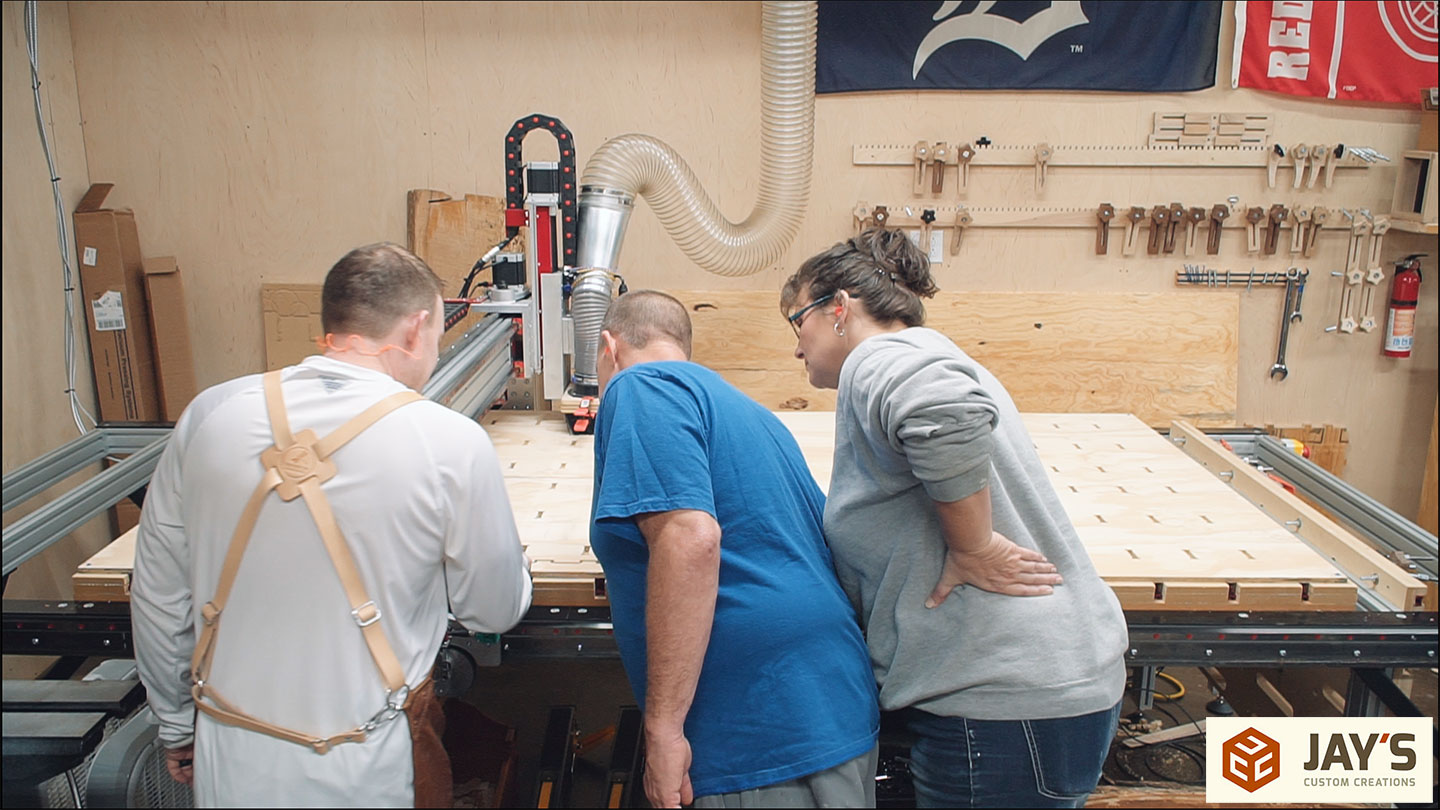
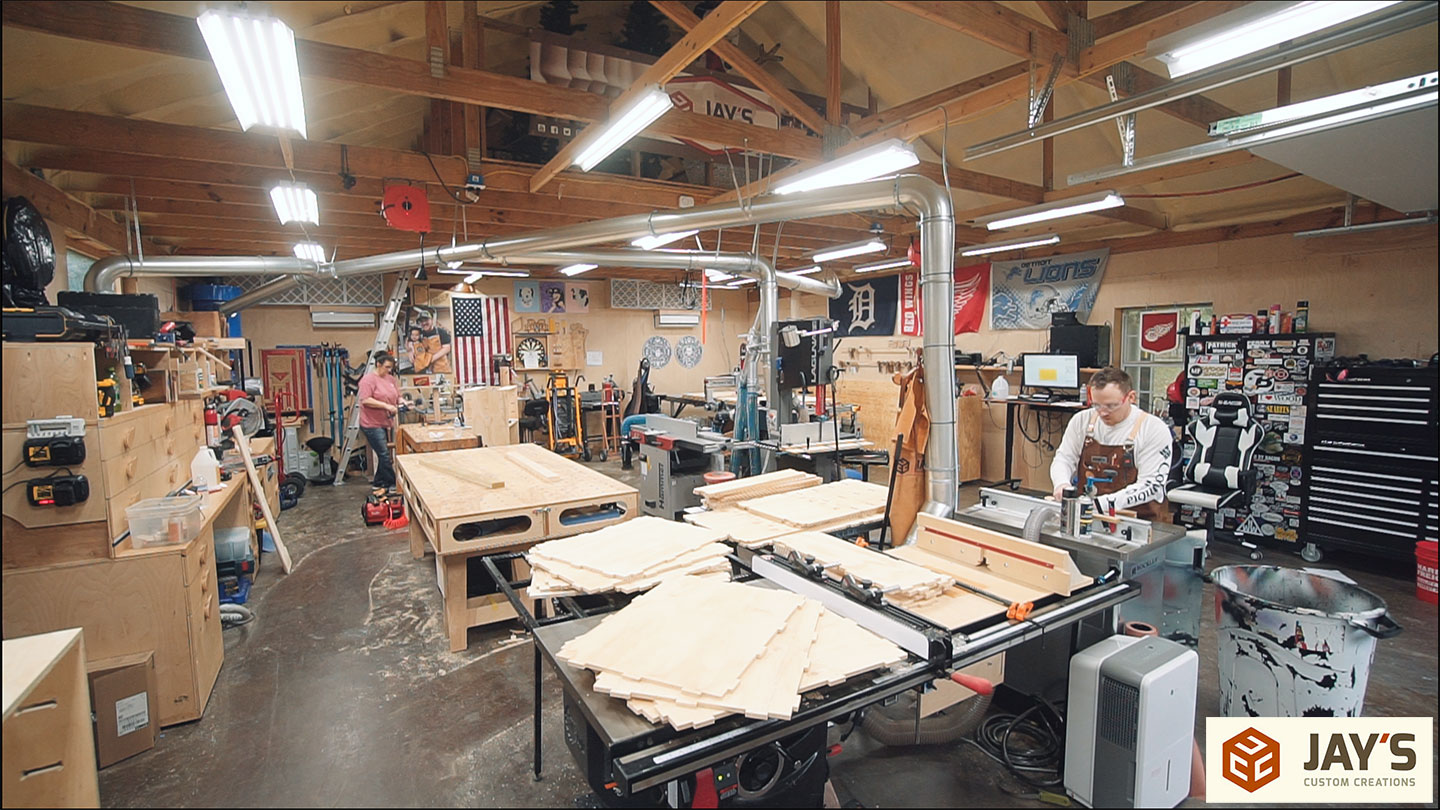
When laying out the pieces to be cut the quickest thing to do is just let the software nest the parts. However, I didn’t want them to be spread among a bunch of sheets so I nested them manually. Having full control over the nesting process slows things down a bit, but in doing so, I was able to get Ben and Mistye assembling by the end of sheet #2.
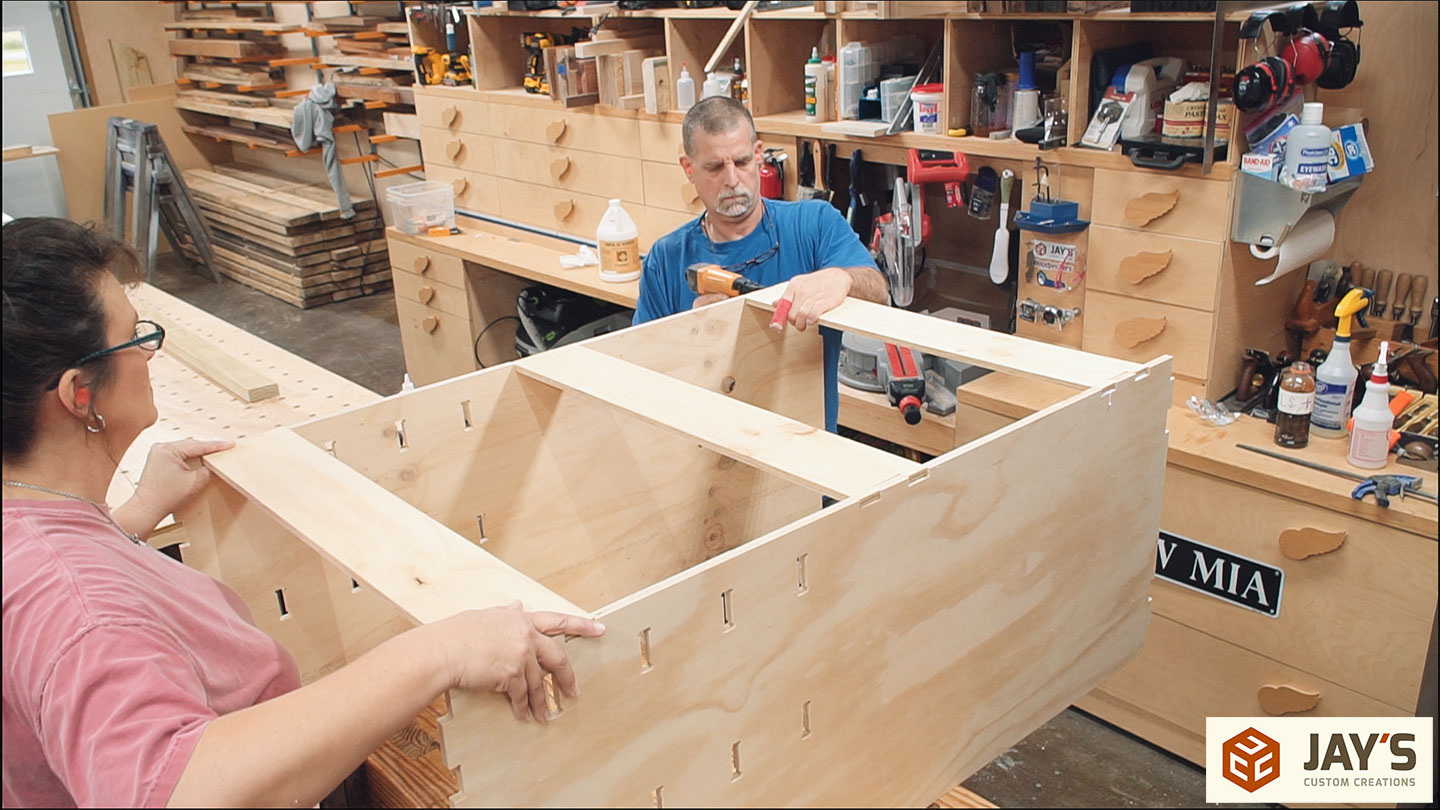
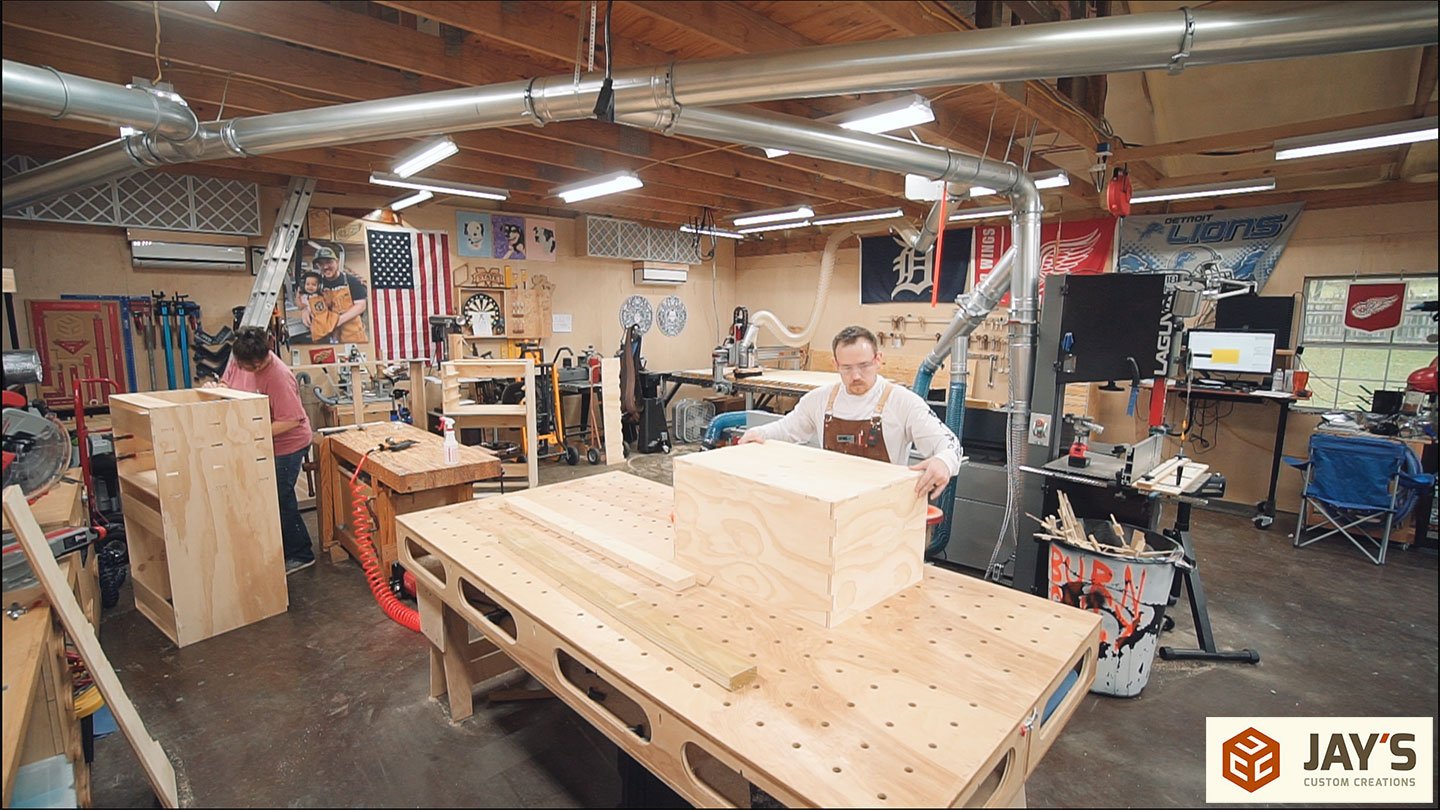
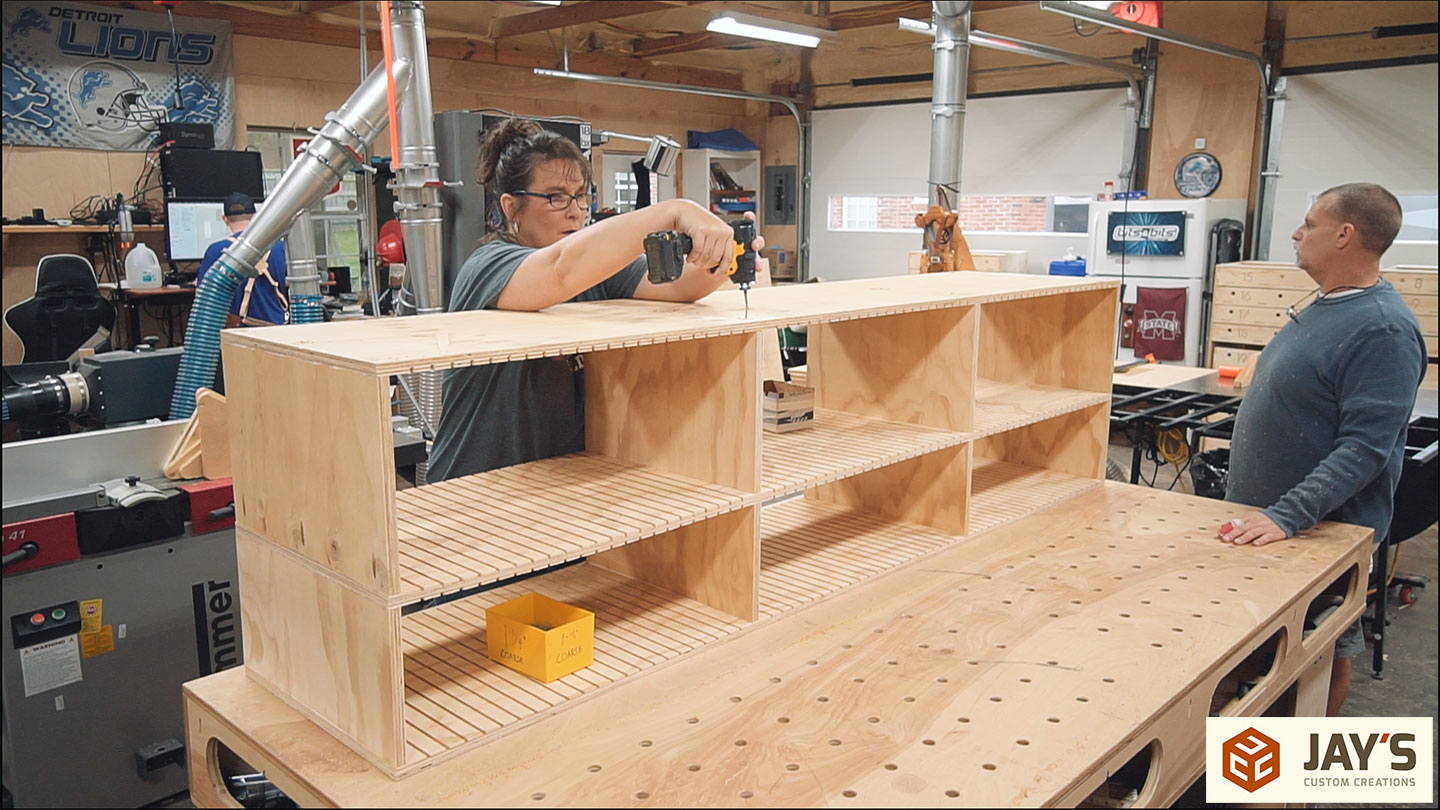
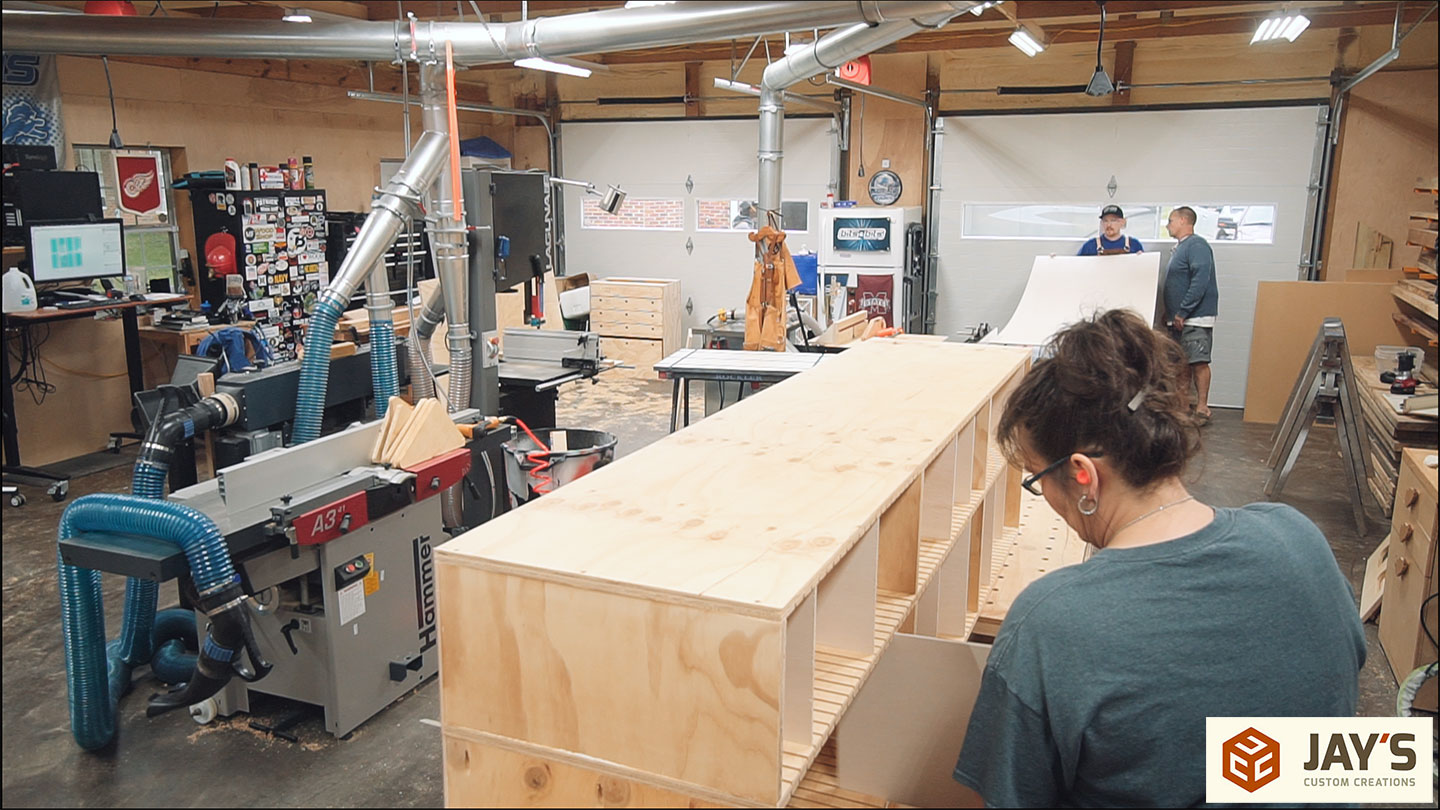
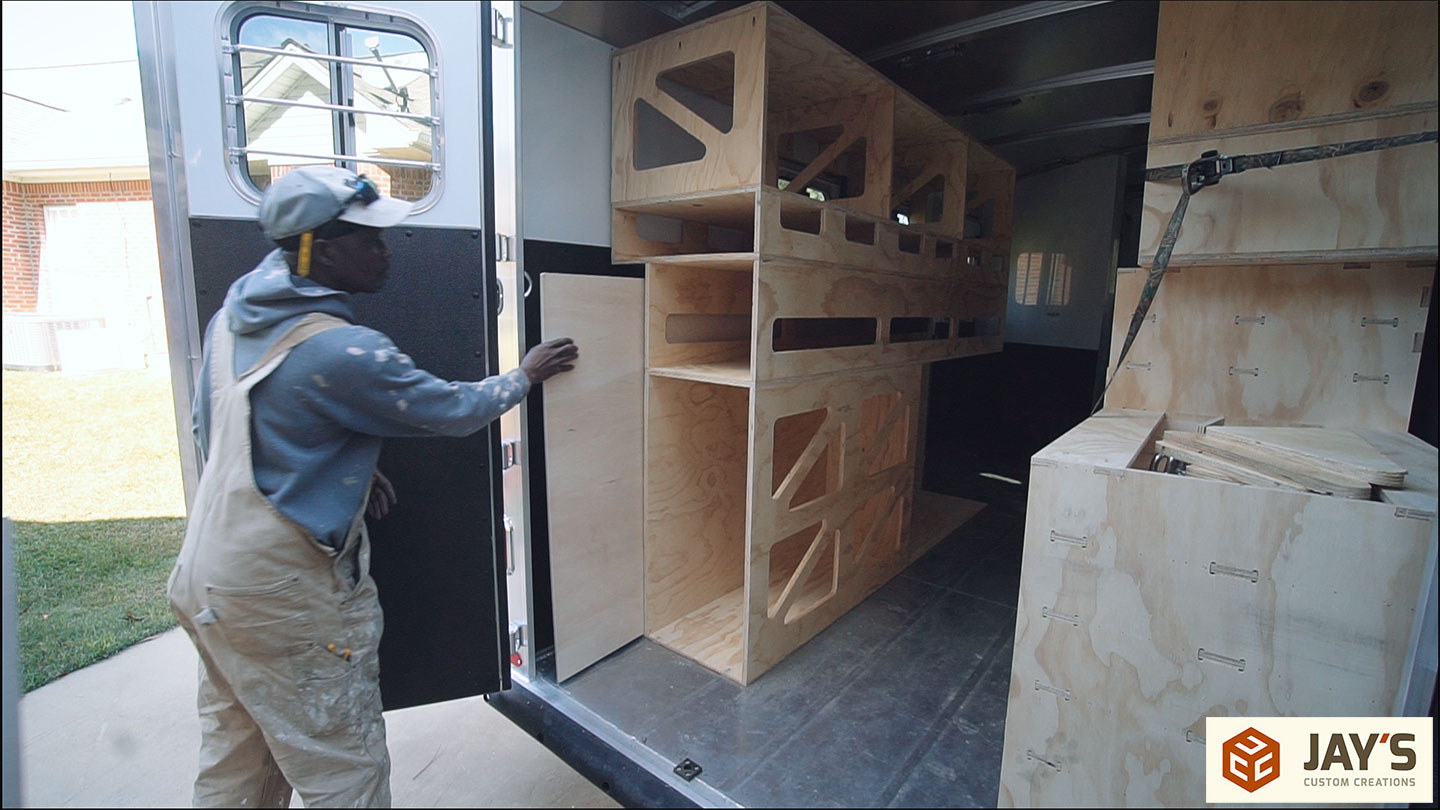
The assembly process is crazy simple. This style of construction uses box joints for everything. It’s like putting together a set of big kid Legos. We started with the right wall which is the drawer wall. There are four drawer cabinets on this side with a divider system above. Each one of the cabinets gets two horizontal braces on top, three on the back, and two on the bottom. The small cabinet gets two back braces.
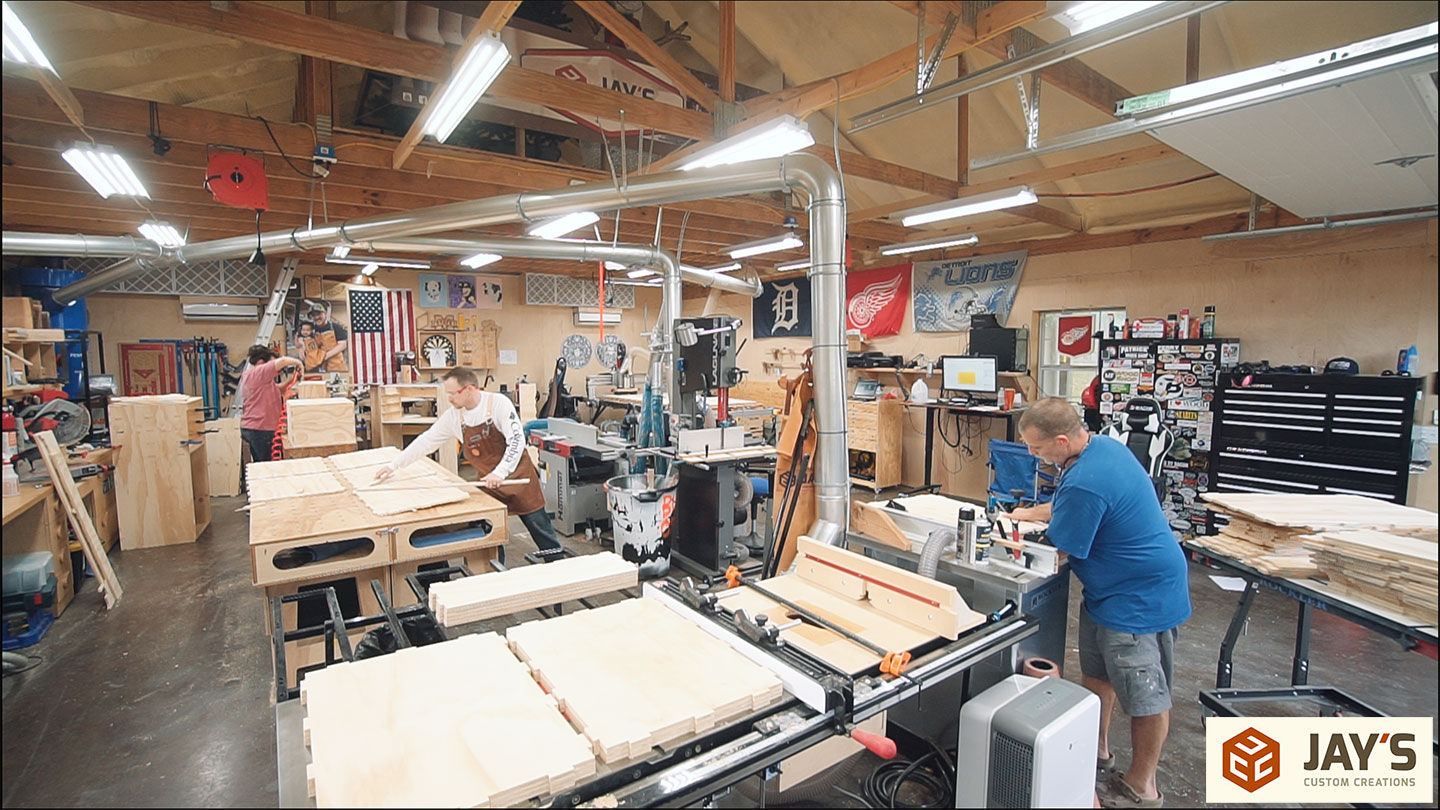
After a few sheets, we all settled into a groove and stayed busy. Mistye was always assembling, Ben was helping assemble and removing tabs when a new sheet came off the machine, and I was helping Ben with the tabs when I wasn’t getting the machine going. All three of us were moving, and we rarely stopped. We were like a well-oiled machine and it felt really good to be leading so much productivity.
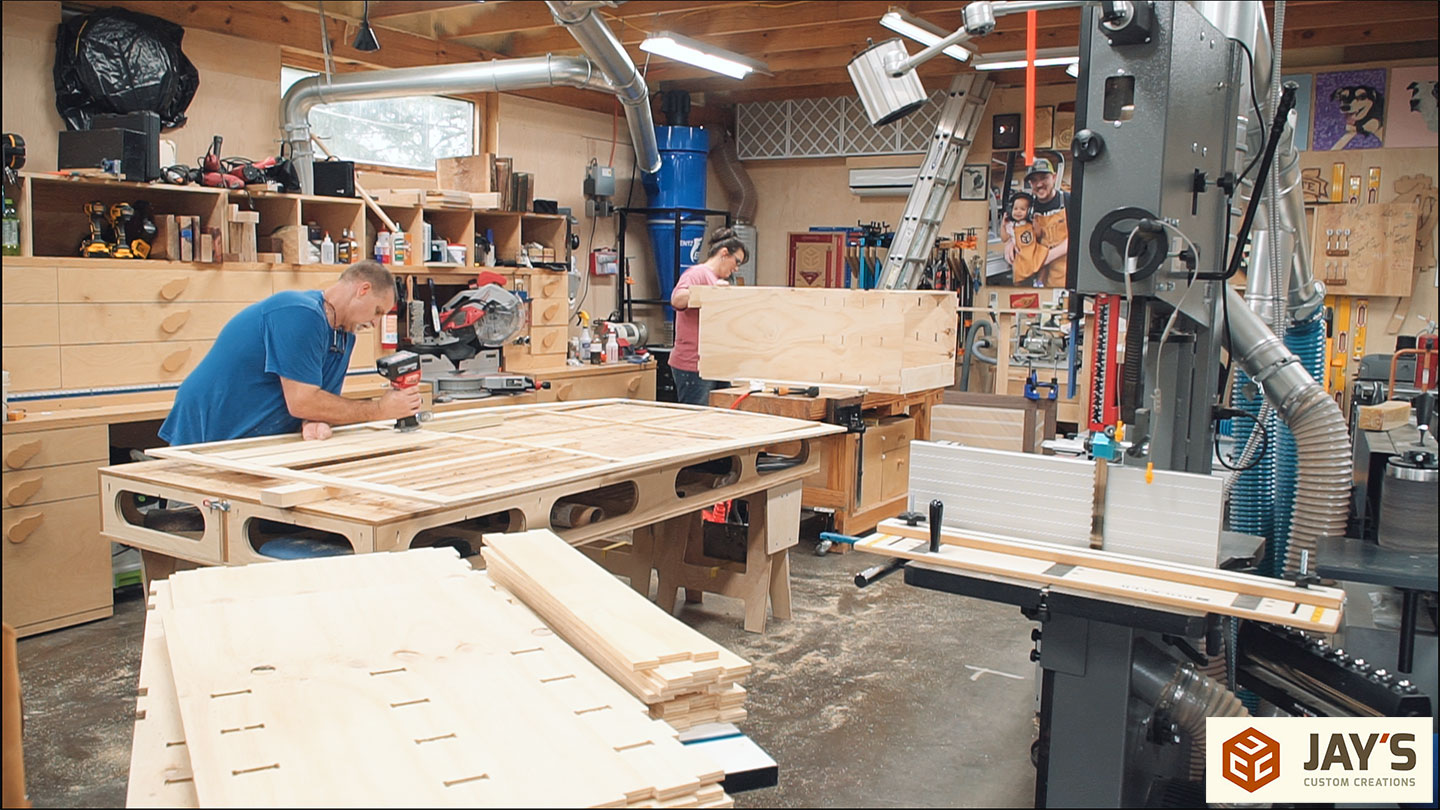

It finally dawned on me that a flush-trim bit in the trim router wasn’t the most efficient tool for the tabs due to the high number of pieces for this job. A much better process would be to take the part to the tool so I setup the router table with a flush-trim bit instead. Once the router table was set up Ben and I established a workflow where I would break the pieces free from the waste and stack them for trimming at the router table. This sped things up quite a bit.

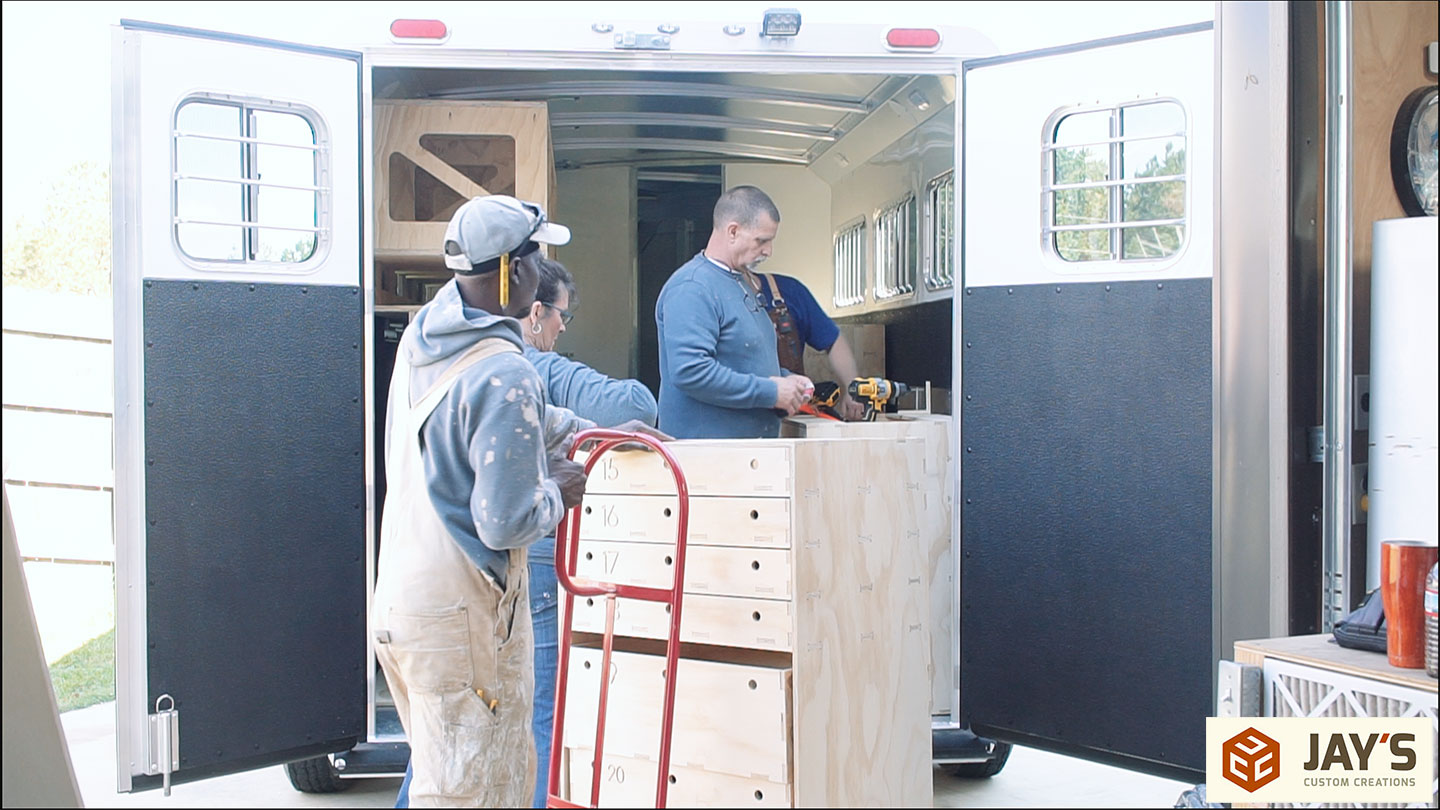
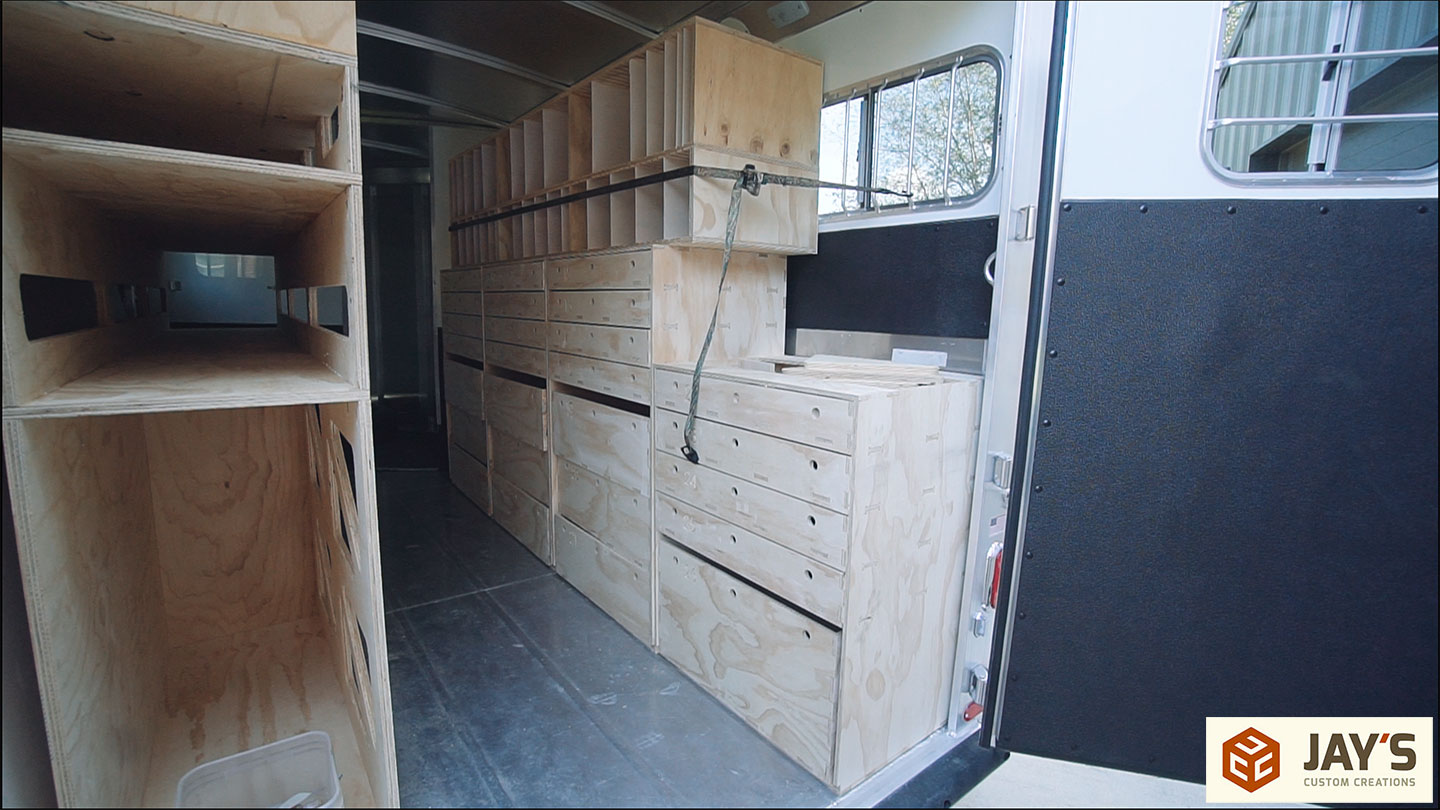
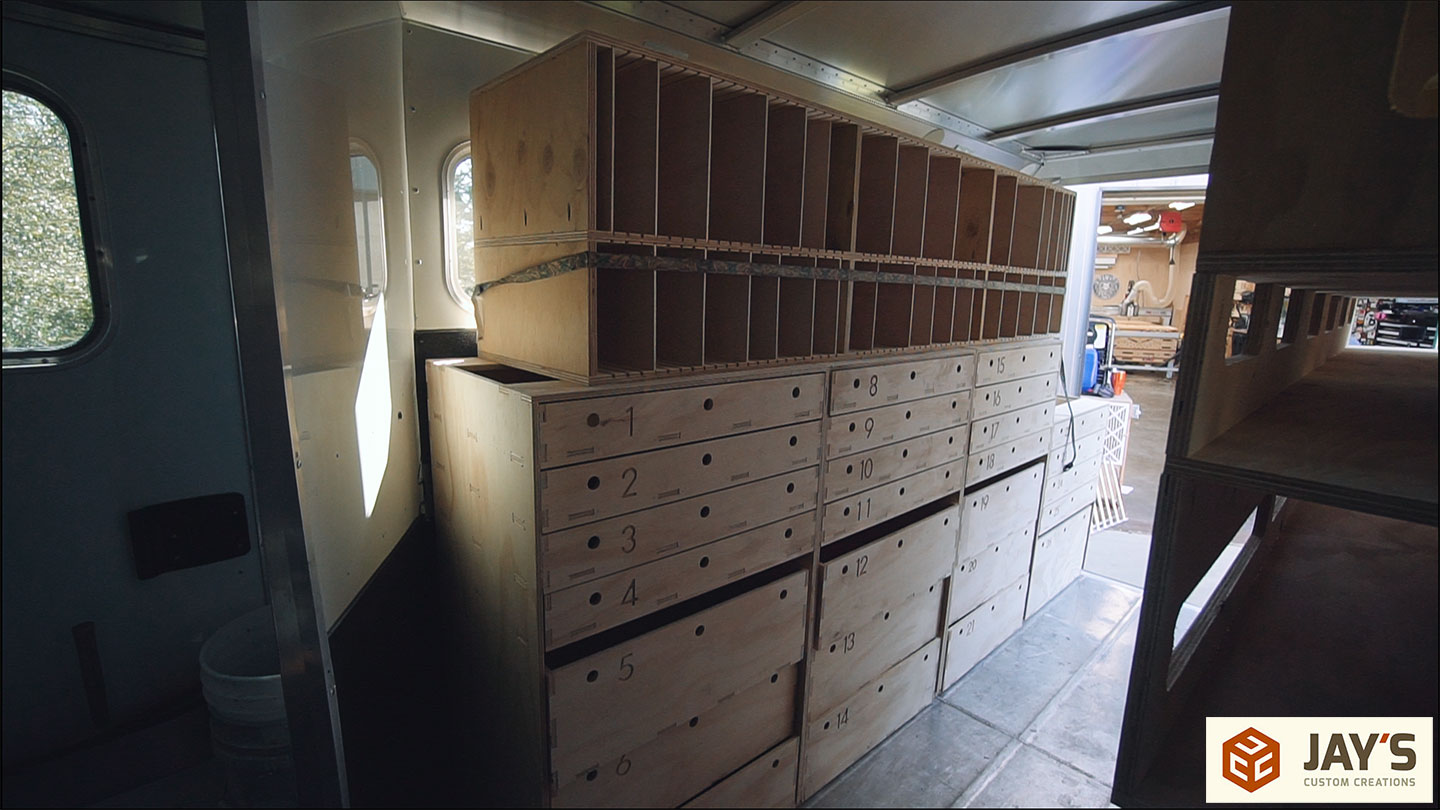
After all of the cabinets were assembled the drawer marathon could begin. This design calls for 26 drawers of 4 different sizes.
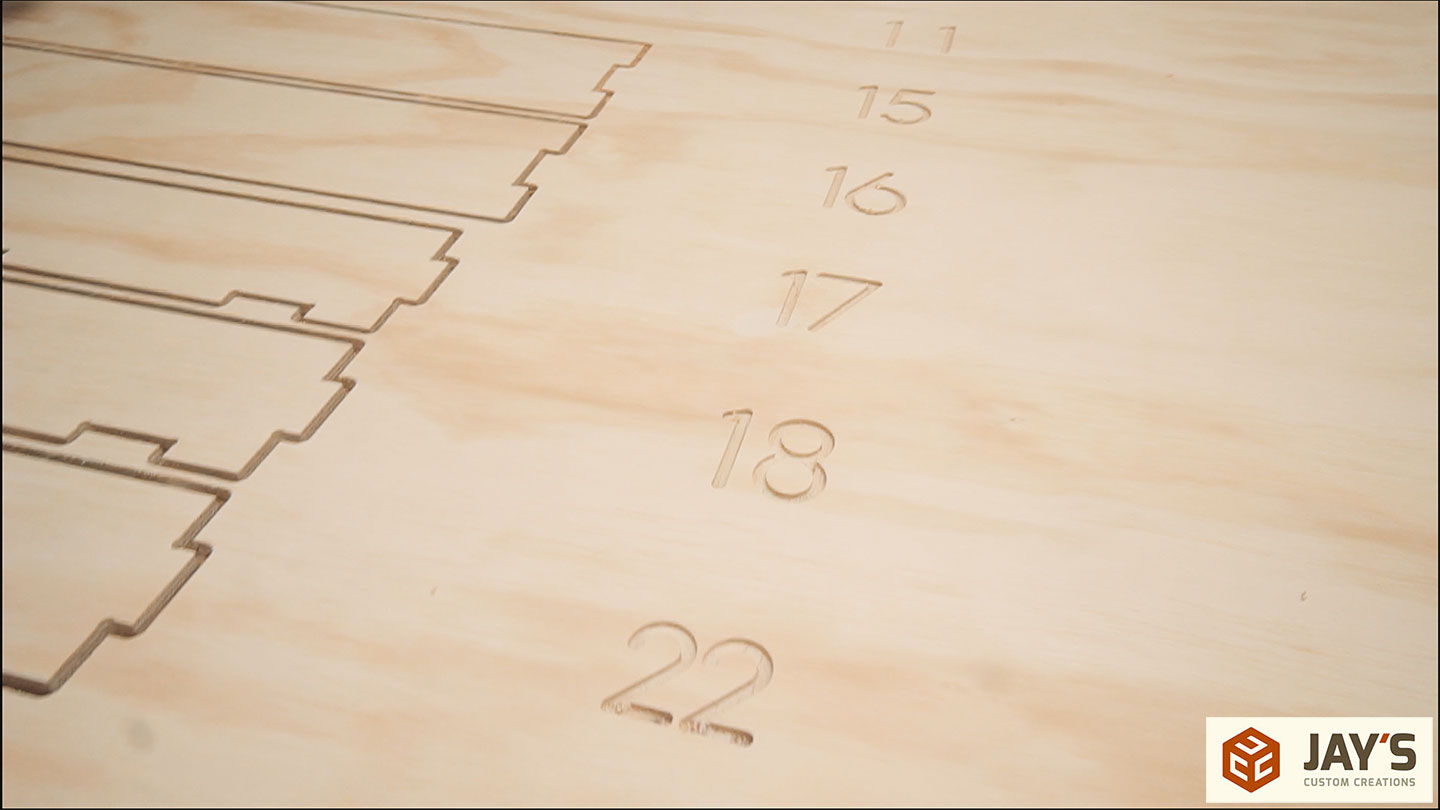
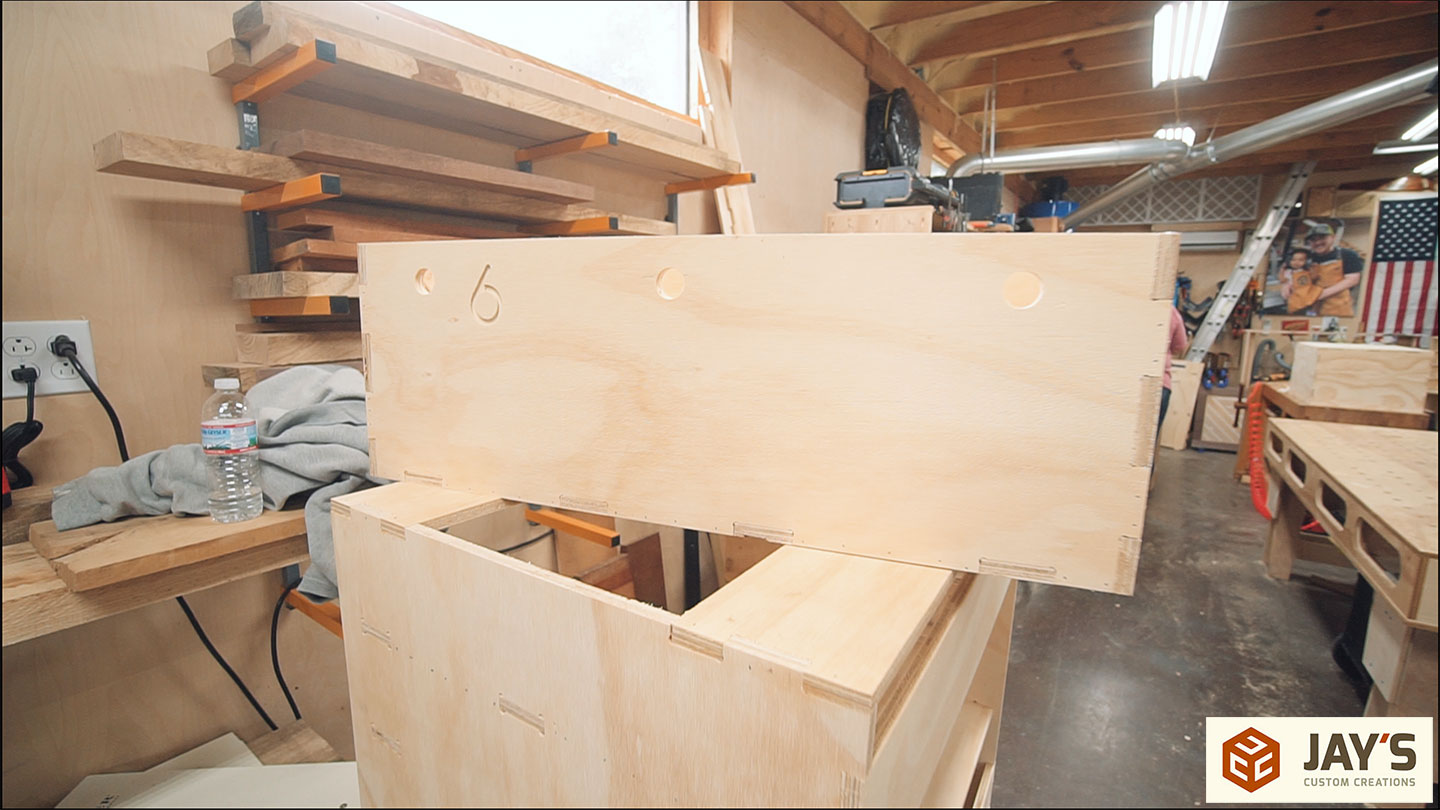
One of the best takeaways from this build was the use of numbered drawers. Each drawer front got a number cut into it. This is incredibly convenient for the crew working on site. After getting accustomed to the drawer layout someone can ask for a runner to go get whatever item out of whatever numbered drawer and immediately know where it is. I want to do this to all of my drawers now.
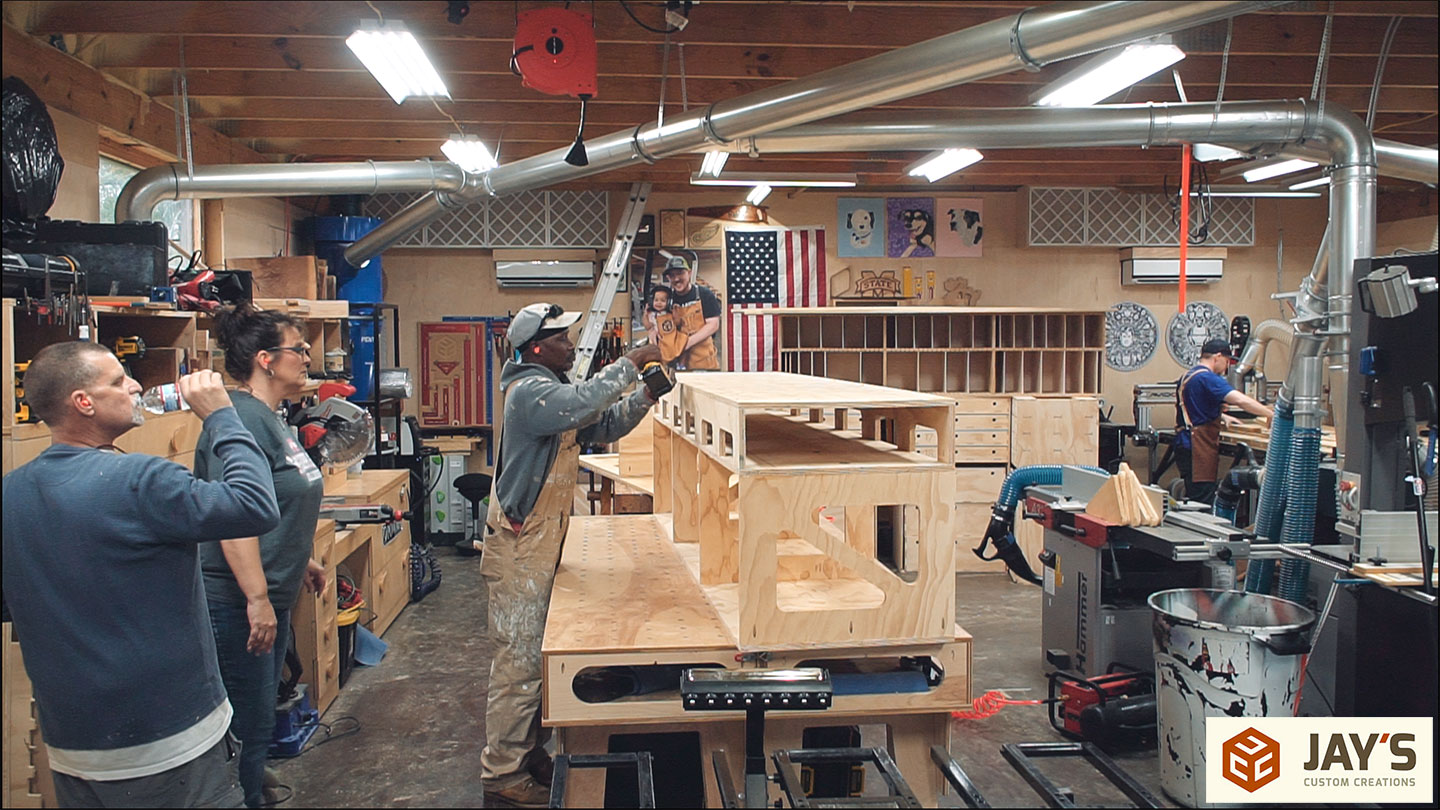
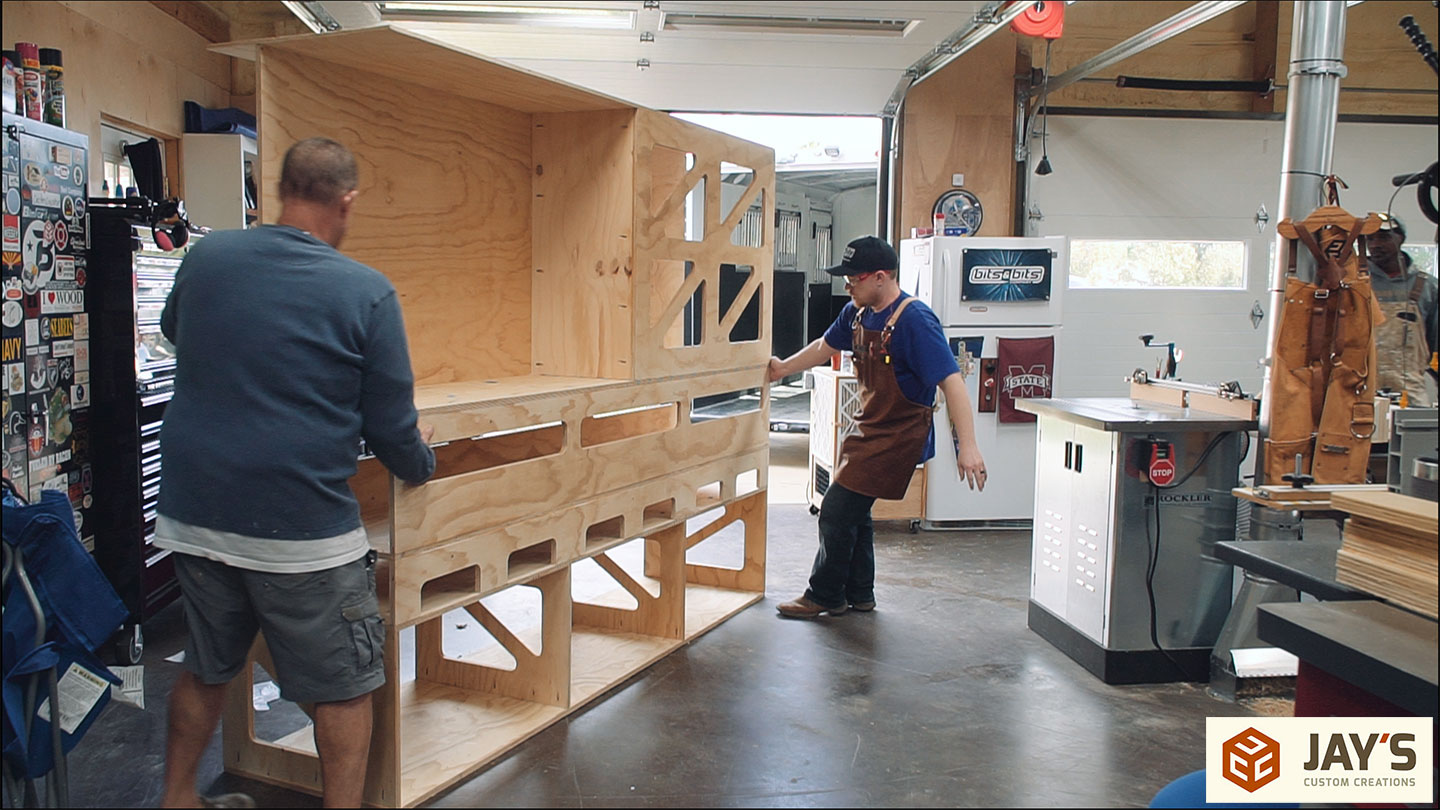
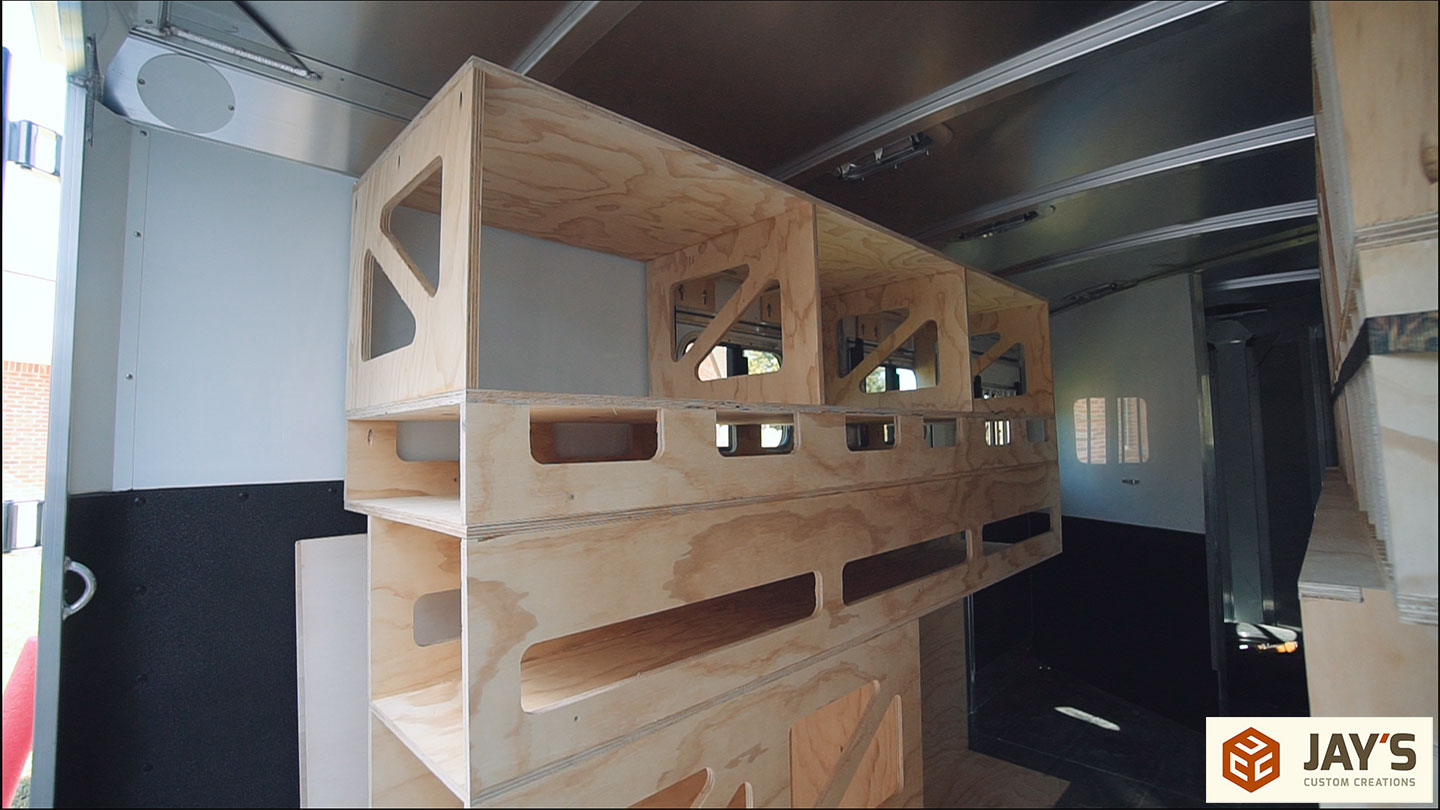
Here you can get a better idea of the construction method. Box joints for every joint on edges and mortise and tenon joints for all interior connections.

The drawer assembly marathon continued for the rest of day one, which only lasted 5-1/2 hours due to scheduling issues. In 5-1/2 hours, we got all of the full sheet CNC work done, assembled all four of the right side cabinets, assembled all 26 drawers, and got started on the divider system. We were knocking out some work and it felt GREAT!


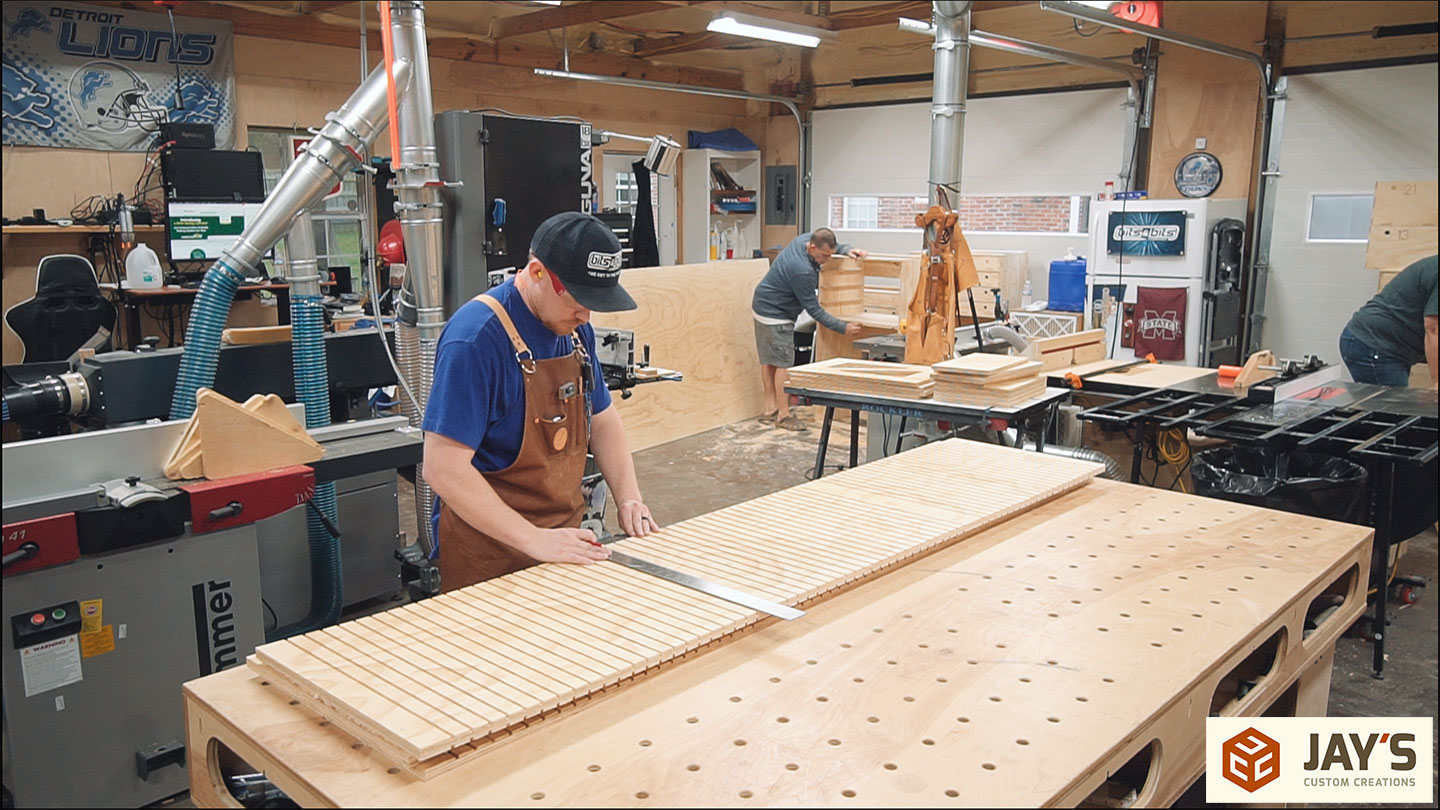
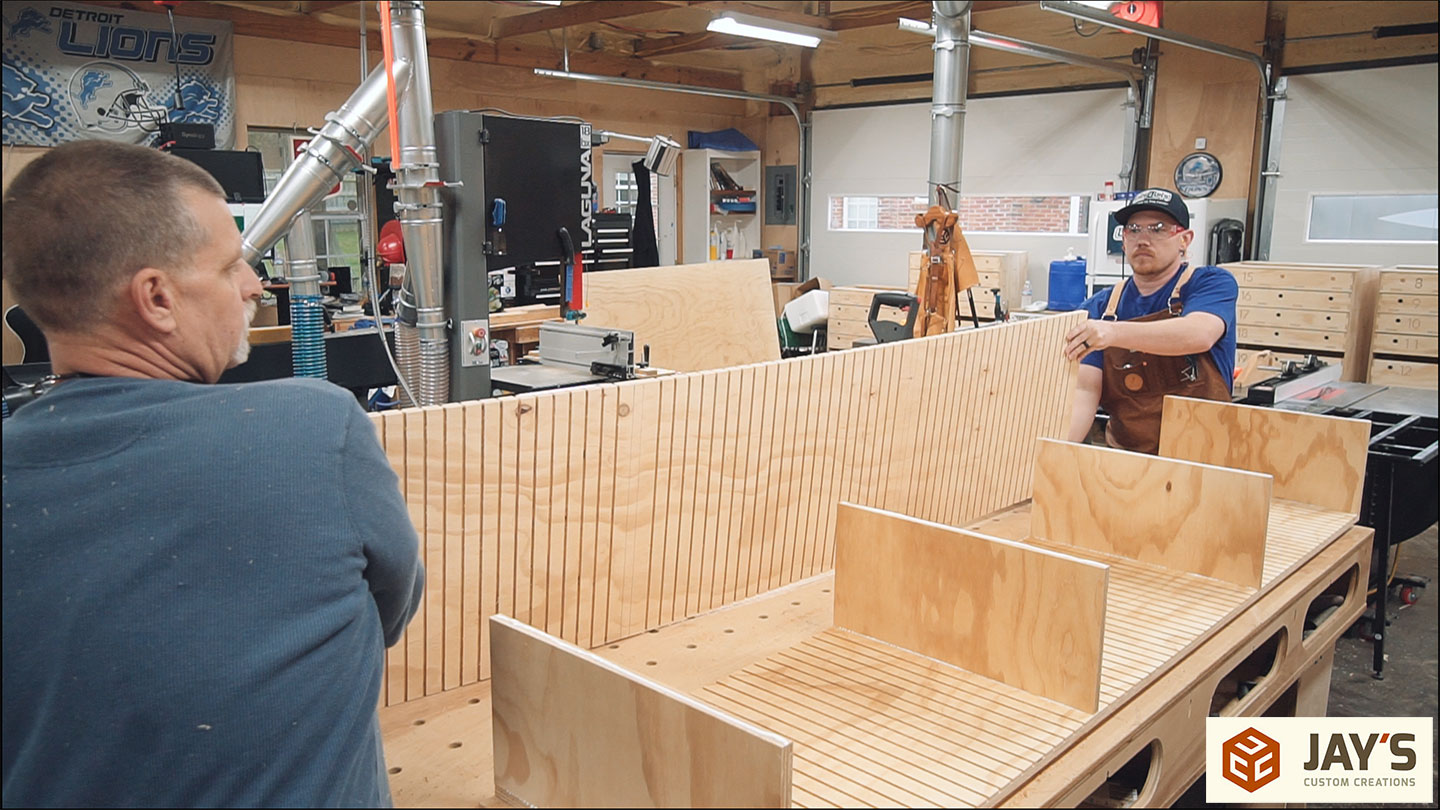
Day two in the shop started out with the divider system. This is a 90” long cabinet with 1/4” dados spaced about 1-1/2” apart. The dados are for 1/4” plywood panels to divide the space as needed.
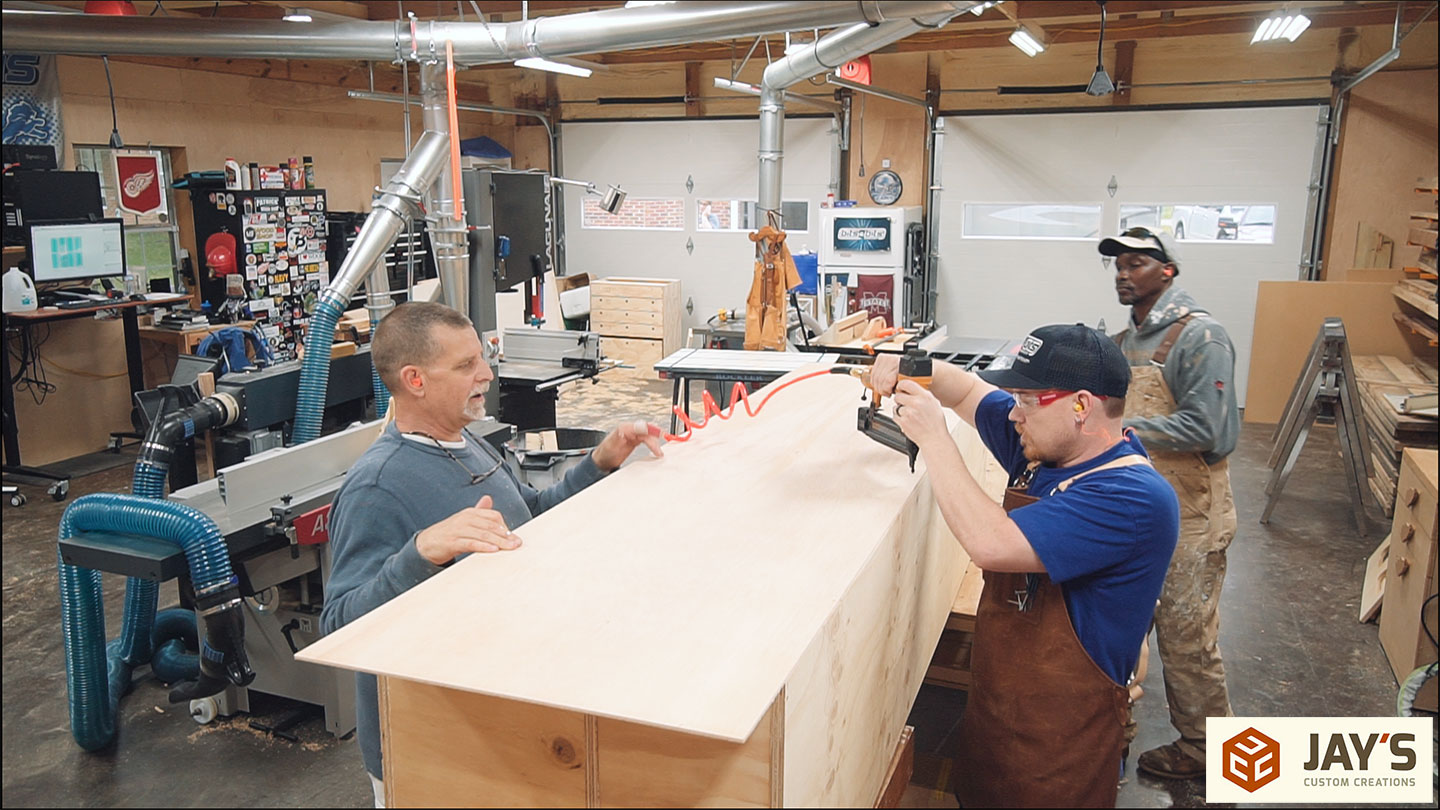
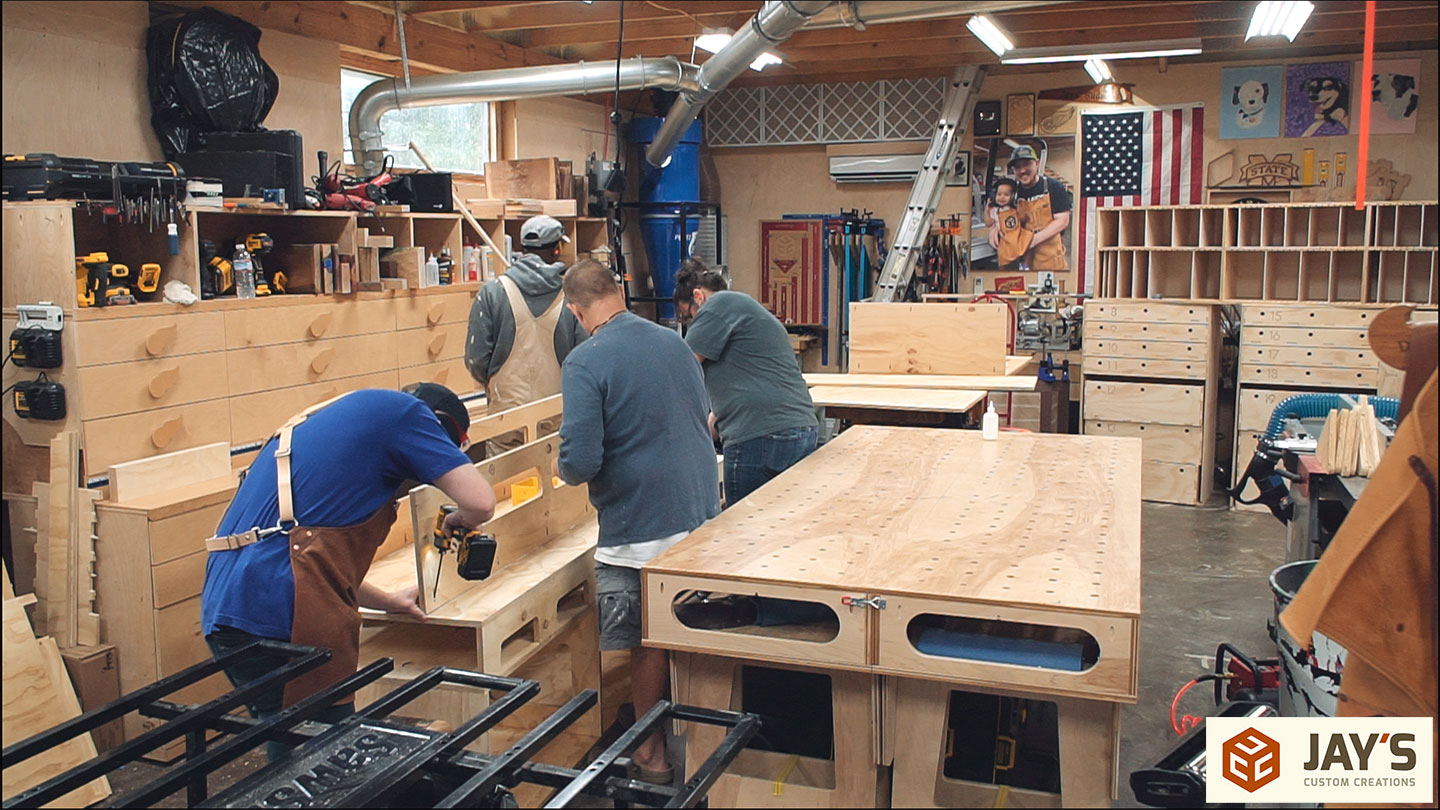
From here on out there is no CNC box joints or mortise and tenon joints. It’s all pocket holes, brad nails, and glue.


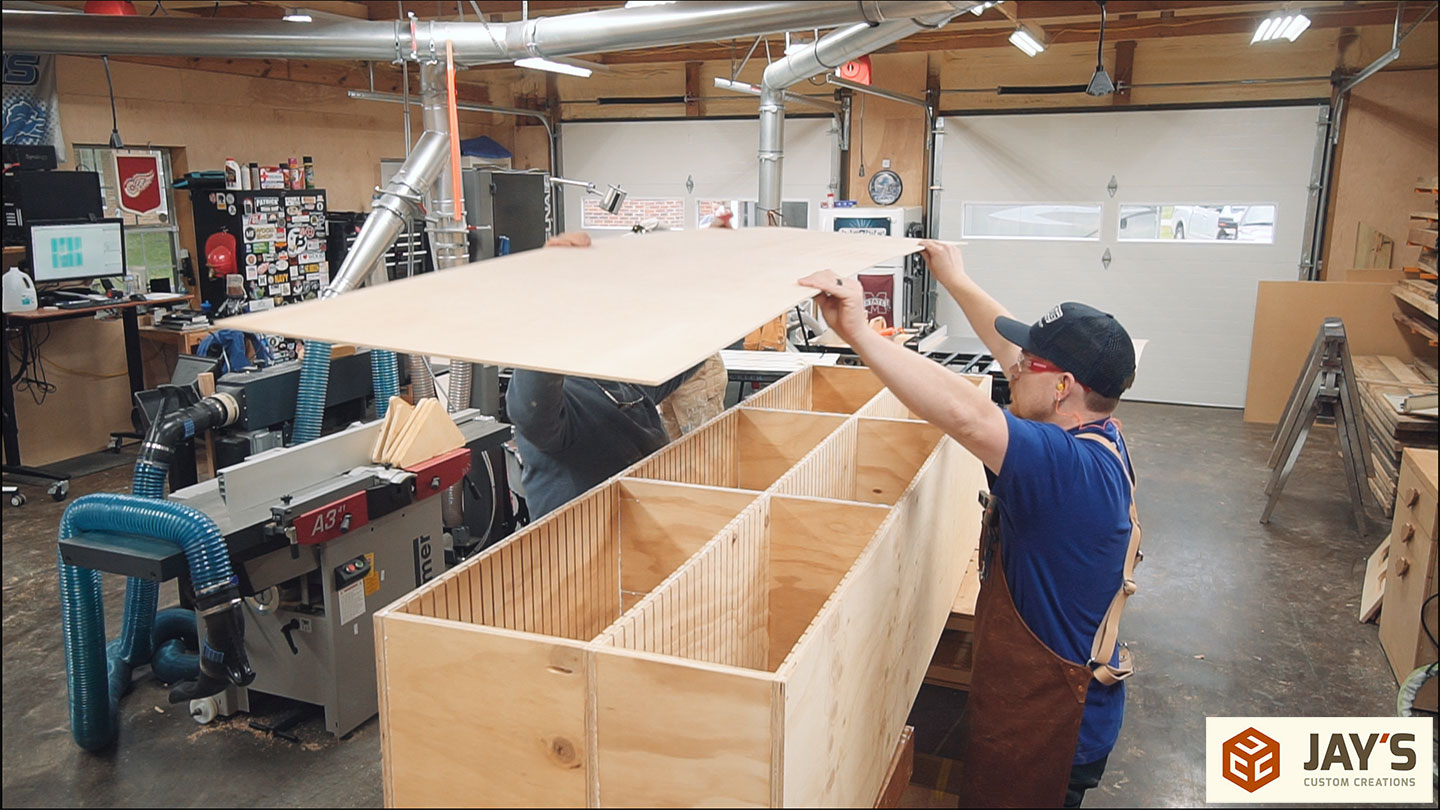
The back panel stiffens the assembly and is held in place with glue and brad nails.
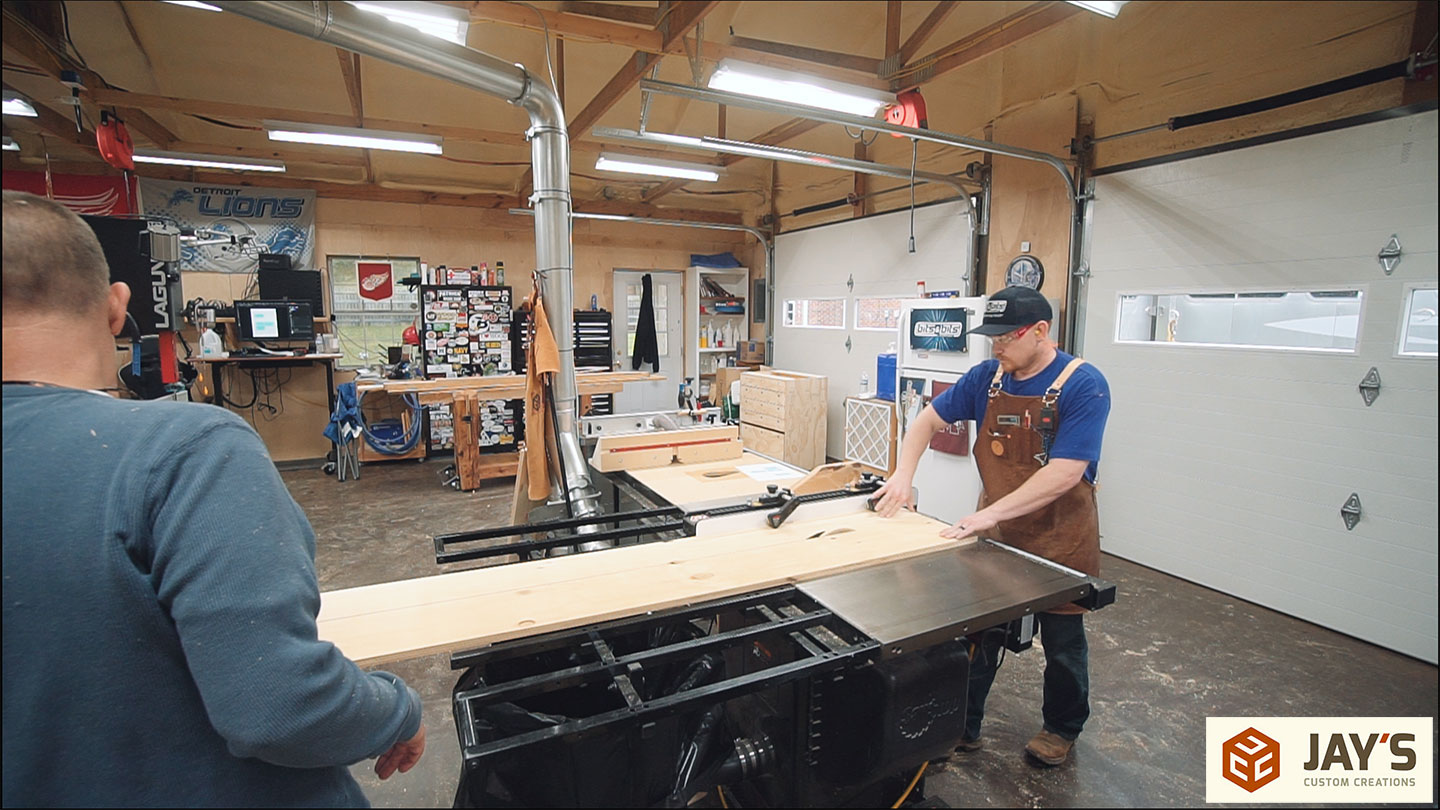
At this point, the CNC work is done. The rest of the cutting can be done with the table saw and miter saw. I was ripping strips of 1/4” plywood at the table saw while Ben and Mistye were sizing them to fit the box at the miter saw.
Finally, the left side can begin. This side has a much more simple design that has larger item and scrap wood storage. A big priority for Ben was to have an organized system to store scrap wood and scrap plywood.
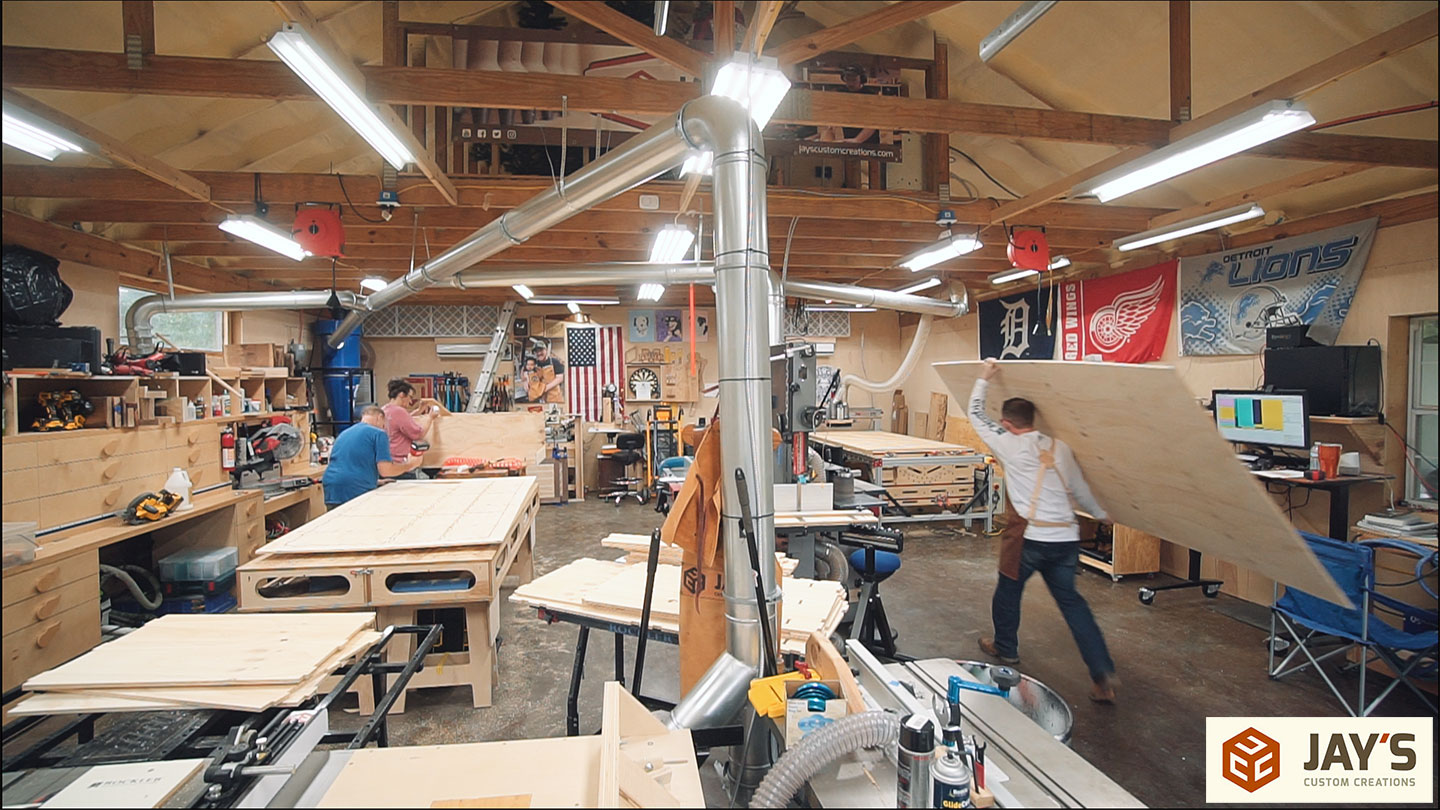
Making this large of a project also made me realize a few things about the shop layout and workflow. First, returning to a 4′ x 8′ assembly table was a great move. Especially for plywood based projects. Second, I realized I have a lot of medium-sized walkways that result in less open floor space for large assemblies. We had to slide the assembly table around a few times to get the left side assembly built.

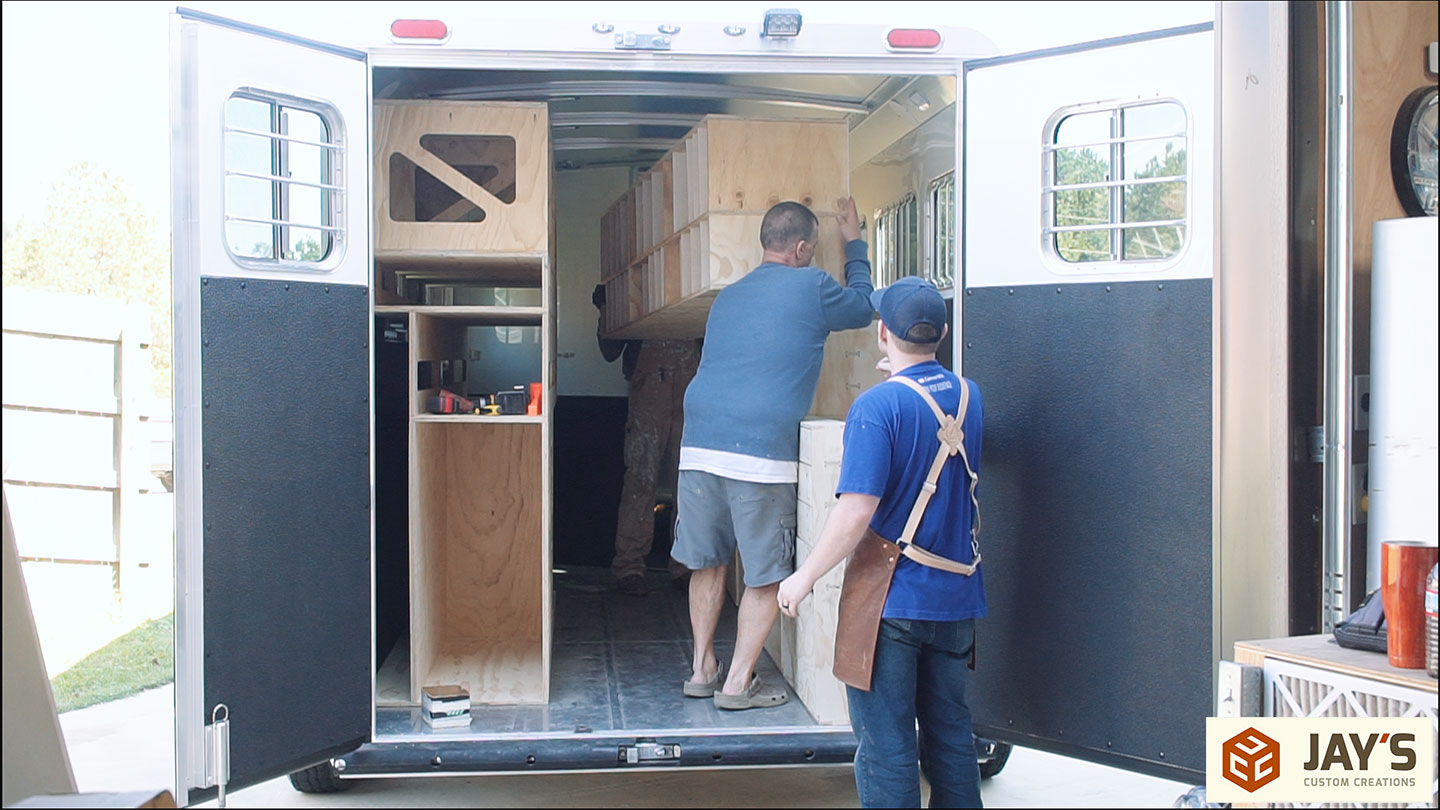
The last piece of the puzzle was to add the floor piece to the left side. Then we could orient it for loading into the trailer.

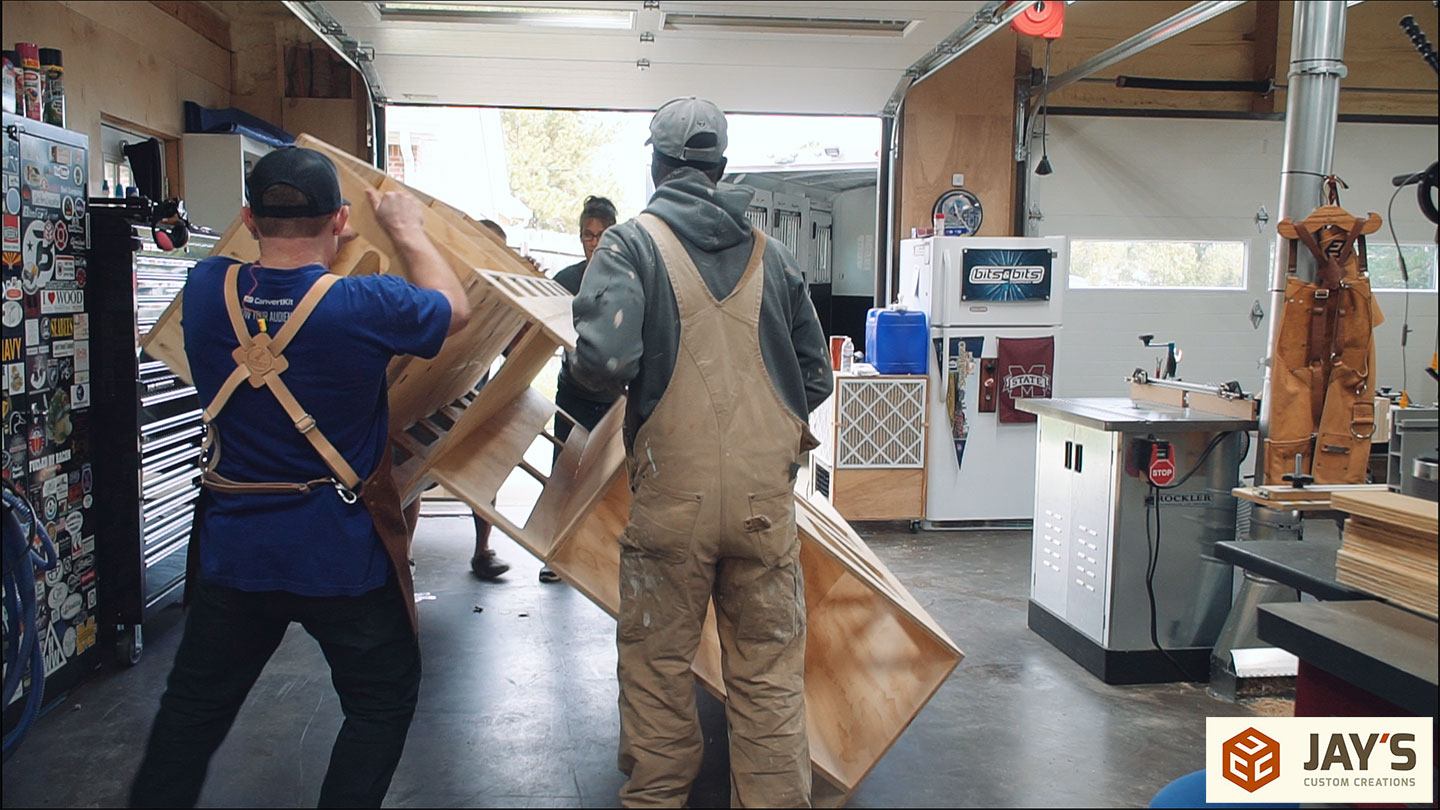

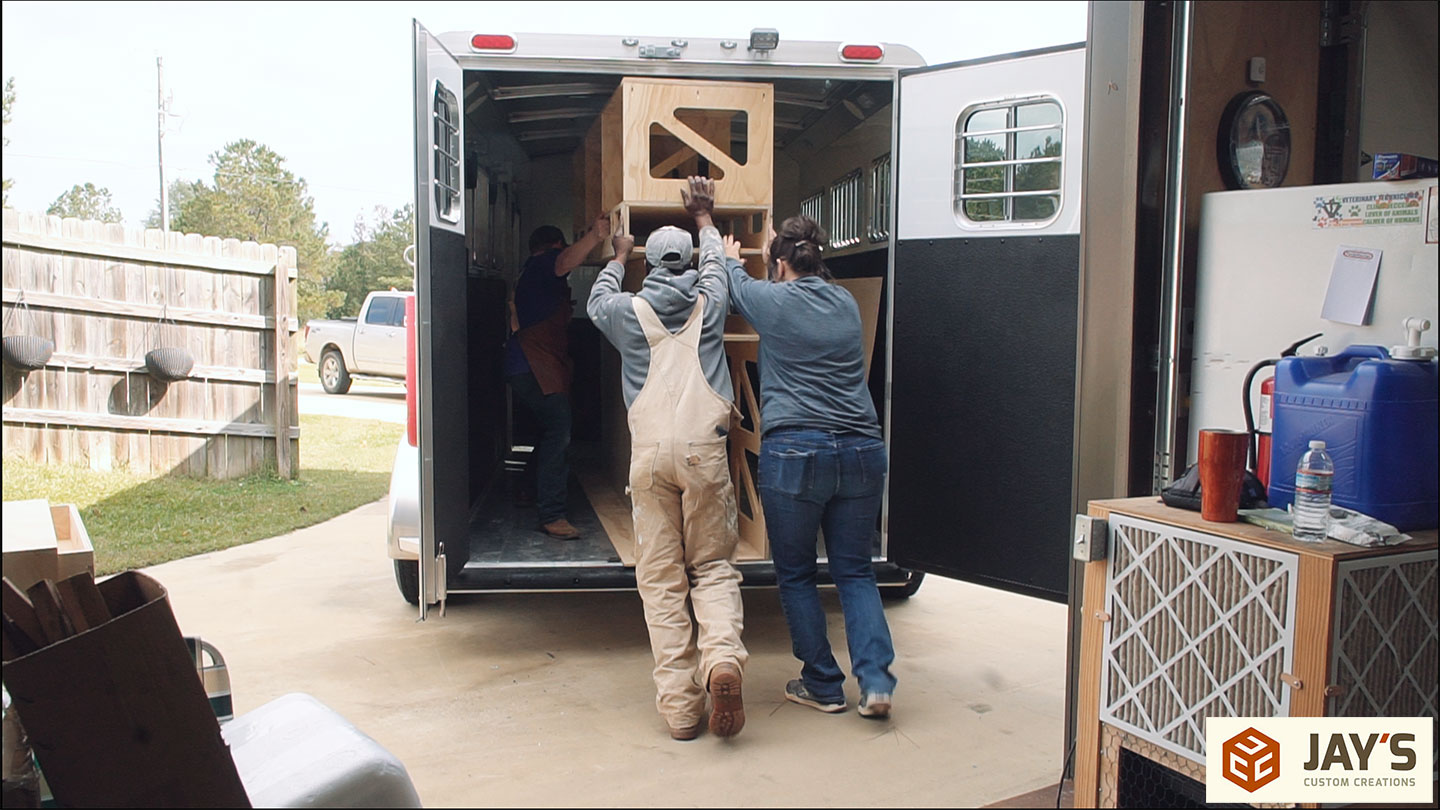
We ended up making some very specific brackets to use existing bolt holes in the wall for the left side assembly. The right side was just set in place and temporarily strapped to the wall for the ride home.
This concludes the work in my shop. In total, we had 10 shop hours of work spread over two days. We worked great as a team and were very productive. Part one of this build covers the SketchUp design. The cutting and assembly covered here is part 2. And Part 3 will cover the completed and loaded trailer right before it’s maiden voyage.
That’s it for this video. Be sure to go to jayscustomcreations.com/newsletter to sign up for my email newsletter so you don’t miss anything I publish. Subscribe if you want to see more videos like this. Take care, and I’ll talk to you in the next video.


Jay, I am impressed with both the design and the efficiency of the build. This trailer will definitely increase your friends work output and money input.
Thanks for the video.
Great work done by all! The CNC is impressive, wish I had more room in my shop for one.
WOW, Way to roll.
Have never done any CNC work, so, curious about knocking out the pieces with the dead blow hammer. Don’t you get any splintering on the work pieces doing that? Also, do you have to know computer coding in order to use a CNC?
You generally don’t if you knock them out on the correct direction. Tabs down, holding waste, knock the part. That way the tab is backed up by the piece on the part receiving the hit and will easily splinter out on the waste side. Then you flush trim the tab. I’d say this is a high 90’s percent method. On projects like hardwood and furniture grade stuff I’ll chop them with a chisel or use a trim router.
Man I love this build when is part 3 coming out? I would love to see how he laid out all the tools and how he made use of all of the drawers
Now that’s what I am talking about! Incredible thought process and implementation, great job. The “A Team” used to say “I love when a plan comes together,” well boy your plan really did come together in a big way. Ron Paulk’s technique has really started something.
I could see you standardizing this process, based on a specific space, so more people could order a “Completely Knocked Down” (CKD) cabinet for use in their Garages/Basements/Closets, work van etc.
I’ve watched you for a while and its gratifying to see your growth as a Skilled Craftsman/Video Producer/ and your CNC Skills. I wish more Tech High Schools would follow your examples they would produce much needed Craftsman!
Man, I love the efficiency you wrung out of that.. really inspiring, Cheers!