Recently in my shop, I showed my good friend Bill how to build a simple shaker style dining table. In this video and article, I’ll walk you through the process.
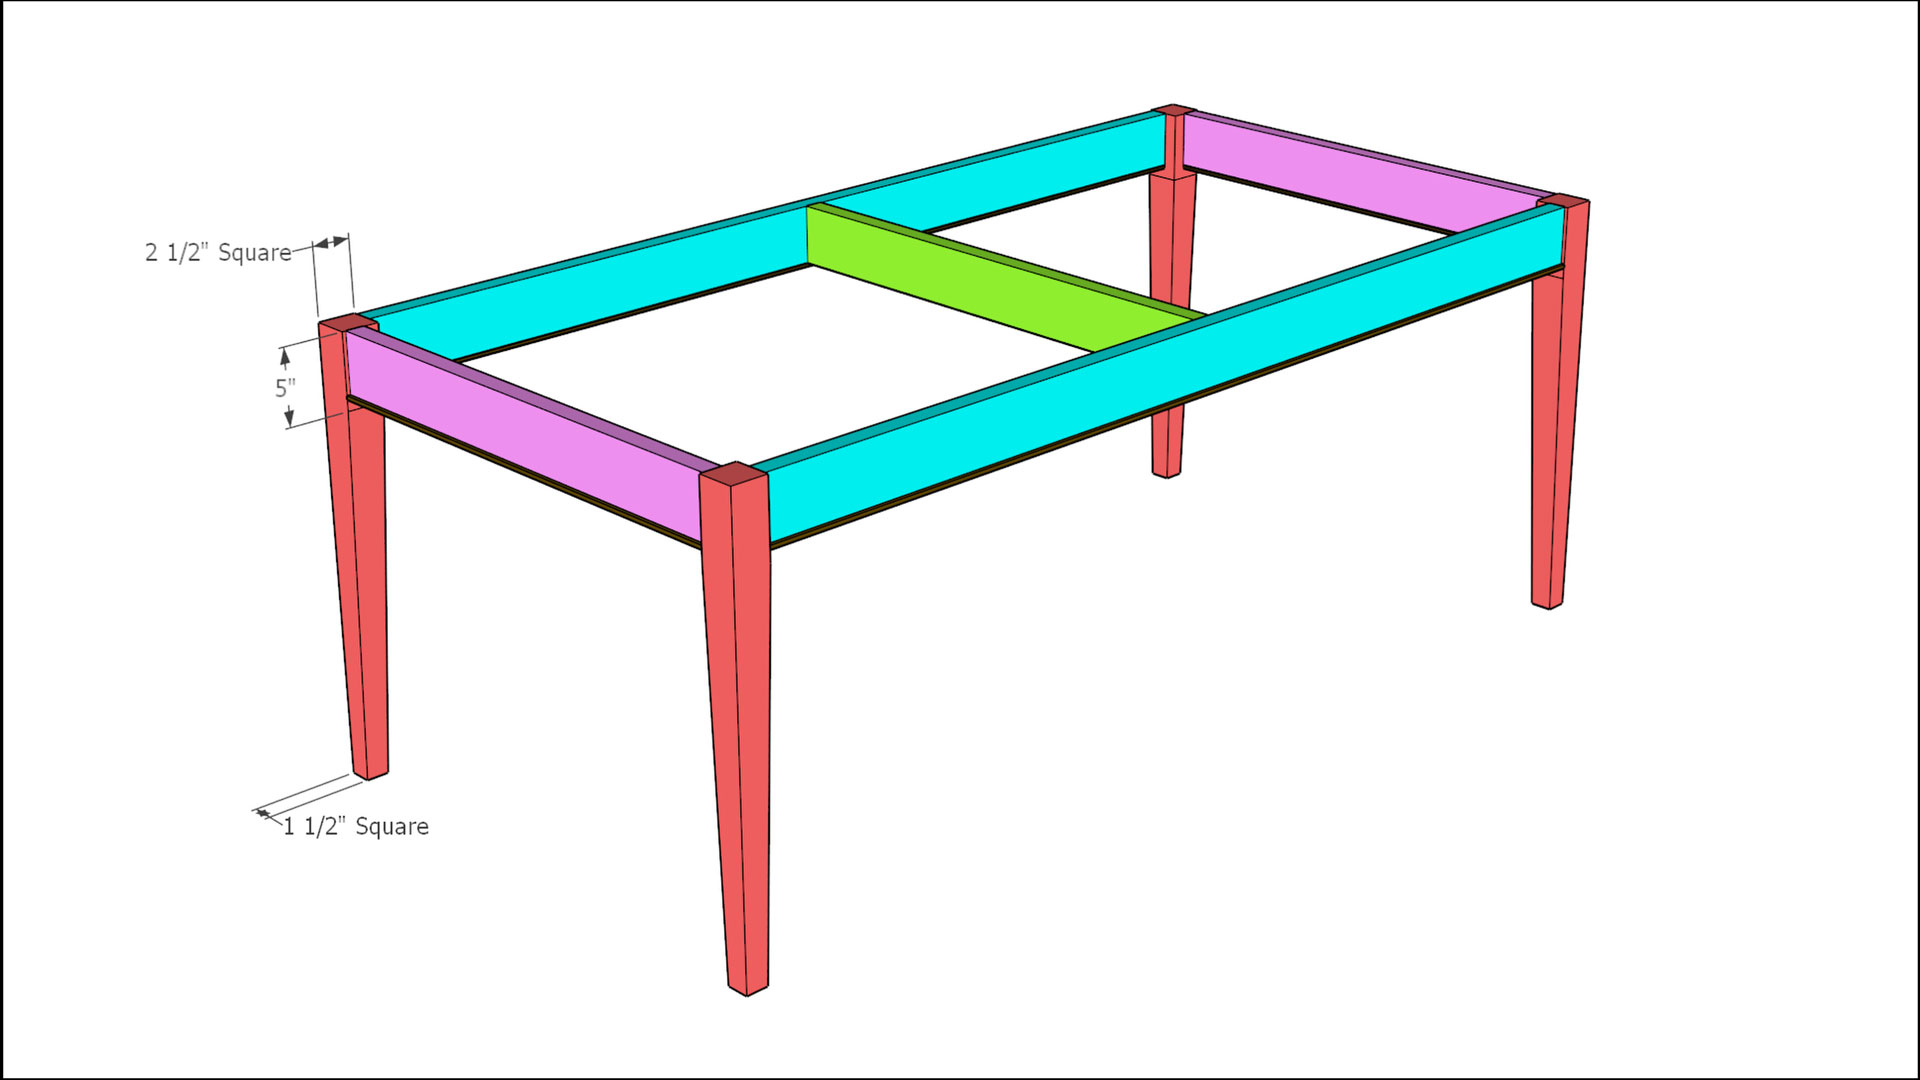
Before we begin let me show you the design. Also, if you’re interested in these dimensions click here to open a free PDF that you can download and print. The table will be 78” long, 31” high, and 40” wide. This image shows a basic trim piece added to the bottom of the rails but, as you will see, we didn’t add it.

The legs are 2.5” square and have a taper on the interior two faces that starts 5” down from the top. The taper goes in by one inch leaving a 1.5” square at the bottom of the legs. All of the rails are inset 1/4” from the legs and an interior rail is added to break up the length and prevent the long rails from bowing in or out over time.
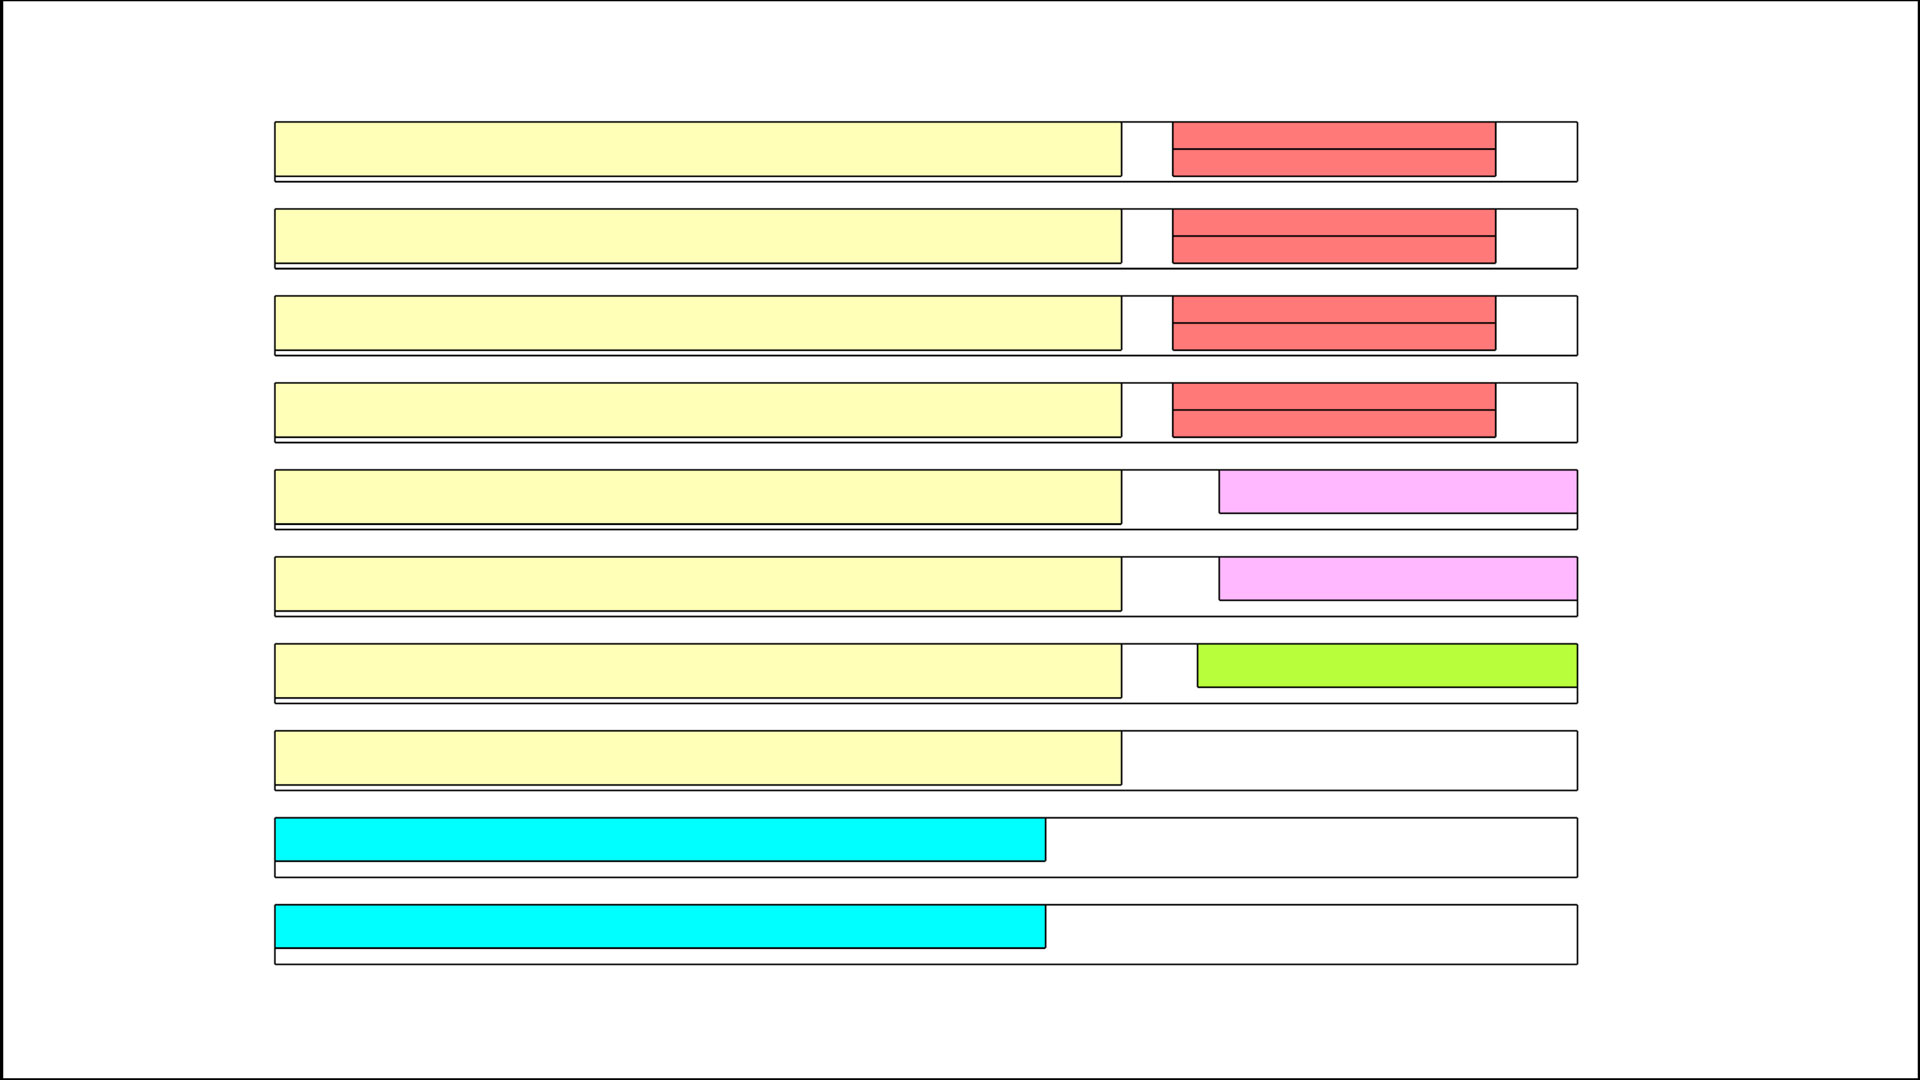
I had a stack of 2x6x10′ pine boards on hand so we sized our cut list with those in mind. Assuming no waste, it will take ten of those boards.
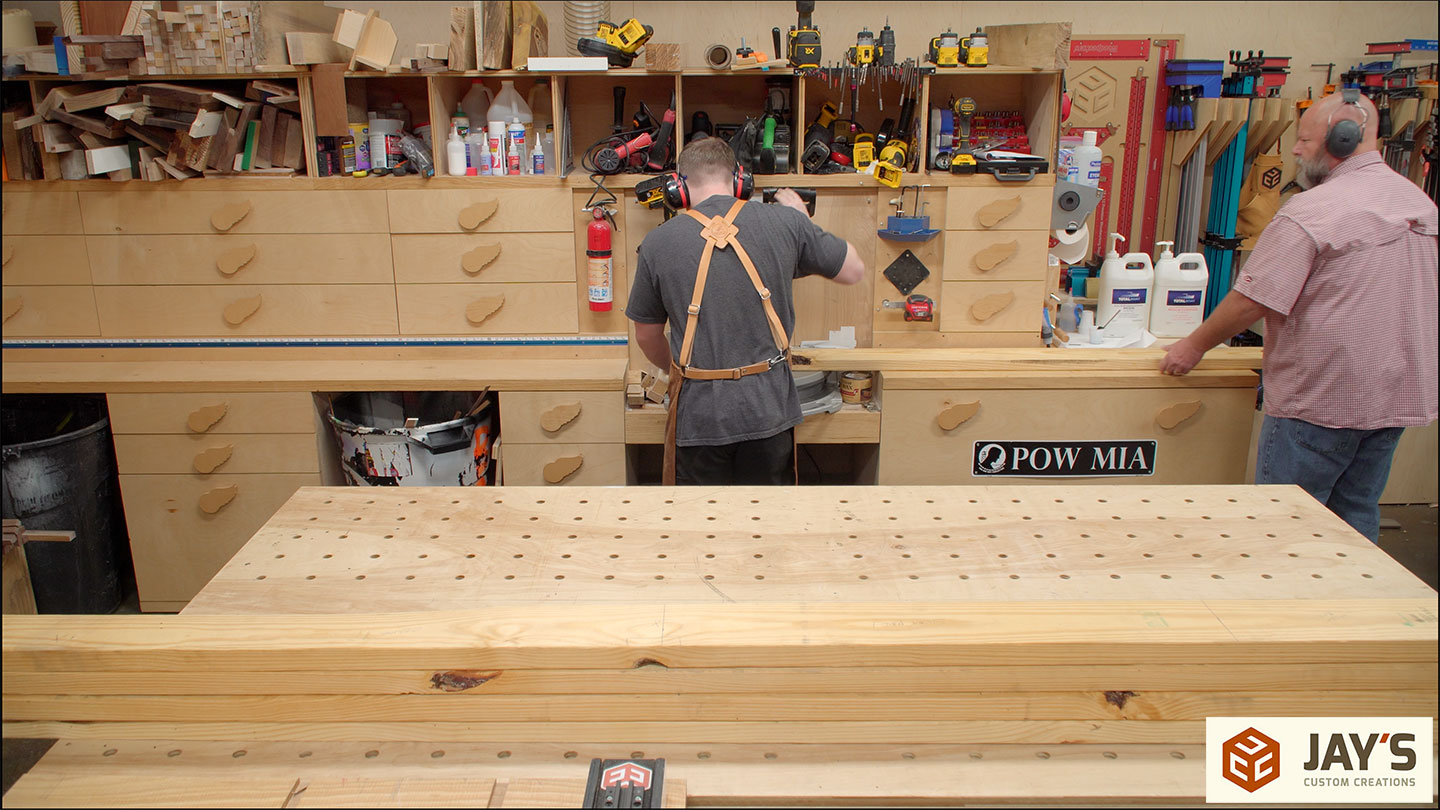
The first step was to bring in all of the lumber and sort them by appearance. We wanted the best boards for the top and the best of the best for the outside two boards of the top panel.
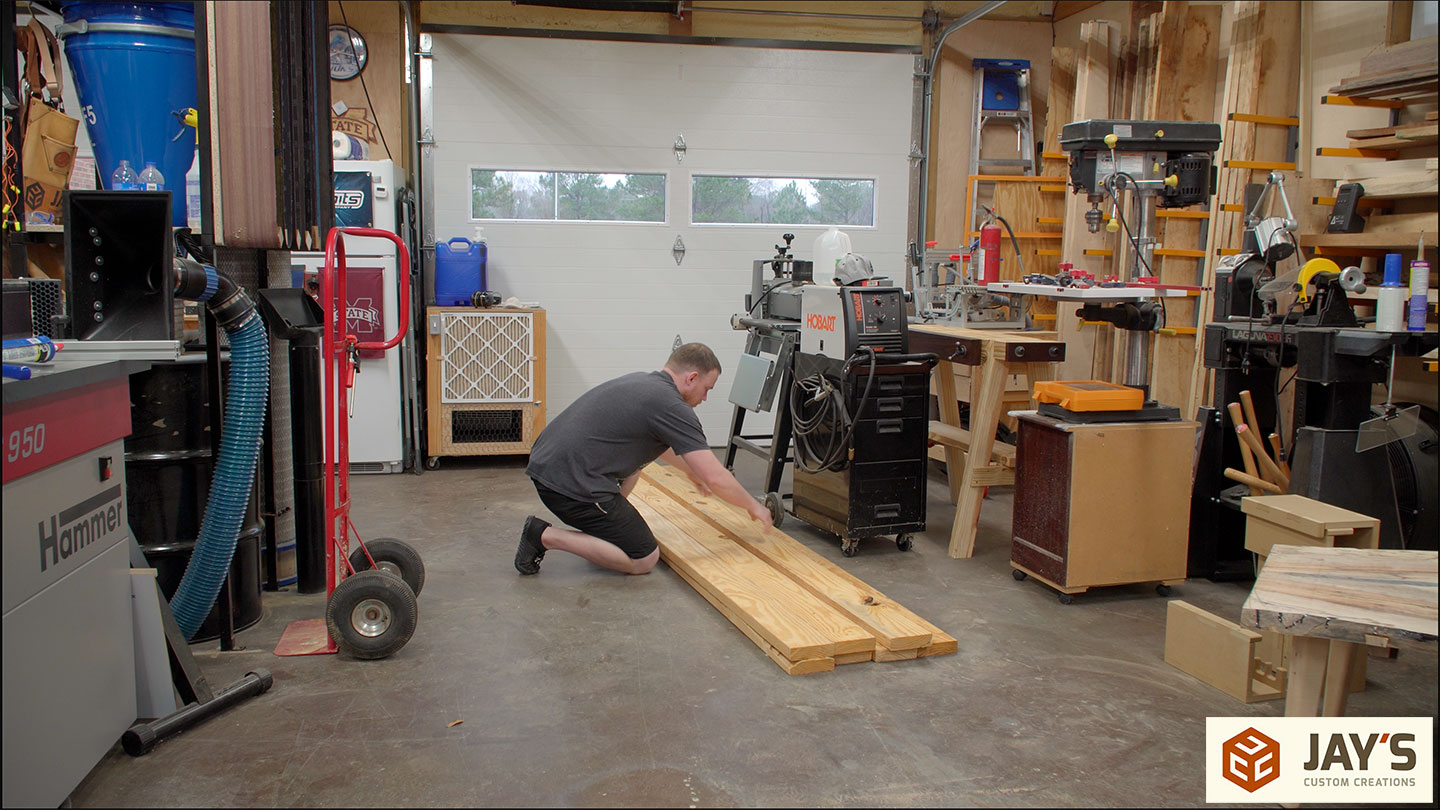
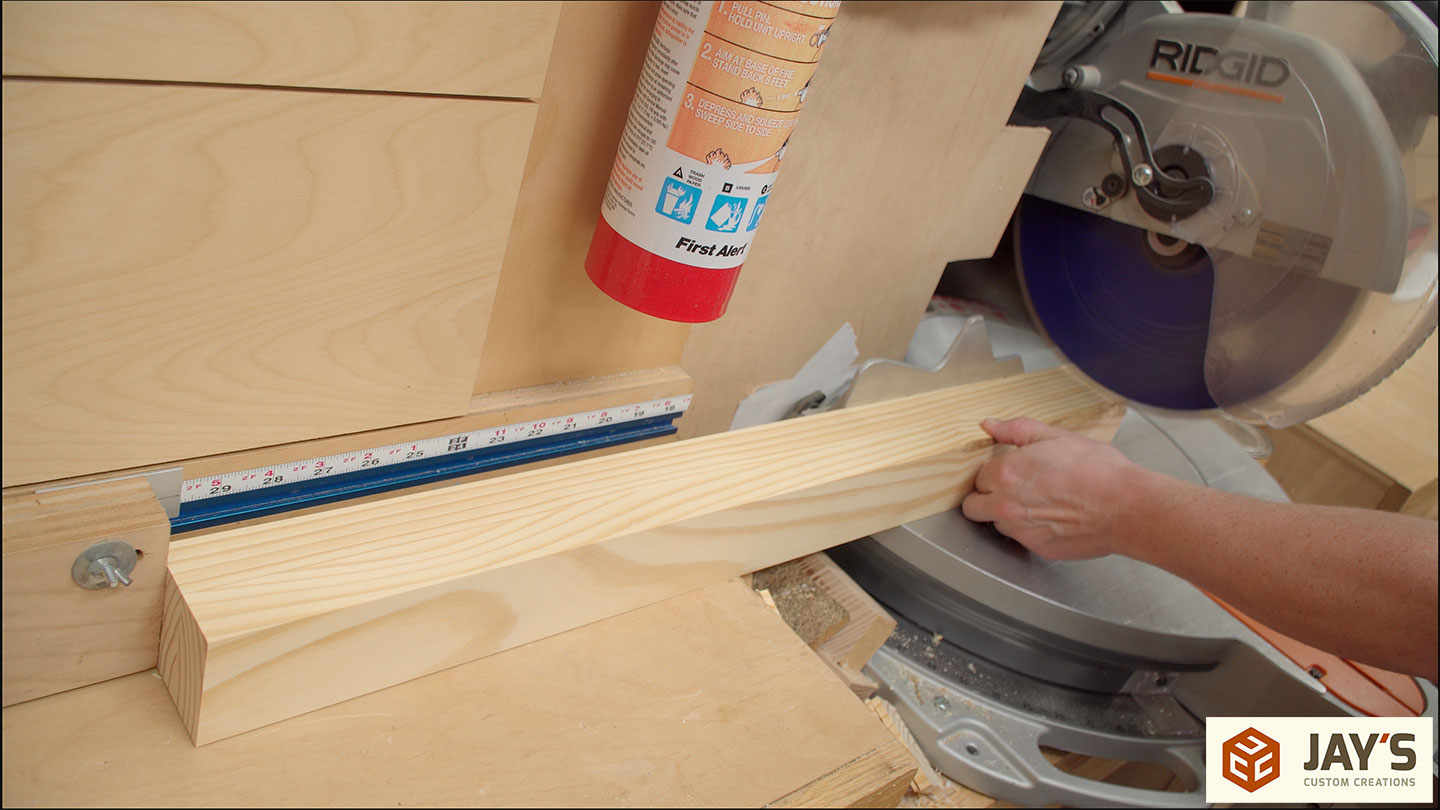
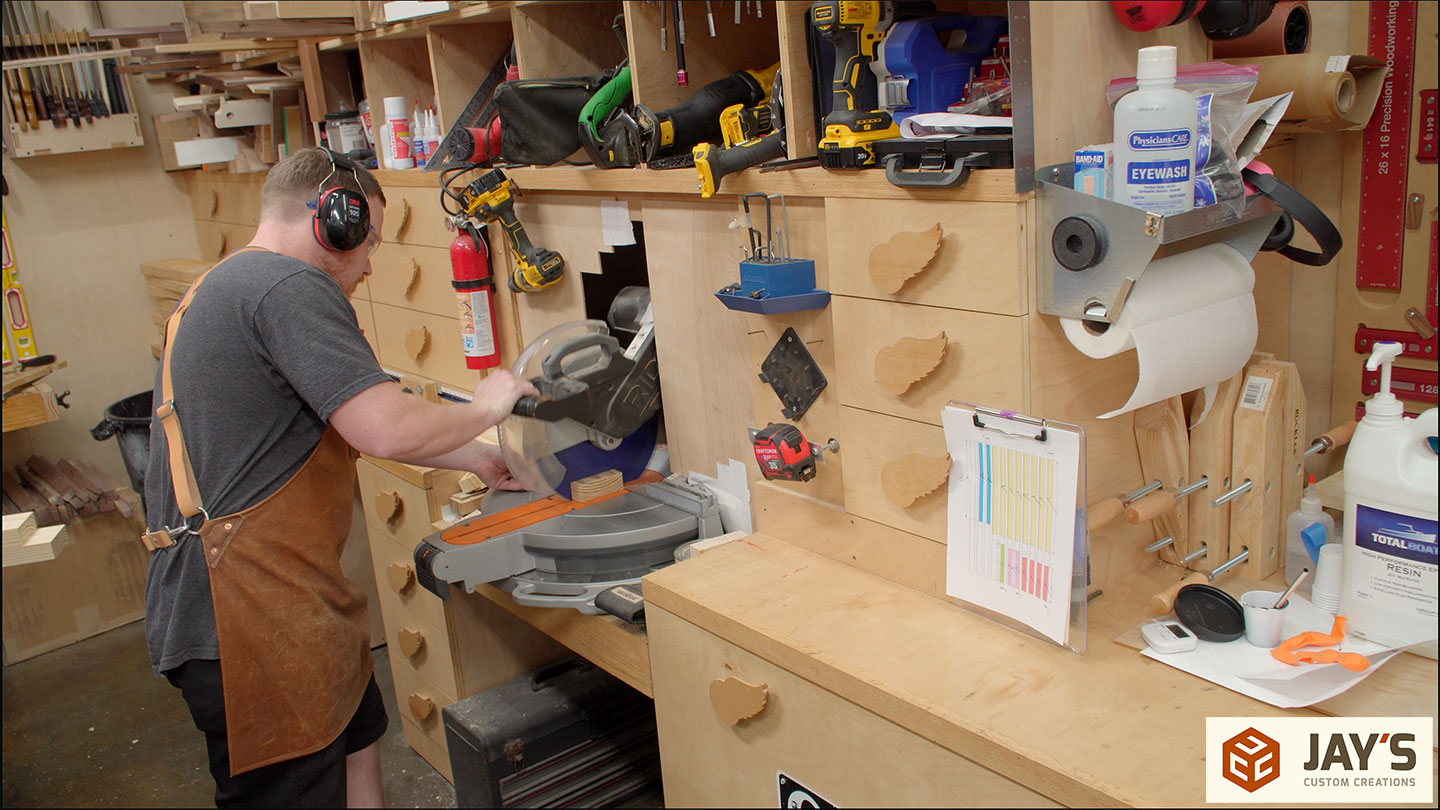
Once all pieces were accounted for we started breaking down the boards at the miter saw station.
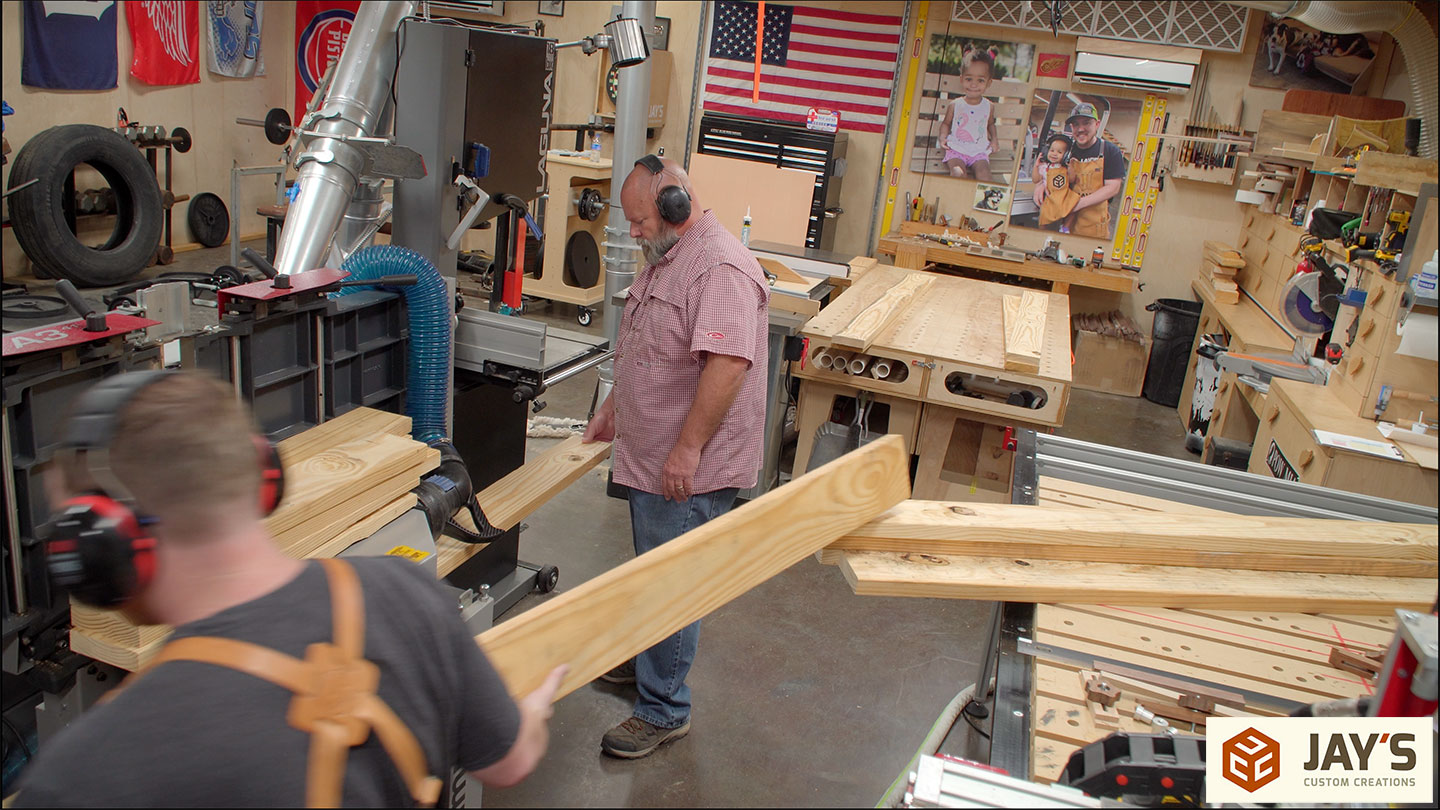
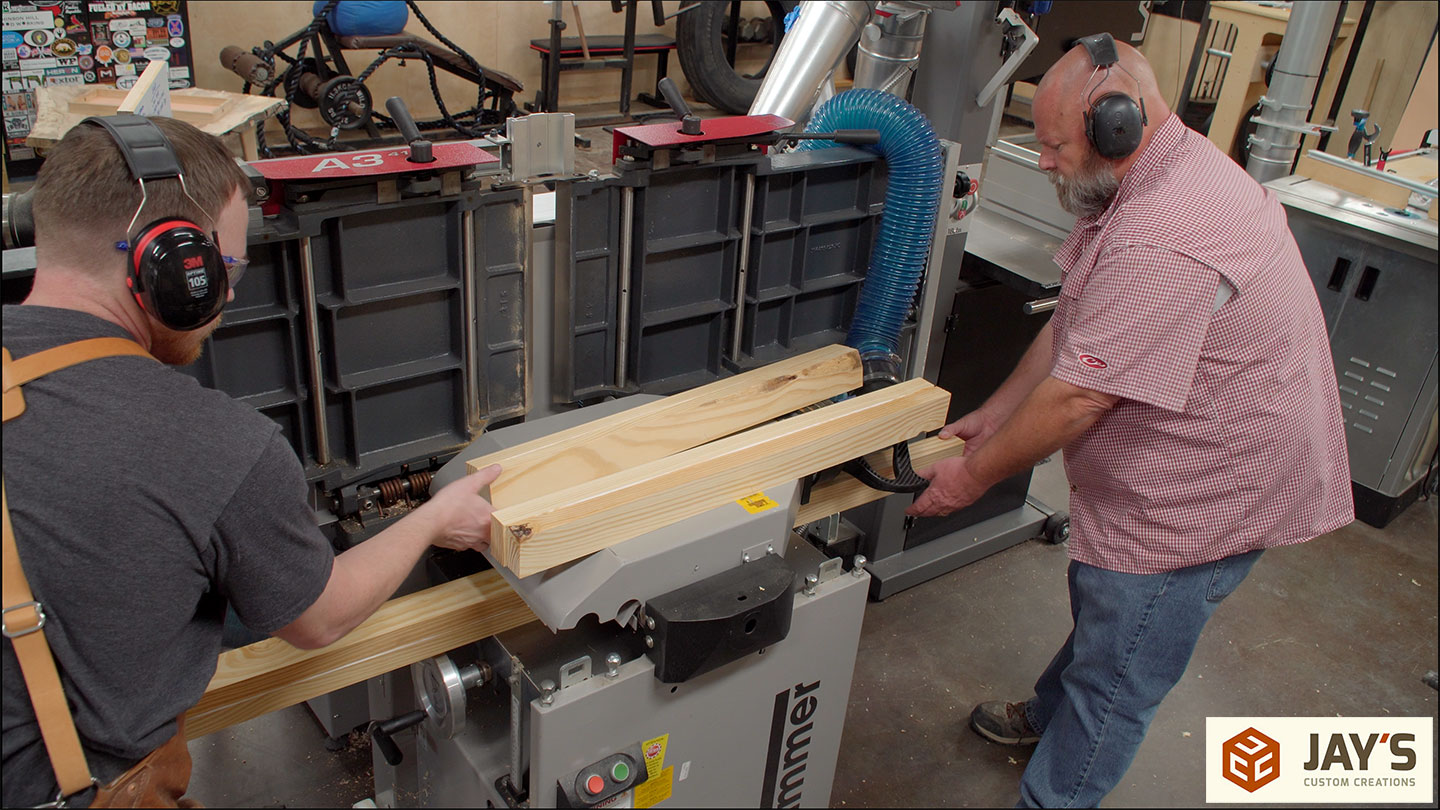
And then skip planed everything at the planer. Every time I have someone helping me build I always get a big smile at how much faster work can be done. Having someone catch and stack material coming out of the planer while I focus on feeding it speeds things up tremendously.

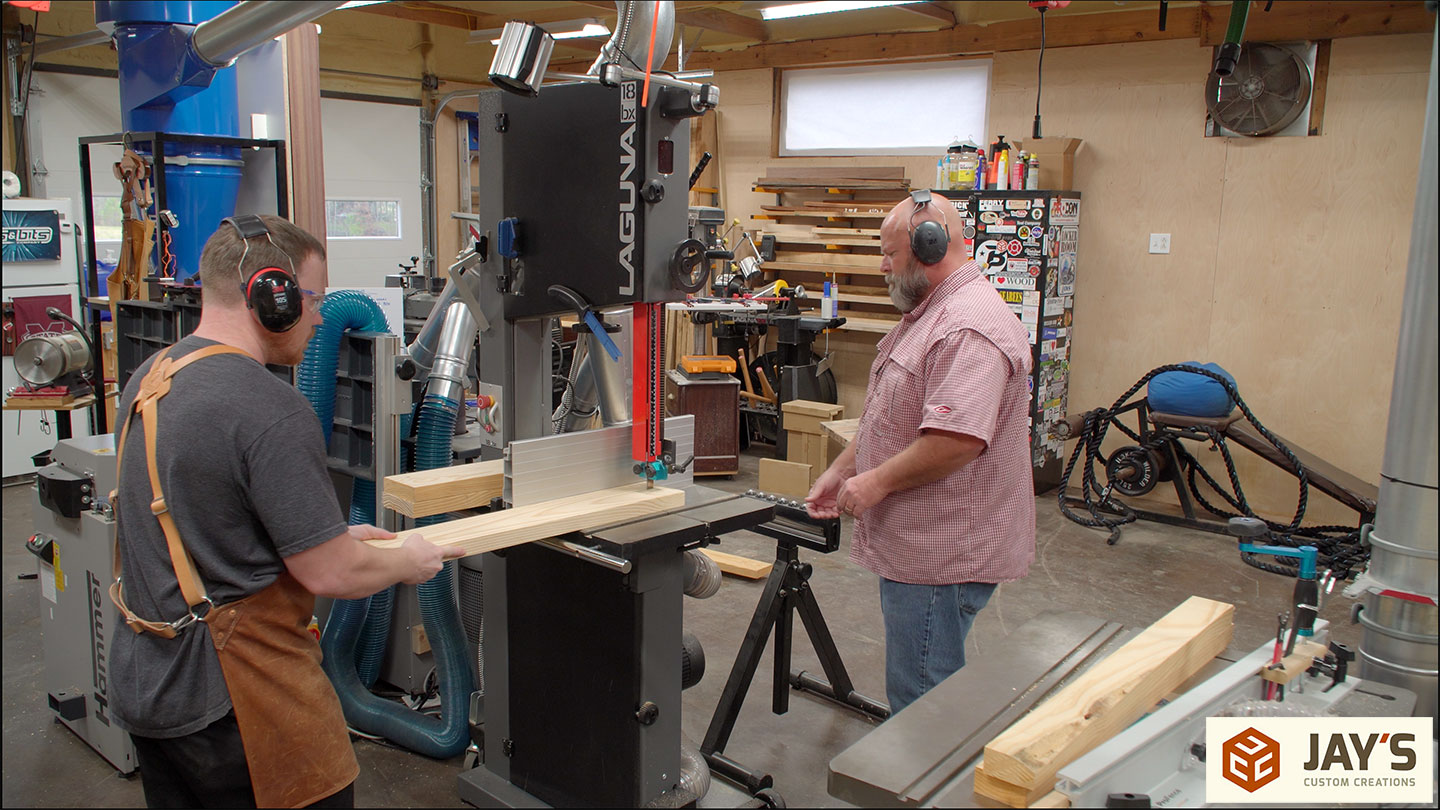
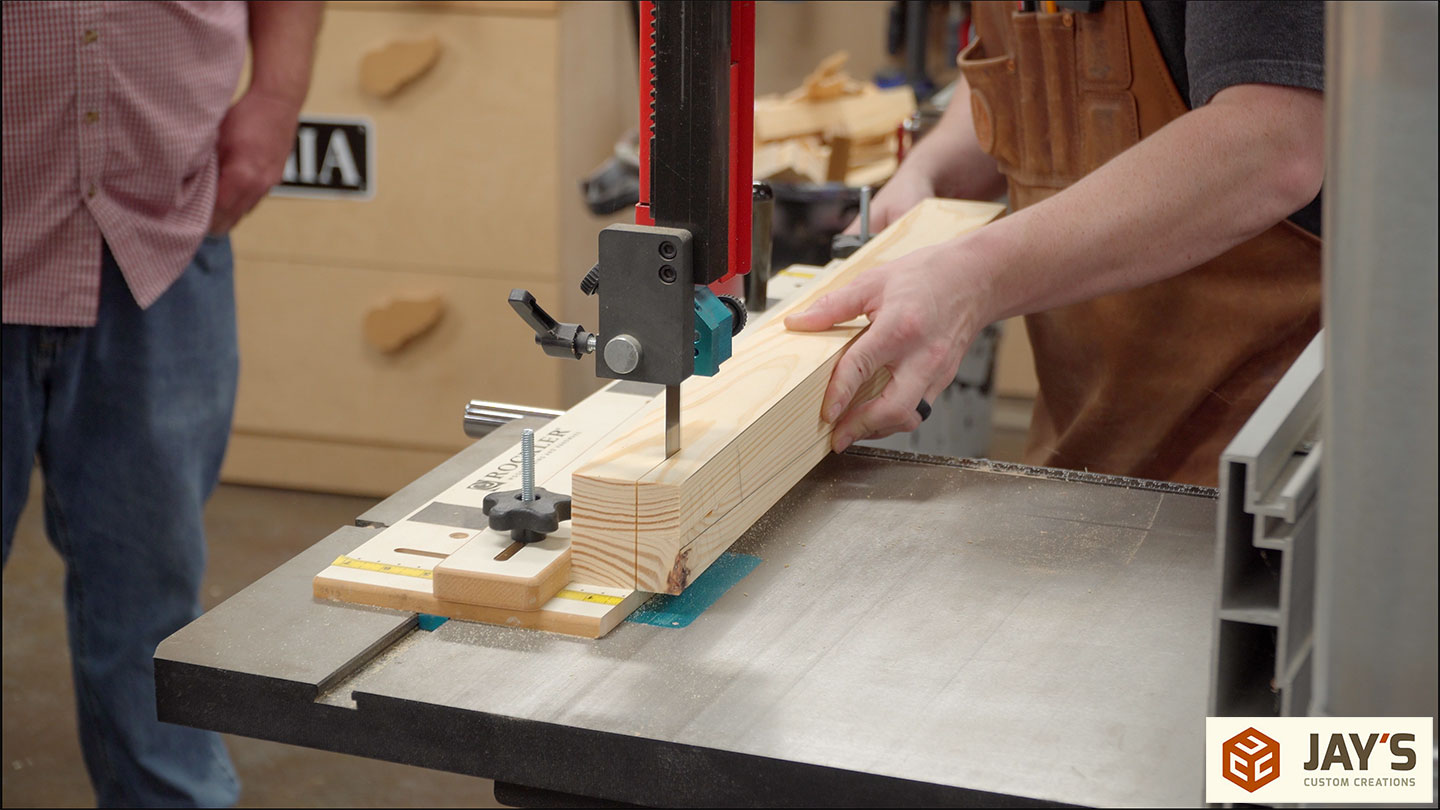
Same at the bandsaw, which is where we went next. The legs will be a lamination of two pieces from the same board.
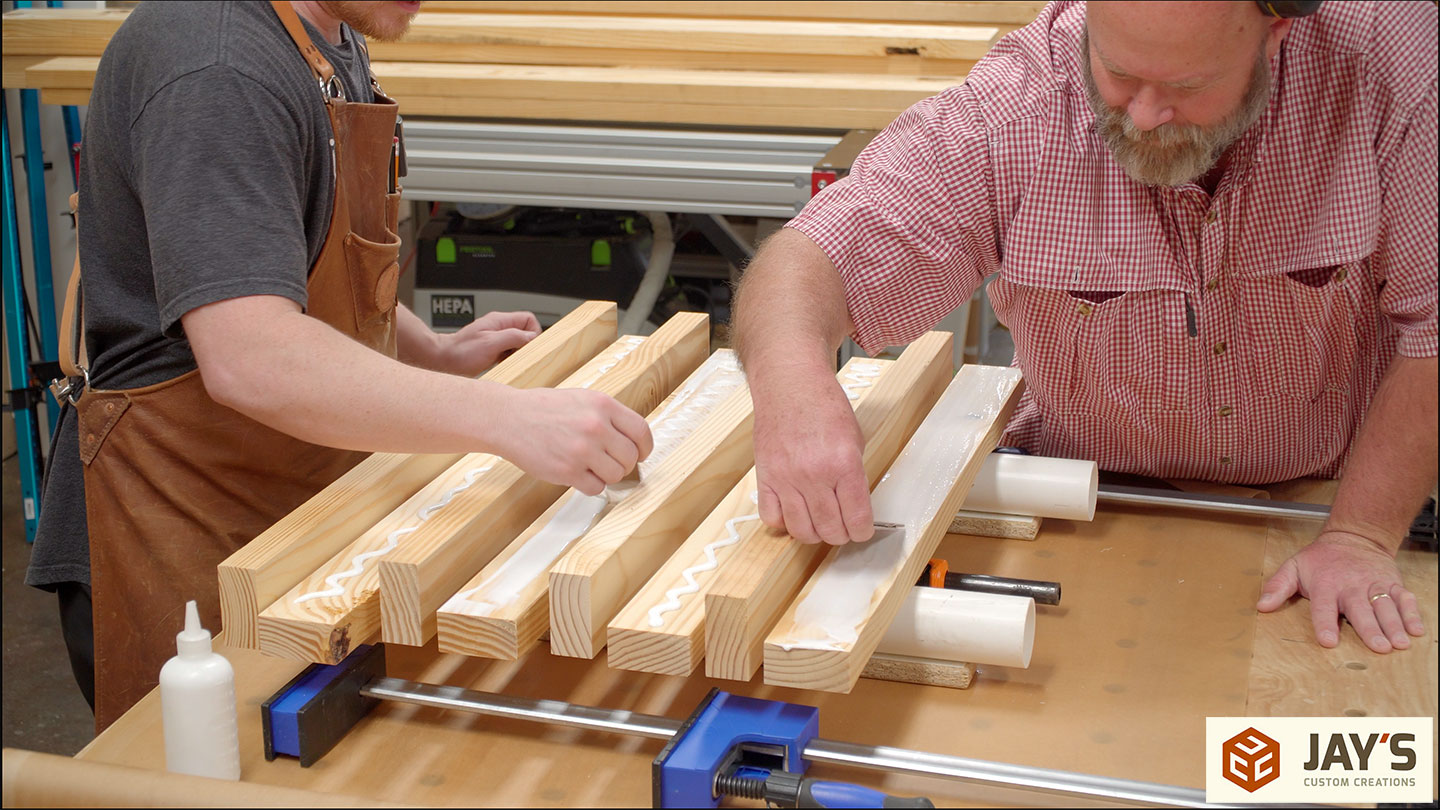
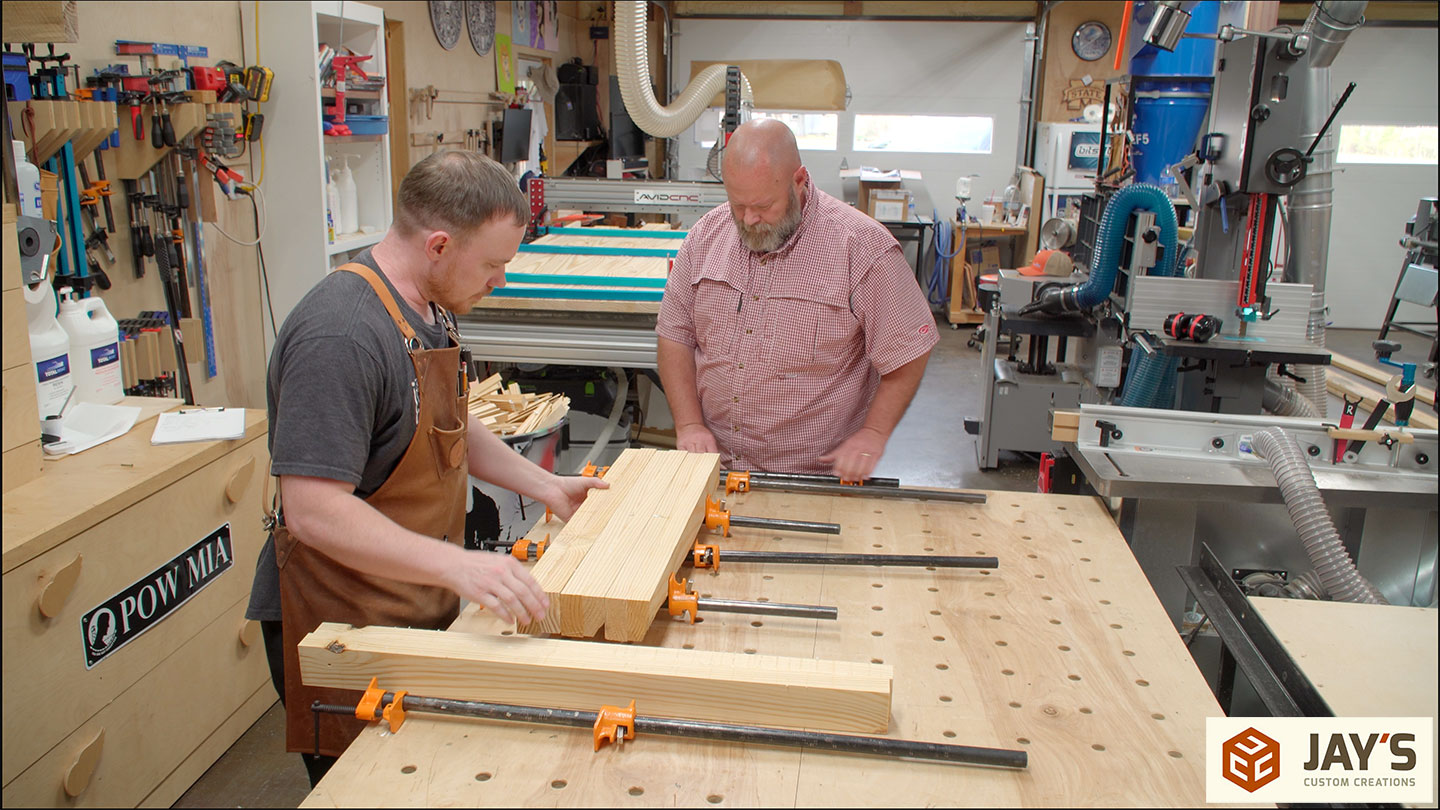
Our goal was to get this table built in one day so we needed to get stuff in the clamps ASAP. First up was the legs and we glued all four legs in one clamp up.
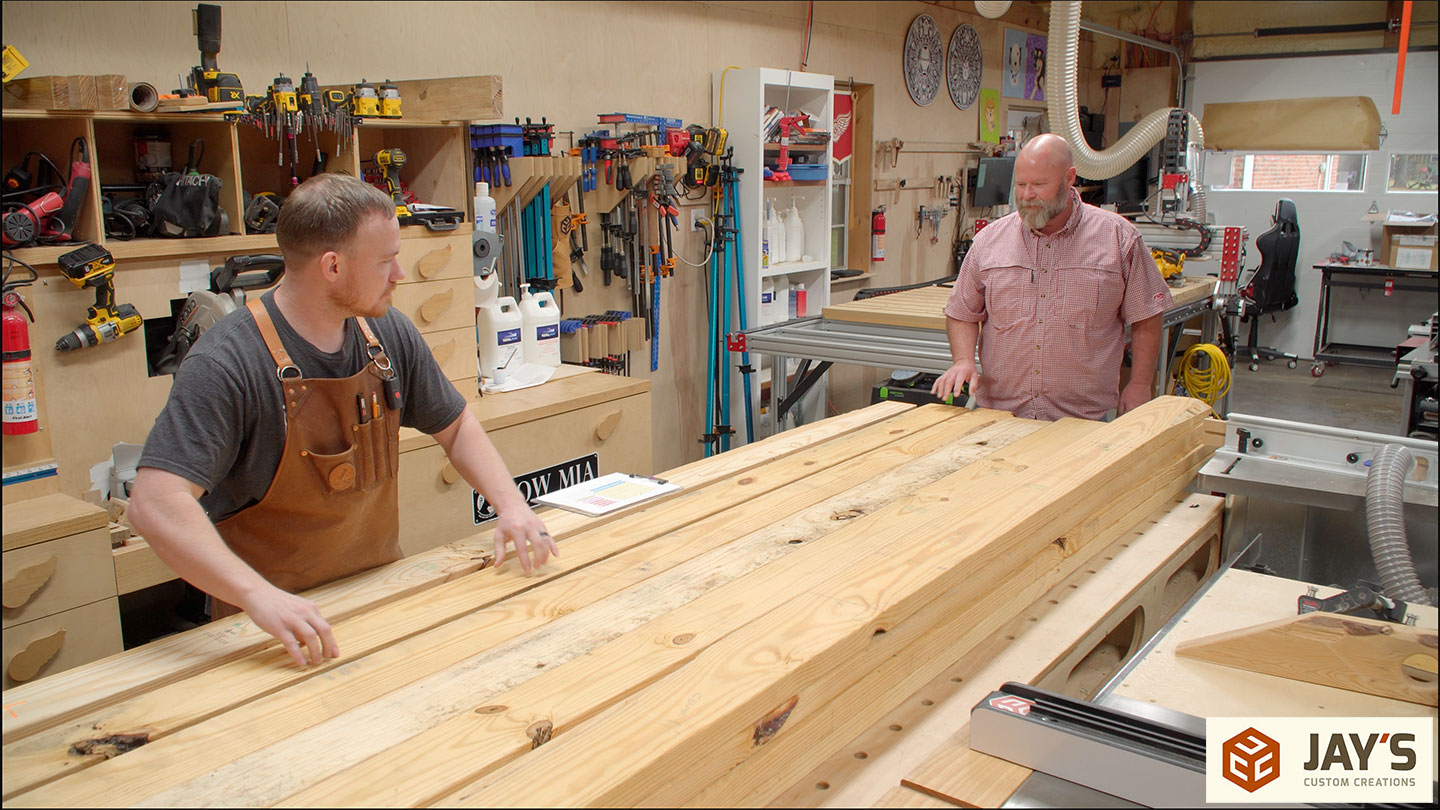
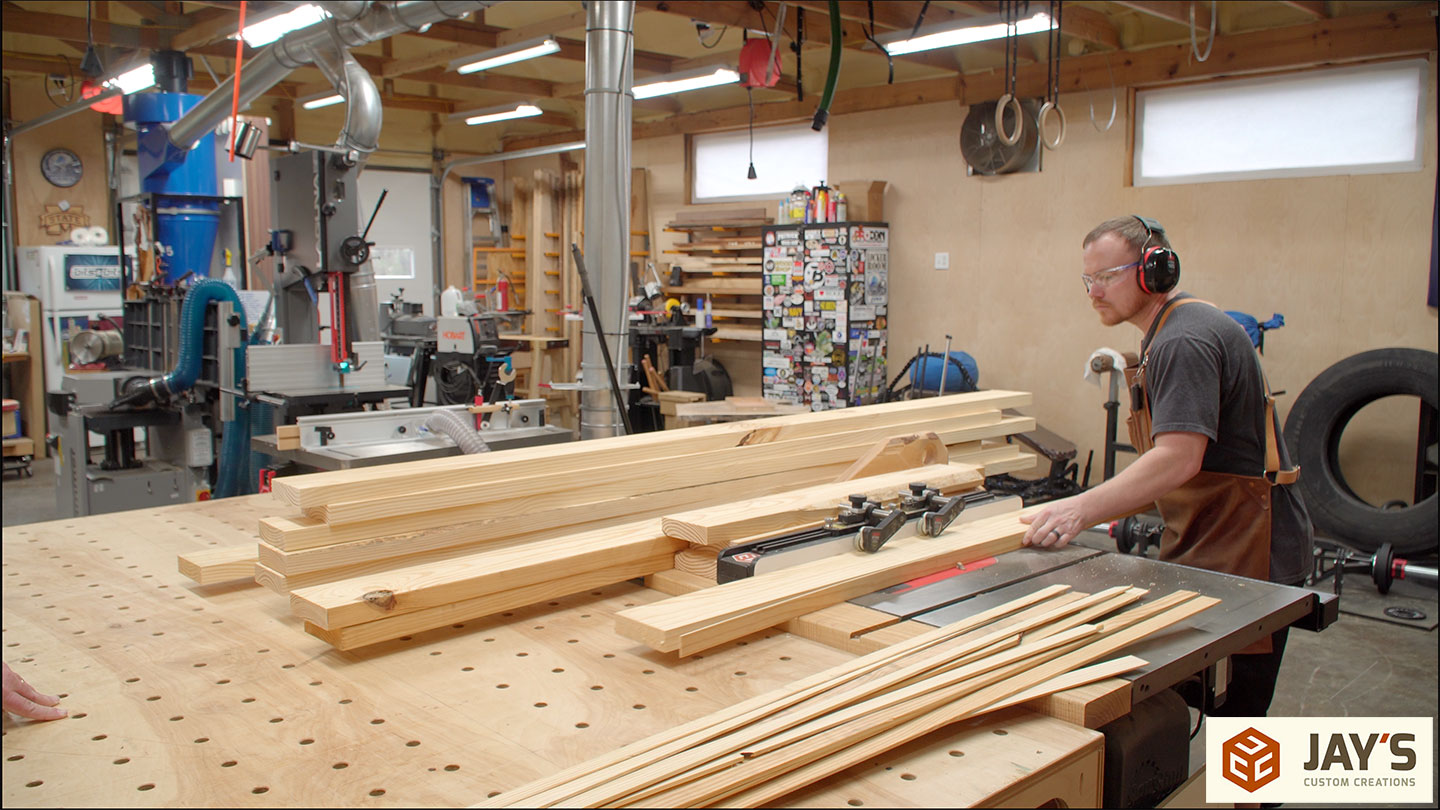
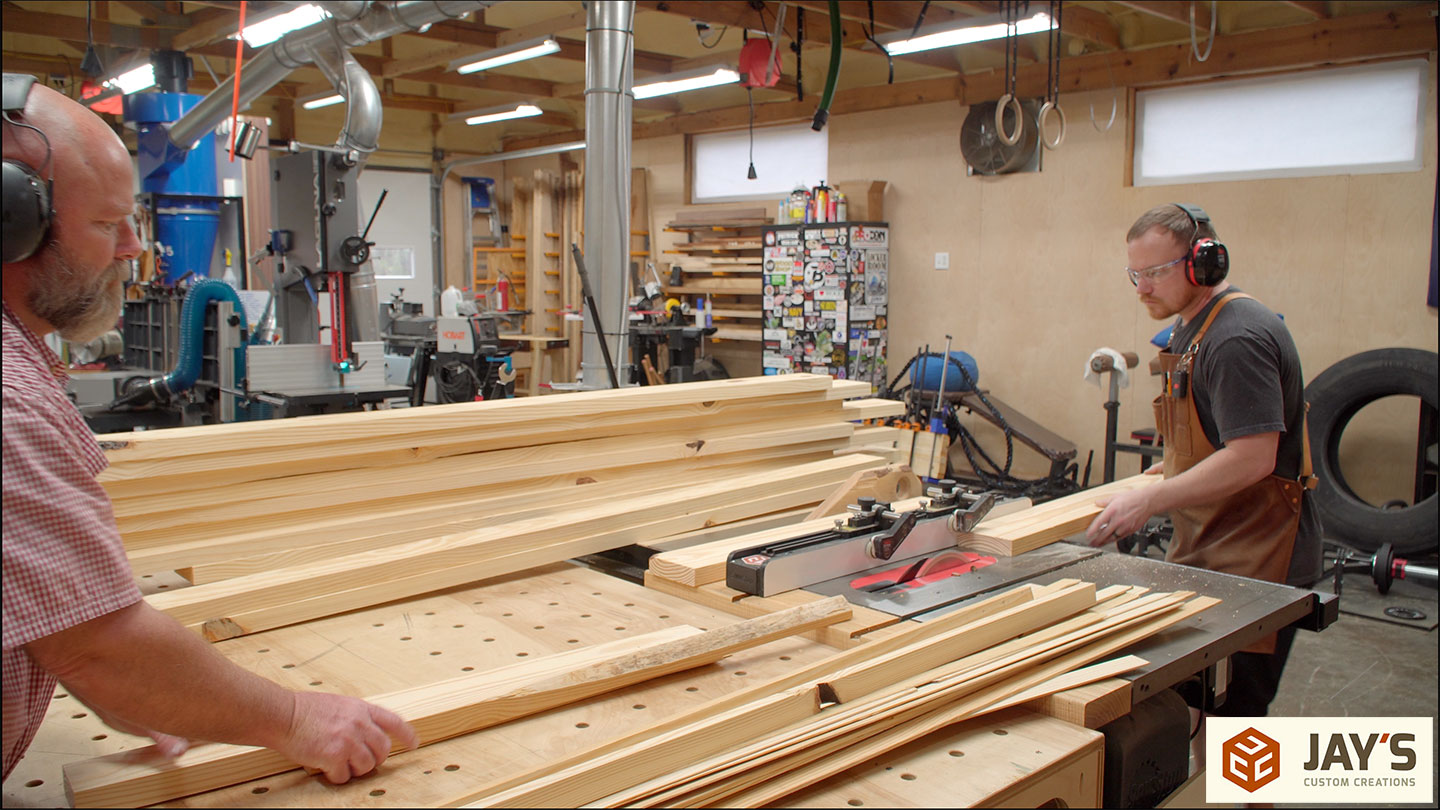
Back to the tabletop and the rails. Instead of using a jointer to joint these boards, I wanted to show Bill that you can still get good glue faces at the table saw. I have built many shaker tables before getting a jointer and always had good glue seams so long as I took my time and made sure to keep my material against the fence at the table saw. Again, Bill pulling and stacking the material after it went through the saw sped this up tremendously. We also established the width of the rails at this time.
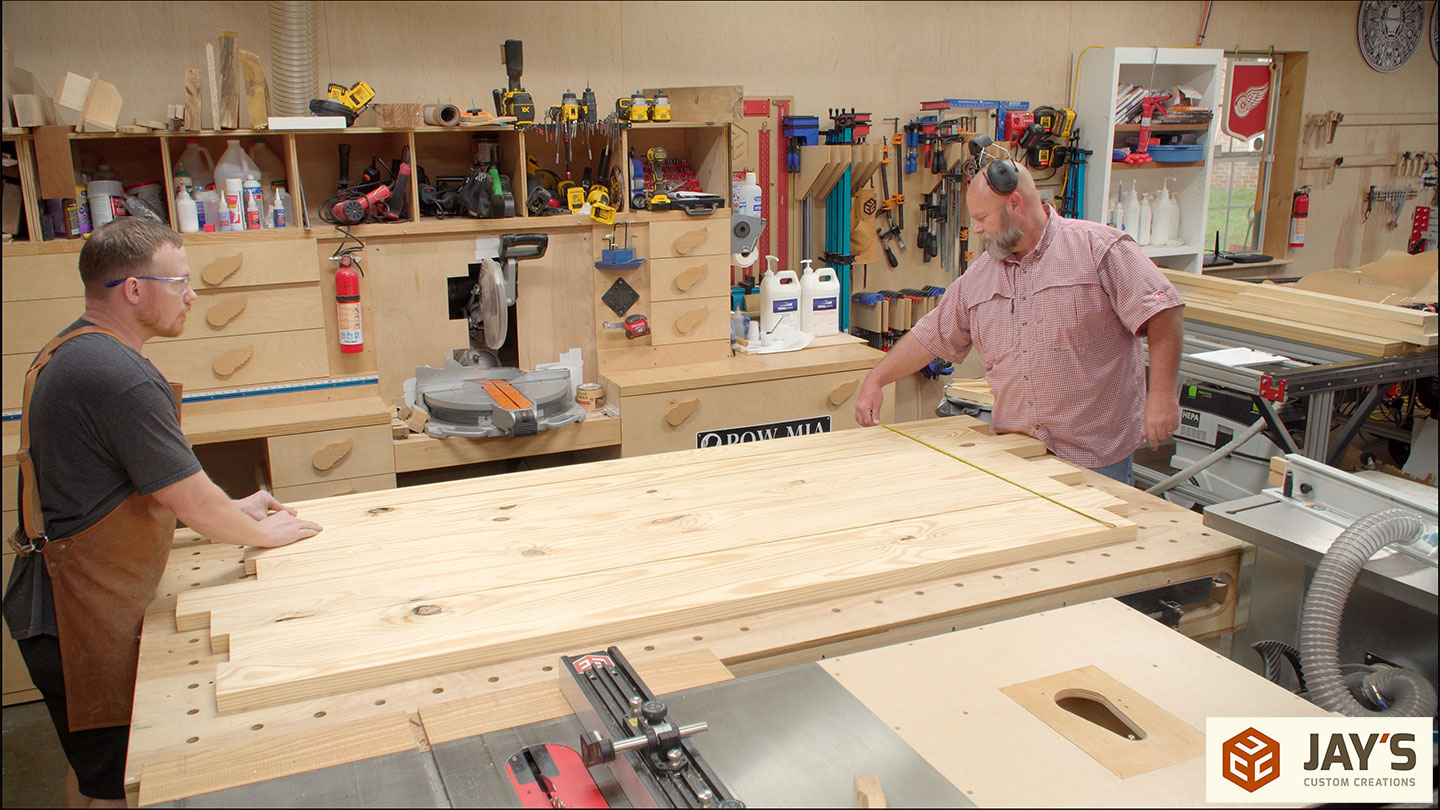
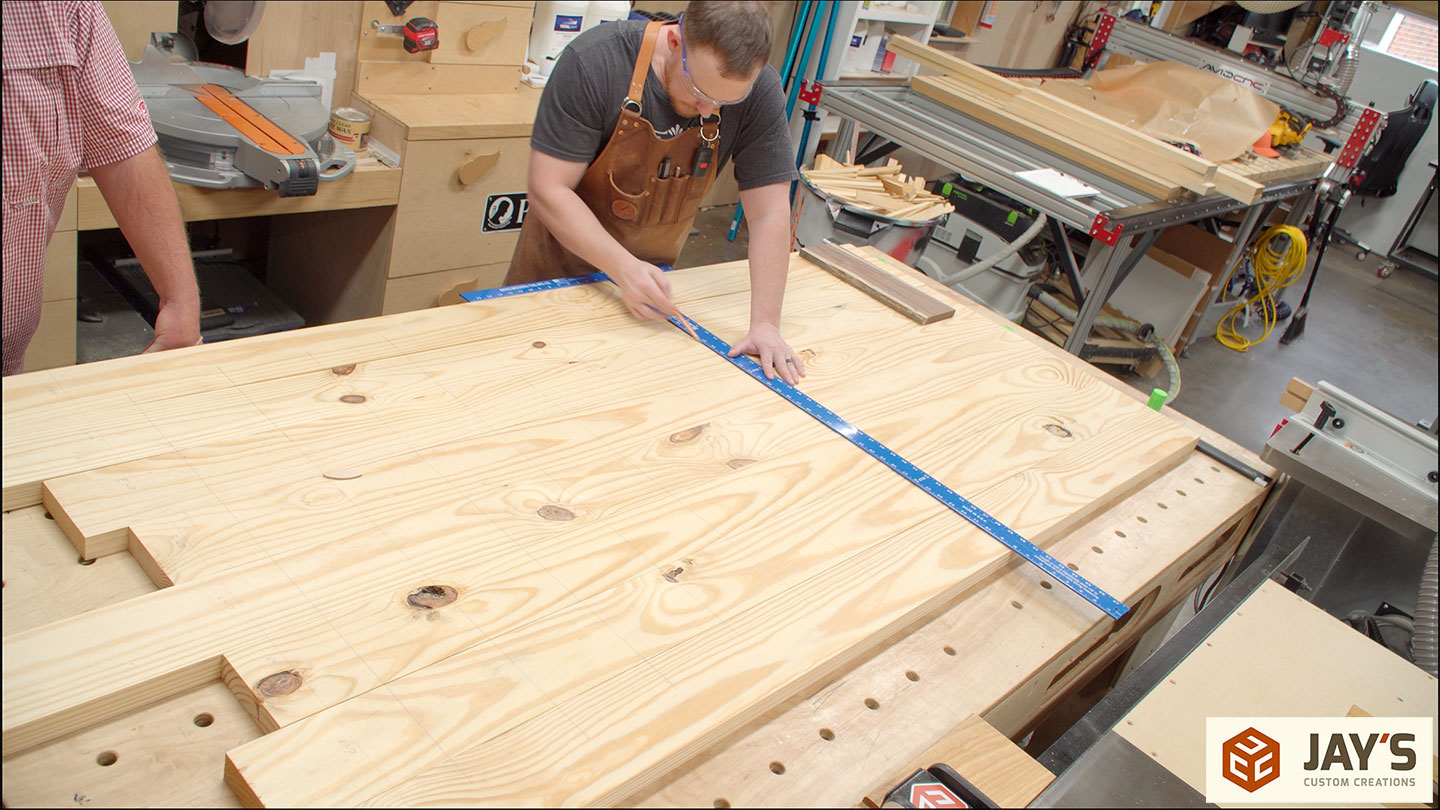
Now we can determine the final layout of the top panel boards. No matter what, we did have to include some knots on the top panel but we made sure to have no knots along the perimeter. We also moved and rotated the pieces to more evenly distribute the knots. Having all of the knots at one location or on one side would be distracting.
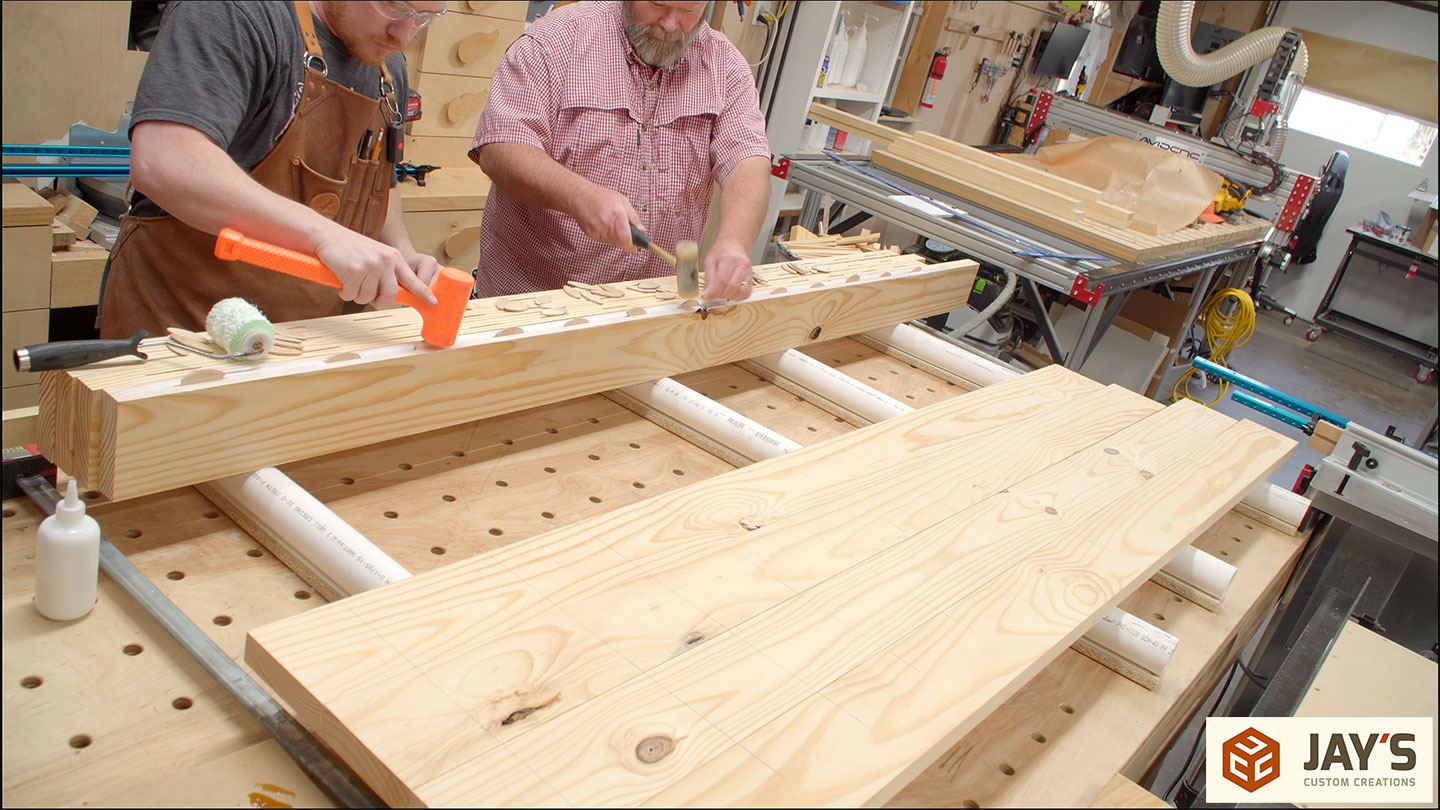
To help with alignment during glue-up we first laid out pencil lines for biscuits.
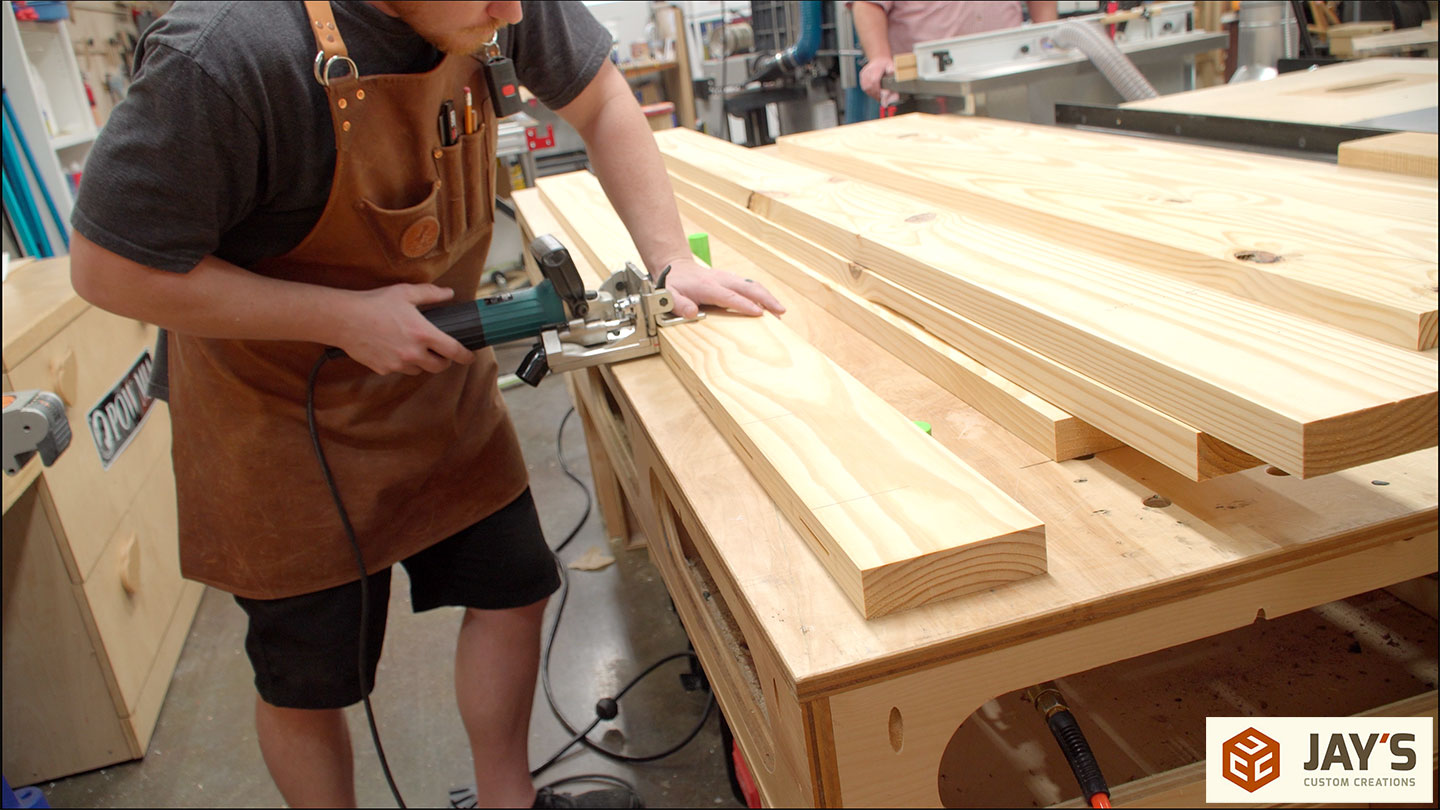
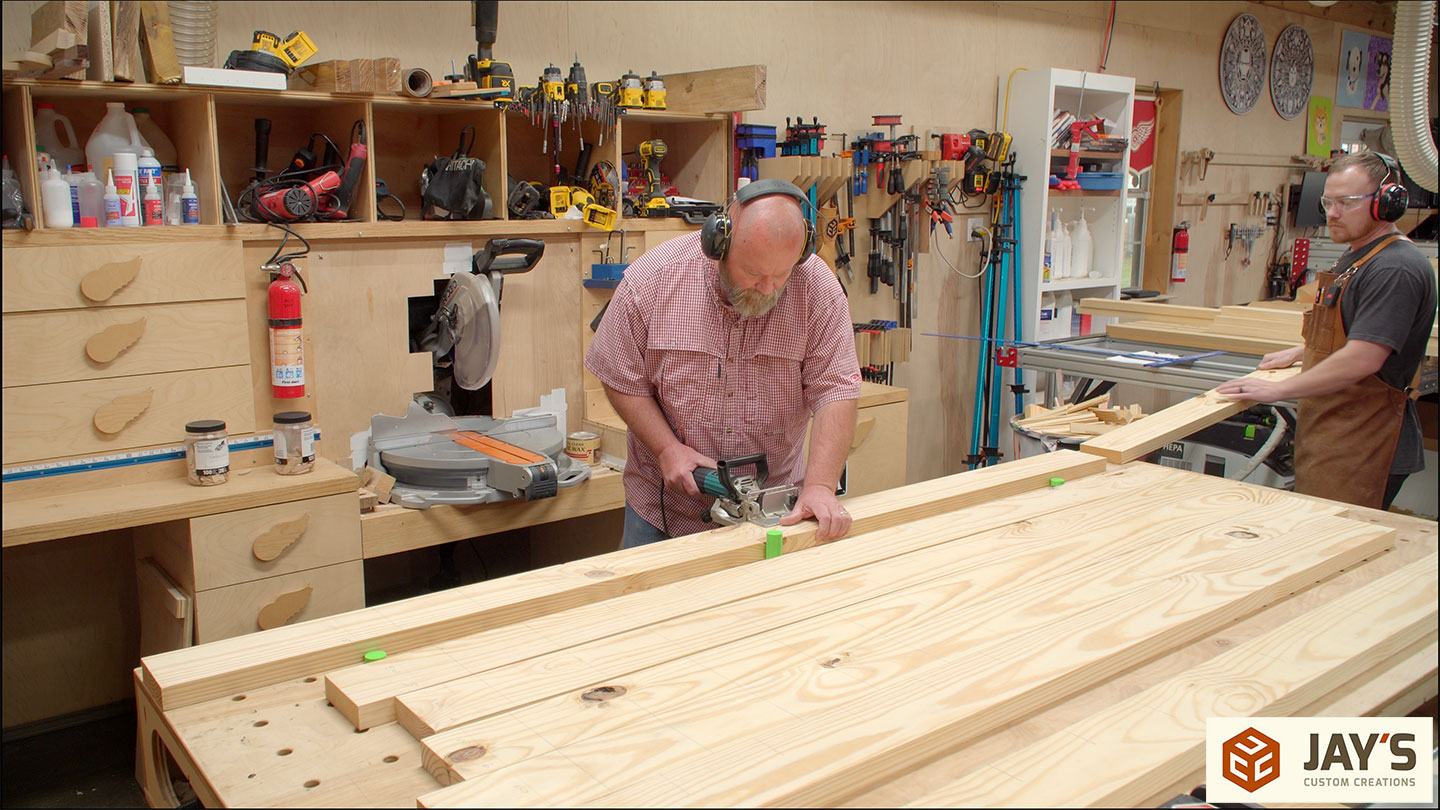
And then cut the biscuit slots. If you’re just starting out in woodworking I highly recommend picking up a biscuit jointer. They are relatively inexpensive and are one of the best ways to keep seams level during a panel glue-up.
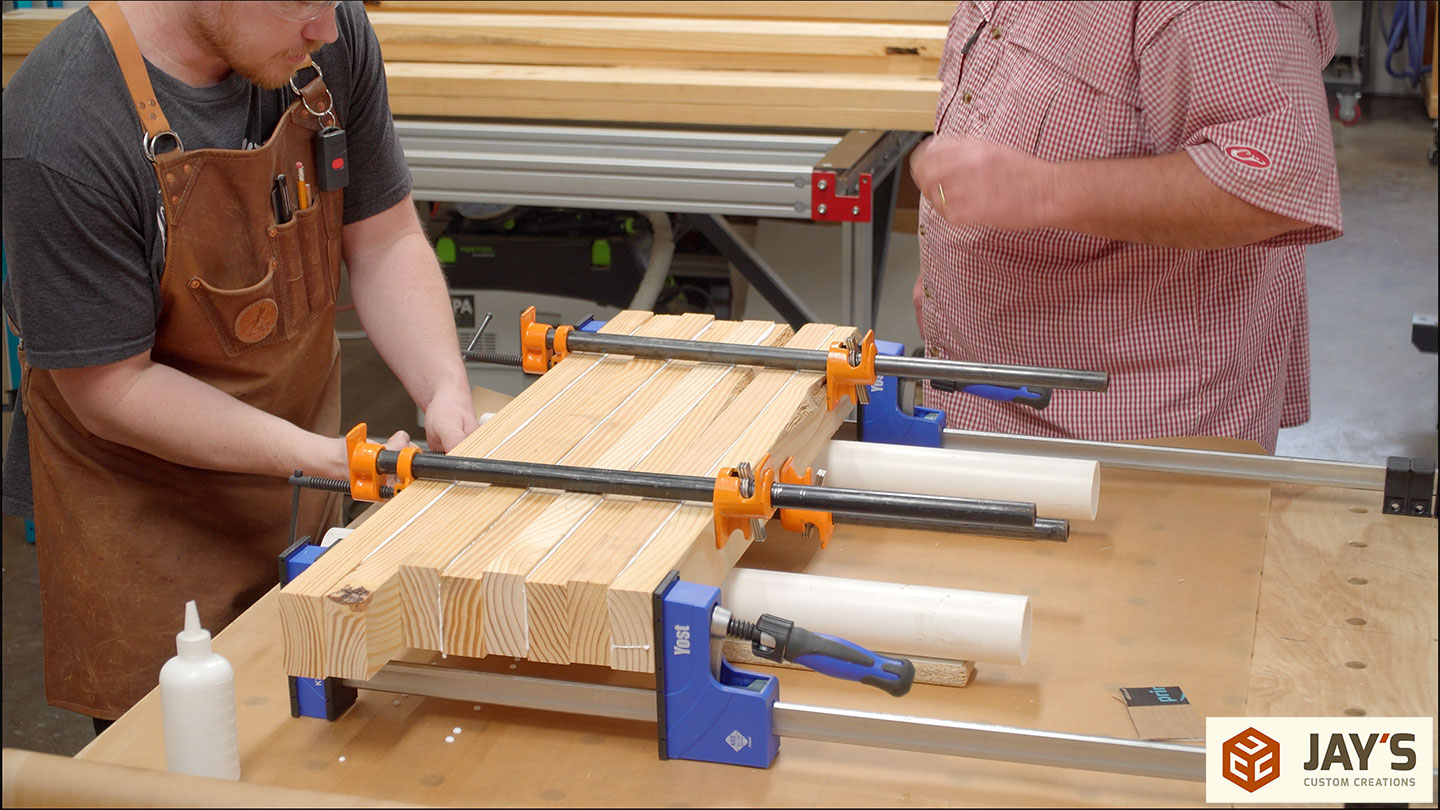
And finally, the tabletop can be clamped up. With a big panel like this, it’s a really good idea to go through a dry run to make sure all of your clamps are adjusted as necessary and you have the appropriate amount of clamps ready. This extra step should eliminate any panic moments in the middle of a glue-up.
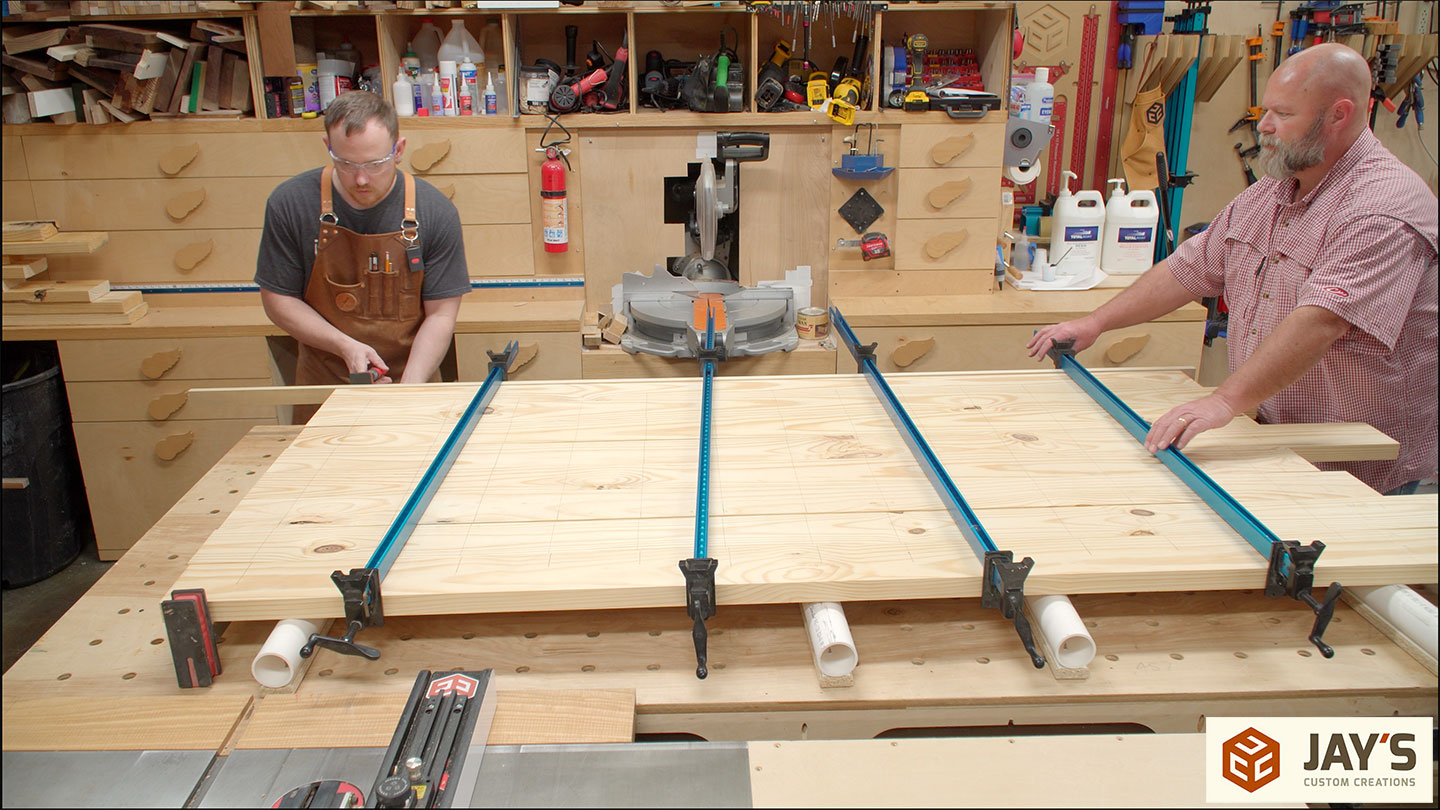
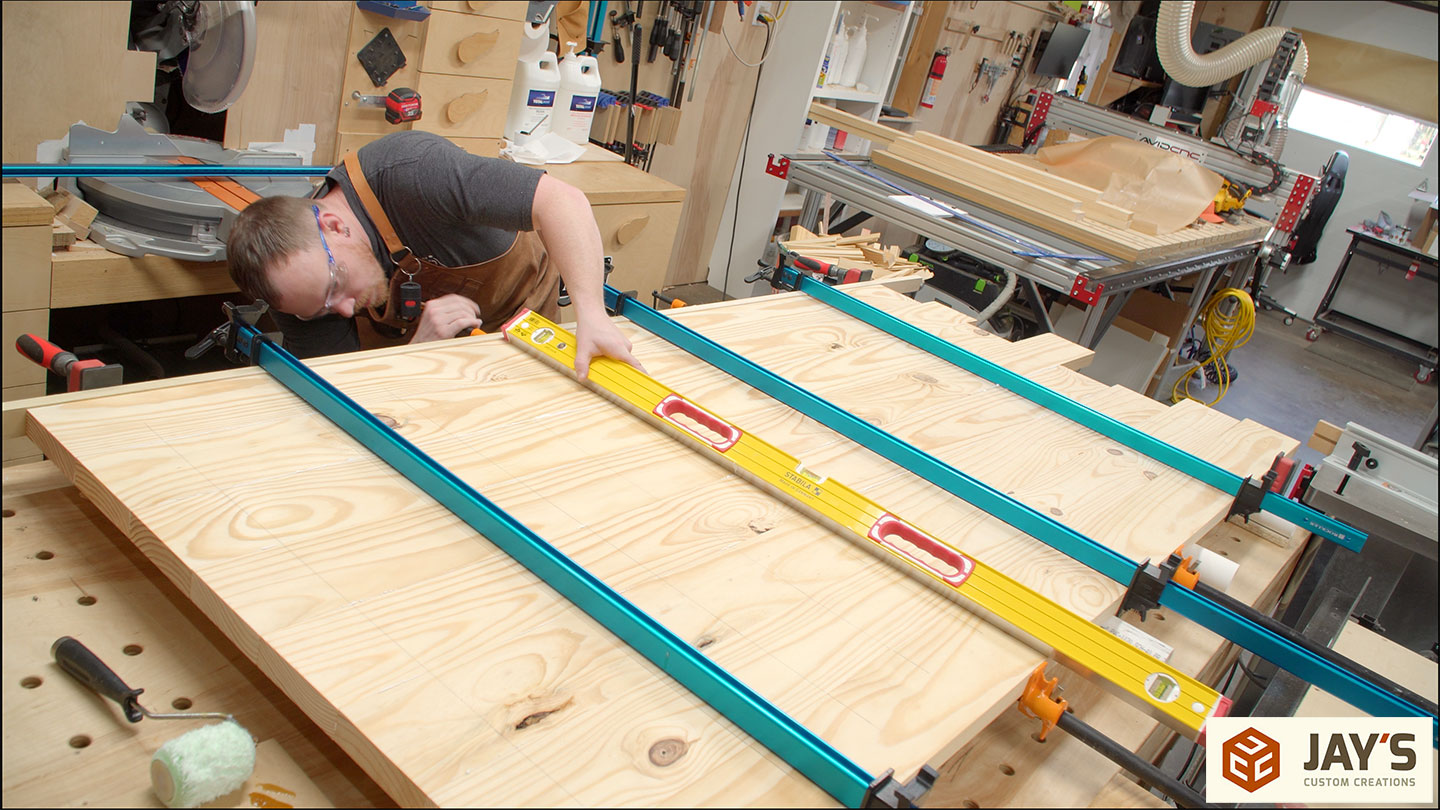
Here’s another recommendation. The white pipes you see are what I call clamping platforms. I have a video you can check out where I show how to make a good set. Basically, they serve one main purpose; they isolate the movement of the panel from the movement of the clamps and vice versa. They also allow for the room below the panel to add additional clamps and because they are made from PVC, the glue won’t stick to them. I highly recommend making some for your shop. Also, alternate clamps on top and bottom to prevent the panel from bowing. Over tightening the clamps on the bottom will make the panel bow up. Clamps on top will make the panel bow down. Even out the clamping pressure and use a straight edge to make sure there is no induced bow to the panel.
We moved the top panel to dry elsewhere while we shifted our attention back to the legs.
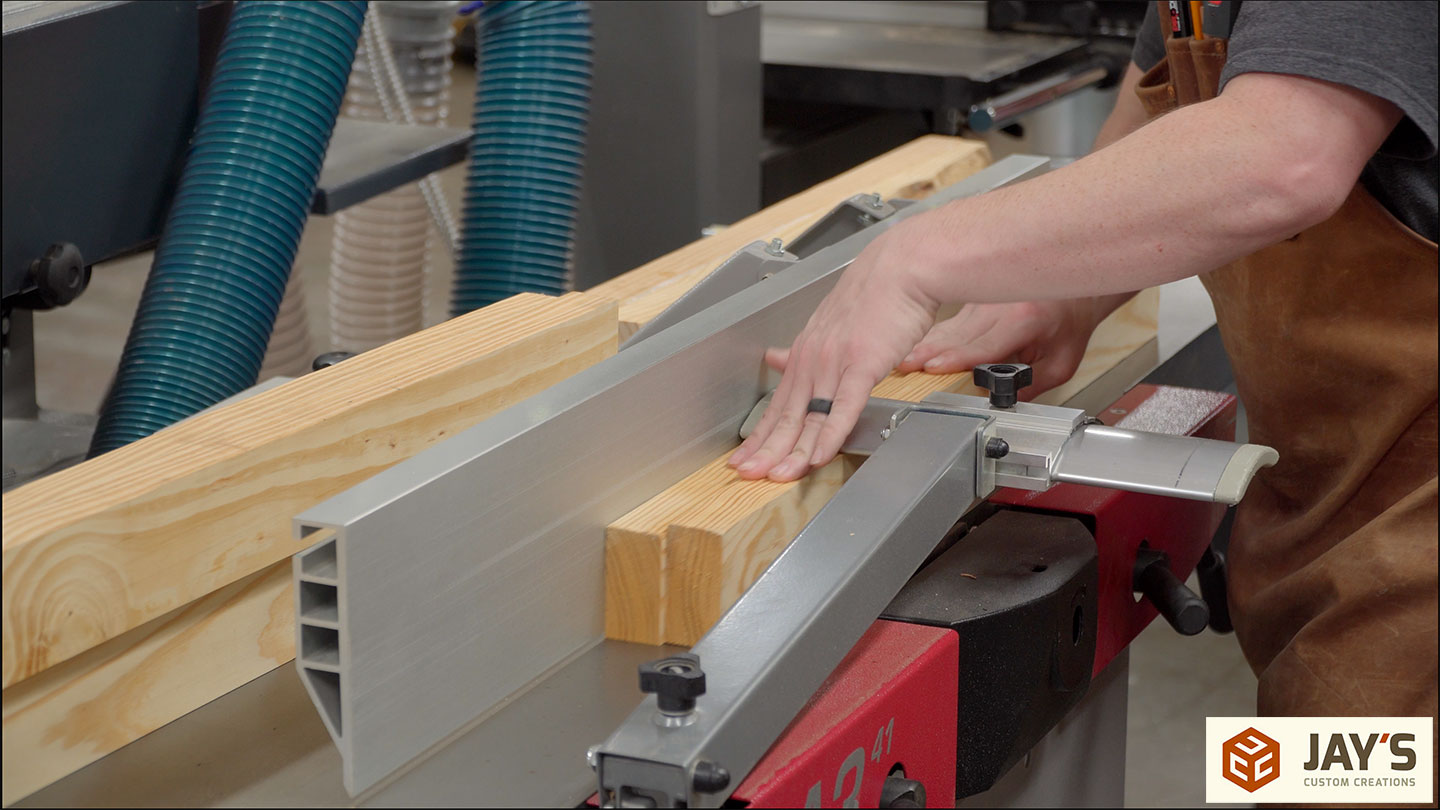
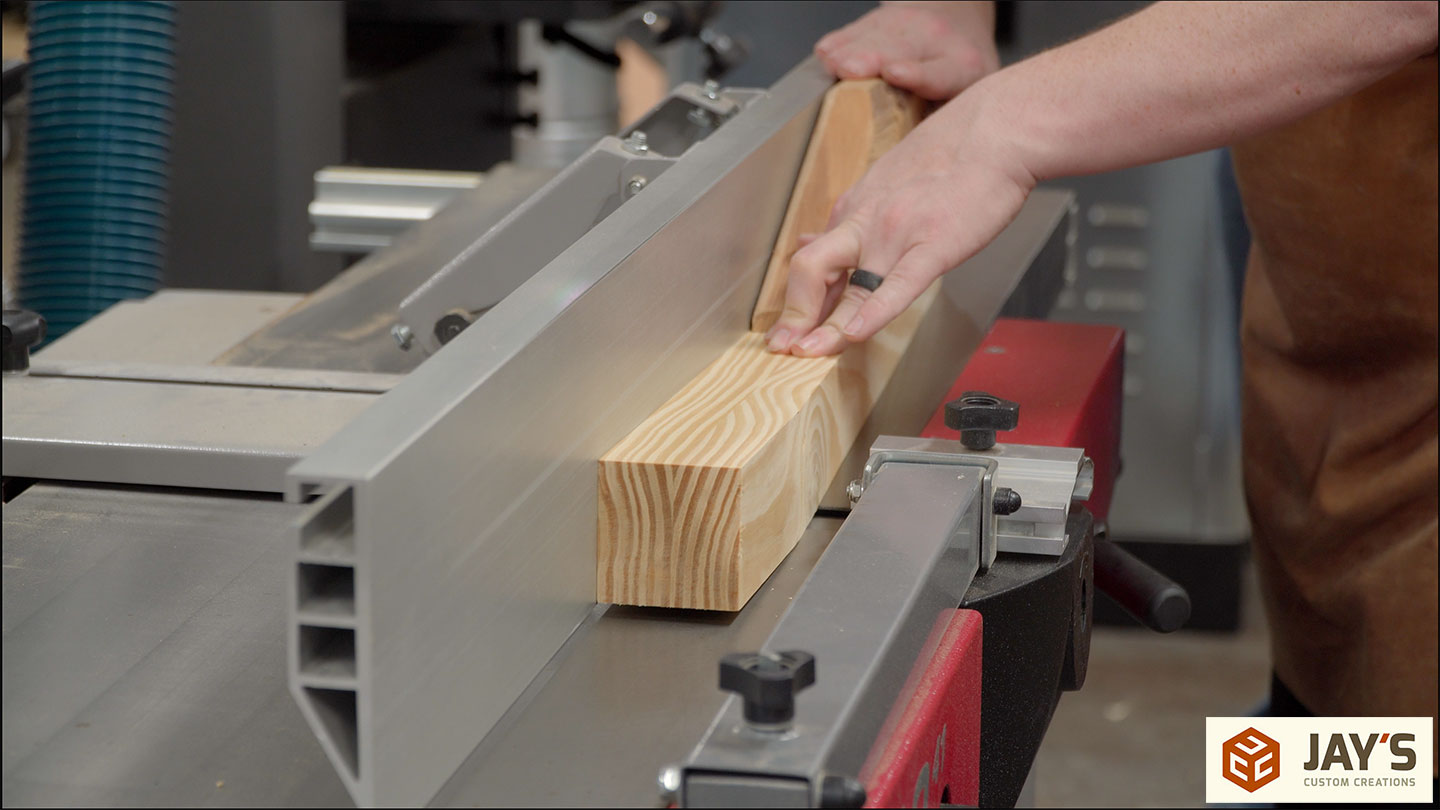
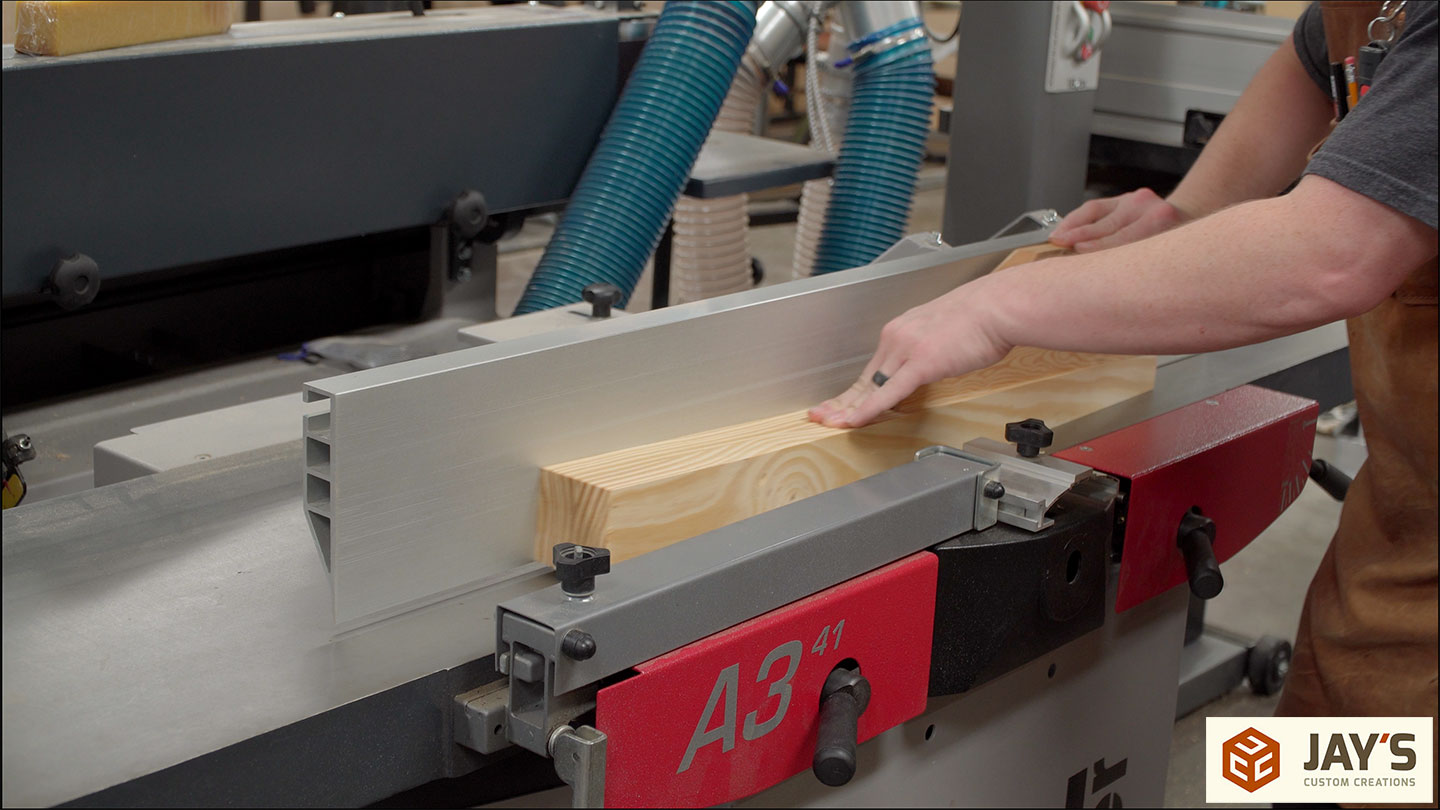
They are jointed and planed to 2.5” square.
And cut to length at the miter saw. First squaring one end and then the final length is established with the help of a stop block.

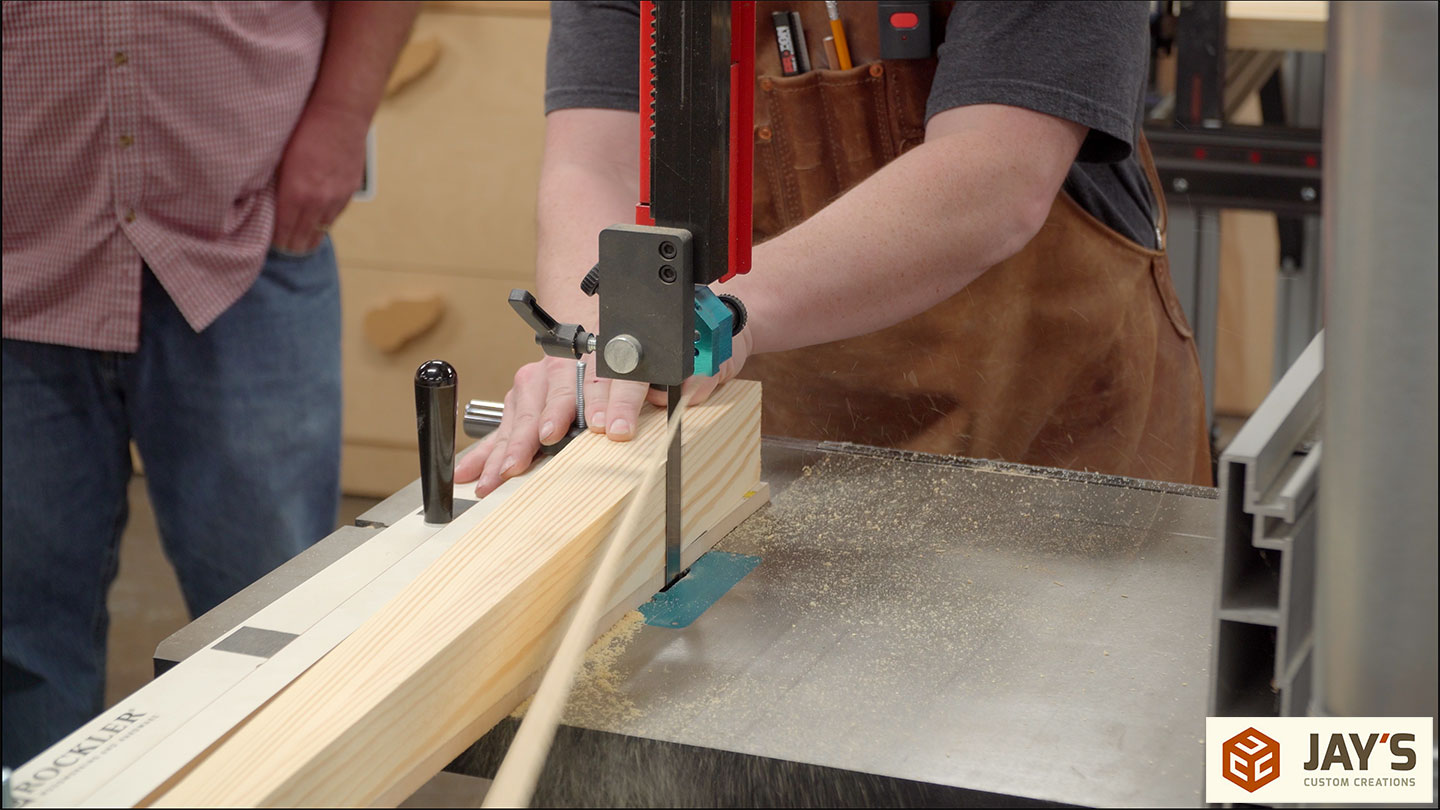
There are many ways to cut the tapers. Bill has never seen a taper jig in action in person so that’s the route we went. Both tapers were cut on the legs at the bandsaw with this Rockler Taper jig.
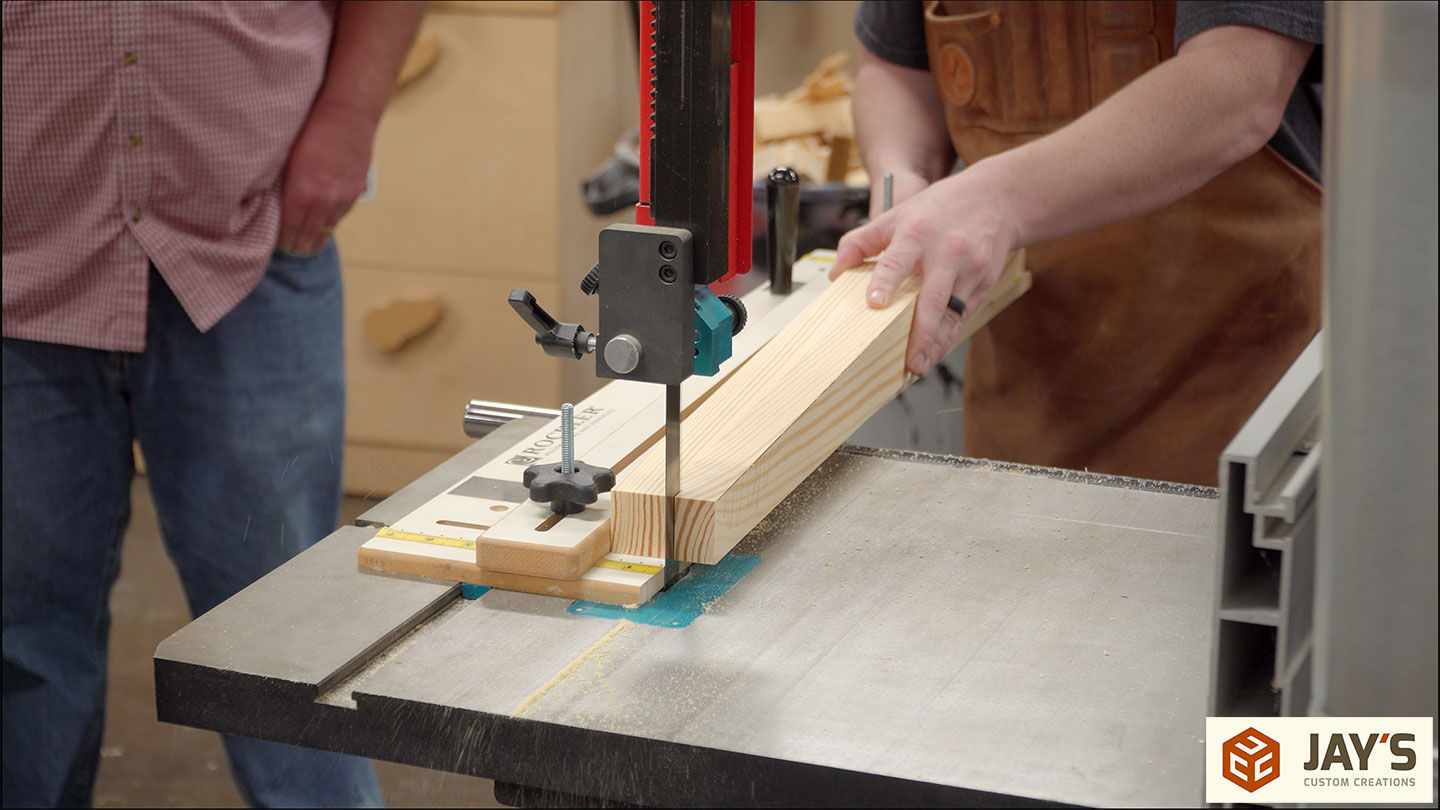
The bandsaw leaves a rough surface that is easily cleaned up at the jointer. We made sure to not be aggressive with the cut depth and count the same number of passes for each face to ensure the taper was the same dimension on all legs.
A little more of the same at the miter saw to establish the final length of the rails.
For the joinery, we used pocket hole screws. I think pocket hole screws get a bad rap just from the fact that a mortise and tenon joint is stronger. On the surface, that’s unfair. So long as pocket holes are used appropriately, they are plenty strong enough. It’s like saying you need an F250 Super Duty instead of a mid-size four-door sedan because it’s stronger. When in reality all you’re doing is picking up groceries and taking the kids to soccer practice. Over a decade ago I built this exact table with slightly smaller dimensions for a laundry mat. If this joinery method can handle a commercial environment with constant humidity changes it can definitely handle family use.

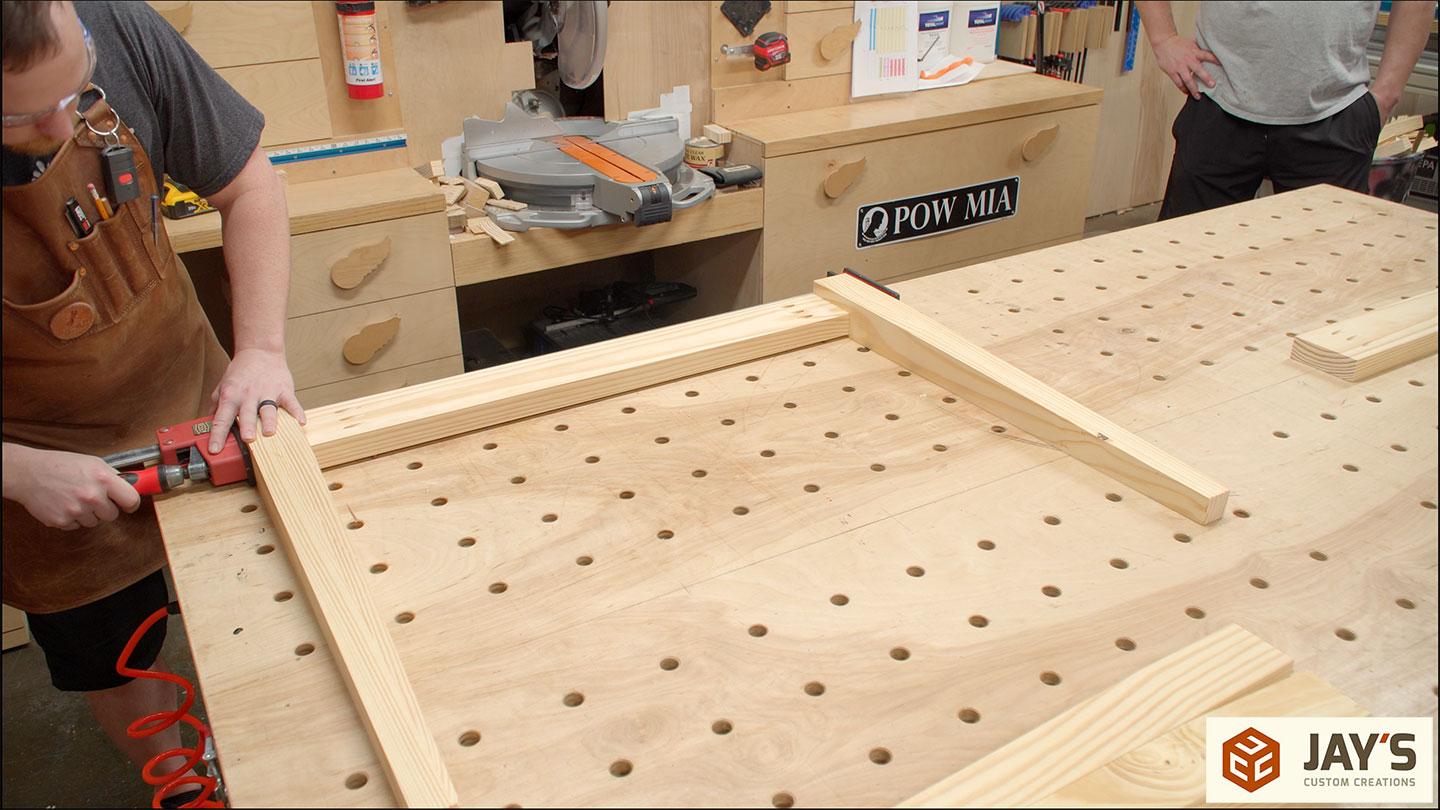
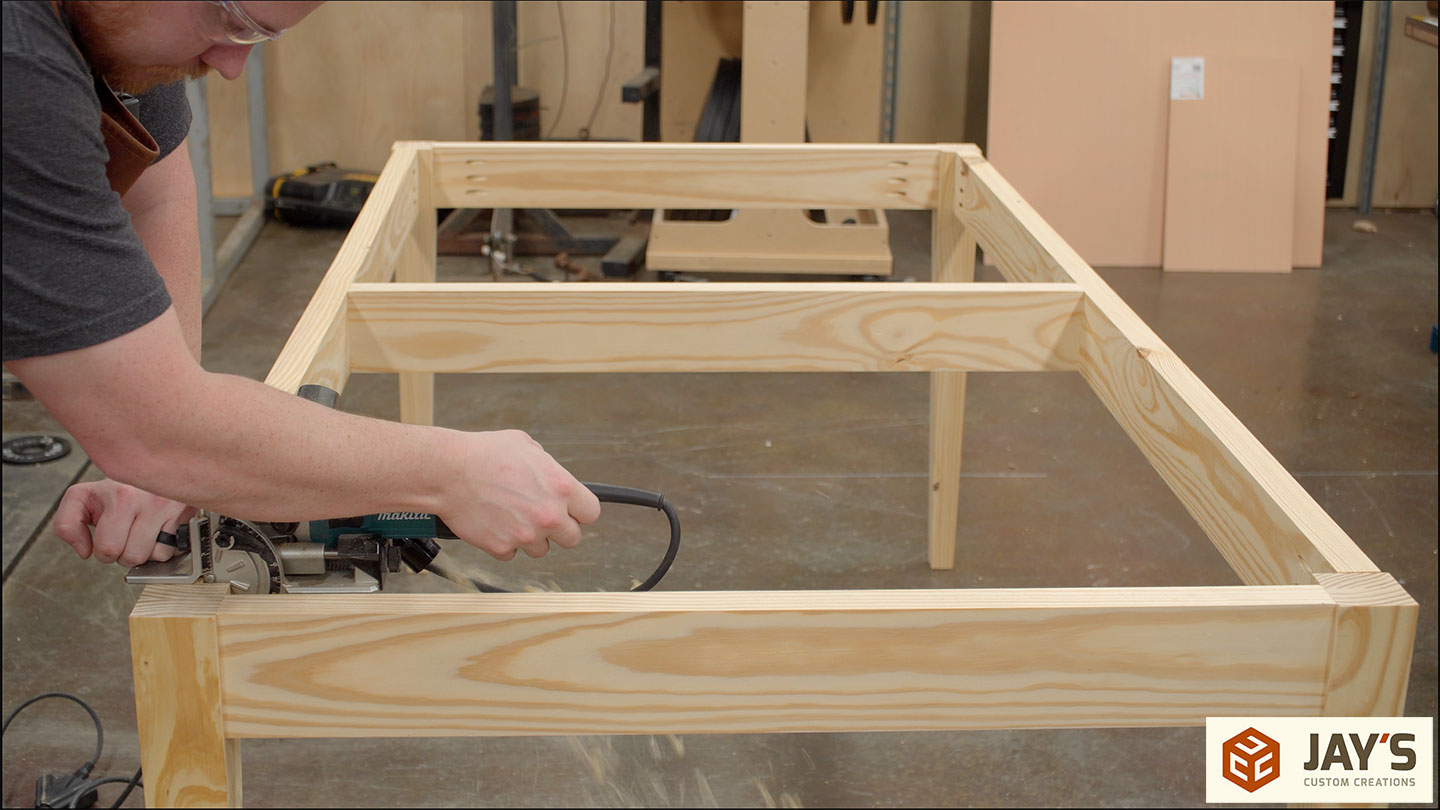
For some added controversy, we started the base assembly without glue. Just screws here. It’s OK, it’s OK. The joint will be braced later with glue. For now, I’m more concerned with not having any glue squeezeout to mess with between the rails and legs. Again, it will be braced later. For the 1/4” offset 1/4” drill bits are used to elevate the rail. The bar of the clamp is used to reference the top of the rail to the top of the legs. Both of the short sides are assembled first.
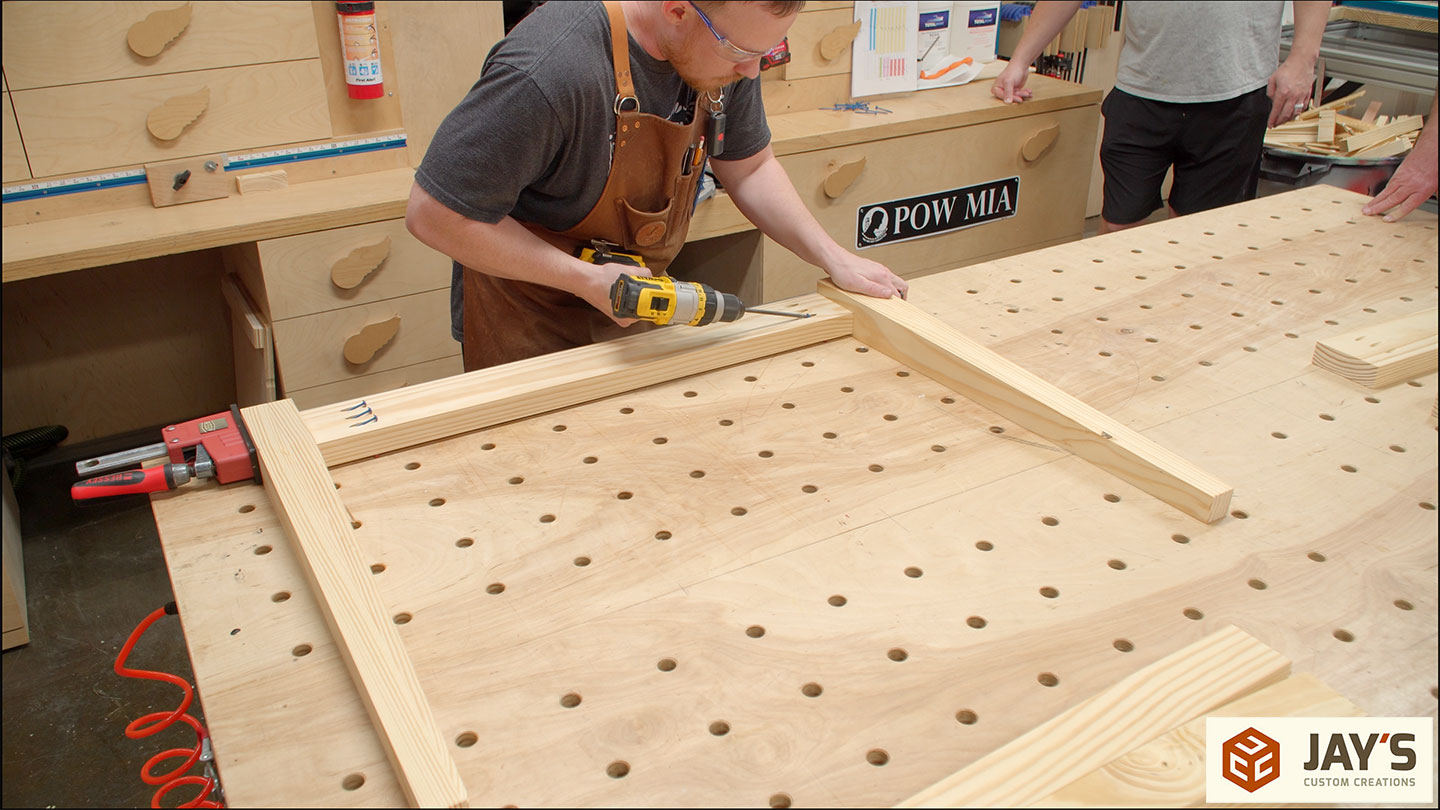

And then those are connected with the long rails. Again, 1/4” drill bits are used to maintain a 1/4” offset from the rails to the legs.
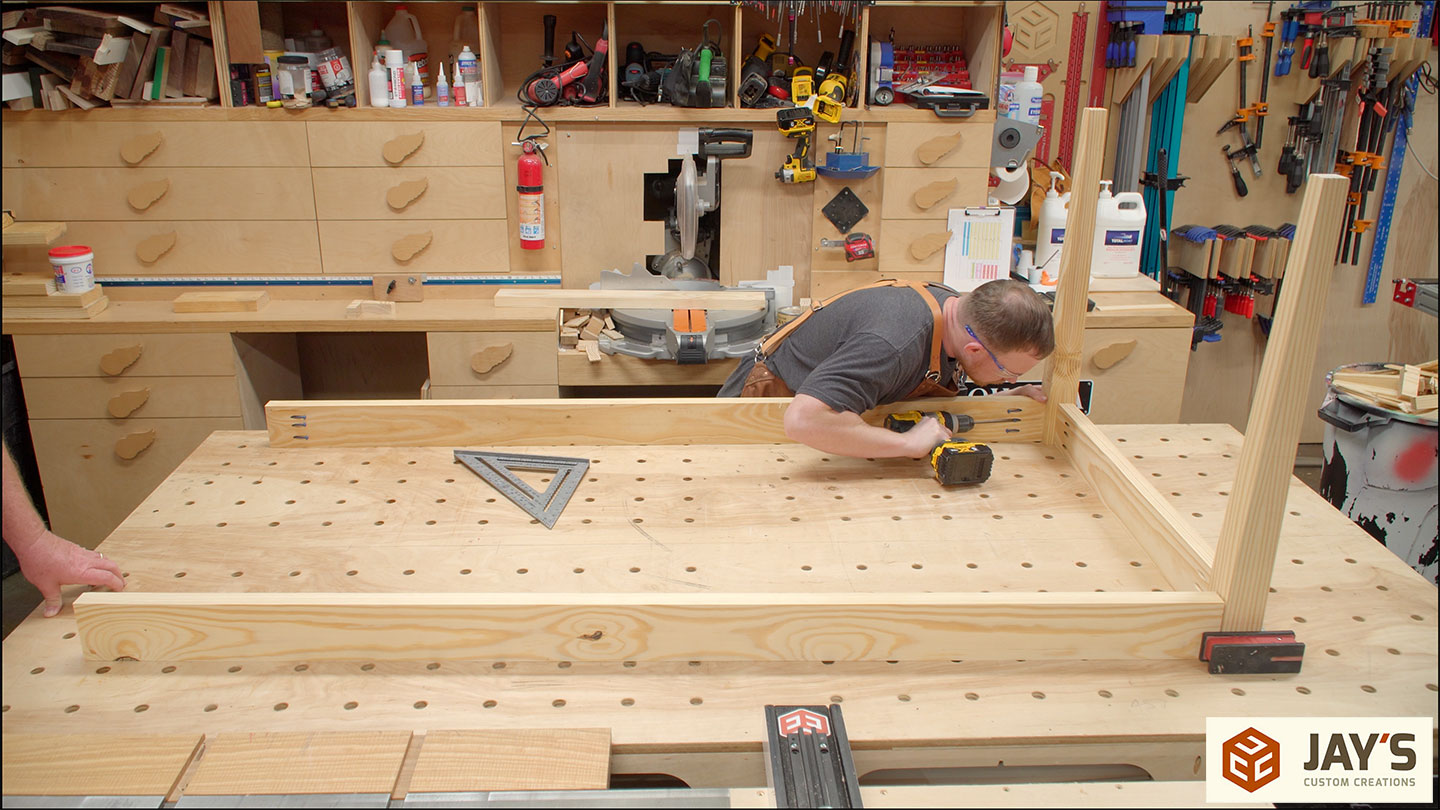

Finally, the interior rail is added in the center.
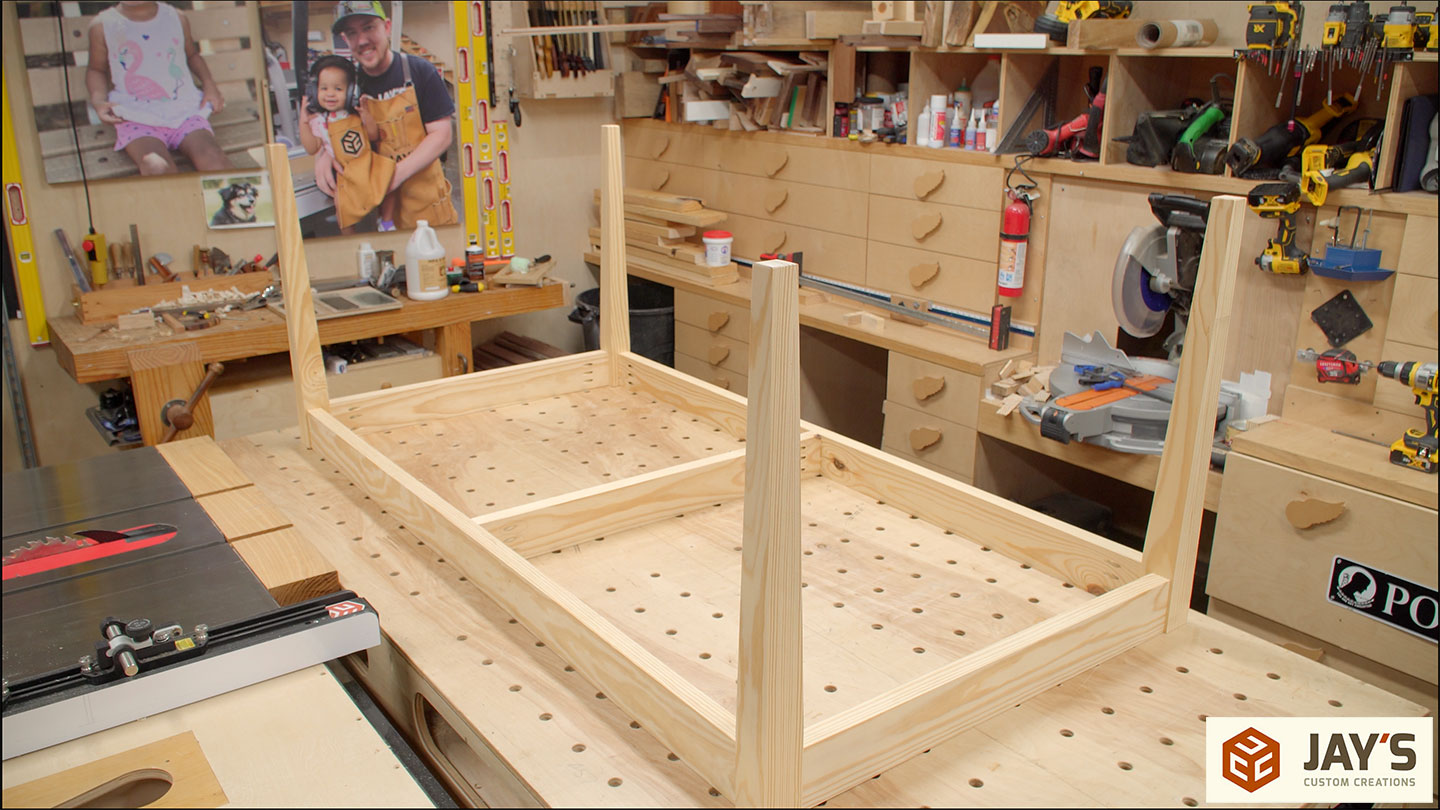
Over to some open floor space to work on the base right side up.

Table top hold-down clips are used to hold the top to the base. These are necessary as they hold the top to the base while still allowing the top to expand and contract. A slot of some kind is needed to hold the clip and the biscuit joiner is my favorite tool for the task. I don’t show adding them here because the owner of the table added them after finishing. More on that later. If you’d like an explanation of the hold-down clips here is a previous video where I explained them in detail.

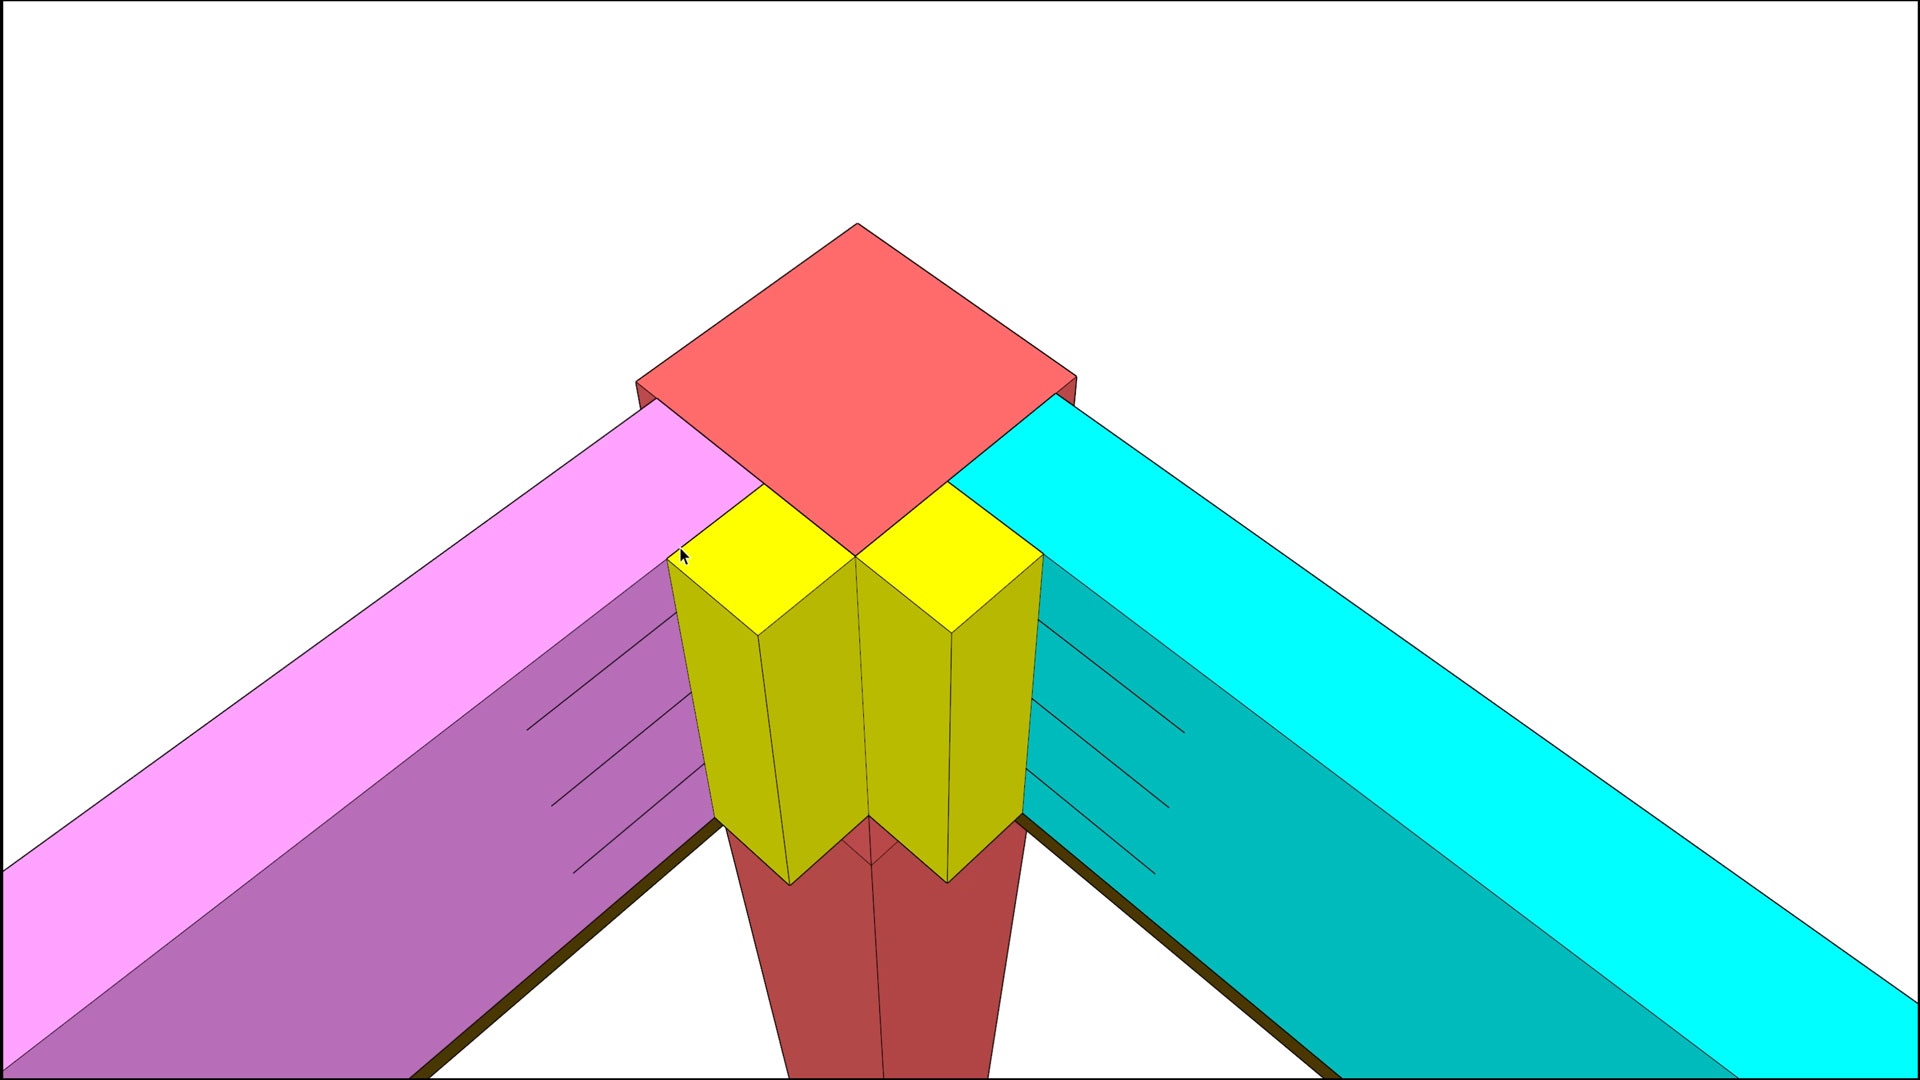
Again, our goal was to build this in one day so my main priority was the build and the second priority was the camera. As I’m editing this I also realized I didn’t show bracing the pocket hole joints so I’ll show that with SketchUp now. When making a pocket hole rail-to-leg table joint I like to add an additional glue block right in the corner of the joint (yellow in the image below). This is just a scrap block glued and brad nailed into place. Once dry you’re left with two long-grain to long-grain glue joints with much greater surface area than the end-grain to long-grain pocket hole joint itself. I’ve never had one of these joints fail and I’ve built a lot of tables like this.
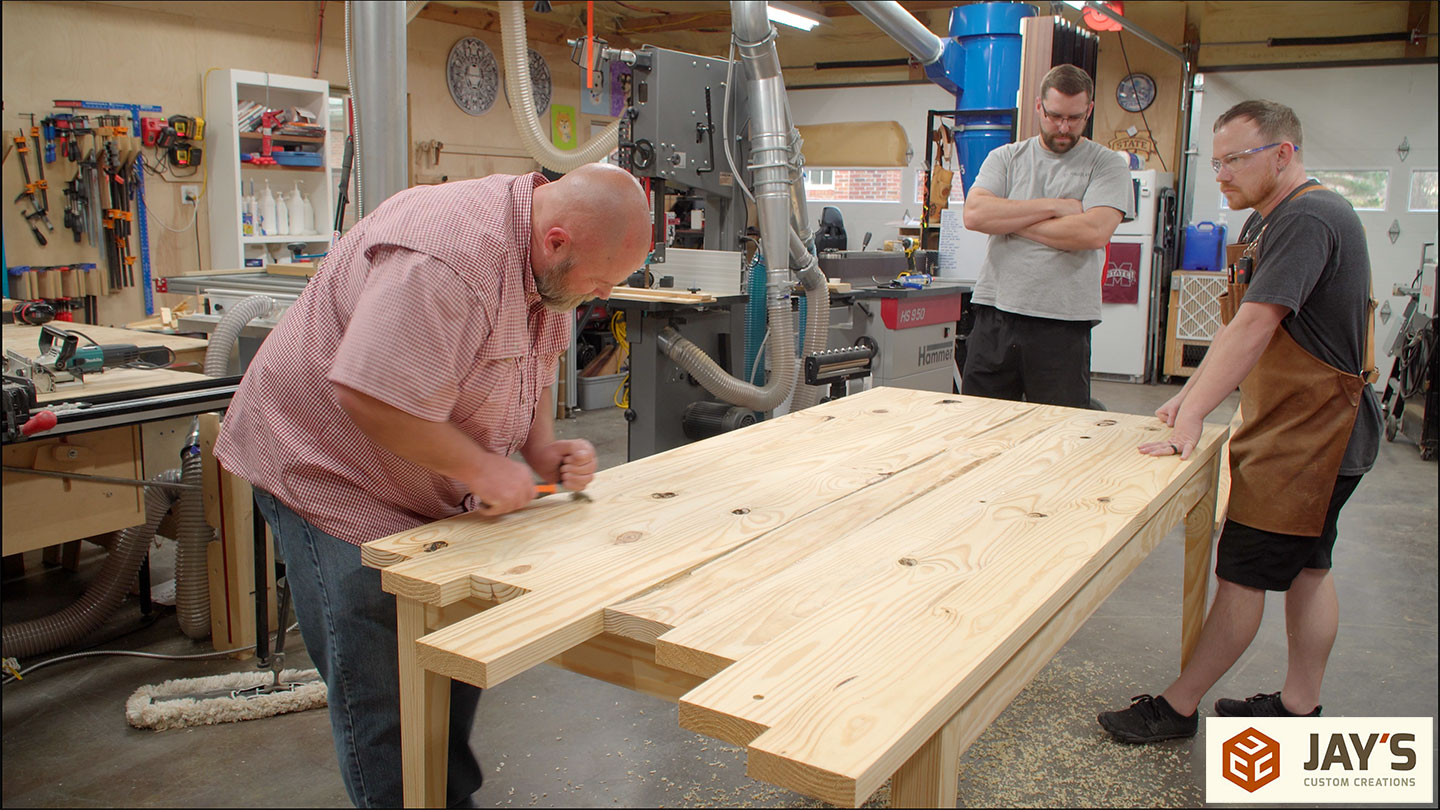
Now the top is set in place bottom side up so that Bill could work on scraping the glue squeezeout while we sat around and did nothing.
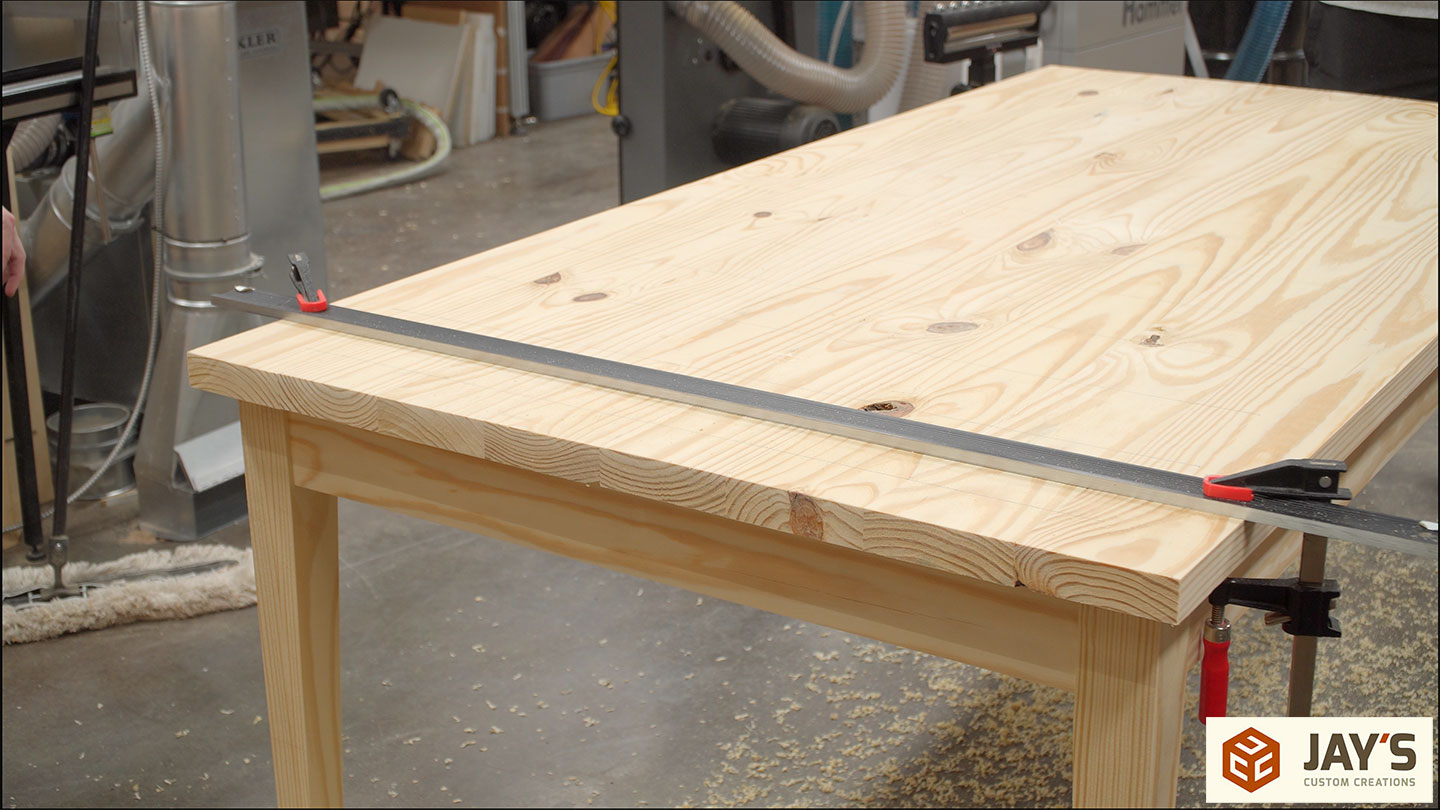
A straight edge and circular saw are used to cut the table to its final length.


All of the loose debris in the knots is picked out and then filled with Timbermate wood filler. I gave them the option to put the top panel on my CNC and cut some bowtie inlays over the knots to get rid of them but the decision was to leave them for a more rustic look.

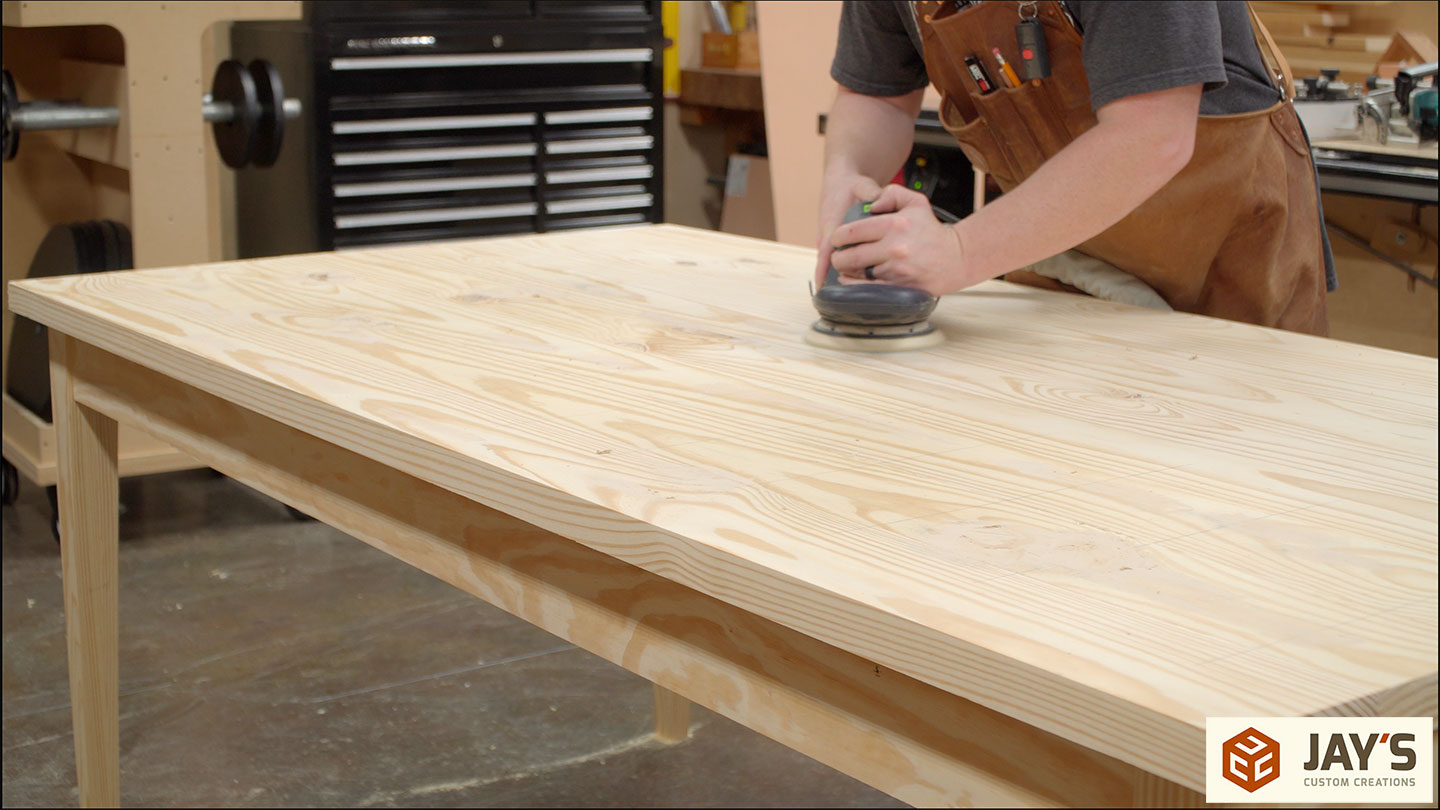
The final step in the shop was to rough sand the top. The final sanding, finish, and connection of the base to the top was to be done at home. So technically this is a one-day “build” to actually build it but at least another day’s work was necessary to finish it. One thing to note is the clamping time of the panels and legs. The legs were in clamps for about four hours and the top panel for about six hours. It was ten hours from start to finish but we took a long two-hour lunch to give the panel more time in clamps.
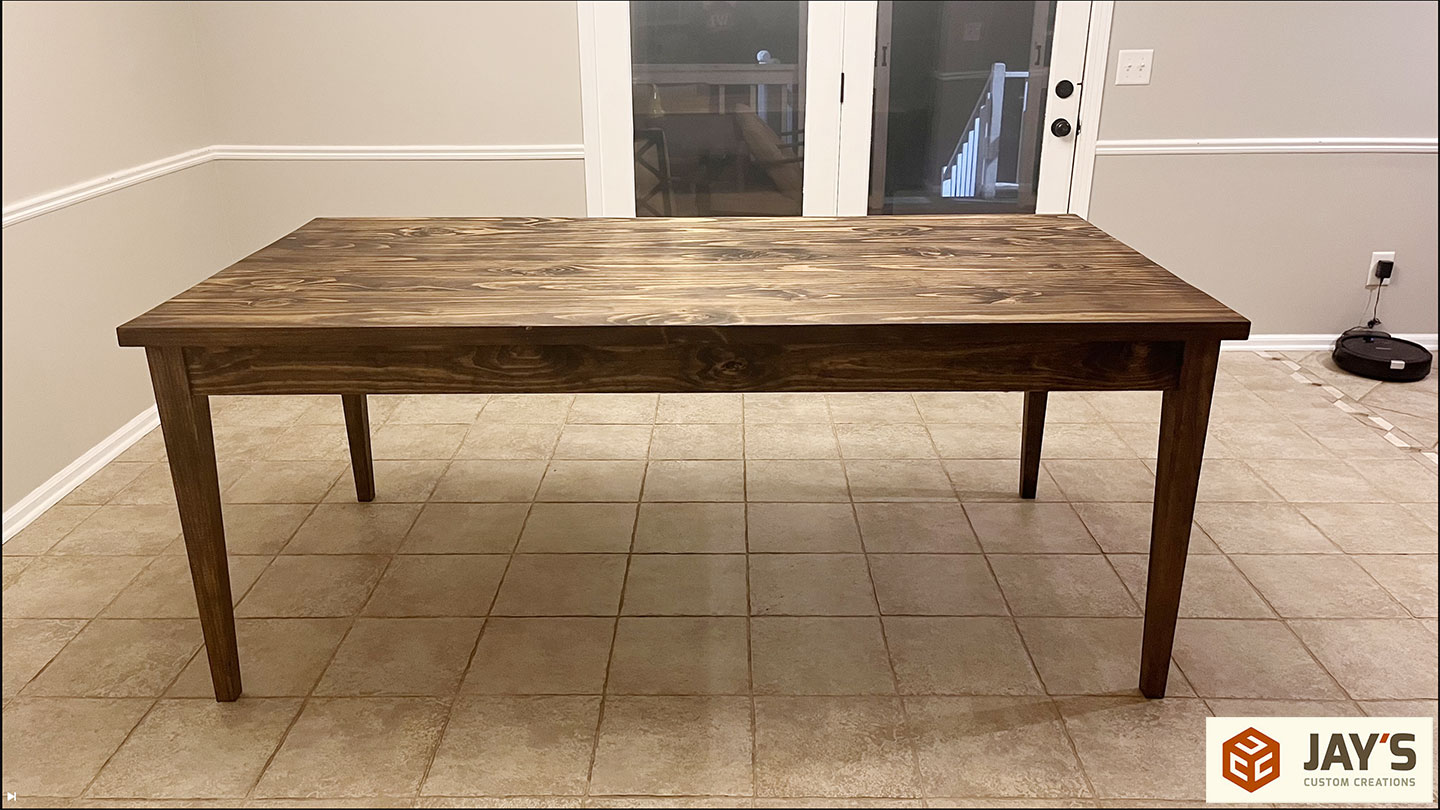
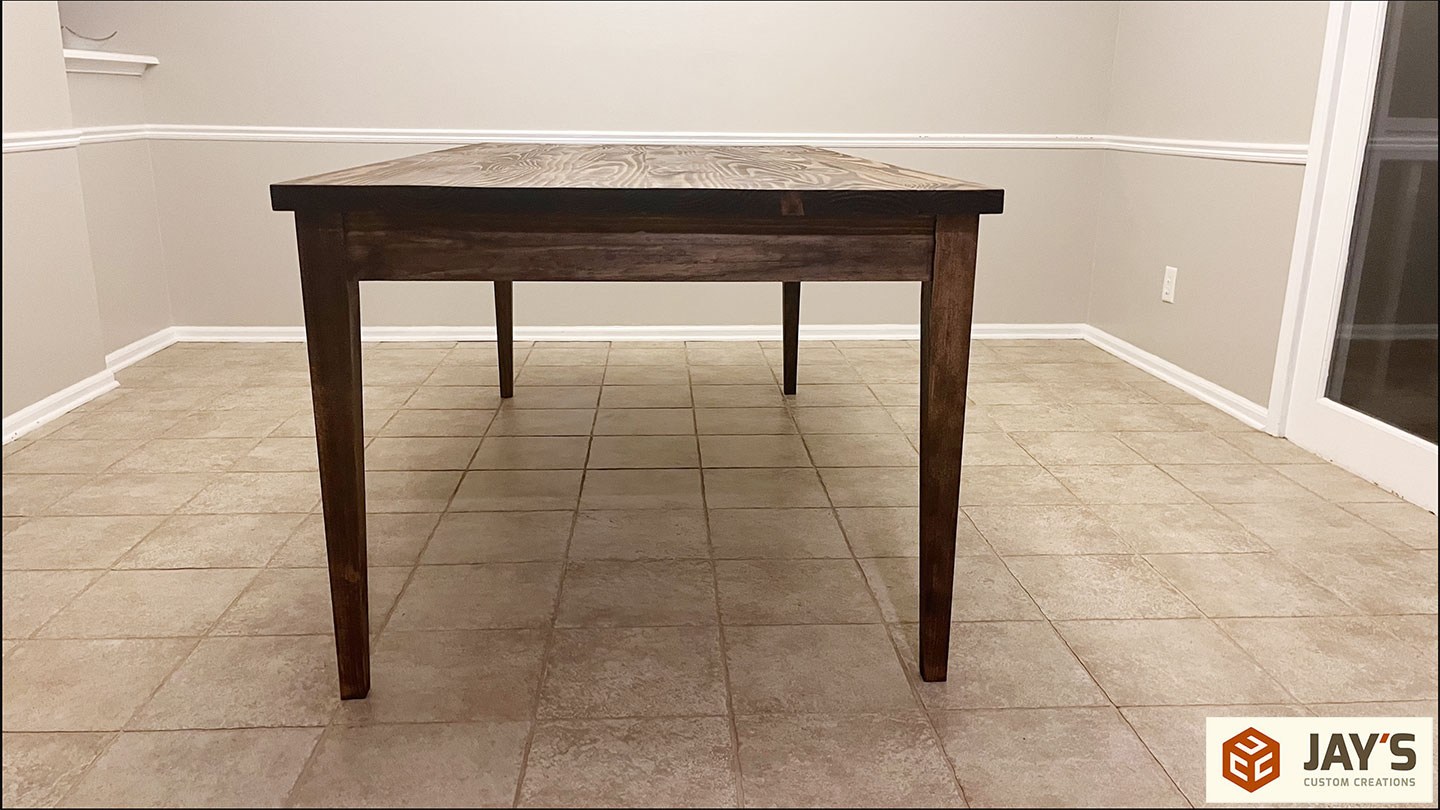
And here it is in its home. I have no idea what stain was used or what finish was applied or if there is any finish applied in these photos but you can at least see it as it will be used.


Didn’t get to use the dadgum CNC! I’m sure you had the itch.
Awesome day of work. Thanks for sharing it!
Very cool as expected.
Shaker tables…You and Norm baby!!
It looks good, I made one similar with breadboard ends. I noticed on the finished shot, the glue joint for the top bled over some, and didn’t take the stain. I had the same problem with mine. what’s a good way to recover from that, or prevent it?
thanks!