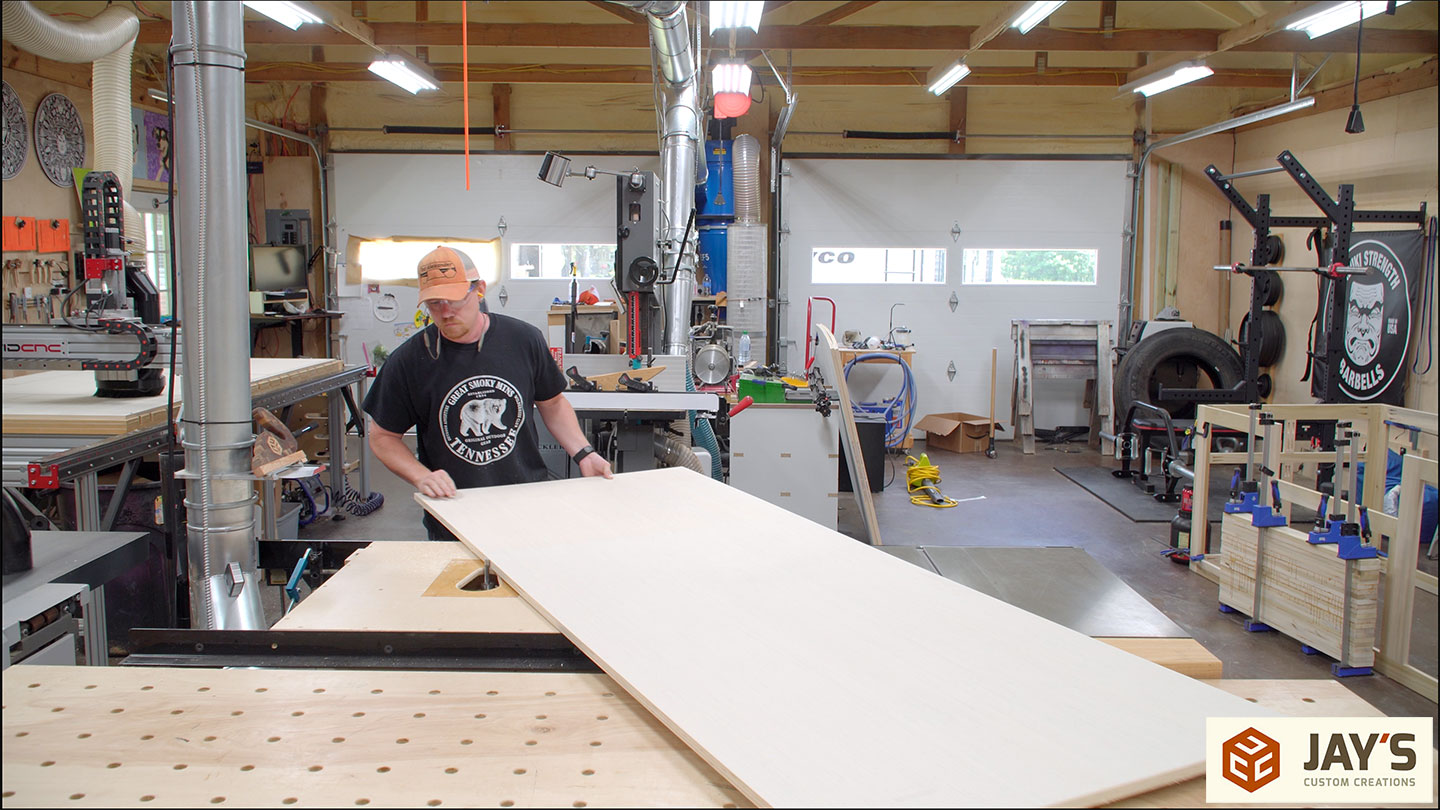
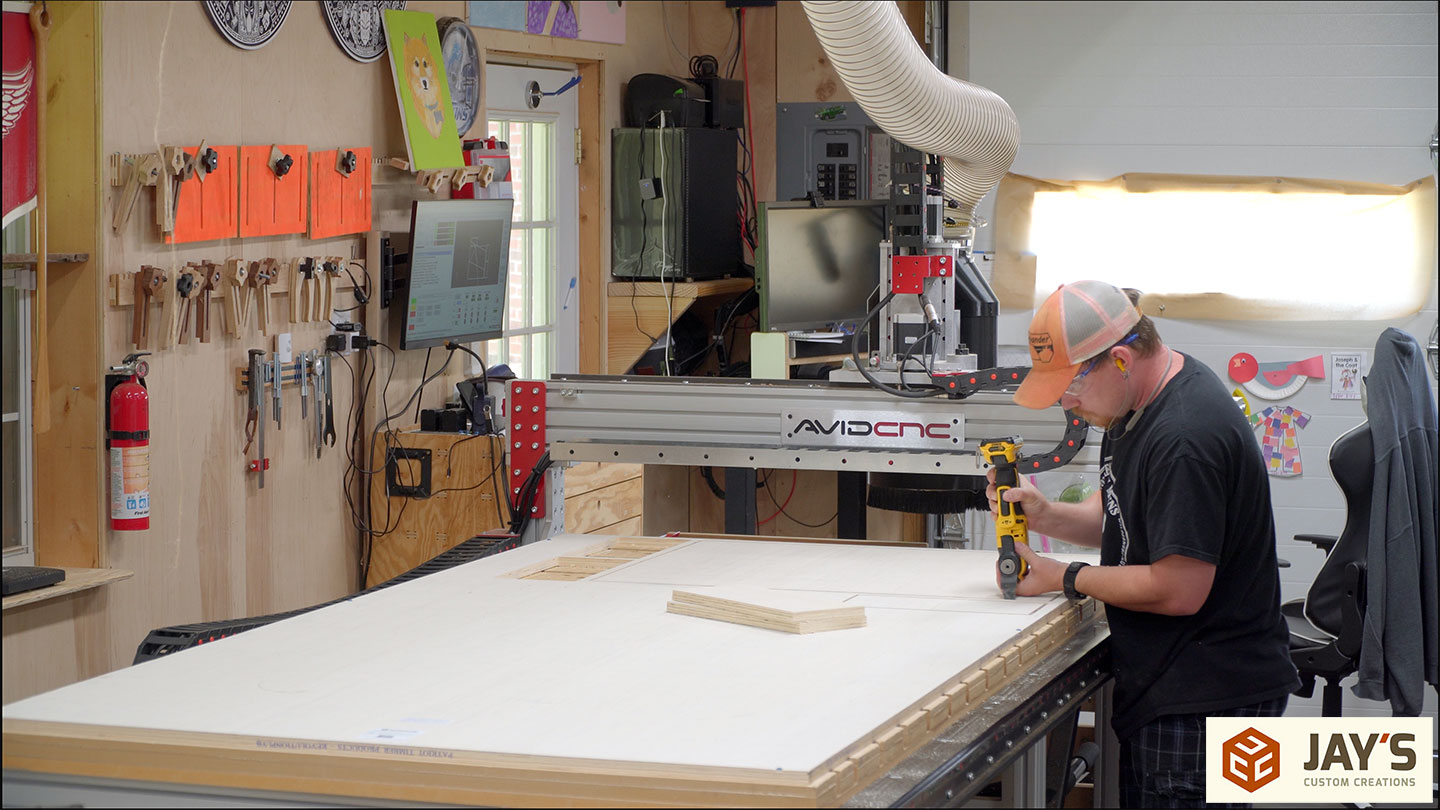
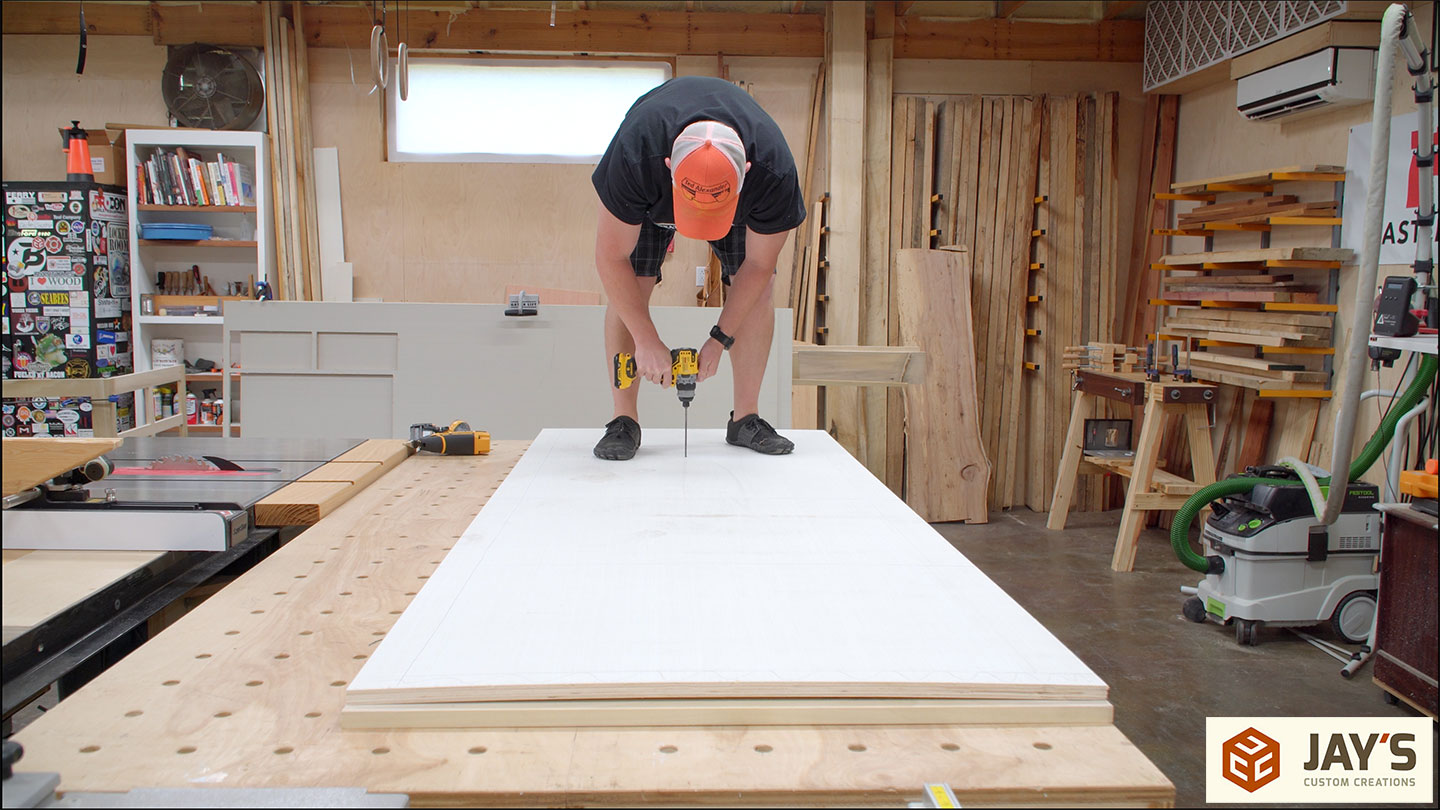
Time to cut up some horrible plywood. Four sheets of 3/4” are needed for the build. Before we begin, I do want to make a few recommendations. The first is this Gator Lift plywood carry handle. Thumbs up.


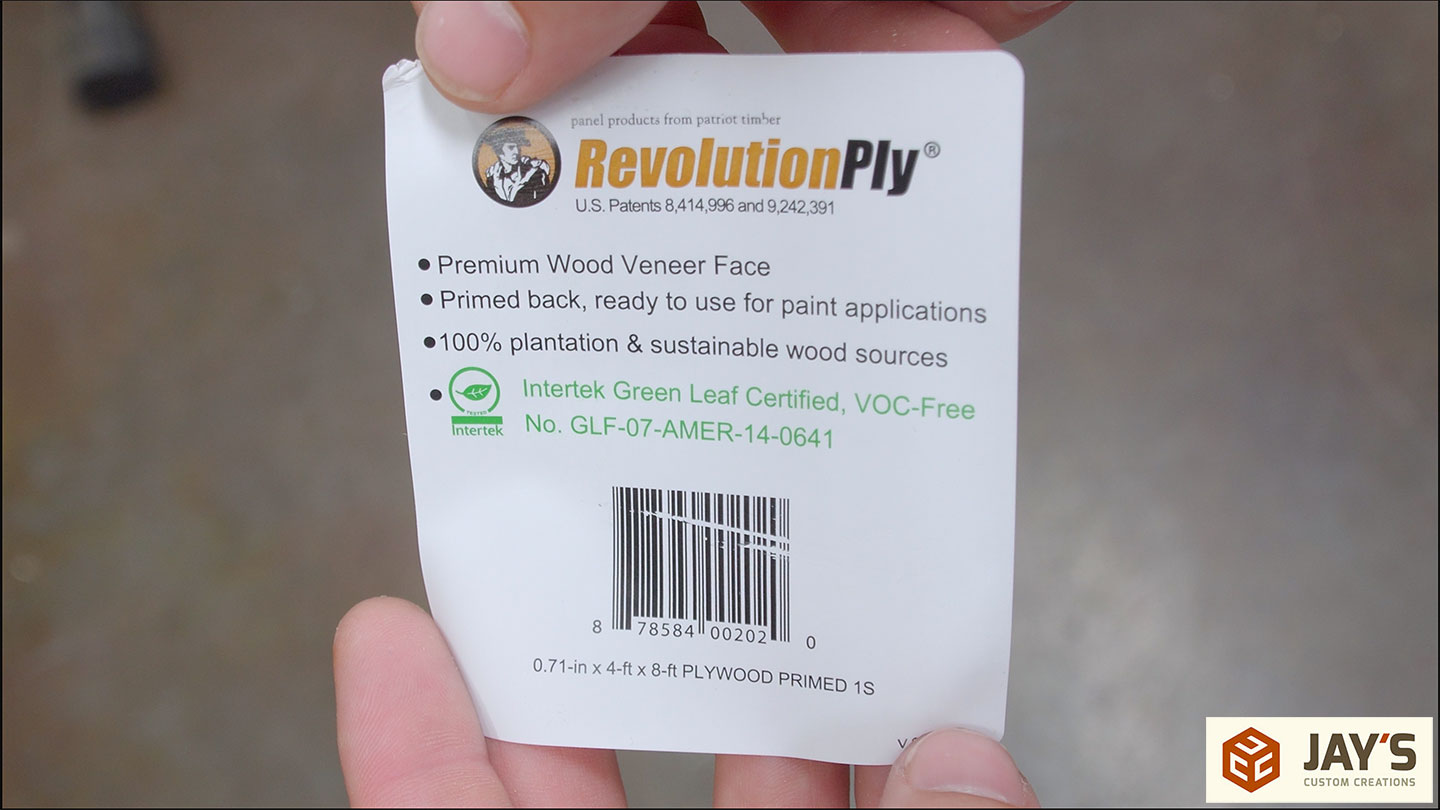
The second recommendation is about this Revolution Ply from Lowes. I do NOT recommend you purchase this stuff unless you really like dealing with fuzzy edges and crazy tearout. At $90 a sheet, you would expect a little better of a product. Every time I’ve used it, I battled warpage quite a bit.
The third recommendation is for router bits. If you’re in the market for quality router bits then I recommend checking out my friends at Bits & Bits. Quality router bits made in the USA and offered with competitive prices. Use the non affiliate coupon code JAYBATES to save 10% at checkout.

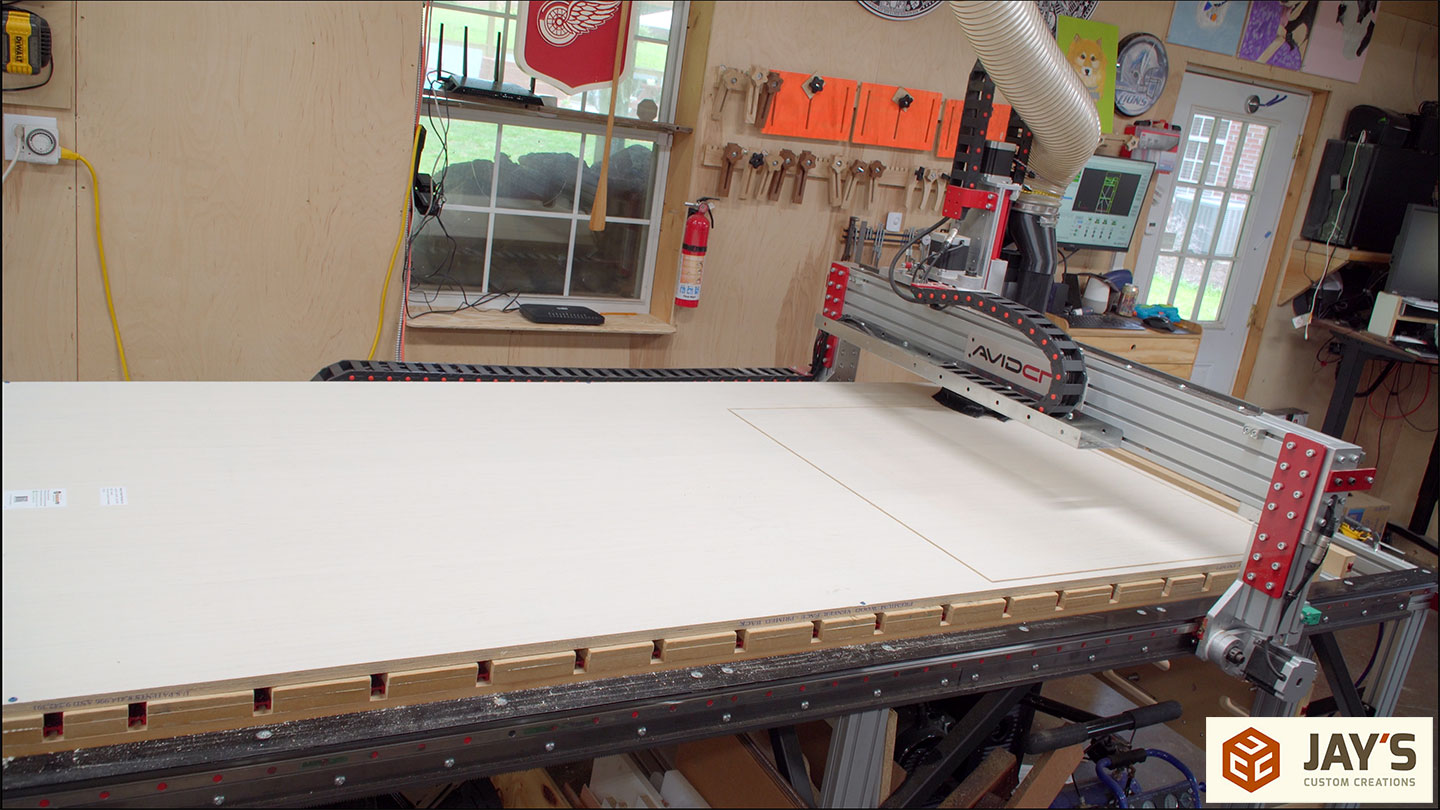
I had all the programming work done before starting the project so step one is to start running the machine. None of these parts require a CNC to cut, as they are all rectangles. But I’m lazier than a dog after supper so I prefer to press a button and take a nap while the work is being done.

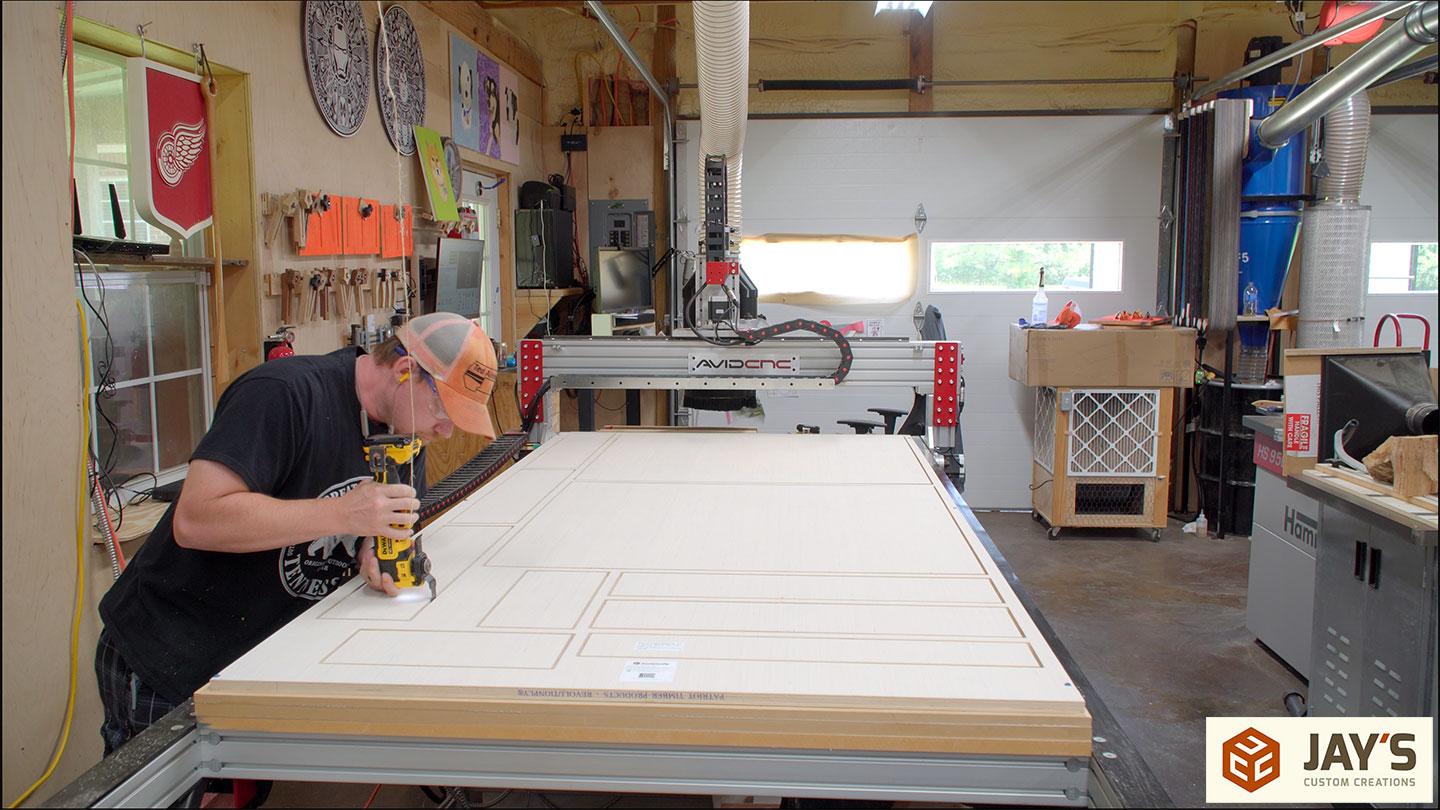
After my nap, I mean when the sheet was done, the tabs can be cut and the pieces removed.

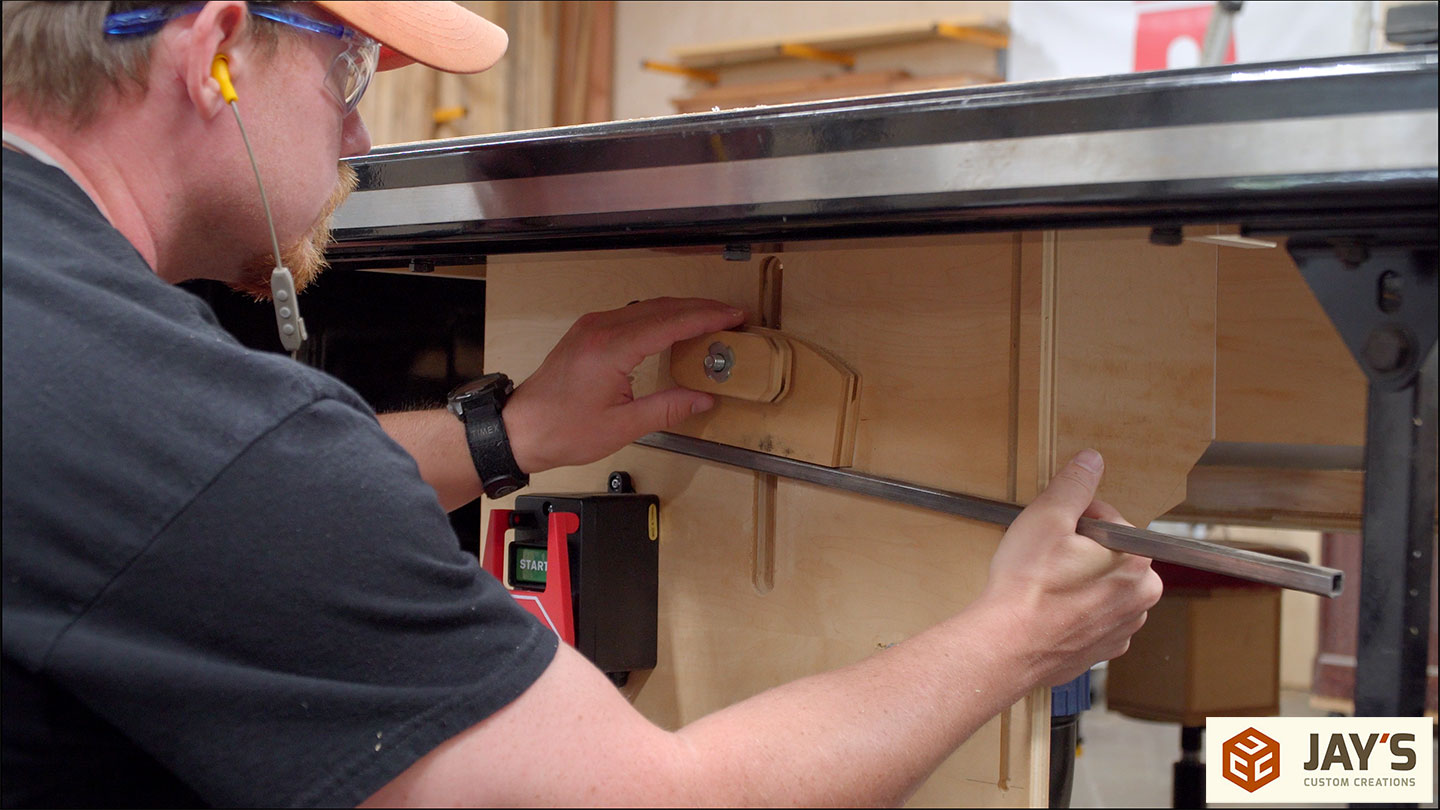
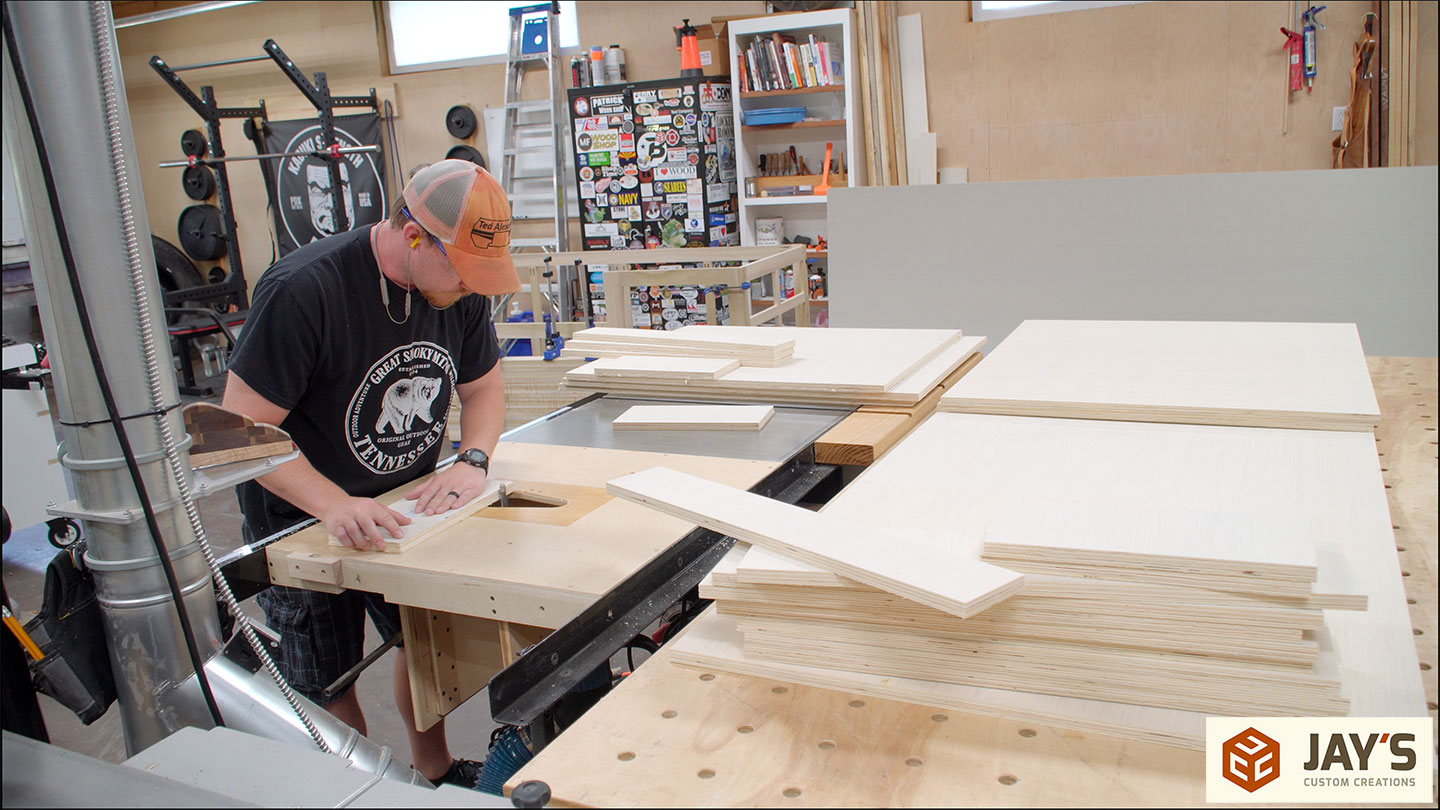
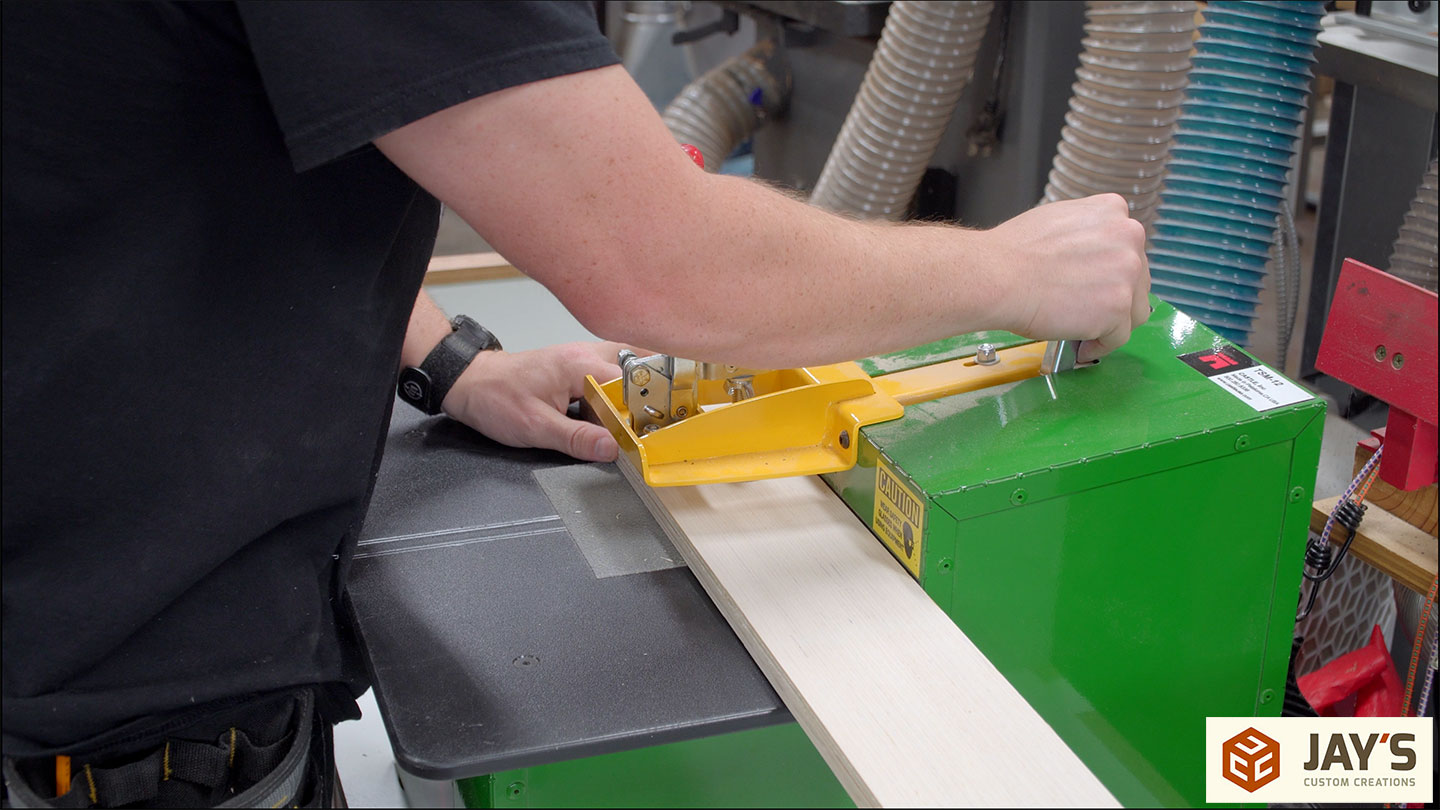
I made this homemade lever router lift for a table saw wing. I’m biased, but I do recommend you make one. I leave mine setup for flush trimming operations. This time I’m using a 1/2” spiral flush trim.
It’s a balance of productivity. Trying always to keep the machine running while I’m working on something else.
Also, one benefit of having a router table in the table saw wing is the extra real estate for material support.
Sheet two cutting. Sheet two tab cutting. Sheet two tab removal.

Sheet three cutting. Sheet three tab cutting. Sheet three tab removal. Same for sheet four, that I didn’t record.

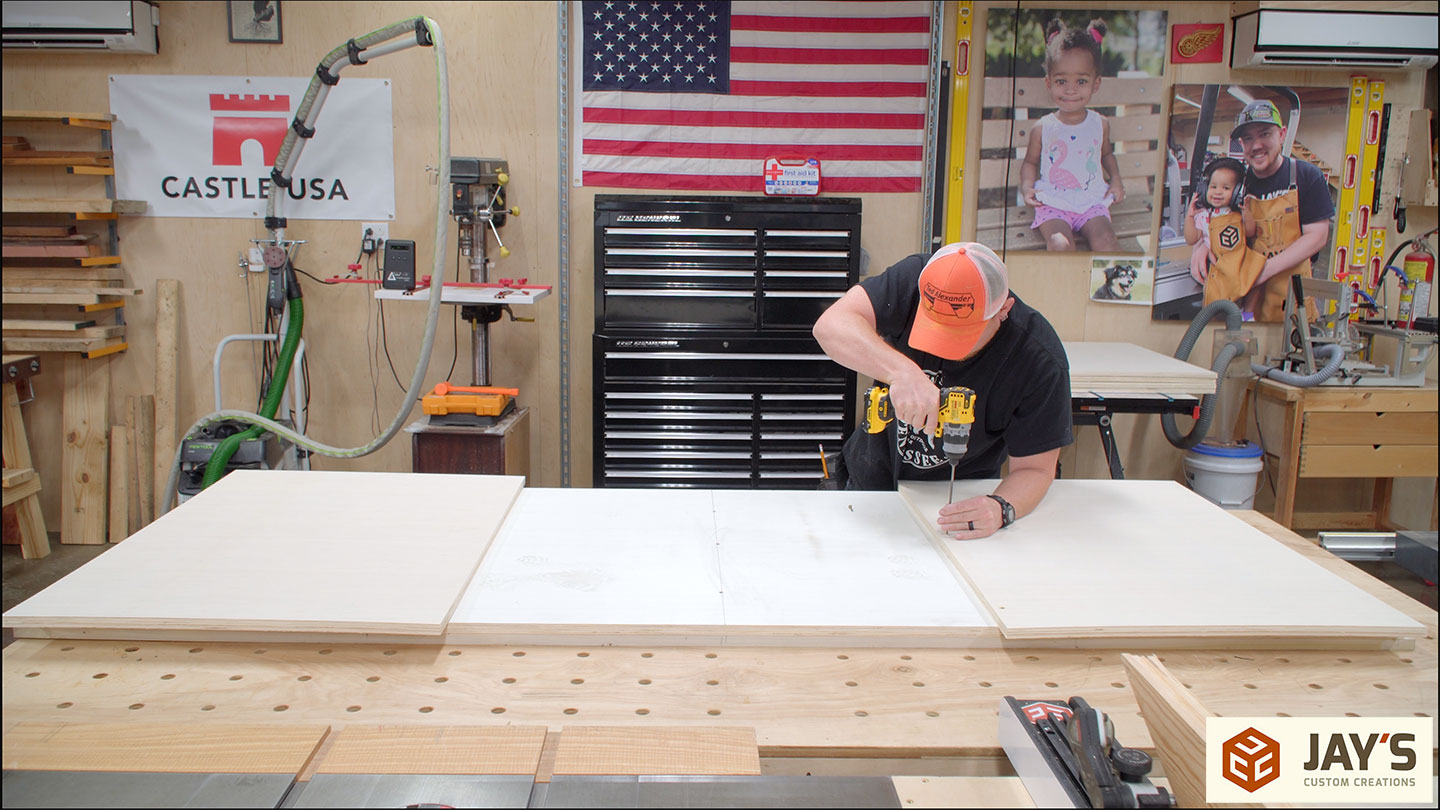
Now for the more-difficult-than-it-needed-to-be assembly. I should have done all of this on the floor, but I thought camera angles would be better if I assembled on my assembly table. Starting with the back side, the face frame is placed on the table. Glue is added. And the back plywood piece is added and secured with screws.
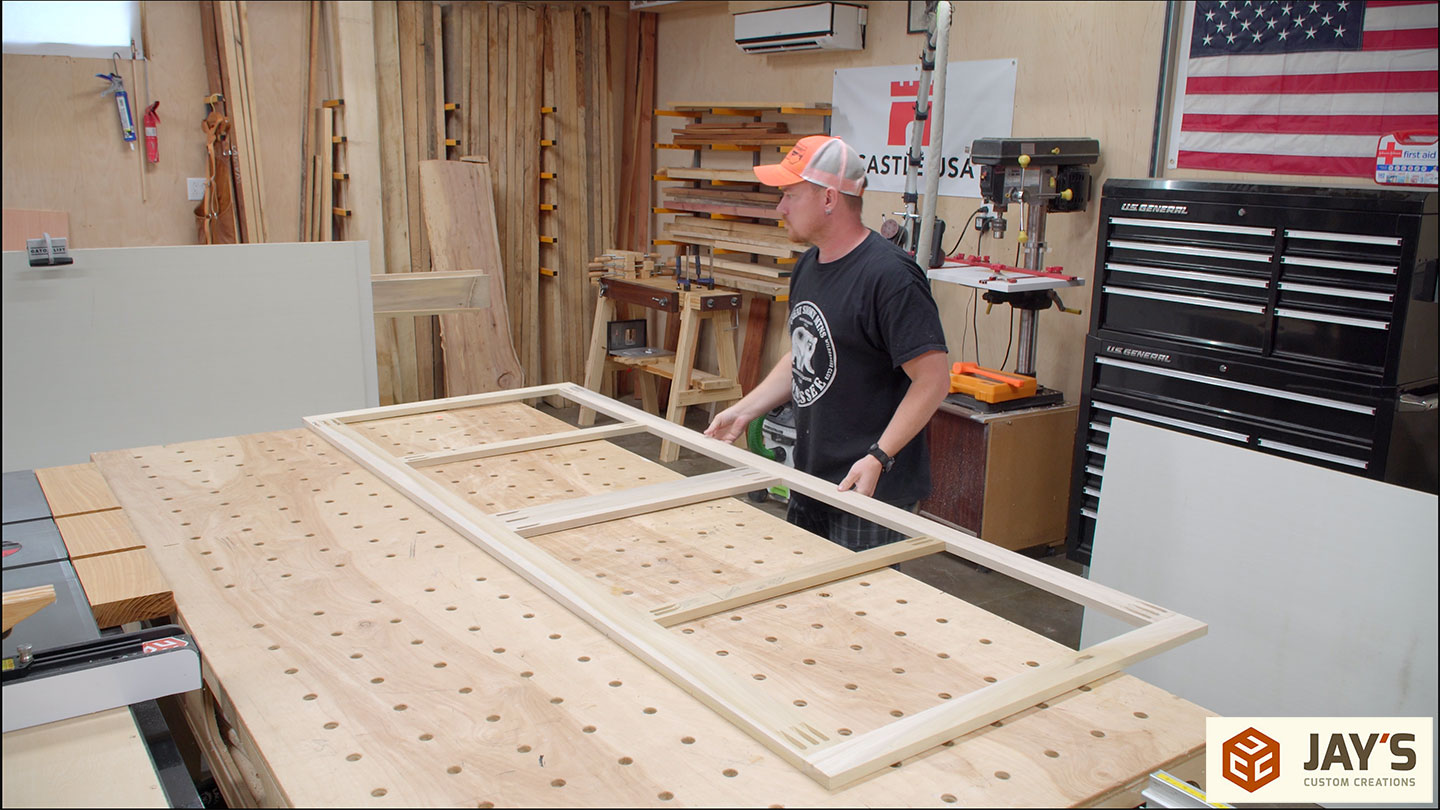
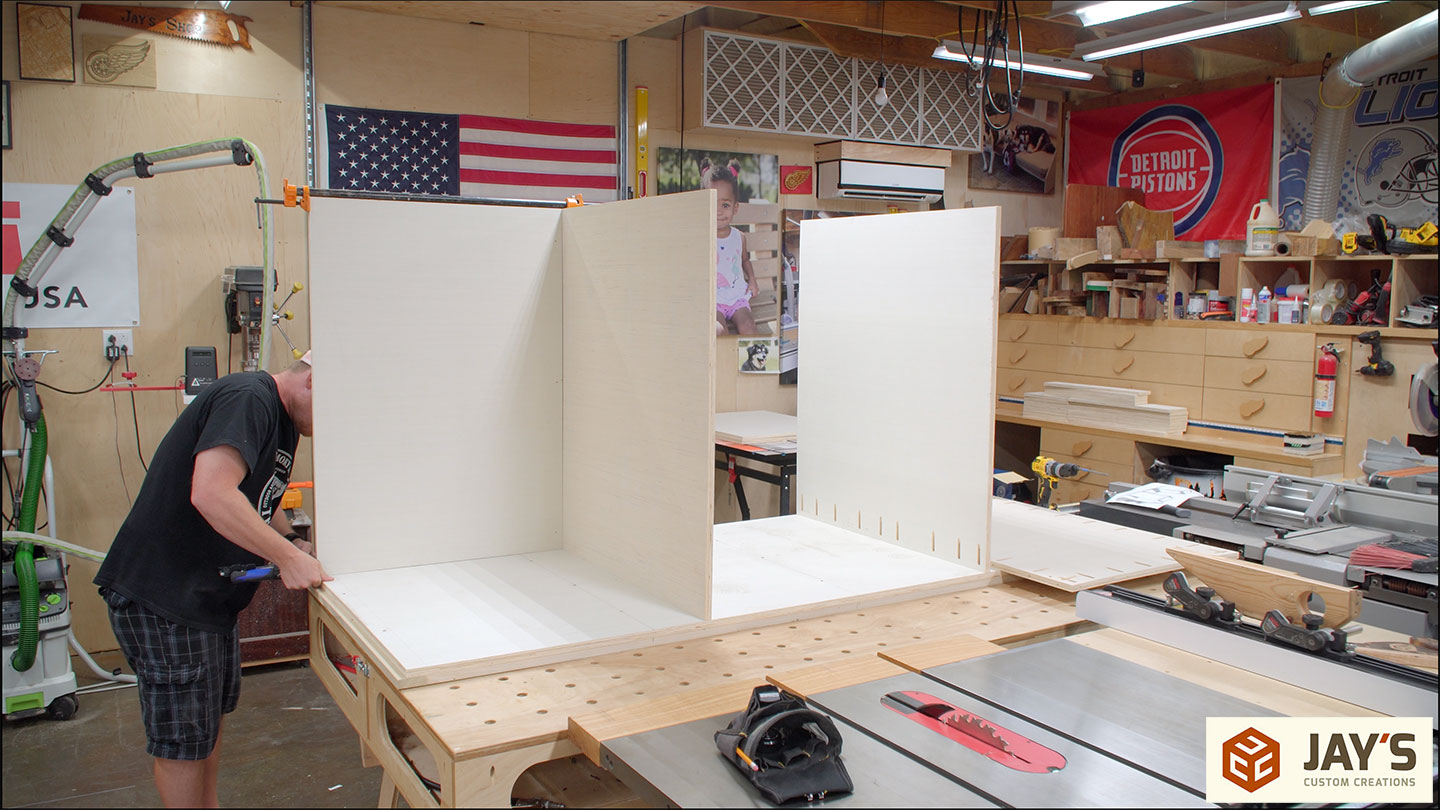
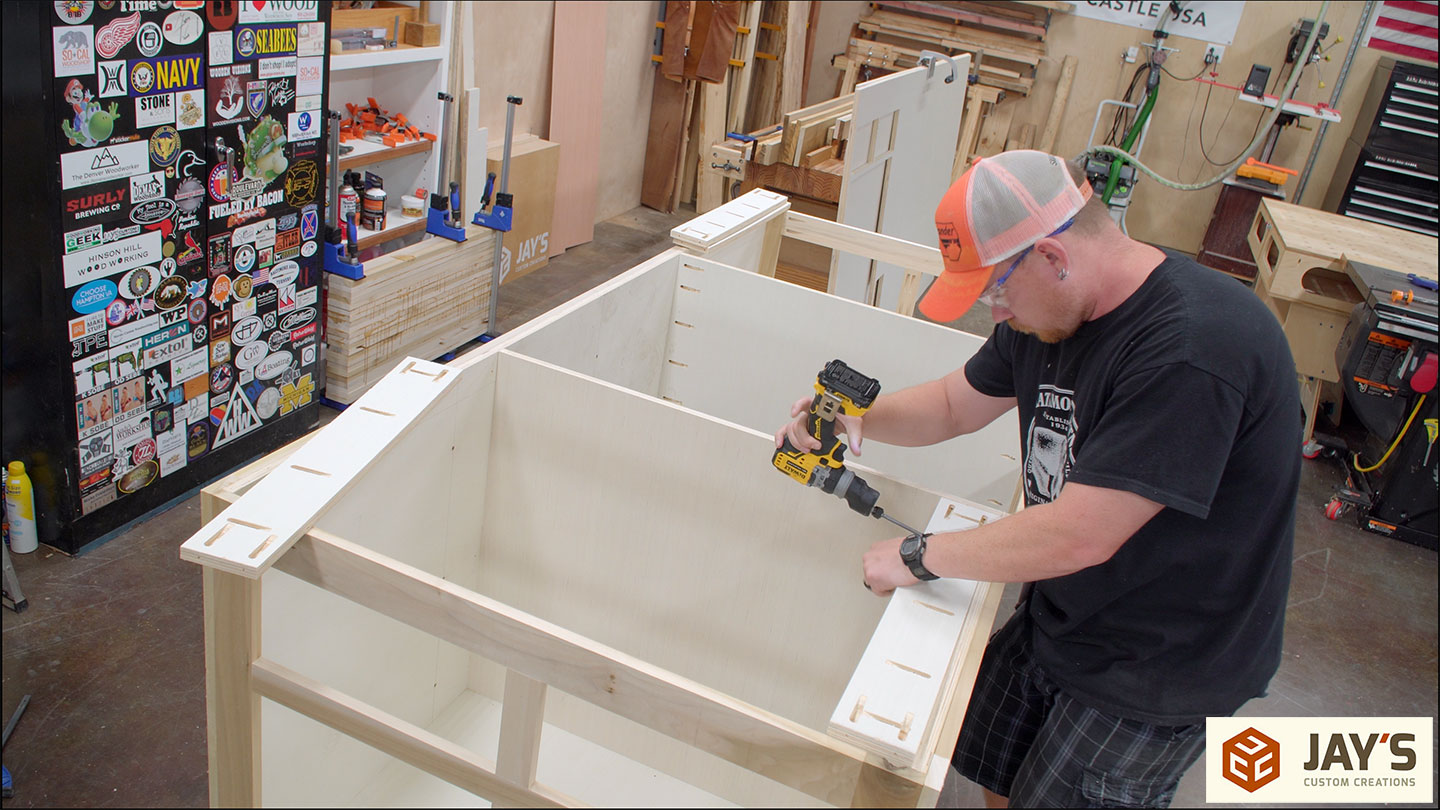
I’m building this on its back, so the next vertical pieces to add are the vertical partitions to separate the sink in the middle from the storage areas on each end. To locate the vertical pieces, I screwed the bottom panels to the back panel. This gives me a physical stop to work off of.
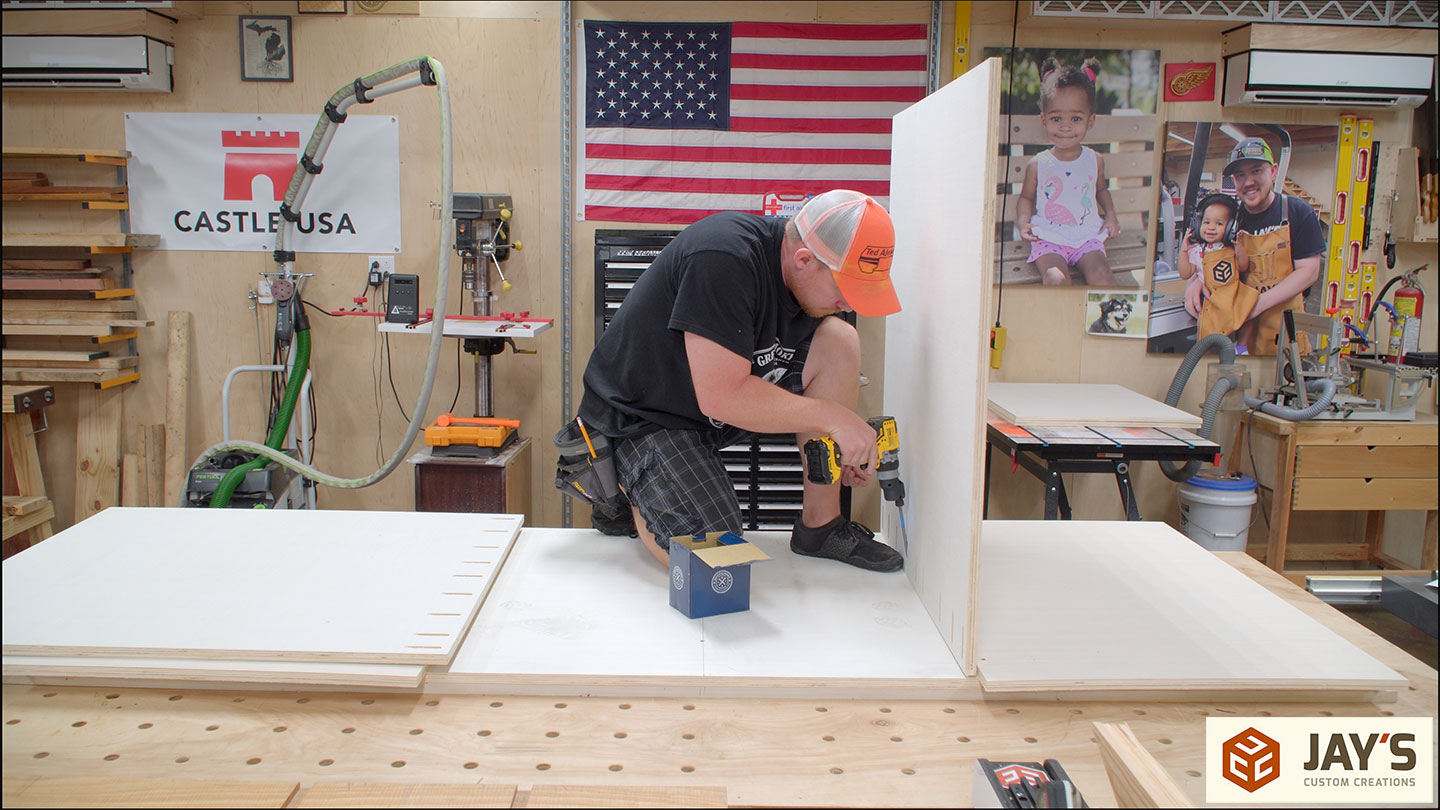
The vertical pieces get a few pocket holes and then are secured to the back panel. The low-angle pocket holes and the physical stop make installing these pieces simple. No clamps are required, and the direction of the typical pocket hole shift is going into an immovable object.

Then the bottom shelf pieces can be removed. I’m not worried about a few extra screw holes being visible on the inside of the cabinet.
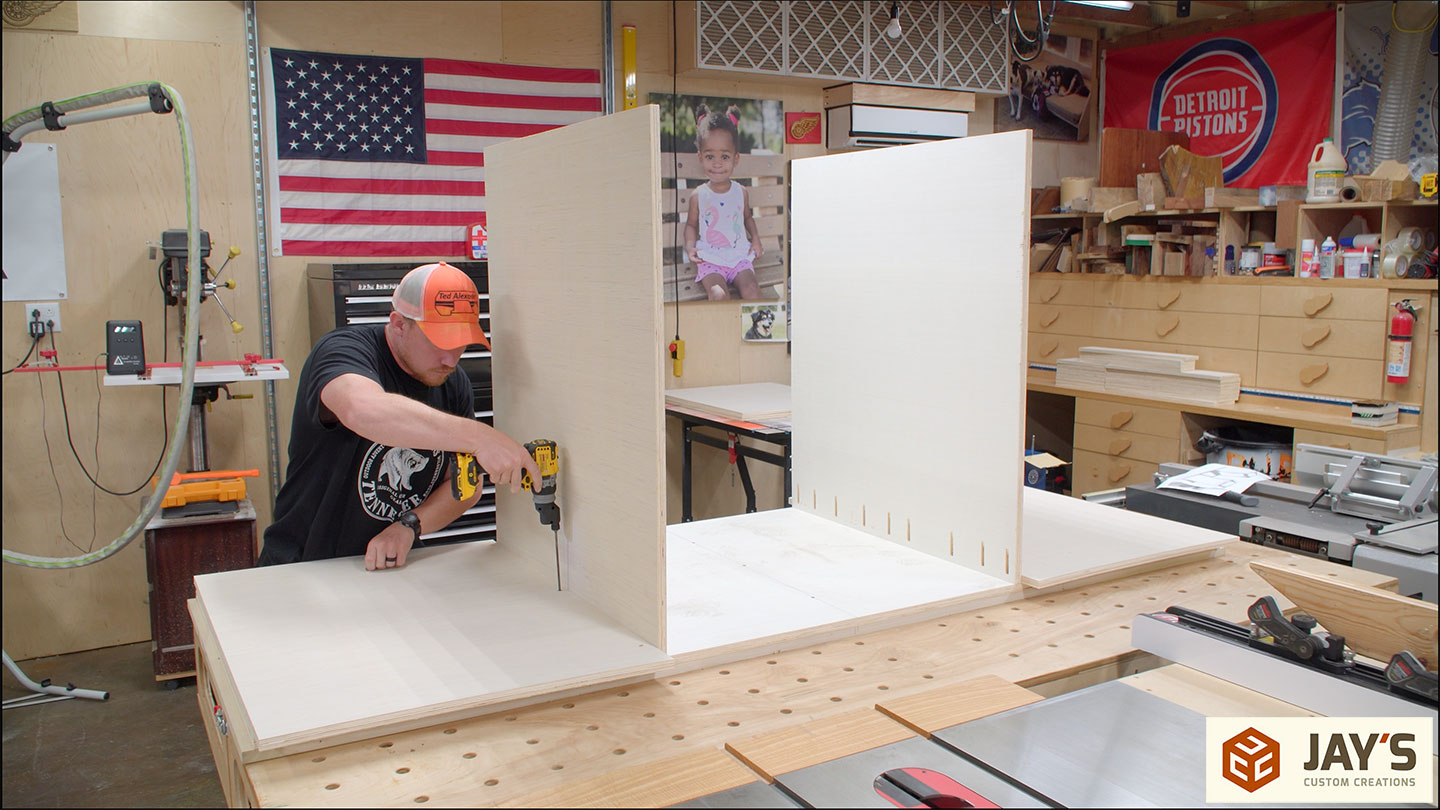
More pocket holes for the bottom panels.

And they are secured to both the back panel and the vertical partitions.
At this point, I realized I had forgotten to put pocket holes on the other side of the vertical partitions. Here’s where the portable Kreg jig that clamps to material shines. No need to disassemble. Just clamp in place and save the day.

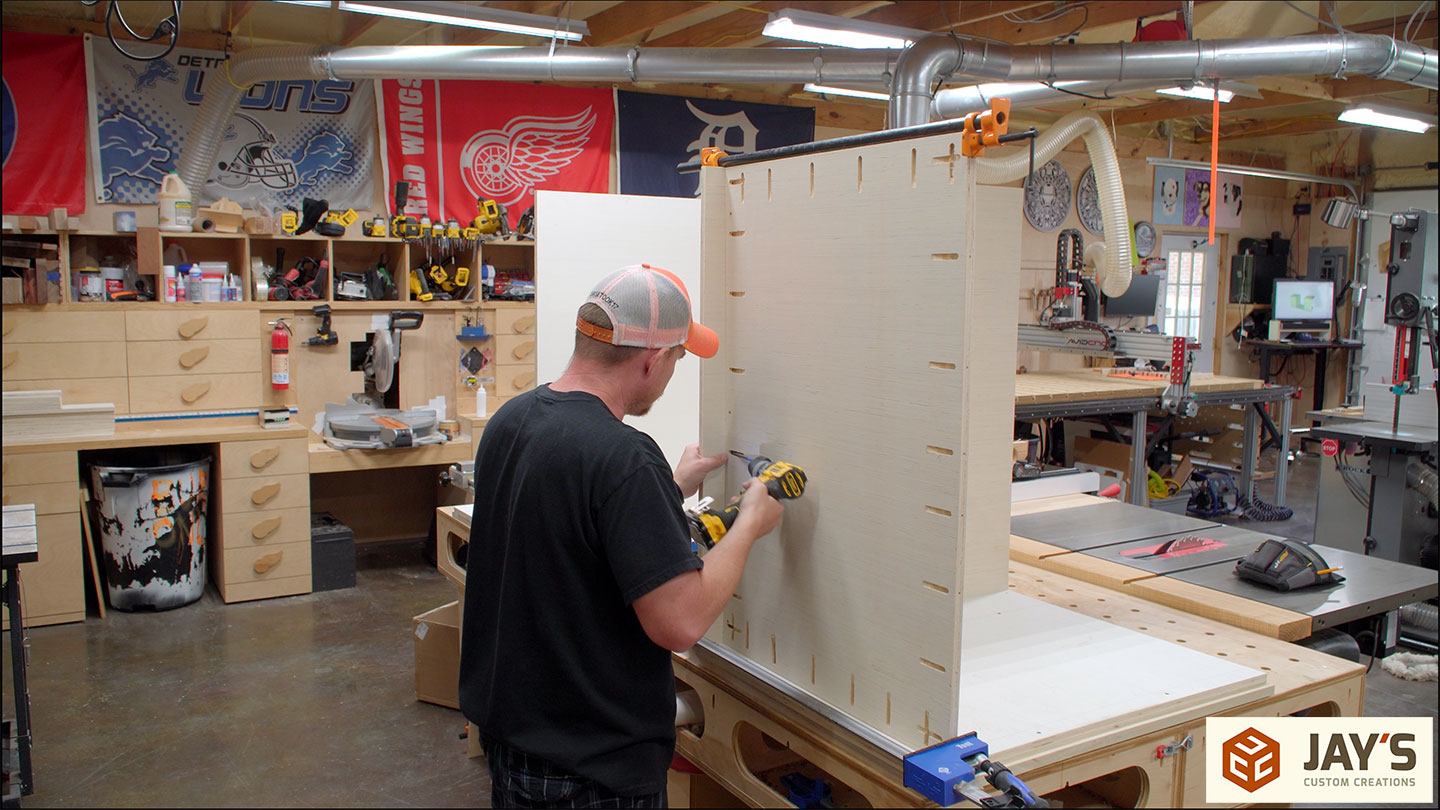
Next, the front panels are added. The drawers will be on each end, so these panels are solid and trim will be added to frame it out later.

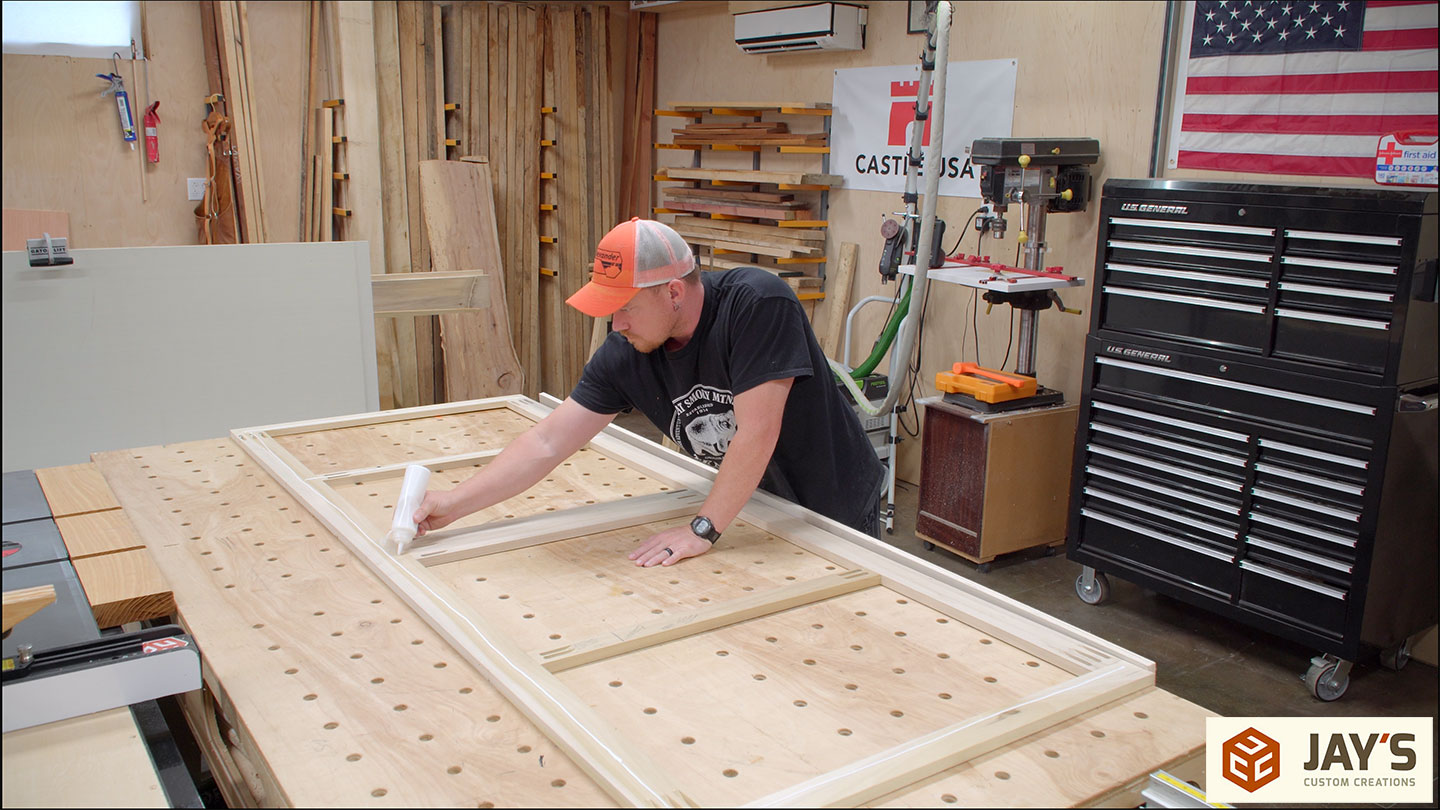
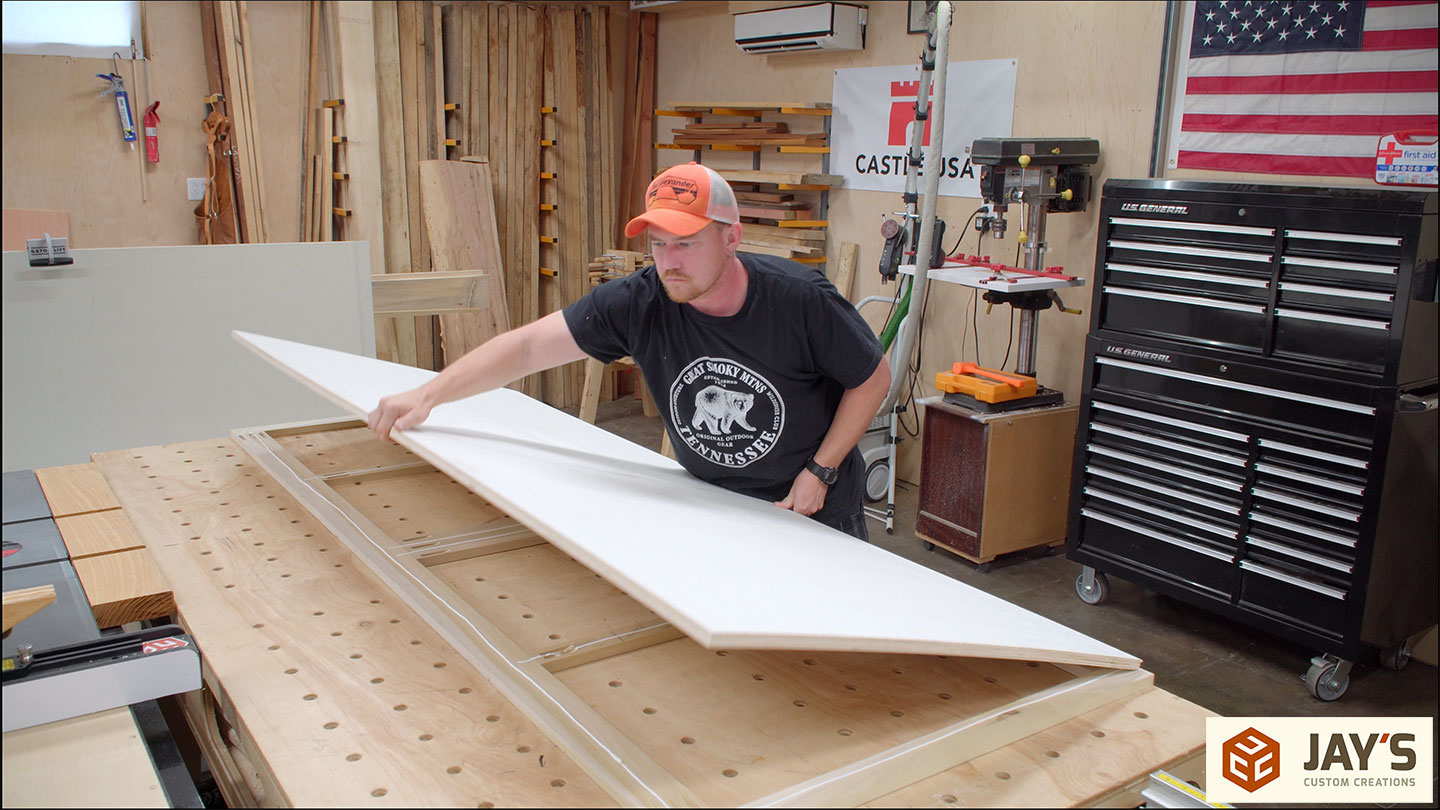
Before adding the side face frames, glue is added to the plywood edges and to the assembled rabbit. When the side face frame is added, it creates a strong full-length long grain glue joint. Clamps are needed to straighten out the warped plywood back panel.
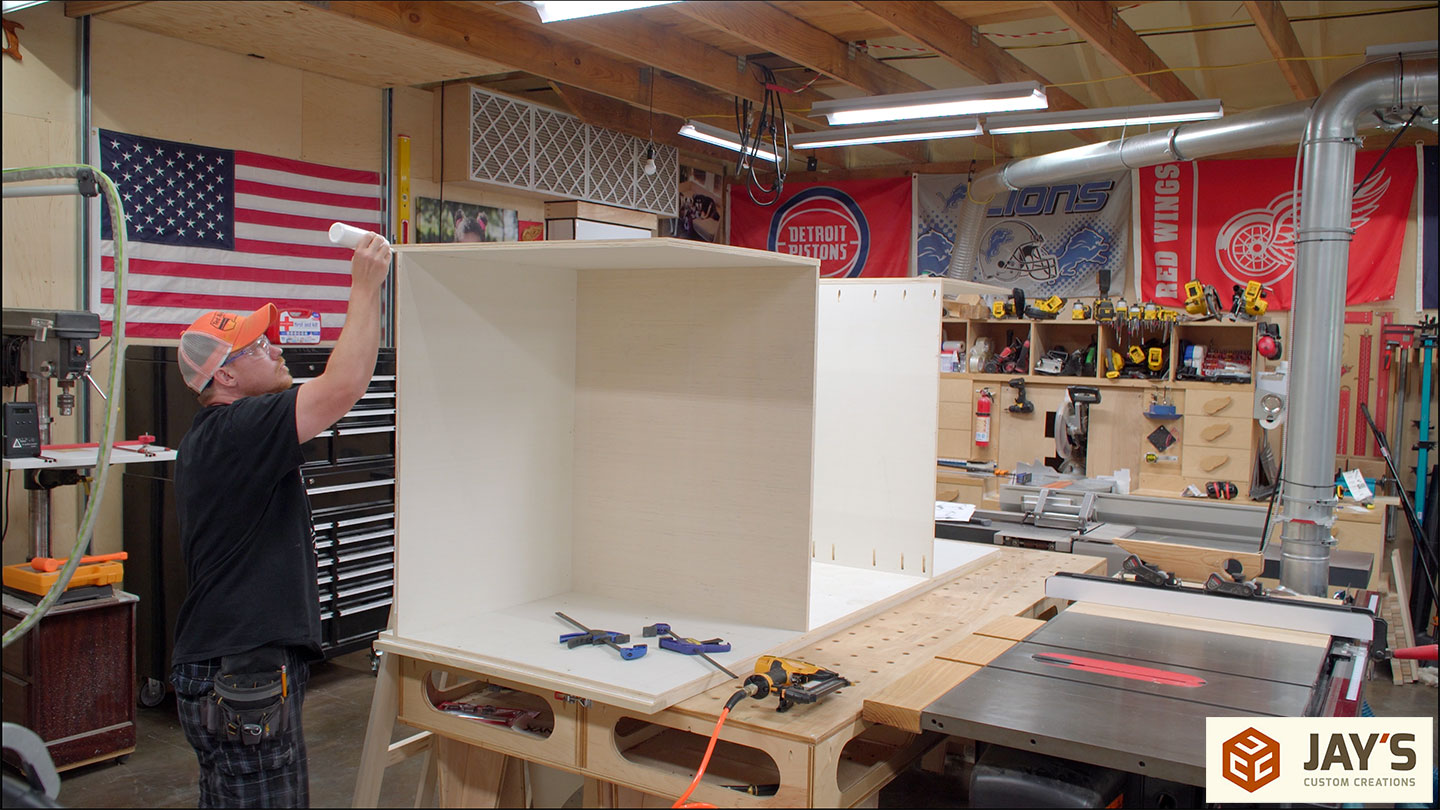

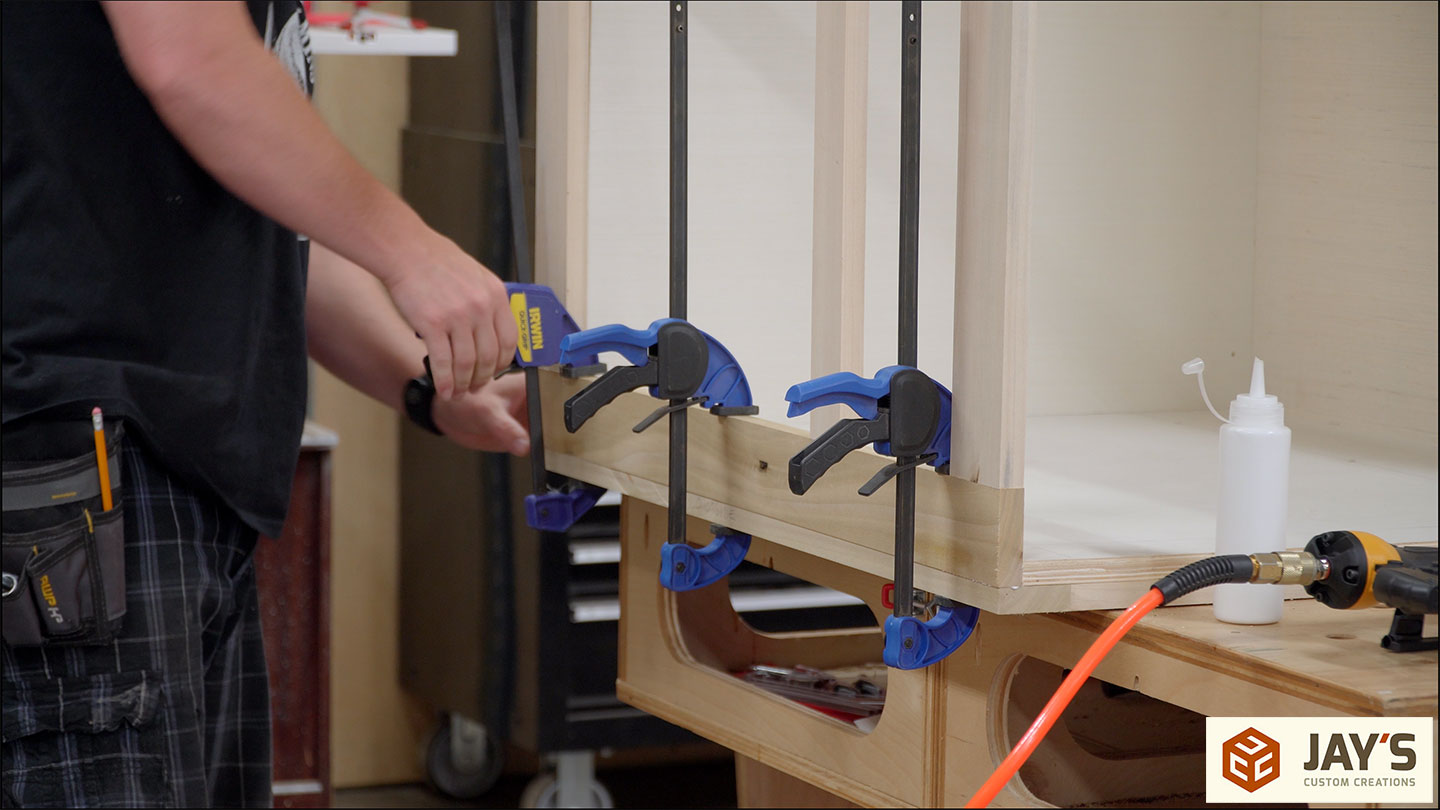
Clamps are used to keep the face frame and plywood pieces aligned while brad nails are added wherever possible.
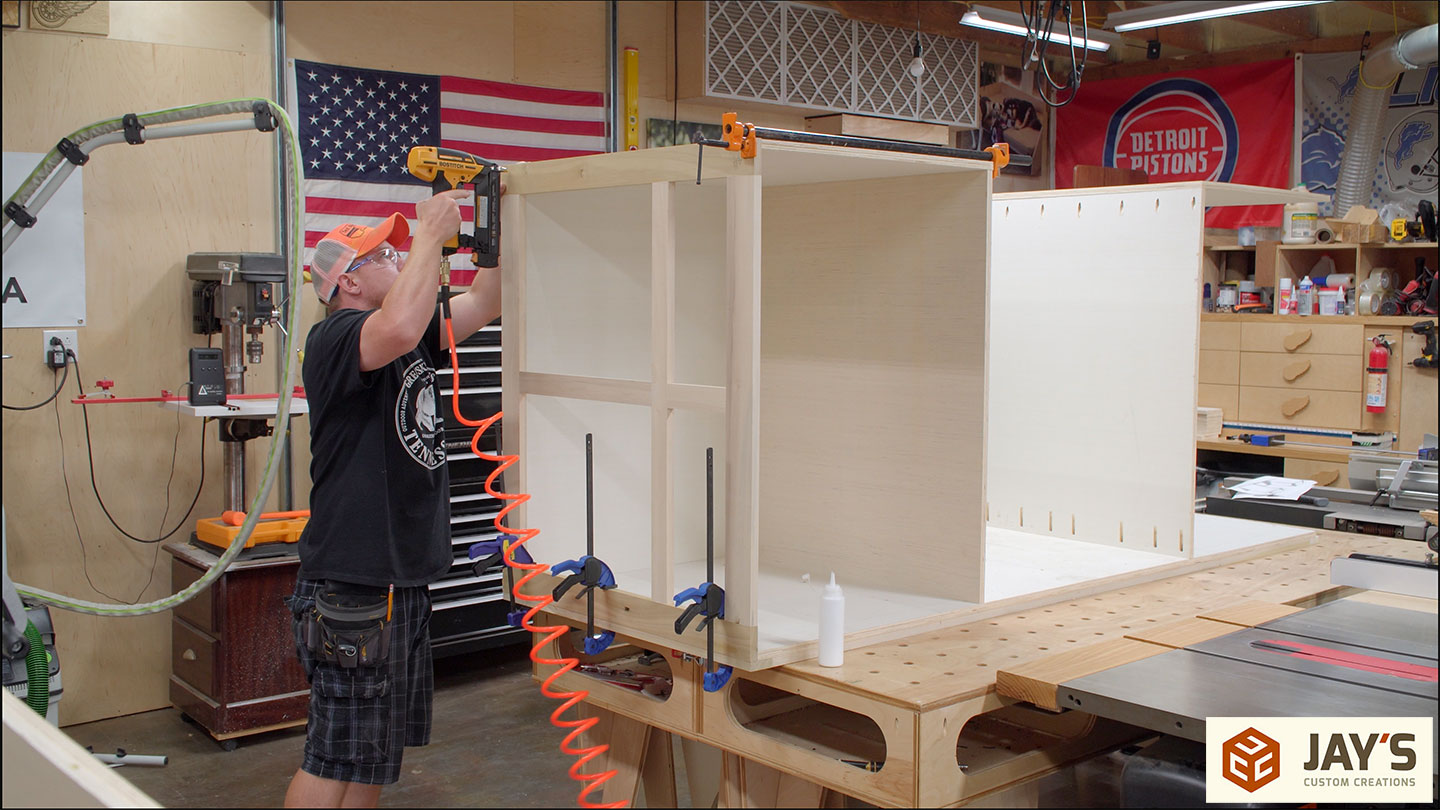
The bottom panel is attached to the side face frame with more pocket screws.
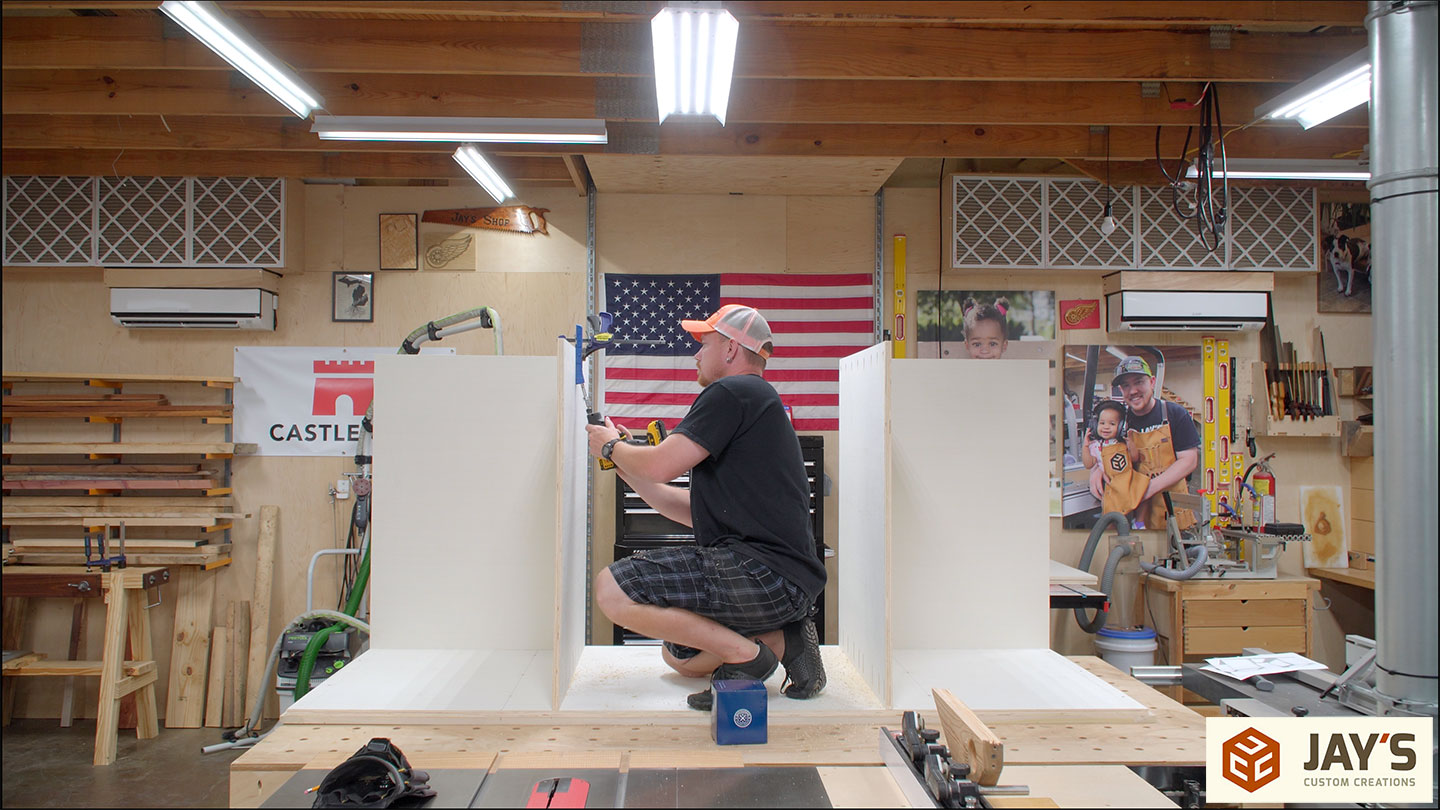
Rinse and repeat for the other end. I had to elevate the entire assembly with a few riser blocks to be able to get clamps under this end.
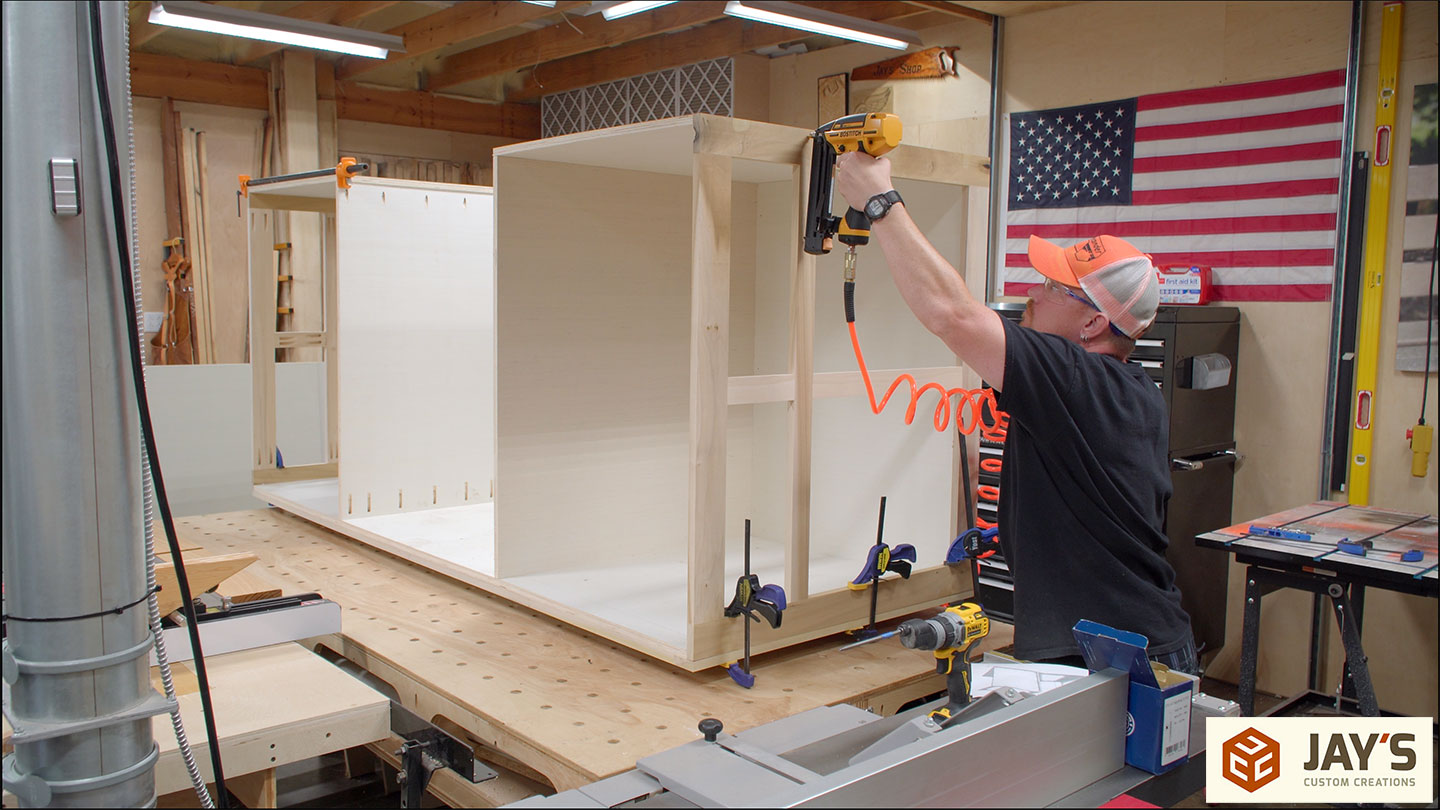
Here’s where I really wished I assembled this on the floor. Glue is used, and the front face frame is added. There’s a lot of glue surface with this connection, so that’s where most of the connective strength will come from. And of course, it’s secured with brad nails as well.

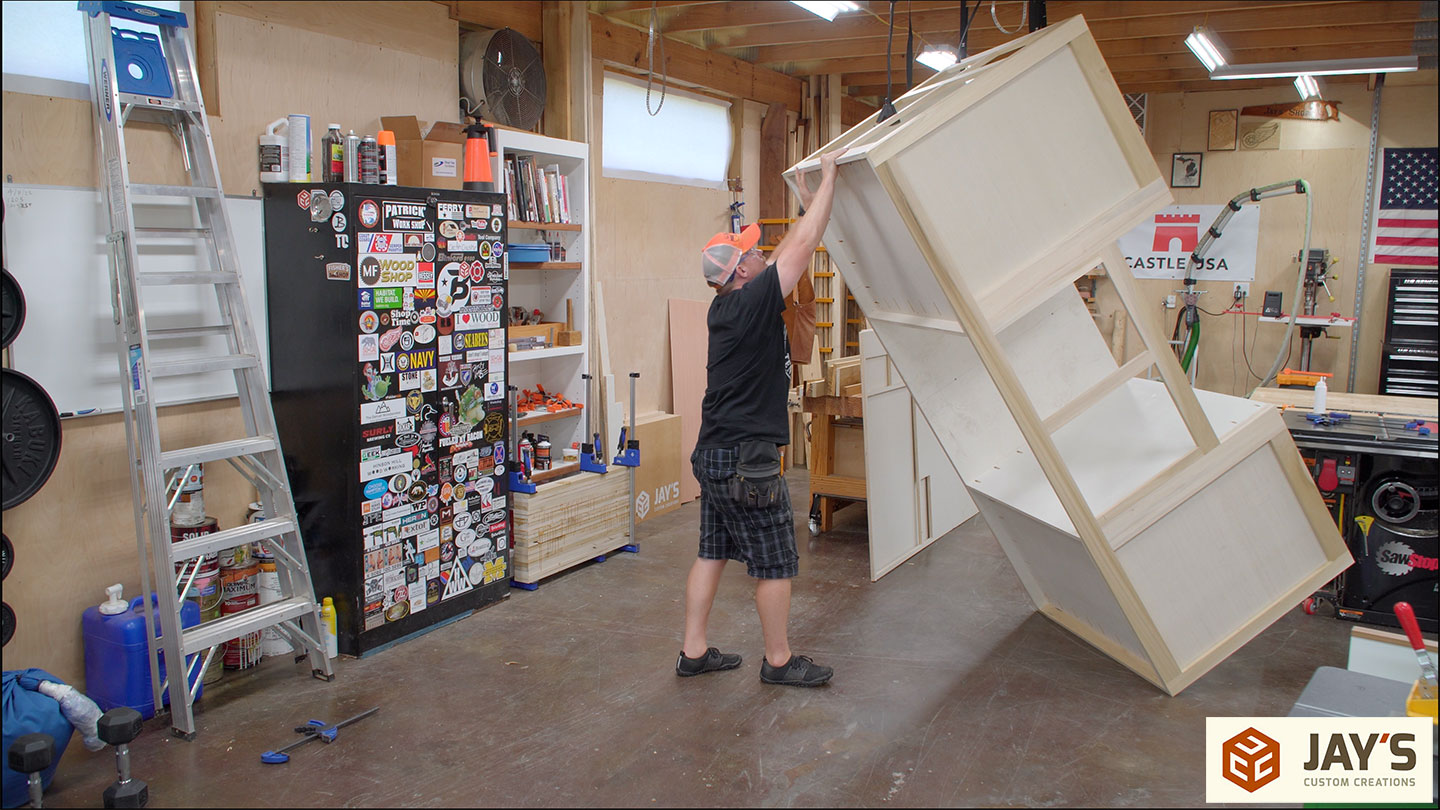
I set up the camera and first tried to lower the assembly to the floor like so and then realized I’m basically moving 3 sheets of plywood plus the weight of the face frames and really didn’t want any broken bones today.
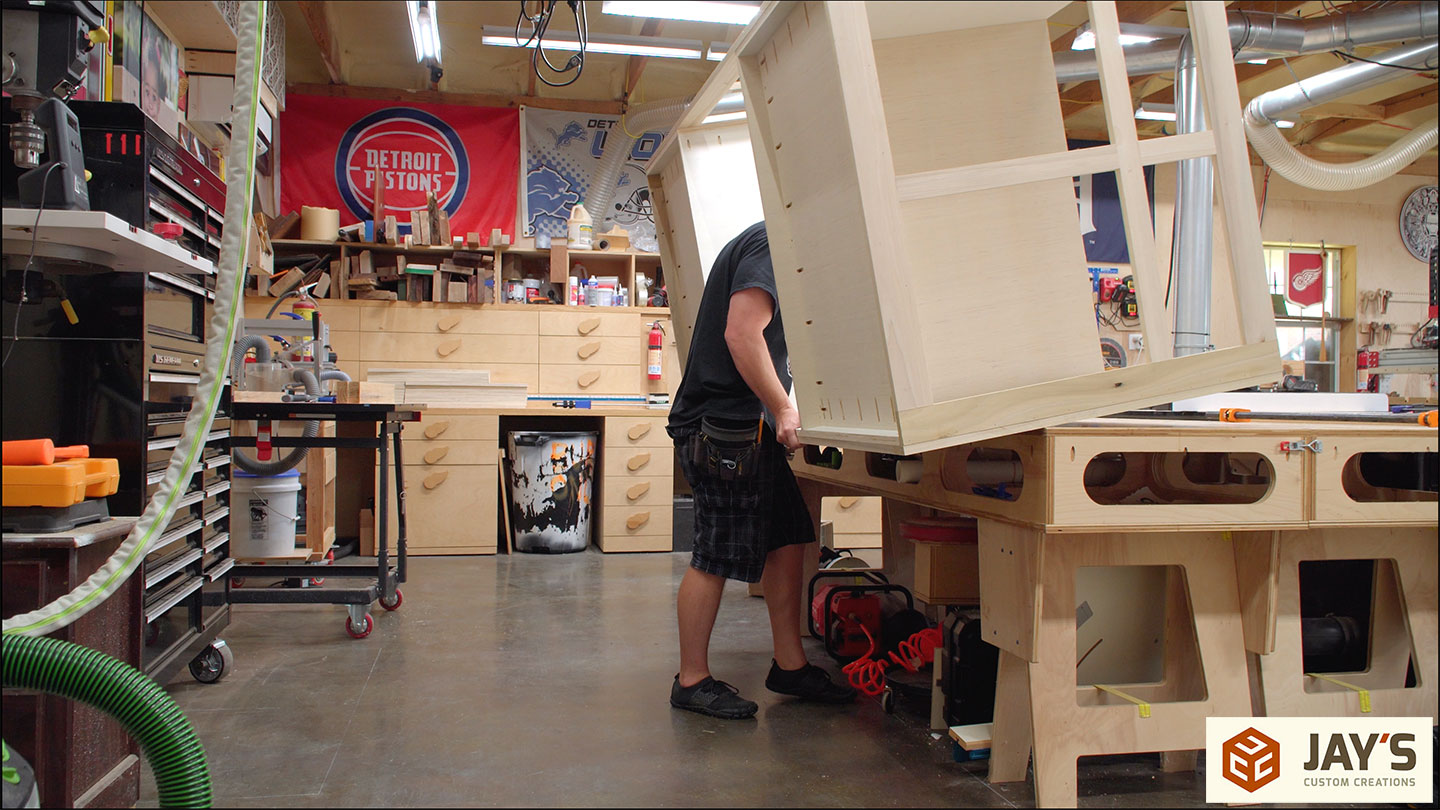
So the smarter thing to do was lower it from above onto its side.
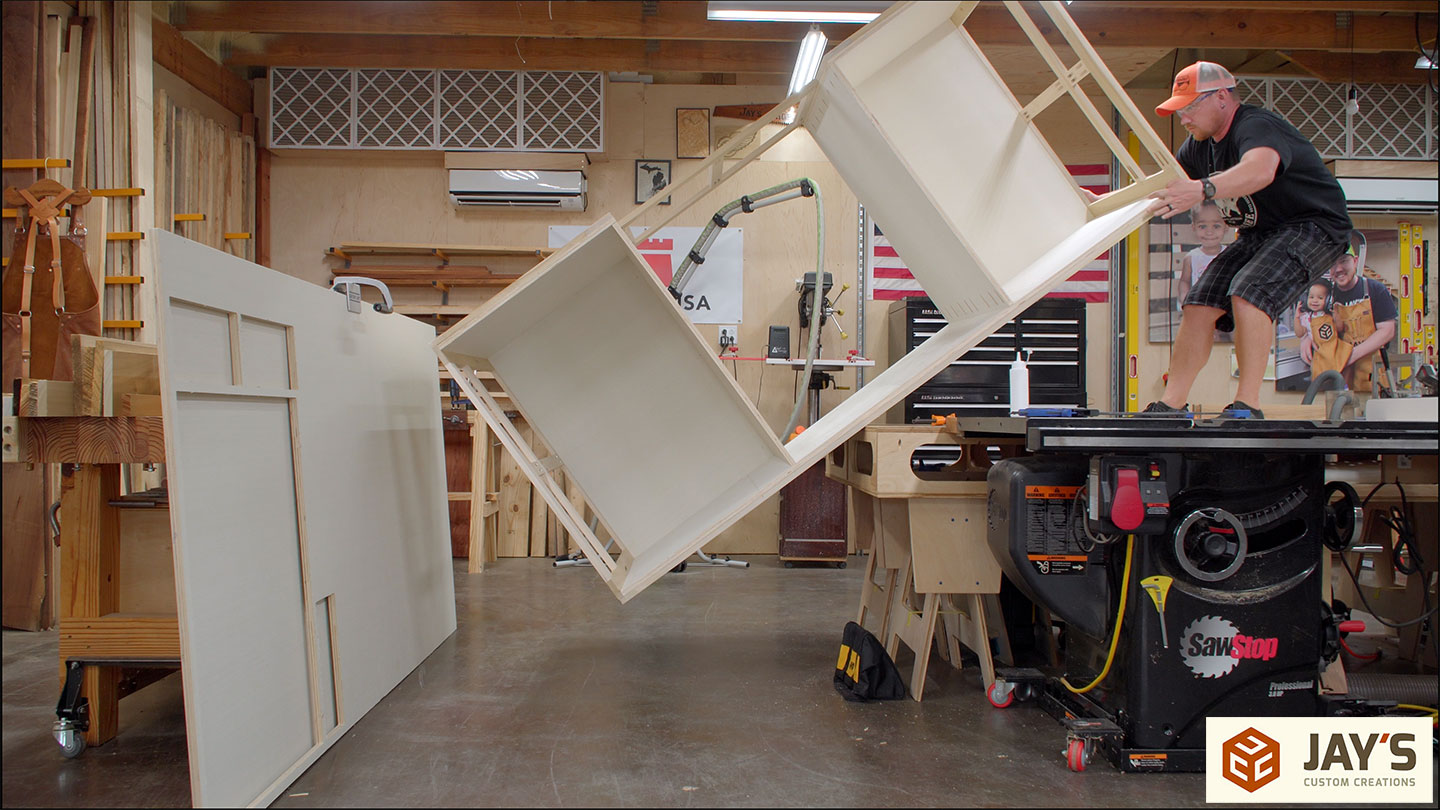

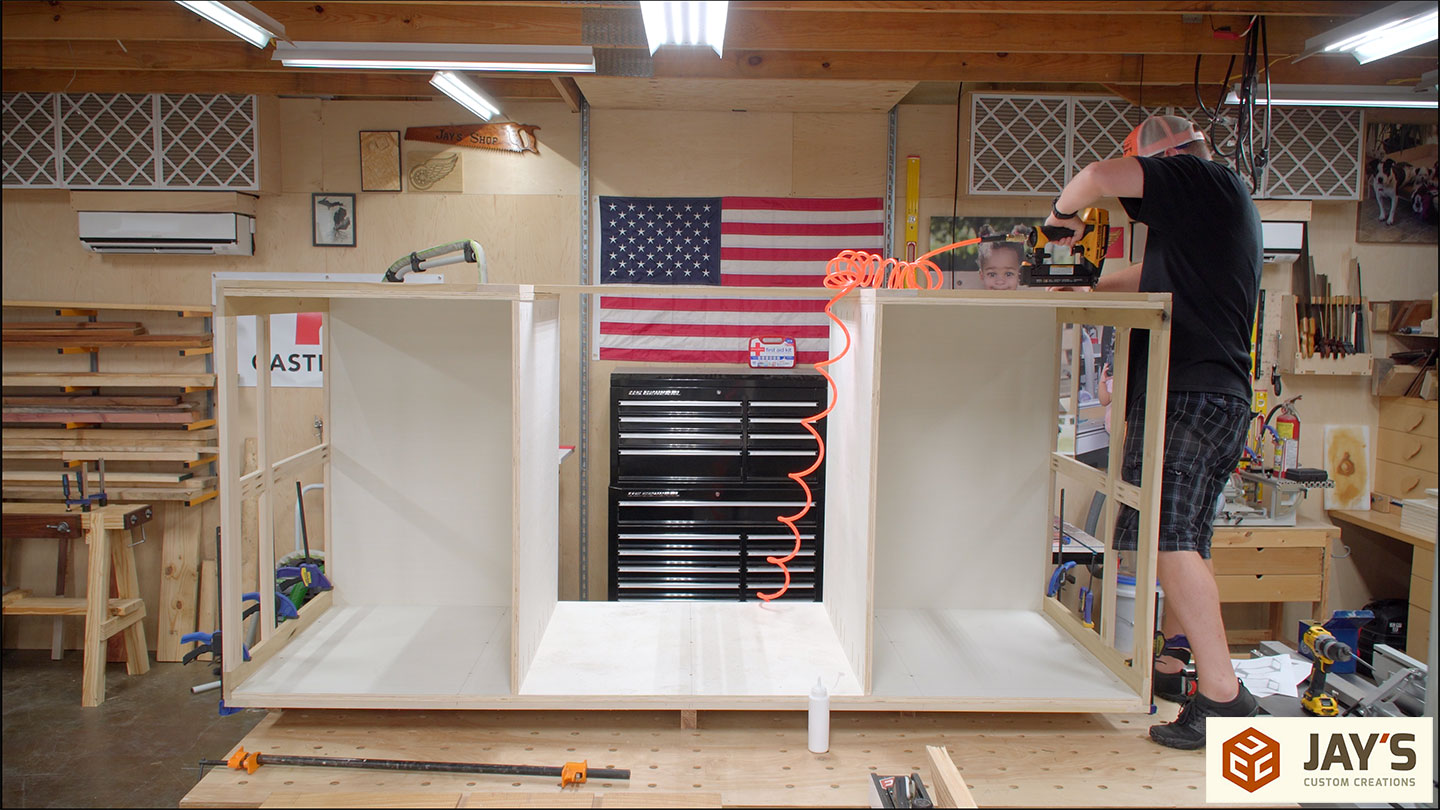
Then I can much more safely lower it to the floor. I can tell this will be a multiple-person job to get it to the outdoor kitchen. But I opted to build it as one large assembly rather than three cabinets that bolt together for strength reasons.

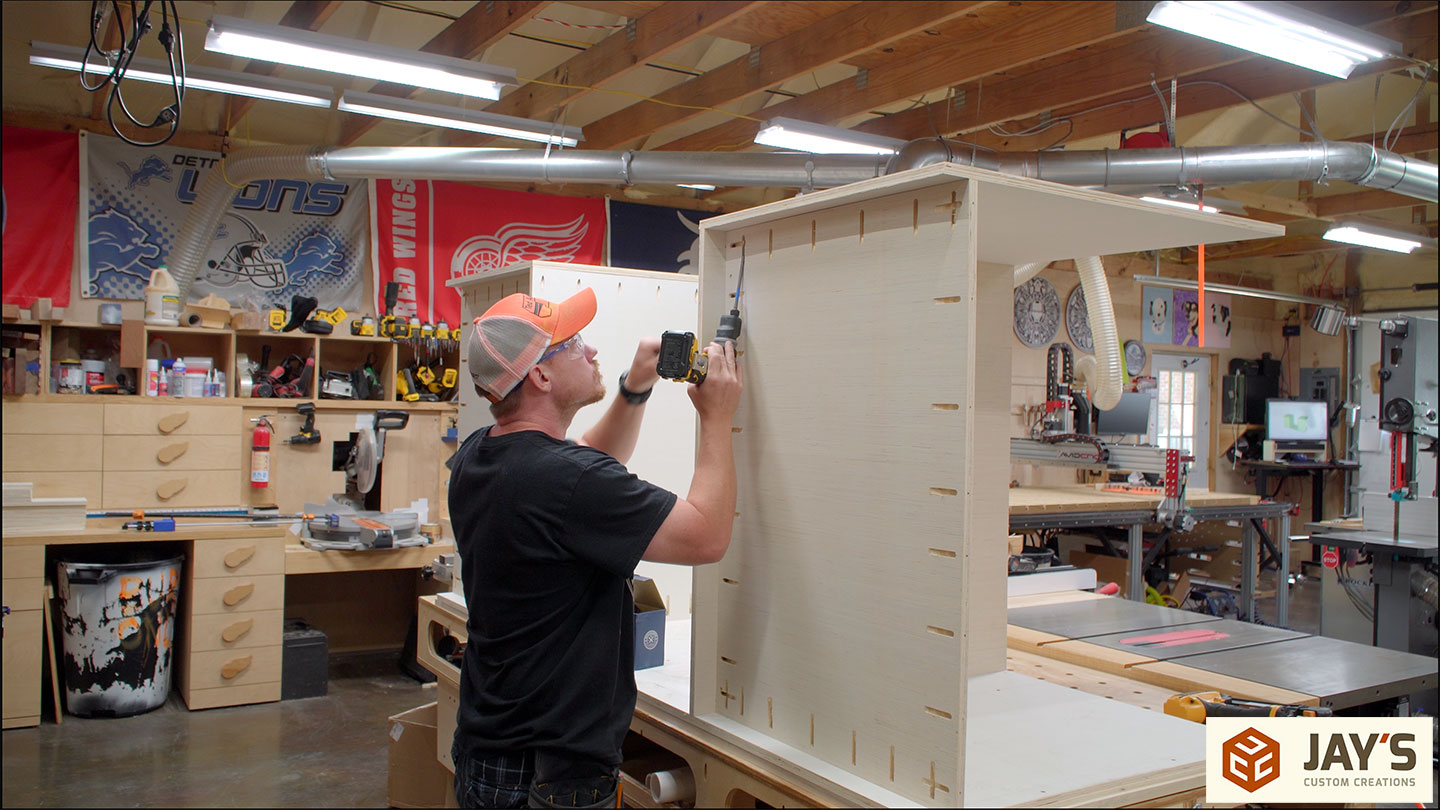
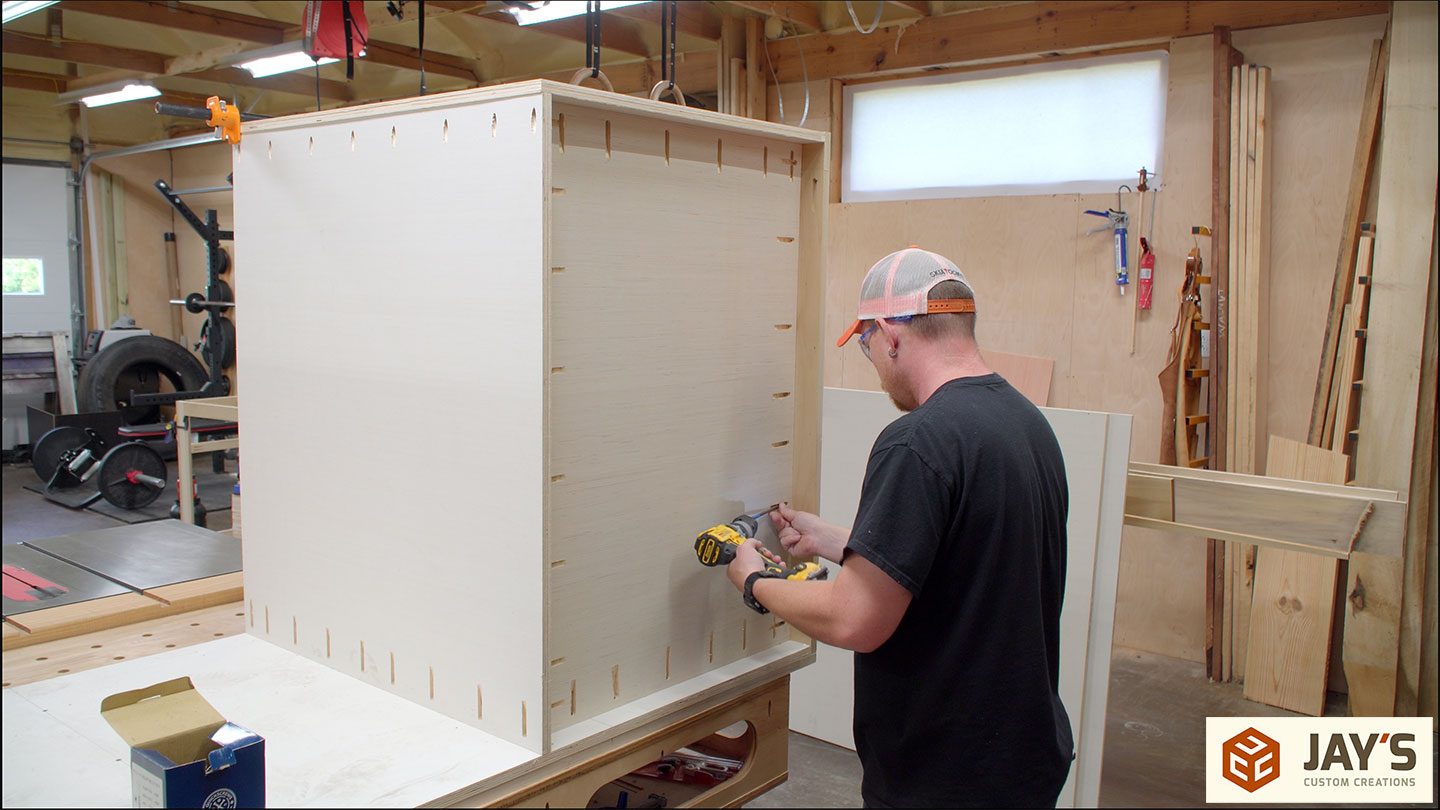
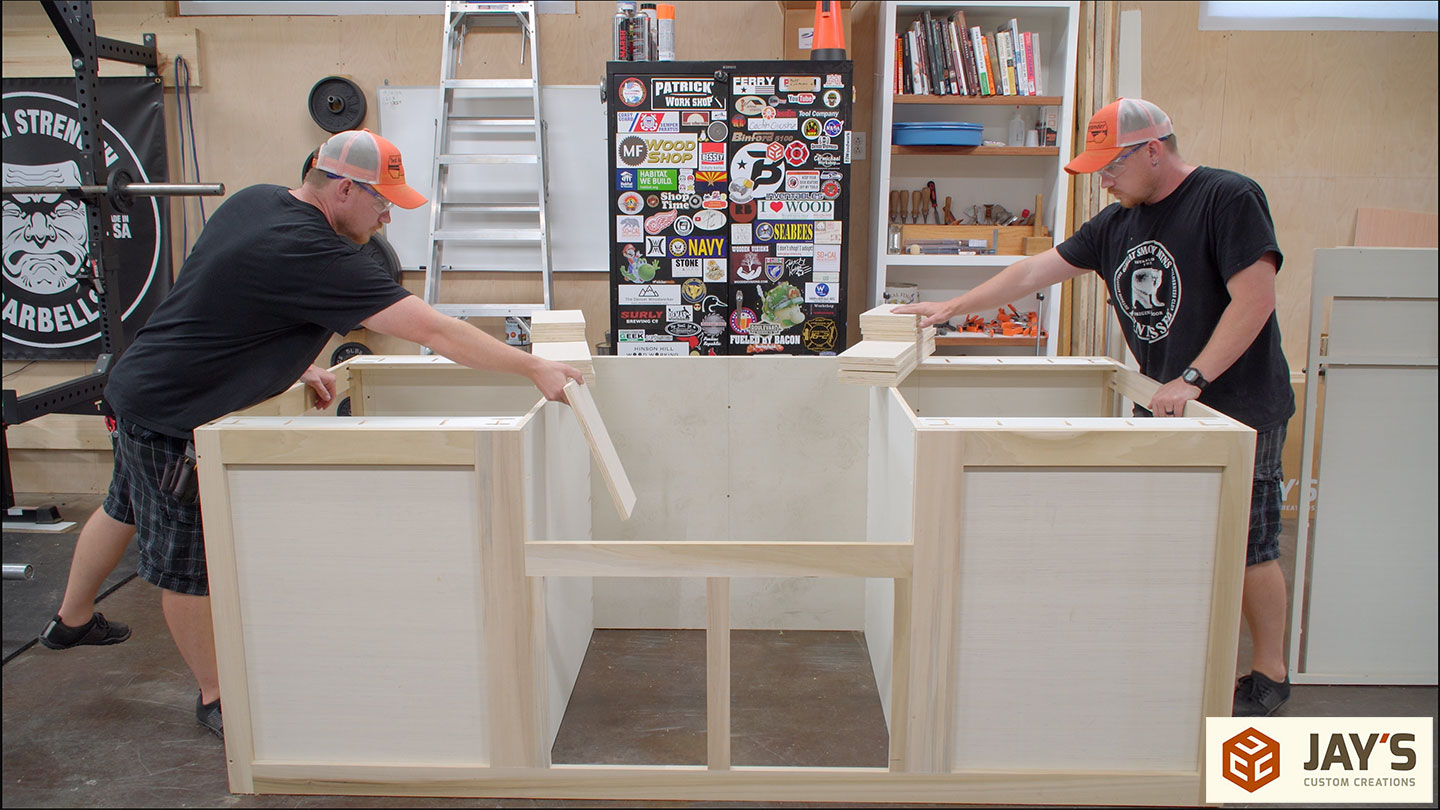
More pocket holes real quick. Every time I build base cabinets, I add these strips behind the front face frame and in the back. They provide a lot of surface area to screw through to secure the countertop later.

Day two of shop time on this build is complete. We’ve been dragging this build along because of some electrical changes that need to be addressed before this is installed. And also, it’s summertime, and we’re spending a lot more family time just enjoying a casual slow paced life.
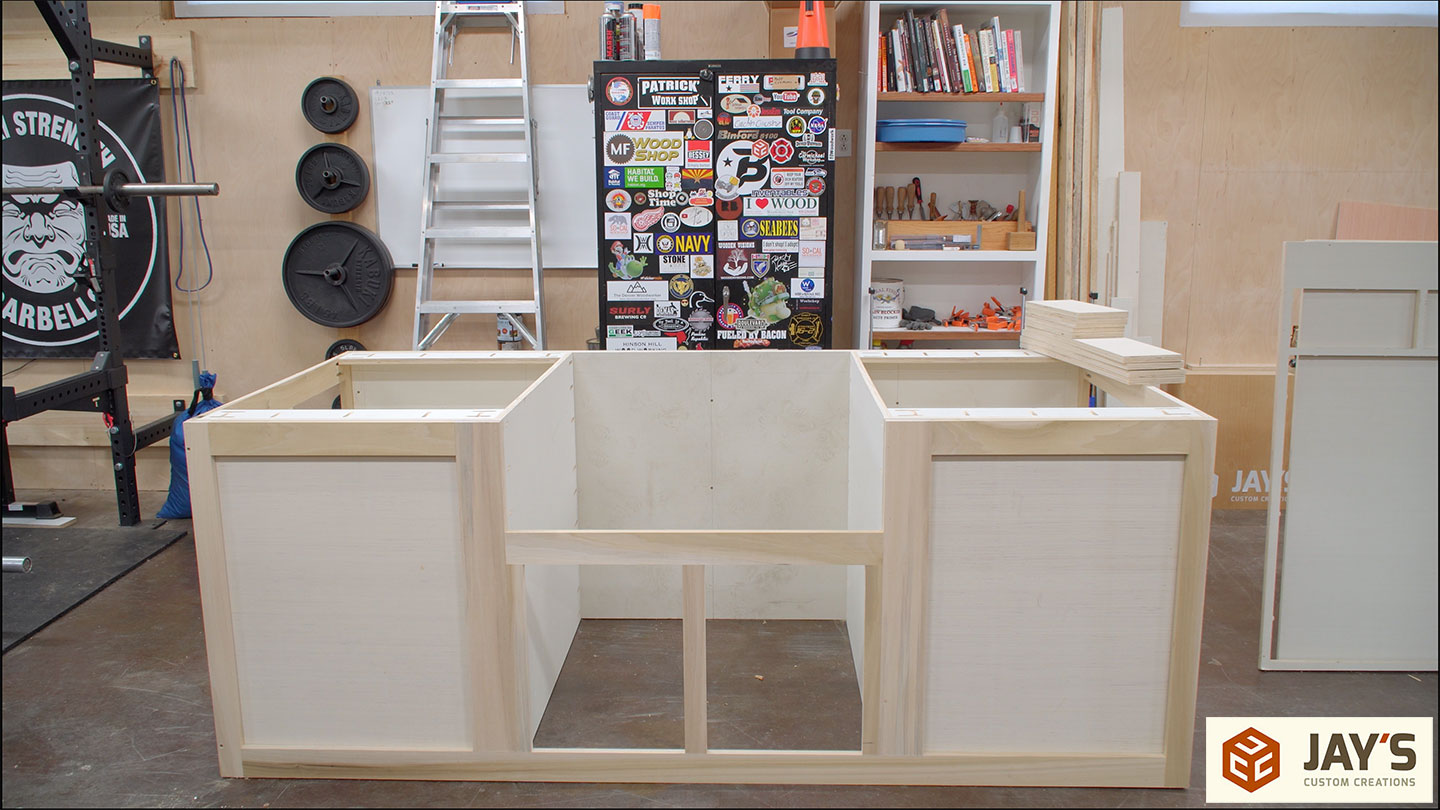
But here you can get an idea of how it will be used. The station on the left will have two drawers and storage below, and there’s enough working surface on top to prep a few racks of ribs and such. And you can still reach the sink in the center if needed. The station on the right has the same storage and work space above and will be set up for finished food and entertaining prep. The front will have a centered sink and two doors below.


