Affiliate links to items used:
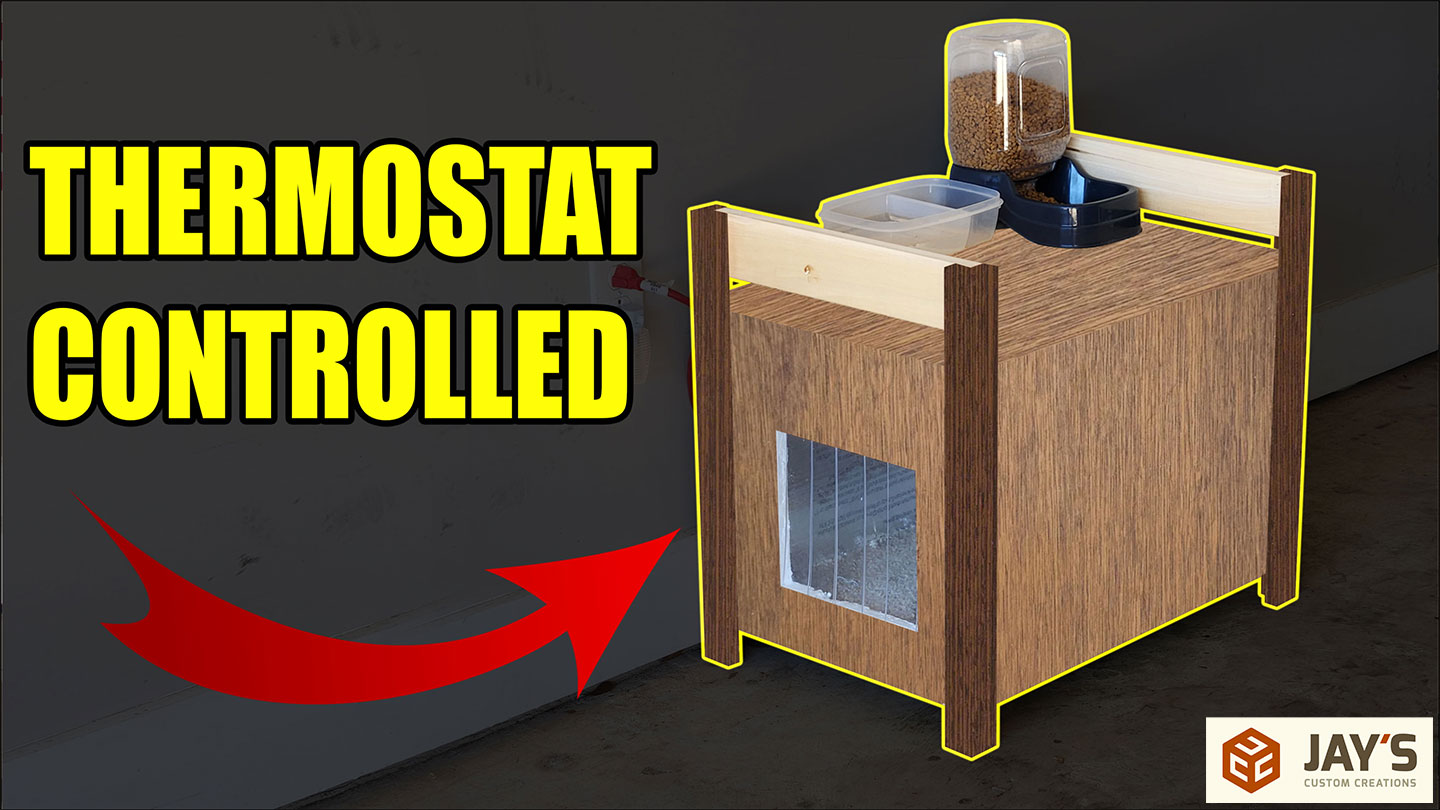
→ Thermostat https://amzn.to/3CbHZYm
→ Heating element https://amzn.to/3vqITN6
→ lamp base https://amzn.to/3G2wcwH
→ Vinyl door flap https://amzn.to/3jCuWce
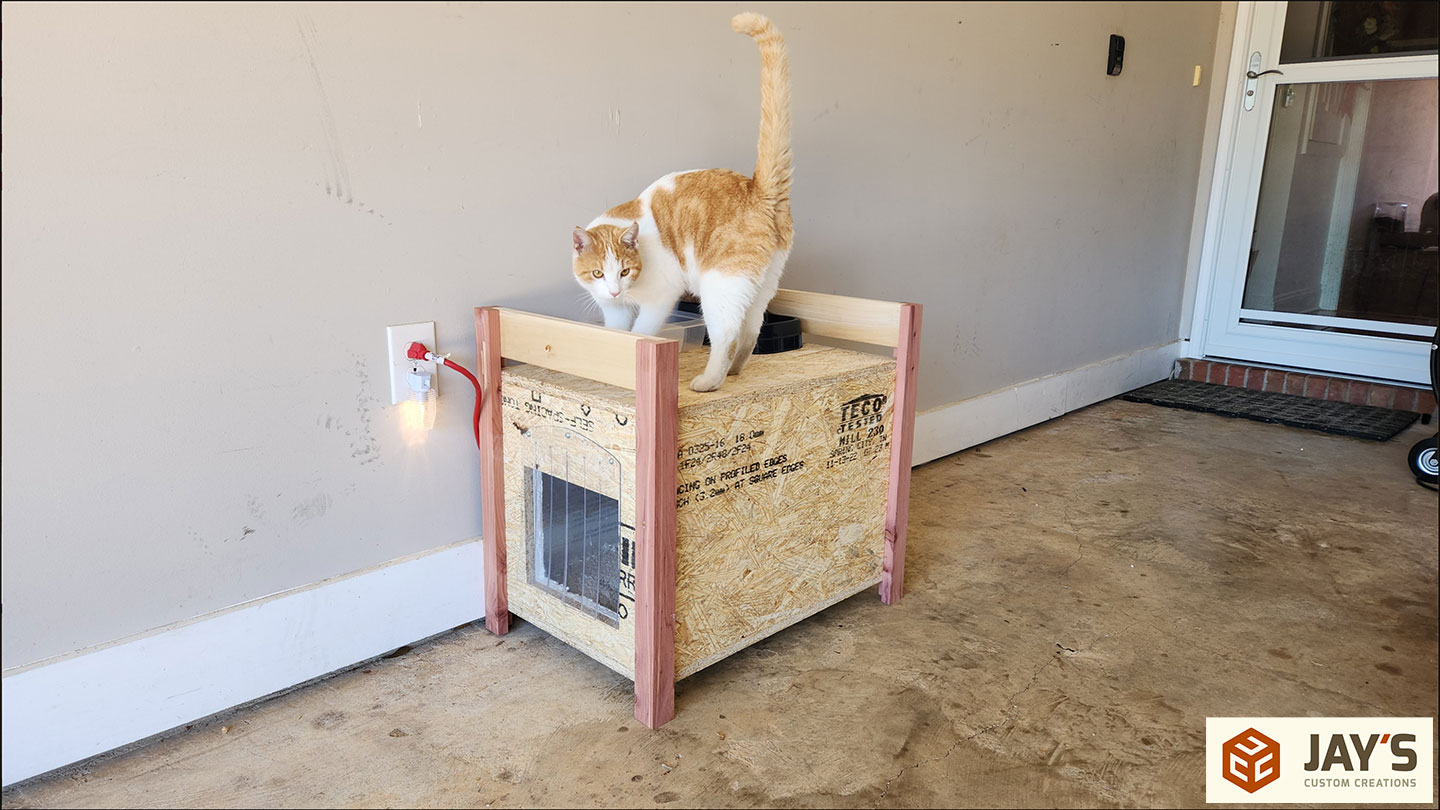
It’s getting cold, as it does every winter.. My daughter has an outdoor cat that usually sleeps in our garage. We had a small fabric cave/bed thing for it, and while that works well for most nights, we want to provide a little more warmth during the really cold nights. A quick image search for inspiration, a quick SketchUp interpretation, and materials run to start the build.

The main construction material I went with was Advantech OSB flooring. Partially because it’s pretty much waterproof and mostly because it was the least expensive 3/4” thick sheet good I could buy locally.
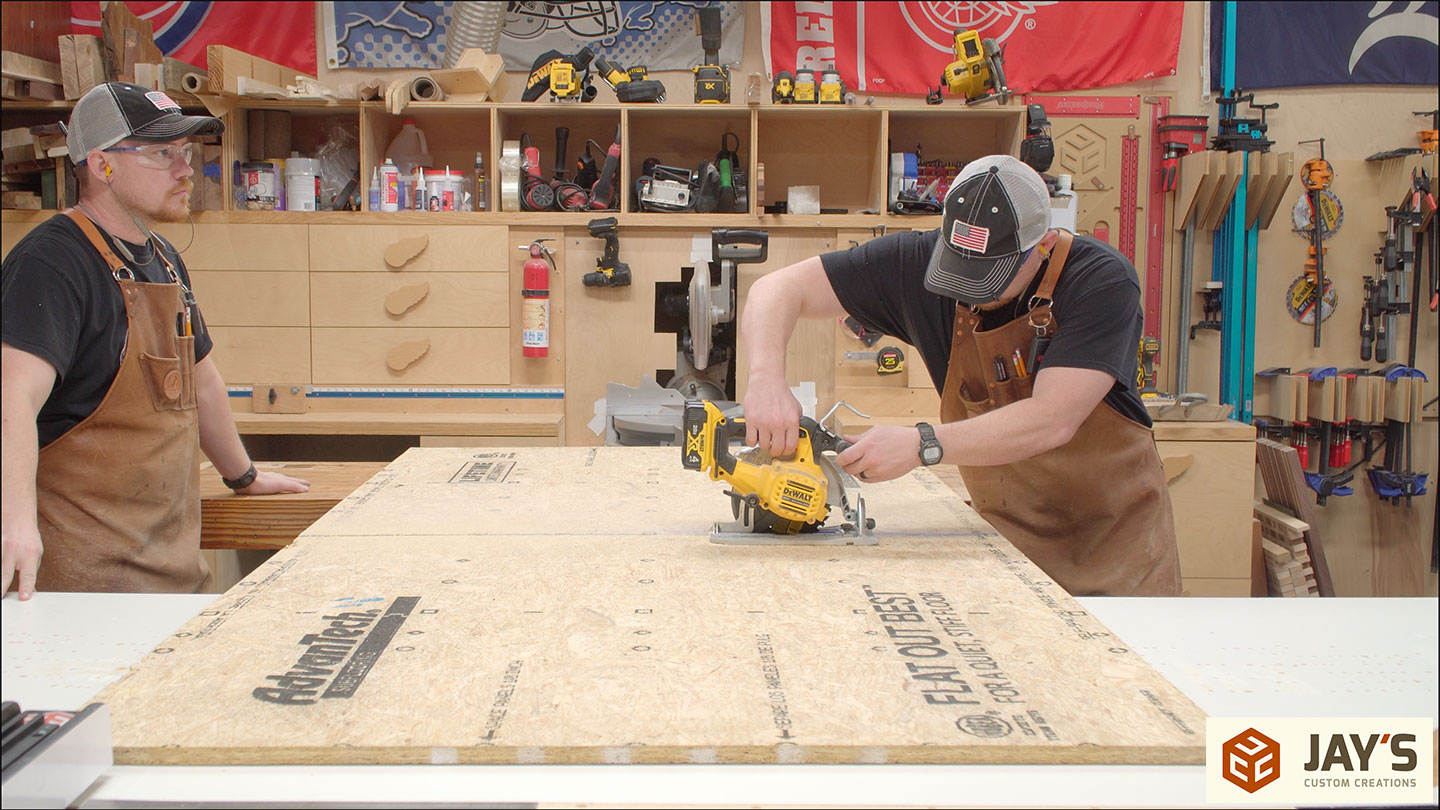
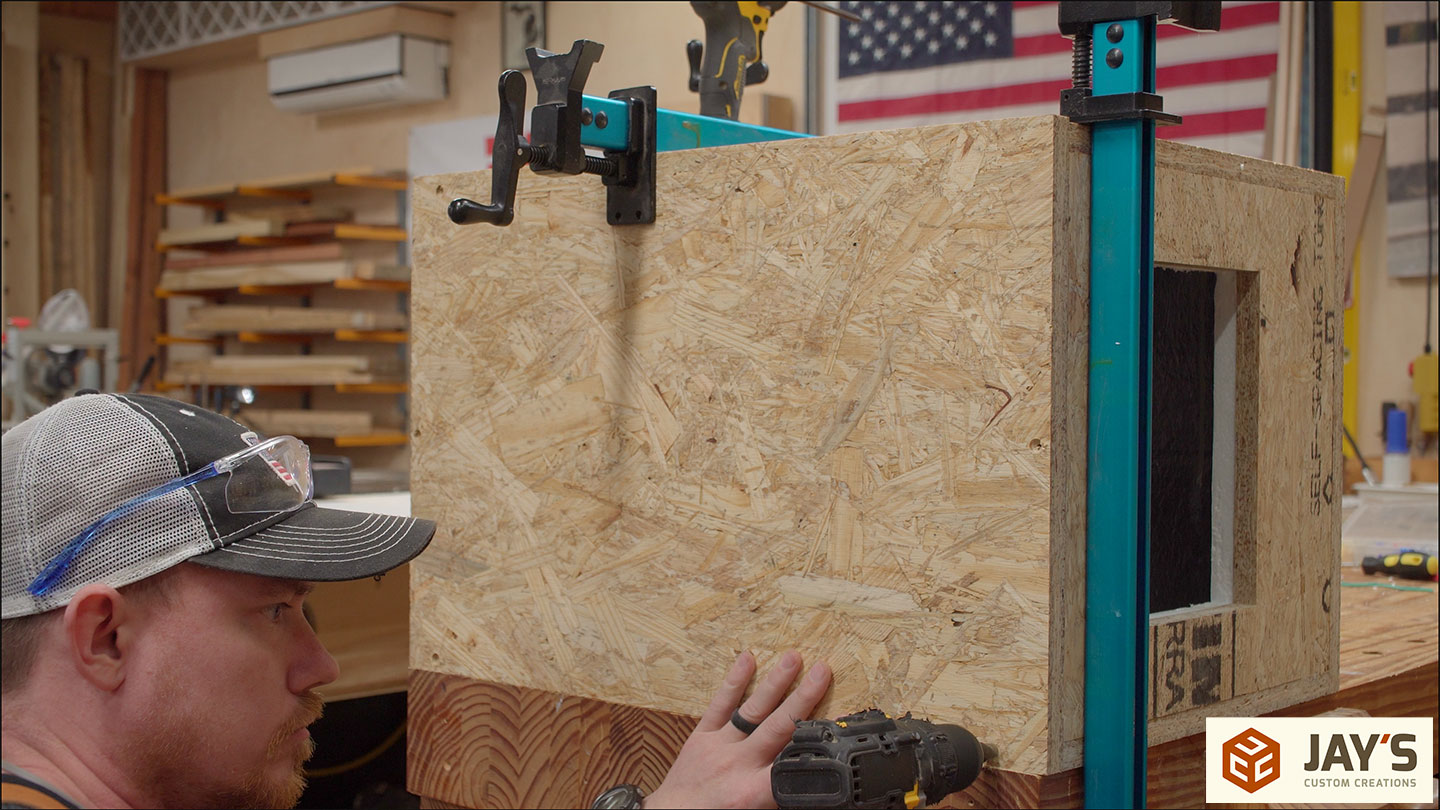
OK, I’m just building a box. Nothing fancy. A few table saw cuts later, and I have a stack of six rectangles. I was undecided on the door size, but I didn’t want it as large as the vinyl door flap I purchased. So I drew what looked appropriate on the front panel.
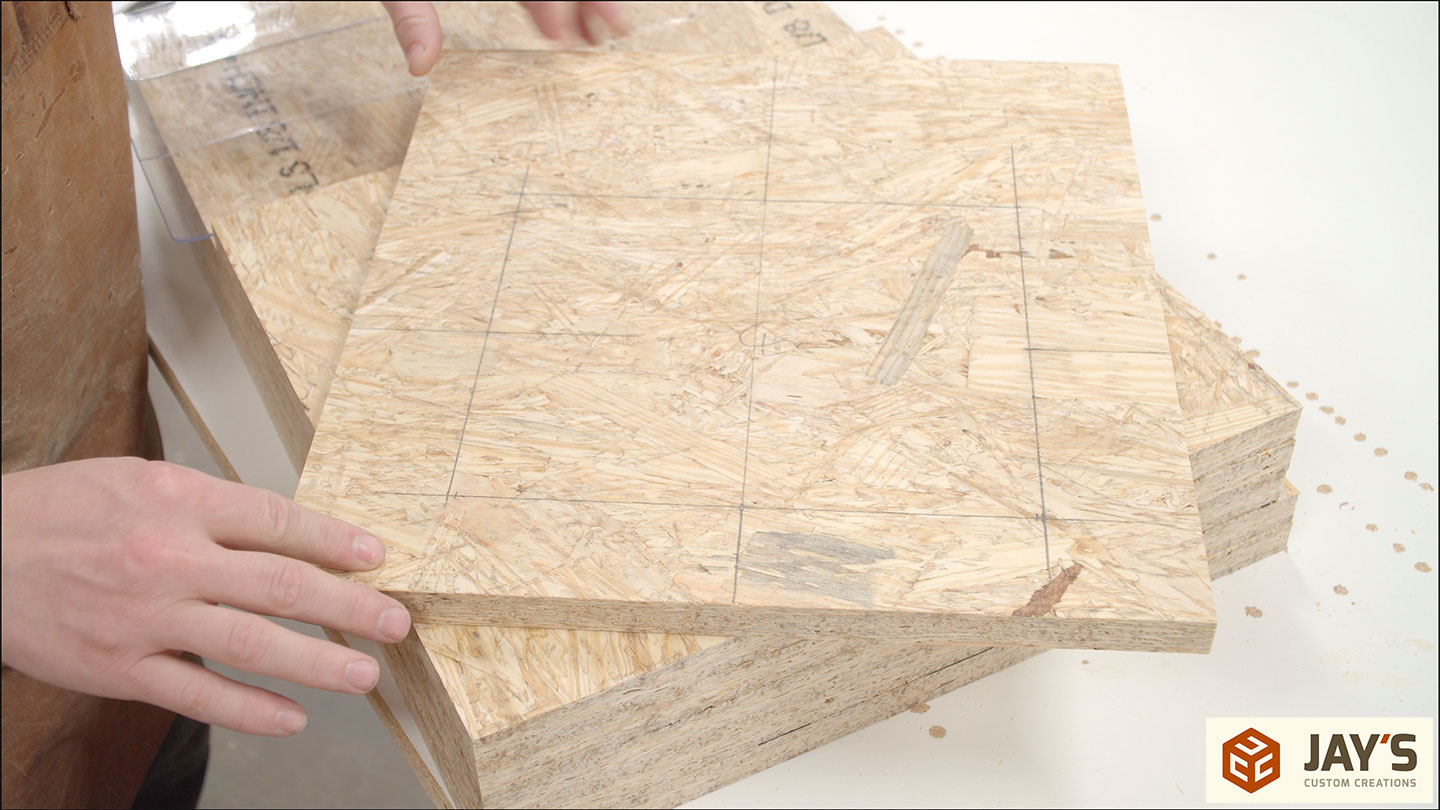
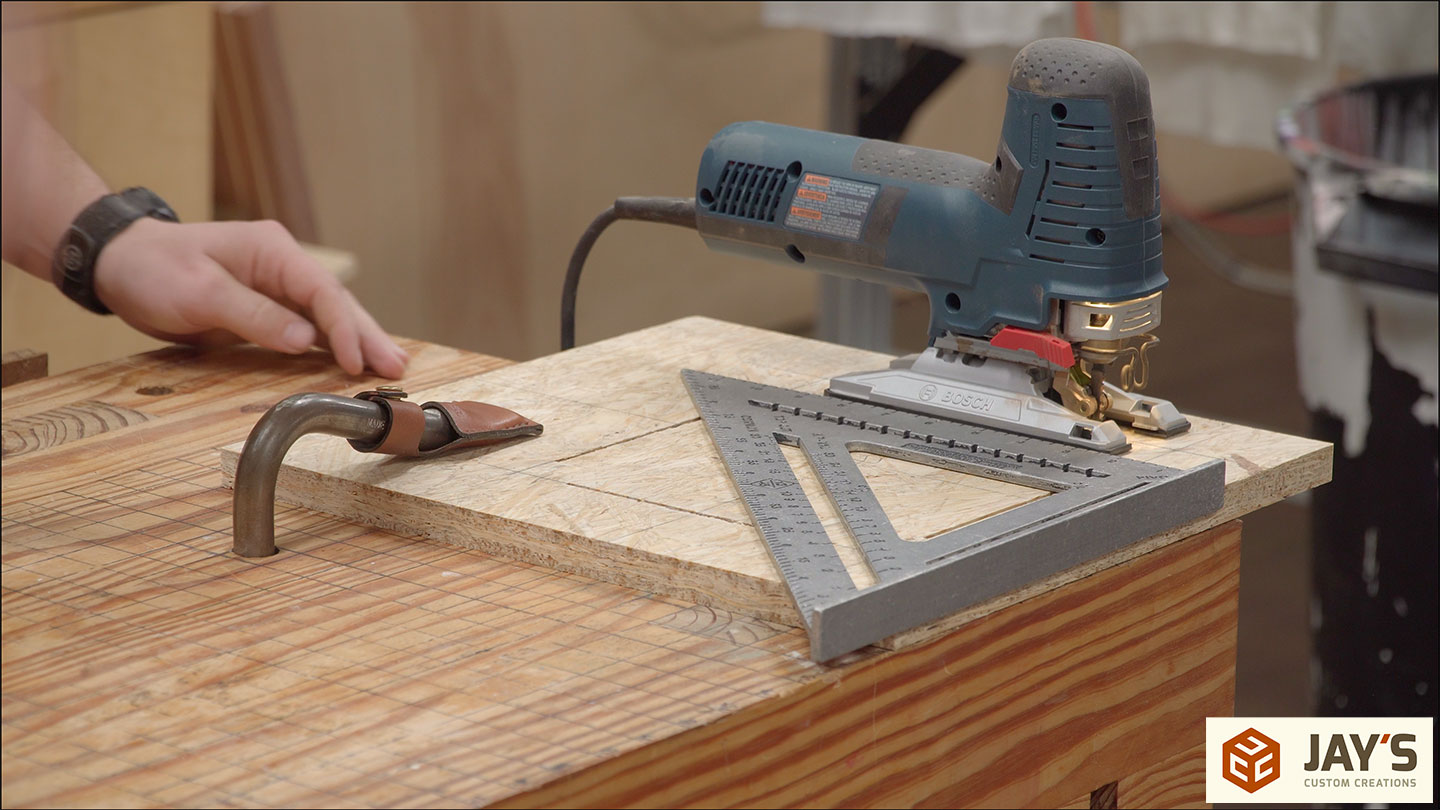
And then use a combination of my anti-kickback roller guides, and the table saw to plunge one straight cut per side of the opening. I drew a centerline on each of the cuts to line up with the centerline of the blade, which I drew on the fence. That way, I at least knew the blade was centered on the length of the line. I didn’t worry about getting it across at this step.

And that’s because I used a speed square and a jigsaw to complete the cuts to form a nice crisp inside corner.
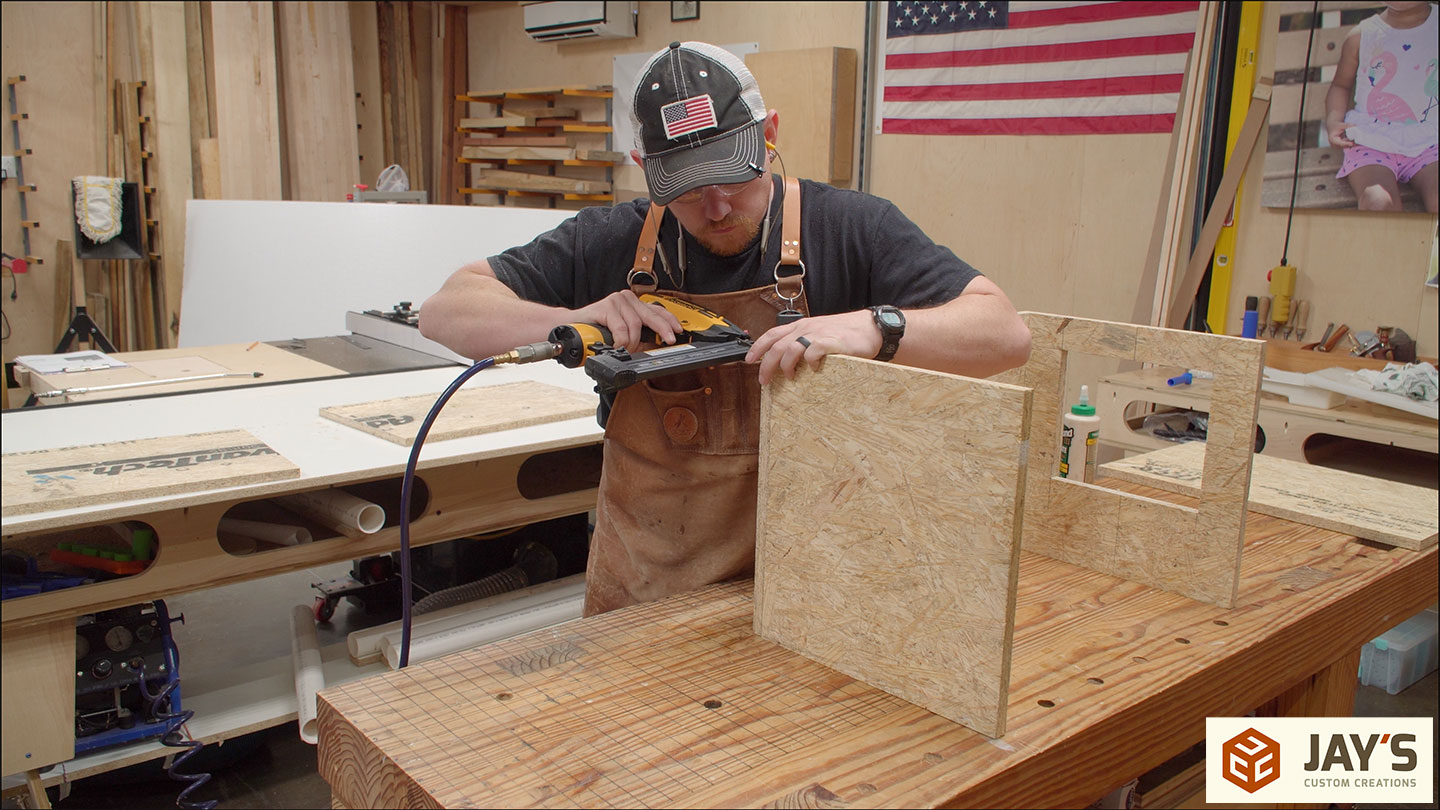
Just like the old days, glue and brad nails to hold everything together. Starting with the four sides and top.
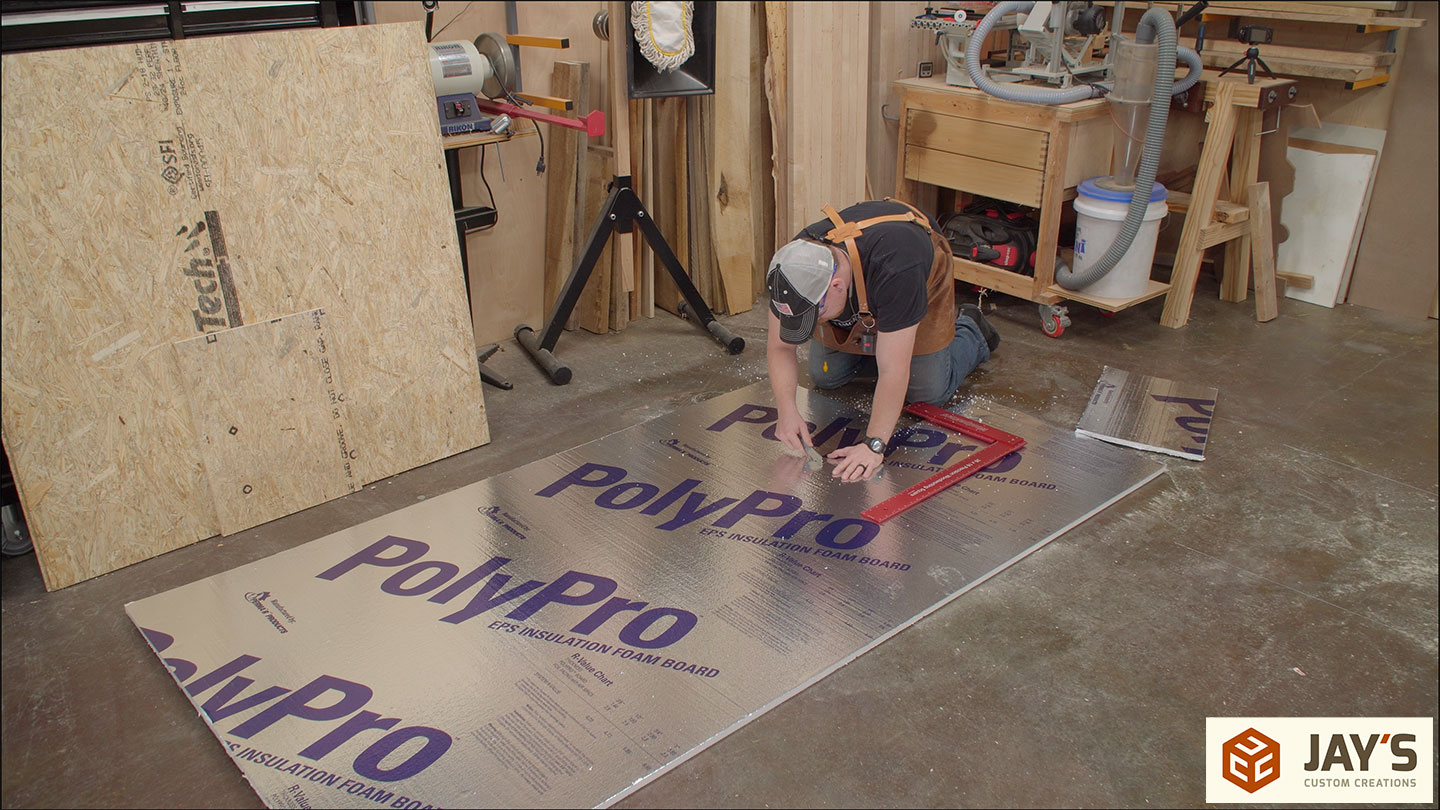
A well-sealed OSB structure would probably be good enough and hold the heat well enough, but we opted to add 3/4” Styrofoam insulation. It was inexpensive and easy to add. A razor blade and a straight edge are all that is needed to cut it.
The plastic lamp base I’m using needs a little bit of the foam removed for wire access. That’s easy enough with a hole saw. I followed the hole saw with a regular drill bit sized for the extension cord I chose to hook everything up.

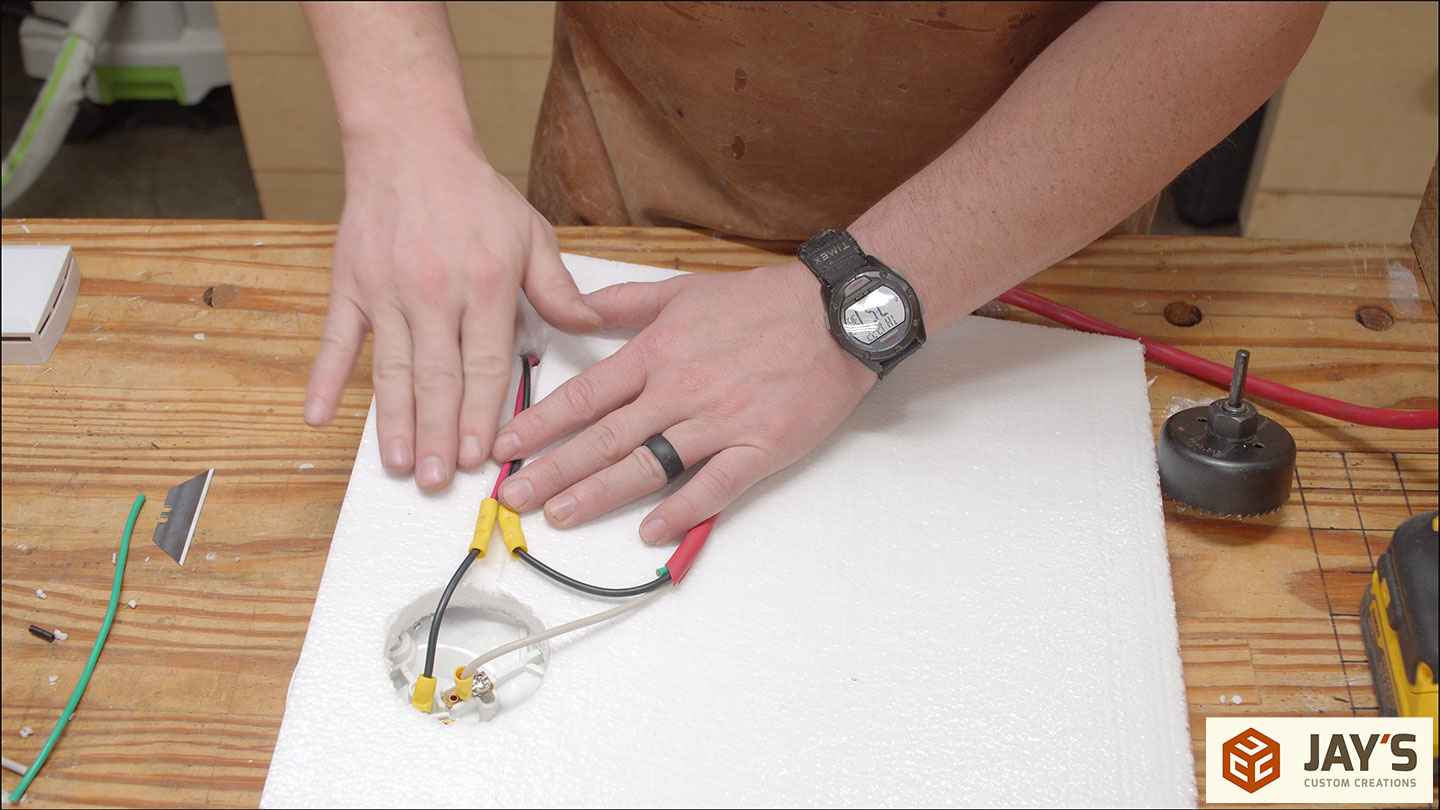
Then the back insulation panel is removed to make all the connections on the bench. I made a channel in the back of the insulation to feed the wires from the thermostat to the lamp base. The thermostat connection is incredibly simple. The black wire from the extension cord is the power wire. It connects to the black “load” wire on the thermostat. When the temperature lowers, causing the thermostat circuit to close, power exits via the red wire. I connected a small piece of black wire to the end of it and connected it to the lamp base. The white neutral wire in the extension cord gets connected directly to the neutral on the lamp base. The lamp base and thermostat are both simple electronics that did not have a ground, so no ground was used.
After reinstalling the back panel, the lamp base and thermostat are each secured with a pair of screws. I used a regular light bulb to test the setup. For anyone wanting to make this know that I used a 150w ceramic heating element, and it ended up being too close to the top. Just a heads up to mount it lower and probably centralized. Some ceiling foam insulation melted due to the element being too close to the top. I’ll cover that in a follow-up video.

I wanted at least one of the panels to be removable, so I only installed the bottom panel with screws. This will allow better access if I need to change anything inside.
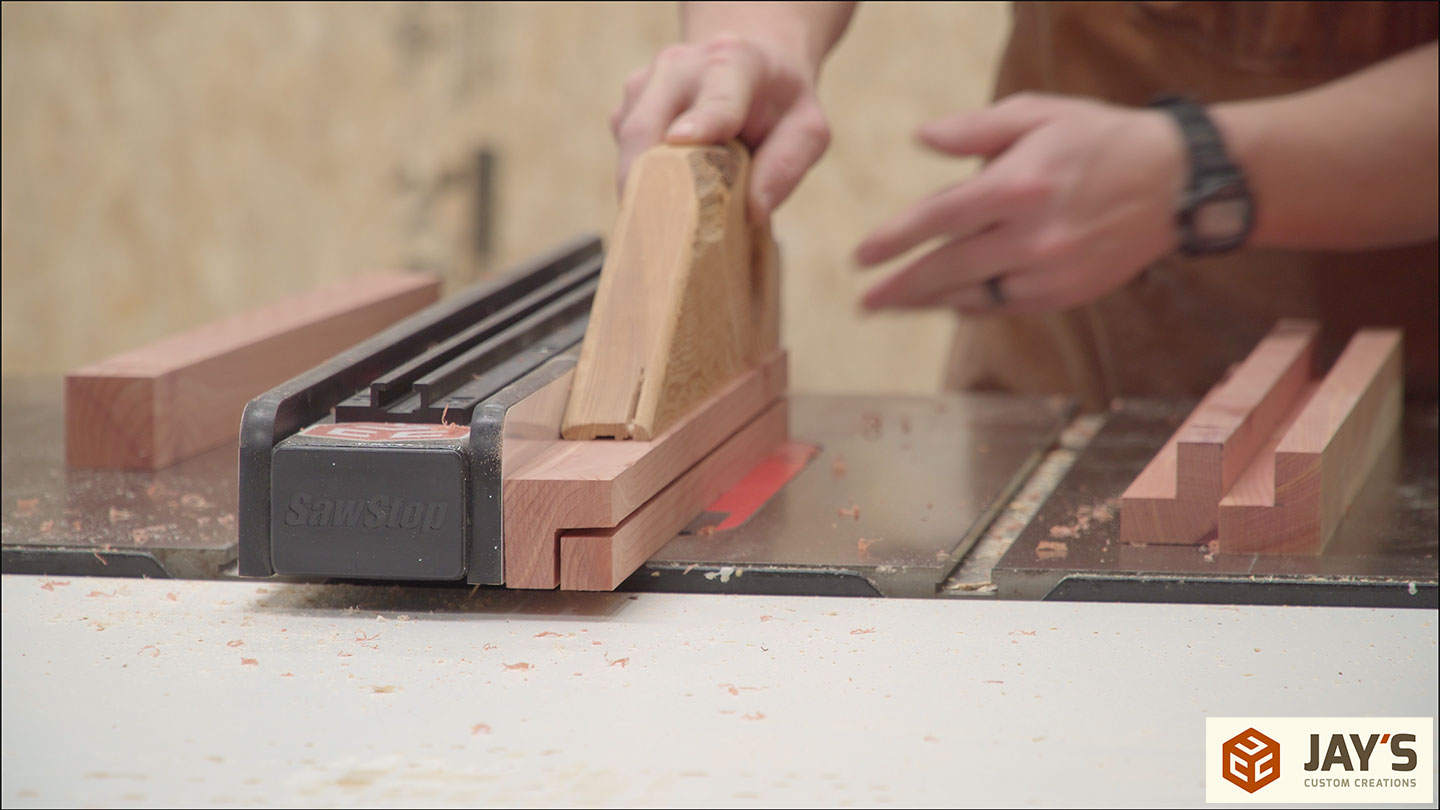
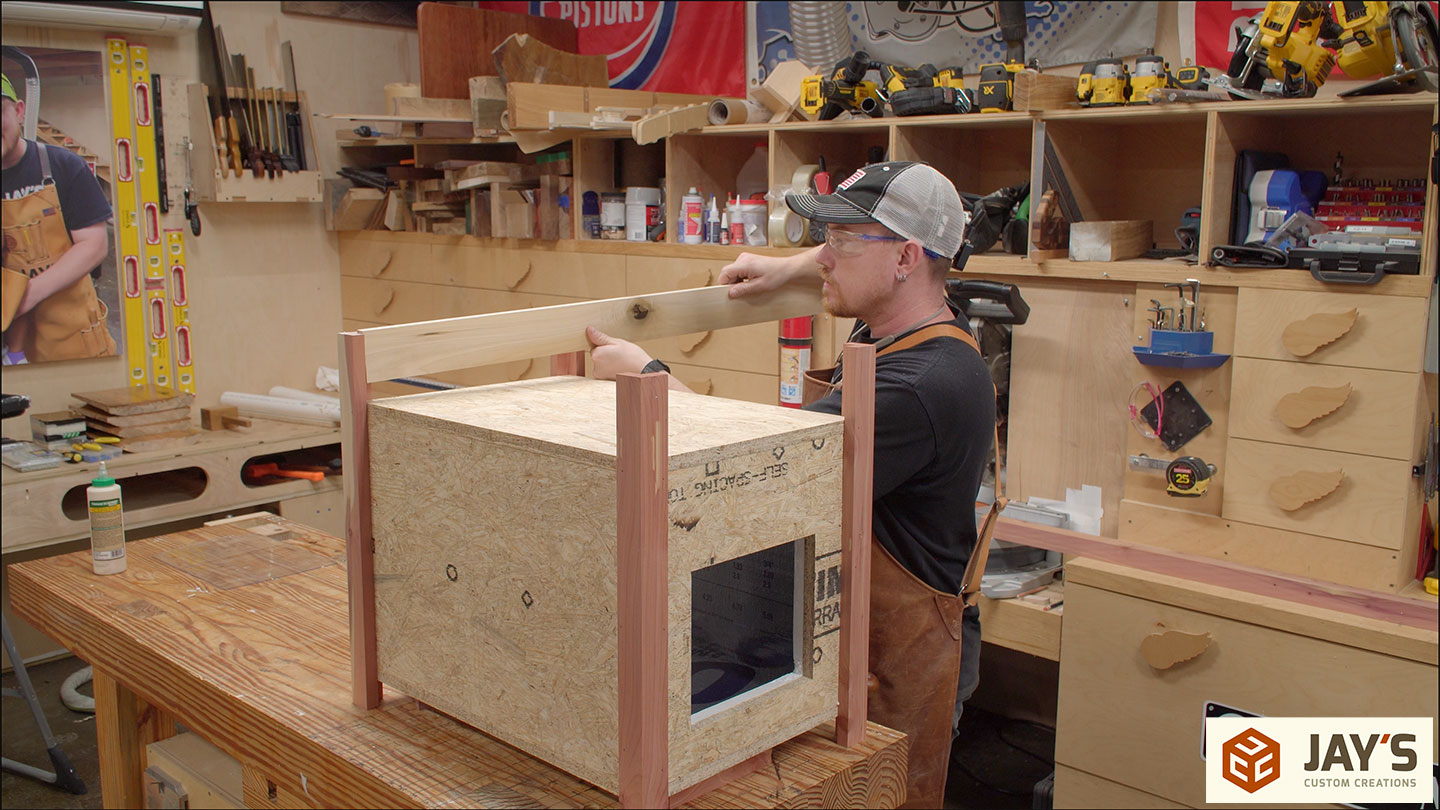
For the legs, I went with some 1-5/8” square cedar I had already milled from previous use. All I needed was a rabbet to mount them to the box. Easy enough with two cuts at the table saw, making sure the last cut had the waste left of the blade and was not trapped between the blade and the fence.
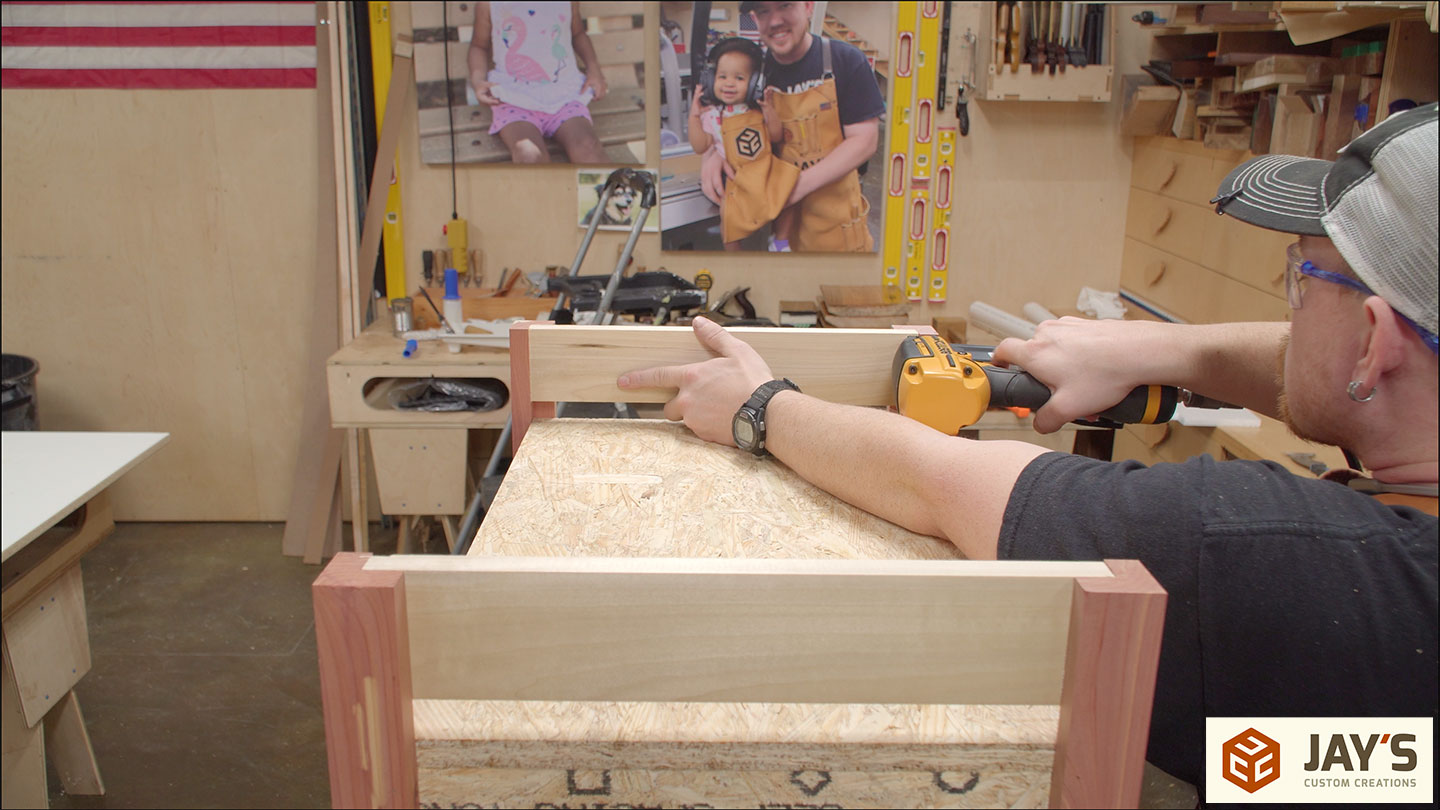
Rails are not needed here, but they help prevent the cat from knocking the food bowl off. Scrap wood to the rescue again. I had a piece of poplar that was perfect for this. An appropriate width and a knot dead center in the board. One rail from each side of the knot.
You guessed it; glue and brad nails to hold the rails on.
The door was too long, so I trimmed it and secured it with three screws. Making a trim piece to cover the top of the vinyl door screws is something I considered but passed on due to the time constraint.
The final piece of the puzzle was to cut a piece of scrap carpet for the floor.
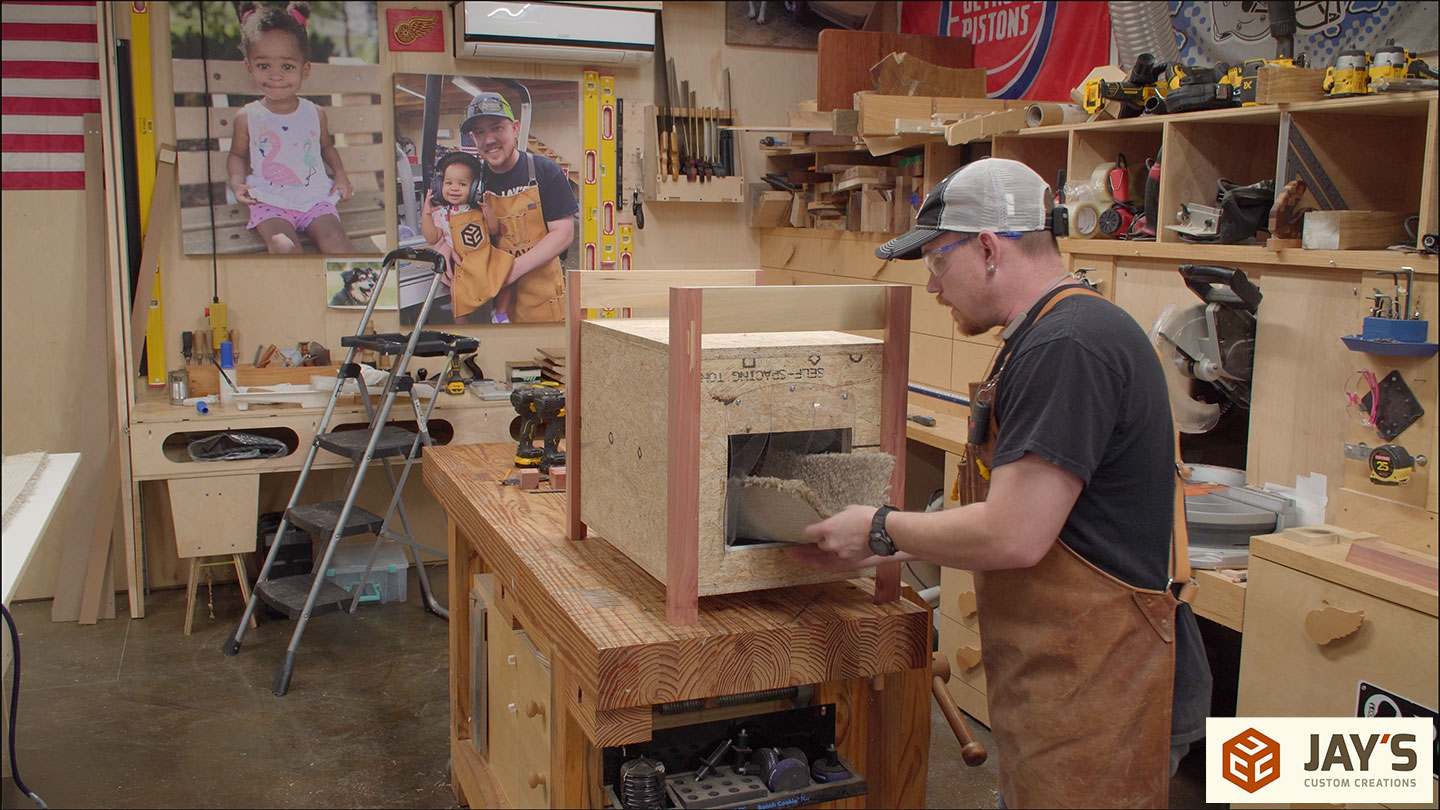
And that’s it. A simple, cozy, insulated, heated home for my daughter’s cat to stay warm at night. Now all I have to do is wait about 6 months for my wife to ask, “are you ever going to paint that cat house?” to which I’ll reply, “just because a man says he’s going to do something doesn’t mean you have to remind him every 6 months!”


Jay, you are the best dad ever. Happy New Year!!!!
Temperature setting is likely too high. 45-50deg. might be better for the cat with the fir it has for your area’s normal temperature. Happy New Year!
As always, I learned something and am inspired to build something! You are a good dad. I can totally relate to your s… silly cat as my daughter has somehow managed to get three of them into our family and they all live in my shop! Thanks for the great video my friend.
I made a cat house using an inverted plastic tote. I drilled holes the size of the miniature Christmas tree lamps and friction fit them through the bottom (now inverted ceiling) of the tote. Cut in a opening and put an old pillow down on the floor of the external box that I constructed to contain the tote. Wrapped the tote with fiberglass insulation and tacked a couple of old cut off jean pant legs over the opening to the house. Toasty warm inside with outside temps in the teens. Put on a metal roof to shed the weather. The bulbs are extremely low wattage so no fire hazard. Whole string less than 40 watts. Cats were reluctant at first but like Motel 6 I left the light on and they figured it out.
Almost makes me want to get a cat…ALMOST. I’ve frequently been beside myself, but, man you do it so much be
Almost makes me want to get a cat…ALMOST. I’ve frequently been beside myself, but, man you do it so much better! Loved the build and thought behind it.