Recently, my wife launched momandmelaser.com. It’s her laser engraving introduction to creating and I LOVE that she is doing it. She asked me to make a charcuterie board for her to engrave and of course, I agreed. But it makes sense to make many, not just one.
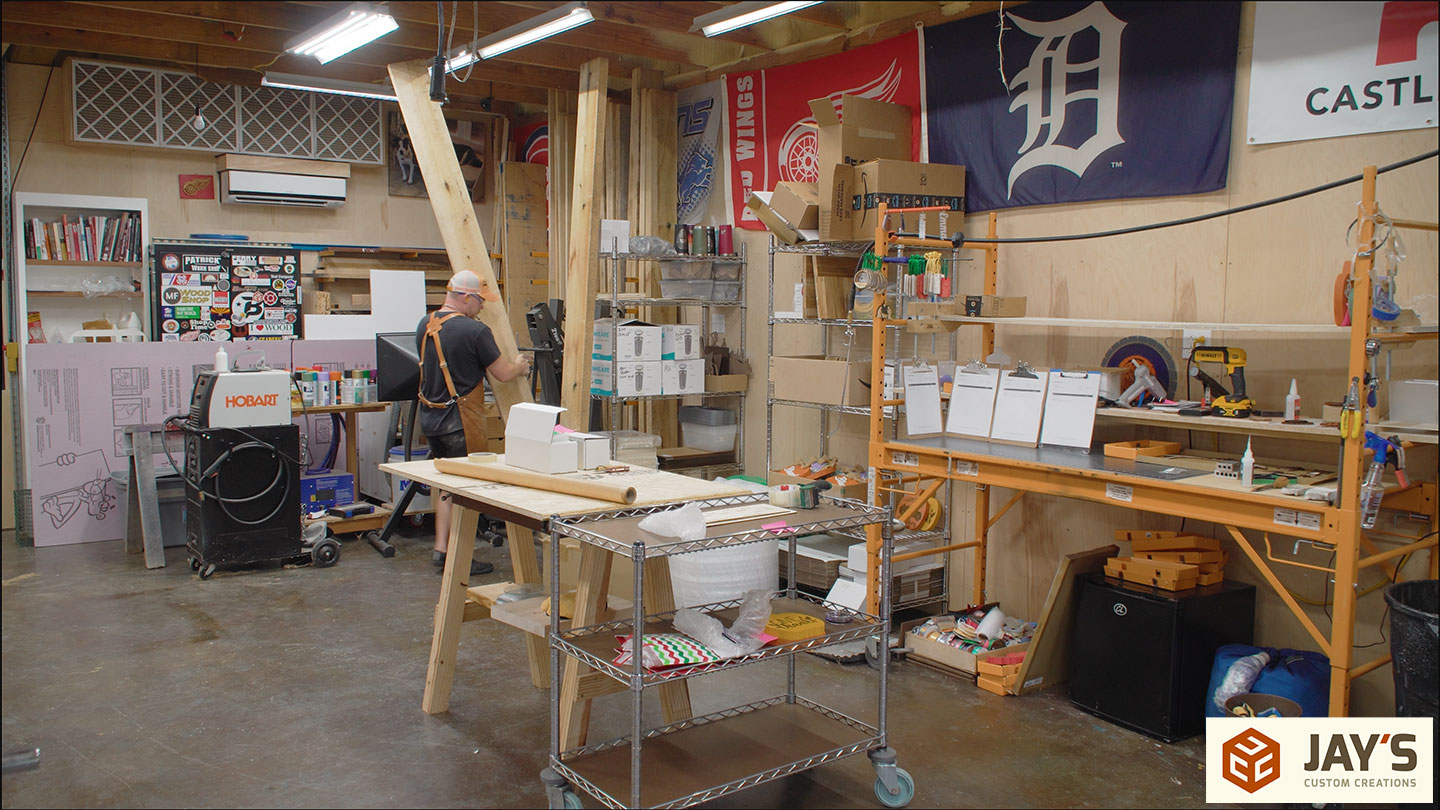
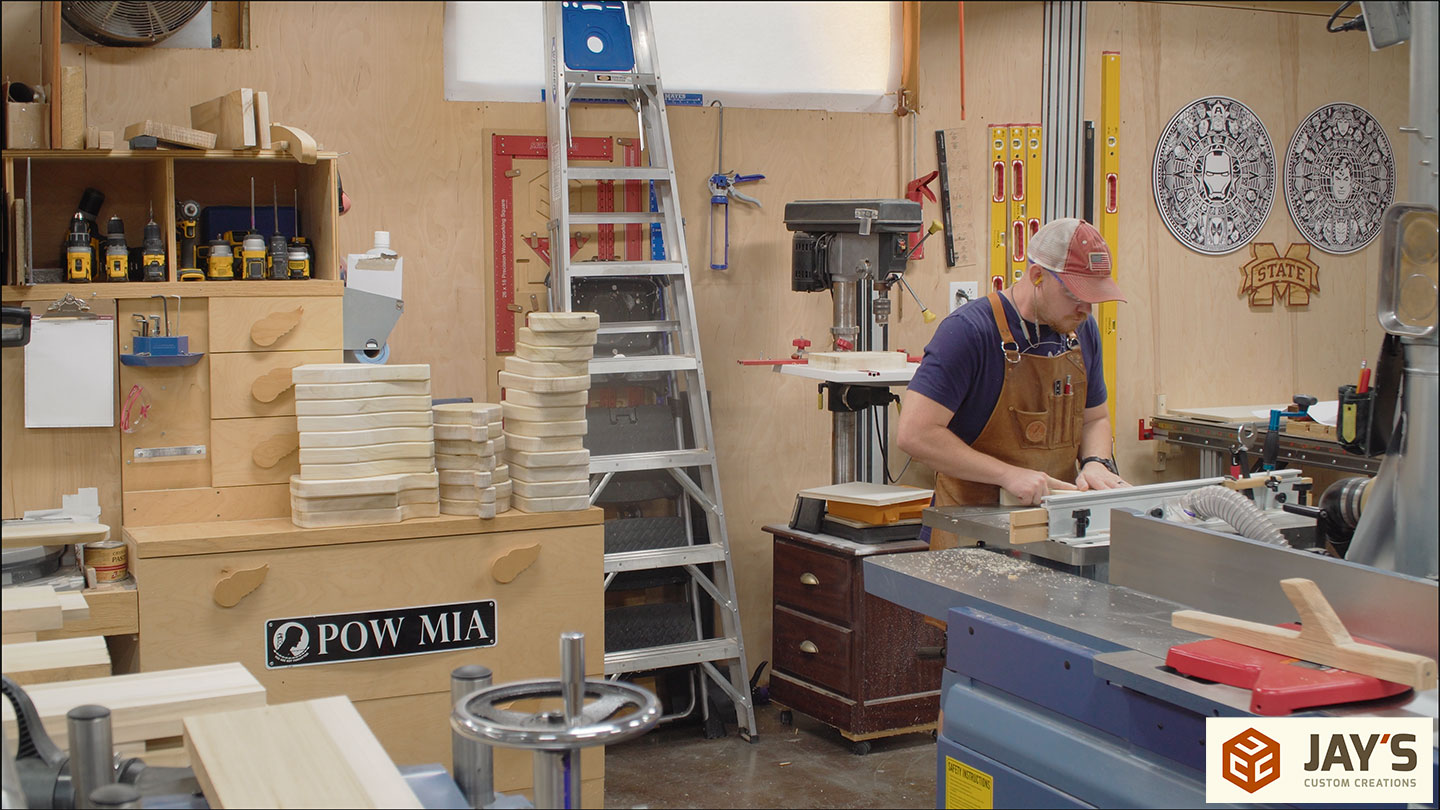
The stock I’m using is 8/4 poplar. It’s inexpensive and does the job just fine. One thing I’ve noticed from her conversations with customers is that people generally don’t care about the species. They want the shape. They see thicker boards as more desirable and of greater quality.
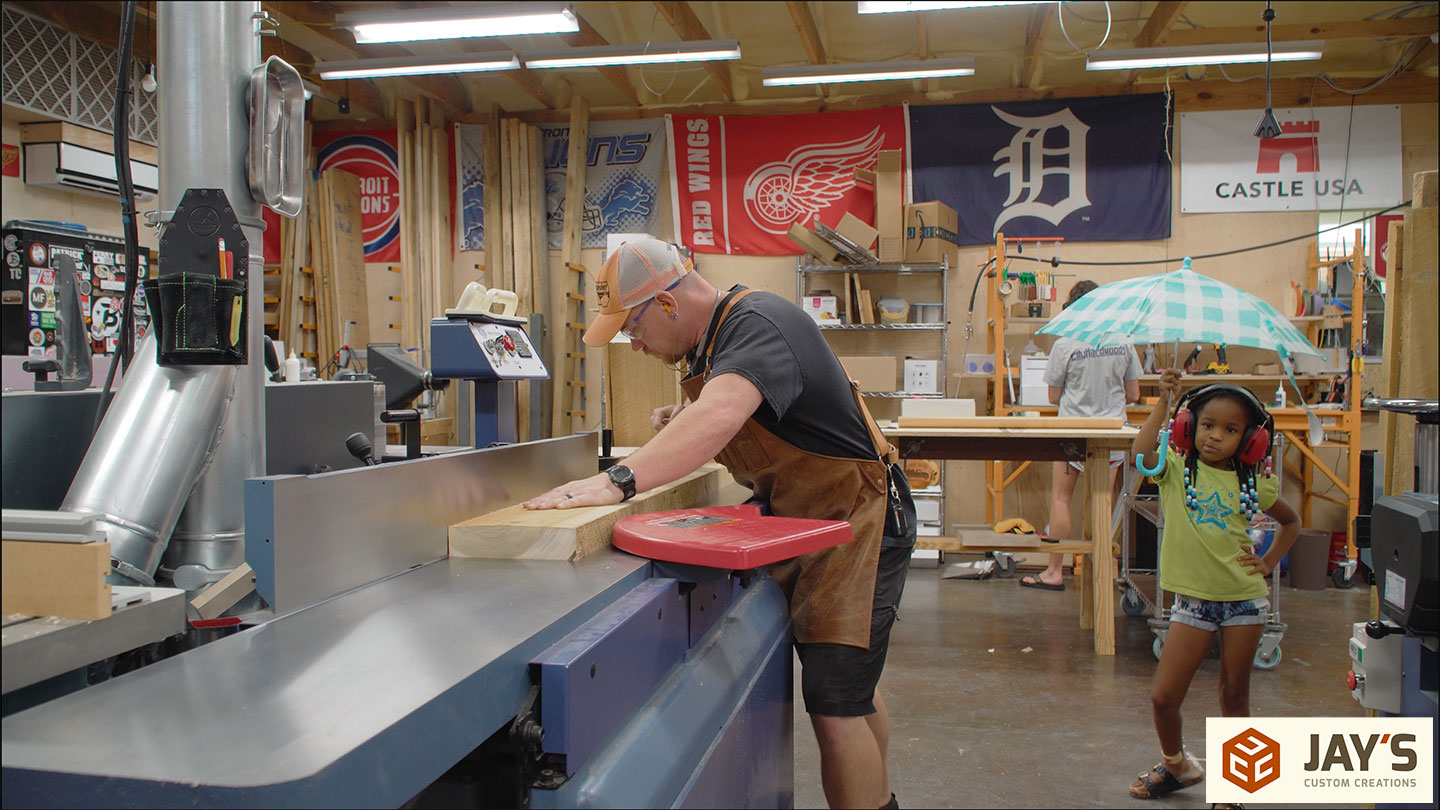
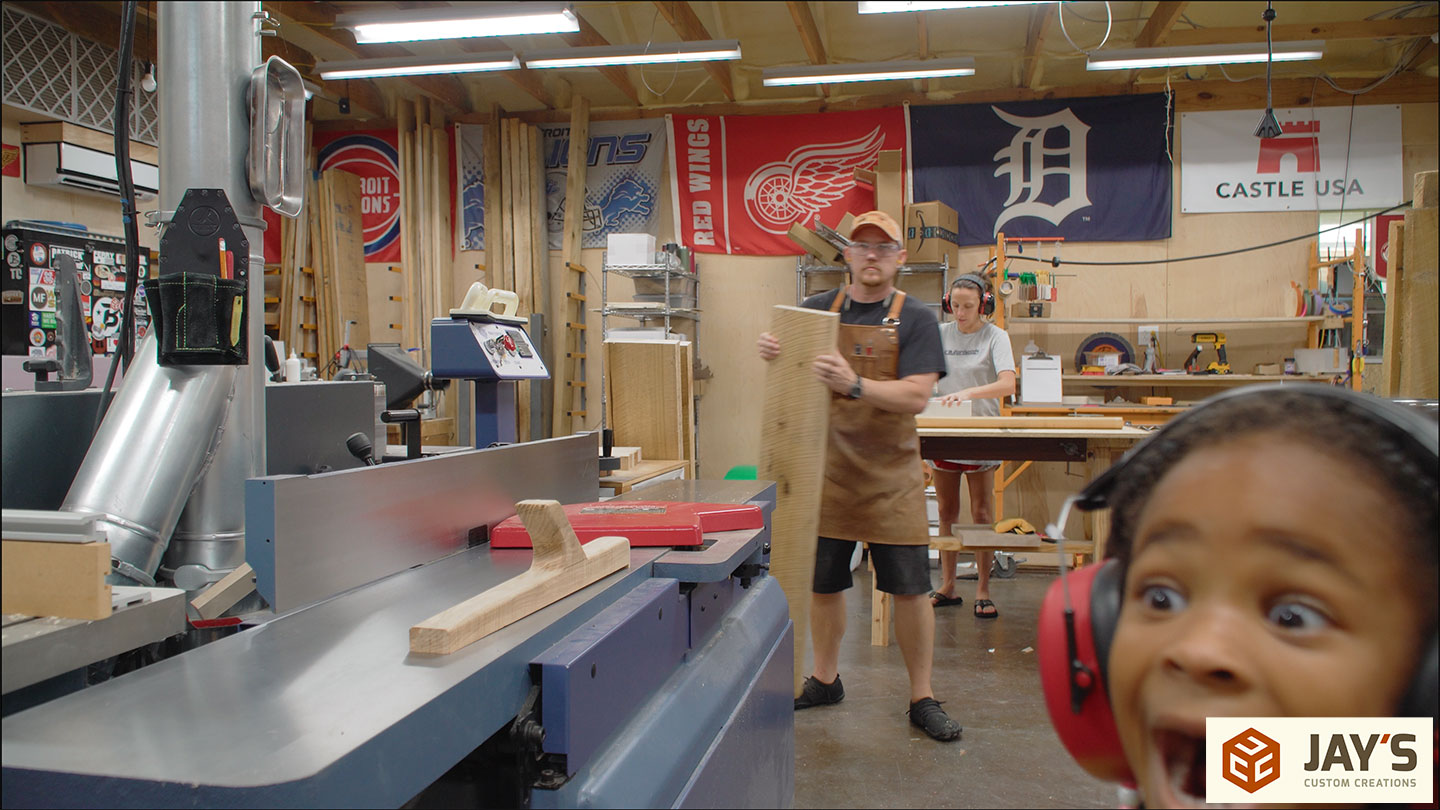
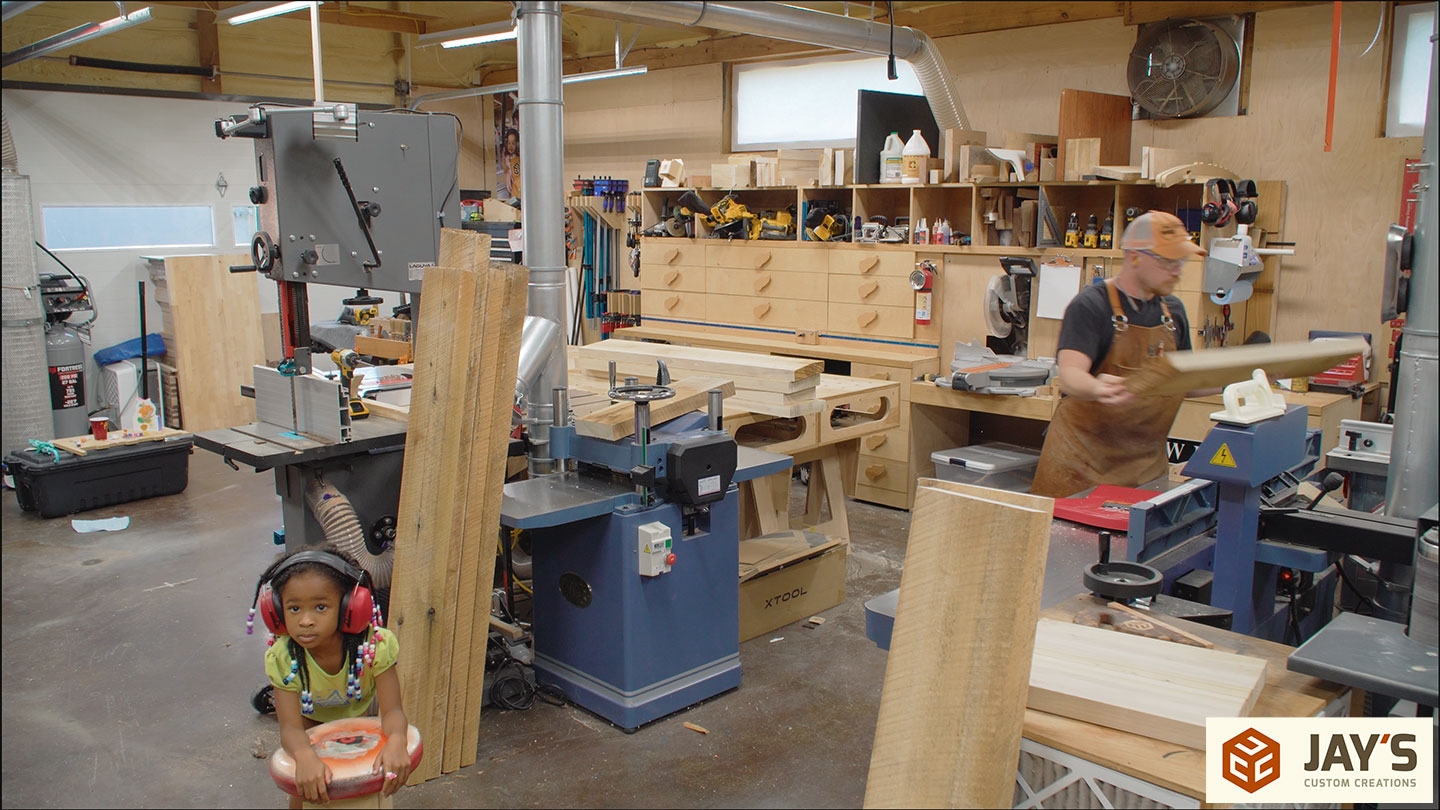
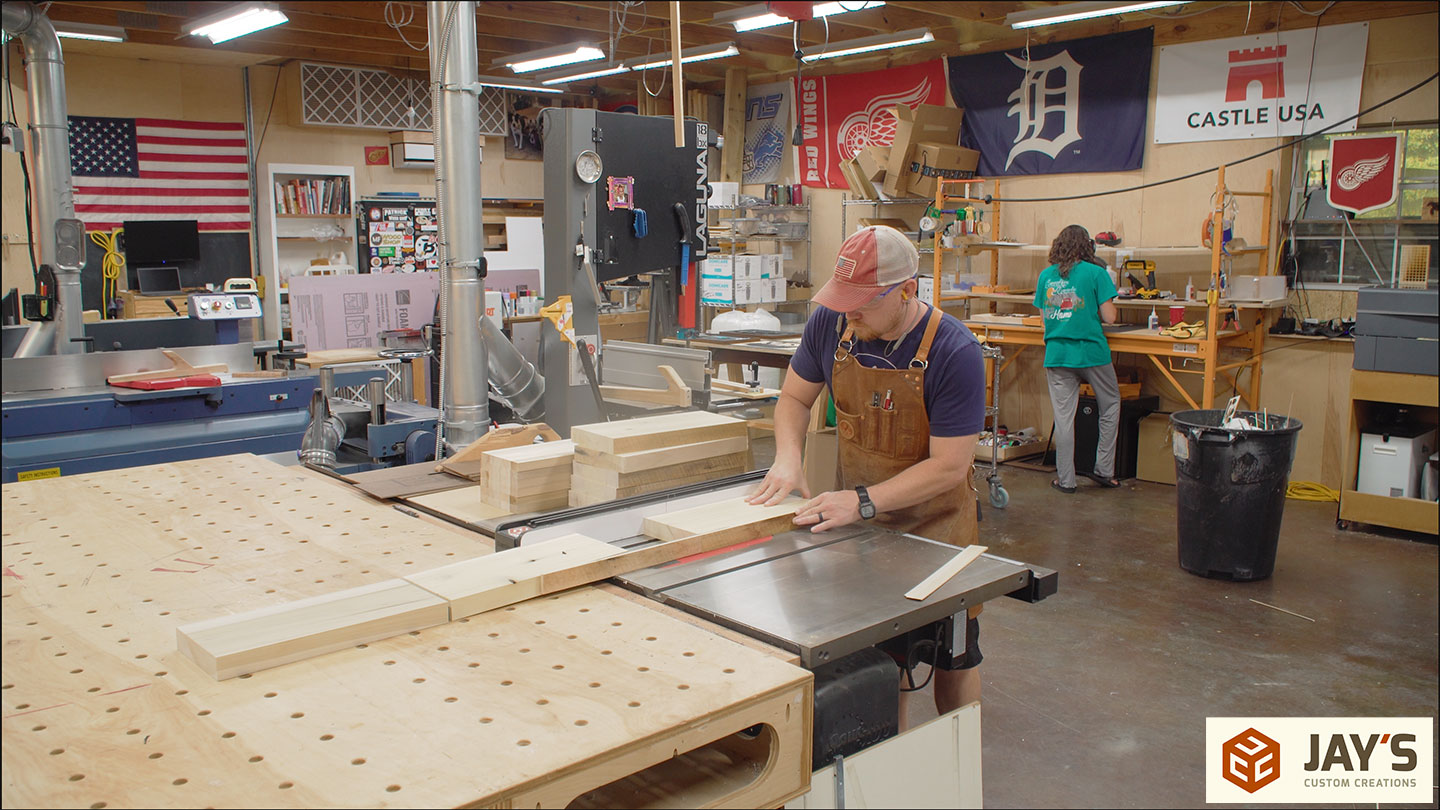
One great thing about my wife’s new business is that it naturally provides more time together in the shop. This is another thing that I LOVE. It exposes my daughter to creating and earning. She’s 5 years old, so naturally the goofball moments are in high supply.
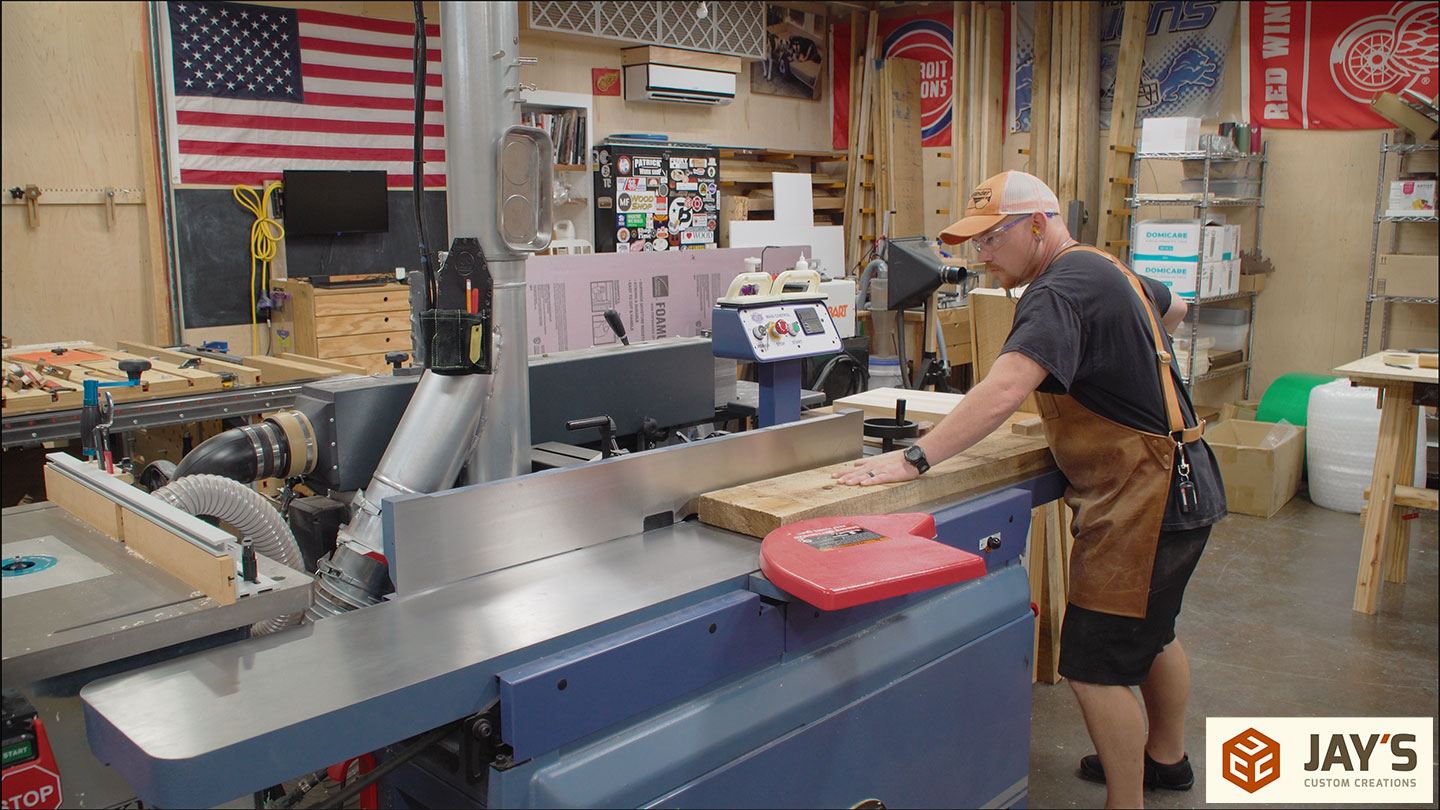
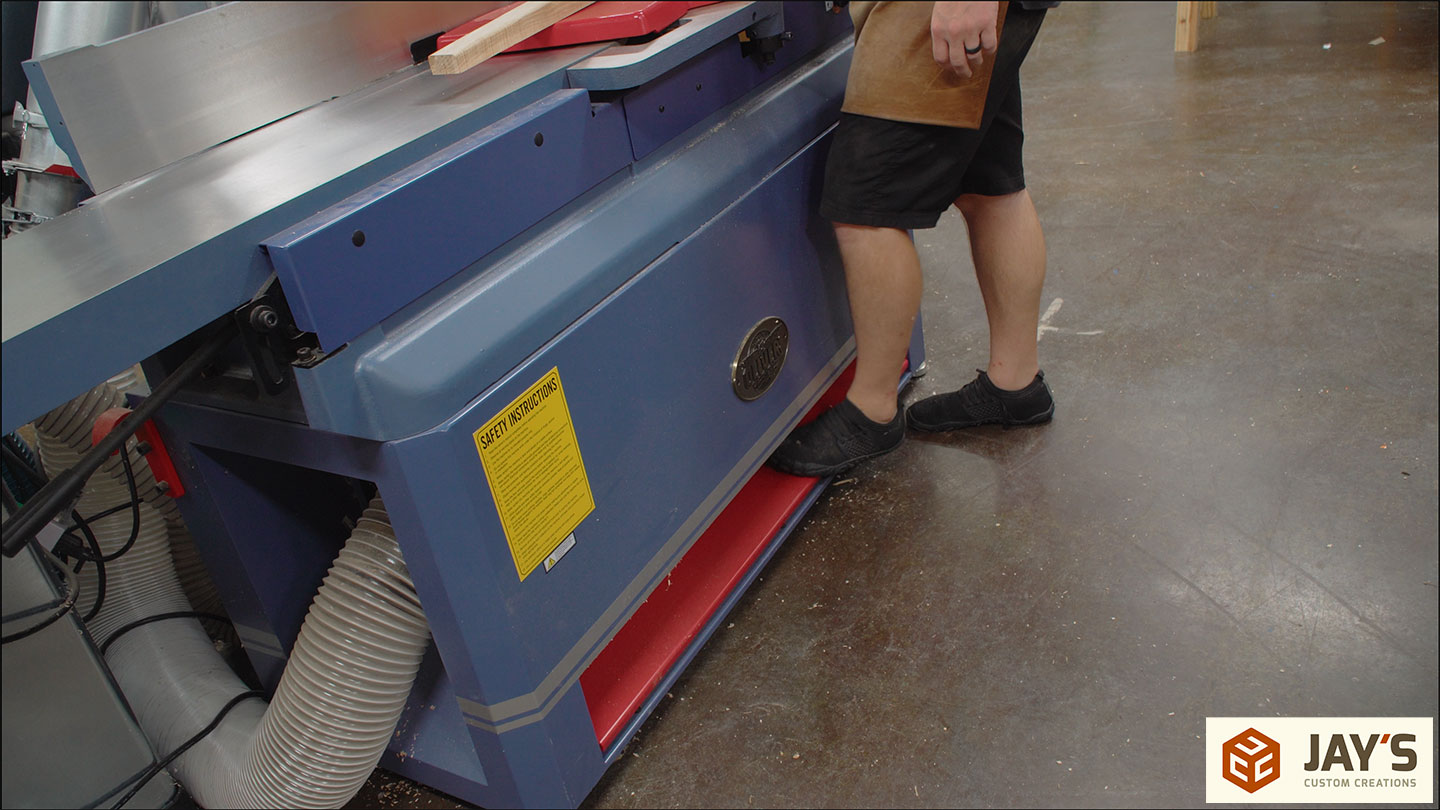
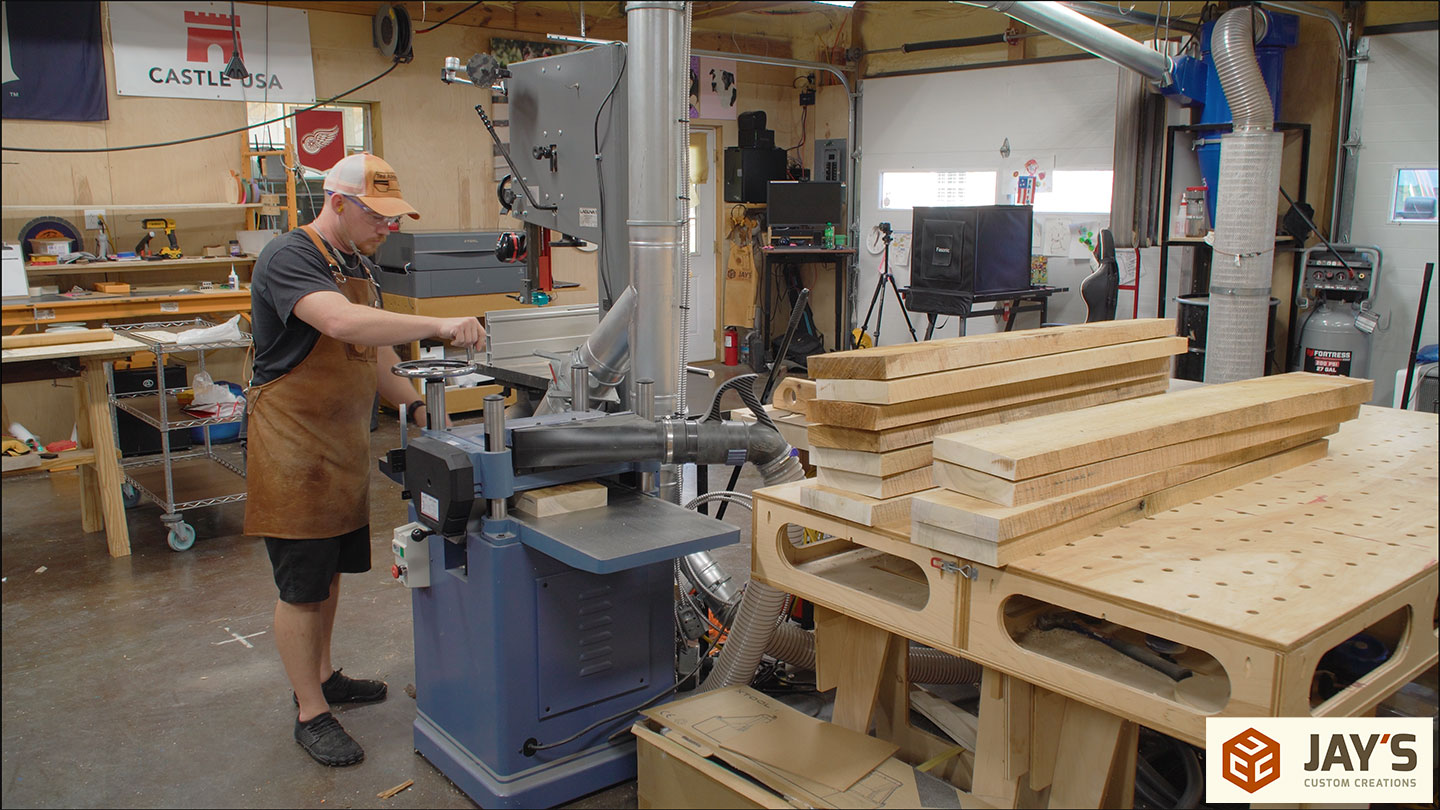
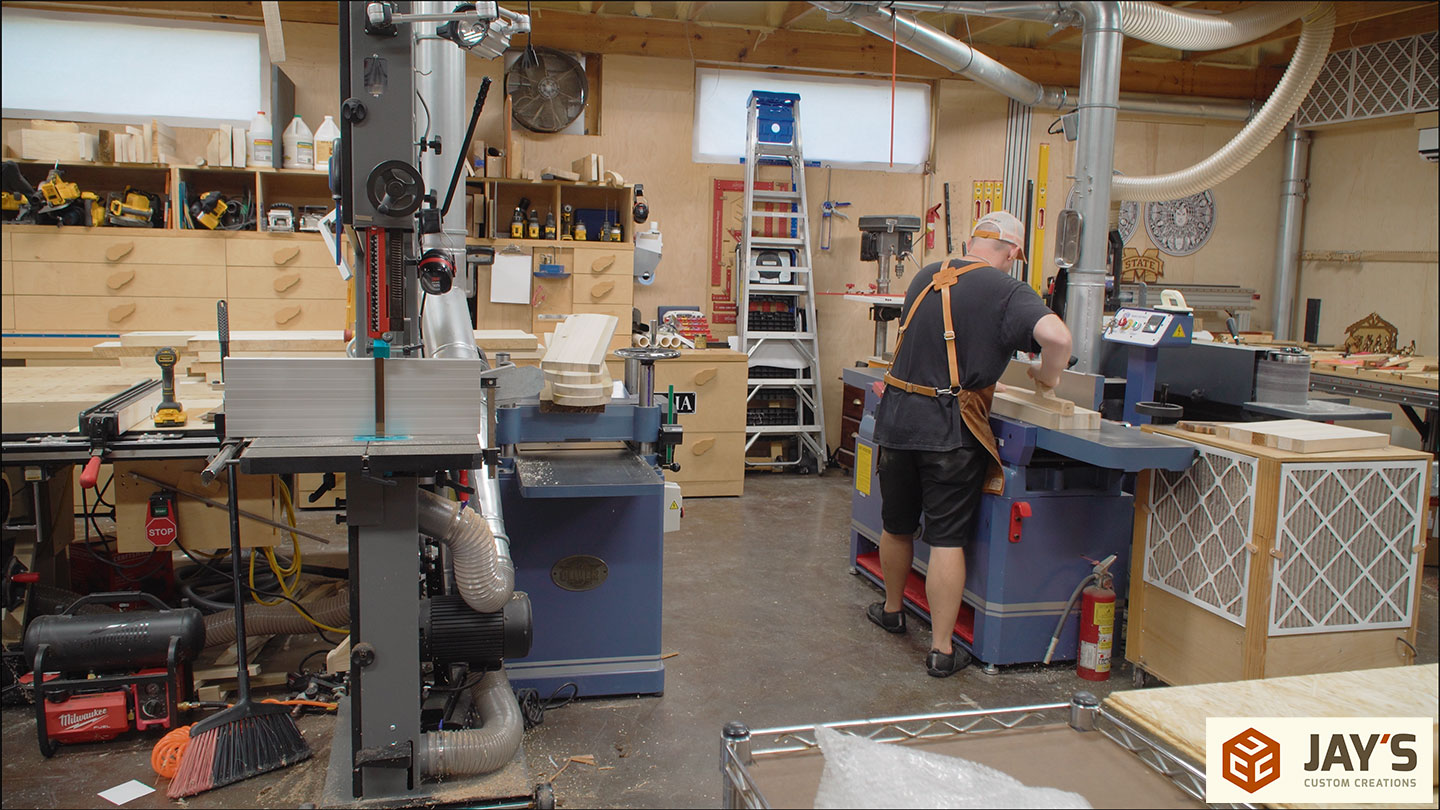
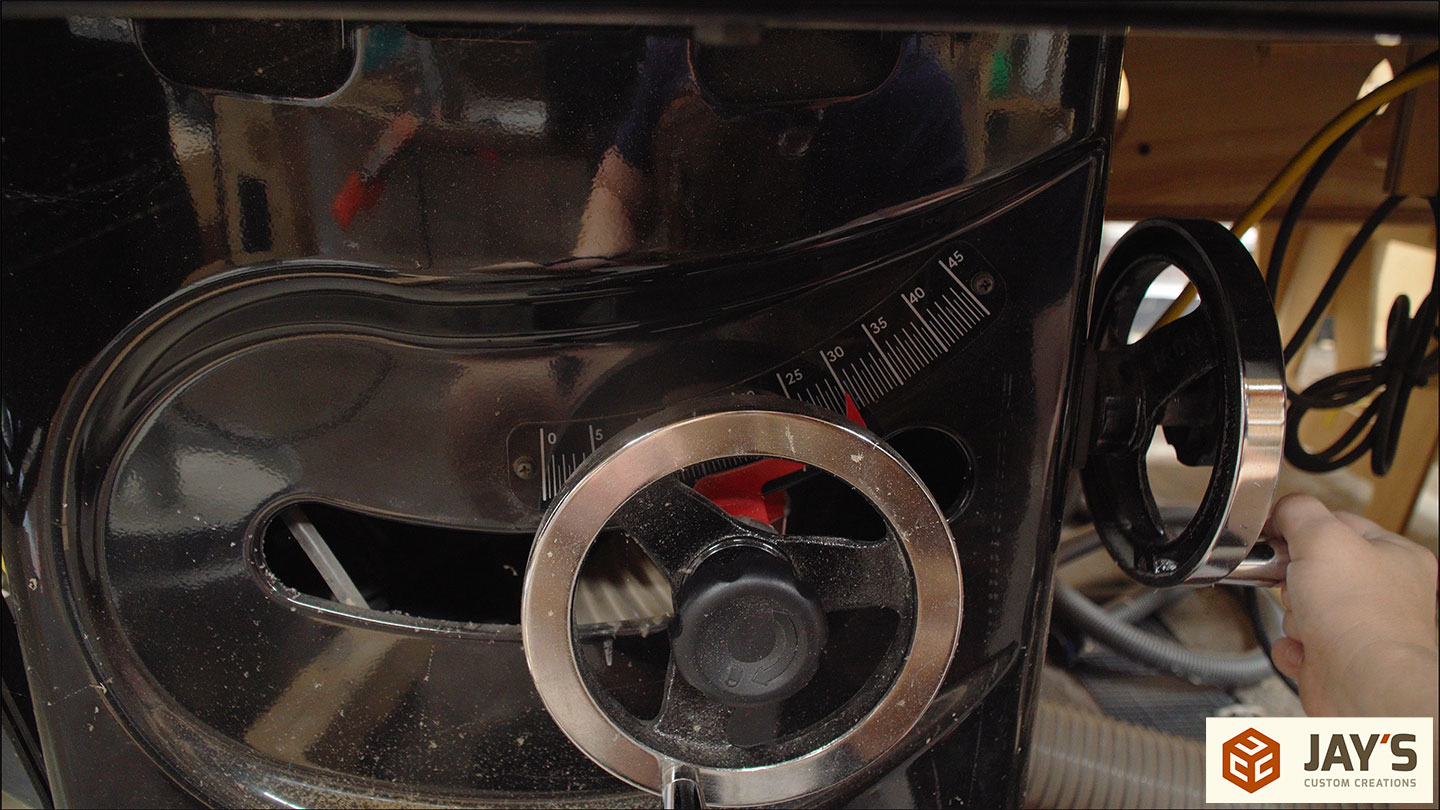
Attention all tool manufacturers, please add lower body activated off buttons on all of your tools. This Oliver jointer has a full length off button near the bottom of the machine. Brilliant!
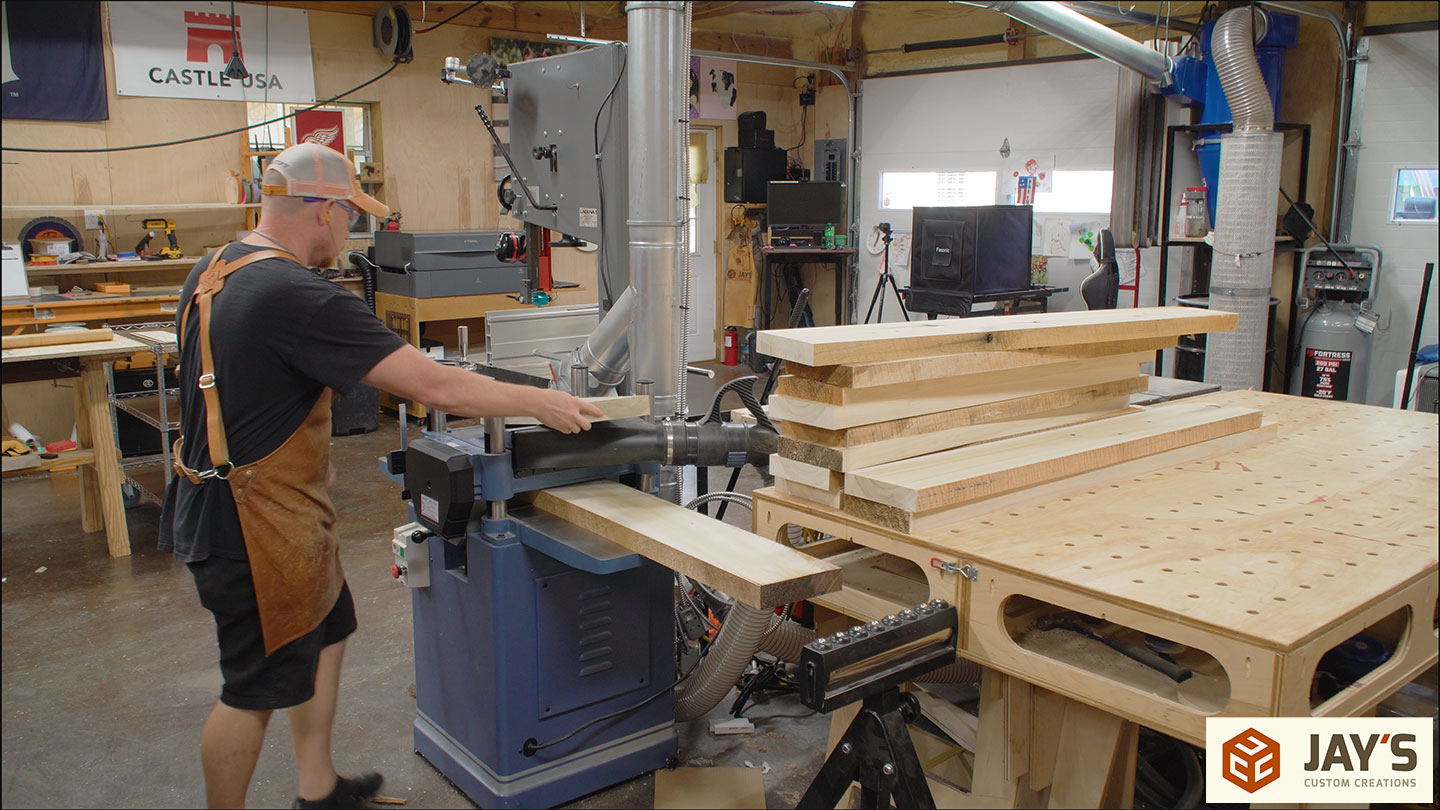
The milling process continues at the planer with the help of what I call a snipe board. Take an extra board and feed it through before the first board and after the last board. If you can do this and have no gaps between boards when feeding them through then all of your material will be snip free. All of the snipe is focused on the start and stop of the cut, which will be on the snipe board.
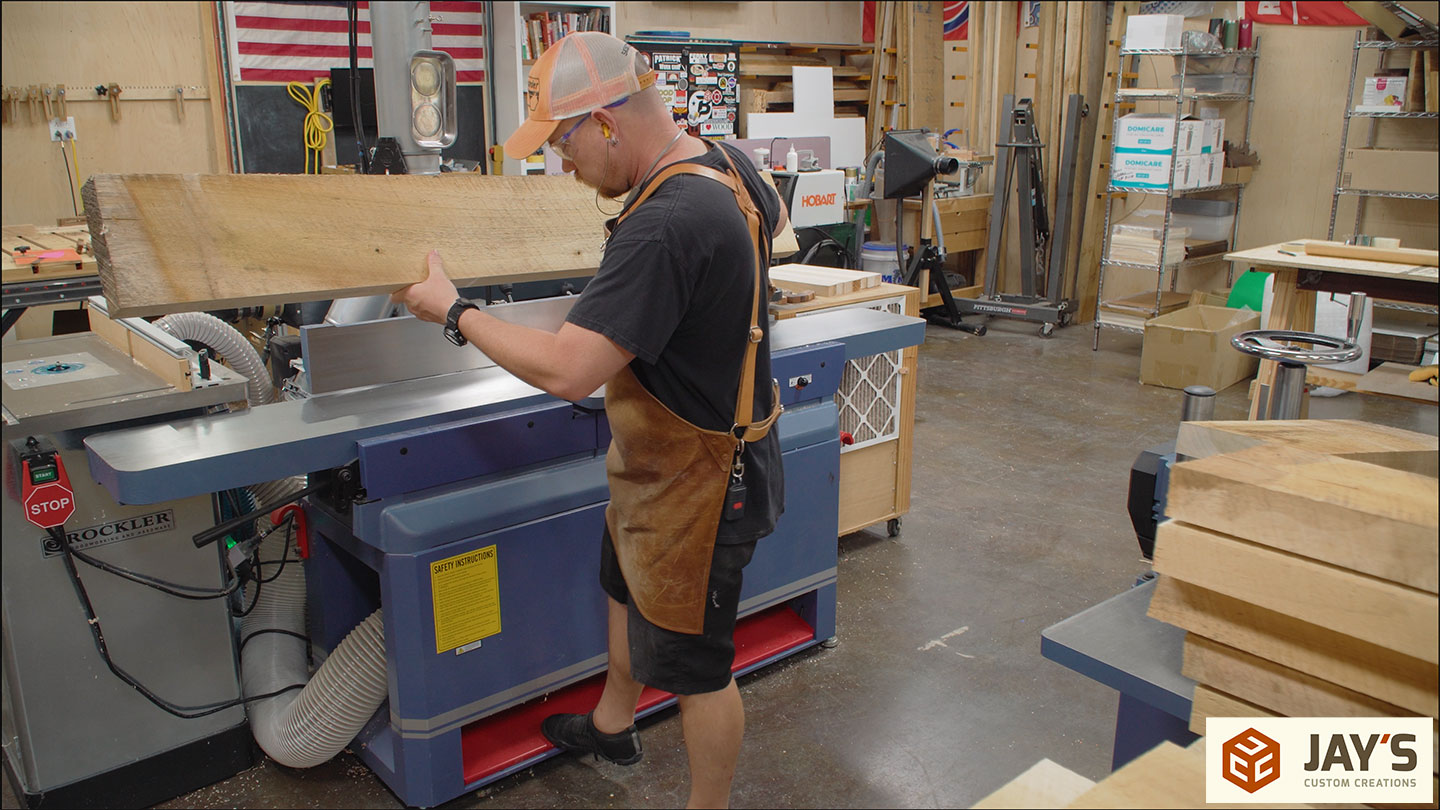
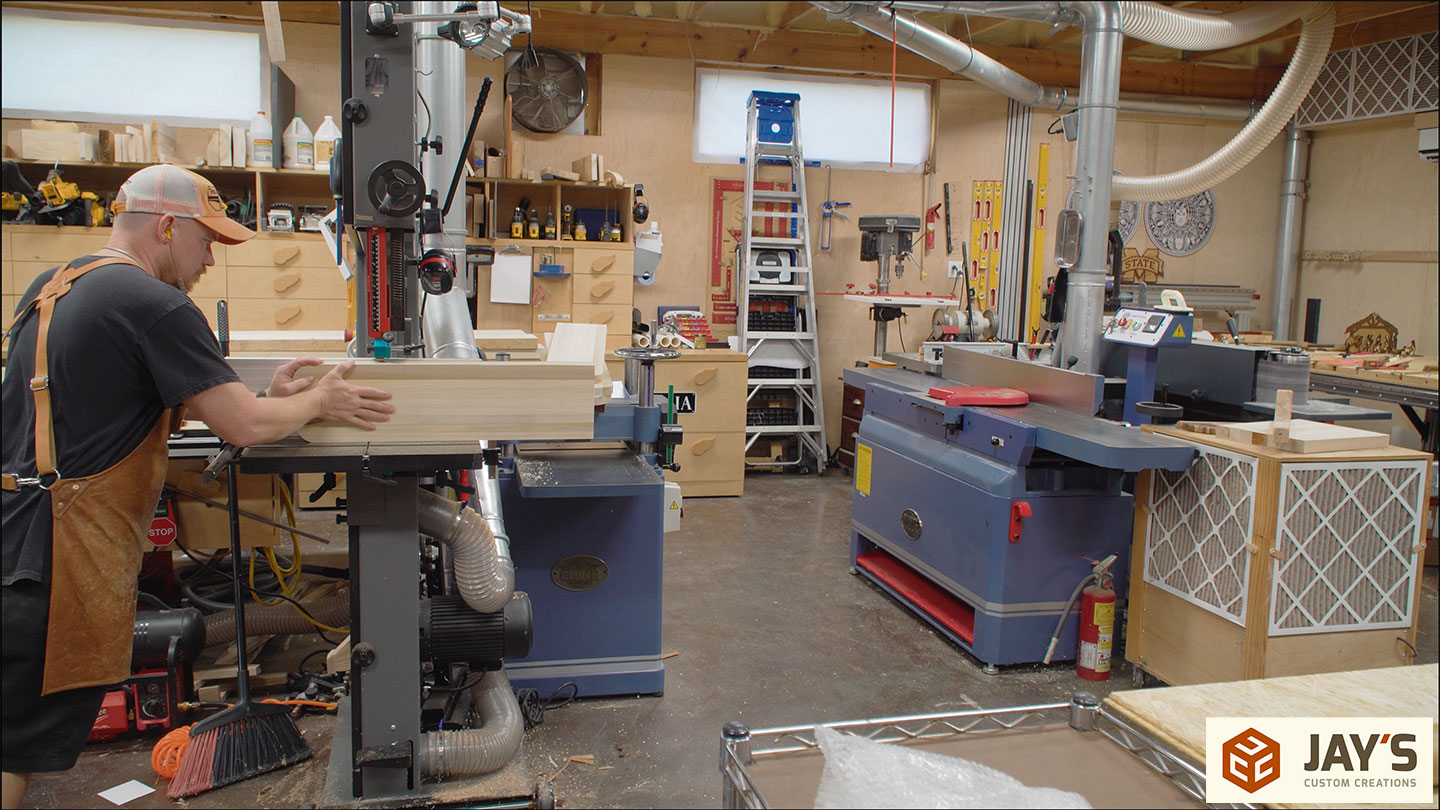
This glue up has been sitting around for a while waiting for me to use. It’s the inner core to the camper I built for my daughter. At the jointer I flattened three adjacent faces.

One for the bandsaw table and the rest to ride against the fence. This gives me at least one flat wide face for the next step.
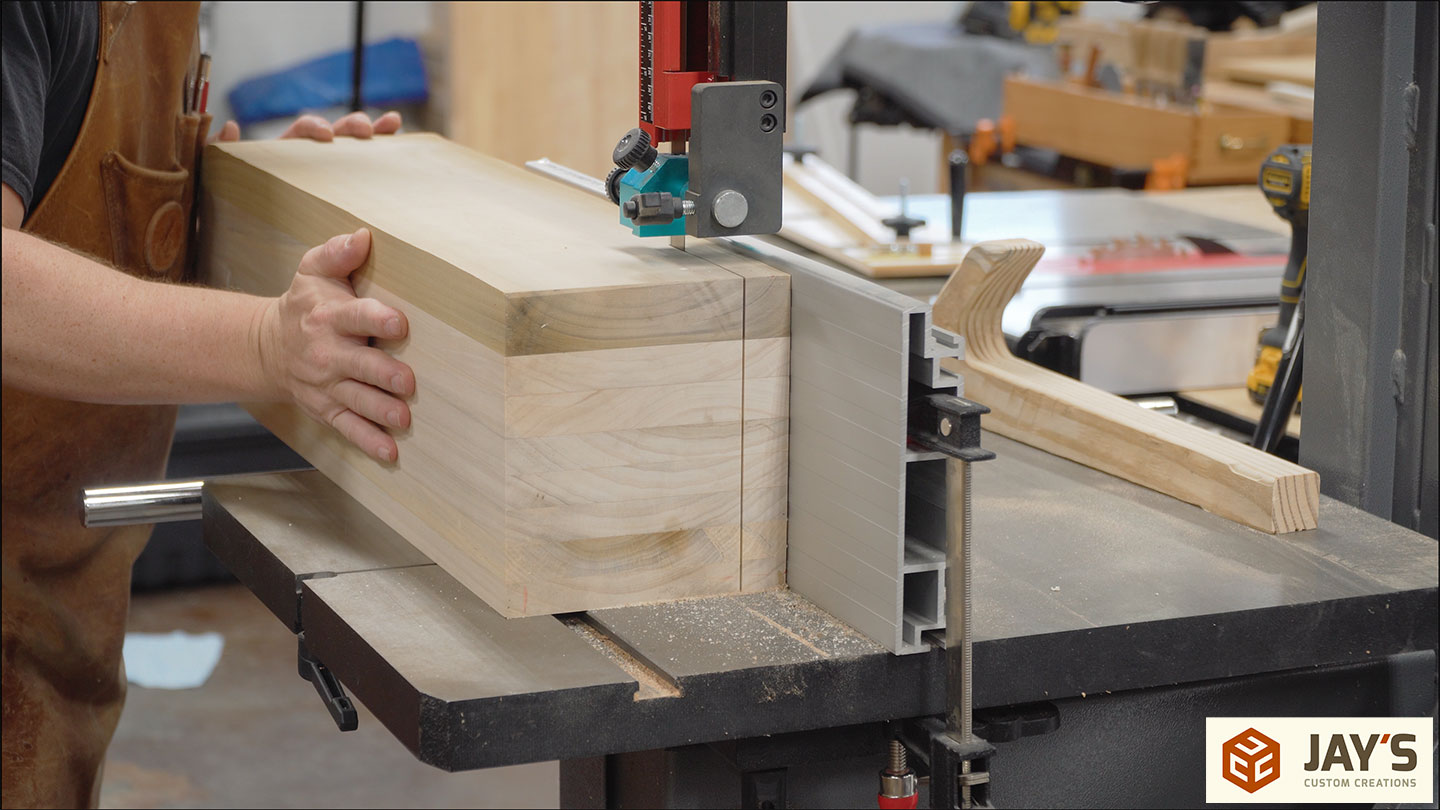
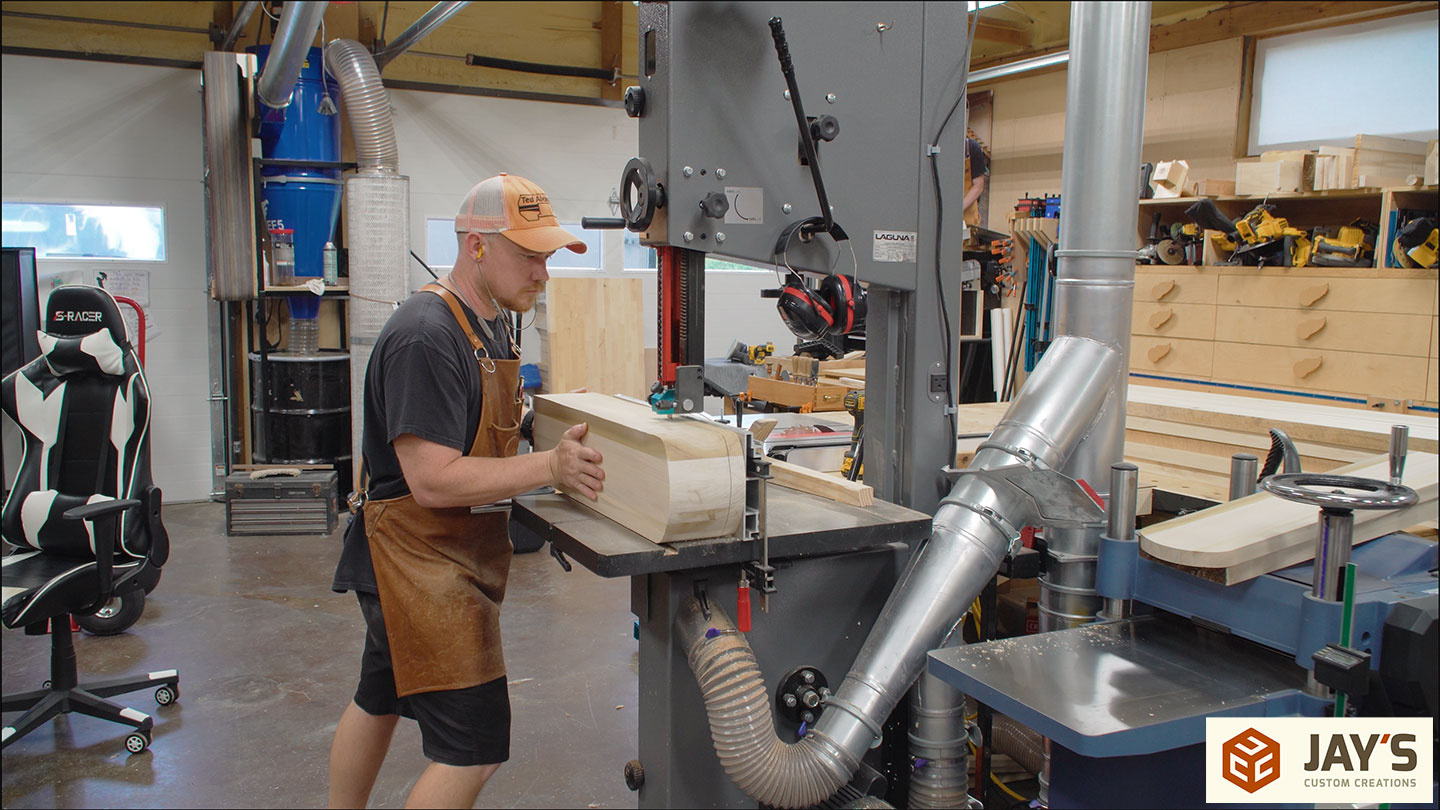
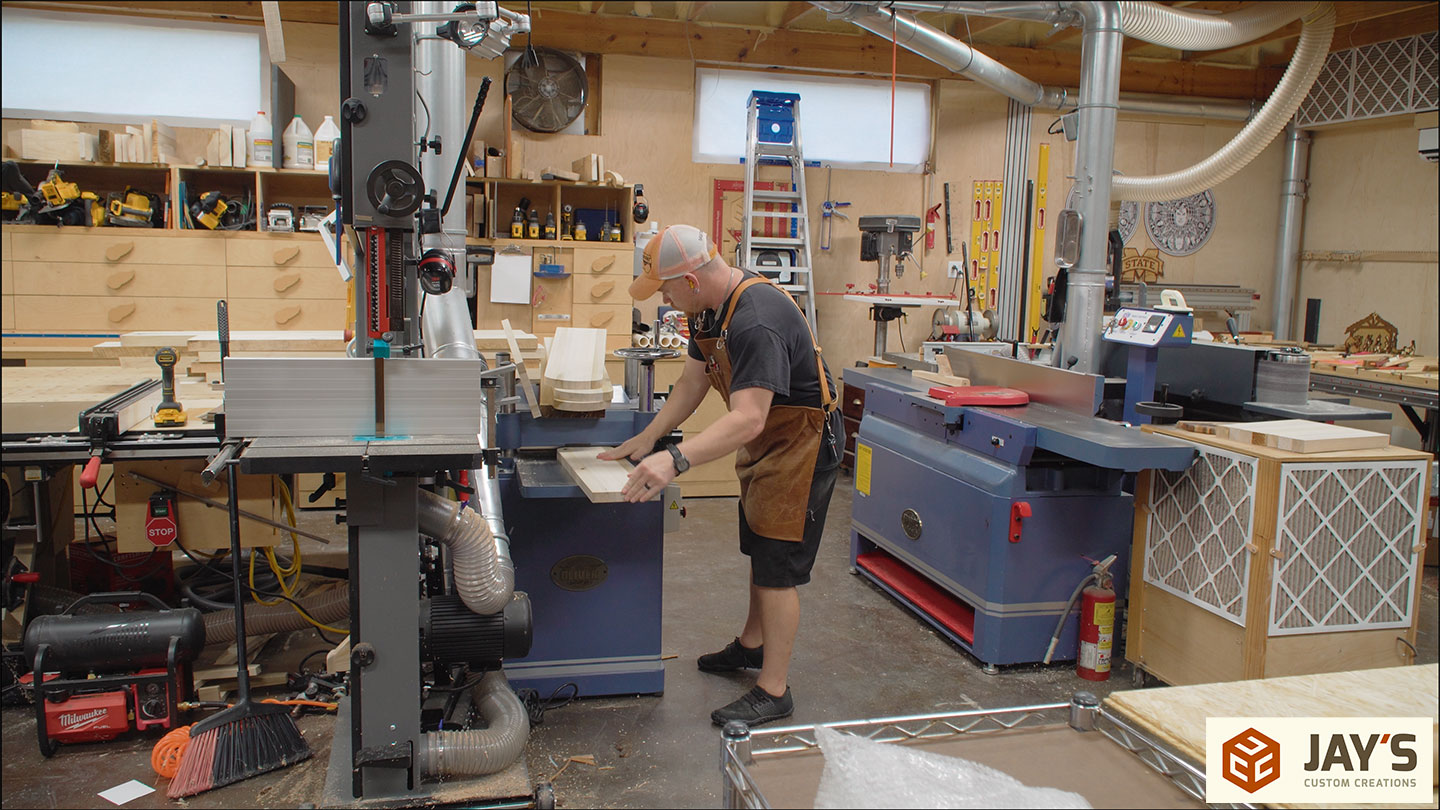
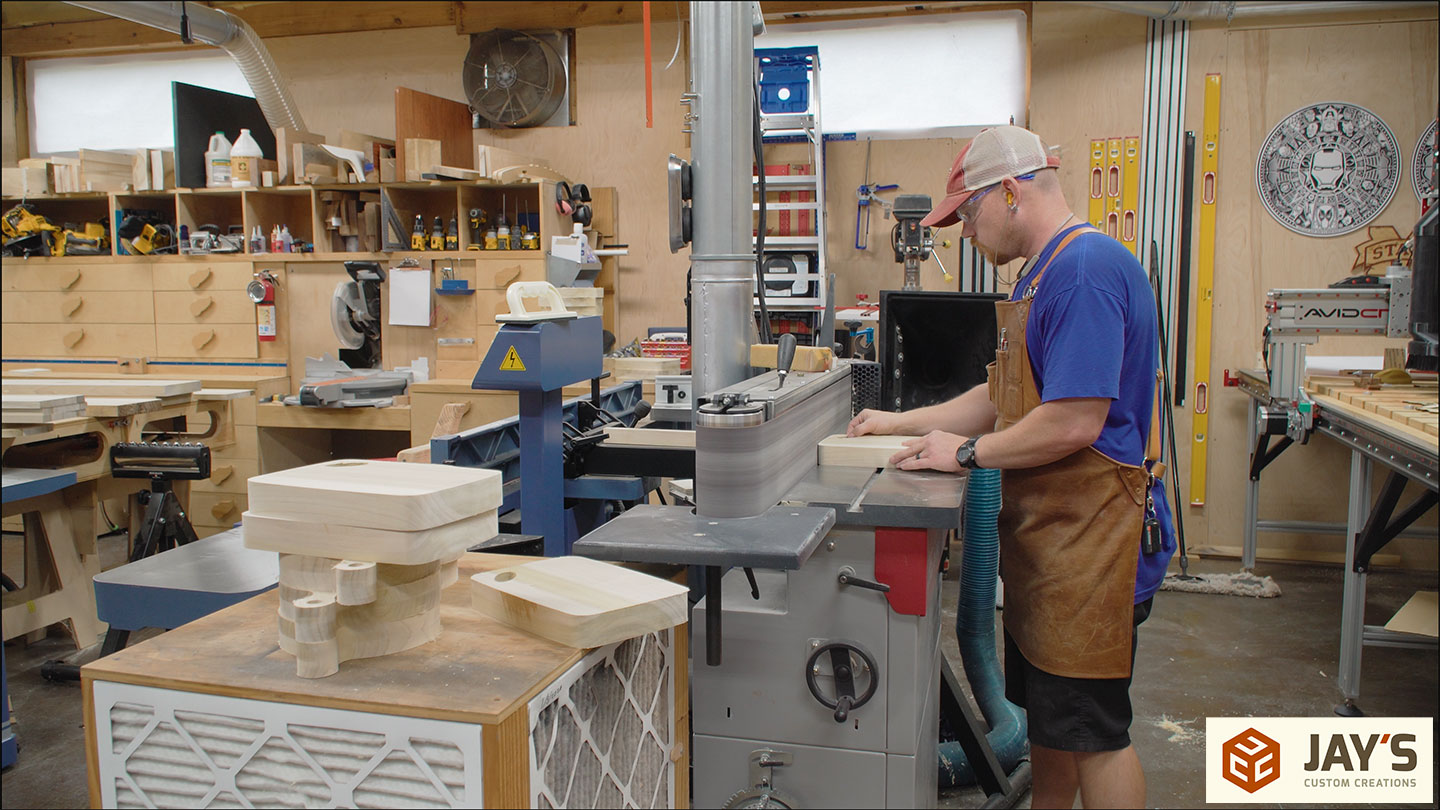
Which is the planer. After bouncing between the jointer and bandsaw a few times, each of the boards can be planed flat and parallel to the jointed face. I didn’t worry about a snipe board here because the rounded nose of these panels will get cut off anyway. I made sure the rounded nose went in first on the first board and last on the last board.
One fun aspect of working with Bits&Bits is I get to test new bits before they release them. This is a 3/8″ compression chip breaker.

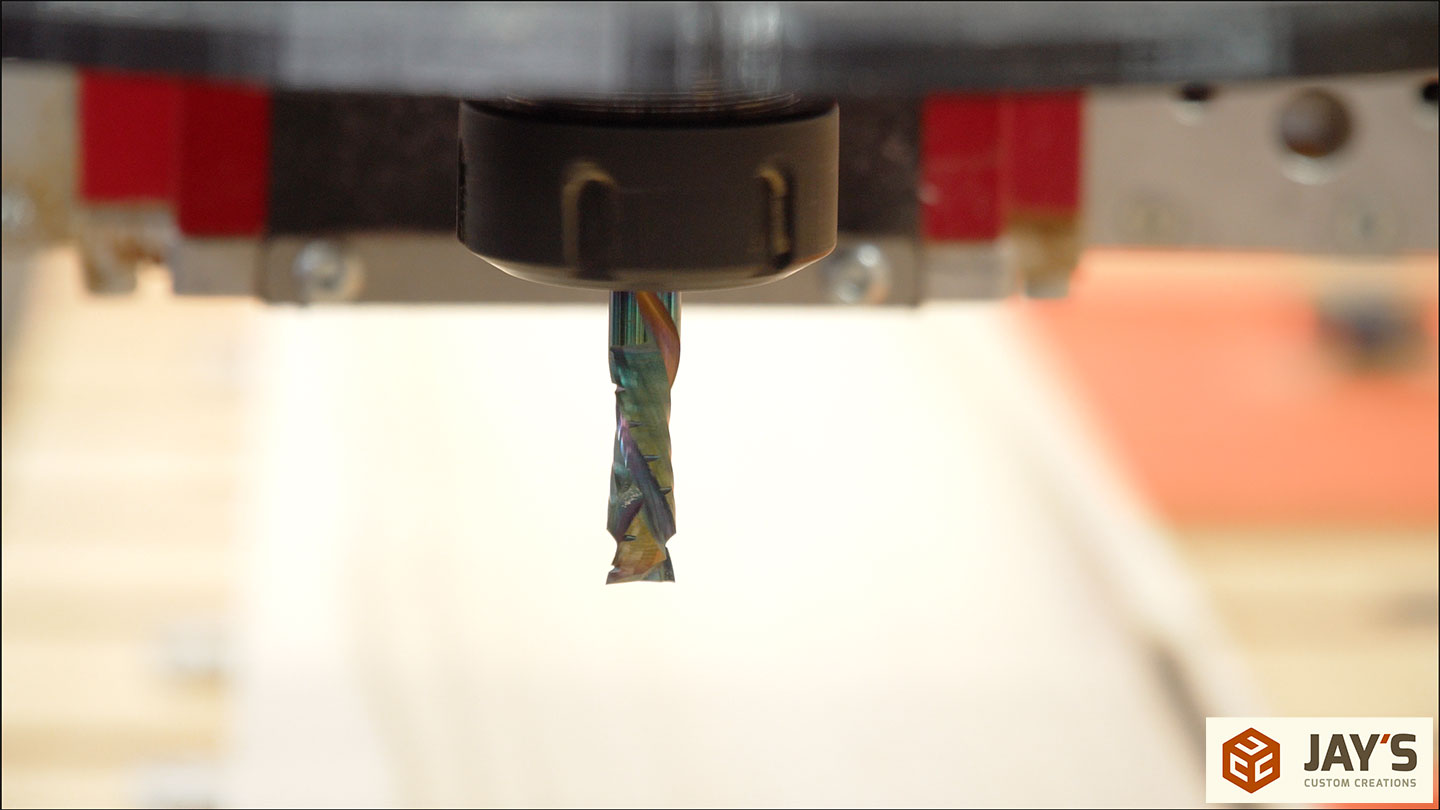
And here it is plowing through material at 450 inches per minute! That’s nuts! 3/8″ diameter bit, 3/8″ depth per pass, and 450 inches per minute. I noticed some tearout in the sapwood so after the first board I slowed it down to 300 inches per minute.
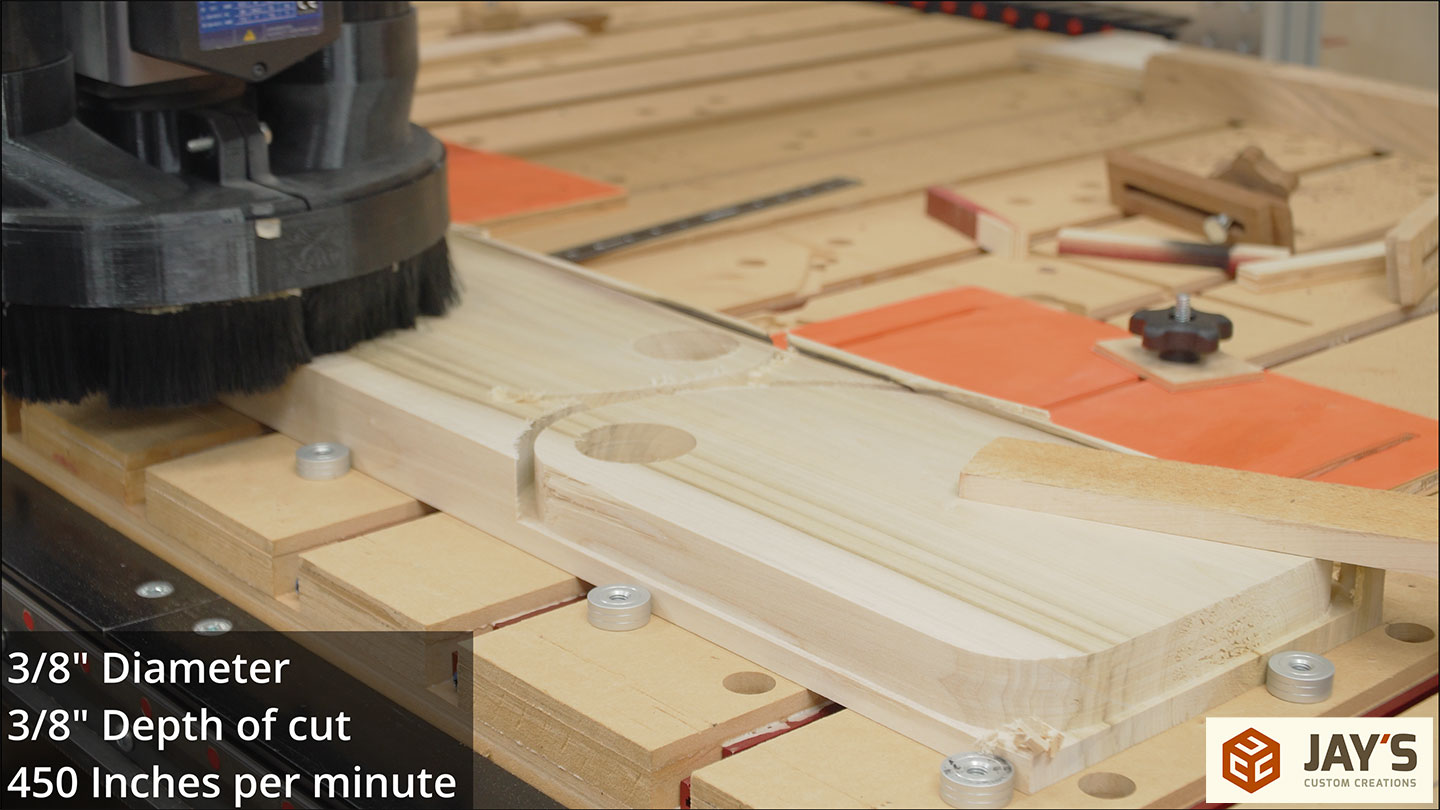
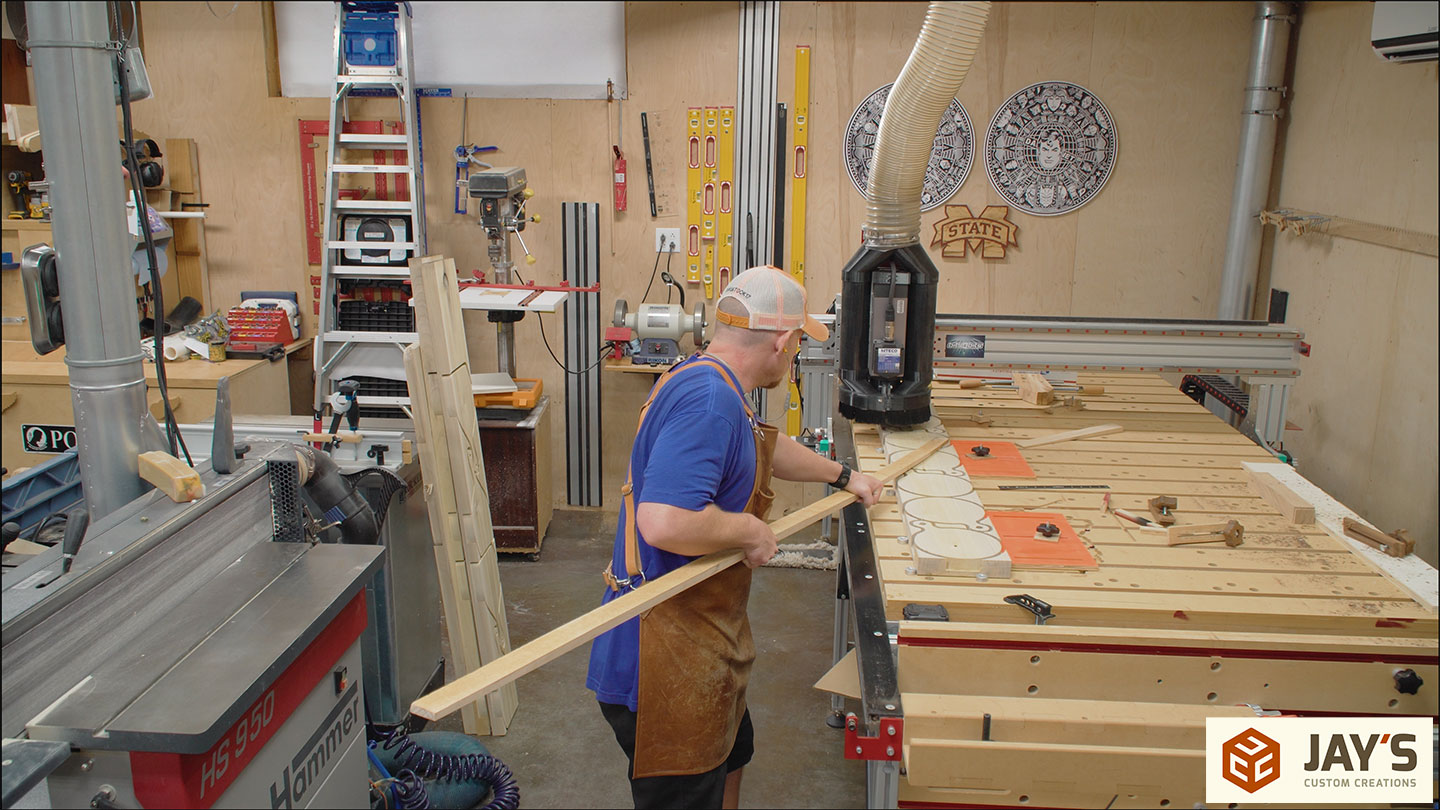
I also didn’t go full depth with the cuts. I wanted to get the maximum yield out of the board so I couldn’t use top down clamps. Instead, I used a long stick to add top down holding during the cut and made the cut stop 1/2″ away from the bottom. This keeps the bit above my bench dogs and keeps the pieces together to be separated later.
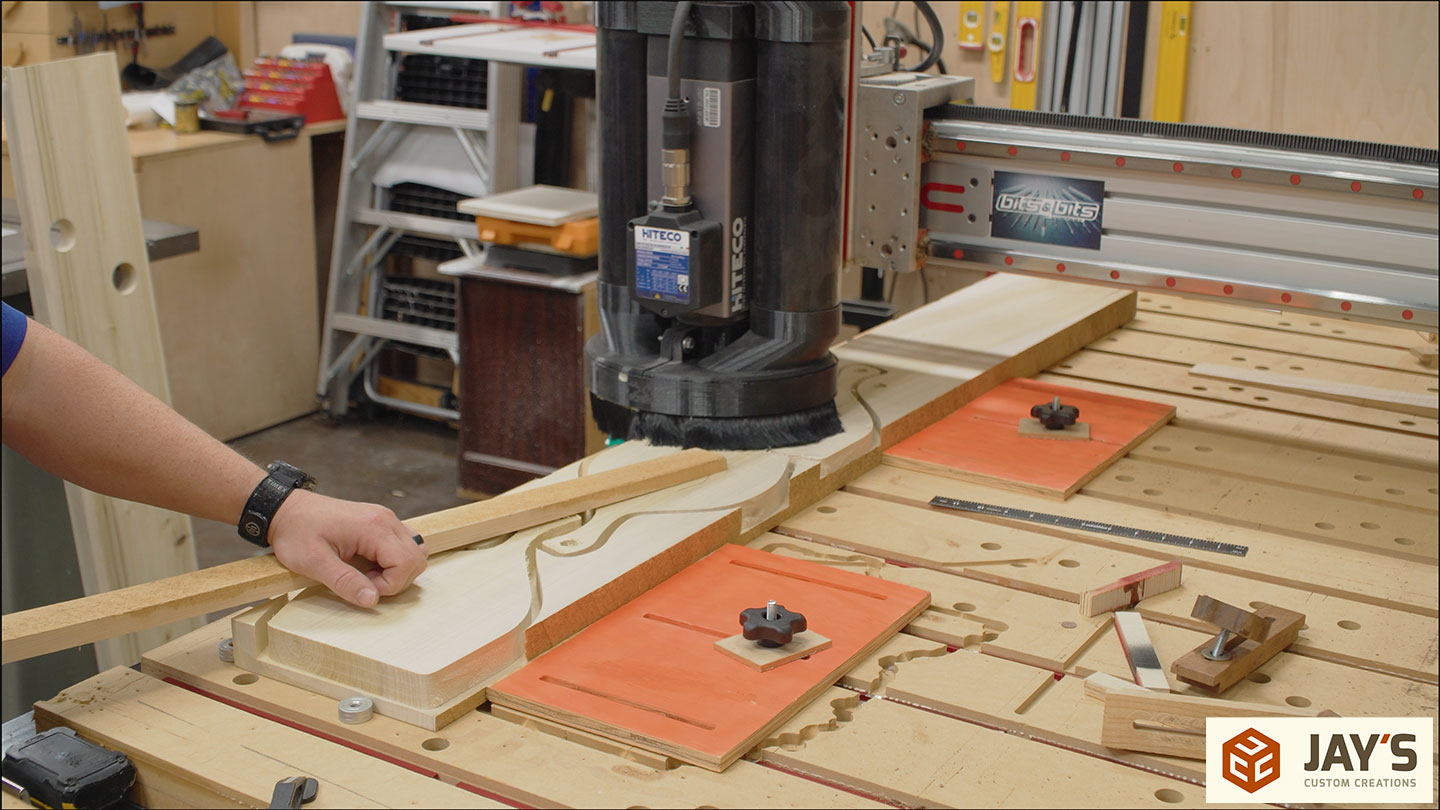
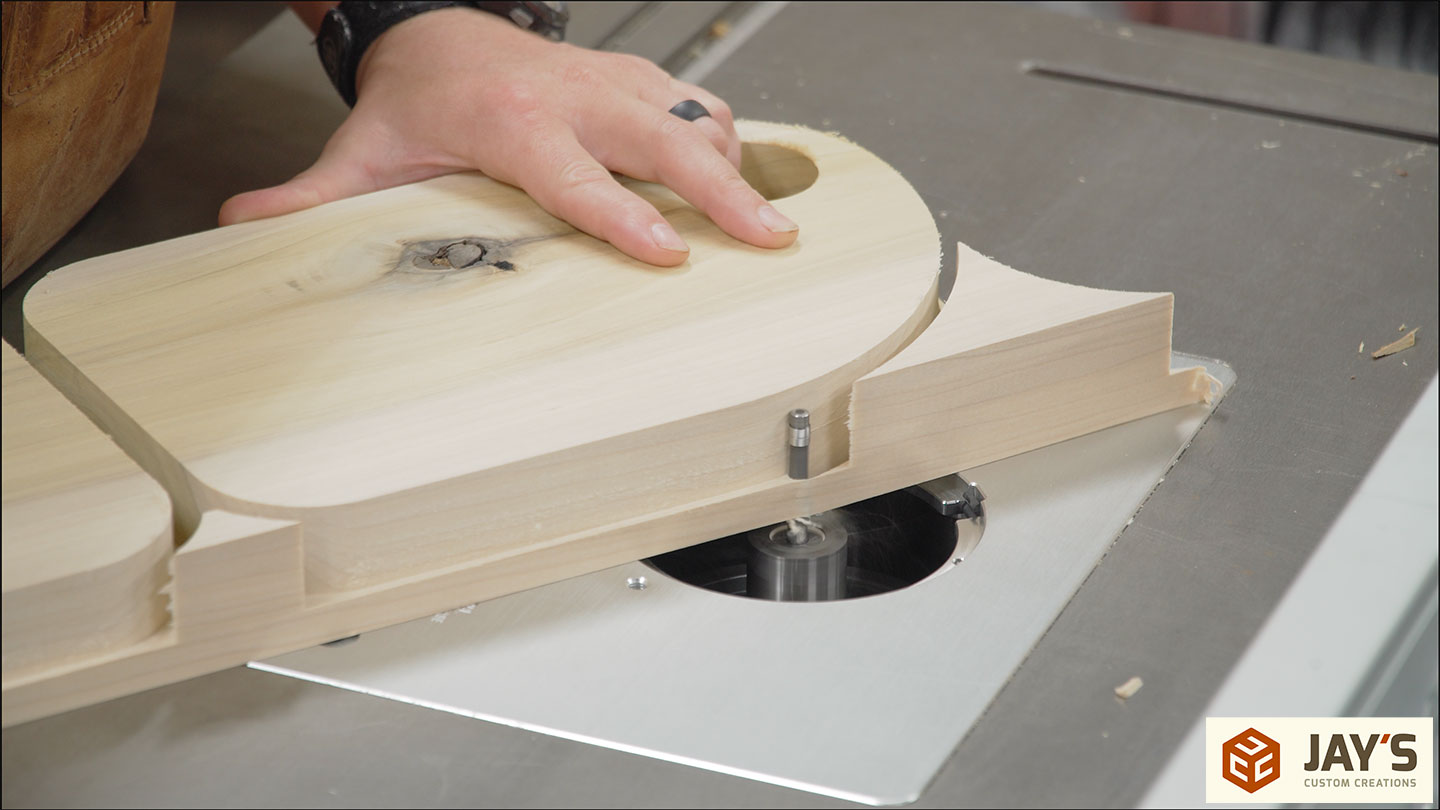
To separate them I’m using an upcut spiral flush trim bit. The upcut direction is reversed when in a router table so it’s actually pulling down. This helps prevent lifting of the material on the router table.
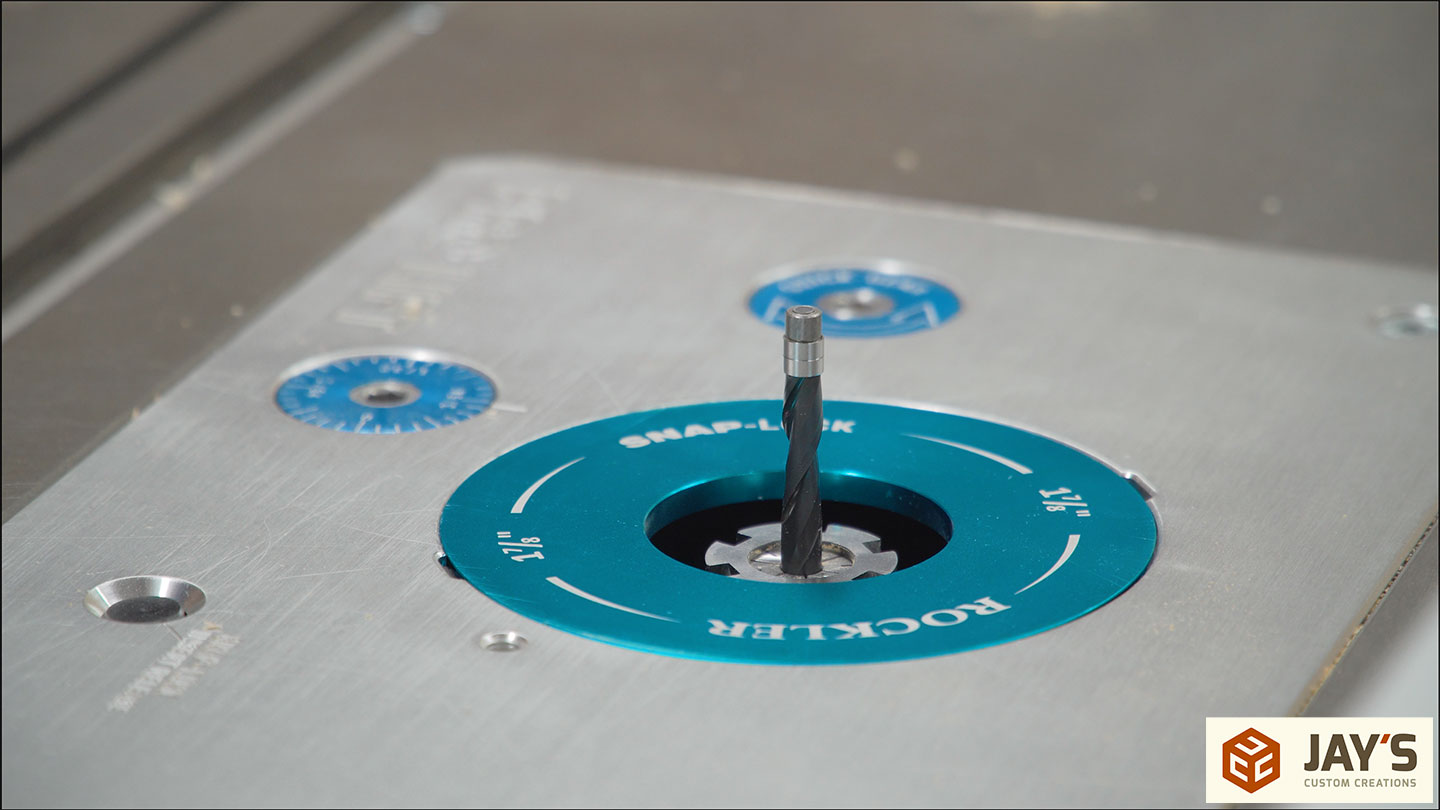
The bit references off the CNC cuts and completes the pieces.
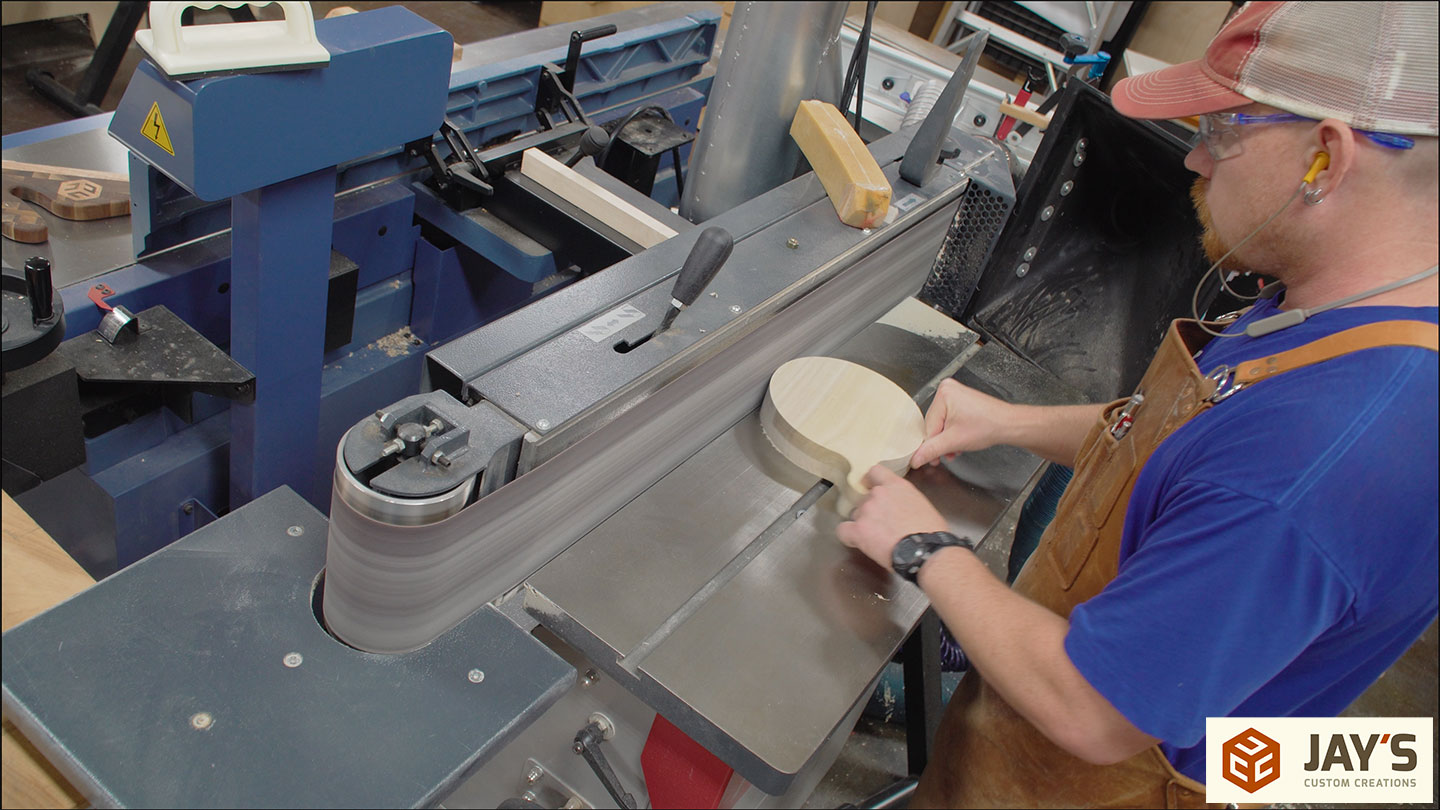
A little clean up work at the belt sander is next. I didn’t go all the way with this step. Just working on the major areas. I know each piece will need final sanding after engraving so there’s no point in doing it all right now only to be done again later.
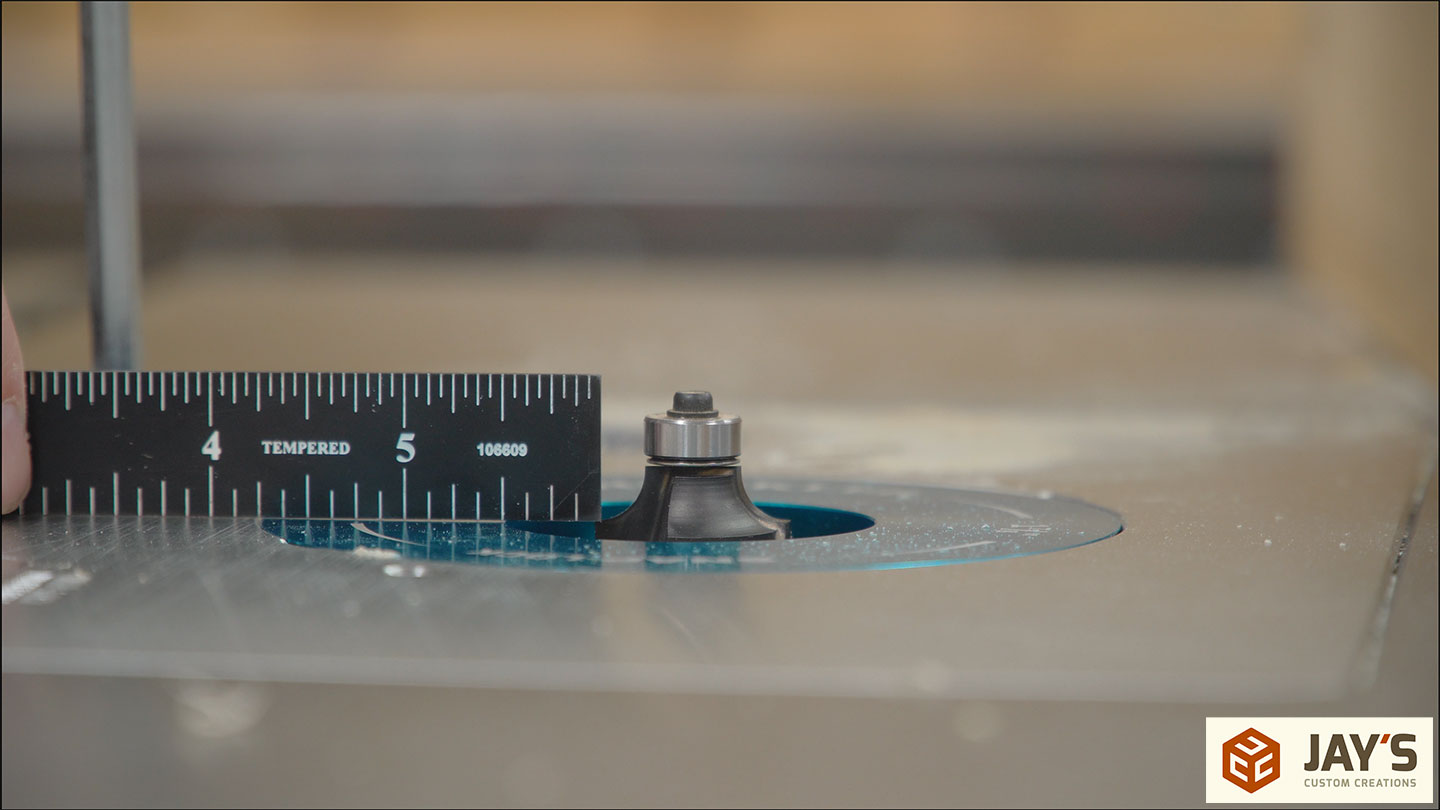
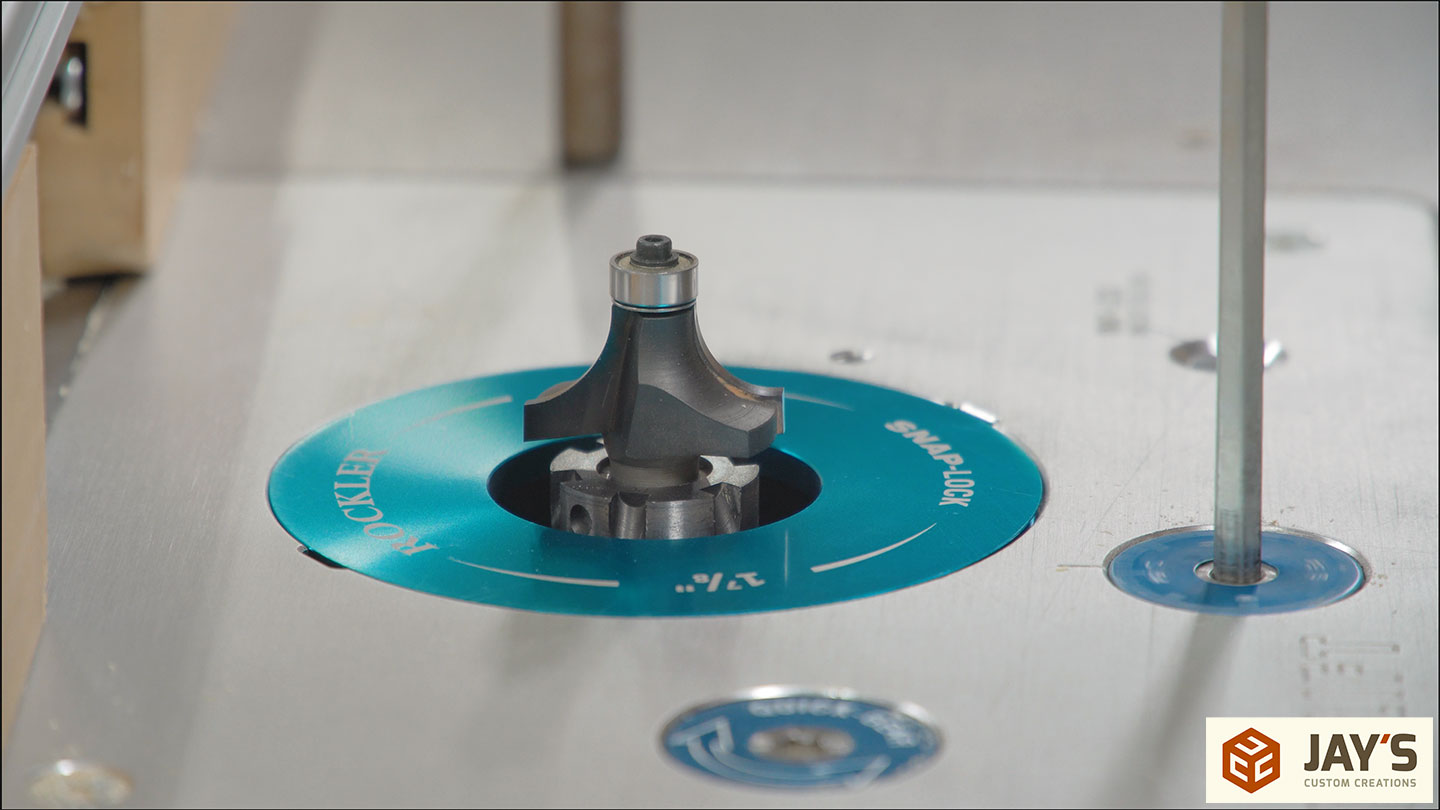
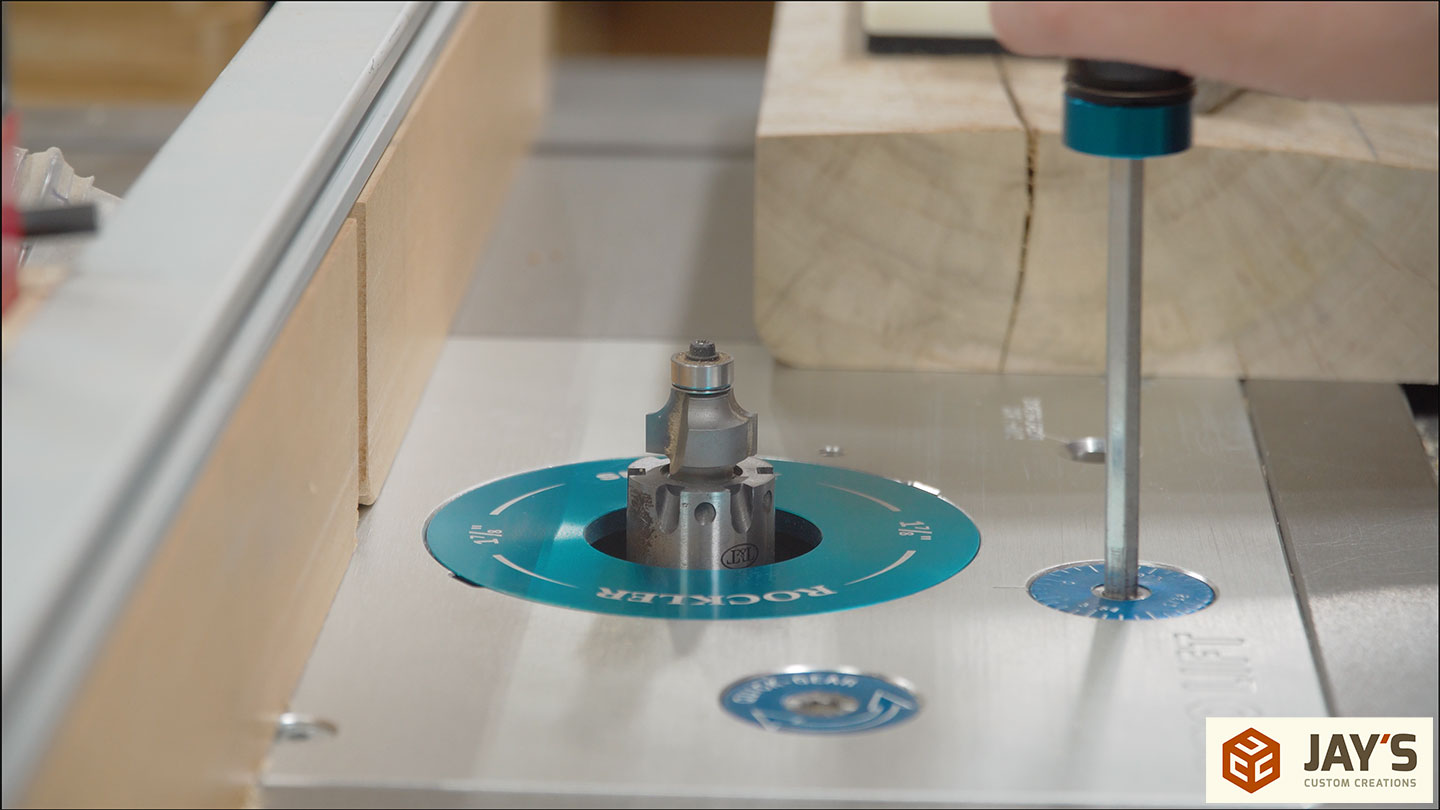
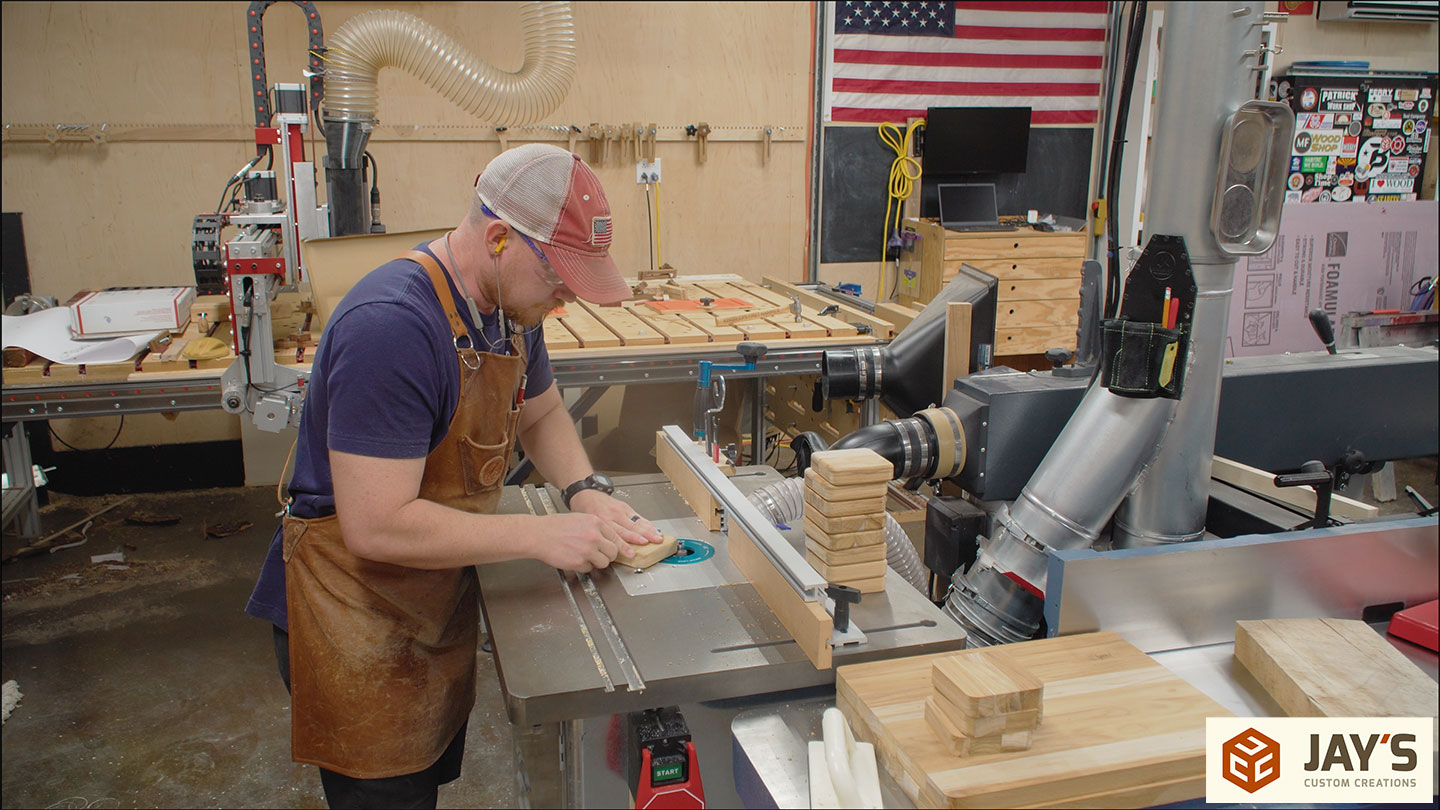
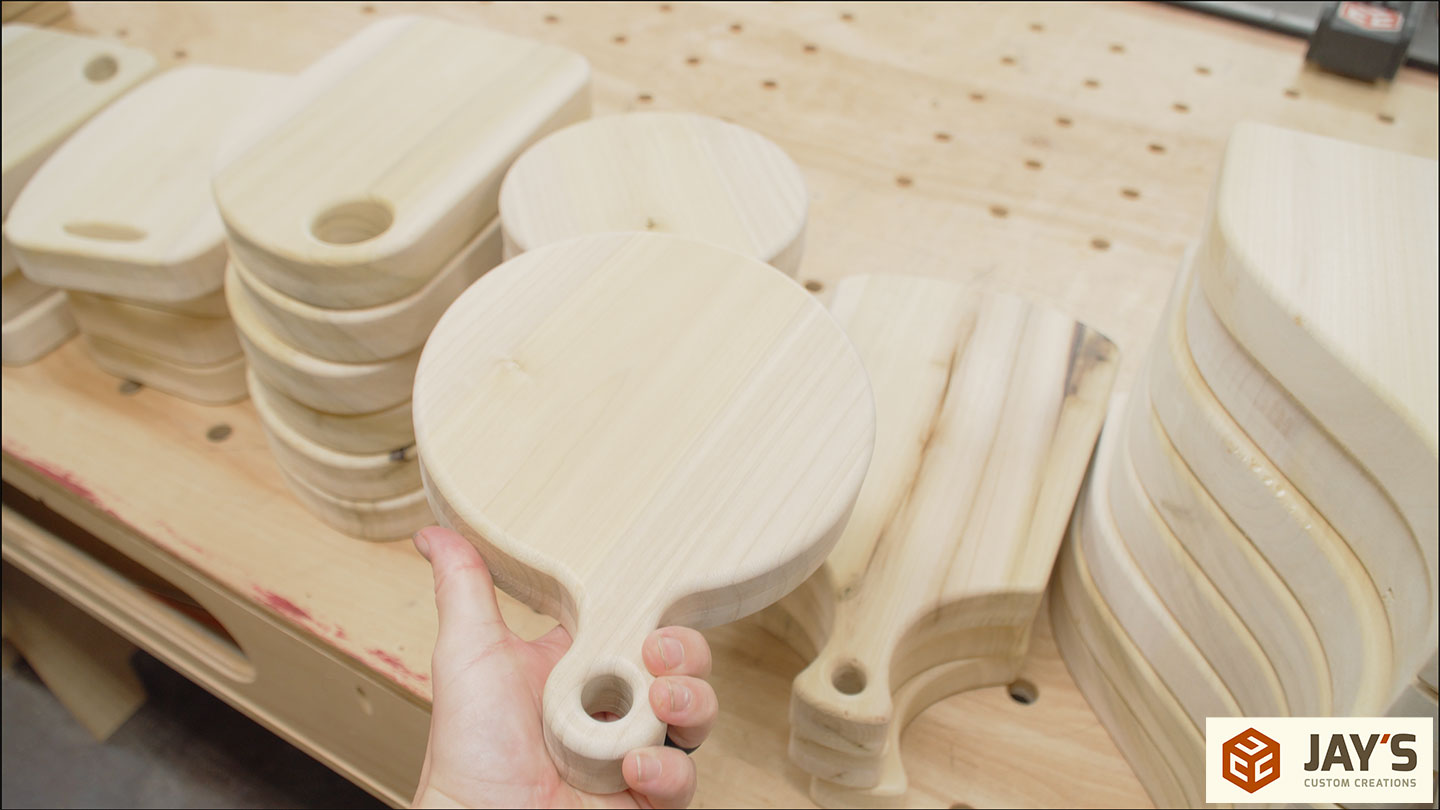
Back to the router table for some roundover action. I think this was around 1/4″ radius. Maybe 5/16″.
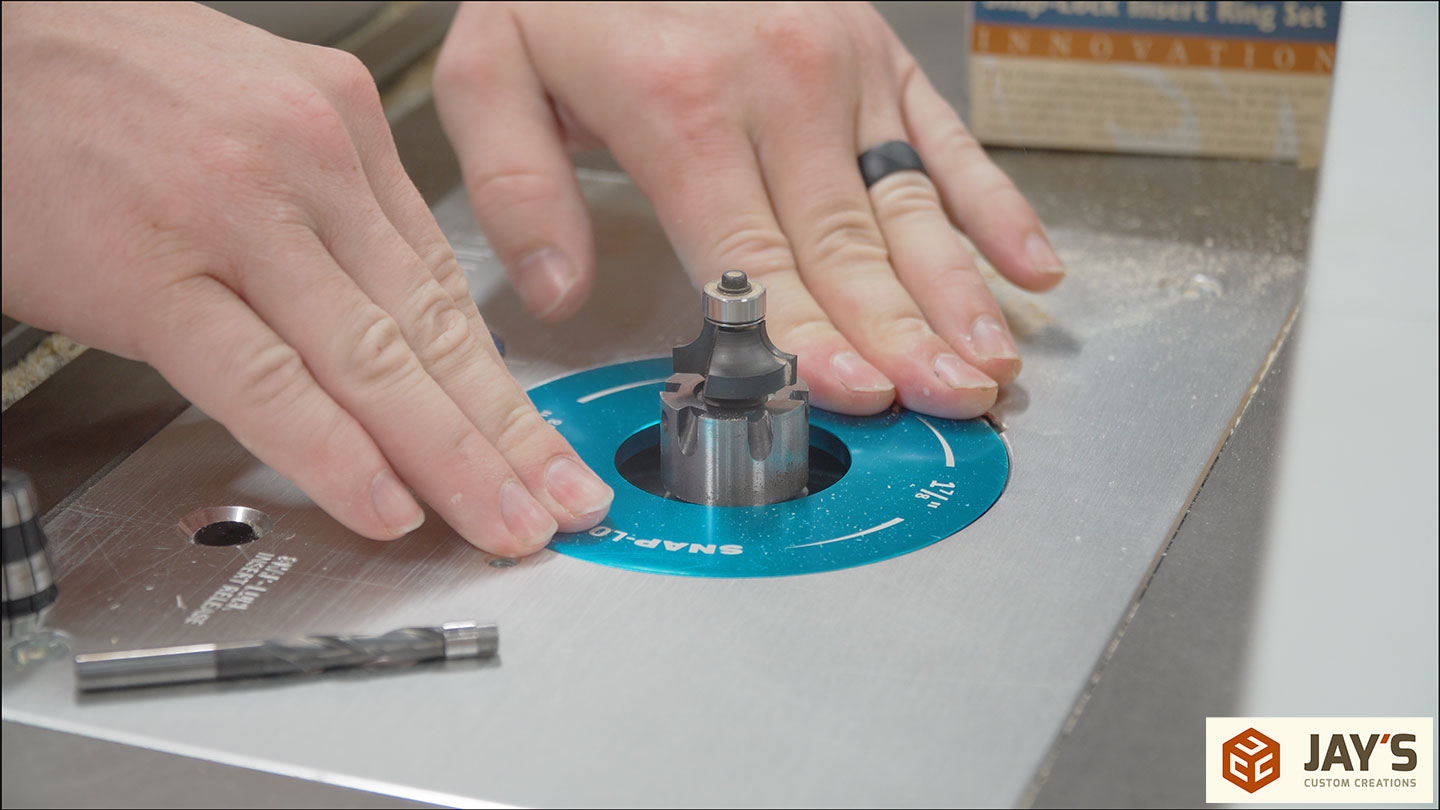
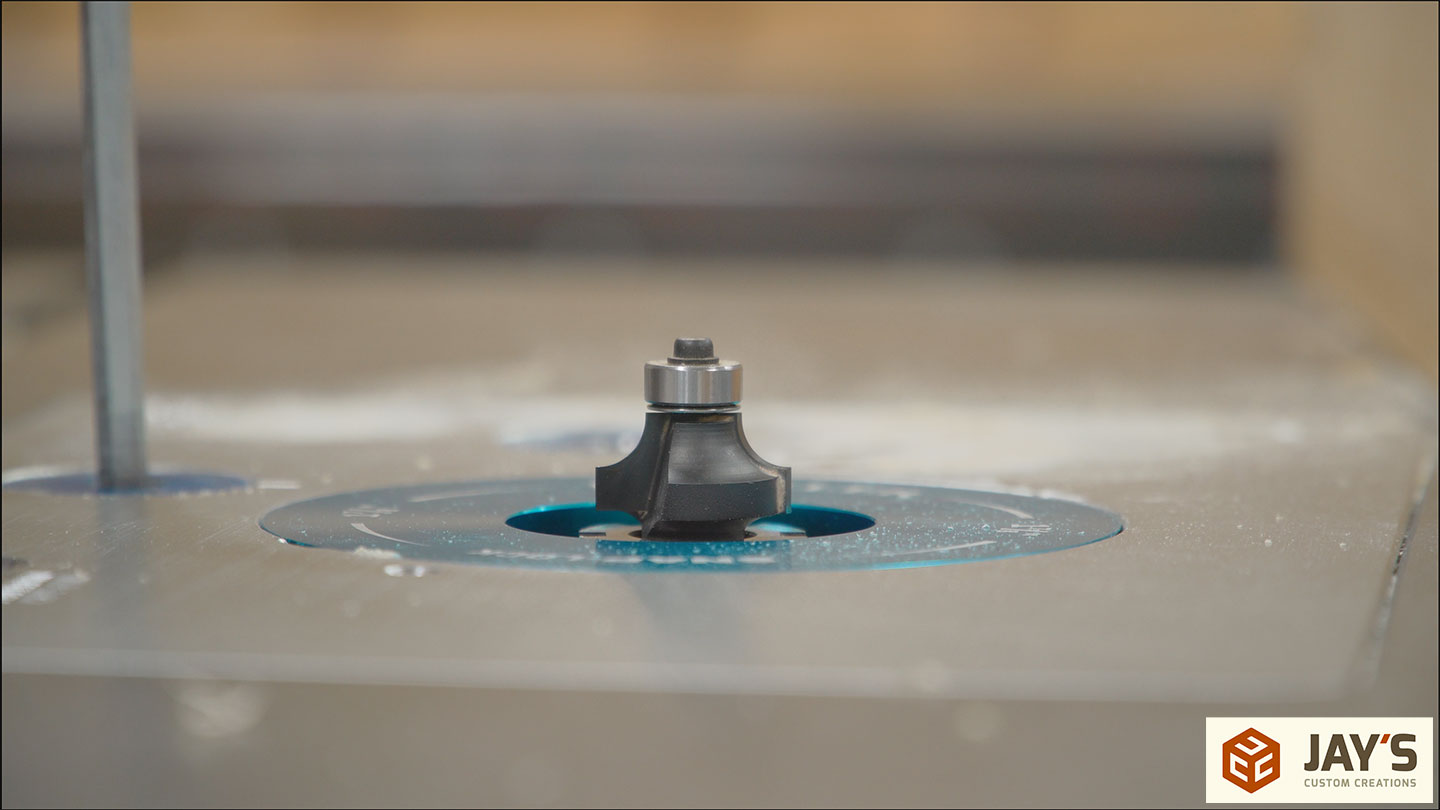
I like to use a ruler to set the height of the roundover bit. As soon as the ruler can slide over the top of the roundover wing the bit is low enough.
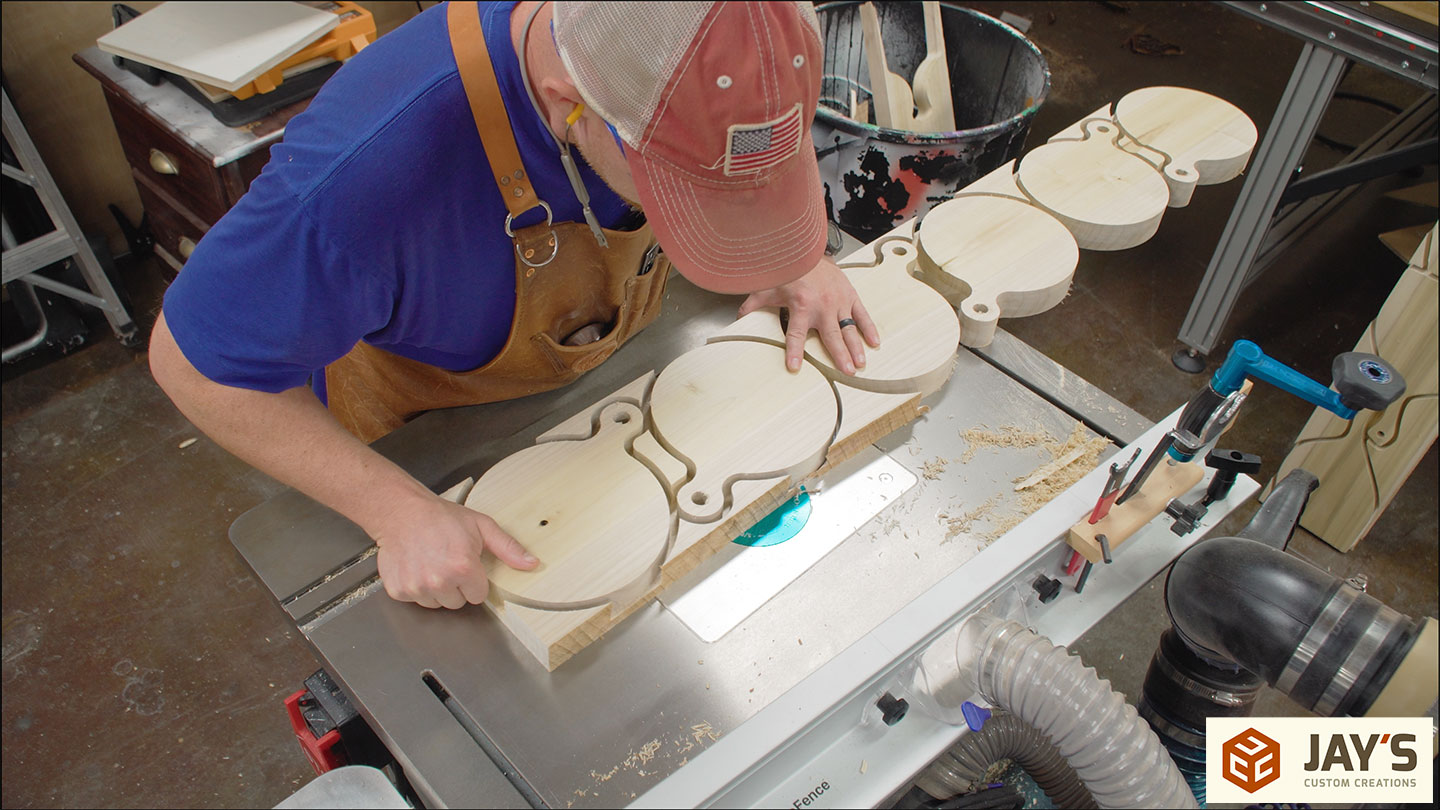
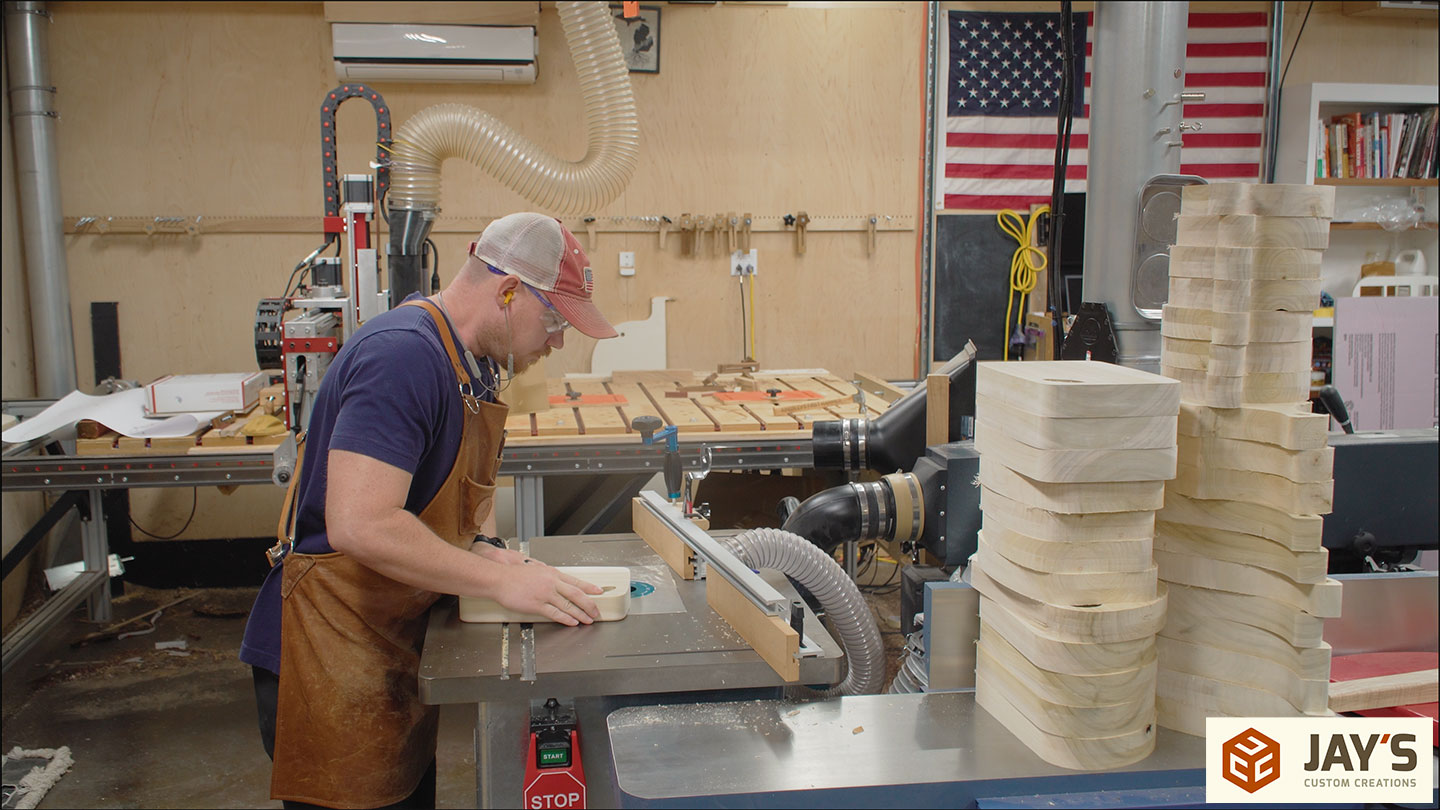
Batch work again for the roundovers. Moving the stack from one location to the next.
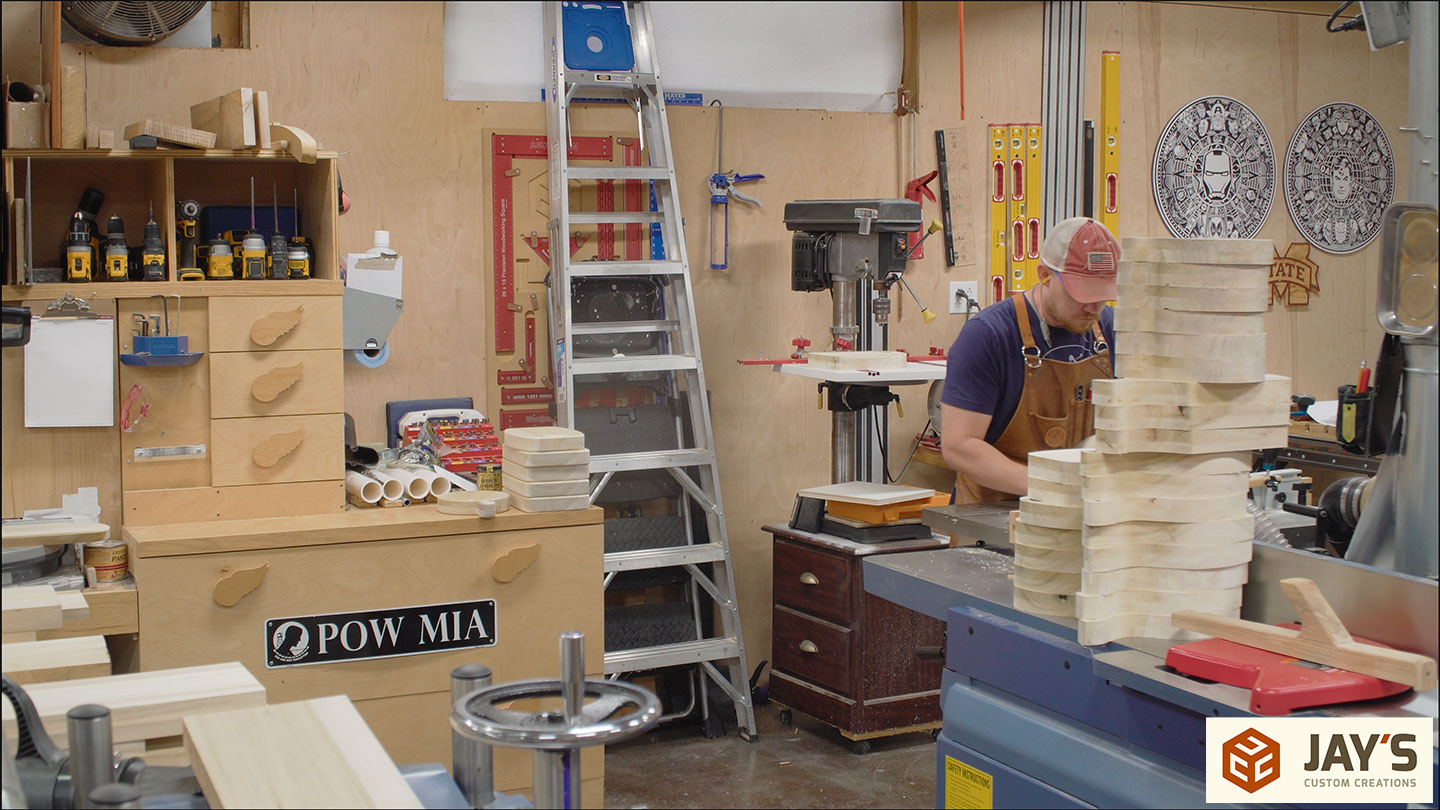
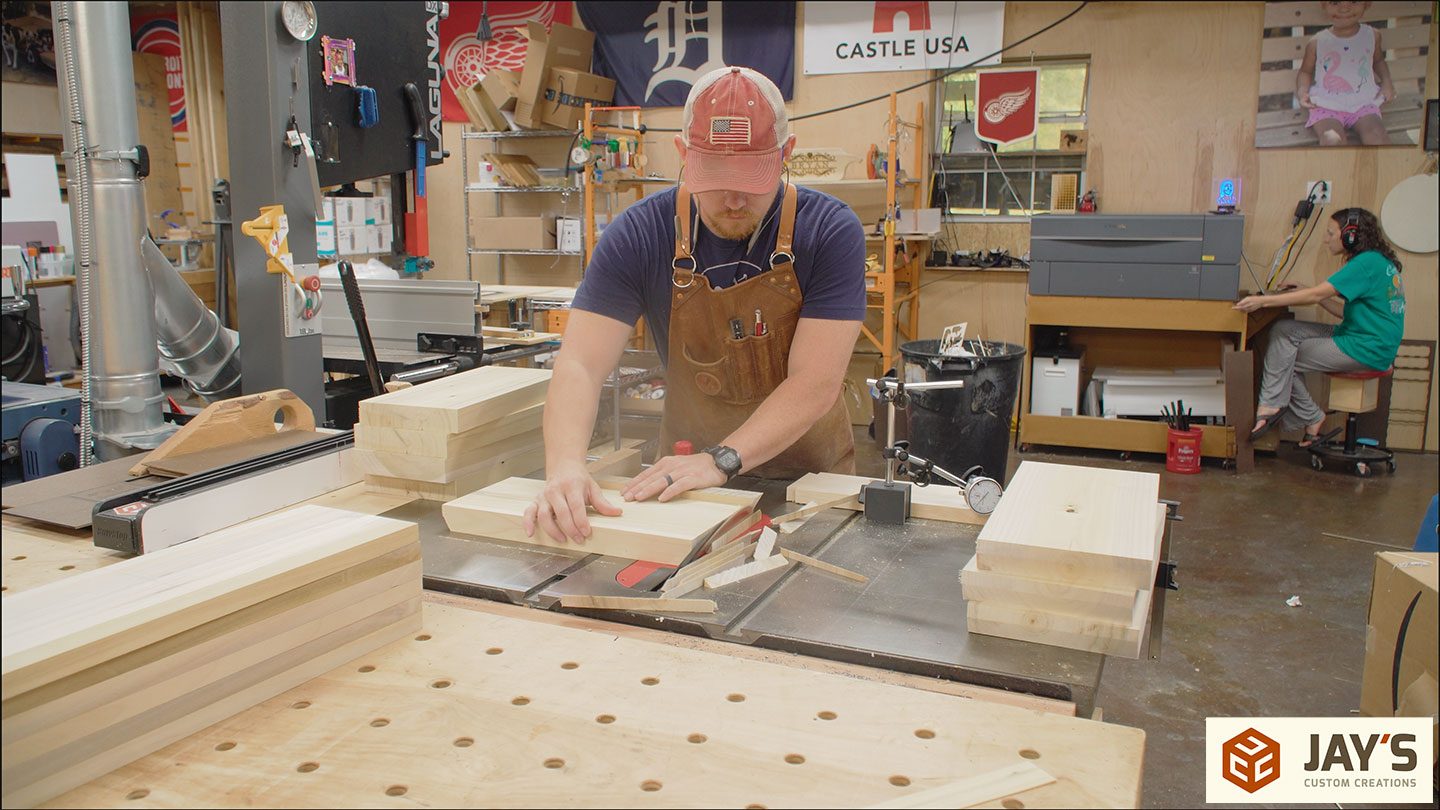
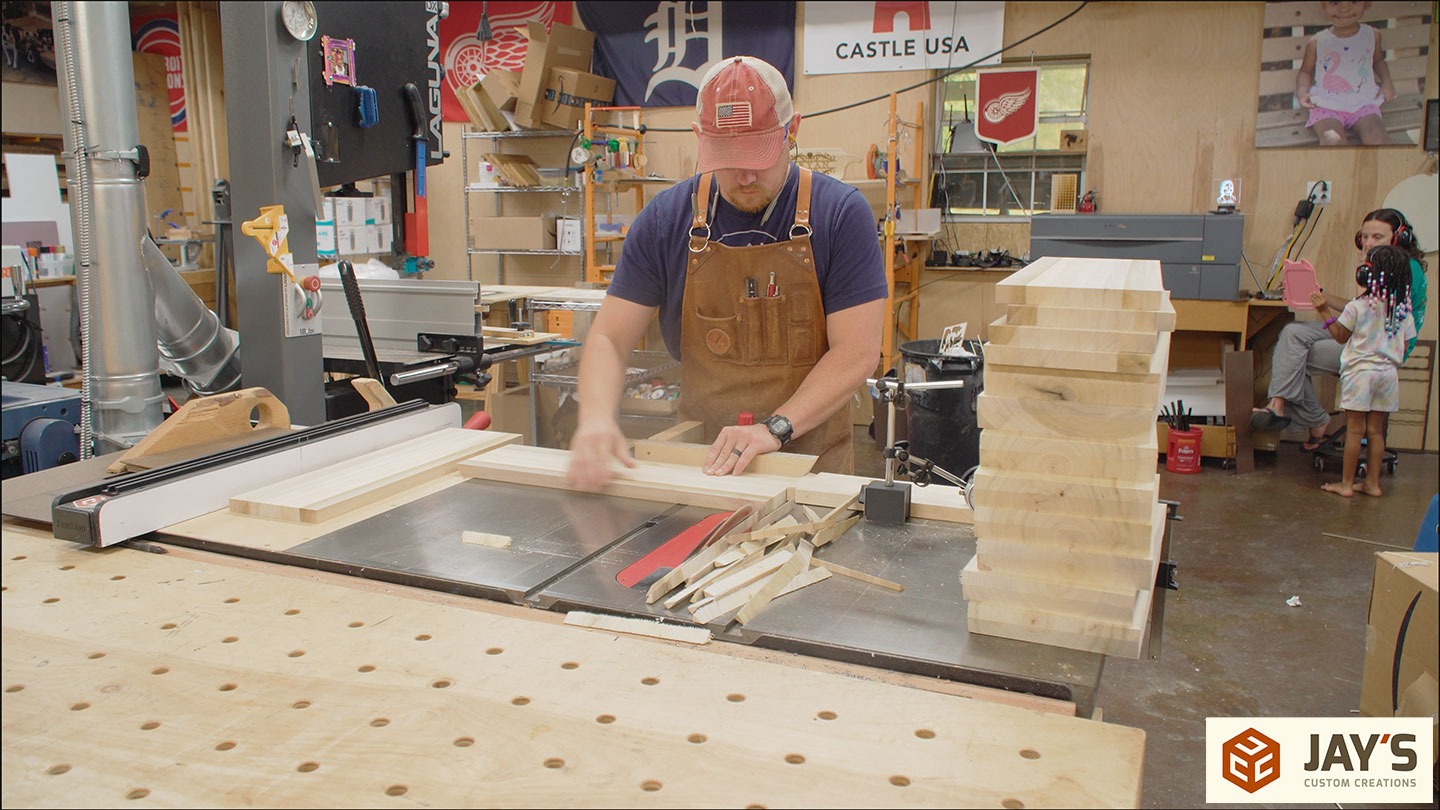
I didn’t cut all of the material on the CNC machine. Instead, I only cut the boards that had the least amount of knots and defects. For the rest of the material, I cut the knots out the best I could and turned them into rectangular blanks.

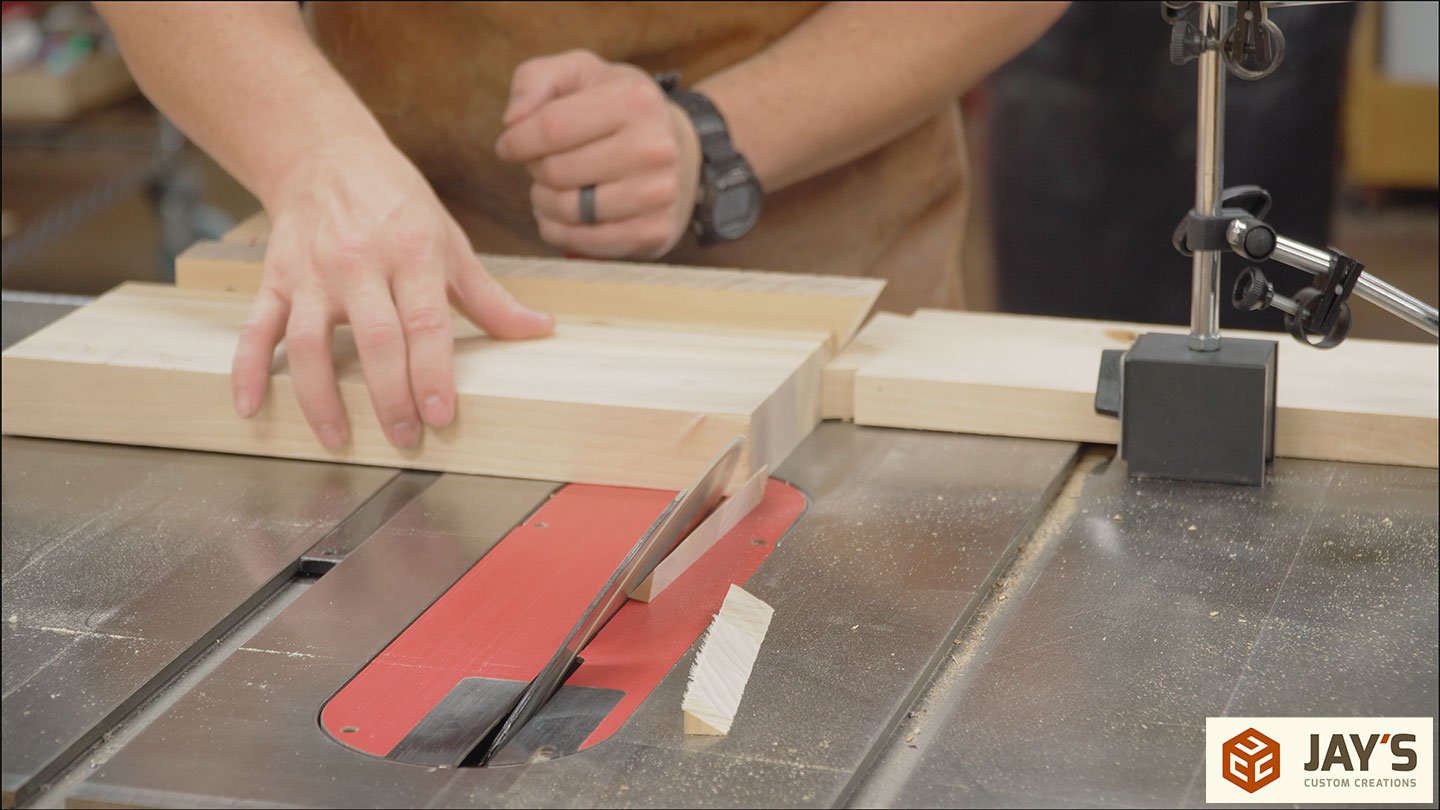
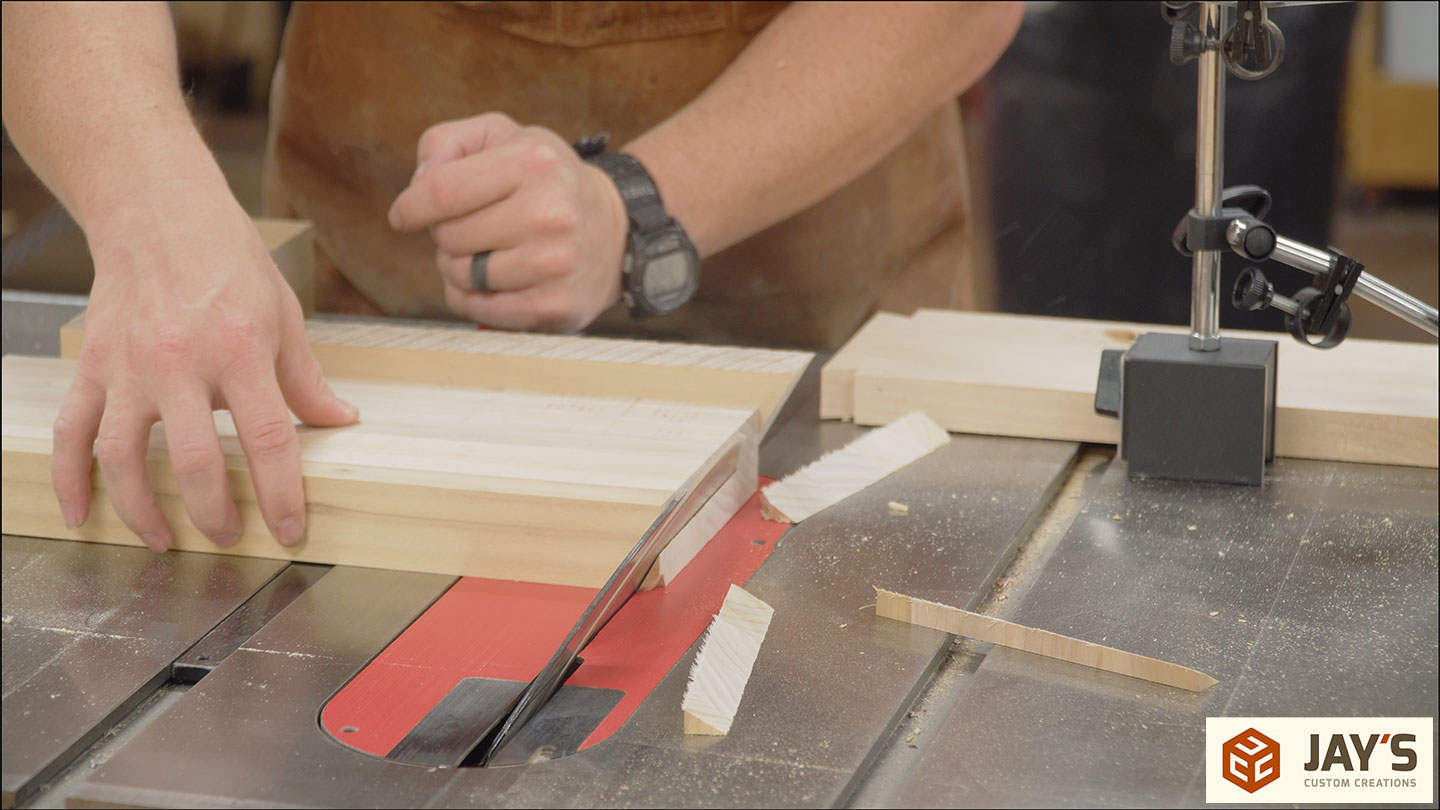
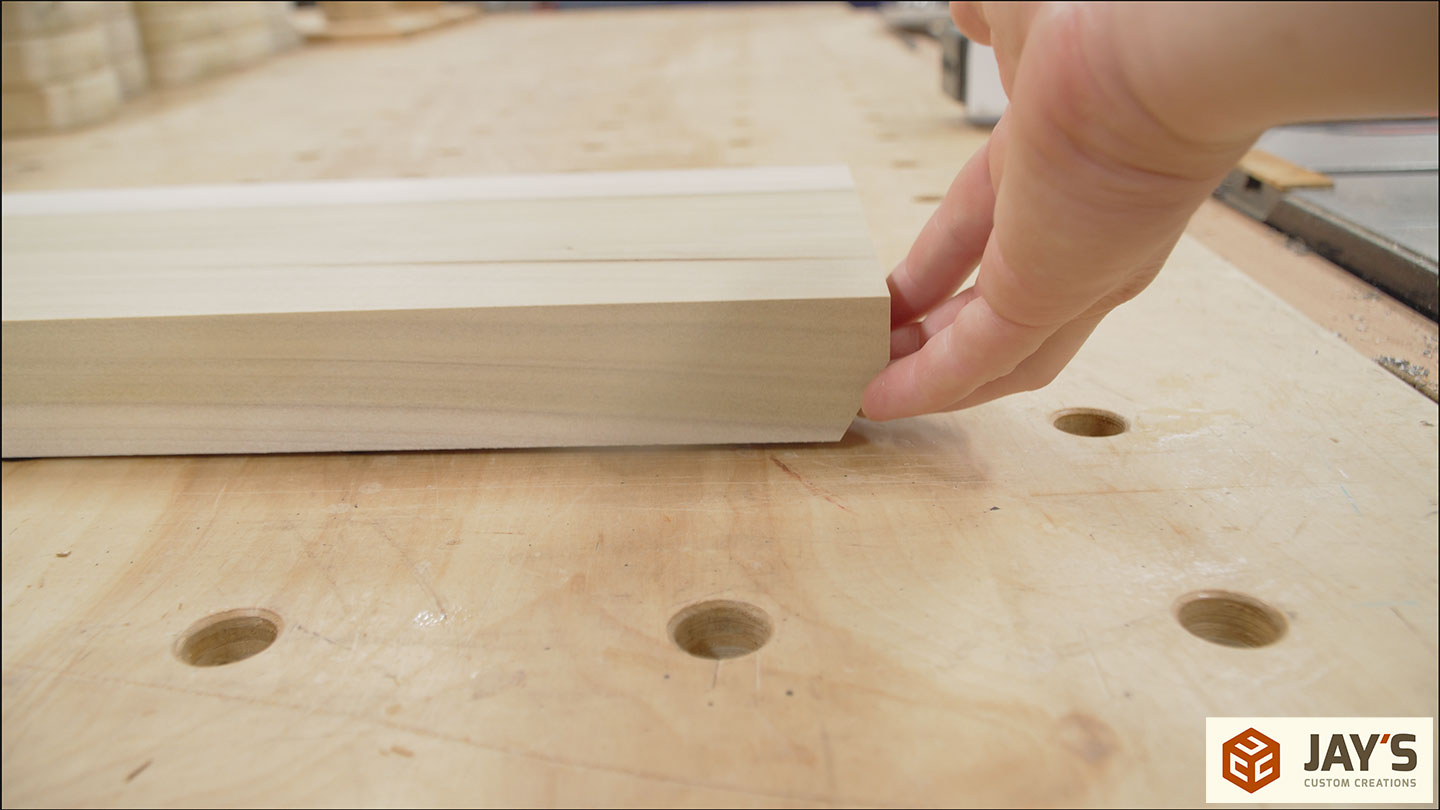
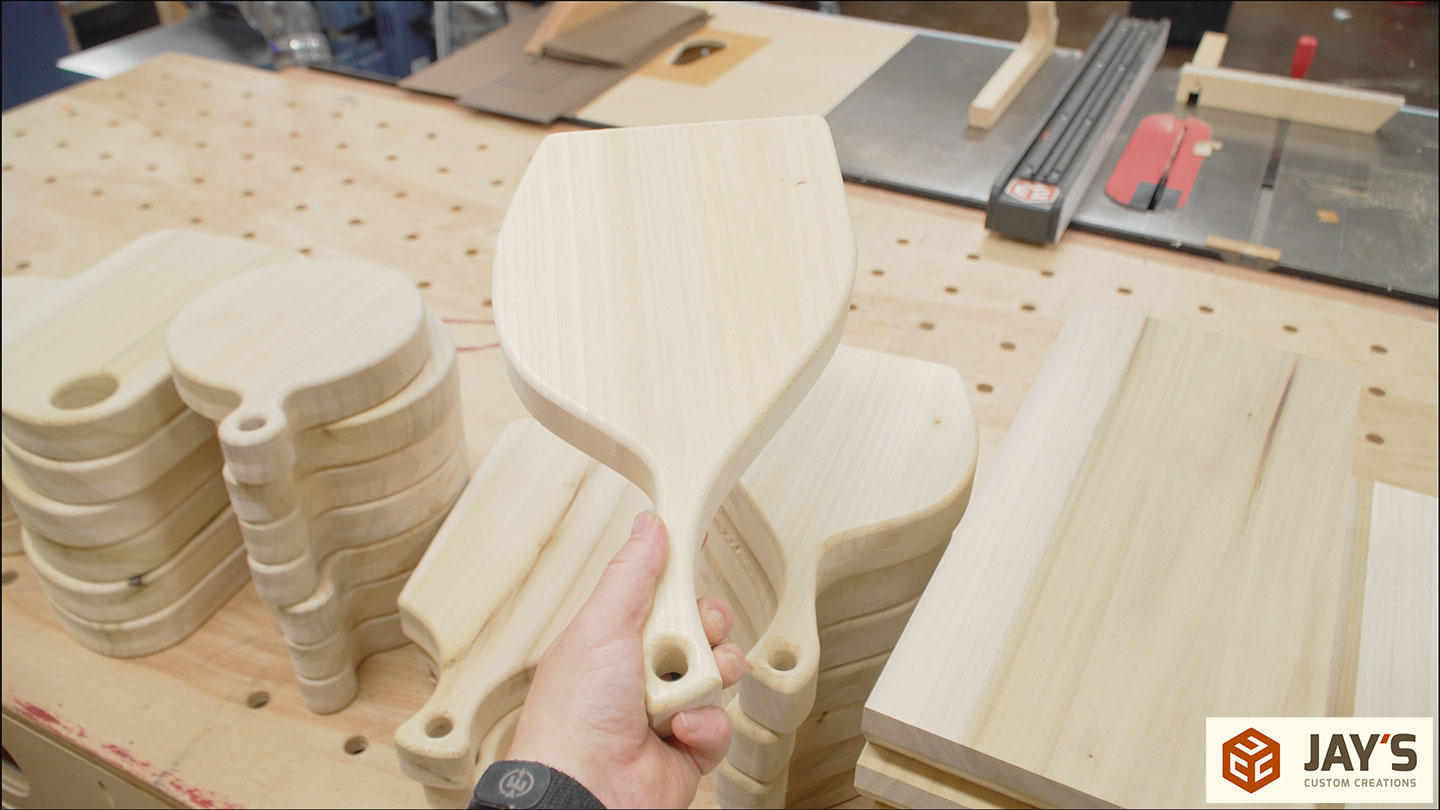
The most under-rated cutting board or charcuterie board handle design in my opinion is a simple 30 degree chamfer on the bottom edge. This cut generally produces way less burning compared to a router bit and, in my opinion, functions much better than a single location handle.
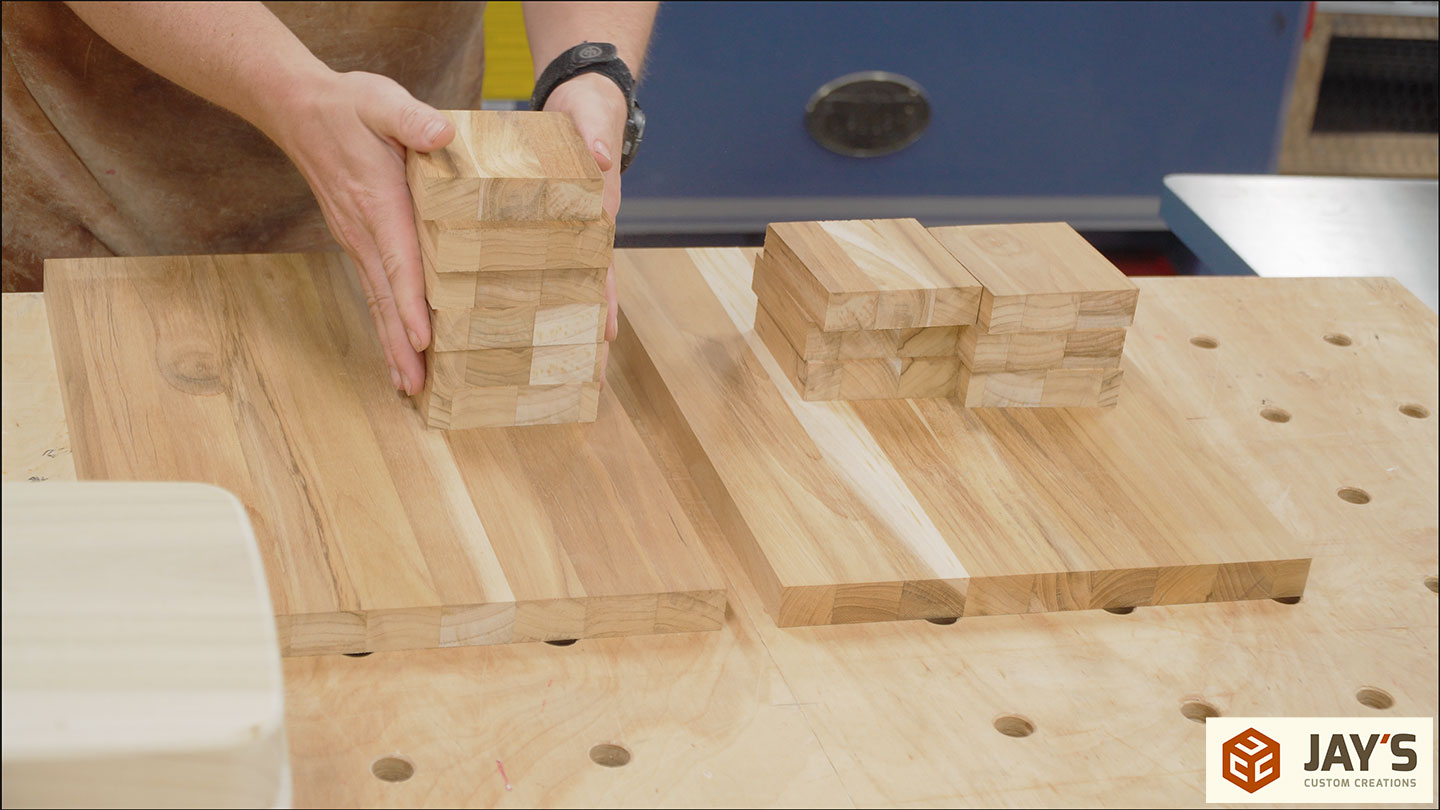
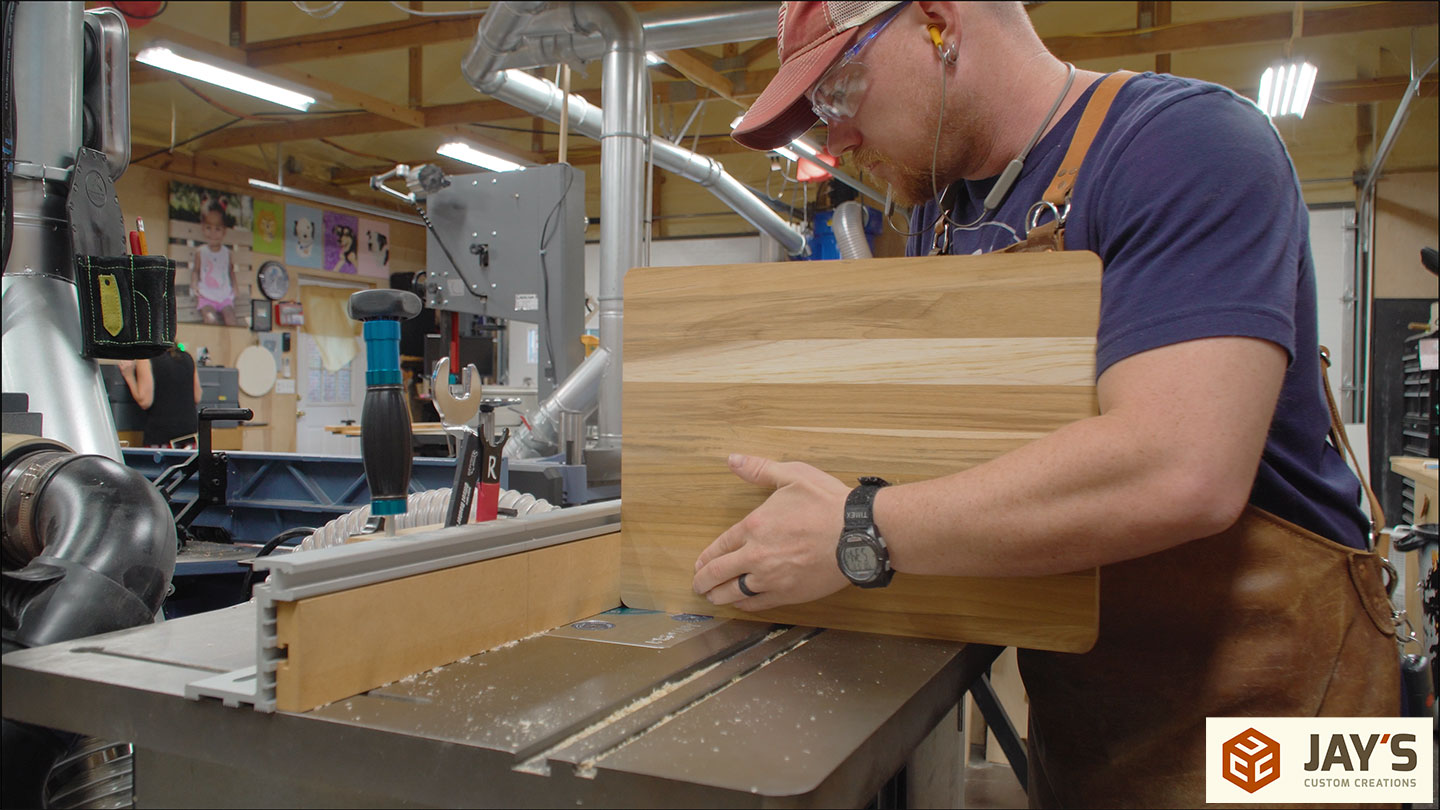
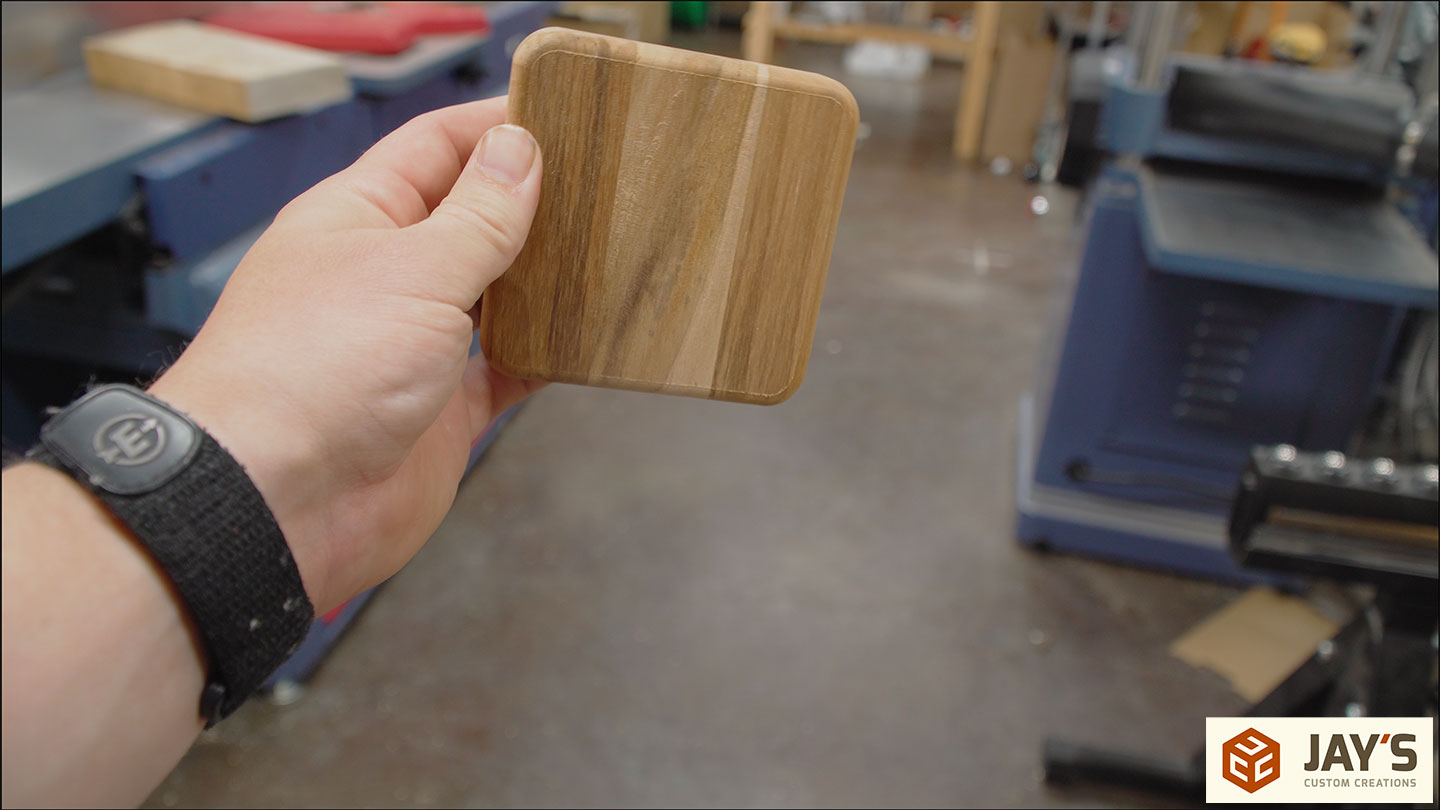
My wife also picked up a pre-made teak panel to experiment with. Sometimes it’s more profitable to buy pre-made panels than it is to make them yourself. Time will tell in this experiment. The single panel produced two cutting/charcuterie boards and 12 coasters.
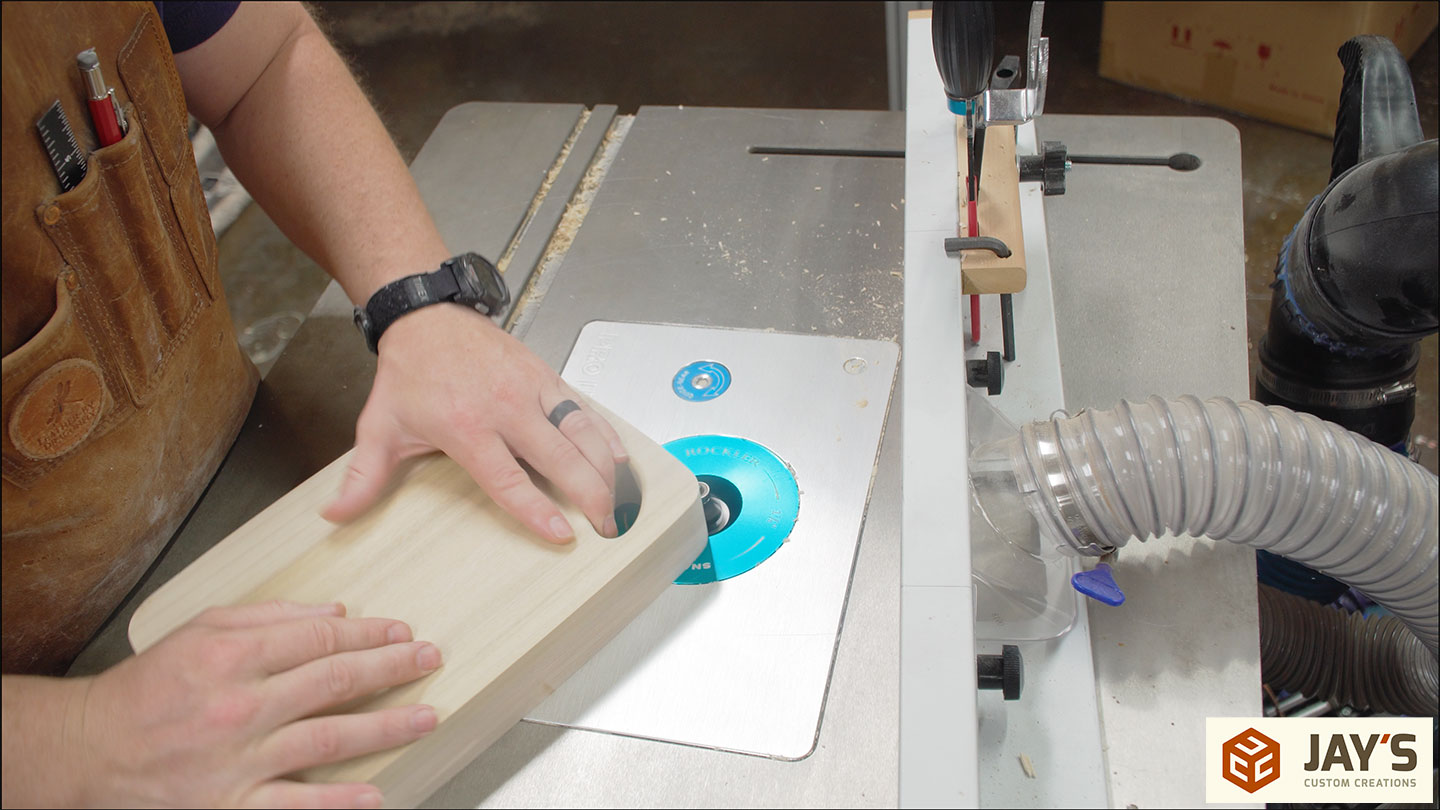
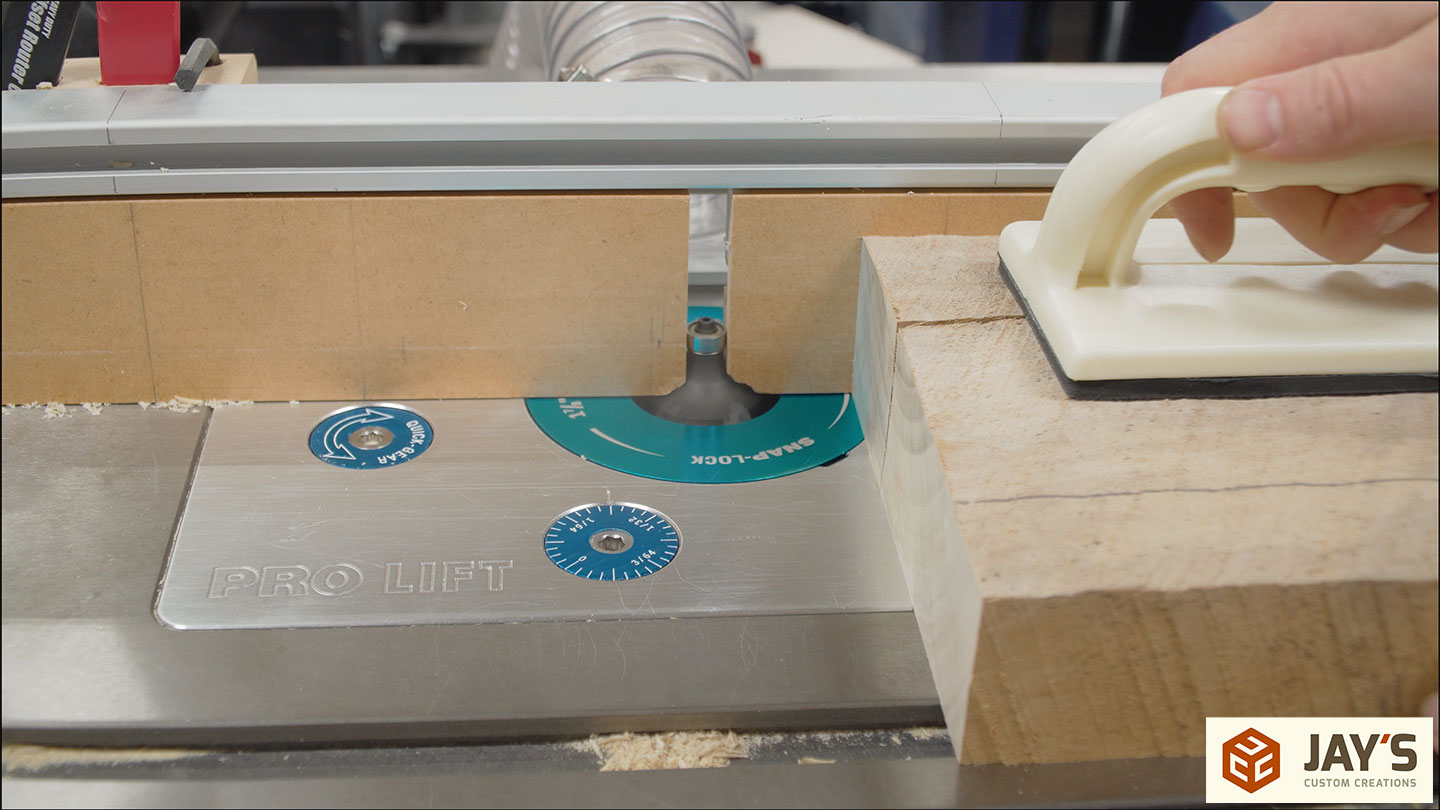
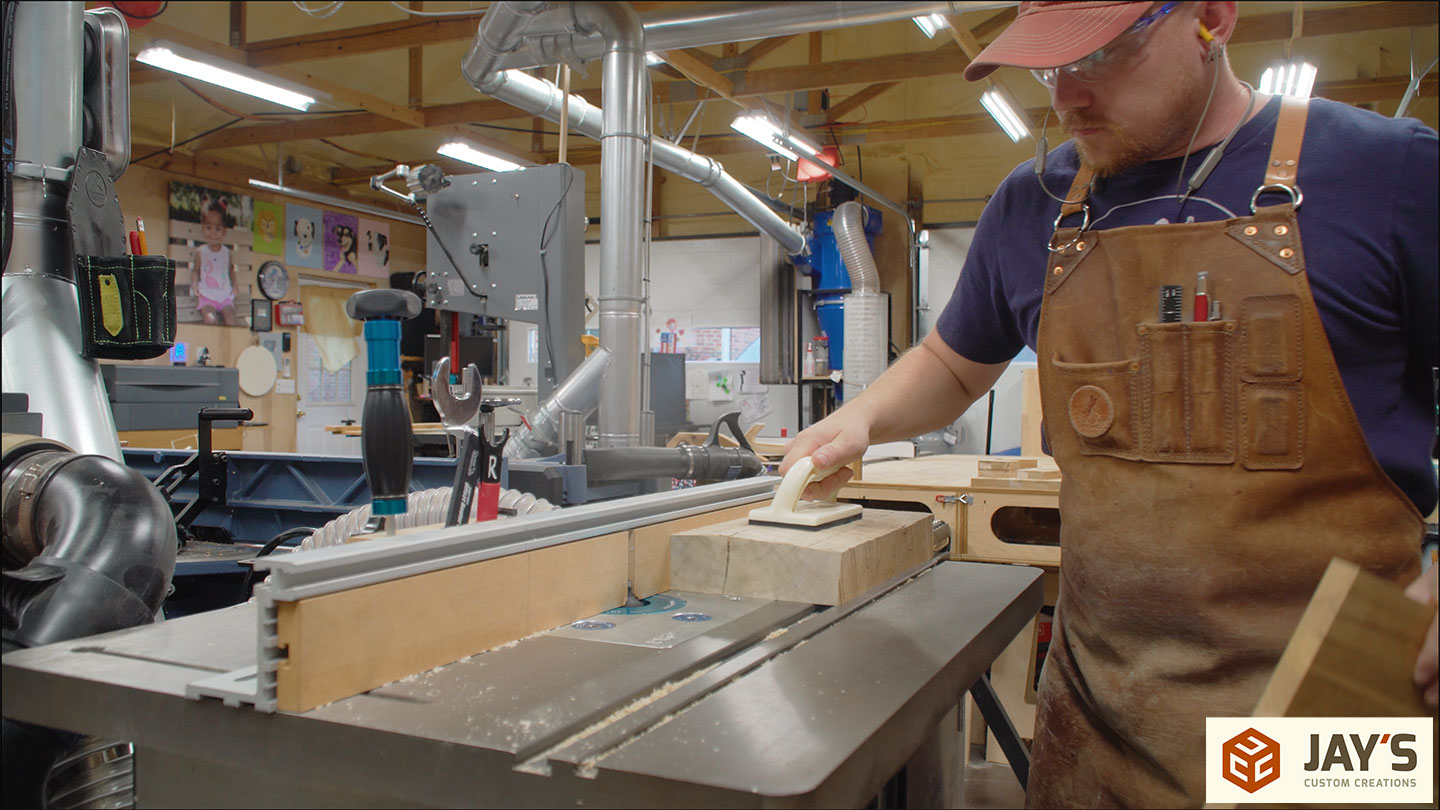
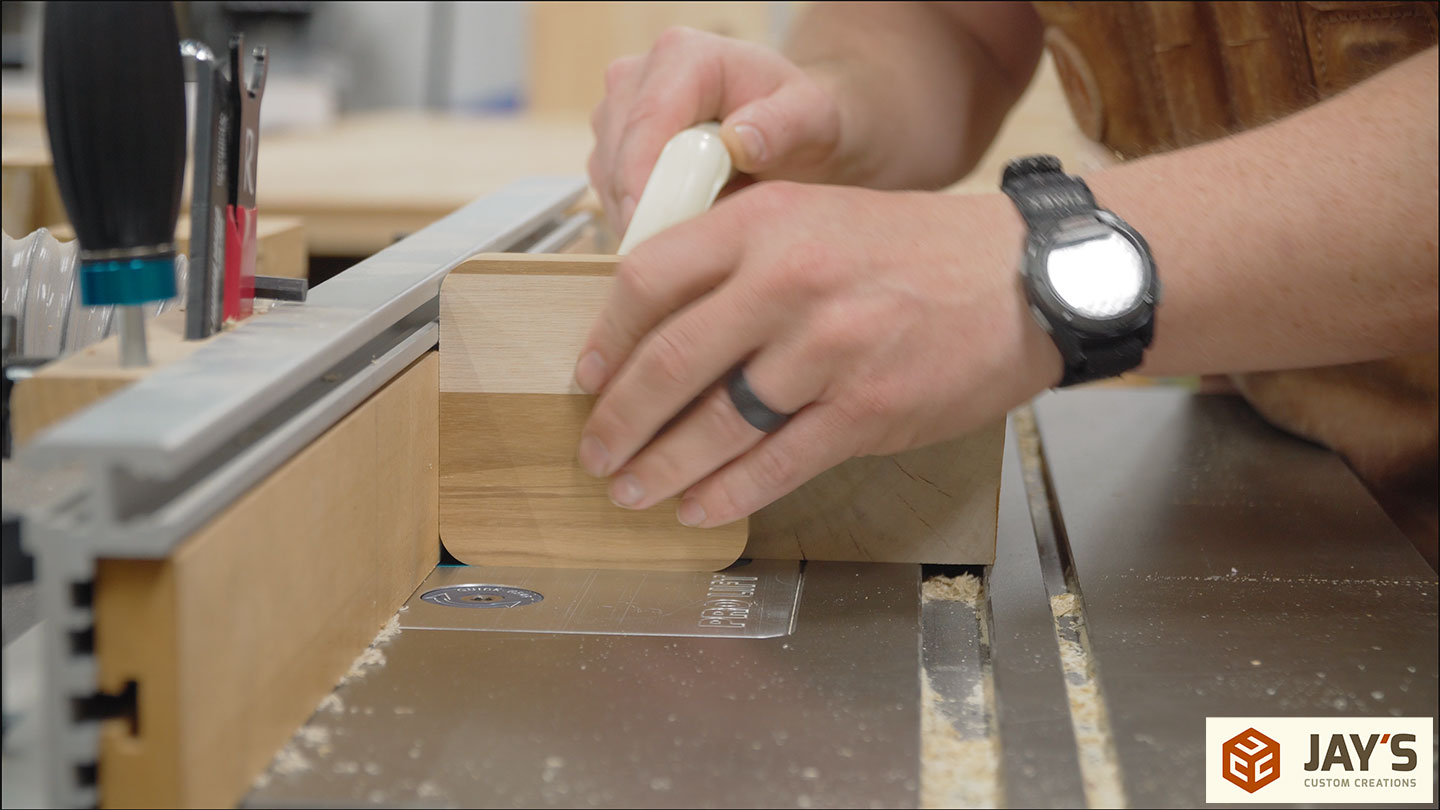
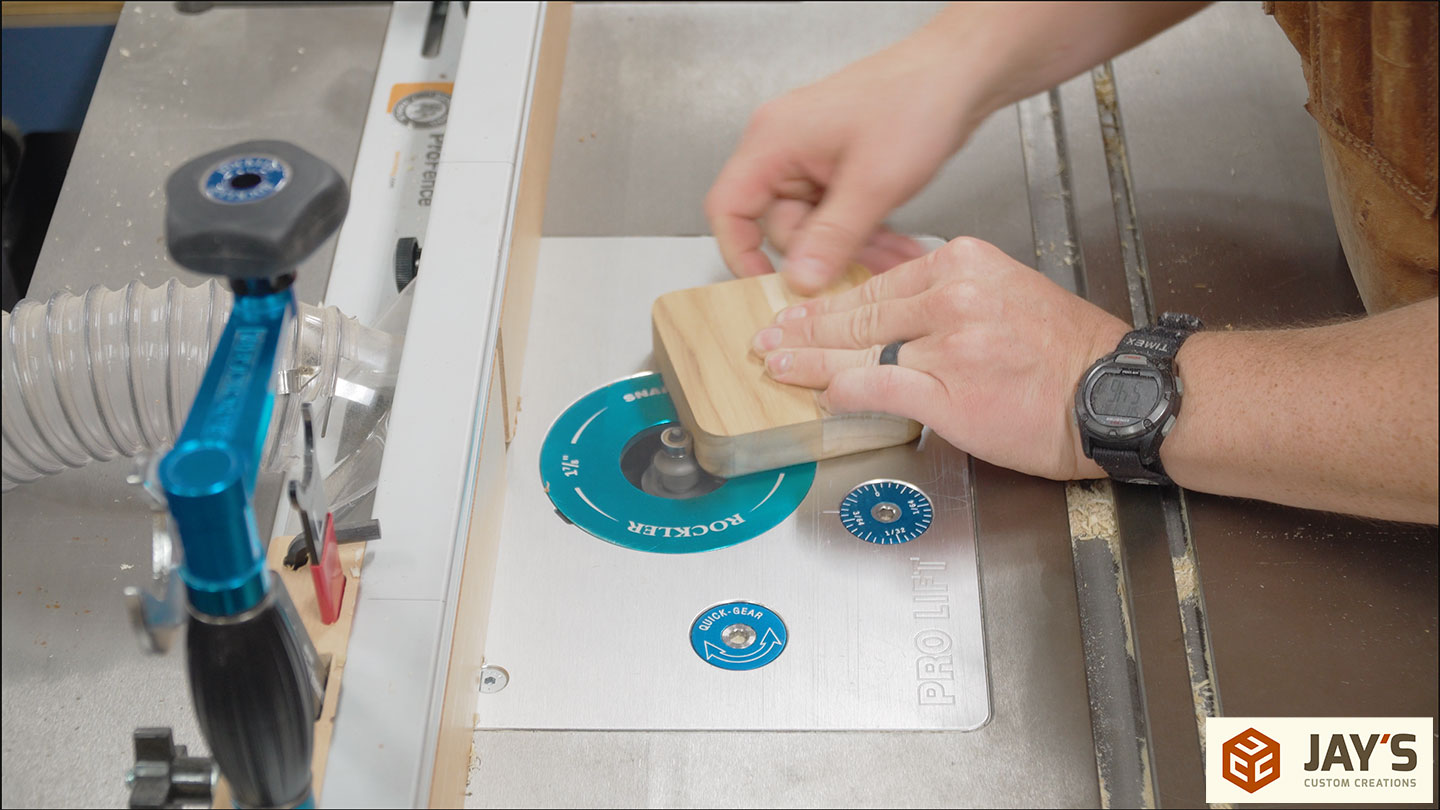
More roundover action for the teak stuff. I use the largest radius roundover bit I had in the router table to round the teak corners on edge.
With a square backer board to prevent tearout, the material can be pushed through the bit to round the corners. This worked very well and I think it will be my go-to method for rounding corners on boards instead of using a radius template that you flush trim onto the board corner. Assuming the board or panel is small enough to fit on top of the router table.
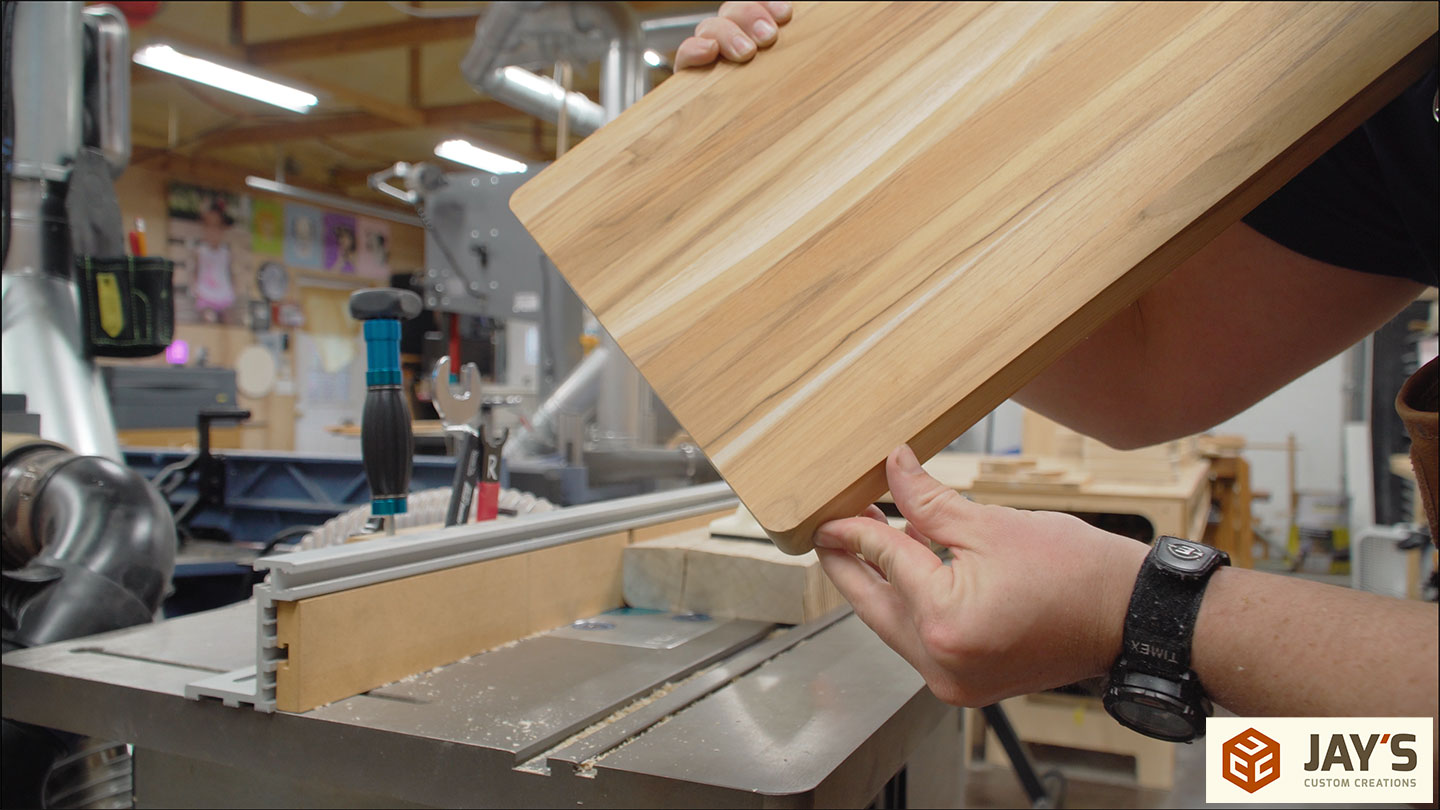
One final roundover for the top and bottom edge of the teak boards.
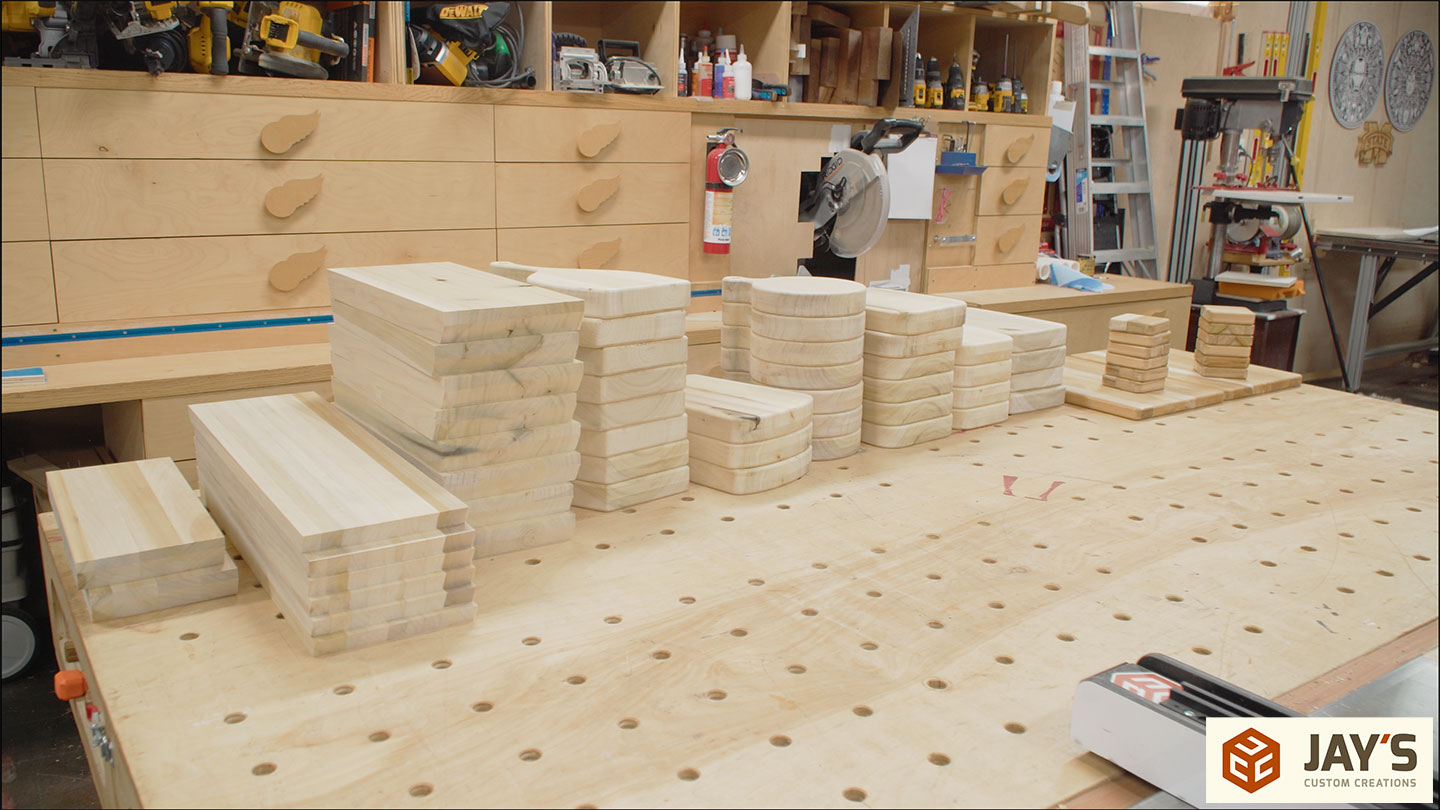
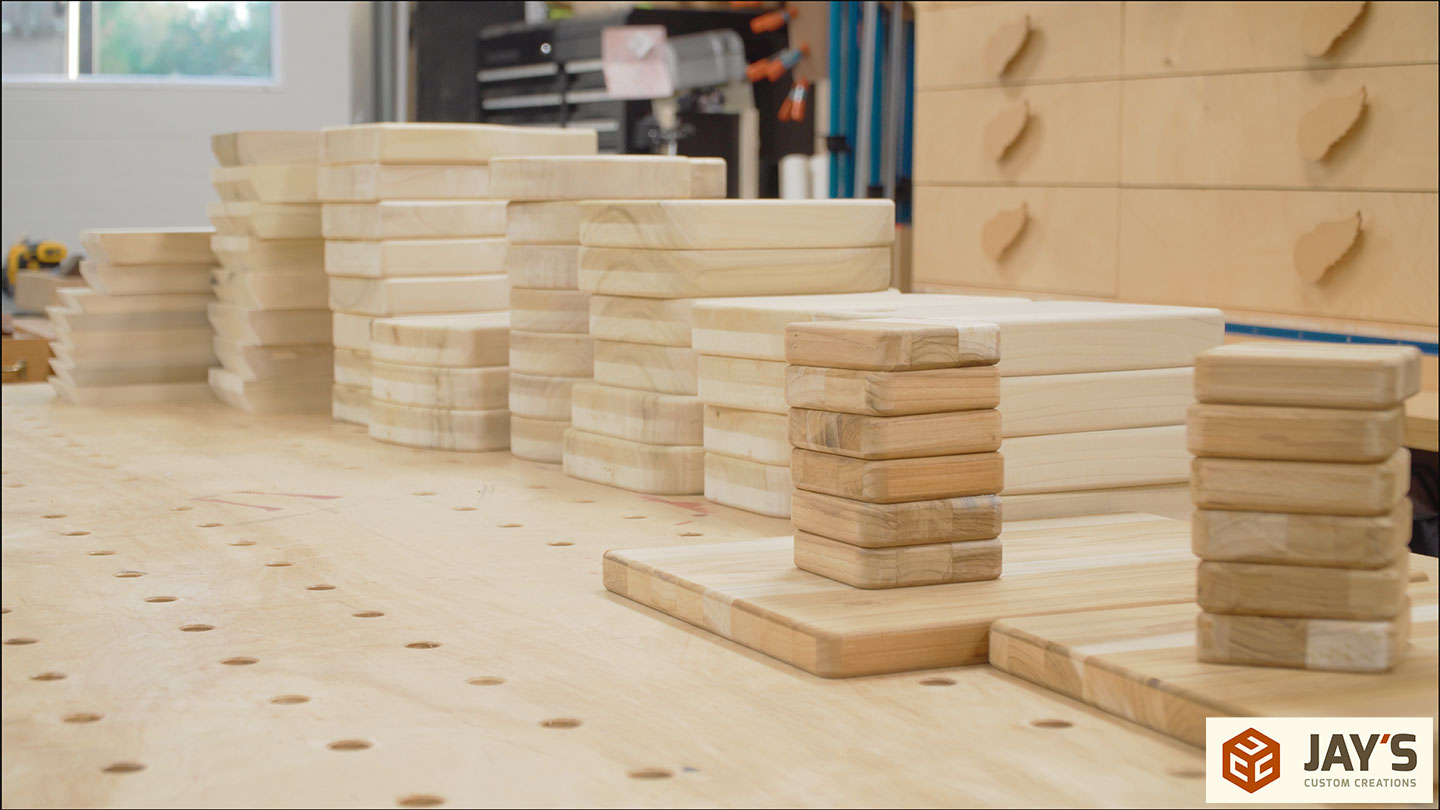
This is the final yield. Quite a few boards for my wife to experiment with and sell. If you’re interested in any of these products you can find them on my wife’s website momandmelaser.com. If you don’t find them there, send her an email at momandmelaser@gmail.com and let her know what you are after and how you want it personalized.
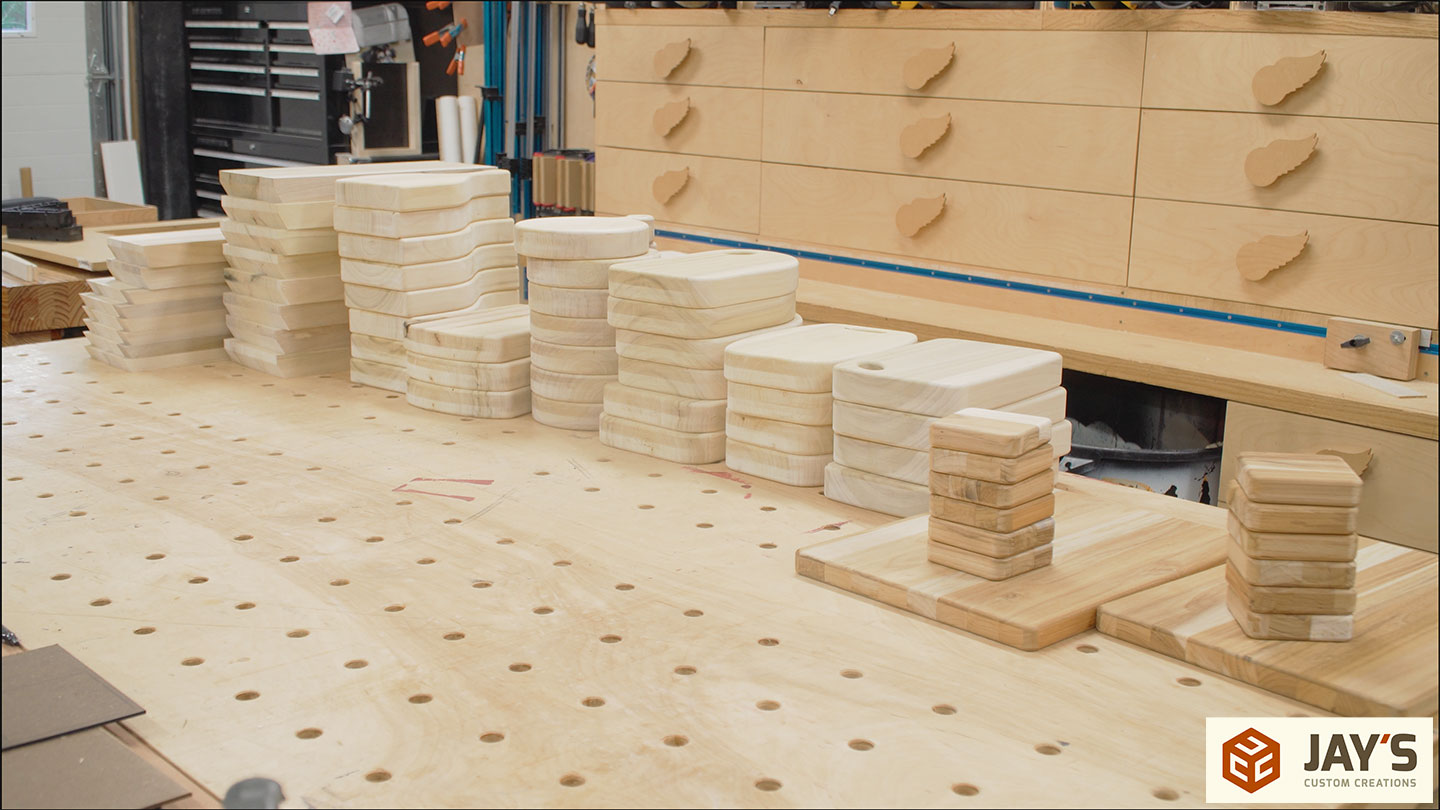
If you’re interested in any of these products you can find them on my wife’s website momandmelaser.com. If you don’t find them there, send her an email at momandmelaser@gmail.com and let her know what you are after and how you want it personalized.


Great video little one was having fun hamming it up. LOL
Your daughter is really cute.