I had every intention to not make a video this week and instead focus on my miter saw station plans. But there’s only so much sitting in front of a computer and working on plans that anyone can take. I ventured out to the shop to just take a break from working on the plans only to end up talking myself into making another video. The quickest thing I could think of was to add a stop block to my miter saw station.
Detailed plans for this entire completed miter saw station are located at the bottom of this post.
I didn’t include this stop block setup in the actual miter saw station build (part 1, part 2, part 3) as I was waiting on the track to arrive in the mail. I don’t have a woodworking store in the city I live in (cough-cough hint-hint Rockler, Woodcraft, and Highland Woodworking!) so the vast majority of my woodworking stuff arrives via the internet and mail. Kreg makes a pretty nifty full miter saw station stop block setup but it wouldn’t work with my build as I only had a vertical surface to work with. That setup uses both the vertical surface and the top horizontal surface. So instead I picked up two 48” sections of their Mini-Trak. It’s a regular 3/4” wide and 3/8” deep t-track that accepts a few different bolt sizes. This will give me a good foundation to build my own stop block.
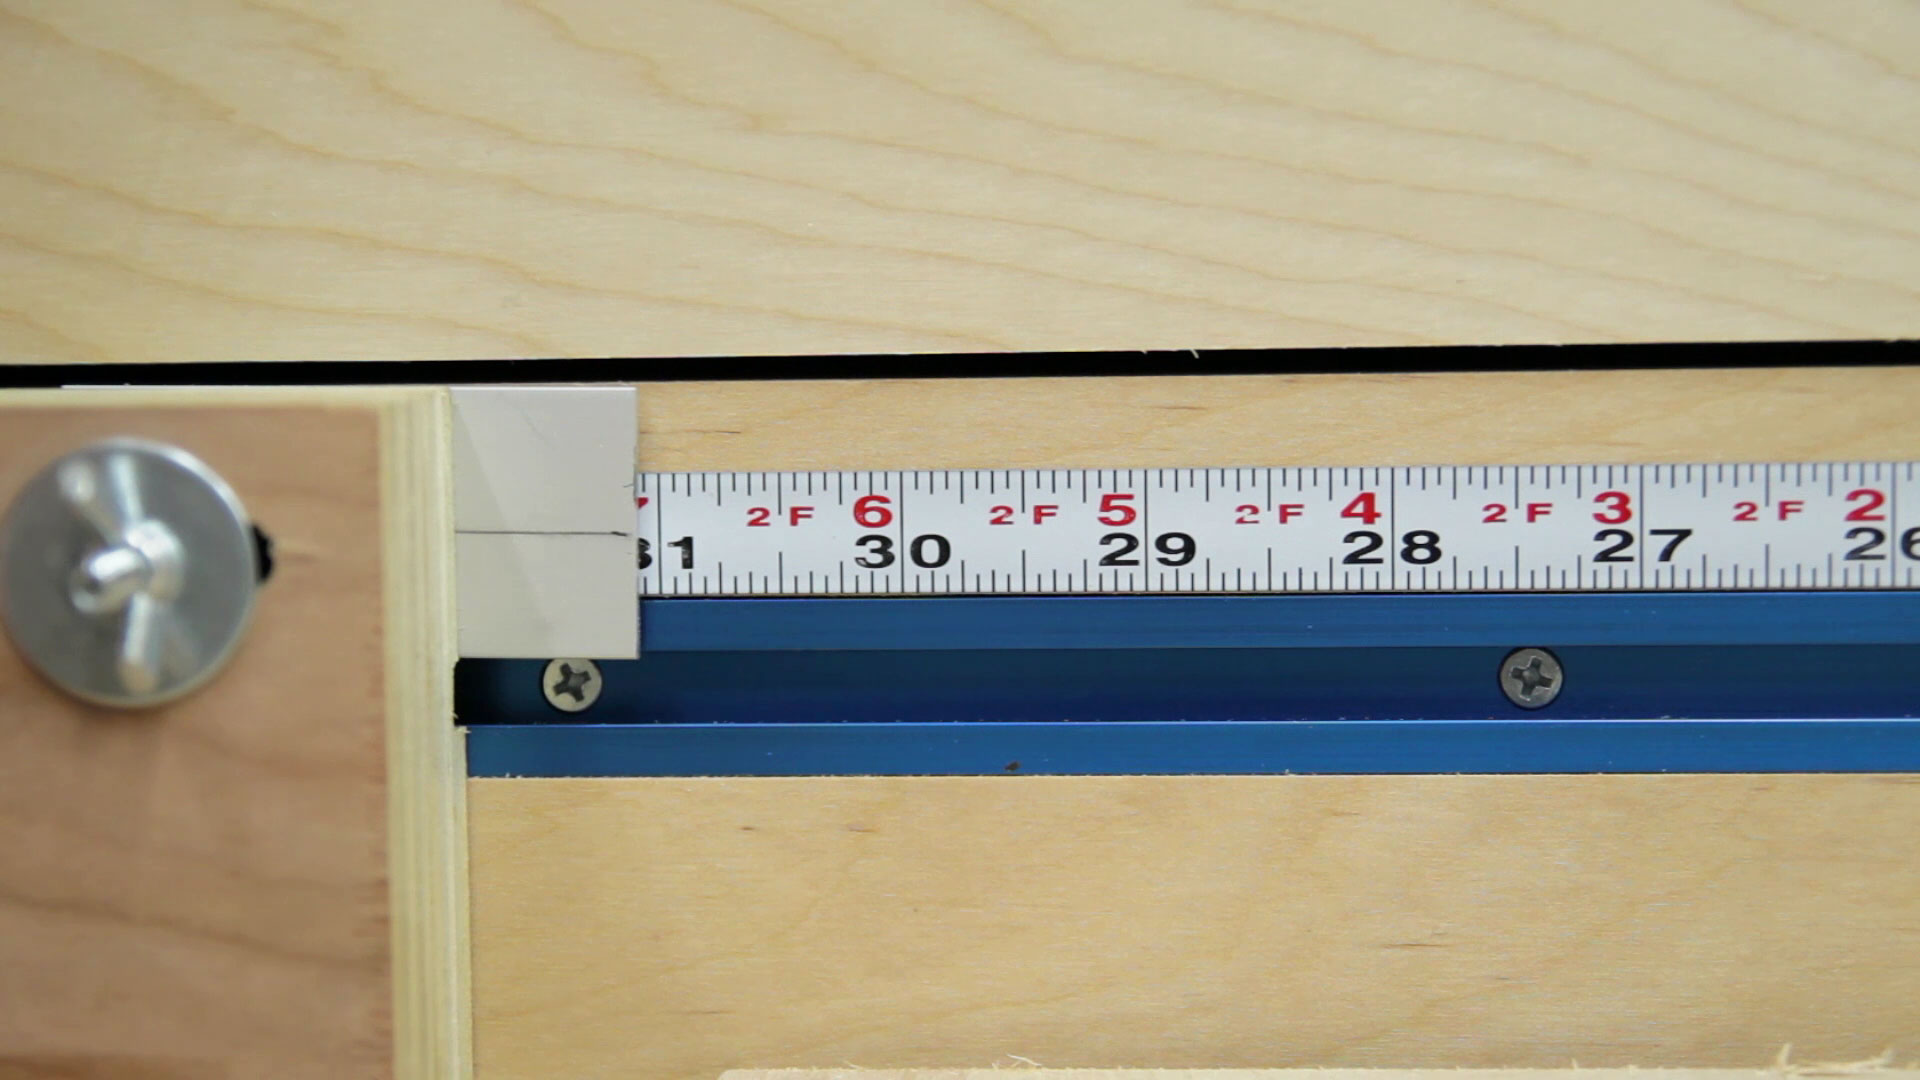
About six months ago when I originally had the notion to build a miter saw station I ordered a 12′ section of right to left peel and stick measuring tape. I’m actually quite surprised I hadn’t lost it since then. For the adjustment “pointer” my original plan called for a piece of acrylic (plexiglass) but I didn’t have any on hand and didn’t want to buy any more just for a 3” long piece. So I decided to chop off a small section of aluminum ruler.

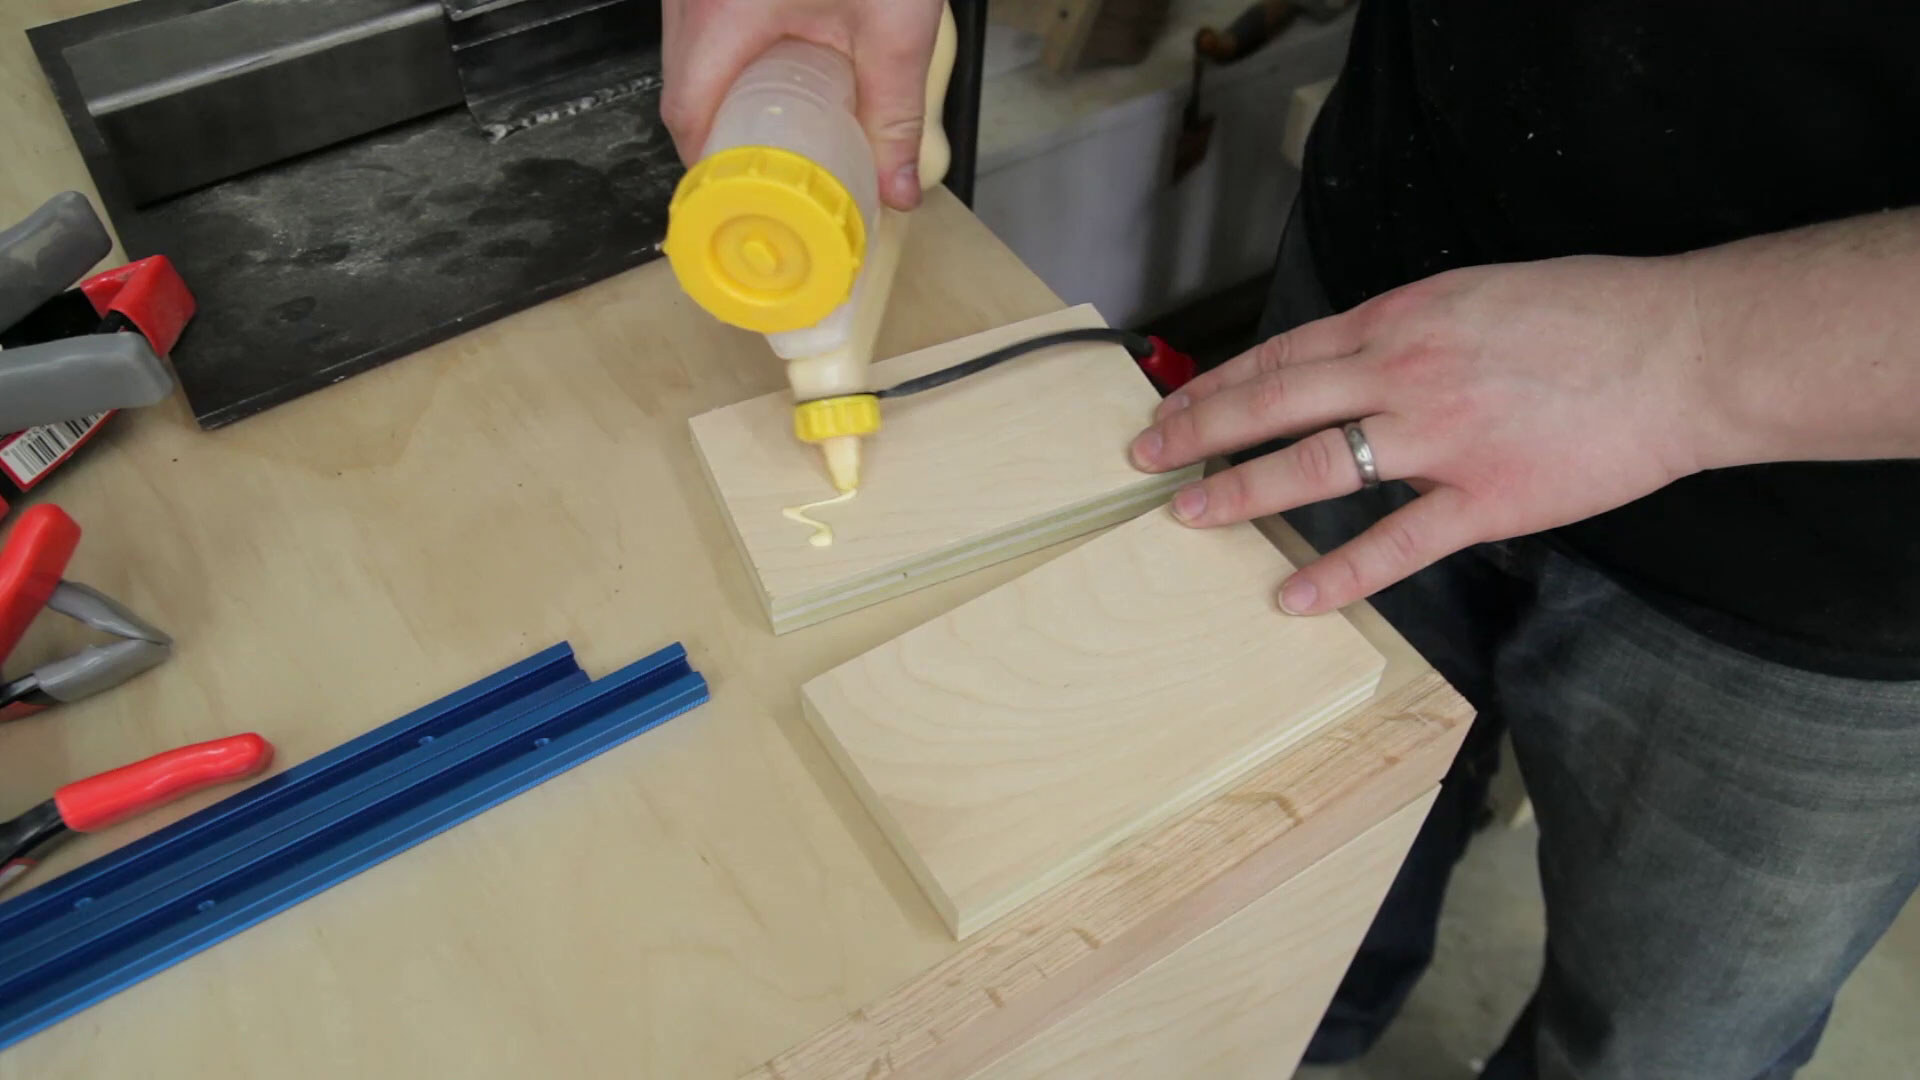
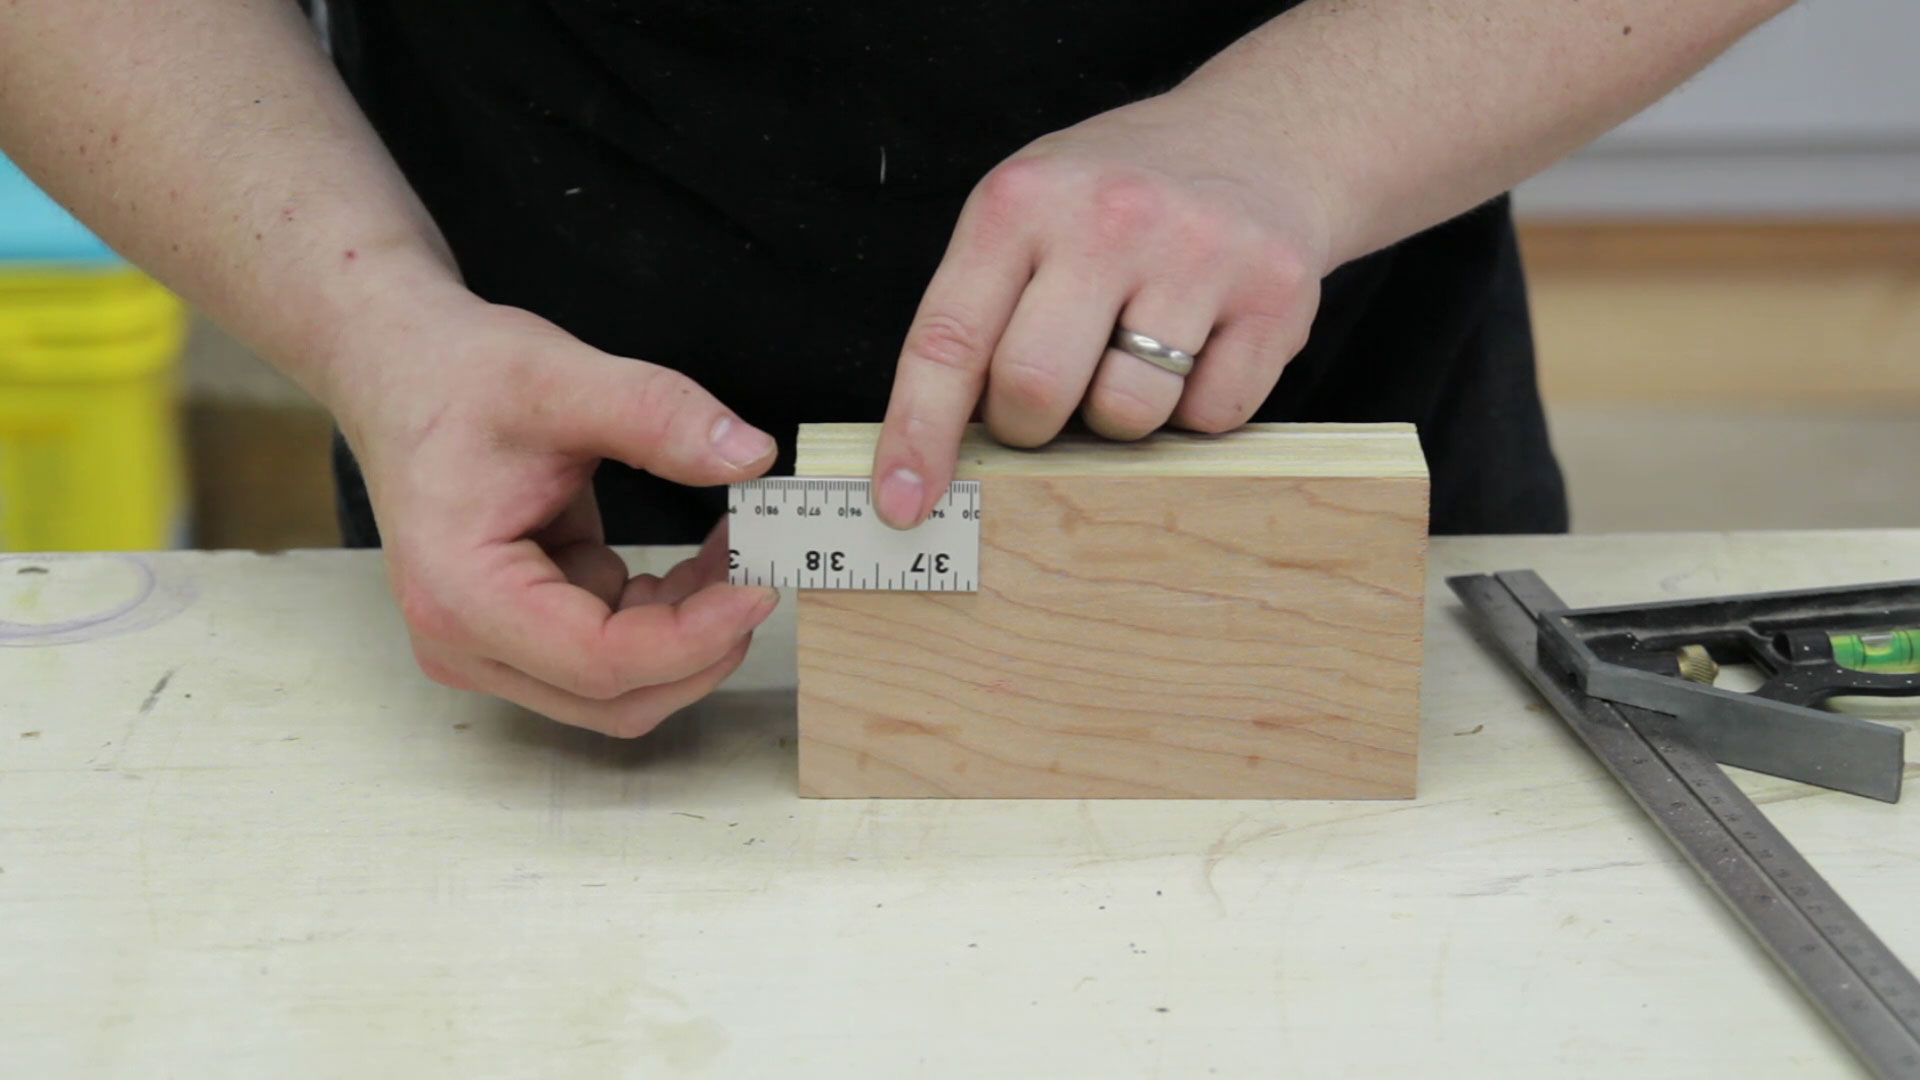
The stop block itself was made from laminating two 3” x 6” pieces of hardwood plywood. This will give me a 1-1/2” thick stop block.
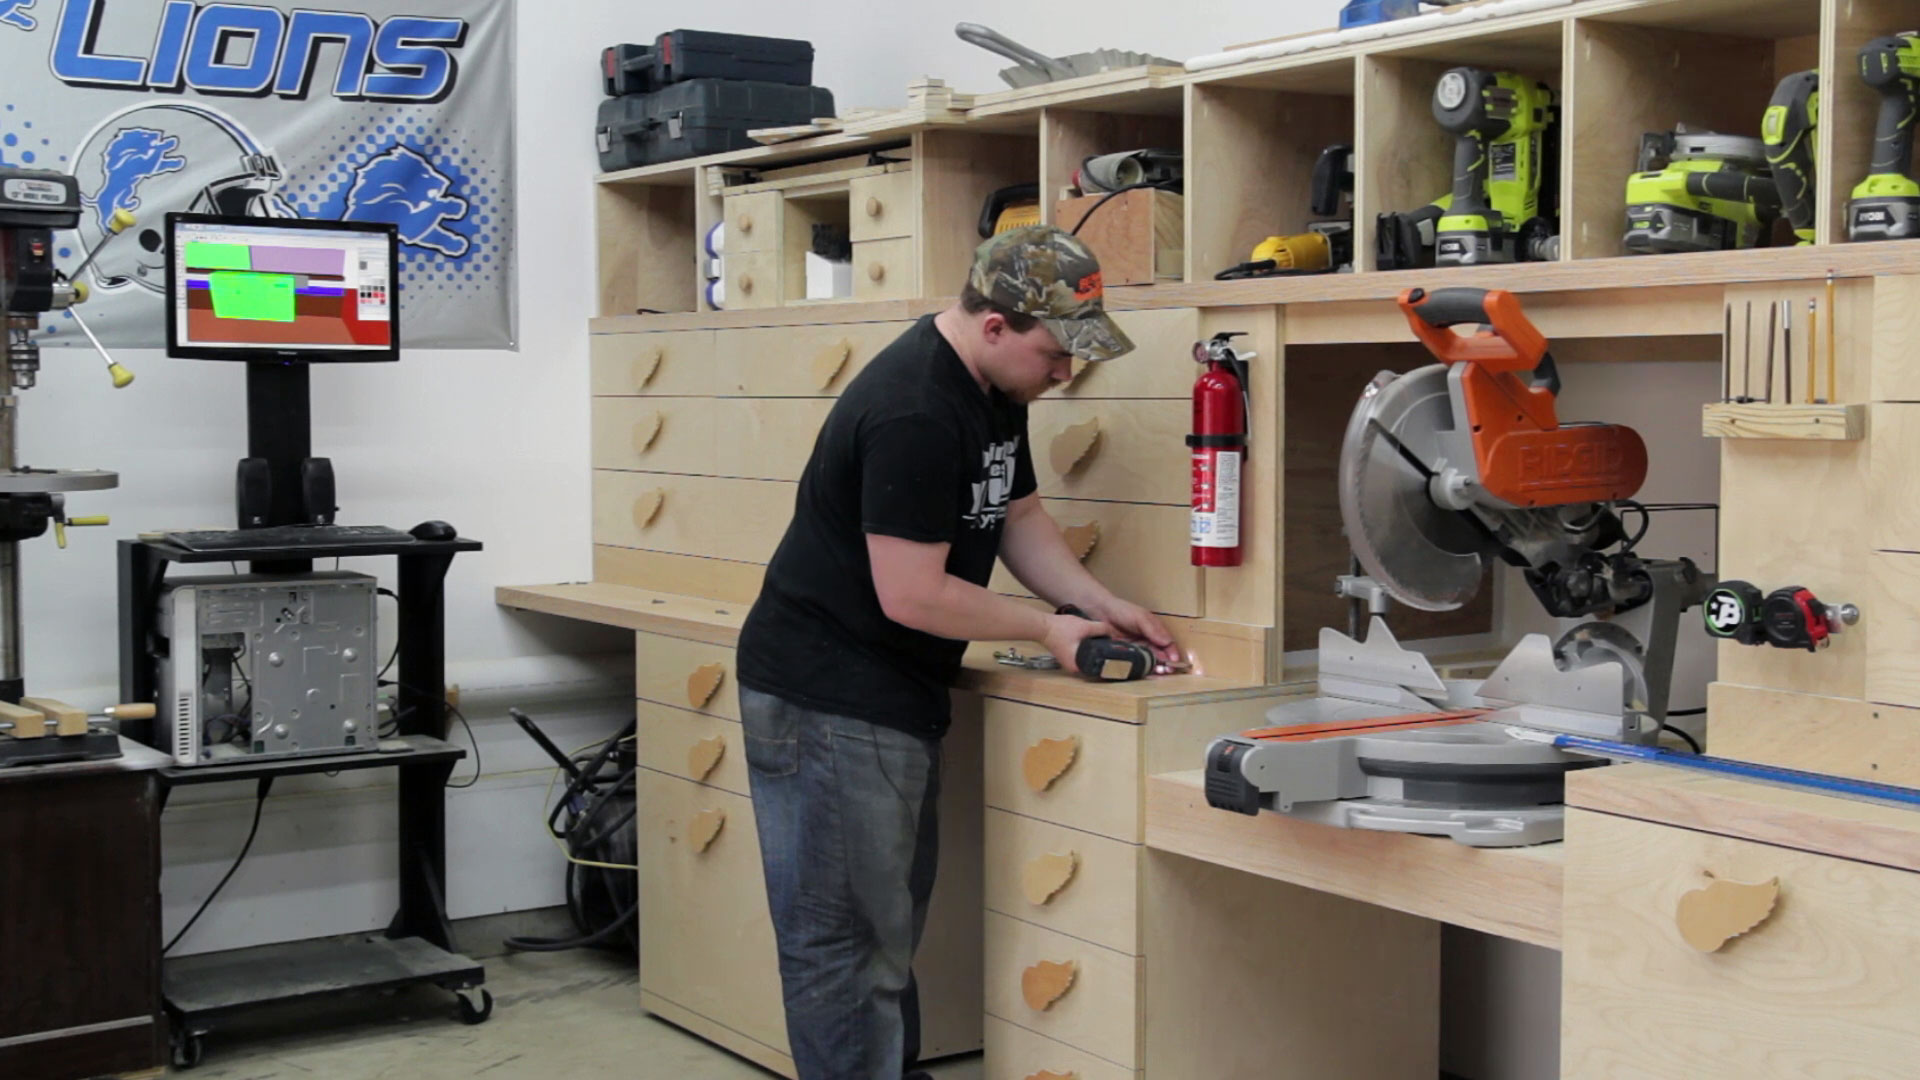
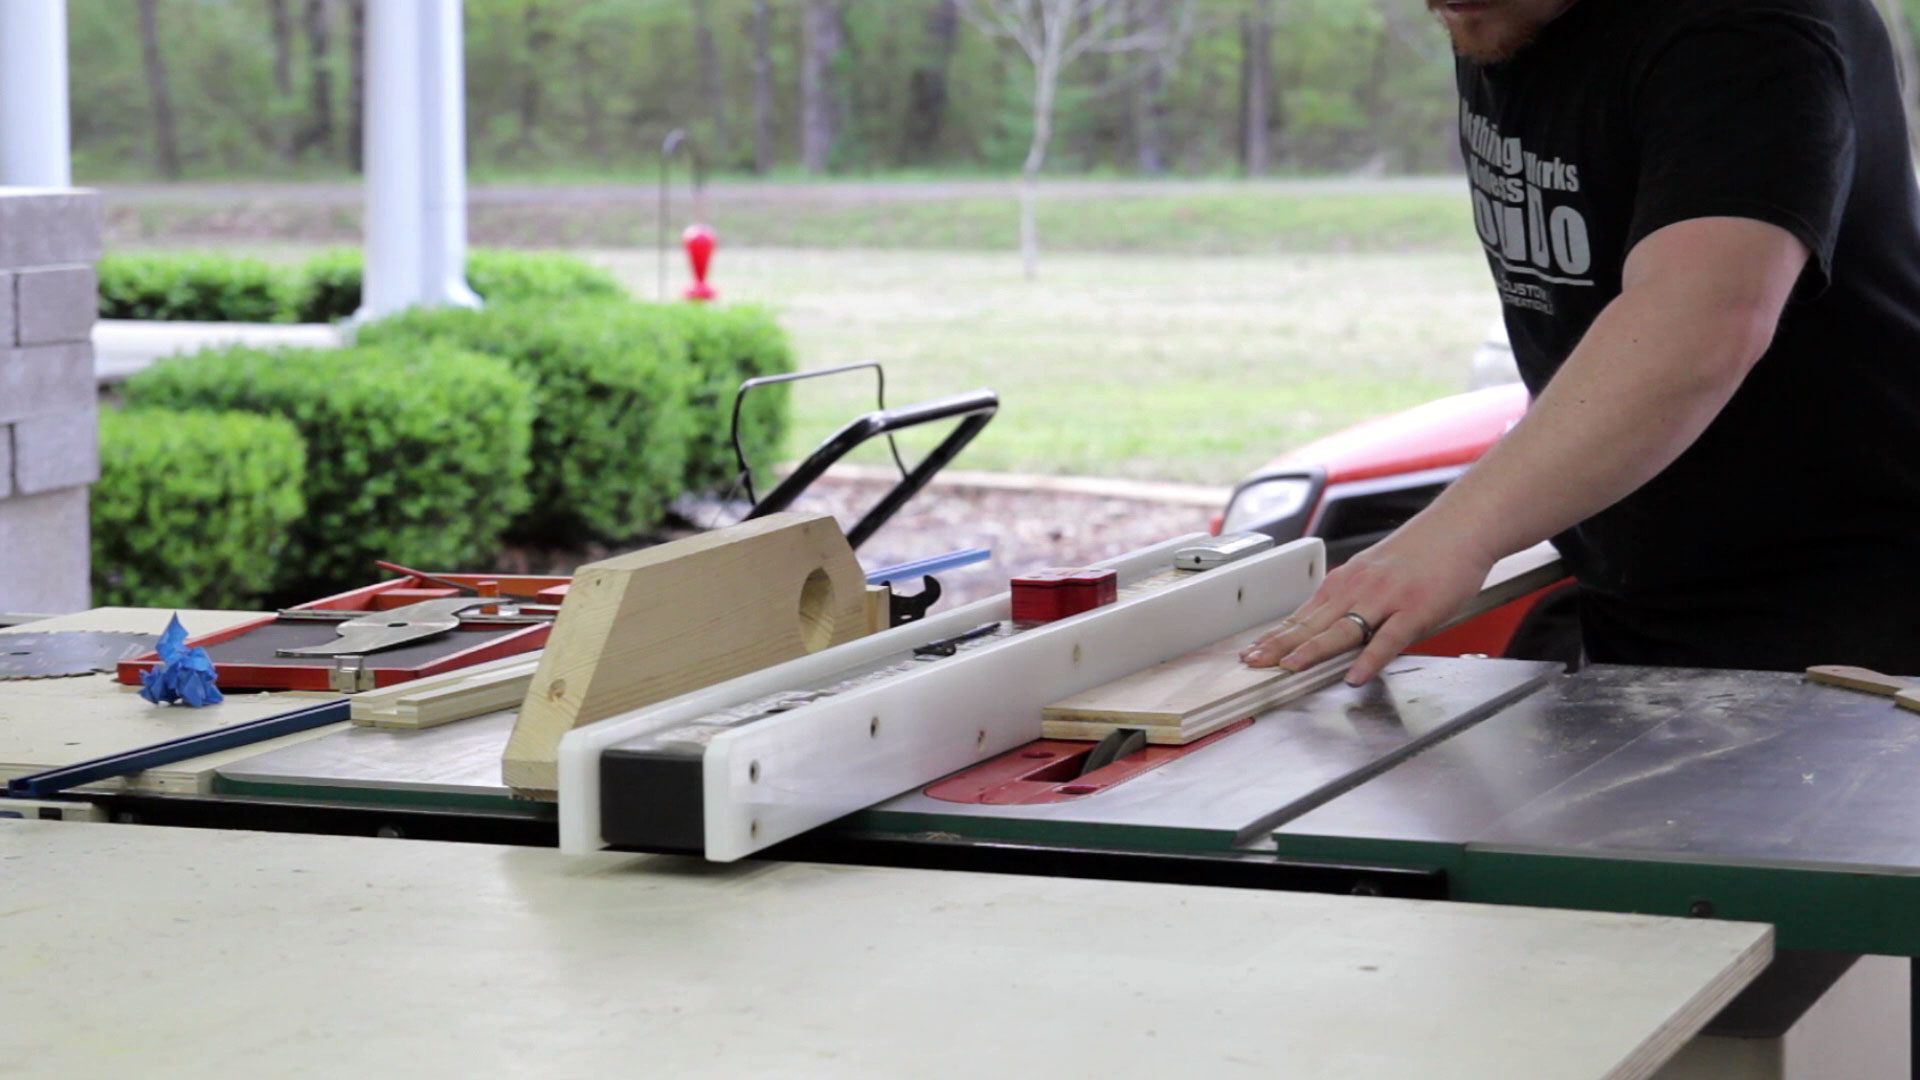
When I built the miter saw station I attached both fences with a few 1-1/4” screws. This stop block setup will only be on the left side of the station so I removed just that fence.
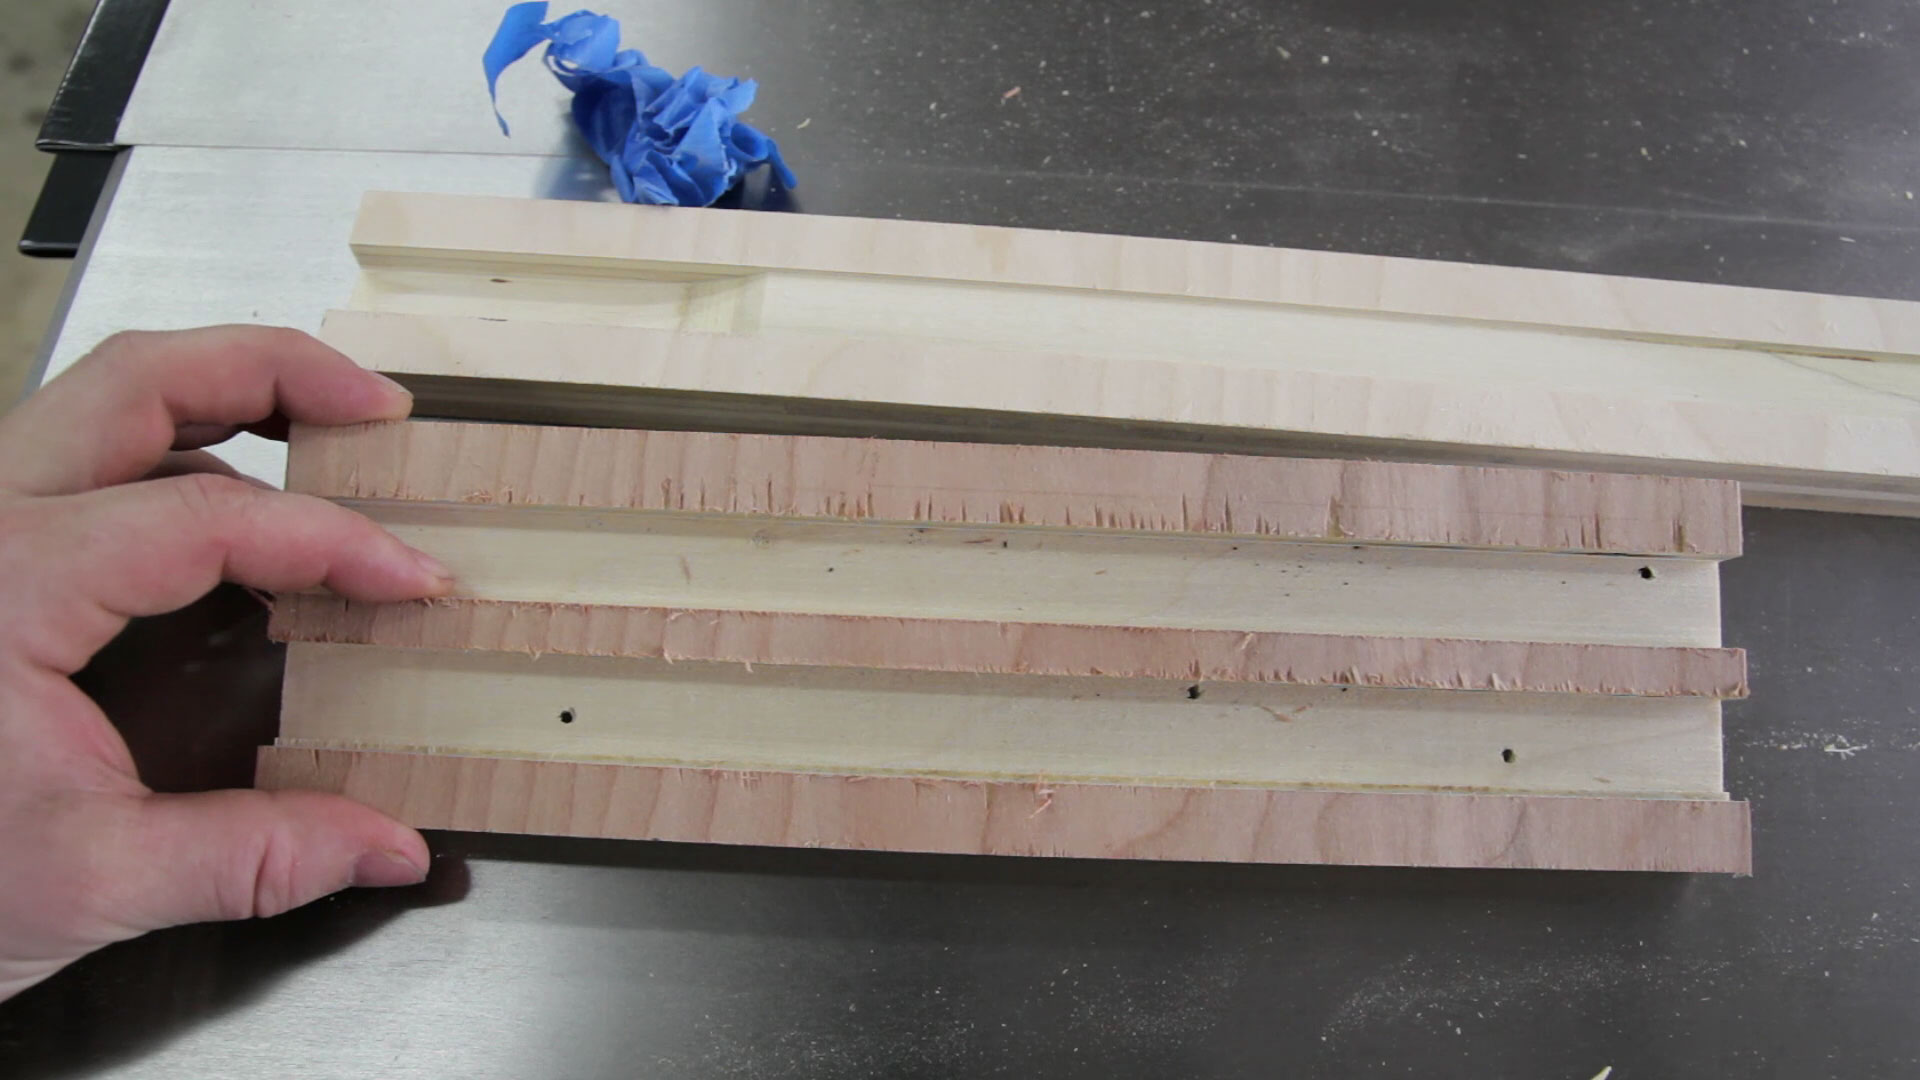
To get my dado stack calibrated to the exact width of the t-track I used a few sacrificial pieces of ply and made adjustments as needed. It’s much better to make a mistake on a scrap piece of ply instead of your finished product.
Here’s a good example of why test pieces are a good idea. I dialed in the proper width of the dado stack but was getting a horrible amount of tear-out from the thin top layer on the plywood. After some experimenting I found that using painters tape greatly reduced the amount of tear-out and using painters tape as well as making a shallow scoring cut first virtually eliminated the tear-out.
With that figured out I taped the fence and made my shallow scoring cut. After using more scrap to establish the exact depth needed I made my final cut.
After securing the fence to the miter saw station again both sections of track can be installed. These are installed using a bunch of 5/8” screws. I had a bunch of these left over from installing the drawer slides.

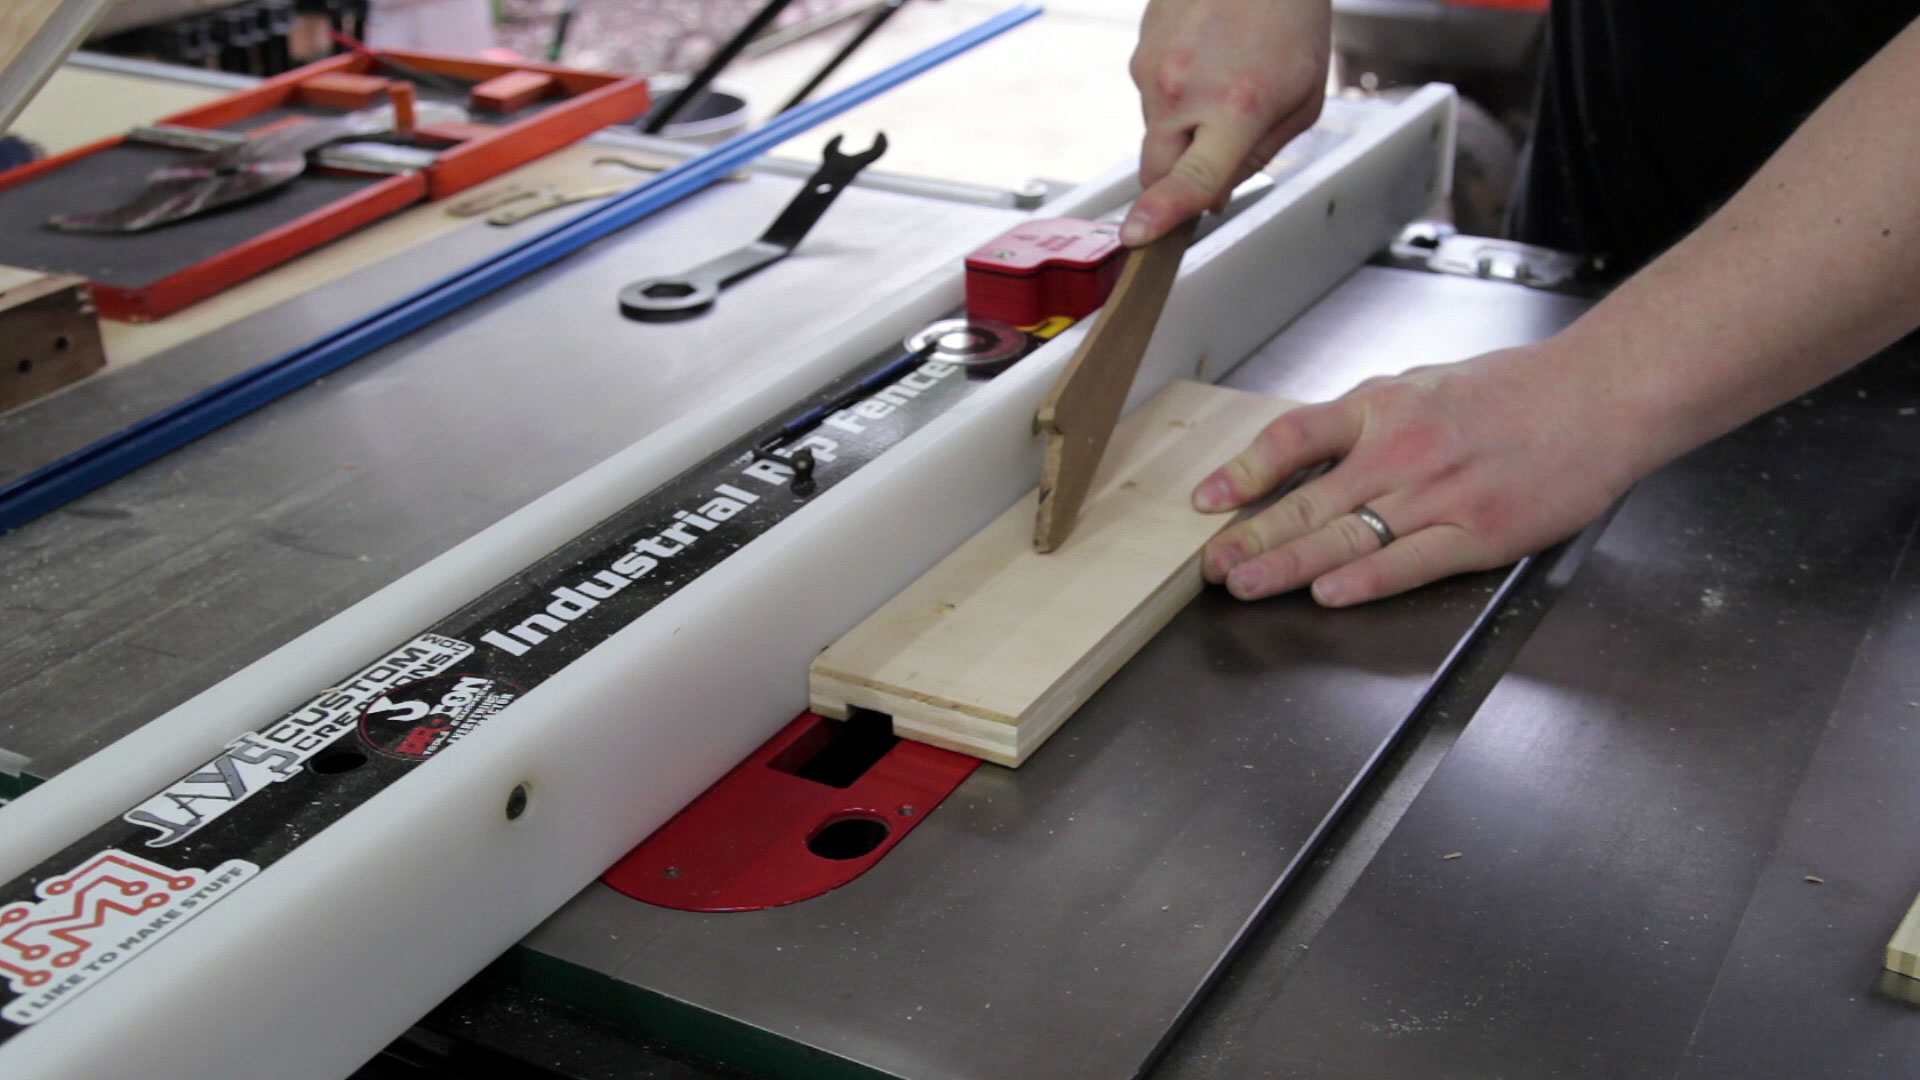
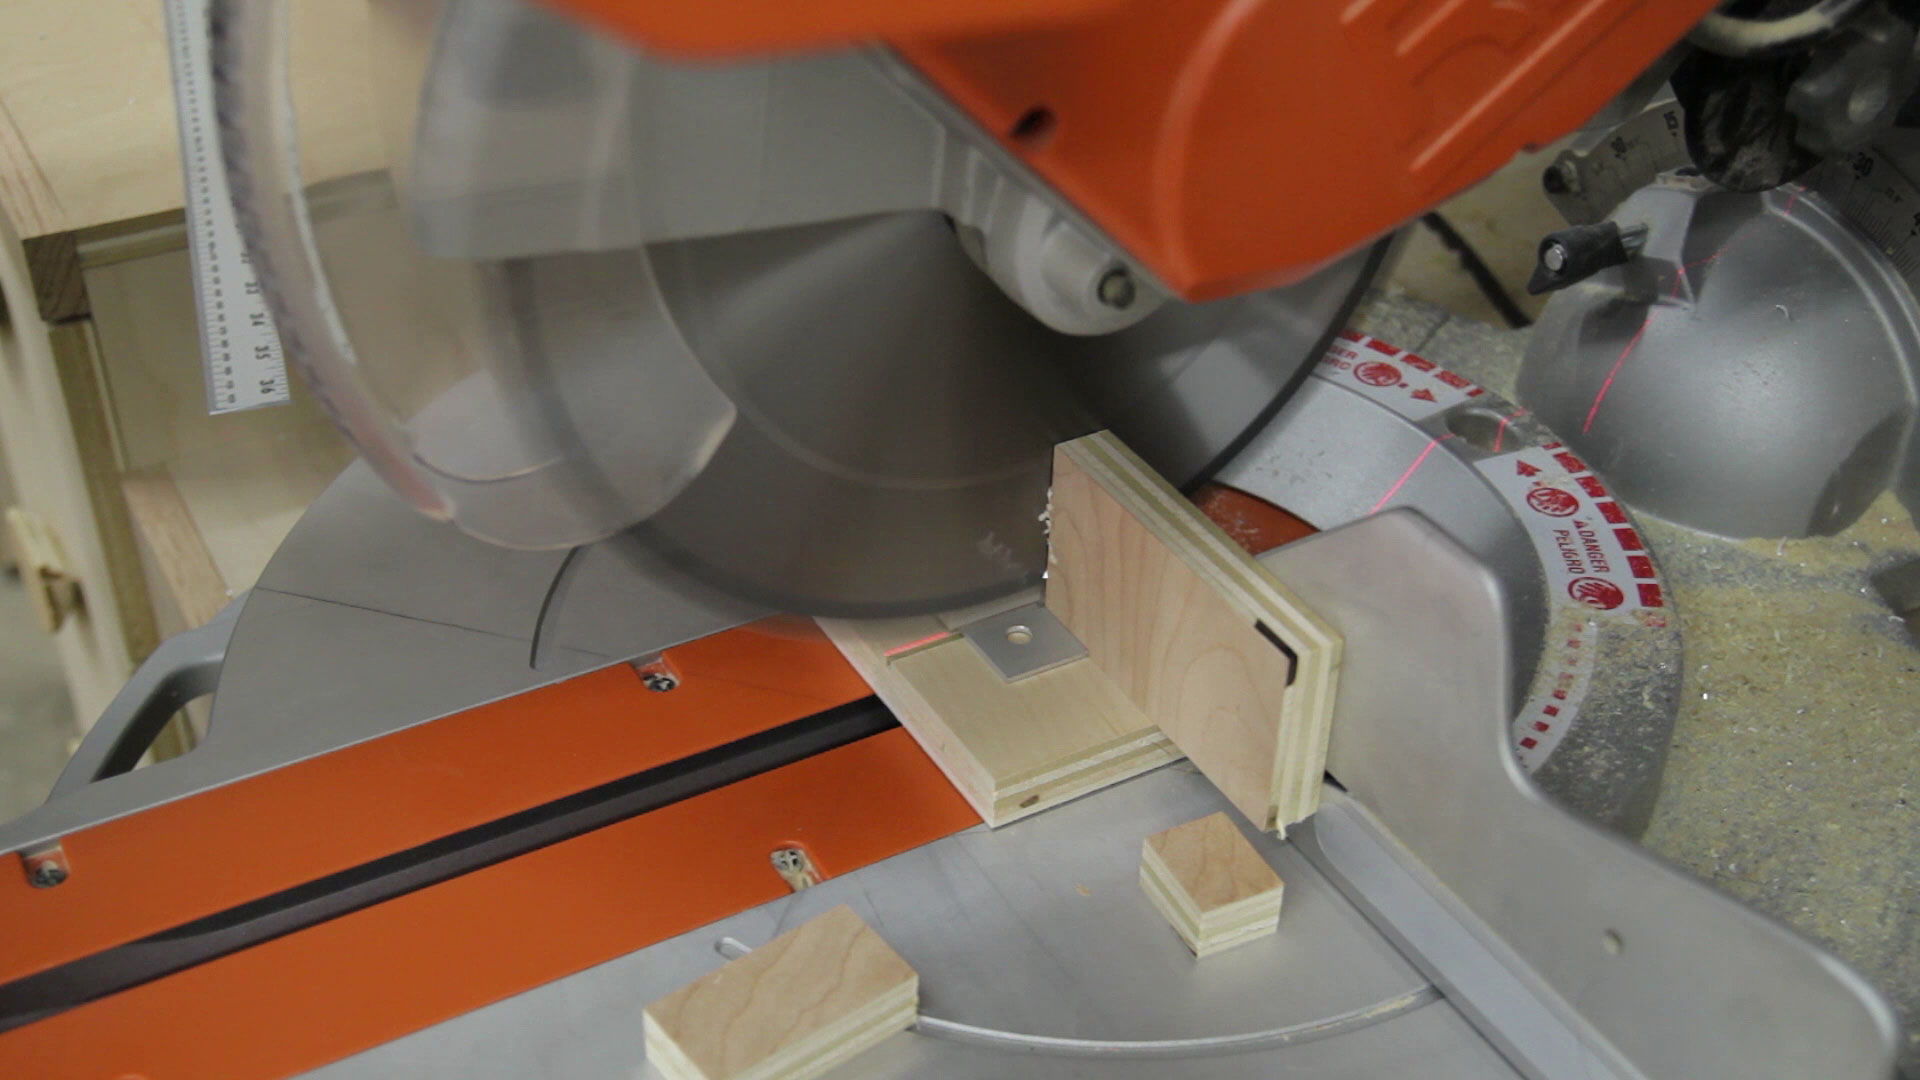
To make cutting the aluminum a little safer I used a couple pieces of scrap plywood to not only back-up the cut but also on top to hold the aluminum in place. This produced a clean, burr free cut and didn’t throw the cut-off piece across the room.
The adjustment pointer needs to be recessed as to not interfere with the ruler. I made this long enough to stick out from the stop block by 3/8” and give 3/4” of extension to really dial in the measurement on the ruler.
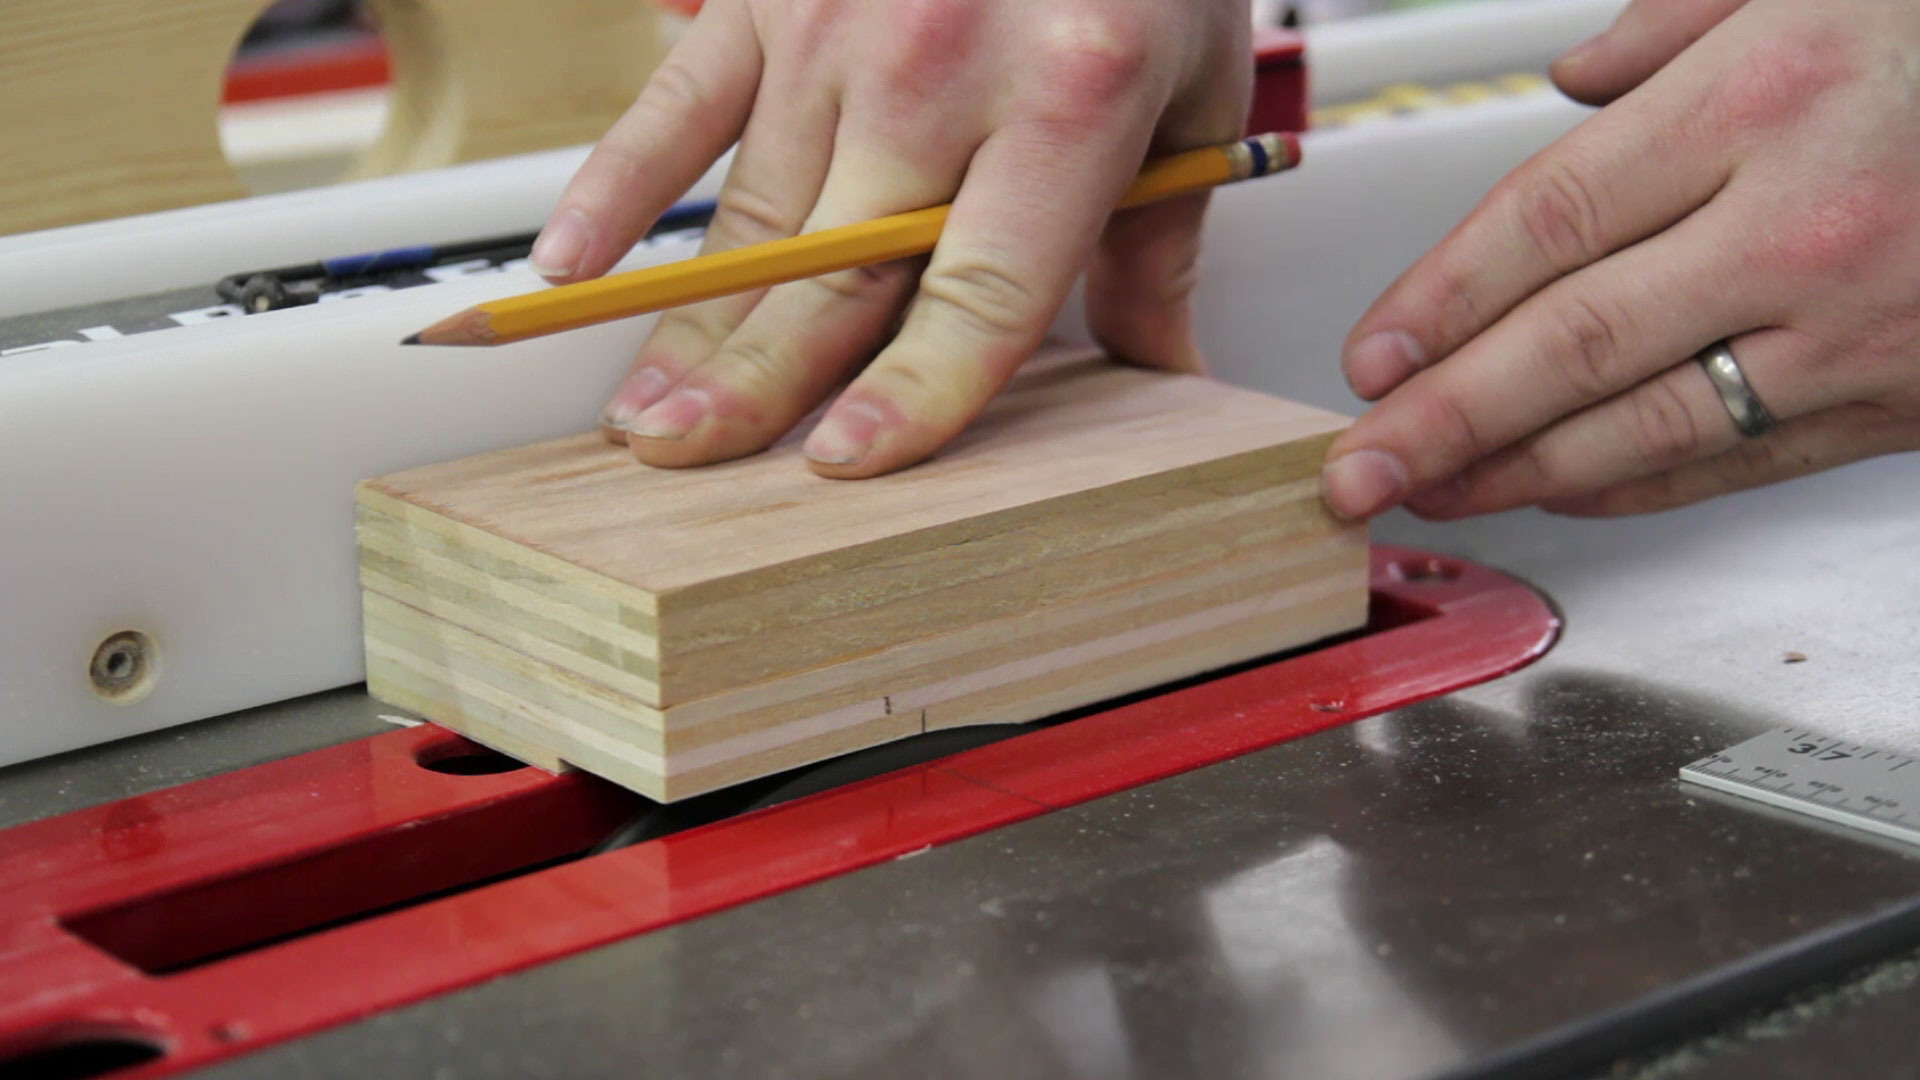
A mortise is needed for the pointer. I made a mark on the table saw insert plate where the center of the arbor was and marked the side of the stop block where I needed the full depth of the mortise to stop. The extra length of cut matching the radius of the blade does not matter.
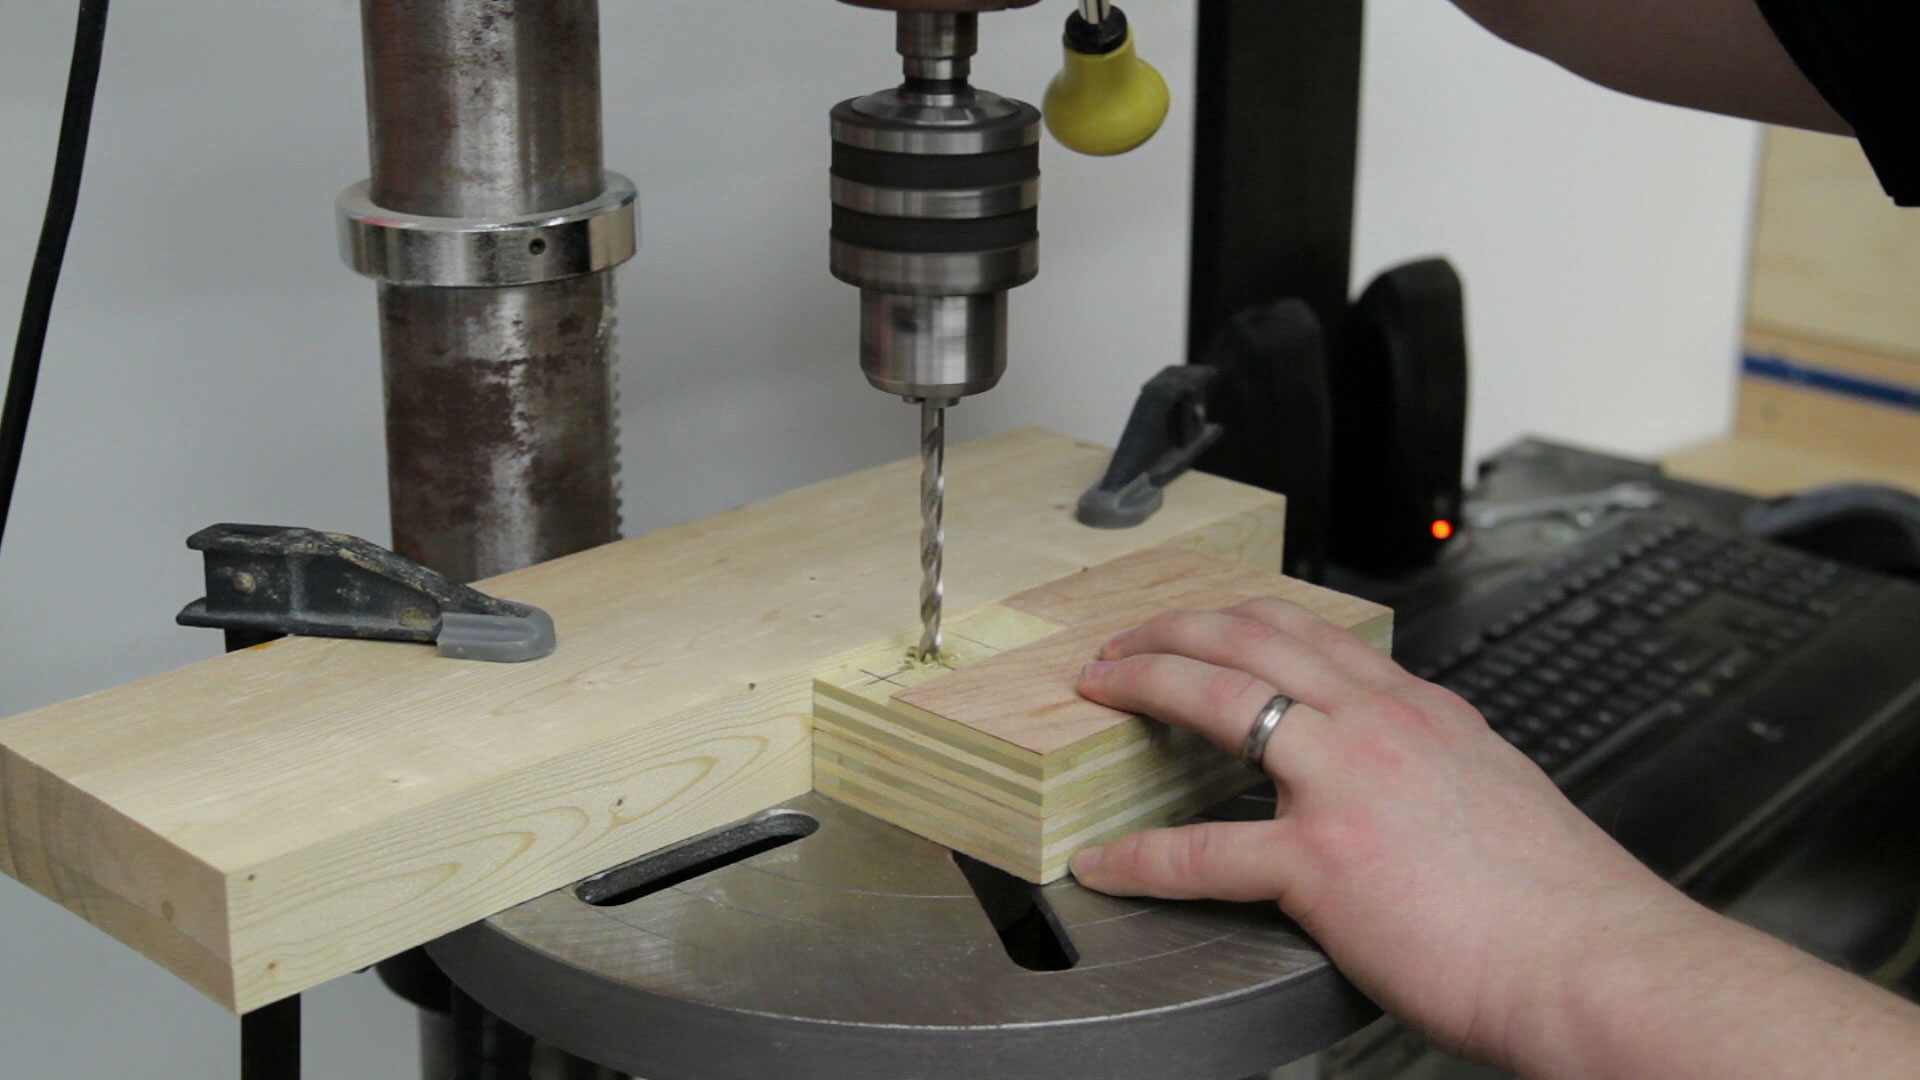
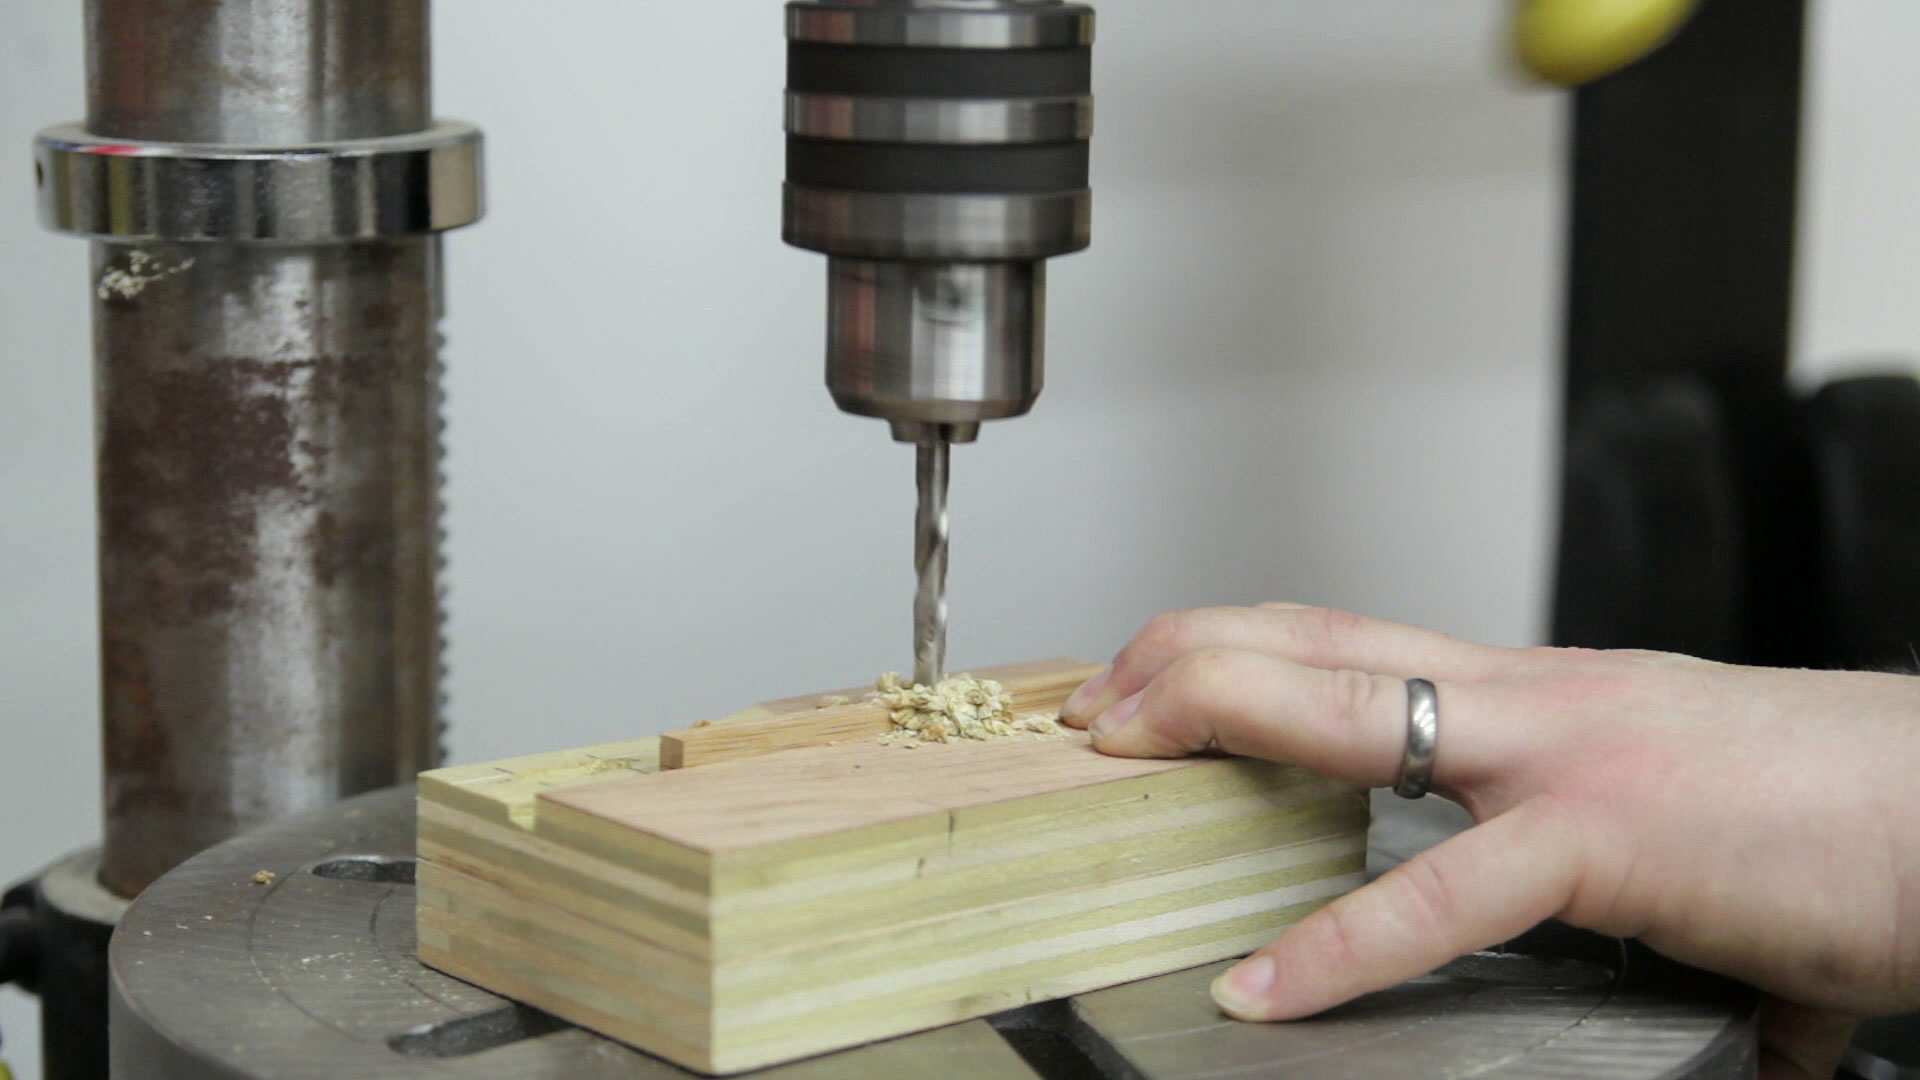
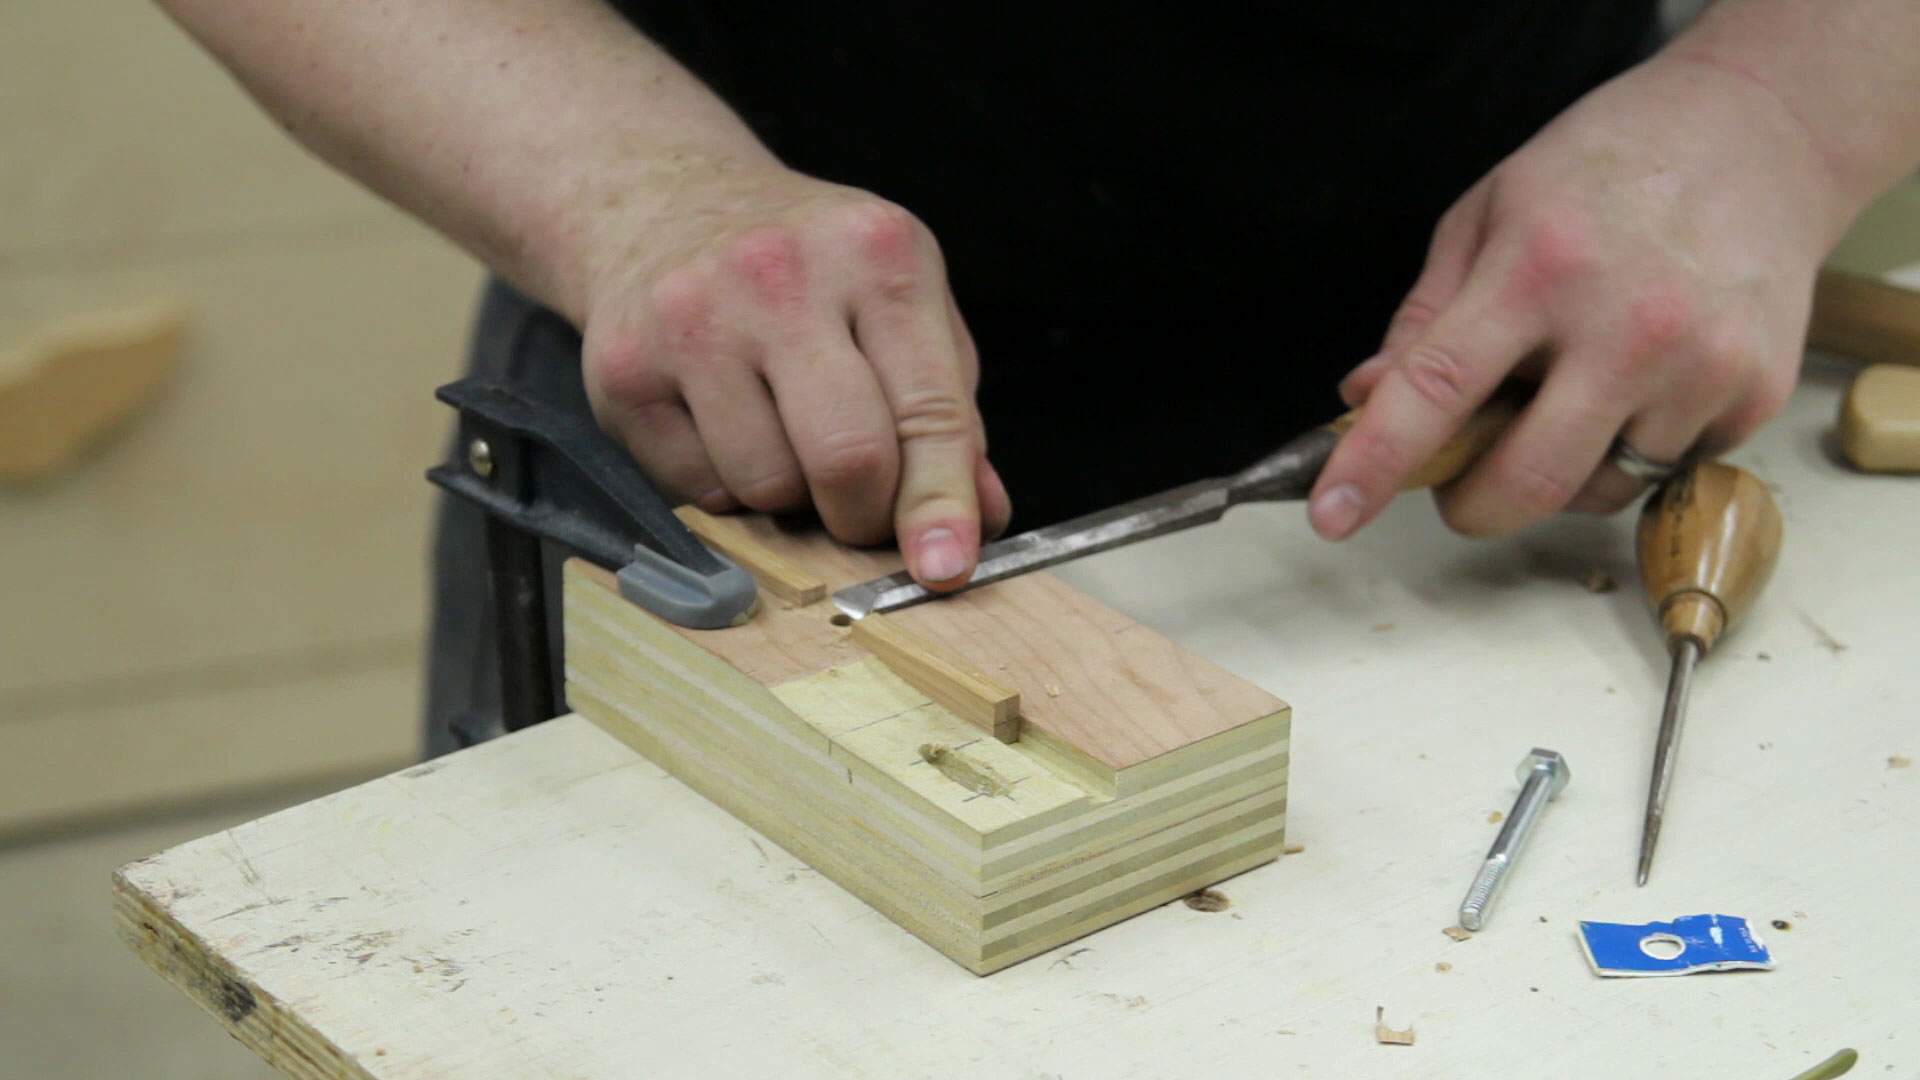
To give 3/4” of travel for the pointer a 3/4” slot is needed for that mounting bolt to slide in. This will all be covered so I didn’t worry about making a perfect slot. I hogged out as much as I could with the drill press and cleaned it up slightly with a chisel.
The bolt that holds the pointer in place is a countersunk bolt. After drilling the initial hole with the drill press I used my cordless drill and a chamfer bit to create a perfectly matching countersink for the bolt to be recessed slightly below the surface of the aluminum pointer.
I wanted the stop block to be 1/8” above the work surface so it wouldn’t be obstructed by small amounts of dust. That means the stop block needs to reference off another horizontal surface as it slides left and right. This will keep the front vertical face at the same angle and therefore increasing the repeatability of measurements with the ruler. To do this I cut a bamboo spline to be a perfect fit inside the slot in the t-track.

And a matching dado in the stop block is cut with multiple passes over a regular blade. The bamboo spline is glued into this dado.
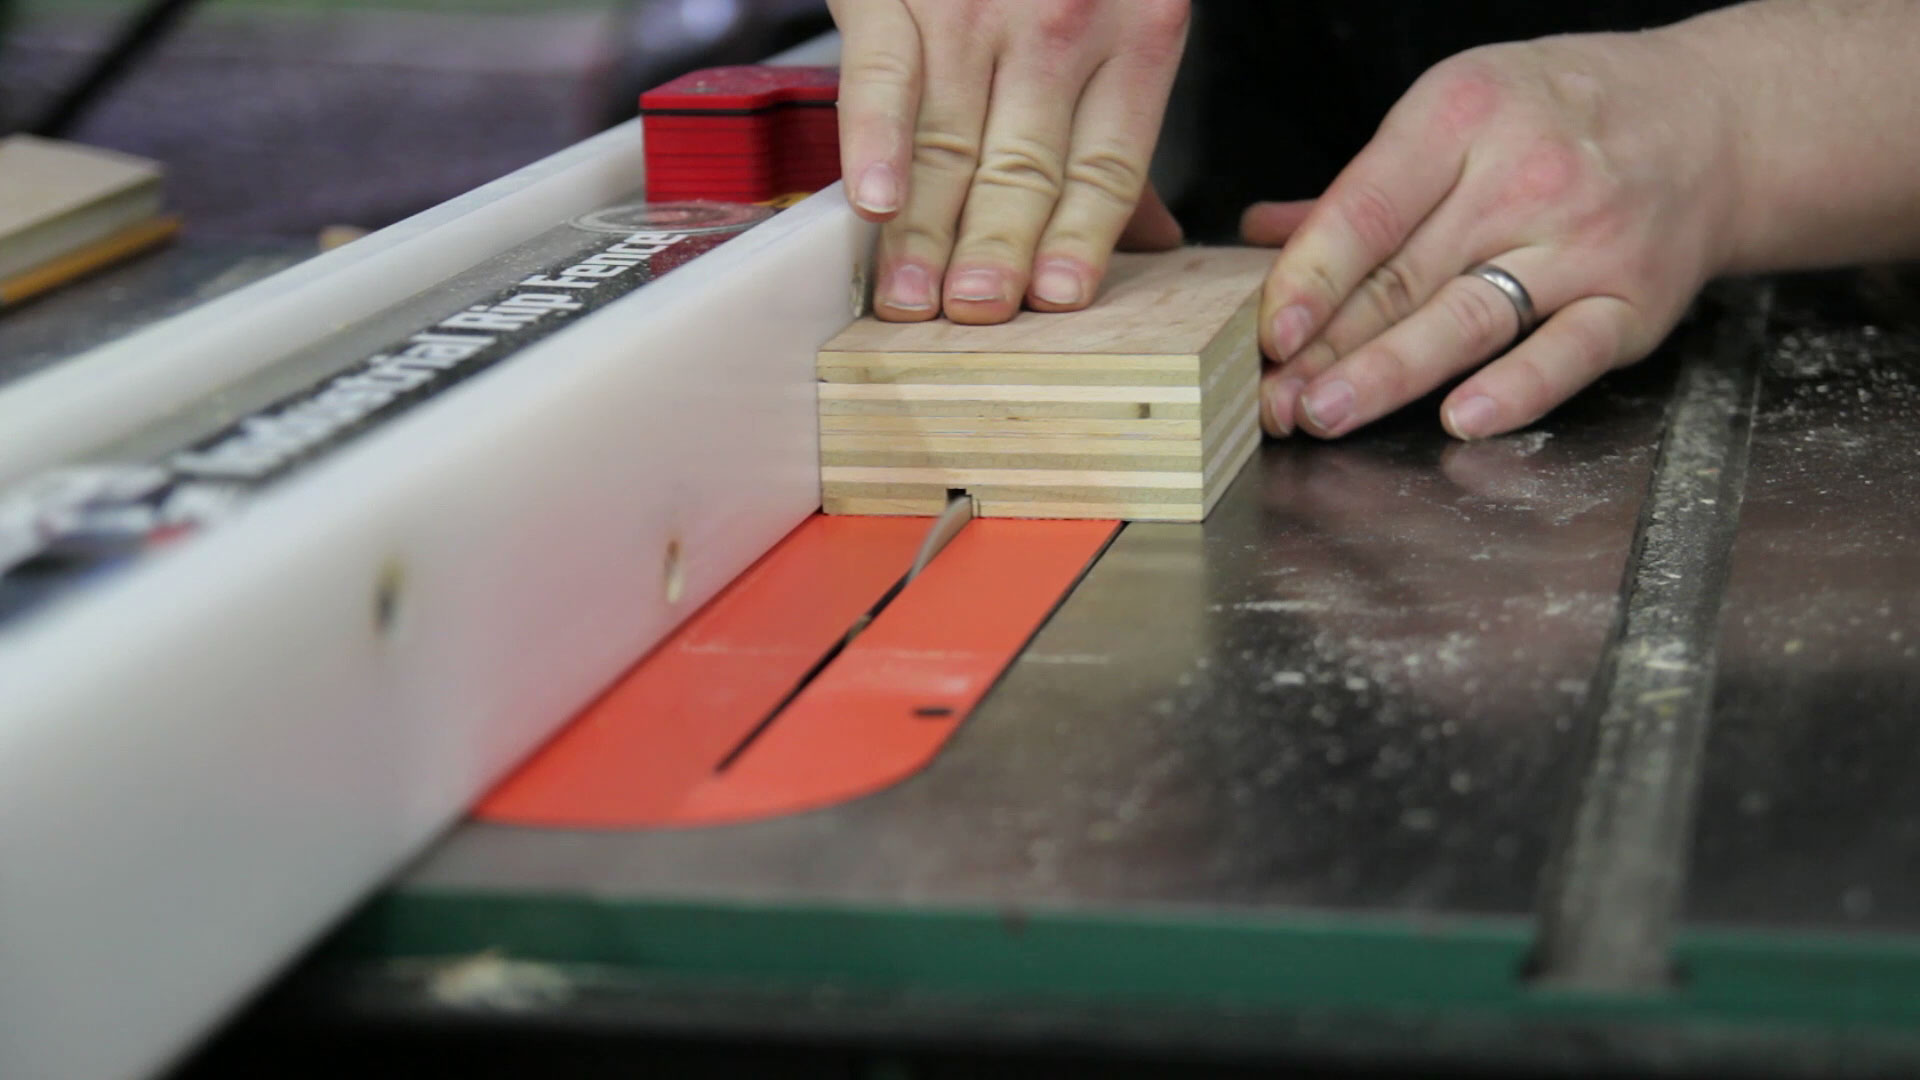
The bolt to be used is a 1/4” x 20t bolt so a 1/4” hole is drilled through the exact center of the spline.
The surrounding spline material needs to be removed for the bolt to function properly with the t-track. A flush trim saw and some chisels made quick work of this.
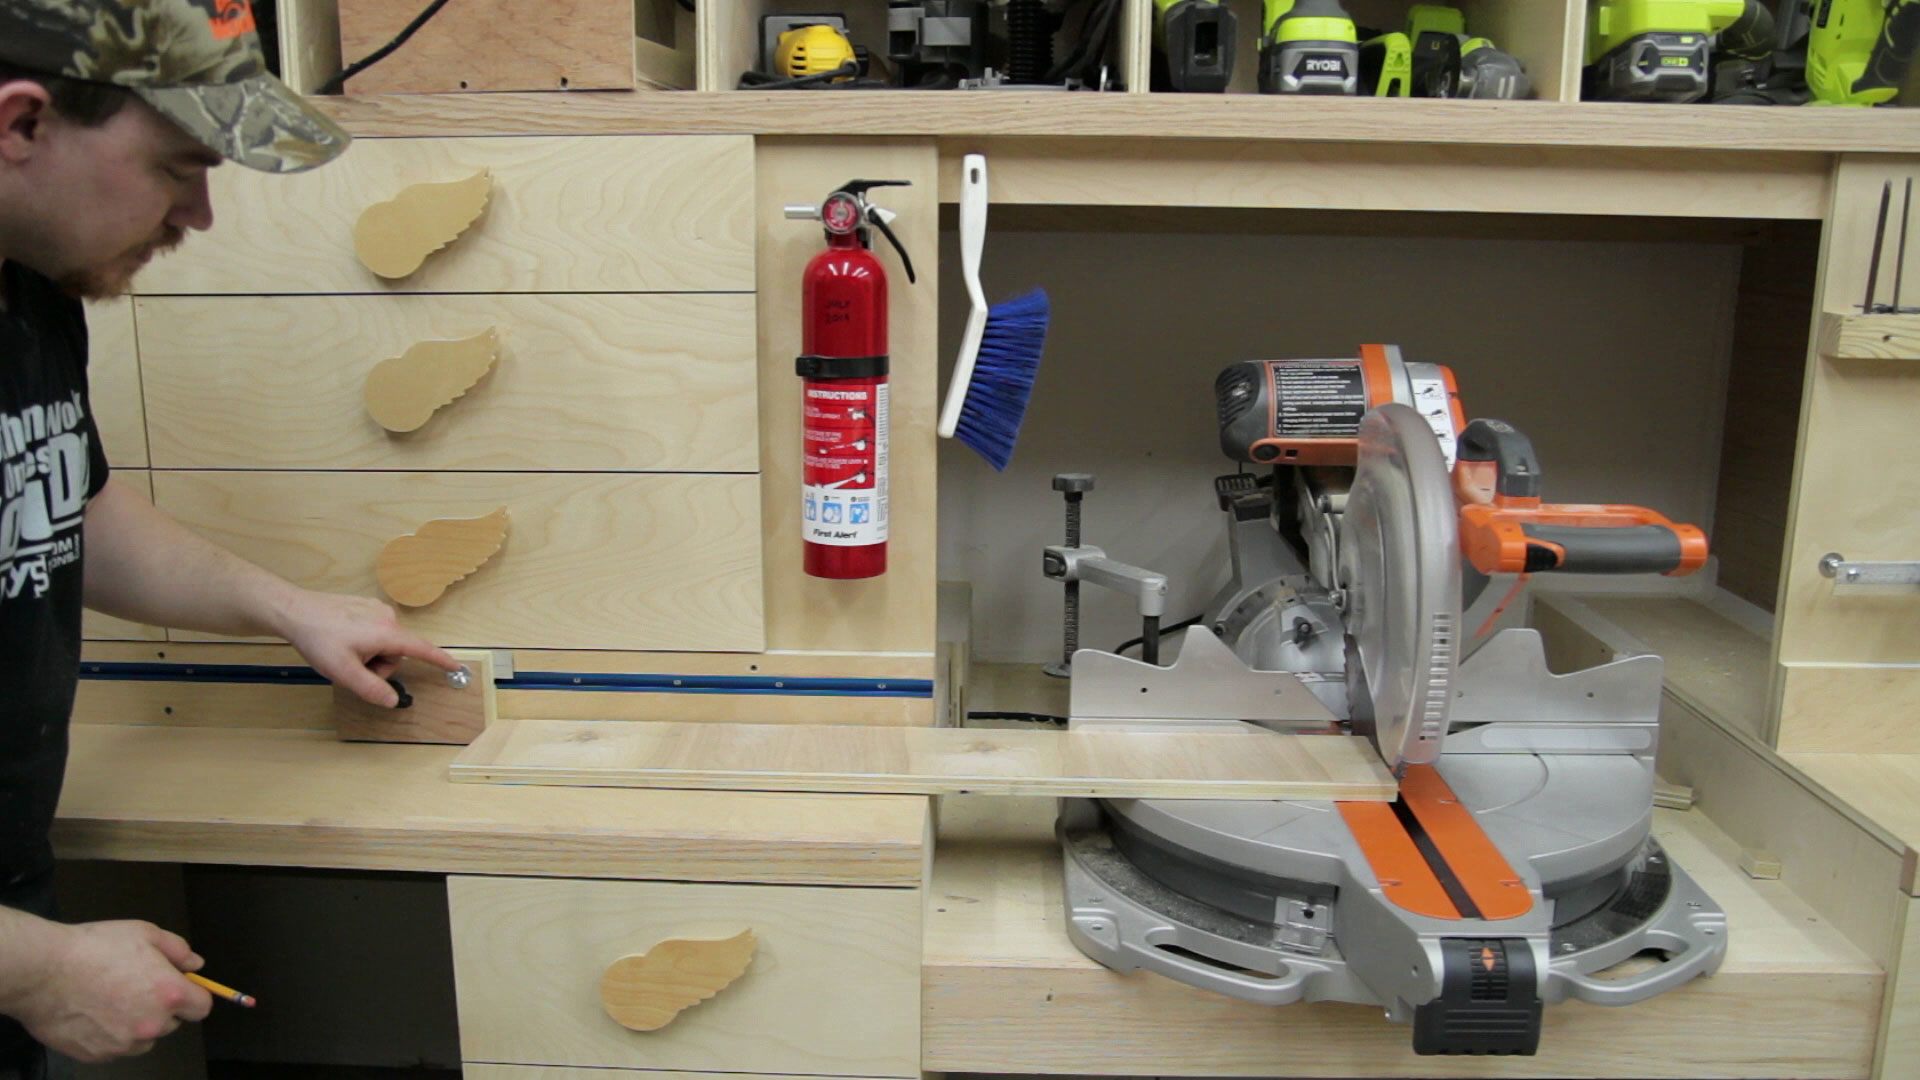
At this point the stop block is complete. I ended up using a toilet bolt and a plastic knob for the locking action. To establish the exact position of the ruler I set the pointer to the middle of the slot to allow adjustments in both directions. Then I placed a scrap board against the blade of the saw with the stop block against the other end of the board and made a reference line on the fence. This line represents the measurement of the board used. In my case it was 33-7/8”.
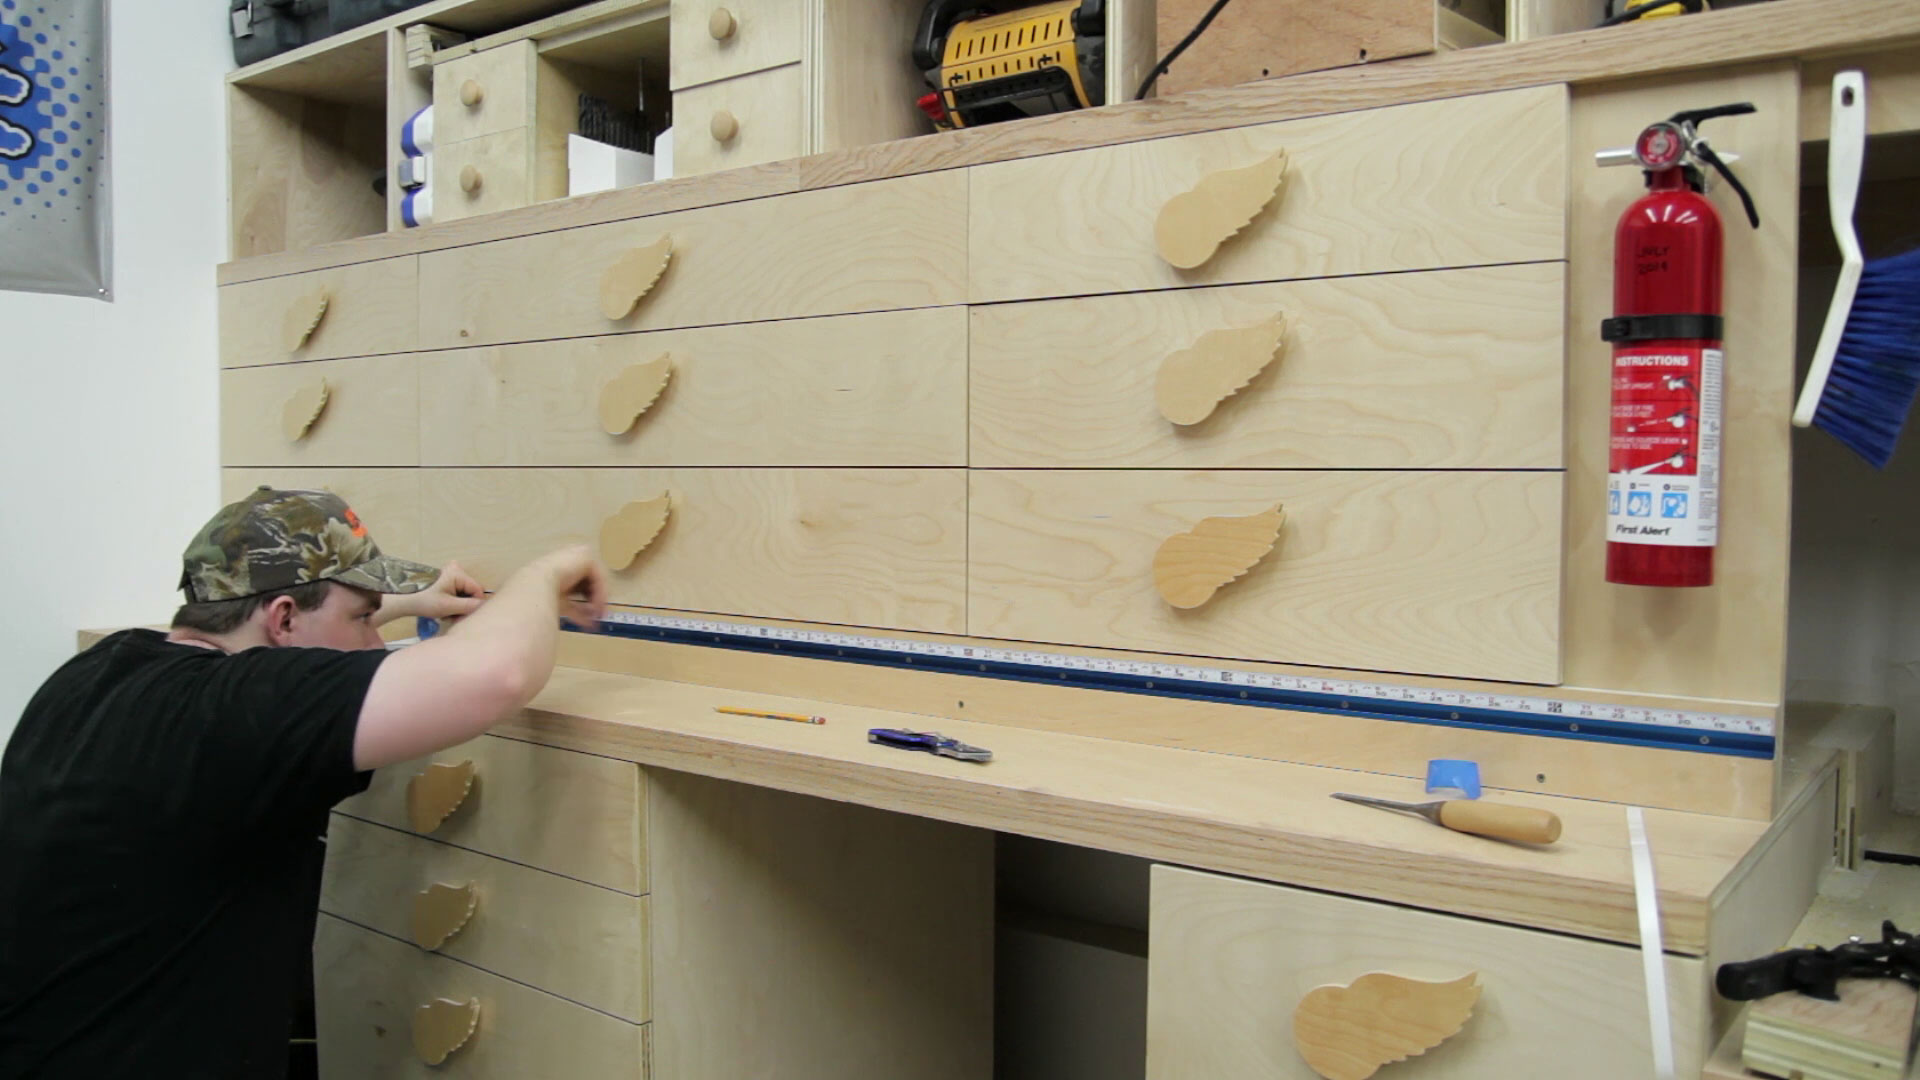
Now the tape can be installed with 33-7/8” lining up with the reference line.
To dial in the stop block the board is slid into the saw slightly, clamped down, and cut.
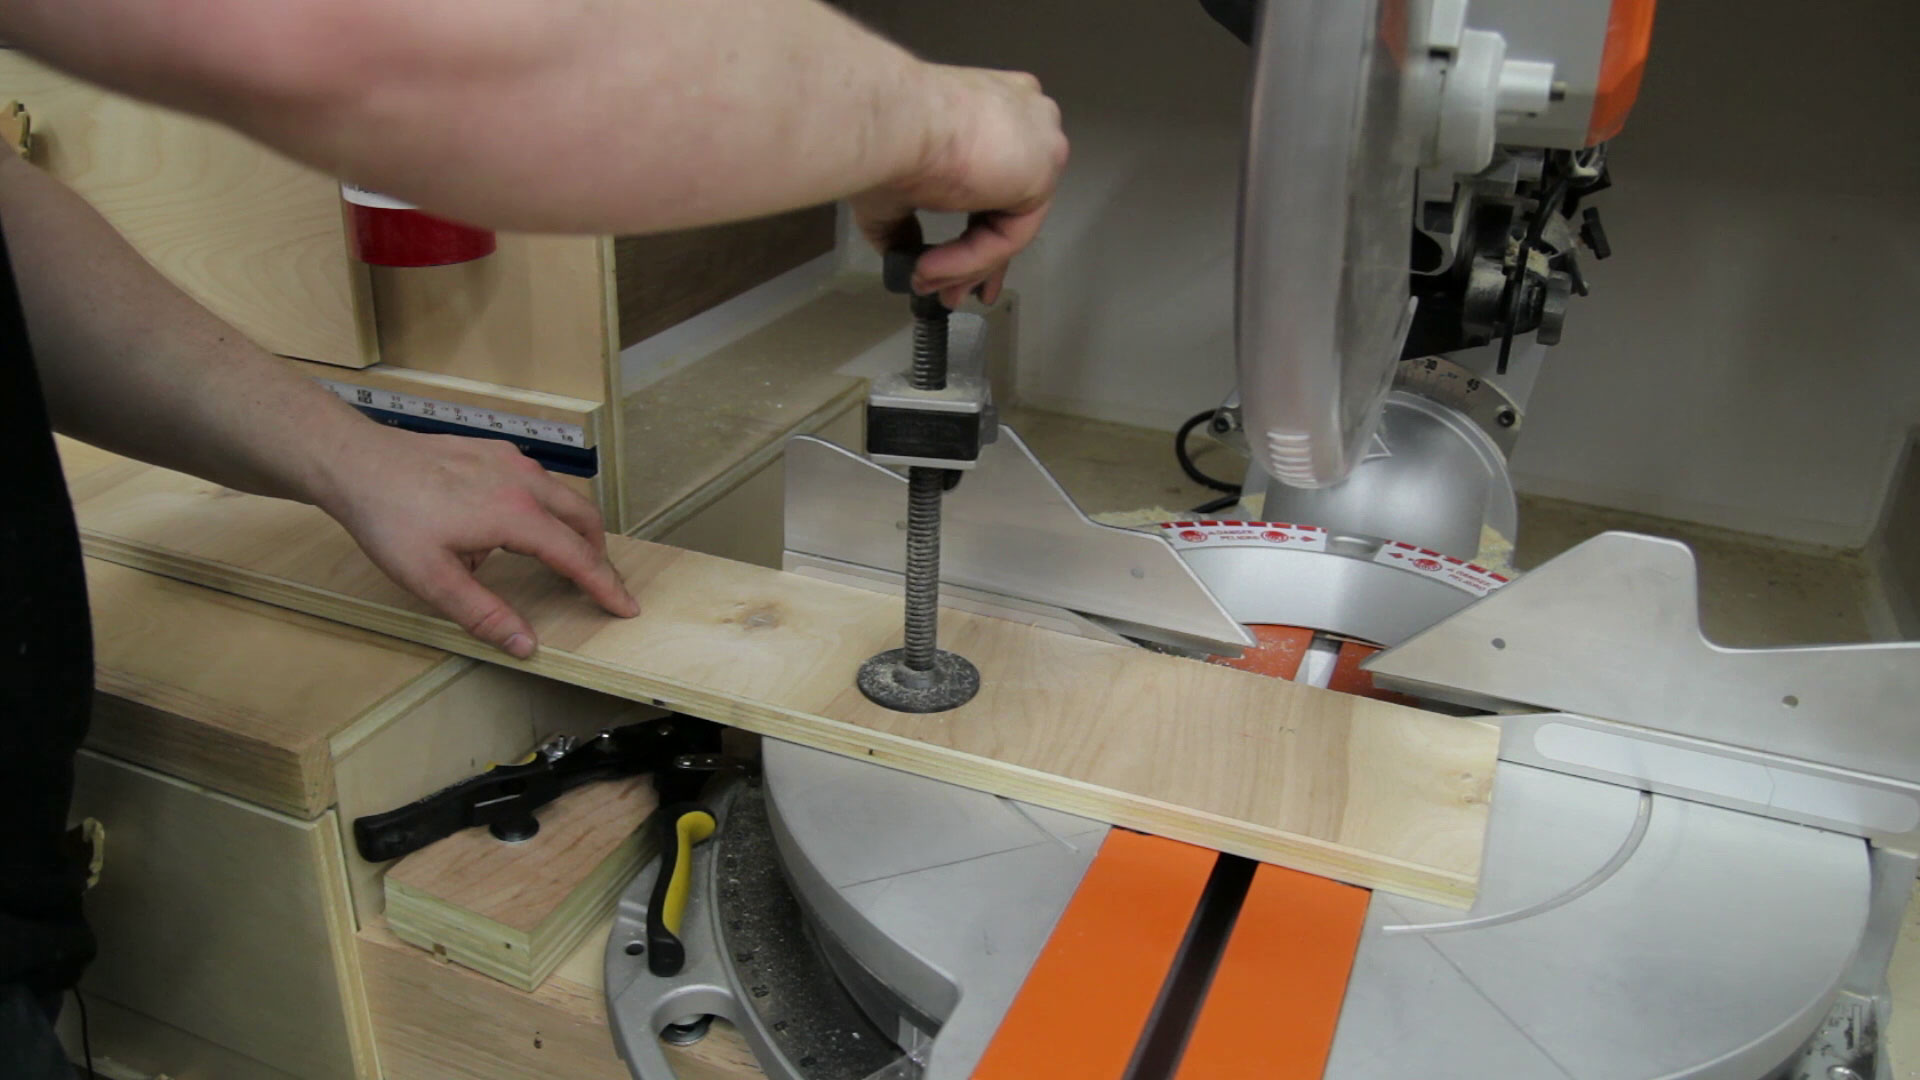
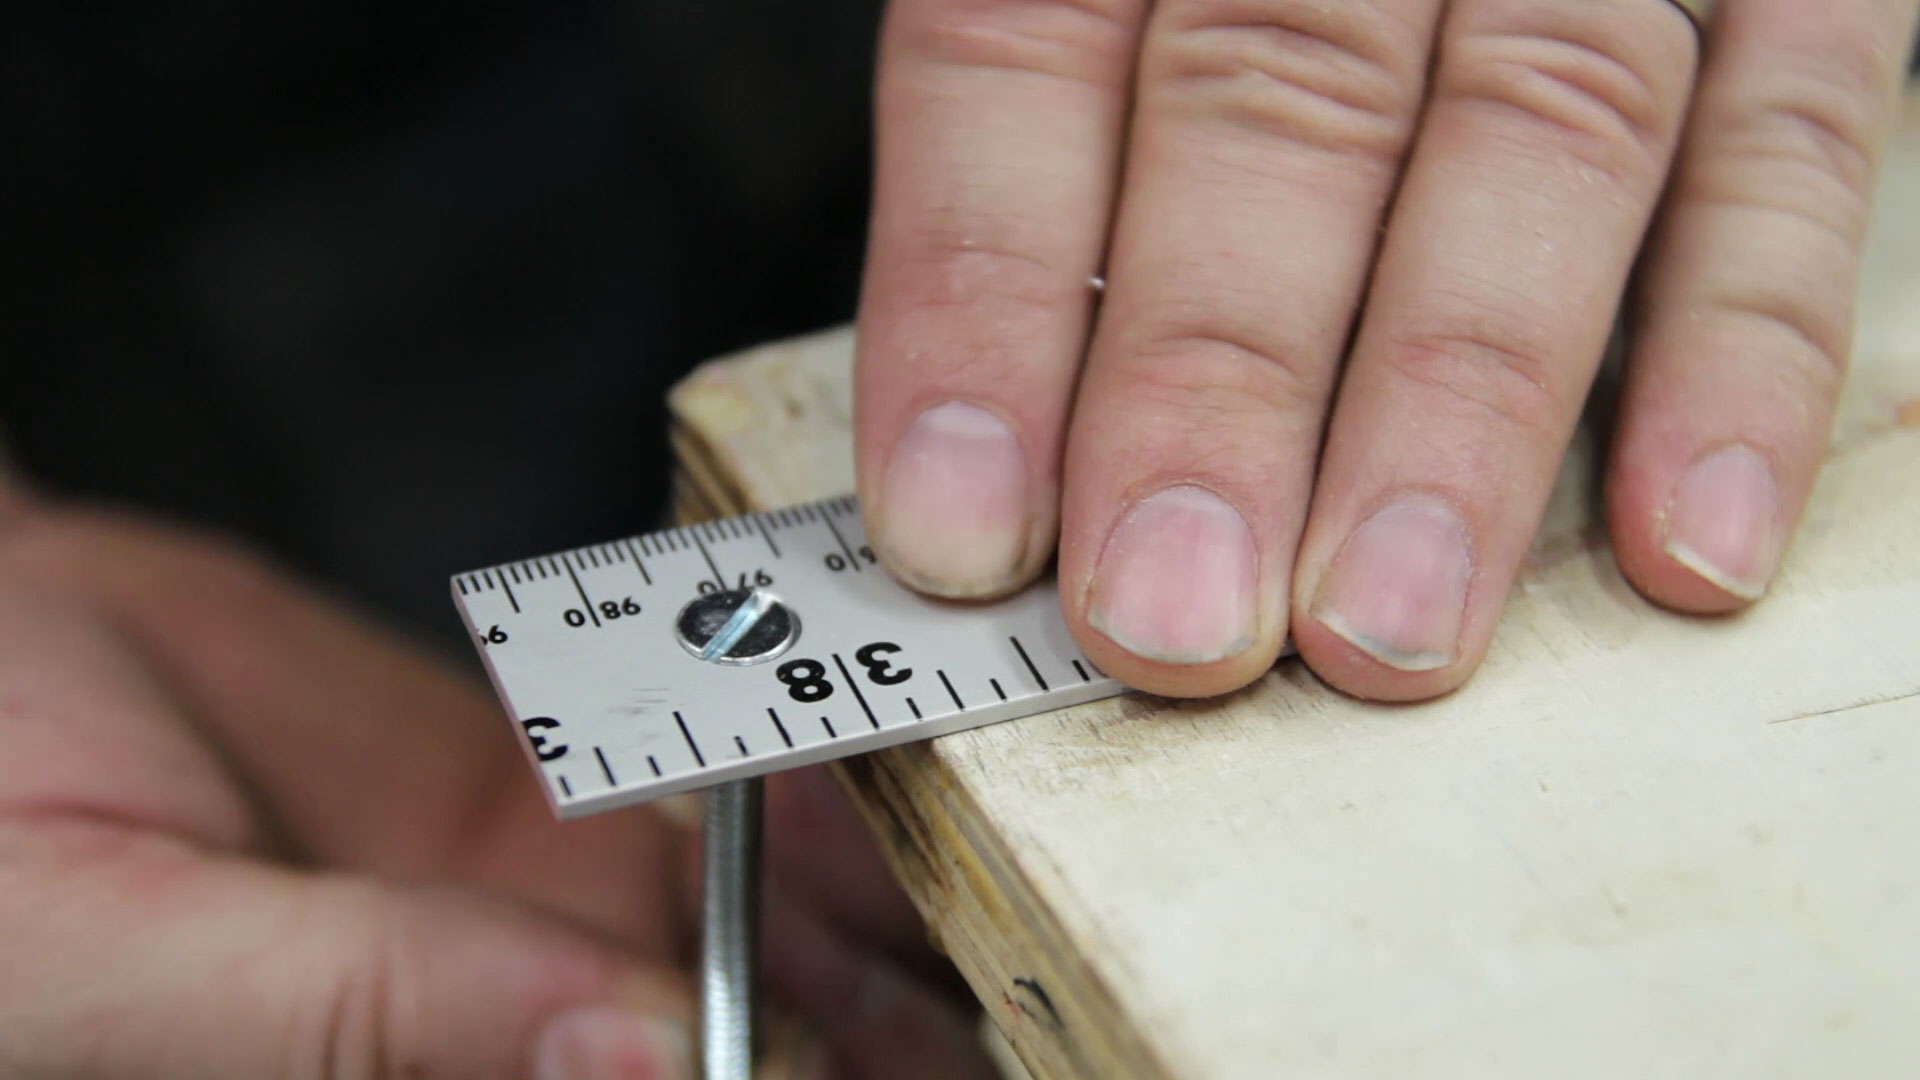
Without unclamping the board slide the stop block into place against the board. Then measure the exact length of the board and adjust the pointer to read that exact measurement on the ruler. Make a couple shorter cuts and test your accuracy with the stop block ruler. It should be spot on.
Even if you don’t use this exact setup in your miter saw station I hope you were able to pick up on something to help you out. I’ve been producing weekly content for the past two and a half years so if you enjoyed this article/video chances are you might enjoy some of my others. Feel free to browse around this site and sign up for my email newsletter so you will be notified of new content directly in your inbox. I have a detailed set of miter saw station plans available for those who are interested.
Miter Saw Station Plans:
Ultimate Miter Saw Station PLAN
$19.99
Description
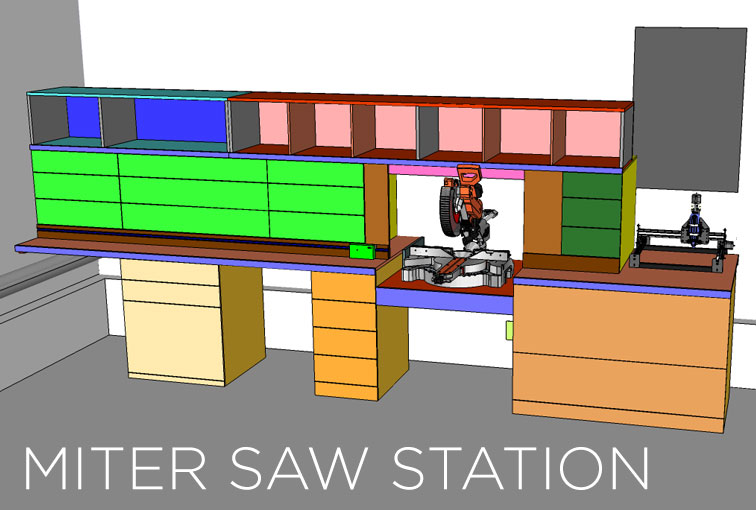
This miter saw station has been an incredible increase of shop organization and greatly increased the ease of use and dust collection for my miter saw. It is 177″ long, 37″ deep, and about 71″ tall depending on the leg levelers. It features 21 drawers of various sizes, a slide out tray for storing a benchtop planer, and a row of quick access tool bins at eye level. The empty space on the bottom left houses my air compressor. The next empty space in the bottom houses my trash can. And the open work surface to the far right houses my small CNC machine. A drill press would work well in this location. The plan is in imperial units only but you can change the SketchUp file to read metric units if you prefer. A link to the SketchUp files I used to create the plan are included in the plan. I broke the project into four parts and made a build video and article on each:
- Part 1 – Carcasses and work surface
- Part 2 – Drawers and drawer installation
- Part 3 – Drawer fronts and shelf boxes
- Part 4 – Stop block system
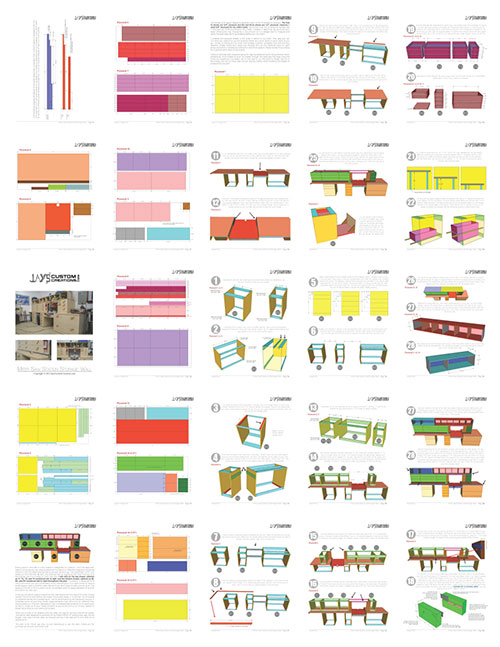
Included in the miter saw station plan:
- 28 detailed pages
- shopping list
- plywood layout diagrams
- reference diagrams for specific part dimensions
- step by step 3D assembly diagrams with written instructions
 Here is a follow up video close to two years after making it that covers a lot of common questions:
The entire plan is included in one PDF document. Most everyone will have a PDF reader installed on their computer already but if you do not you can use the free program Adobe Reader to view the plans. You can download Adobe Reader HERE. The checkout process for this plan uses PayPal. You can use major credit or debit cards through PayPal. You do not need a PayPal account. To purchase the plan follow the link below. After you purchase the plan you will receive an email receipt from me containing a link to download your plan. Make sure to check your inbox and spam filter for the receipt. If you do not receive the email within 10-15 minutes or encounter any problems please contact me.

Related products
-
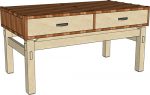
Krenov Inspired Coffee Table
$14.99 Add to cart -
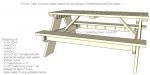
6 Foot Picnic Table DIAGRAMS AND SKETCHUP FILE
Price range: $0.00 through $20.00 Select options This product has multiple variants. The options may be chosen on the product page -
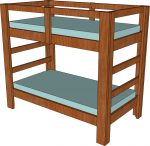
2×4 and 2×6 Twin Bunk Bed PLAN
$9.99 Add to cart -
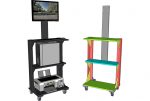
Mobile Stand Up Computer Desk PLAN
$9.99 Add to cart


Maybe instead of the aluminum ruler on the stop block you could have used a piece of clear plastic with a scribe line for your mark. That would allow you to see all the ruler for better visibility when making adjustments.
That was my original intention. Please see paragraph three :) Thanks for stopping by :)
That is some mitersaw station. I enjoy your video’s of the jigs and cabinets you make.
Was wondering if you offered a video on using Sketch Up to build cabinets.
I have been trying to learn how to use it but just can’t quite get it. I think the problem I have could be solved by having a video on a tv that I could start and stop and following along in sketch on my computor.
Jeff
I sure do: https://jayscustomcreations.com/2014/09/sketchup-making-cabinets/
Love it man! This why your videos shine…simple to do yet you have ideas that refine… The spline in the stop block is a perfect example… Well done
Hi Jay,
That is one nice stop block setup. I don’t have a miter saw. But I could probably adapt this to my Radial Arm Saw.
I bet that Cream Cheese went down a little ruff. lol!
Nice video.
I meant Sour Cream.
I am inspired every time I watch you! I have always been a Kregg fan. I am compltely loving the learning!
Awesome video and ideas as usual!!
Love the gliding stop block. the only little thing I would change is the pointer. NOT TRYING TO BE SMART HERE!! Although it is very clever, if someone is not careful as you are normally, glides the piece to be cut while being flush with the fence, as the guide protrudes from the face of the fence, he would hit the guide before the stop block no? I think it would more work but if you make a shallow dato in the fence over the T slot for the guide to ride in, I think this could be prevented.
As I said, I’m not trying to be smart just a simple recommendation. Hey, that could be another episode :)
Keep up the good work brother!
Dan
That would normally be the case but I always have my miter saw fence about 1/2″ to 3/4″ forward from the miter saw station fence. That way if I cut a board that has a slight bow to it all I have to worry about is getting the material square to the miter saw fence to get a 90 degree cut.
No Biggy, I forgot that part. You actually mentioned it in the build… My bad.
Jay,
Excellent build. Added to my “must build”. Thanks.
Ed
In Canada Lee Valley has local stores. My small city (300,000) has one and the staff know me very well. And of course, as soon as I walk in, I’ll see items I just “have to have”. I’m just glad Harbor Freight hasn’t come north.
BTW, Lee Valley is selling 1/4” and 5/16” T-track parts kits with 149 items: t-bolts, t-nuts, threaded inserts and lots of knobs. If you’re addicted to jigs…
I really like the way you’re compressing time in your edit – you’ve got rhythm
Hey Ron. I just checked and the population for the city I live in is 28,888 (data from 2014) :)
Whiteland, IN population 4,284 (2013).
To be fair though, the separation between Indianapolis, Greenwood, Whiteland, and Franklin is just a a few signs, everything is grown together.
Speaking of small burgs though, you touched on it in a vlog in the past (neighbors looking at you when you were filming in the garage), are you like “that video guy” in your town? Does your internet stardom affect your daily life?
My town – 72.
Ok, that’s cheating a bit. I live 1 hr away from Oklahoma City, but still… Only 1 Woodcraft for woodworking stores.
:-)
Watched this 3-4 times (series), getting ready to watch again as I continue a year-long build out of my shop/garage, having moved here in march 2015.
This is the best miter saw station that I have seen, Jay, you are my favorite woodworker on YouTube, your designs are wonderful, I wish I have the shop space to make one of everything you have built. Thanks for all the work you do in providing such great projects for all to view.
I think the little length of aluminum ruler works great. It won’t grow opaque over time from many scratches and dirt like a see-thru piece of plexi would – and it’s surely more durable.
So, to get this straight – the aluminum ruler is not actually 30″ from the blade – the stop block is. Thus the stick-up ruler isn’t actually accurate either – since the aluminum indicator shows 30″ but it’s actually, say 30.5 inches from the blade – but the stop block is actually 30″ This makes my head hurt – I’ll have to watch that part of the video again.
Thanks this is great! When can I support you on patreon?
It’s extremely difficult to get the ruler to be 100% accurate with the distance to the blade by itself. It’s peel and stick so if you are 1mm off your going to have to deal with it. The advantage of using an adjustment on the stop block is that you can adjust the stop block to read your exact distance instead of worrying about the precision of the tape itself.
I doubt I’ll go the patreon route.
Any recommendations for a modification on a station that has to be 20″ shorter? Leave out the last set of drawers and top cabs and shorten the work desk?
Sure.
Love to get a plan for that Bench!!!!
Jay Excellent work best Plan for me…
This is one of best miter saw station that I have not seen before , you are my favorite because you are love..Thanks for all the quality work, such great projects
I’m motivated each time I watch you! I have consistently been a miter saw fan. I’m completely adoring the learning!