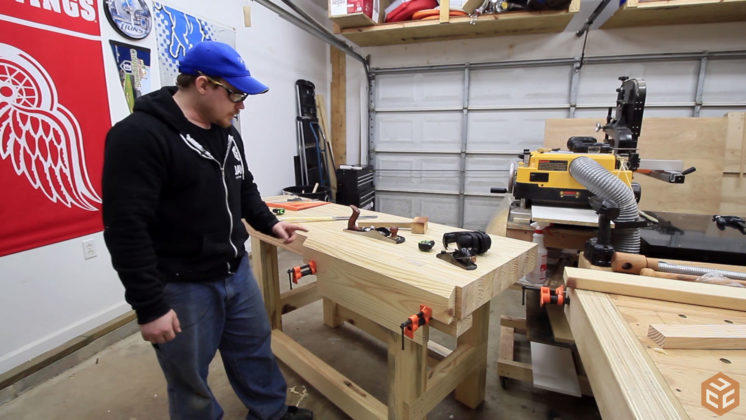
Last week I built a really solid workbench but didn’t get around to adding the vises. In this video and article I’ll cover those. If you are interested in a set of plans covering my workbench, the three vises I installed, and a four drawer cabinet that I have yet to put down below I have a detailed set of plans in both metric and imperial units available at the end of this article.
As I just mentioned, I chose to incorporate three vises on this workbench. Do you need three vises on a workbench? No, not really. There are plenty of ways to hold material on a workbench without any vises. But vises are incredibly handy and the three I chose for this workbench are all different and individually perform better in certain situations. The quick release cast iron vise I chose was the most expensive but also the quickest and easiest to install. The leg vise hardware kit I chose is by far the strongest but the second most in price and I would say the second easiest to install. The DIY pipe clamp twin screw vise is the least expensive but requires the most amount of fabrication to install. I’ll touch on the “why” question as I install each vise in this article.
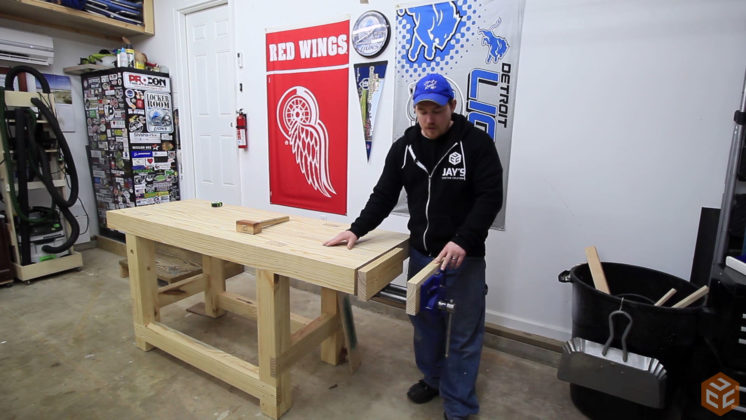
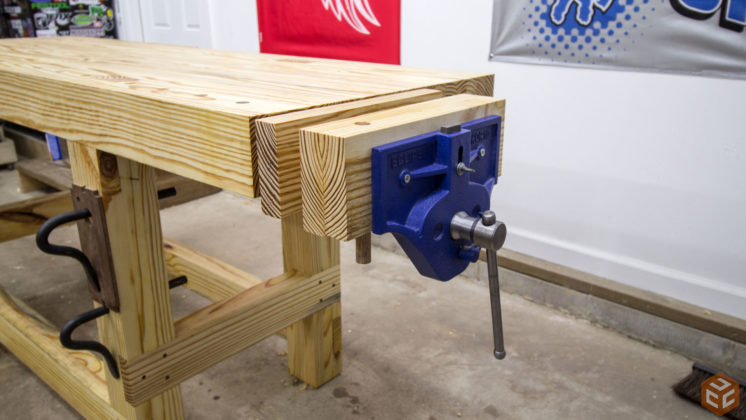
The first vise installed was the quick release cast iron vise. This can be used as a face vise if you wish but I chose to use it as a tail vise, primarily with the use of dog holes. It has a pop up dog but I don’t think I’ll be using it as it is inset a little more than I like which would require me to drill dog holes 8” or so away from the front edge of the workbench. I wanted to give a quick release cast iron vise a try as I know Paul Sellers always recommends this style of vise for workbenches. To install the vise I lifted the workbench onto the opposite end, clamped the vise in place, then drilled and mounted the vise with a few lag screws. Like I said, it’s the easiest to install.
The only thing to do to this vise after installing it is to add some wood jaws. You don’t want the cast iron vise jaws touching your work piece as you tighten down the vise because the cast iron will dent and damage your work. I used a couple of 1-1/2” thick scrap blocks from making the workbench for the vise jaws.
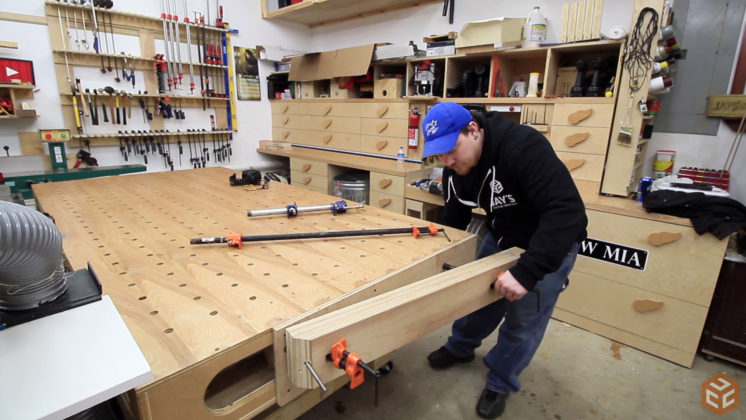
Next up is the DIY pipe clamp twin screw vise. Before making my workbench the only vises I have used since starting woodworking have been made from pipe clamps so I’m familiar with what does and doesn’t work with the concept. In the video I demonstrated the quick release capability of using pipe clamps in vises with my previously made assembly table vise. The vise I put on this table is fantastic but the table itself moves way too much causing frustration at times. I chose to use 1/2” pipe clamps as they are more than strong enough to complete the task, less expensive than 3/4” pipe clamps, and I actually prefer the handle design on my off brand 1/2” pipe clamp heads over the solid handle design of almost all 3/4” pipe clamp heads.
For the leg vise I chose to use a leg vise kit from Dema Gamayunov on YouTube. He’s got a video showing you how to make your own leg vise kit if you want to do so and he also offers complete kits like the one I got. If you’re interested in picking up one of these kits you can find them here. This isn’t a sponsored spot by the way. I’m not getting paid to say or use his kit. I’m just really pleased with it. My particular kit was made with cherry wood.
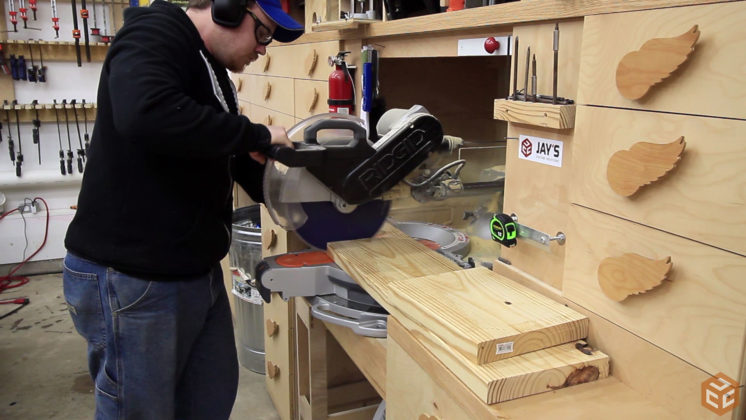
Both the leg vise and the pipe clamp vise need a jaw made. These are both made from 2×10 dimensional lumber as noted in the workbench plans. The leg vise definitely needs to be pretty thick so two boards will be laminated for a finished thickness somewhere around 2-1/2”. For the twin screw vise I just used one board giving me a final thickness of around 1-3/8”. The blanks for these were rough cut at my miter saw station. My miter saw station is another one of those highly recommended shop projects.
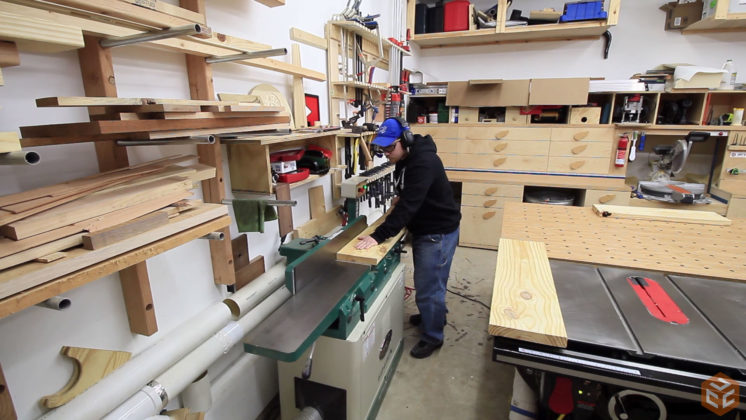
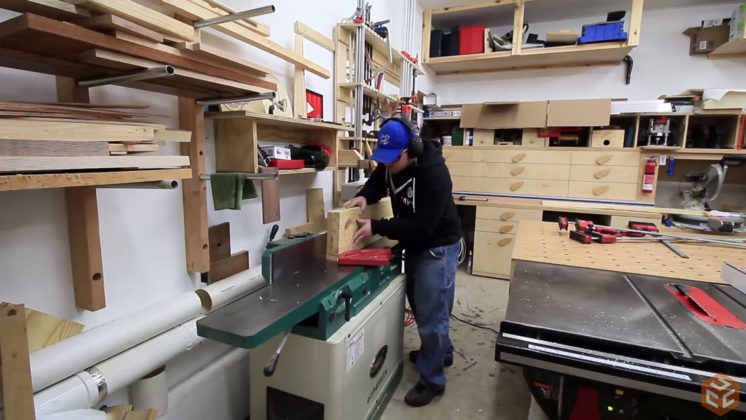
Even though my jointer is an 8” jointer I was still able to use it for the 9-1/4” boards that I am working with. I previously made a video showing how to joint boards wider than your jointer with the help of a planer so I used that same technique to start milling the vise jaws.
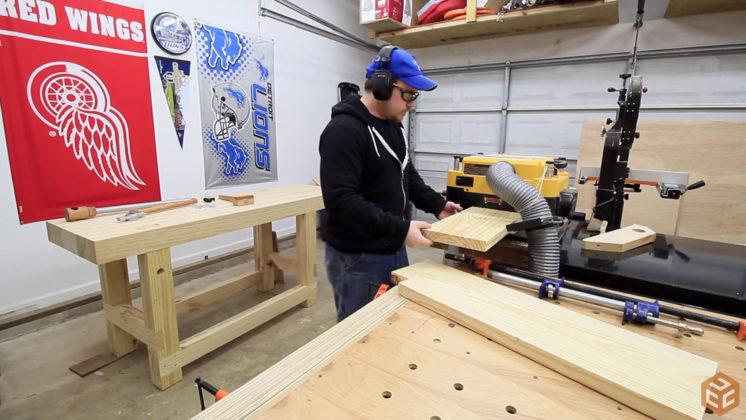
After the jointer a few passes through the planer are necessary.
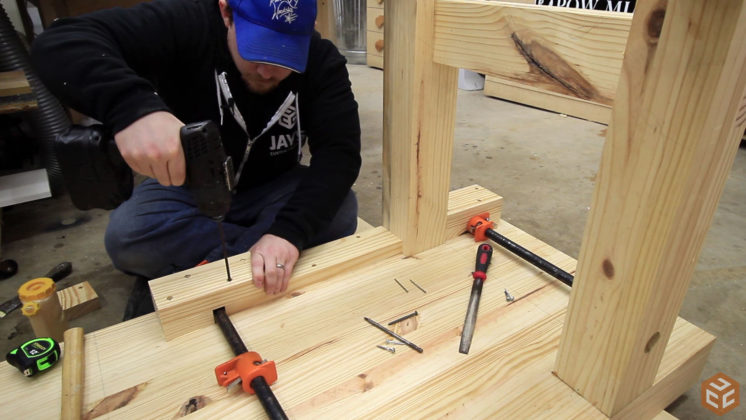
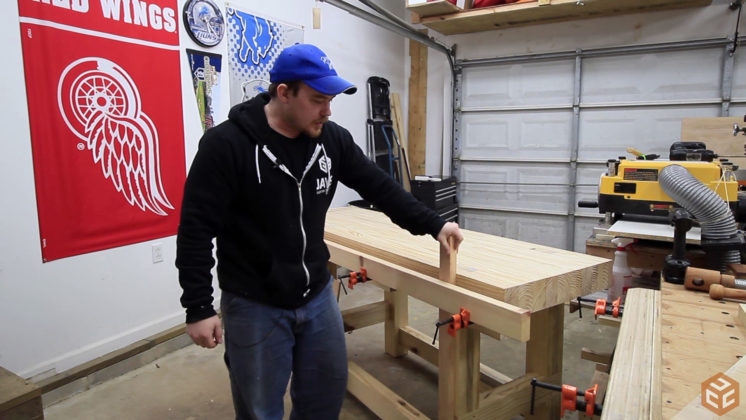
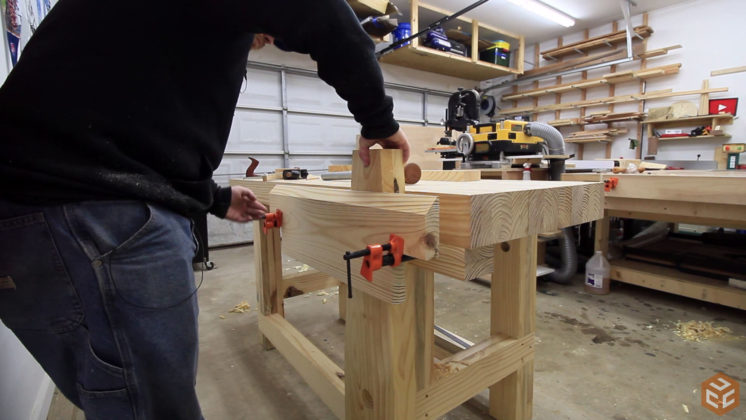
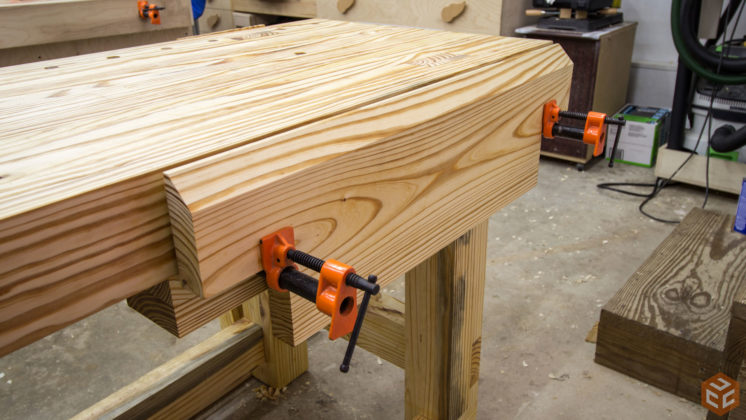
While the two boards that will make up the leg vise jaw were glued-up in clamps I started installing the pipe clamp brackets. To do so I very carefully rotated the workbench upside down onto a pair of scrap 2x4s on the floor. The pipe clamp brackets are nothing more than a few 3” wide pieces of lumber. The first row of blocks touching the bottom of the workbench need to be the same height as the distance found by resting the pipe clamp on a flat surface and measuring from the top of the pipe to the work surface. This way when the whole workbench is flipped back upright the pipe will remain parallel to the bottom of the workbench. Another block is added to form a second row and capture the pipe. Once the second row is secured the pipe clamp rear jaws can be screwed directly to the back of the wood brackets. You will have to pre-drill holes in the pipe clamps first. I’ve found it best to drive the screws all the way in and then back them out just slightly to allow the rear jaw to wiggle. This prevents binding in certain situations.
With the workbench flipped back upright I used a regular piece of 2×4 to demonstrate how simple this setup can be and how well it holds.
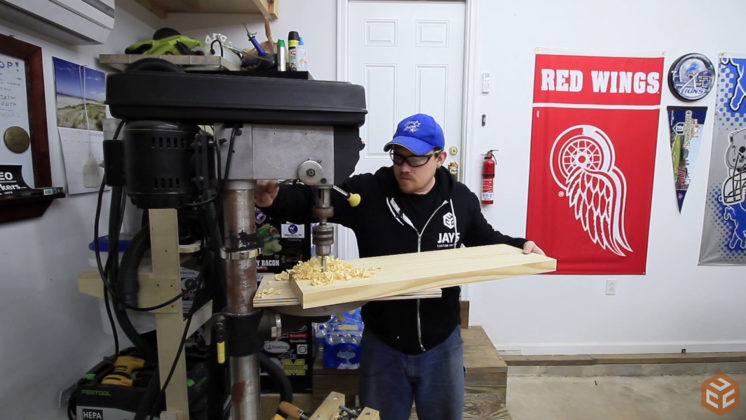
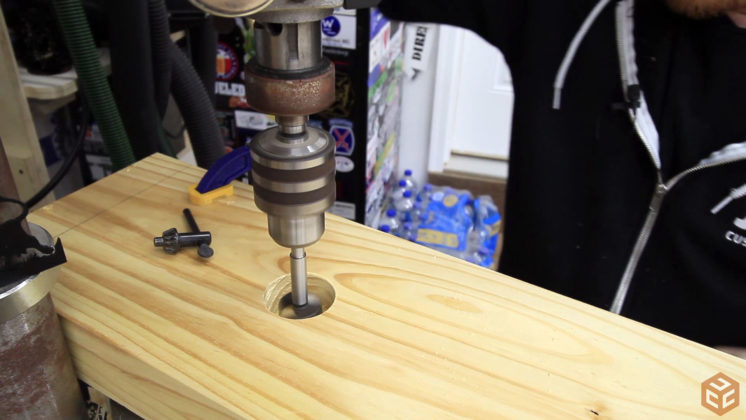
To start the twin screw jaw shaping I used a forstner bit at the drill press to form the radius where the pipes will eventually be.
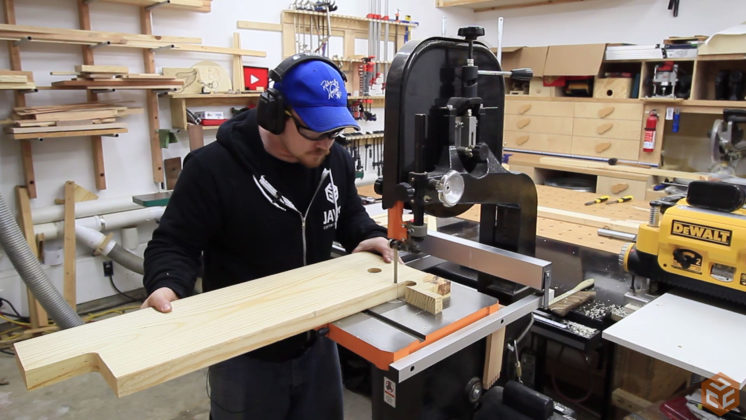
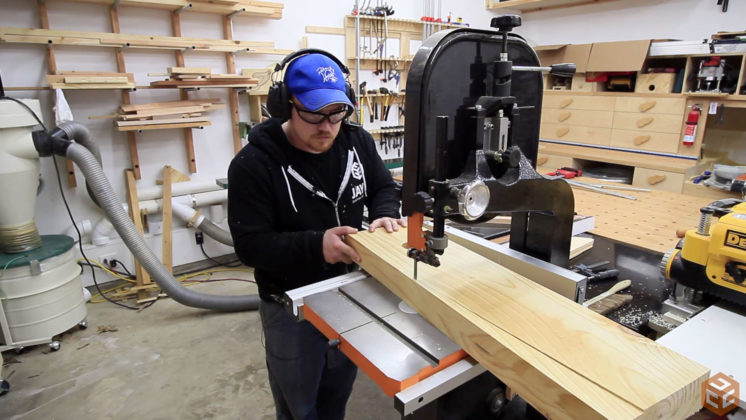
Instead of leaving these holes alone and feeding the pipes through the holes I wanted the twin screw jaw to be easily removed when necessary by simply picking it up and off the pipes. To allow this the lower outside corners of the jaw needed to be removed. That is easily done at the bandsaw.
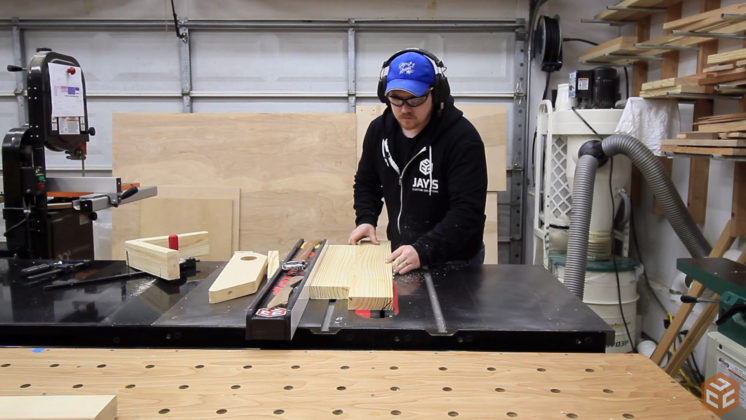
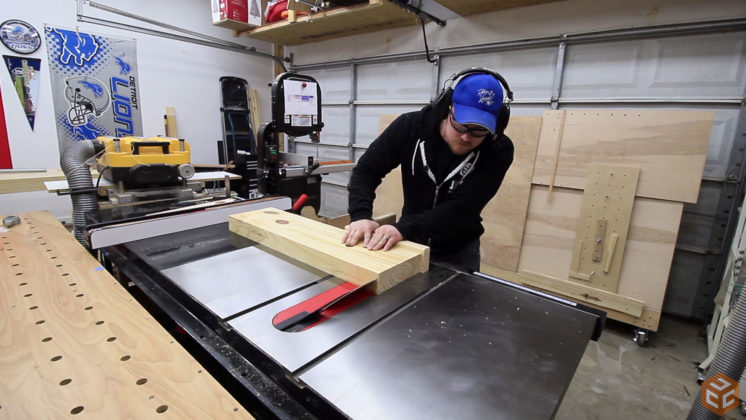
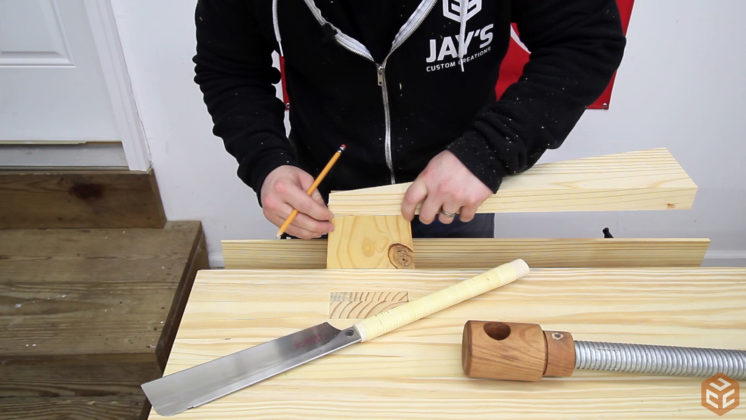
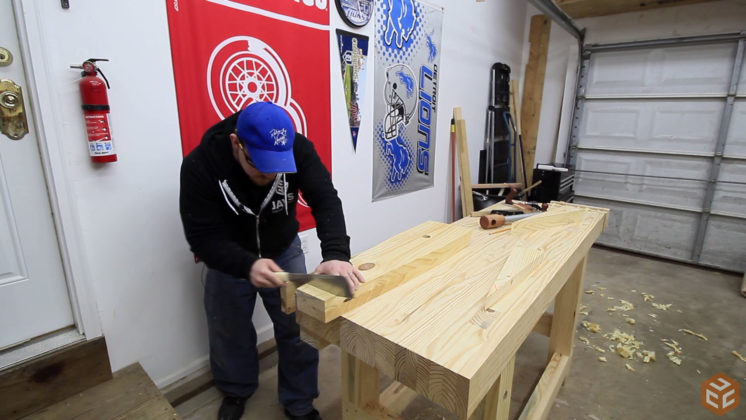
Typically twin screw vises and leg vises have either a generous round over or a chamfer cut on the top outside face of the jaw to allow more room for a hand saw when cutting at a 45 degree angle or so. I chose to go with the large chamfer as it is easily cut at the table saw.
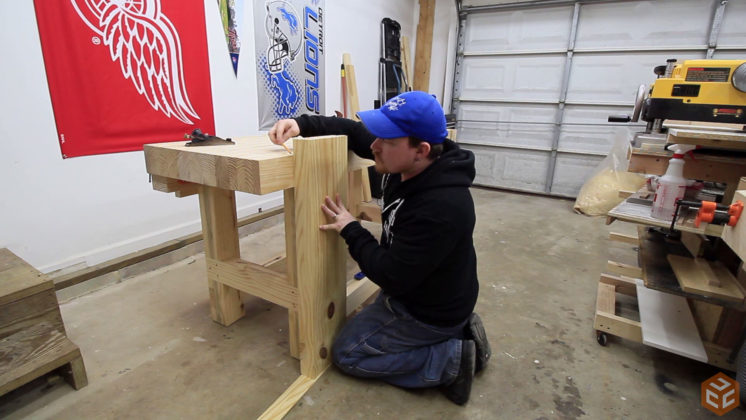
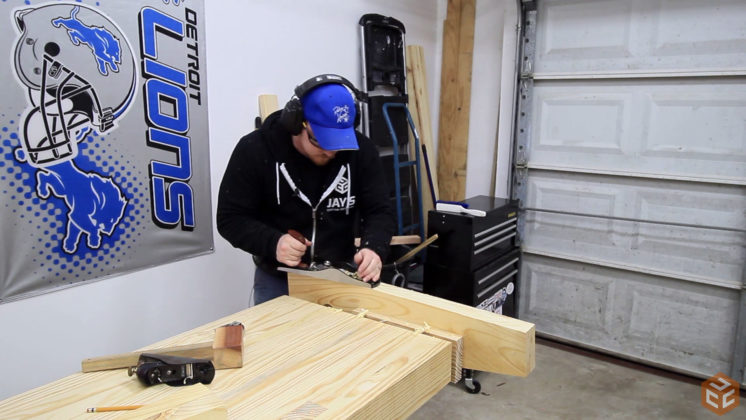
After flushing up the top of the jaw to the workbench top with a hand plane the vise can be used. I chose to incorporate this vise in the workbench because not only is it super inexpensive to add it is also extremely handy in certain situations. Because there are 23” between the pipes I can put a relatively wide panel in the vise and have it clamped along its entire width. This is great for working on ends of wide boards or panels for joinery or even just to hold it solid while you use a sander.
By this time the material for the leg vise jaw was dried and ready to be shaped. I started at the jointer by jointing one of the short sides.
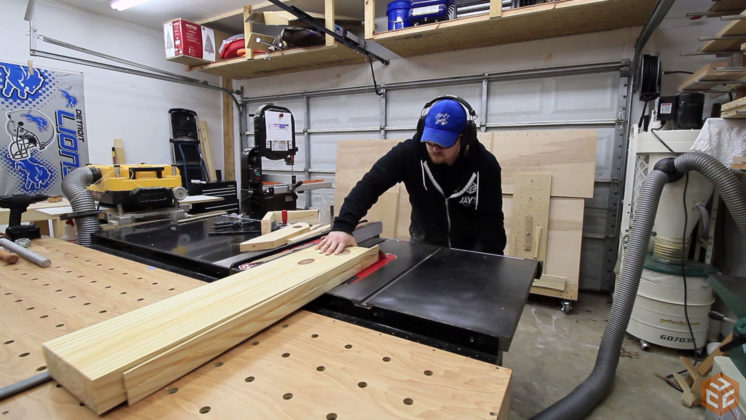
Then the opposite short side can be cut flat and the final width established at the table saw.
When I made the workbench itself I made sure to drill the through hole in the leg for the leg vise. I drilled this so that there would be a full 8” of room between the top of the screw and the top of the workbench. To locate the hole in the leg vise jaw properly I elevated the jaw off the ground by 1/4” and placed the front of the jaw in towards the workbench. After making sure the jaw was evenly centered and vertical according to the leg I drew a line representing the top of the workbench.
With the top of the workbench located on the top of the leg vise jaw I came down 8” and drilled the necessary holes for my leg vise hardware. This needed to be a stepped hole with two different diameters.
Just like the pipe clamp jaw, I chose to chamfer the top of the leg vise at the table saw. Much faster and cleaner than trying to round it over.
Instead of being just a huge chunk of wood sticking to the workbench I chose to give the leg vise jaw a touch of character by cutting a taper on each side. Drawing a line and roughing it out at the bandsaw was the quickest option.
To smooth the freshly cut face and remove the bandsaw marks I used my low angle jack plane. This was the first example of how handy it is to have a solid workbench with a solid vise.
The leg vise won’t have a traditional parallel guide through the leg. Instead I chose to use a wedge to adjust the vise parallel. This requires cutting a taper on the bottom of the leg jaw that matches the wedge that will be used. Working on the ends of longer material like this is a perfect example of where a twin screw vise really shines.
With the leg vise jaw firmly secured in the vise I can easily mark and make the vertical cut of the wedge relief.
Then place the jaw on the workbench itself and cut out the rest of the wedge relief.
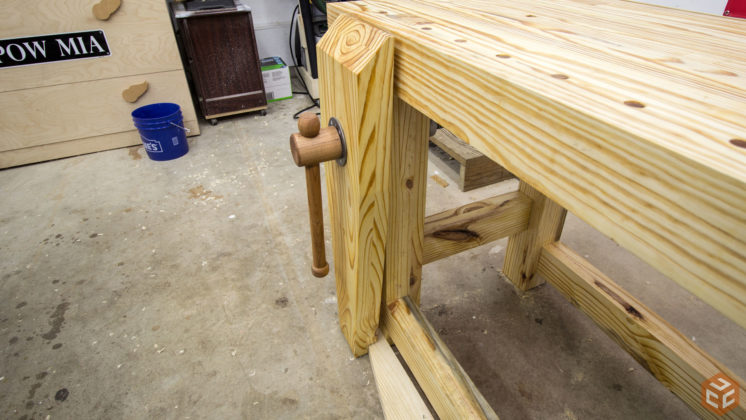
The leg vise screw can be secured to the jaw next. Followed by adding the handle.
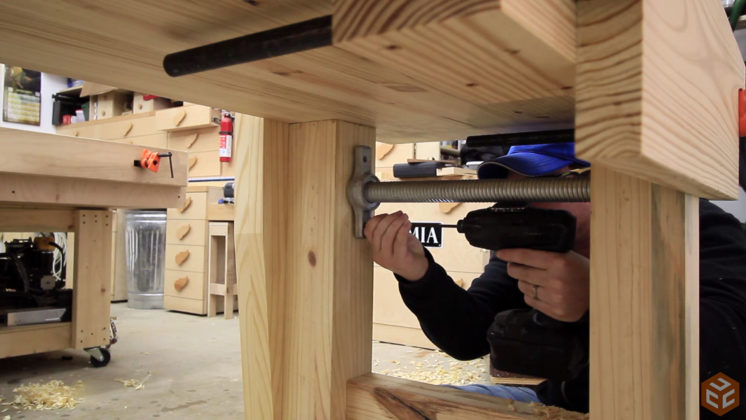
After installing the screw into the leg and rotating the nut into place the nut can be secured with a couple of screws. You cant see it in this picture and I failed to mention it in the article but I had to drill a 1/2” recess into the opposite leg as the leg vise screw was a tad bit too long. Drilling a shallow recess was much easier than cutting the screw.
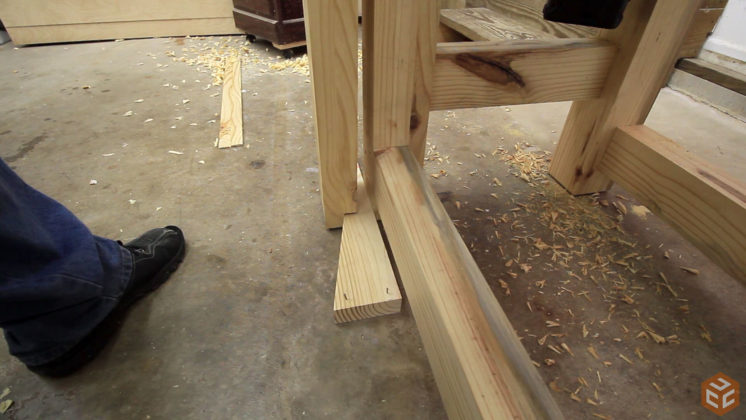
The wedge system parallel guide works very well. To make the wedge easier to pull back with my foot I drove a couple nails into the wide part of the wedge making sure they were 1/4” or so proud of the surface. This will allow me to easily pull it back with my shoe.
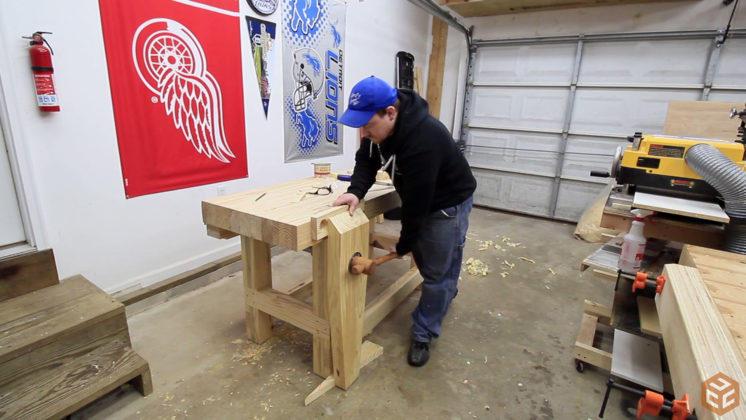
The completed leg vise is extremely strong yet a very simple design. Because the parallel guide is simply a wedge on the floor and nothing to keep the vise perpendicular there is the chance of the vise rotating clockwise when tightening down. It’s not a big deal though. Simply use the thumb on your hand holding whatever it is that you are trying to clamp to steady the vise as you drive it home. It’s quite simple and strong as a bull. The reason I incorporated this vise is because a leg vise is highly regarded as an extremely strong and versatile vise. I’ve already confirmed the strength part. Time will determine how versatile it is. As of right now it’s my favorite vise on the bench though.
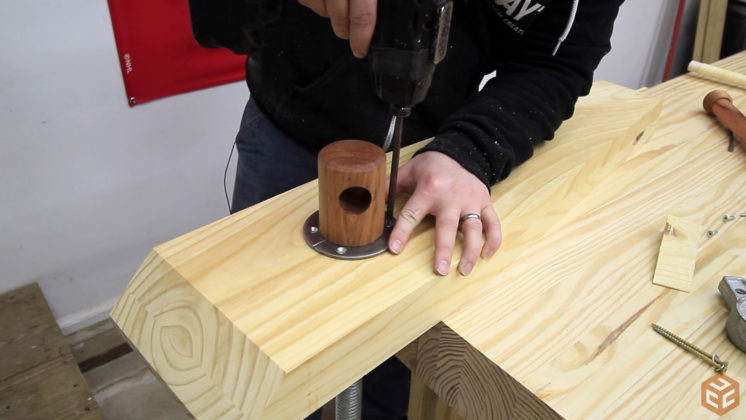
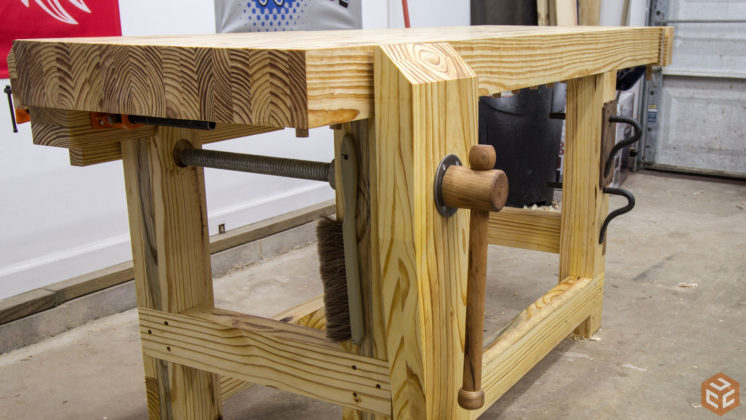
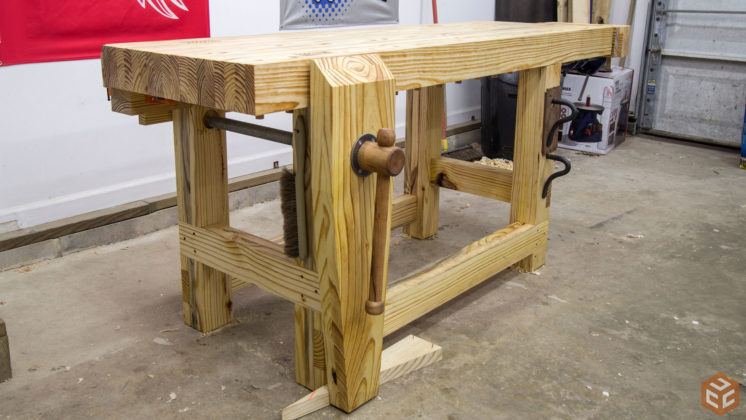
I didn’t include the dog holes in the video as I was undecided on where I would put them when I shot the video. Since then I decided to drill them about 2-1/2” in from the front of the bench and on 4” centers except where the leg tenons were. I also doubled up the moveable jaw on the tail vise and added a wood dog to it. I believe I ended up having 16 dog holes total and each hole has a 3/4” dowel used for the dogs. The dowel is 1” longer than the thickness of the workbench top and has a slight undercut on the top that faces the tail vise. I left these dogs really tight as I figured they would loosen up over time. To use the dogs simply hammer them up from below and to knock the dogs back down below the top surface simply knock them down with a mallet. I also chose to finish the bench with a coat of boiled linseed oil. The following pictures were taken after finish was applied. If you are interested in a set of plans for this workbench they are located after these final pictures. I hope you enjoyed and thanks for stopping by :)
Woodworking Workbench Plans
Woodworking Workbench (METRIC & IMPERIAL) PLAN
$19.99
Description
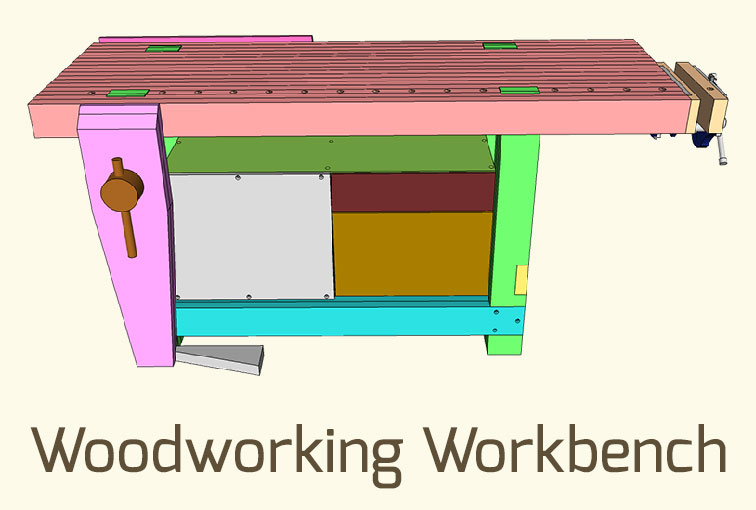
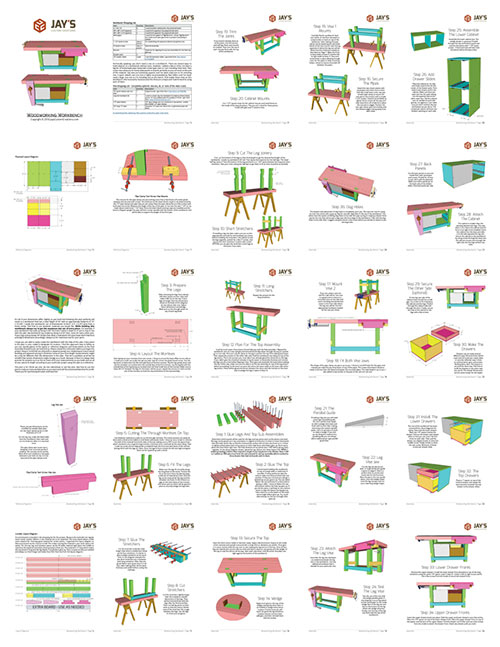
These plans are in both imperial and metric units. This woodworking workbench is built from readily available 2x10x12′ boards and a little bit of plywood for the cabinet. Included is three different vise options for you to choose from or add all three like me. The workbench is roughly 6′ long, 2′ wide, and features a 4″+ thick top, a strong, half lap constructed base, through mortise and tenons to connect the workbench base to the top, and a four drawer cabinet integrated into the base. The lumber for the workbench itself cost me about $110. The following is included in the plan:
- 25 detailed pages
- shopping list
- access to download the SketchUp file used to create the plan
- a lumber layout diagram
- a plywood layout diagram
- reference diagrams for specific part and assembly dimensions
- step by step 3D assembly diagrams with written instructions
The entire plan is included in one PDF document. Most everyone will have a PDF reader installed on their computer already but if you do not you can use the free program Adobe Reader to view the plans. You can download Adobe Reader HERE. The checkout process for this plan uses PayPal. You can use major credit or debit cards through PayPal. You do not need a PayPal account. To purchase the plan follow the link below. After you purchase the plan you will receive an email receipt from me containing a link to download your plan. Make sure to check your inbox and spam filter for the receipt. If you do not receive the email within 10-15 minutes or encounter any problems please contact me.




Jay ,the time and love you put into this workbench really shows. This is a Awesome job!!
Jay, after I watched your video on the workbench vises I watched Ryan Nodwell’s video of the table saw sled. I noticed his workbench had a tray beneath it to hold screws. I thought this was a great idea.
Excellent vises-great video! Jay->I teach (small college in rural AZ) all my classes online and I record 16 to 37 lectures per course/per term (5-6 courses/term…so 96 to 222 lectures sessions per term). I know how it feels to be all alone in a room talking to a camera, as if, the whole world is watching-when in fact it is just you! You do a wonderful job! I am close to retirement and my retirement will be just me in my wood-shop->I have so much to do and you have given me so many great ideas! This bench will definitely be in my shop (someday soon). I can’t wait for the cabinet plans! Again great work-THANKS!
tjl
Excellent
Jay, I’ve followed your YouTube channels since your apartment workshop days. You have continuously raised the bar on the quality of production and design creativity. While you’ve accumulated some top-line power tools over time, you’ve always maintained a focus on affordable methods and tools for the average Joe (and Jolene). That’s not an easy balance to maintain. The workbench project is proof-positive that you’ve mastered that formula.
Thank you very much for the feedback Don.
Would love to see your logo branded into the angled portion of your leg vice. Is it important that the pipe vice wood jaw be removeable? or could you drill two holes and run the pipe thru it, for a permanent install? Do you intend or advise putting leather on the inside of any of vice jaws?
Thanks Jay for the vice plans……..simple and effective. As usual…….you always come thru with something I always need. Thank you again my friend.
Love this Jay. I’m about to build the assembly table (not the workbench) and I’m thinking through the vise. I know you tried using a dog hole and dog on that pipe clamp vise and it didn’t work. Was it just because the vise jaw was made from plywood and not hard wood? If I made my vise jaw out of pine instead of plywood, do you think the dog situation would work?
Very nice, as usual. About dog hole spacing: The dog holes need to be closer together than the vise’s largest usable opening. Thanks for all the great ideas, Jay.
Nice Job, noted that you decided to go off center on the dogs for the quick release vice, have you noticed any problems with racking?
Thanks David. The tail vise racks slightly but not much to even think about really. It works very well and I’m quite pleased with it.
Very good,Jay.