I recently got a wave of comments and questions about my shooting board attachments so I figured it would be wise to put together a quick article on the topic. If you haven’t already made a shooting board I highly recommend doing so….regardless of what plane you have (except rabbet/shoulder planes).
Click here to download a .zip file containing the SketchUp file of my shooting board attachments.
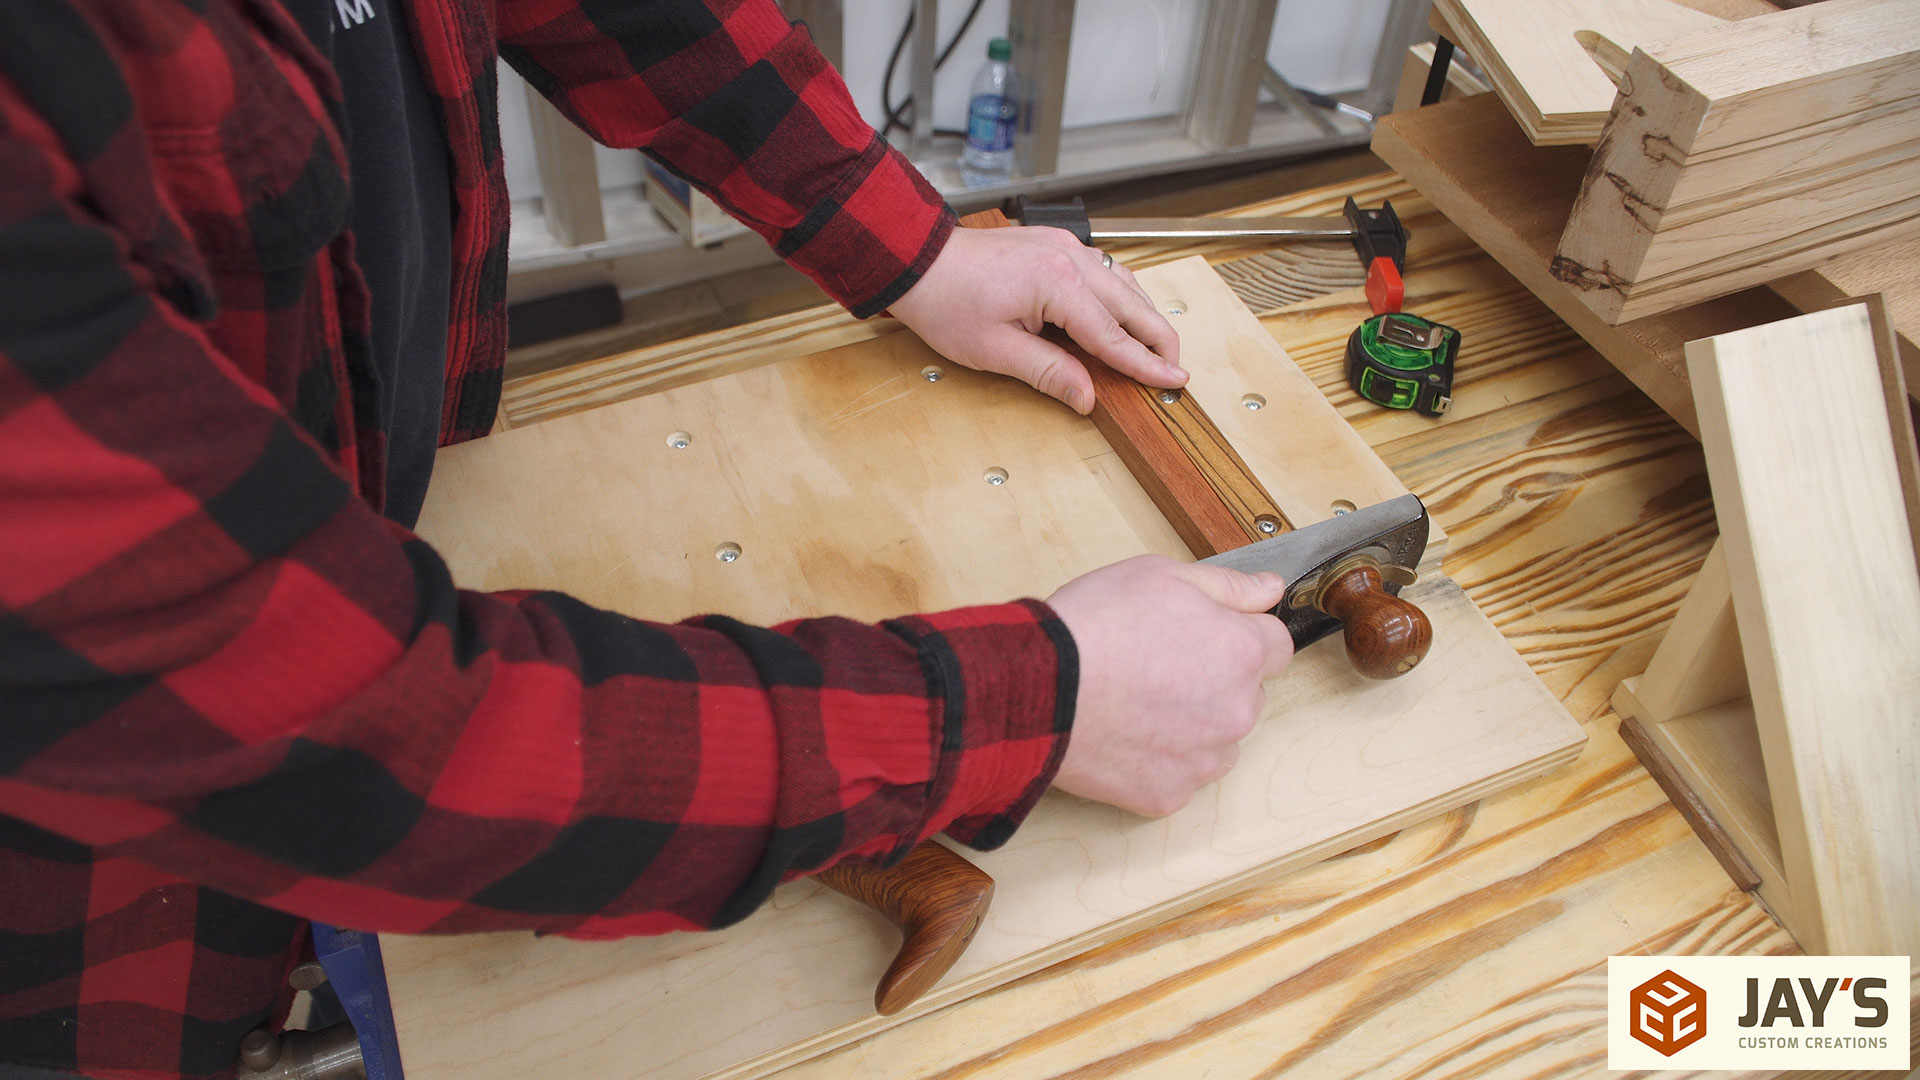
This is my shooting board. It’s made of two pieces of 3/4” plywood, a hardwood fence, and a hardwood cleat on the bottom side.
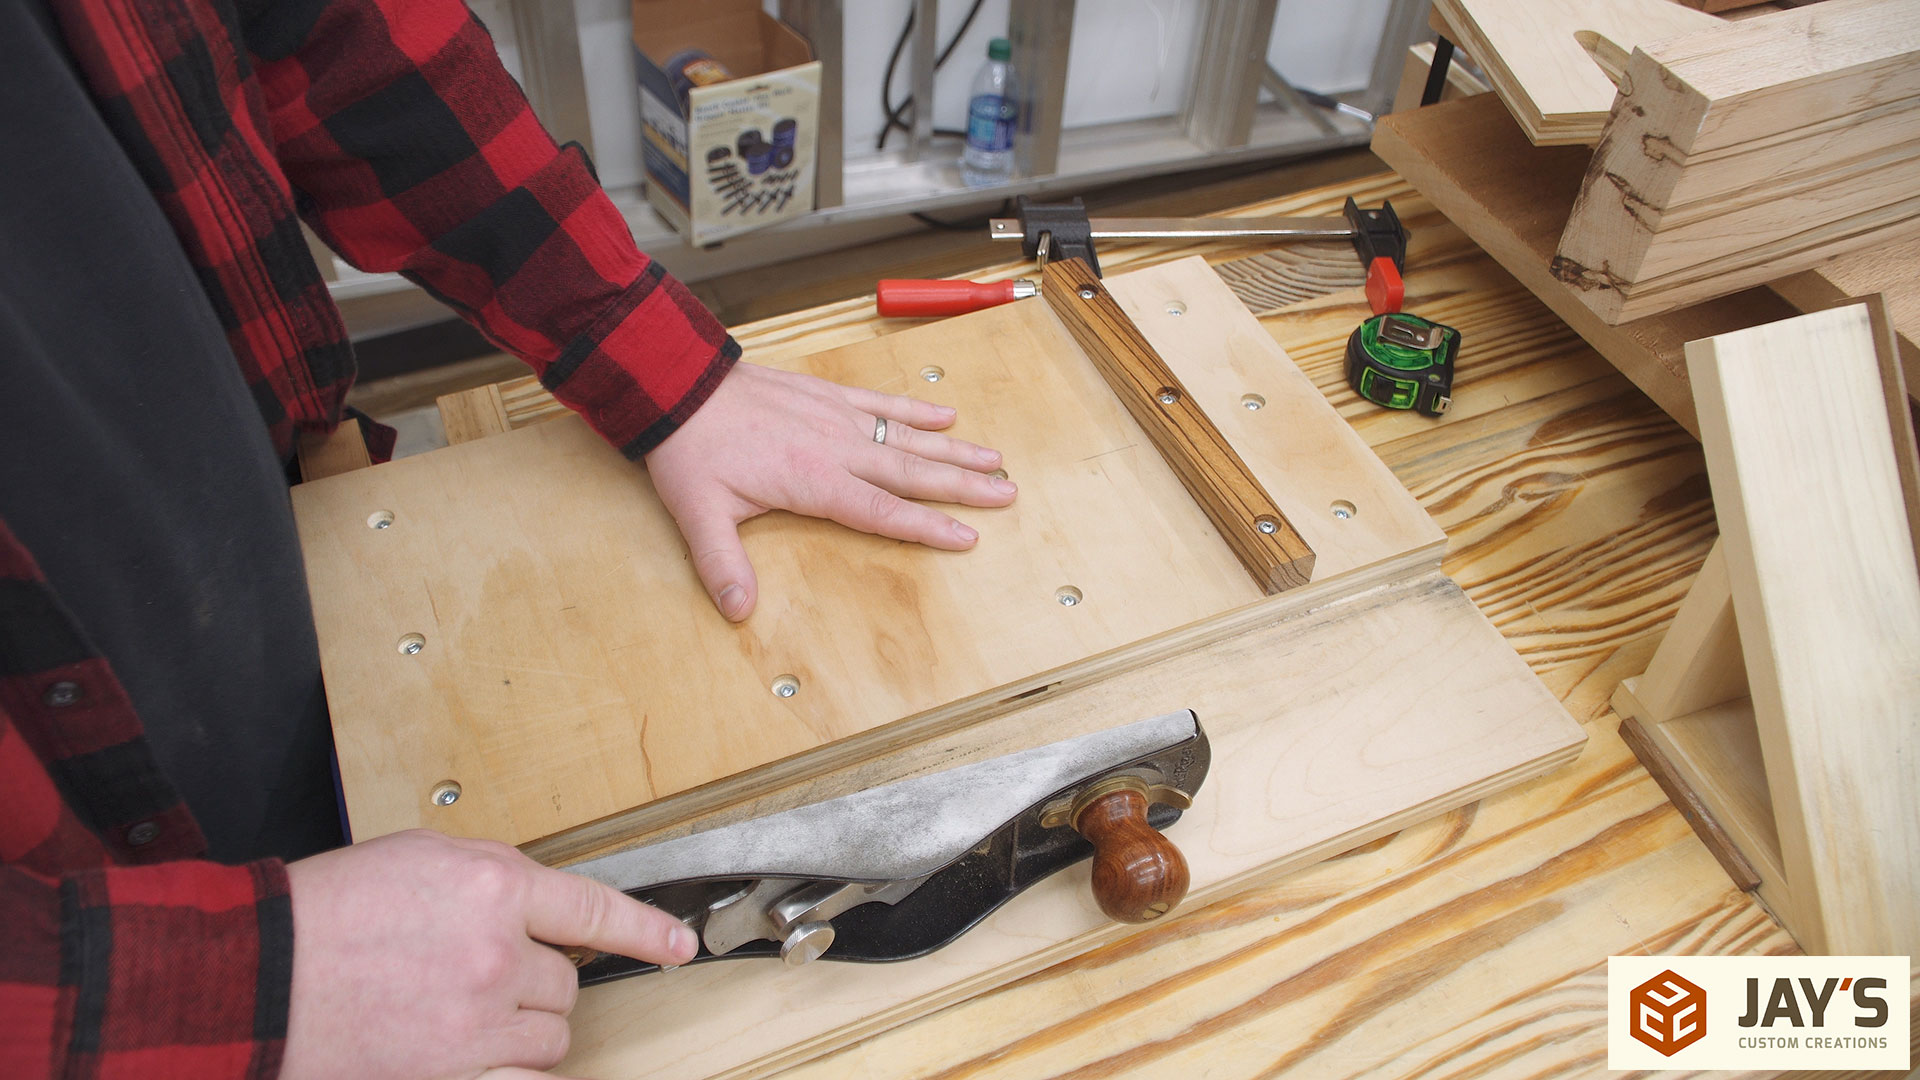
The concept is simple. Place a board against the fence and use the plane to shave a little off the end with each pass. The plane does not dig into the material platform because the blade/iron does not extend to the side of the plane.
The same thing can be accomplished at an angle with the help of an angled block. In this case the angle is cut to 45 degrees. The angle can be fine tuned one way or the other by planing a taper on the angled face to open or close the miter angle. The block is quickly secured to the shooting board via a small clamp. This style attachment is handy for cutting miters on small trim.

Another handy attachment is one that will allow you to easily cut a miter along an edge of a board for items like box interior lining. This attachment is commonly called a “donkey ear” because on June 3rd 1842 a man was working with his and looked up and saw a donkey in the shop next to him and said “hey, this attachment looks just like your ear!” Actually, I just made that part up.
The inclined plane is set at 45 degrees.
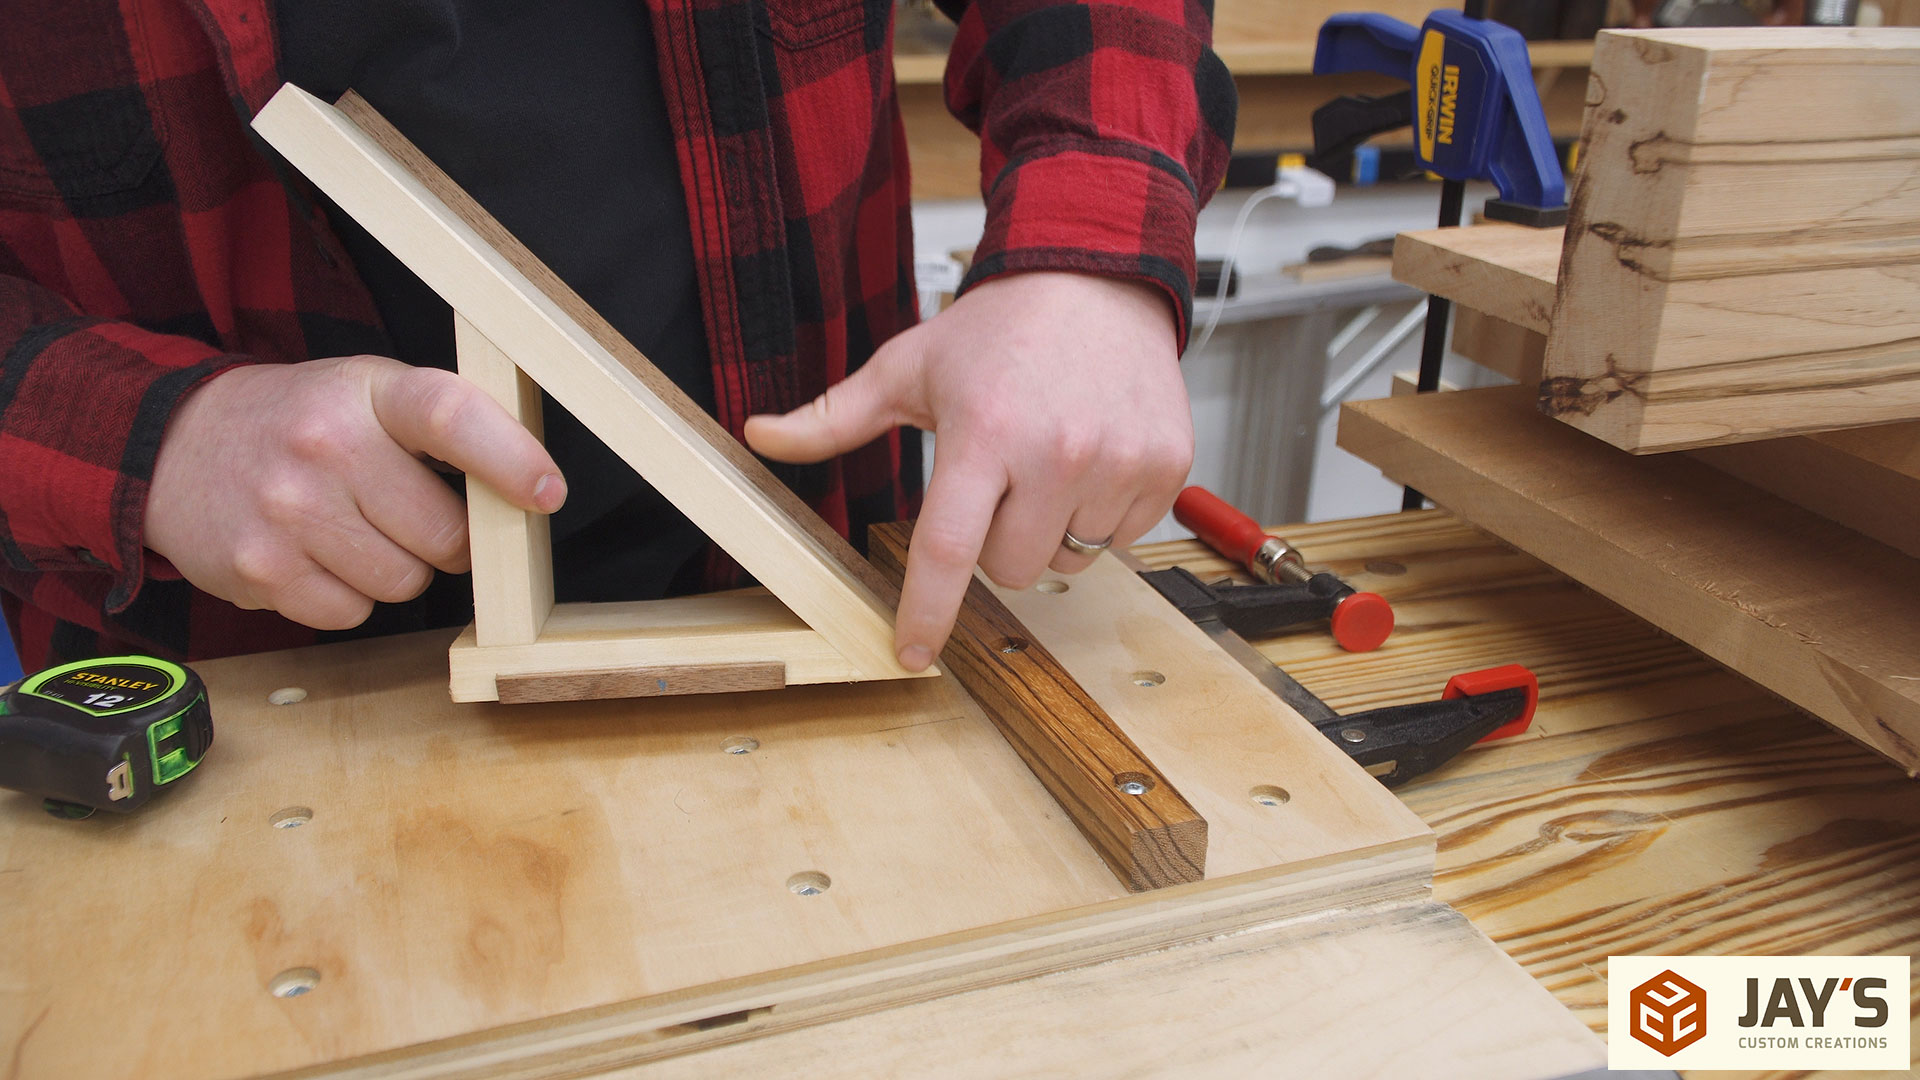
On the side closest to the shooting board fence an second fence is added to the “donkey ear.” Below the “donkey ear” fence, on the end opposite of the inclined plane, is another piece of the fence material.

On the bottom of the side opposite of the “donkey ear” fence is a small 1/4” square cleat attached to the bottom edge. This transfers the clamping force to the bottom of the “donkey ear” and prevents the “donkey ear” from rotating over the shooting board fence when clamping pressure is applied.
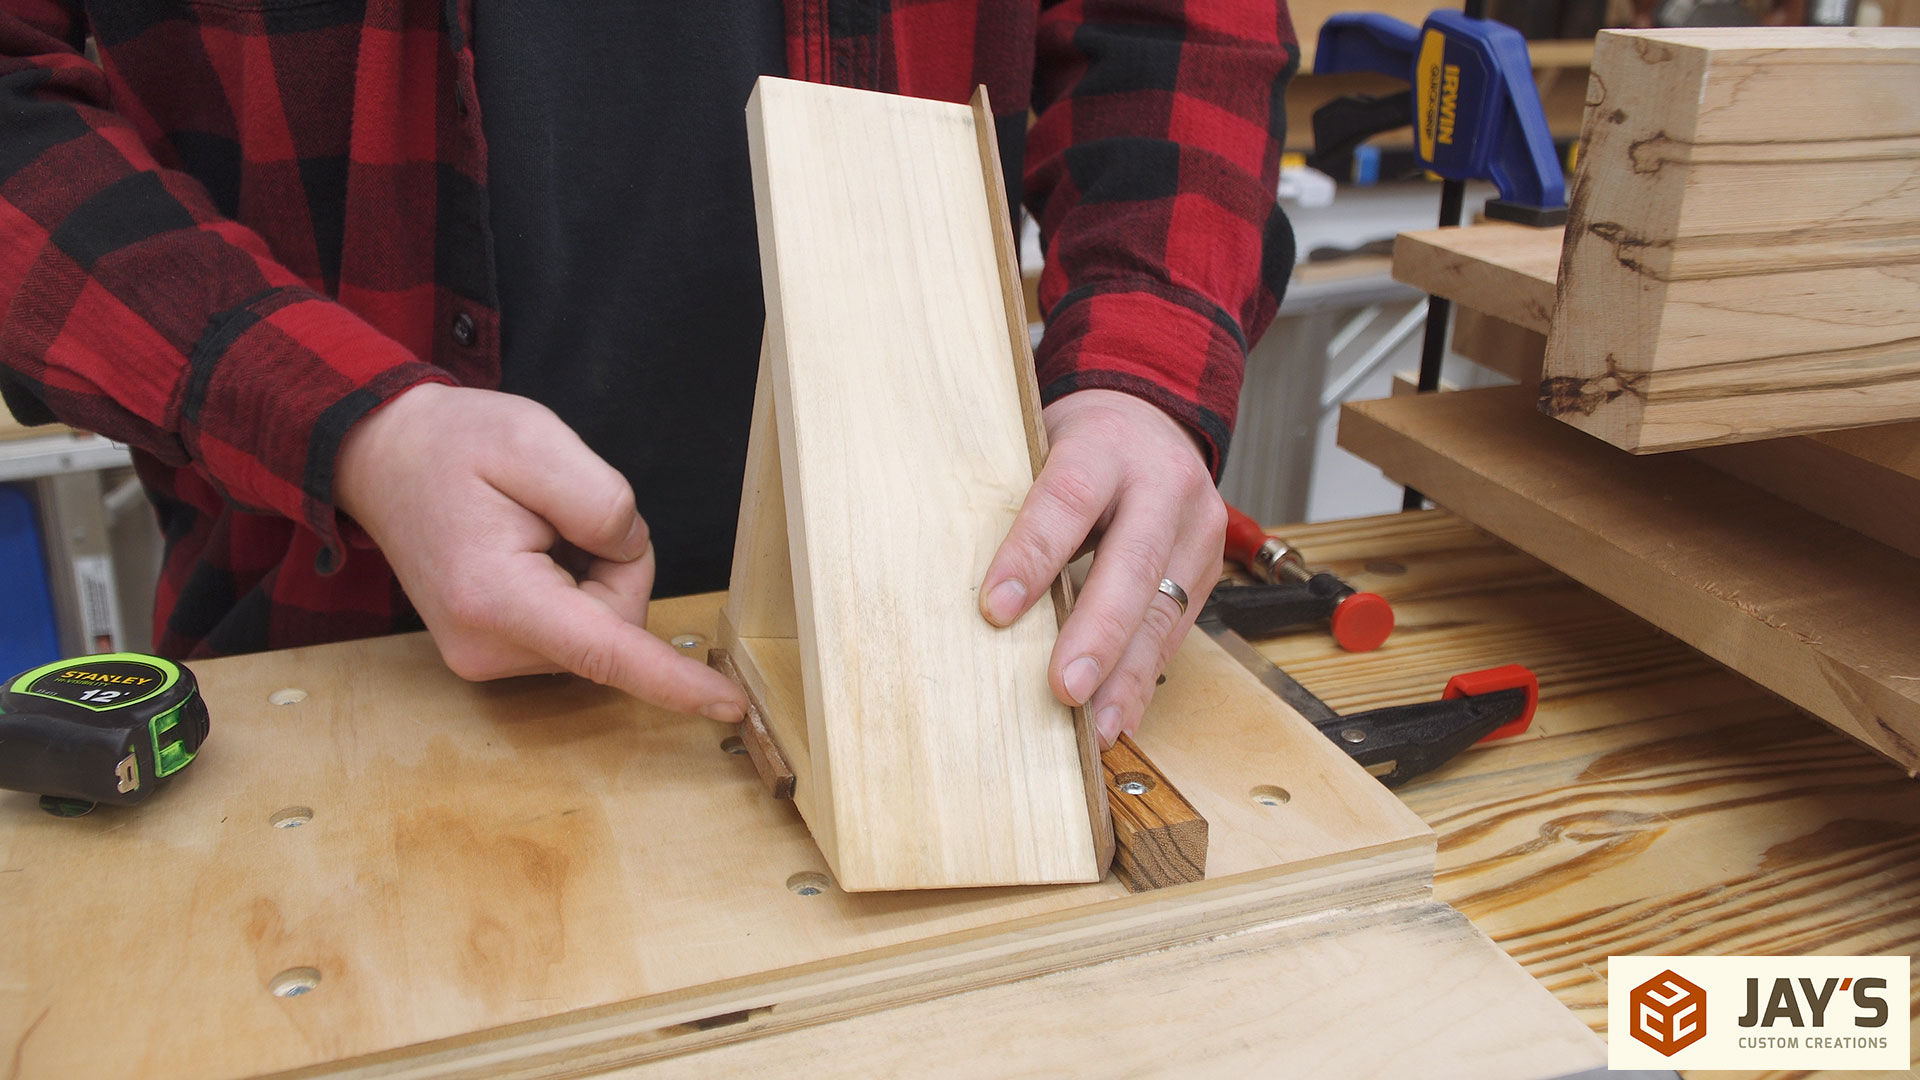
The end result is a simple “donkey ear” that clamps quickly and firmly to the shooting board fence.

I really enjoyed typing “donkey ear” a lot in this article. Have a good day.


On another subject, if I am not mistaken when you first received your Saw Stop, you were using the overhead dust/blade guard? I seldom see it in use in your recent videos? Is it because, as I have found, you have to keep removing when cutting wood less than 1.5” wide plus it is unusable with sleds? There has to be a better solution (other than the Large OH unit Saw Stop just released) in order to improve Saw top dust.
I have found you are good at solving a problem, especially when it comes to cleaner air/shop.
Love you work and videos, thank you for taking the time to read my question.
I stopped using it for the reasons you mentioned. I haven’t come up with a solution that is convenient for all situations.
Jay, how much time do you take to make sure your plane iron is perfectly aligned with the sole of your plane? I would imagine that when making 45Degree edges to long pieces that state would be critically important.
A couple passes on scrap wood, then check it with a square, adjust as necessary until the desired result is found. Doesn’t take long. If checking a 45 degree miter then two pieces need to be cut and placed inside an accurate square to check.
Hi Jay, have you maybe made a video before explaining the basics of using a planer. Have never used one, but am considering it since you can do so much precision work with it.
Love the videos Jay! ever think of doing one on plane sharpaning ?
It’s on the list.
I just saw this in Roy Underhill’s “The Woodwrights Guide”:
https://photos.app.goo.gl/lm450UOo527B46M52
Donkey ear confirmed.