This article is long and the video is pretty long but don’t let that fool you into thinking this process is long. I wanted to go into detail and explain it for those who have never sharpened before. It’s a very fast and efficient process when you get the hang of it and understand when to use each step. All of the helpful and relevant links for this article are at the bottom of this page.
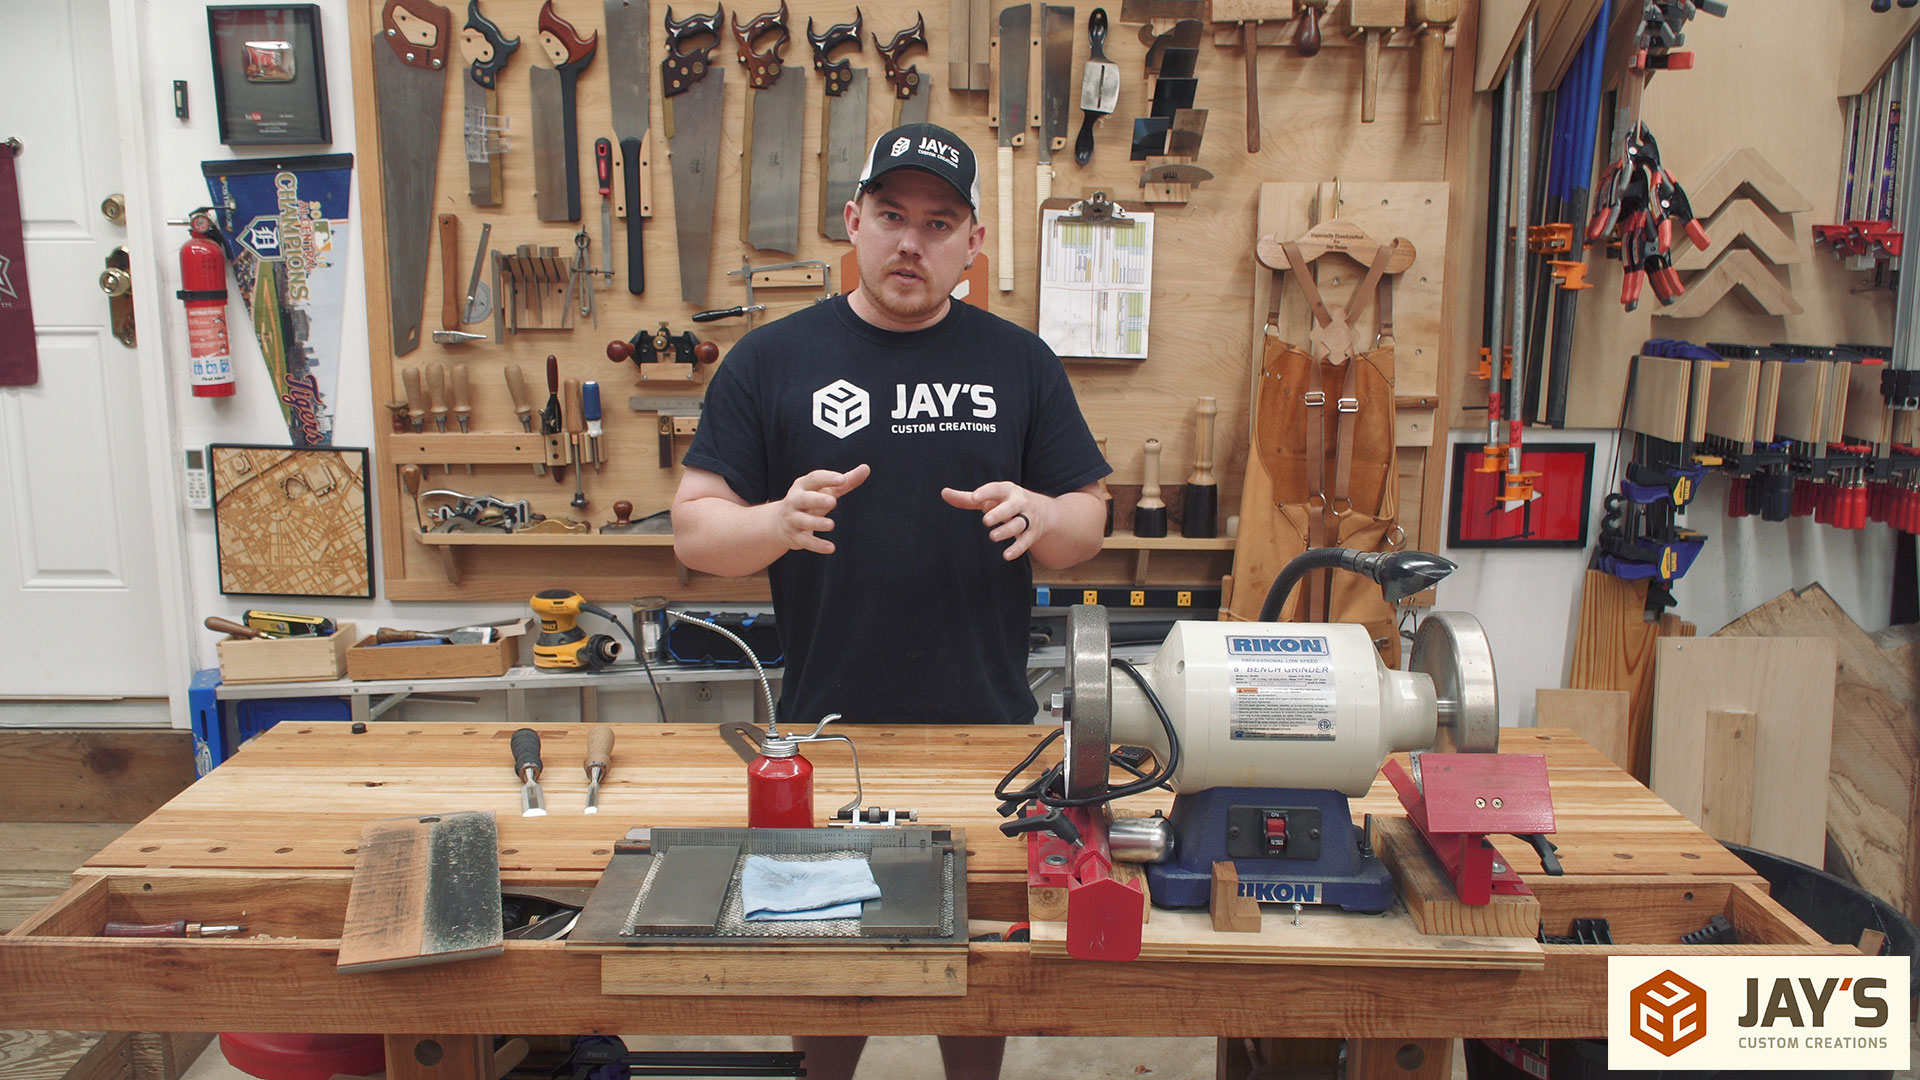
I’ve seen so many sharpening videos online, read so many articles on sharpening, heard so many people say that “this product” is what you need for sharpening, and have spent so much time sharpening unnecessarily to figure out what works the best for me. So with that said I’d like to share my sharpening technique and explain why and how I sharpen. I will talk about the products I use but I want you to focus more on the reason why I use the type of product and the technique for each step. I’m not saying this is the best sharpening process out there and you need to implement it but I do think it’s the best process for me and one that I believe anyone can pick up and get good results.
The method I use is the quickest, most efficient, and most consistent for me and is basically a mix between Rob Cosman, Paul Sellers, and Shawn Graham’s sharpening methods. The short version is that I use a grinder to establish a hollow grind, diamond plates to establish a sharp edge, and a leather strop to polish and maintain the sharp edge. The key word there is maintain. It’s much easier and more efficient to maintain the cutting edge as you work rather than wait until it gets really dull and needs to be sharpened. The majority of my “sharpening” is actually maintaining. I’ll go into detail with each step below.
Here’s a few examples of what the cutting edge will look like with this process. All three cutting edges have a visible hollow grind area in the middle. This can be seen by the scratch lines perpendicular to the cutting edge. All three also have a polished cutting edge at the front of the bevel. This polished front edge is the only area that does the work and therefore the only area that needs to be sharpened. As the edge is maintained on a leather strop the polished surface will creep back into the hollow grind. The edge can be quickly brought back to life many times with a strop before it needs to be sharpened with a grinder and some type of abrasive stone or plate.

The plane blade shown here is in pretty good shape. It doesn’t need to be sharpened from the looks of it but I’ll use it for the rest of this demonstration. It’s just easier to show the process on a wider surface.

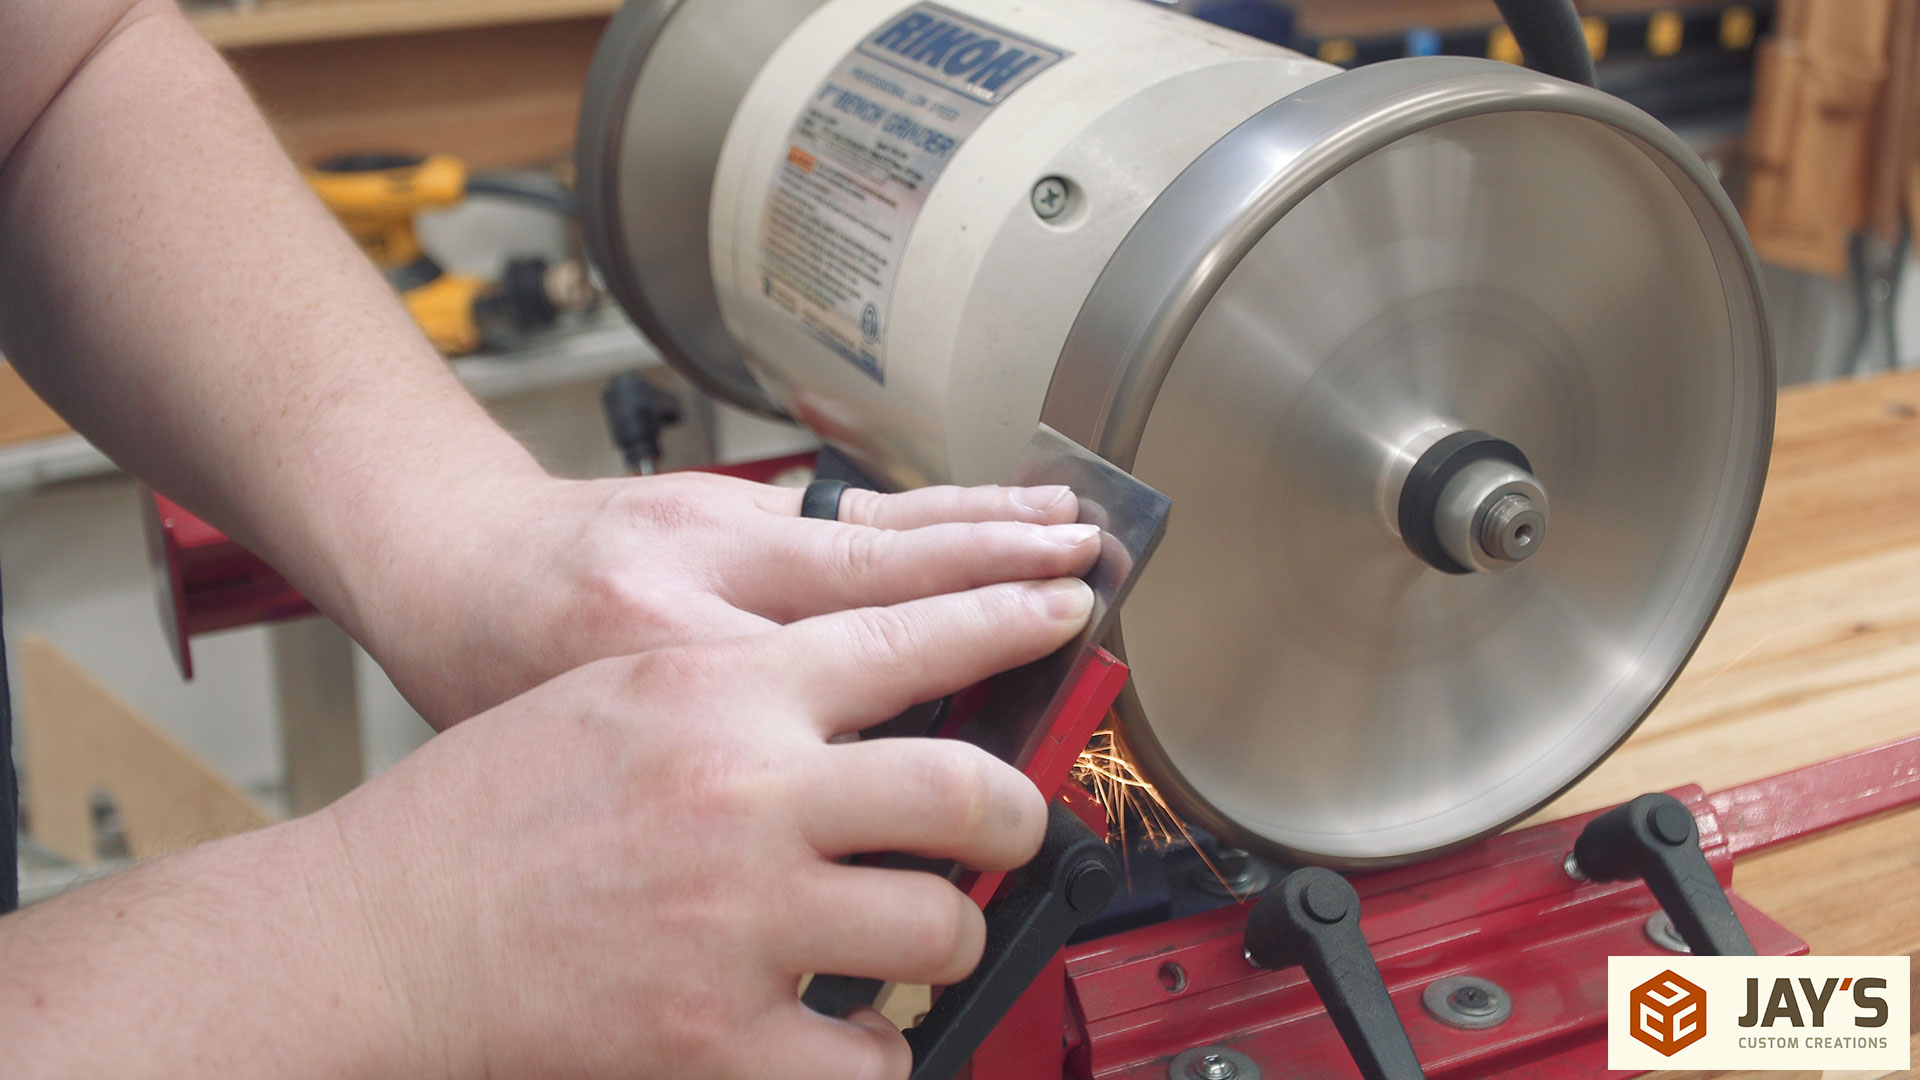
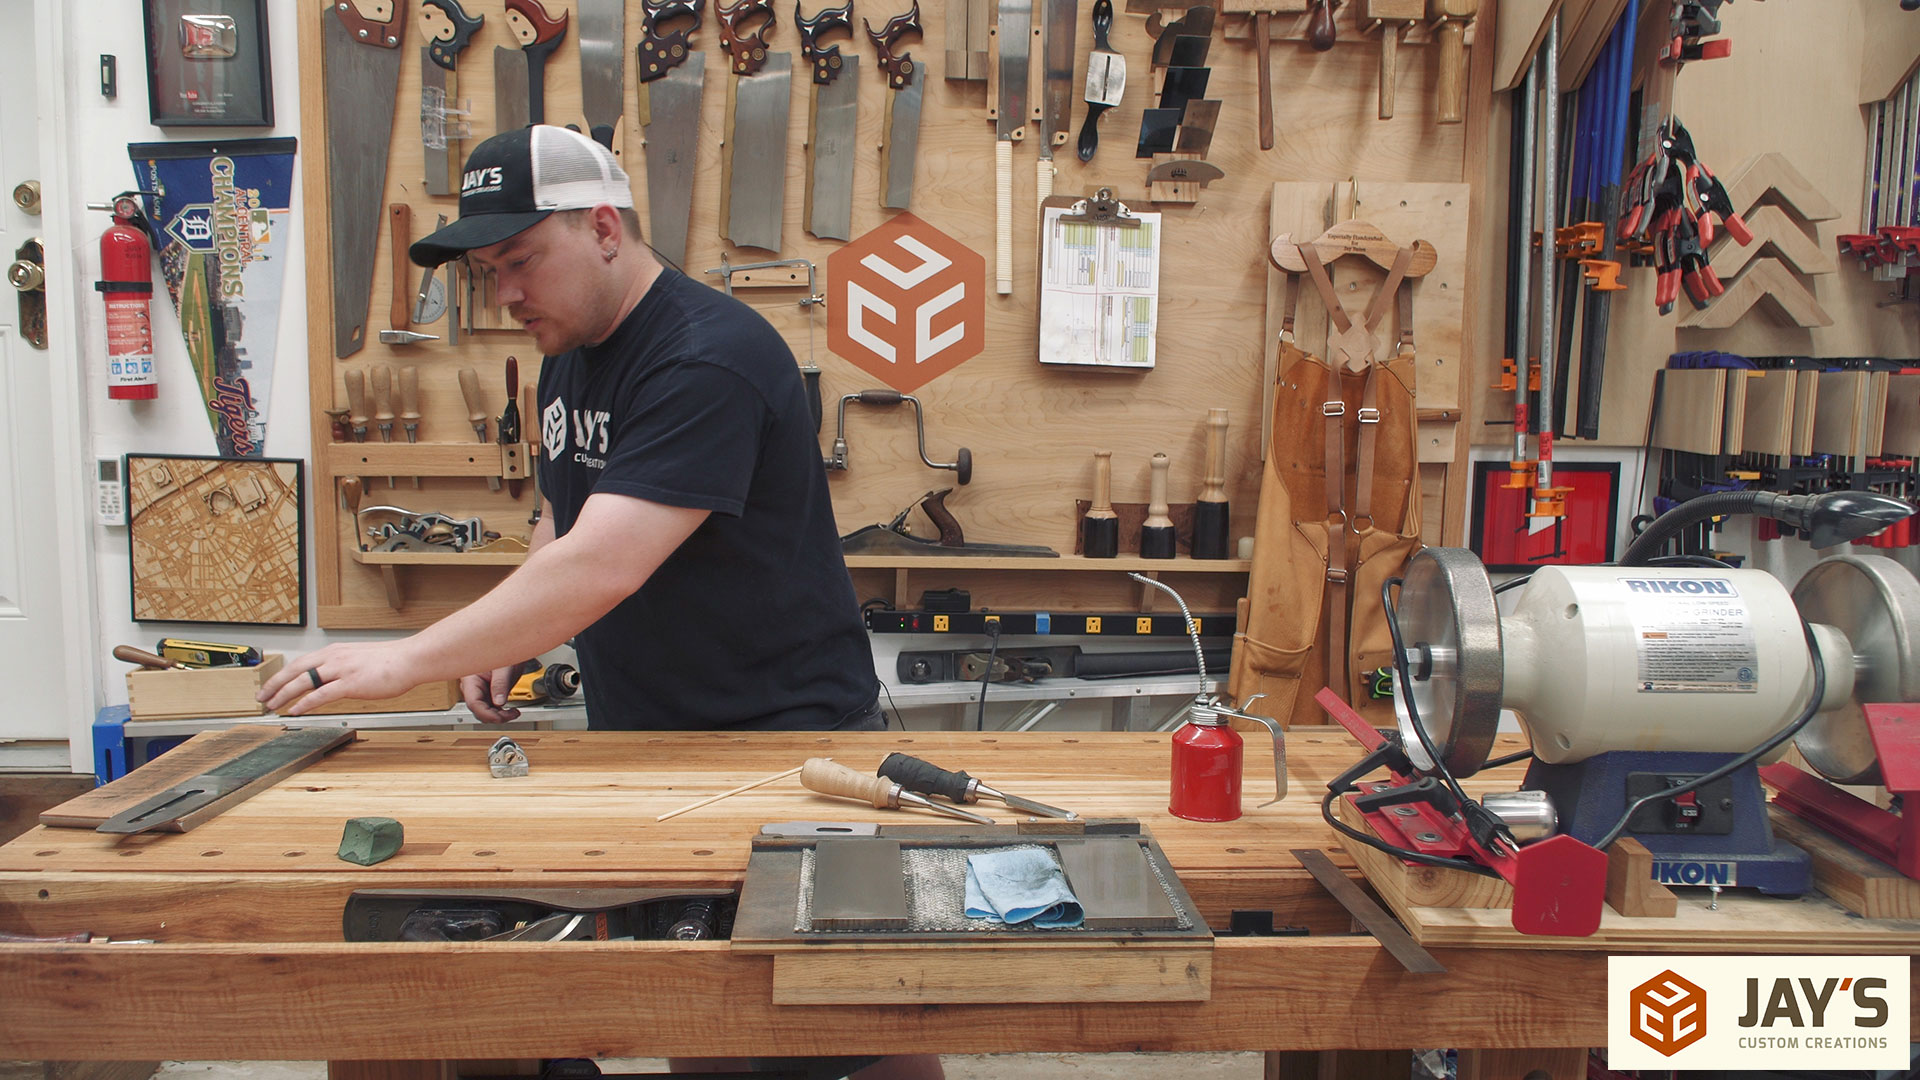
If only the very front of the cutting edge is doing the work then why waste the effort and wear and tear on abrasive plates or stones for the entire bevel? Instead of that, I use a grinder to do the bulk of the labor quickly. I’m using a Rikon 8″ slow speed grinder with CBN wheels. Any grinder with a straight shaft will work just fine though. I had a Harbor Freight grinder before this one and the shafts were so bent that anything I tried to grind would bounce around more so than contact the wheels. Also, regular aluminum oxide grinding wheels will work just fine. I chose CBN wheels as a “buy once, cry once” wheel setup that requires little to no maintenance and a lifetime longevity rating.
I’m also using an inexpensive tool rest that mounts to the bench, or in my case a piece of plywood that the grinder is mounted to, instead of the typical wheel shrouds. A homemade rest of this kind is easy to make if you don’t want to buy one. To setup the appropriate angle of the rest I position it so that the wheel contacts the center of the bevel. To test the setup you can put the blade in place and rotate the wheel by hand and see where the scratch marks are at.

Make any adjustments to the tool rest so that the scratch marks are as centered as possible on the blade. It’s pretty easy to get this set perfect without any setup blocks or a protractor and if you get it right you shouldn’t have to worry about changing the cutting angle of the blade. However, if you are after a precise angle you can use a protractor to check the angle of the blade and make adjustments one way or the other on the rest.
When the rest is set you can start grinding. Remember that this is a motorized tool designed to remove material quickly. Heavy pressure is not needed and just like when using a belt sander on a wood panel you have to keep moving. Never stay in one spot. In this case I like to introduce the metal to the wheel as I slide it left and right. Very little pressure. Let the machine do the work. Consistent passes from side to side making sure to keep the cutting edge perpendicular to the wheel. The most important part here is to not let the grinder touch the leading cutting edge of the wheel. The only time the leading edge should touch the wheels is if you are trying to grind past a big ding or gouge in the cutting edge. Or if you are resetting the angle of the cutting edge back to 90 degrees to the side of the blade.
This image shows the hollow grind right off the grinder. Notice the previous polished edge is still intact. The grinder never touched the leading edge.

Next up is the abrasive surface. Sandpaper on glass or a granite plate, water stones, diamond plates, ceramic stones… whatever one works for you!
Sandpaper on glass works quite well but it’s obviously limited by its durability. If you sharpen frequently or use hand tools a lot you might get frustrated by the lack of usable life by sandpaper.
Water stones are very popular sharpening options. Most require them to be soaked before use and not all of them have the same durability. I tried some inexpensive water stones off Amazon and quickly realized I got what I paid for. They weren’t durable at all and they required frequent flattening. I ended up giving them away. Water stones work for many people but they weren’t for me.
From what I understand ceramic stones don’t need to be soaked like water stones and are longer lasting. But you still have to flatten them. I’ve never tried ceramic stones.
While using the water stones it was recommended to buy a diamond plate to keep the water stones flat. That concept didn’t make much sense to me….why not just buy diamond plates to sharpen with? So with that mindset I picked up a couple of diamond plates. They are more expensive but the trade-off is that they are supposed to last many times longer with a drastic reduction in maintenance. I bought a DMT coarse, extra fine, and extra extra fine. I believe those are roughly 300 grit, 800 grit, and 8000 grit. After switching to the hollow grind sharpening method I realized that various different grits are not needed. The coarse plate establishes the edge and the extra extra fine plate sharpens just the very front. No need for anything in between.
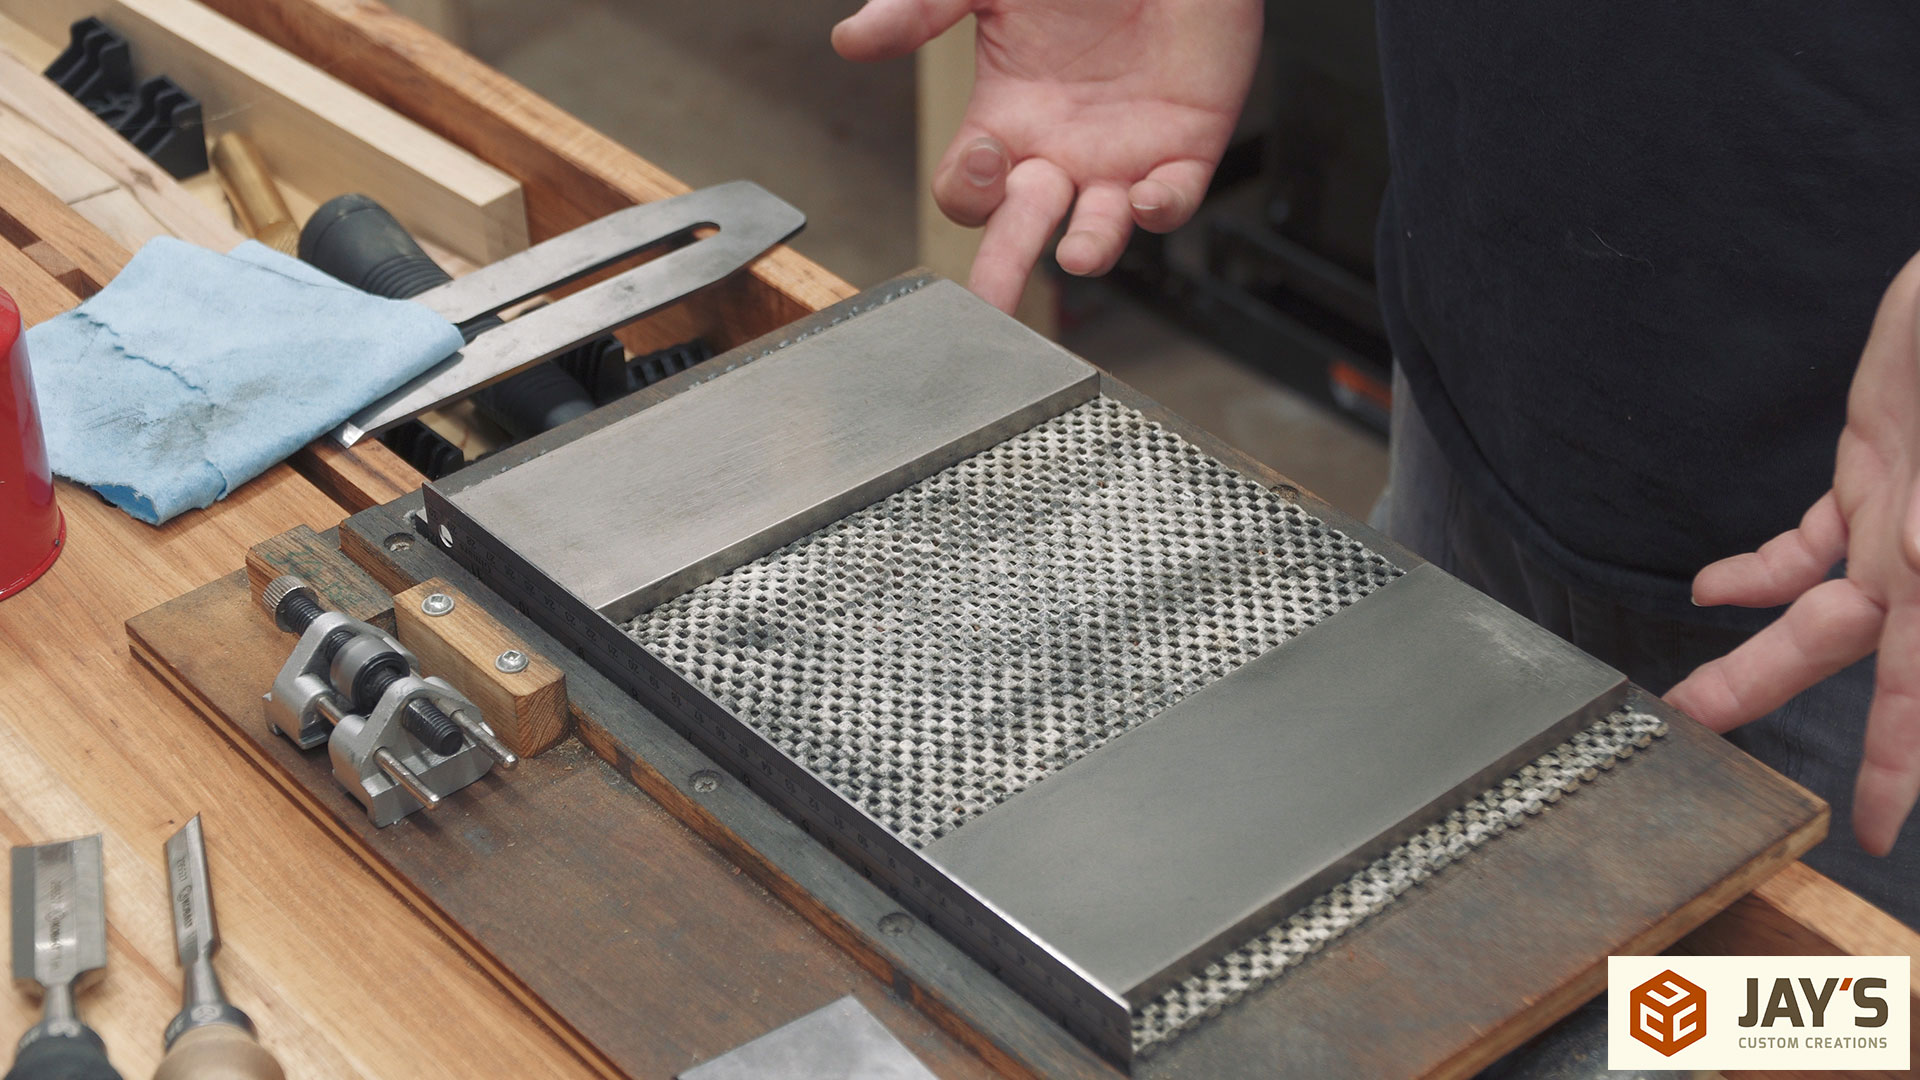
My setup is a piece of plywood with a top mounted forward stop to prevent the plates from moving away from me. Below the plates is a piece of kitchen cabinet anti-skid mat. And below the plywood on the front edge is a cleat to hook over a work surface and prevent the entire piece of plywood from moving away from me. You can see that I also have a single wheel honing guide sitting on the plywood. I used to use it but realized freehand sharpening is much faster and very easy to do. Rob Cosman says that it’s easy to teach anyone to freehand sharpen. I completely agree and as you see in the video above, I use his freehand method.
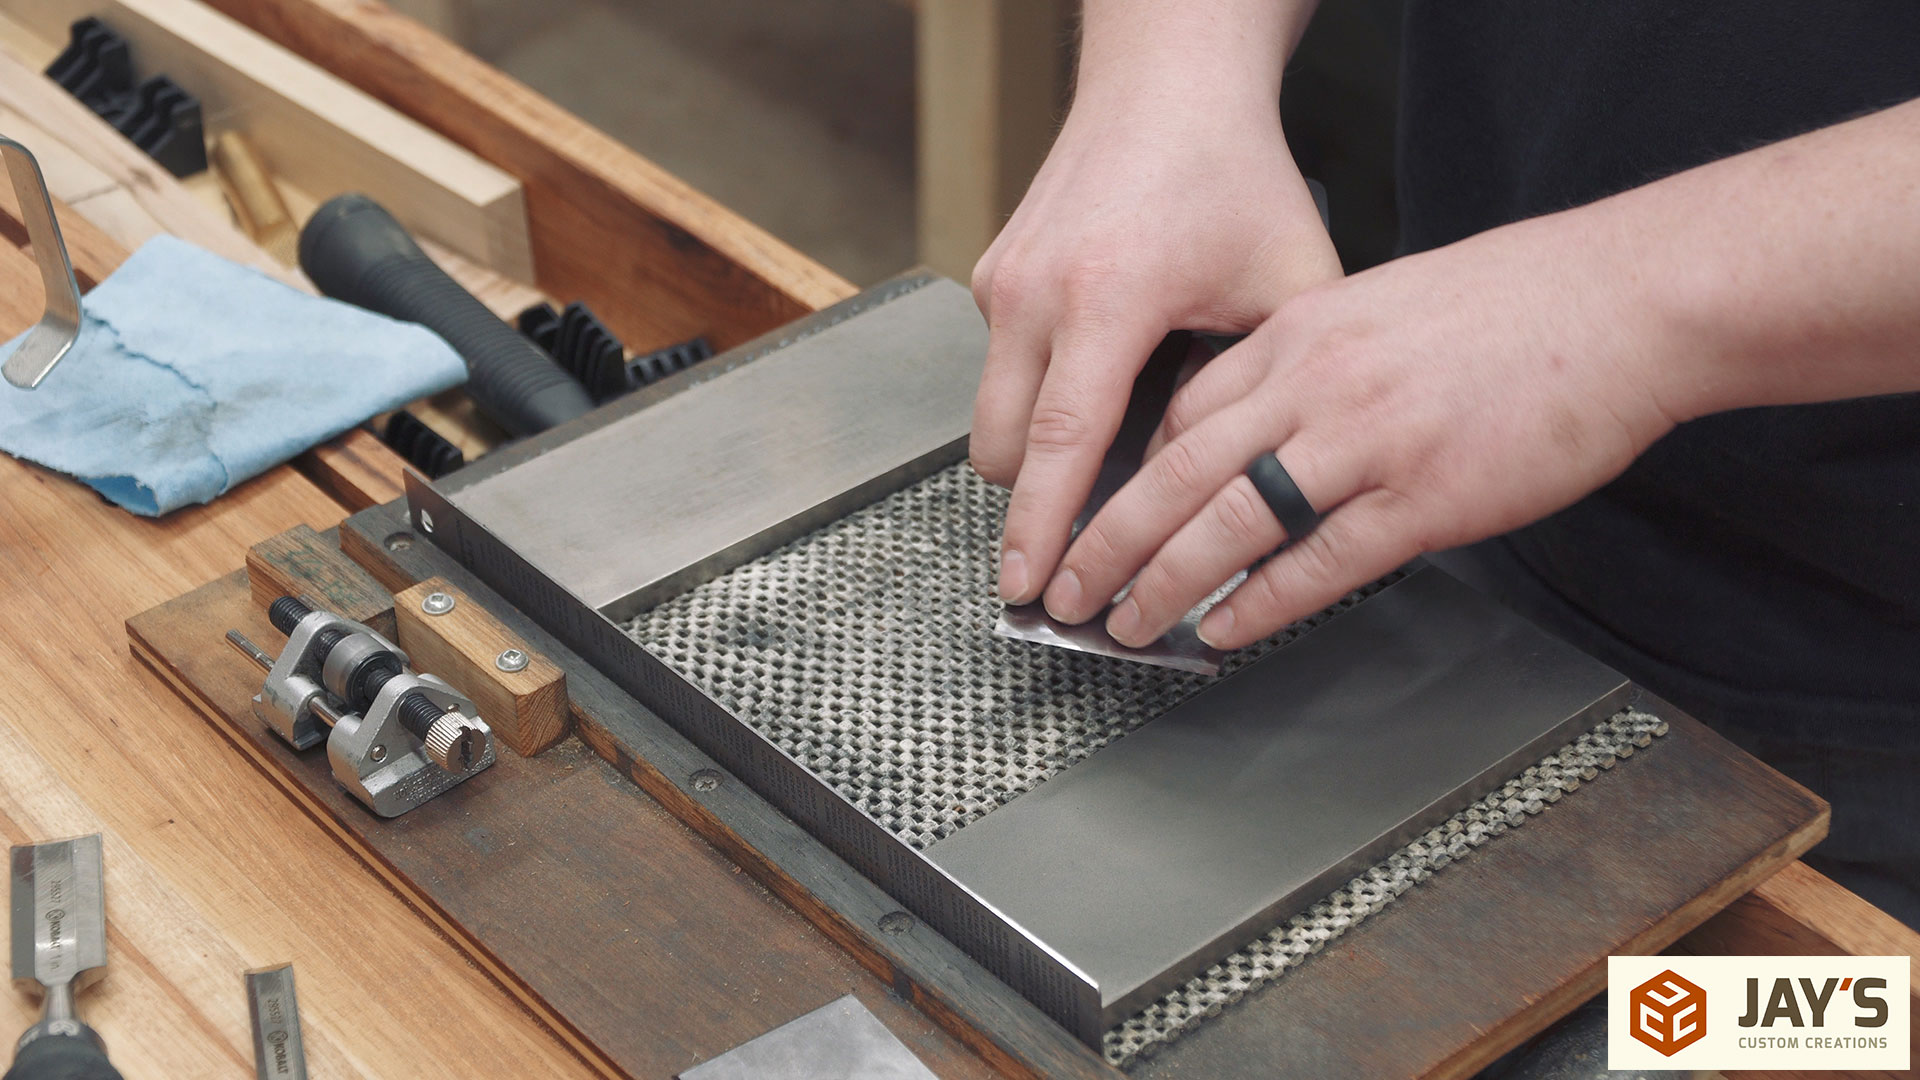
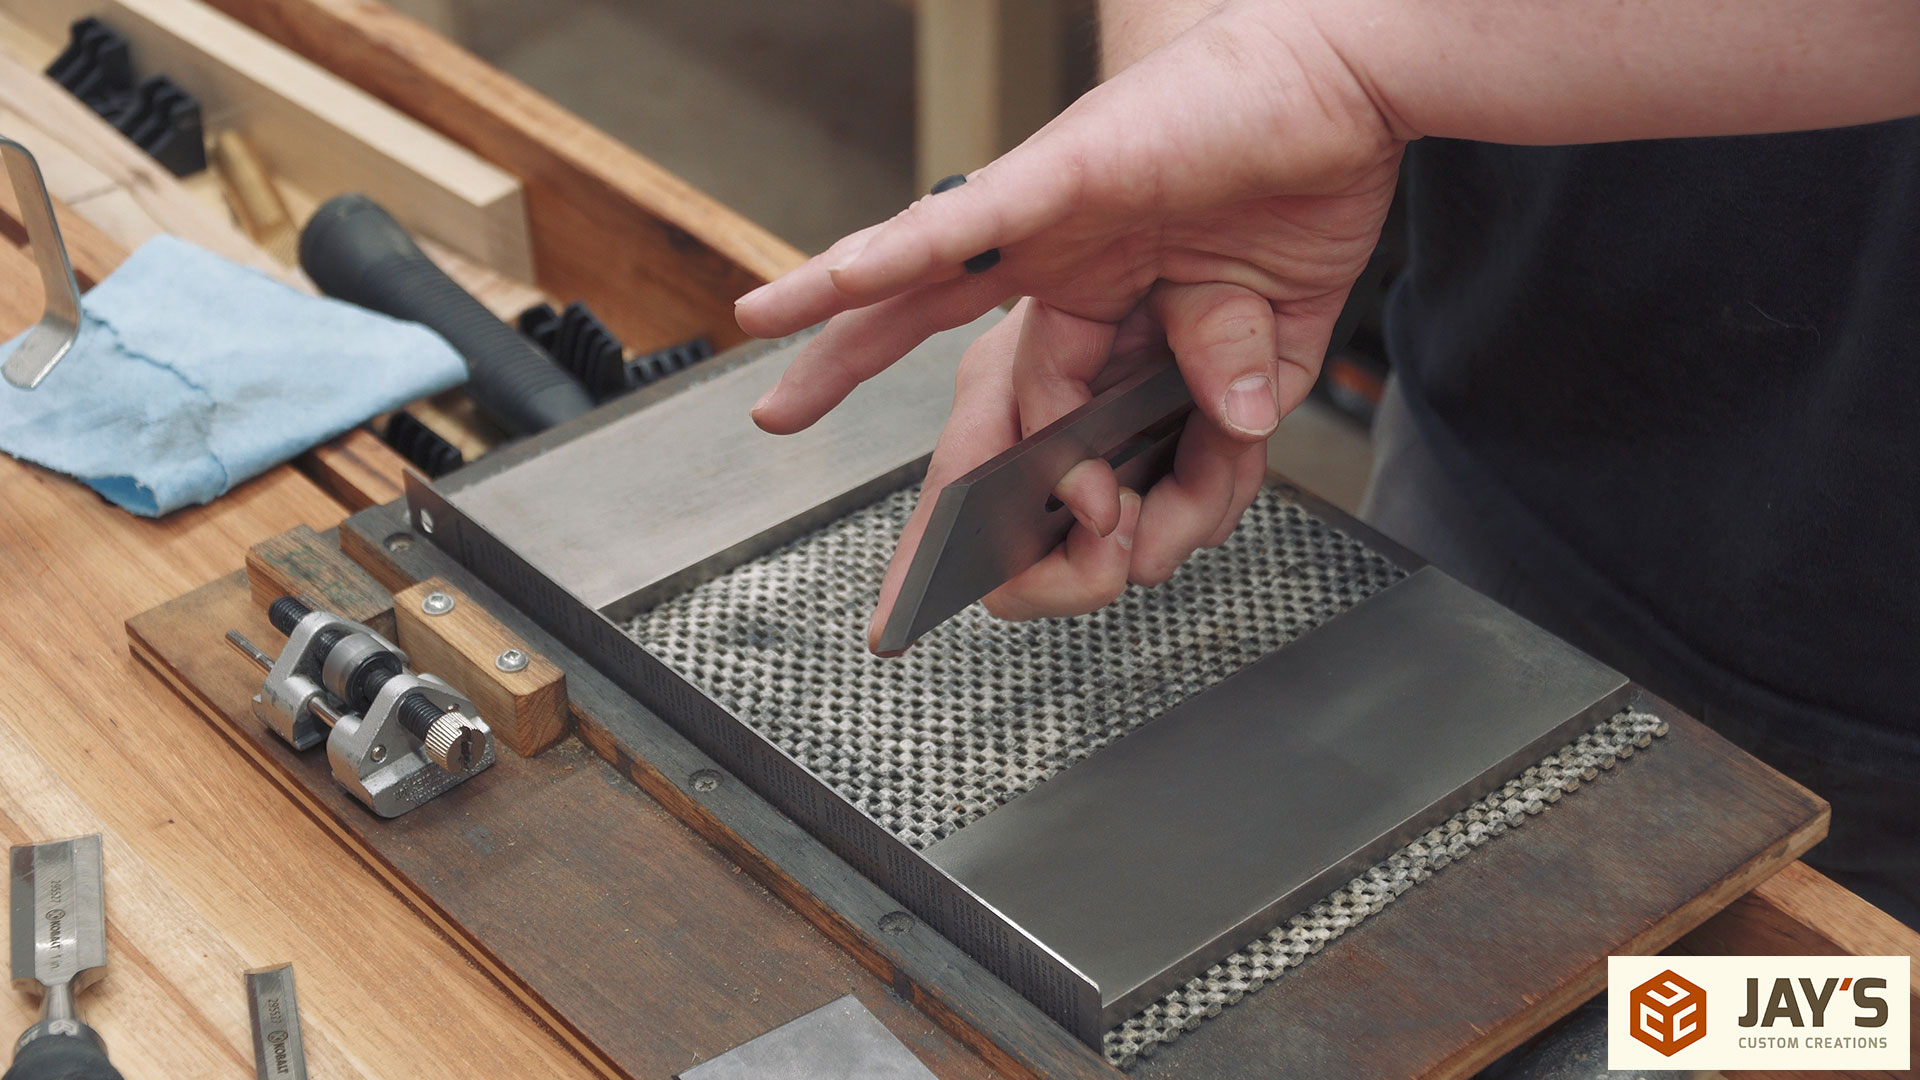
The key to freehand sharpening is a good hold on the tool. It’s much easier to describe the holding technique in the video than in this article but I’ll give it a try. I’m right-handed so I hold the blade primarily in my right hand with my right index finger on the right corner of the blade. My left hand has the index finger in the center slot of the blade, the next three fingers evenly distributed above the cutting edge, and my left thumb interlocked with my right thumb under the plane blade. It’s a great way to completely lock the blade in your hands and give you great control of the blade.
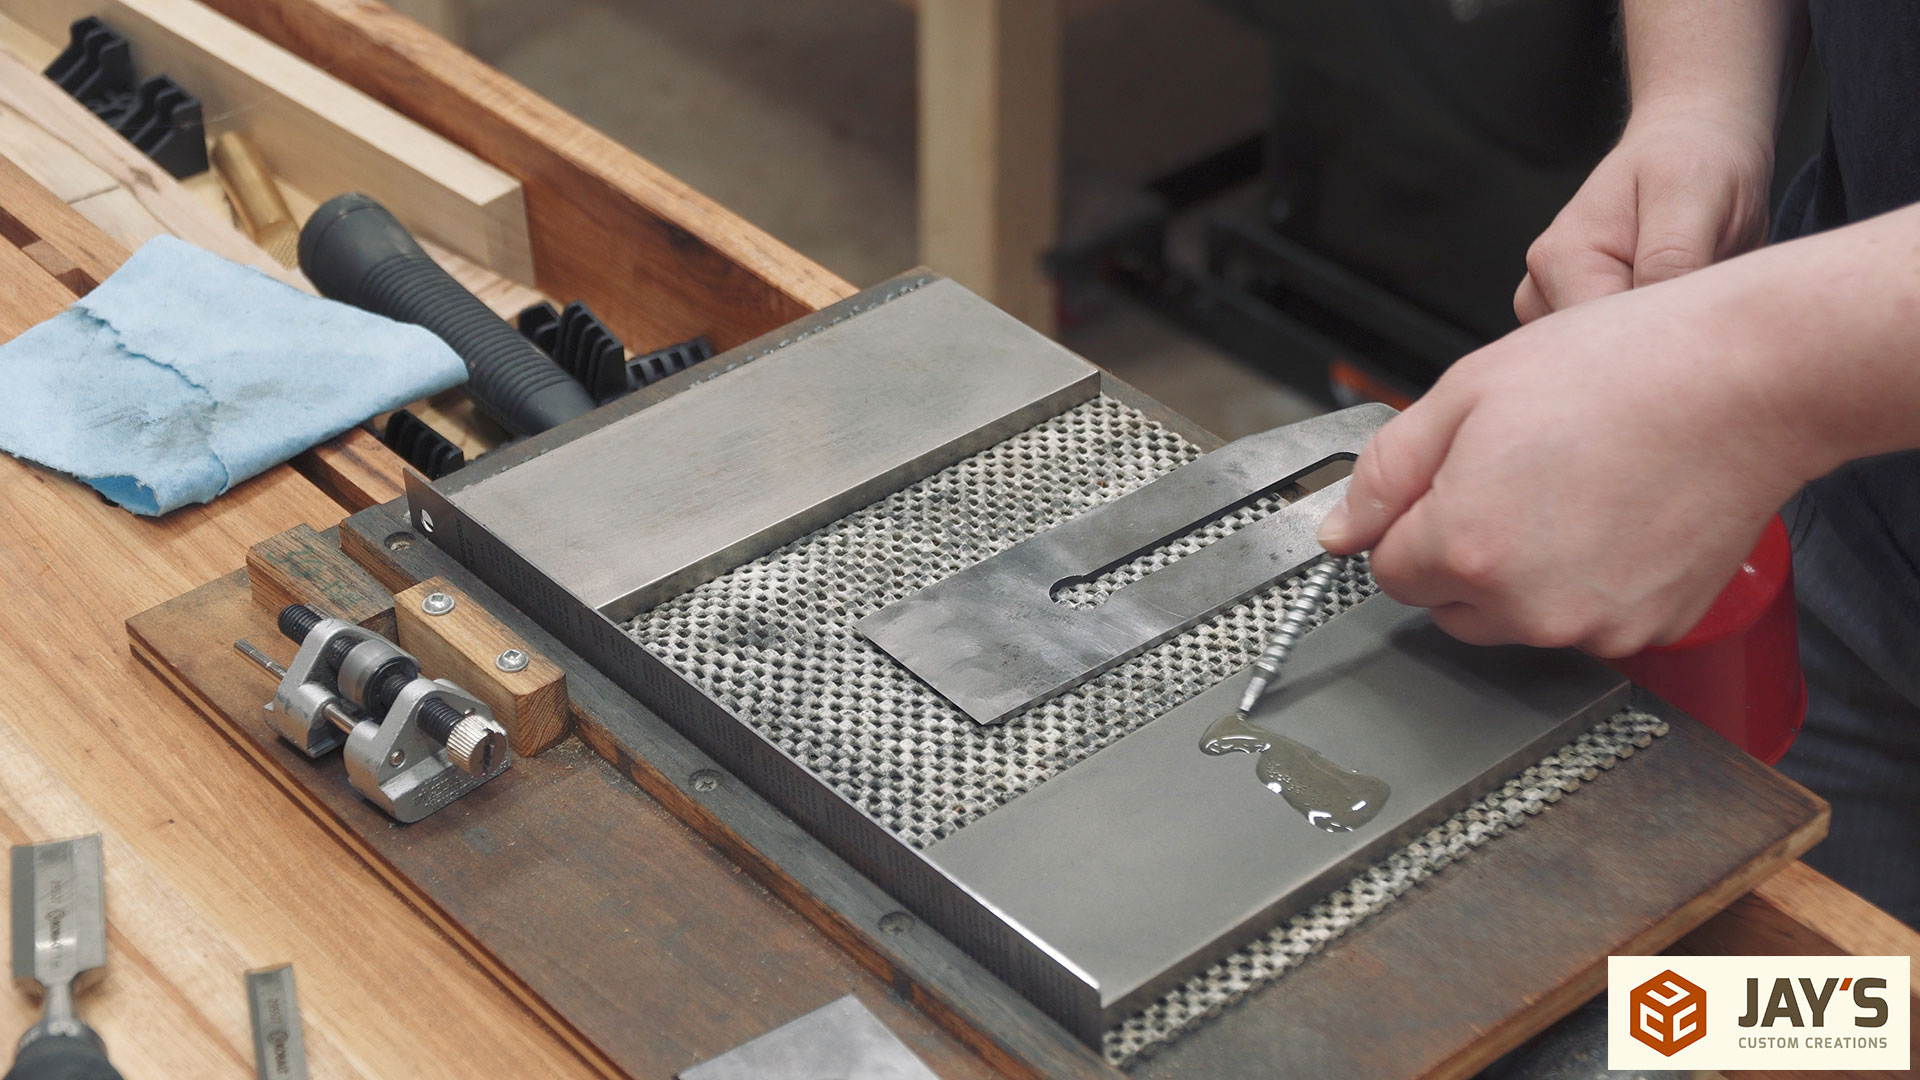
Here’s a little bit of controversy. Diamond plates are supposed to be used with water or soapy water as the lubricant. I had very limited success with anything water based. The plates started to gum-up and wouldn’t cut. This required scrubbing with a powdered cleaner and a wire brush to clean them. It was recommended by Bill Schenher that I try mineral oil instead. Bill is someone who regularly does carving work so I trust his input on sharpening. I didn’t have any mineral oil on hand so I used household 3-in-1 oil instead and the difference it made has been great. The oil does a fantastic job at keeping the metal waste from sticking to the plate and I have had to do absolutely zero maintenance on the plates since I started using oil.
I only directly put the oil on the coarse plate though. The oil is too thick of a material to puddle onto the extra extra fine plate as too much will just make the tool float over that plate. Instead, after getting done with the coarse plate and wiping it off with the paper towel I use that paper towel to clean off the extra extra fine plate from its previous use. This doesn’t deposit much oil on the plate and allows the plate to still abrade the cutting edge. The oil just does a great job of cleaning the plate and removing all traces of metal from the previous sharpening.
Now on to actually sharpening. When using the grinder the wheel cuts a matching radius into the bevel of the blade. This means the bevel is not flat and has two contact points at each side of the grind. The bevel is placed on the plate so that both contact points touch the plate. This establishes the main angle of the blade.
Then pivot the back of the blade up by a tiny amount just so that only the very front of the blade is touching the plate. Lock your wrists and move your arms and body to sharpen the front edge of the blade. Once you can feel a burr on the back side of the cutting edge along its entire length you can stop. If you don’t feel a burr then the edge wasn’t sharpened. Use your fingers to find the burr, not your eyes. I also lift up slightly on each side, one side at a time, to fade the corners off a tiny bit before going to the next plate.
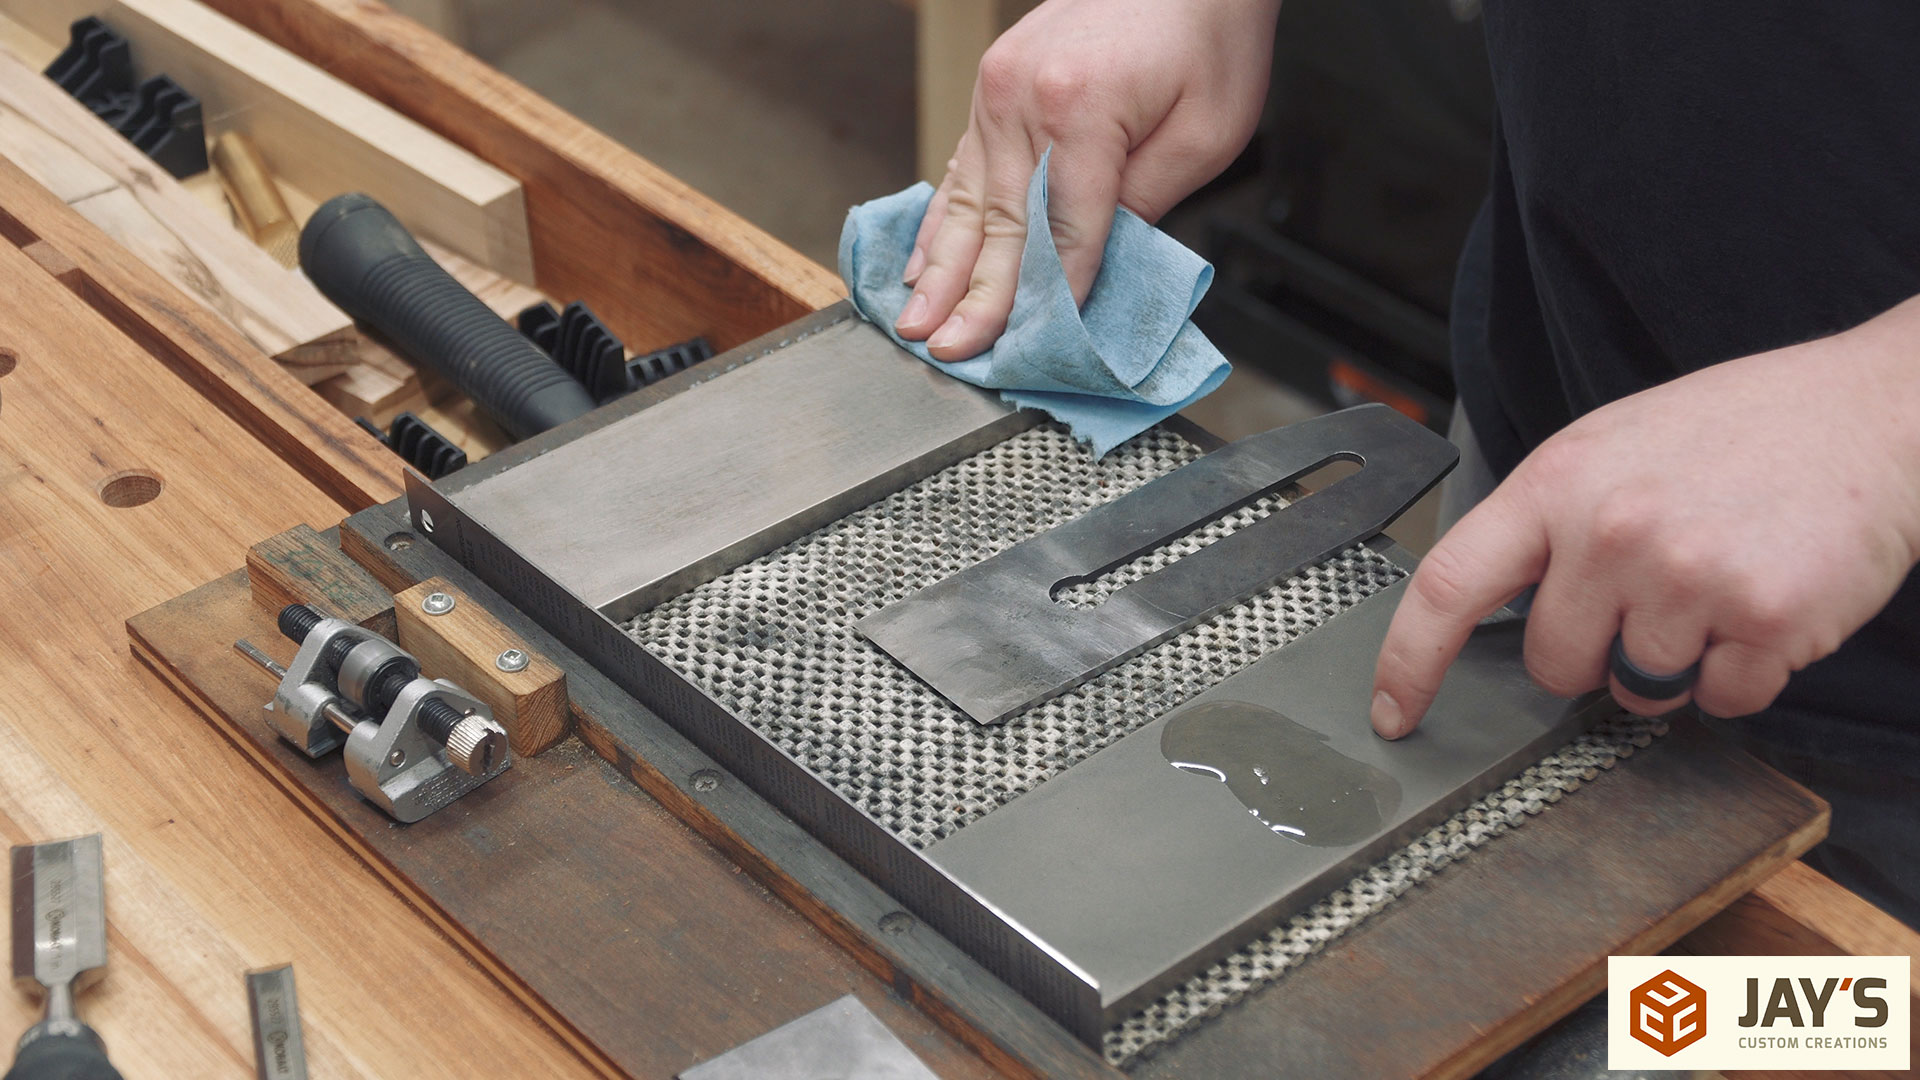
Then I use a dry section of a rag to clean off the coarse plate and then use that same section to clean the extra extra fine plate from its previous use. The oil does a great job of cleaning and offers a tiny bit of lubrication to the plate.

The process is repeated on the extra extra fine plate but this time you find the bevel with the two contact points, lift up the same amount as you did on the coarse plate, then lift up a tiny bit more so that just the front edge of the blade is touching the surface. Again, only the very front edge of the blade is in contact with the surface so a lot of work is not needed. About the same amount or a little less time than what was spent on the coarse plate.
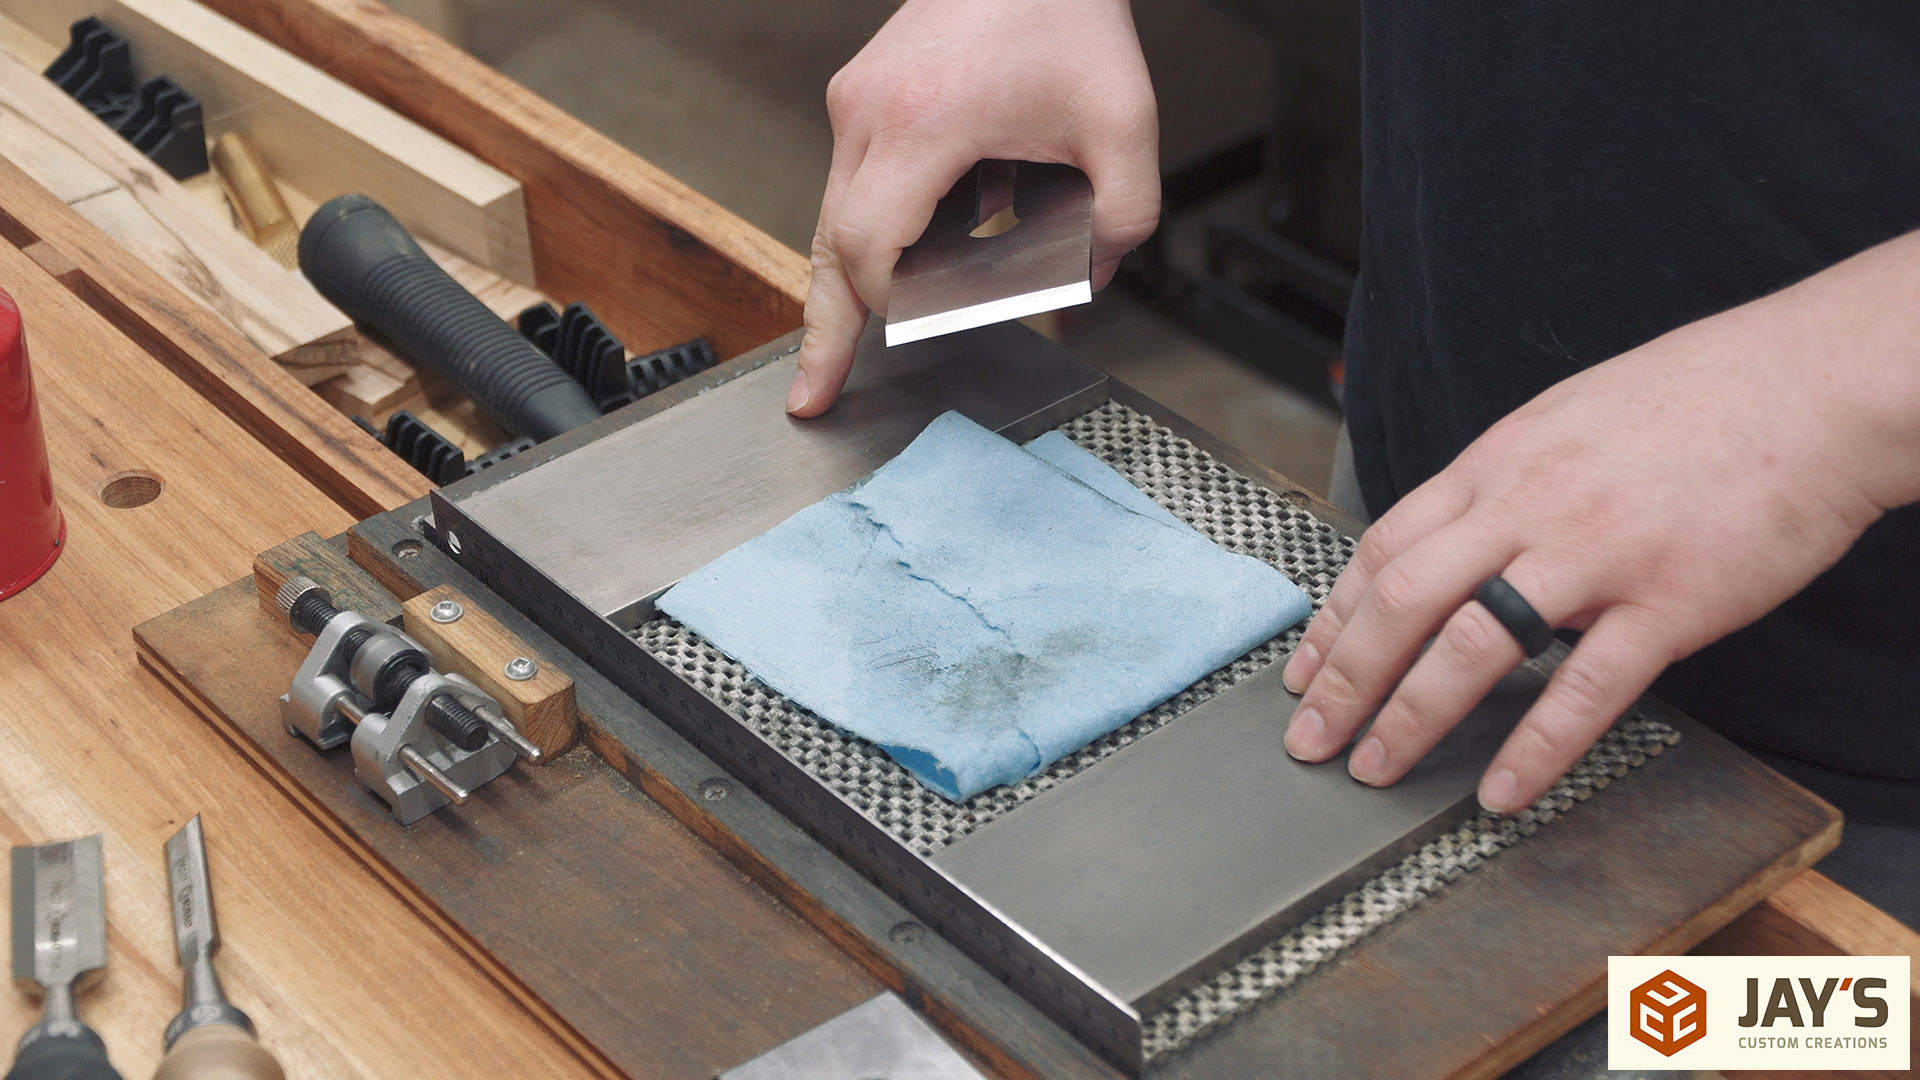
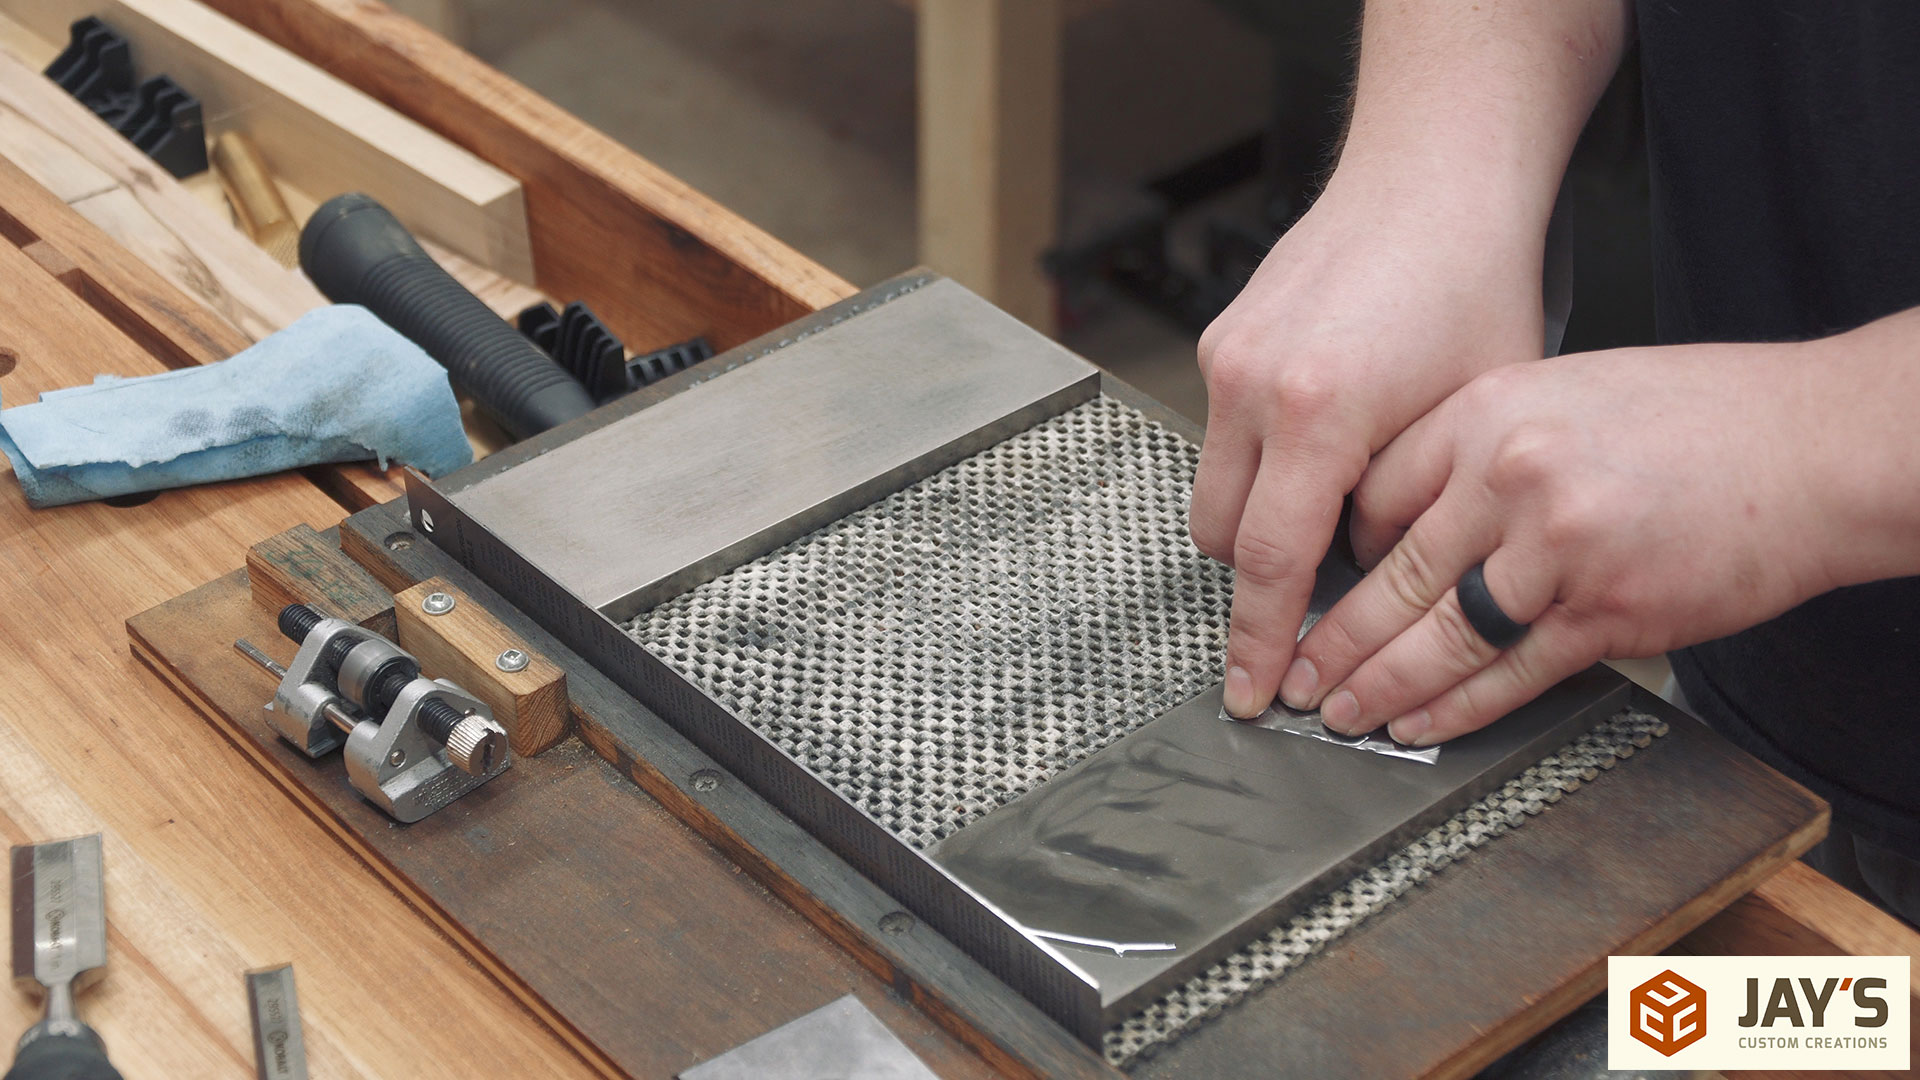
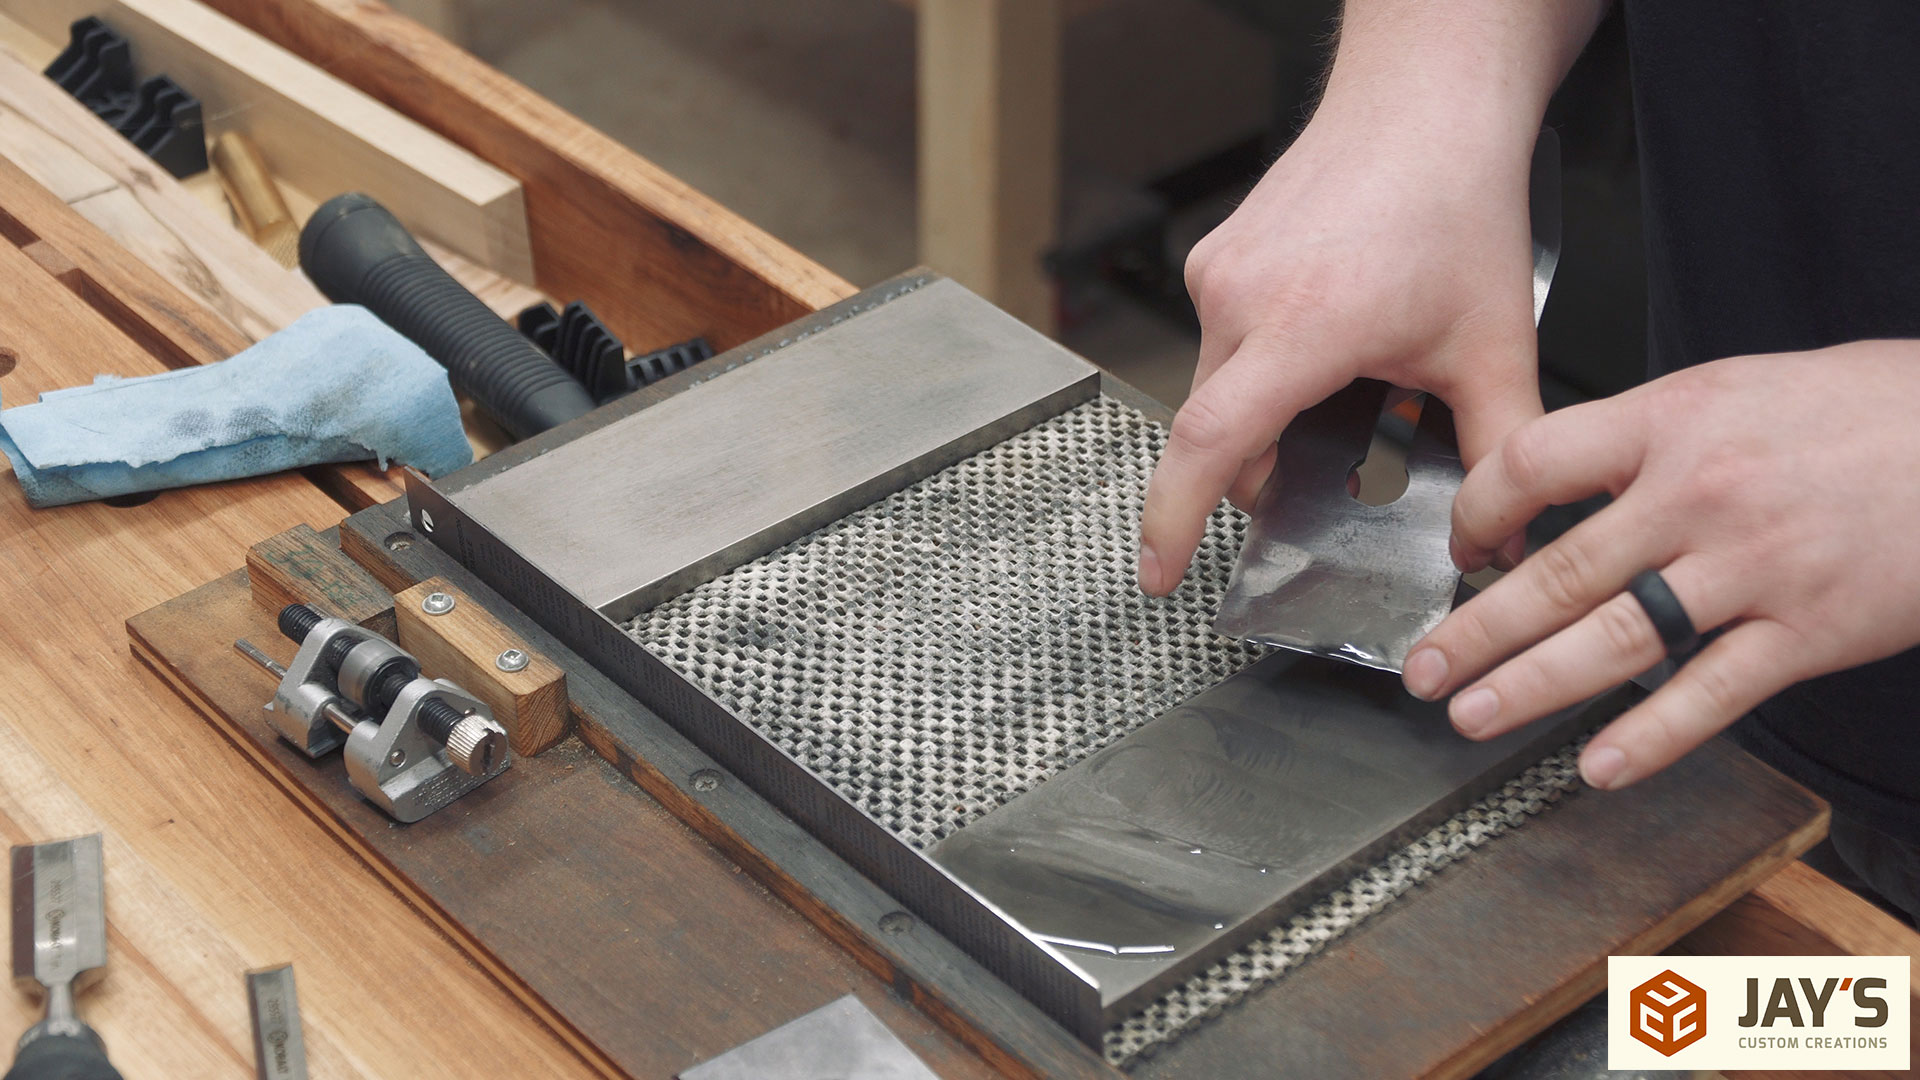
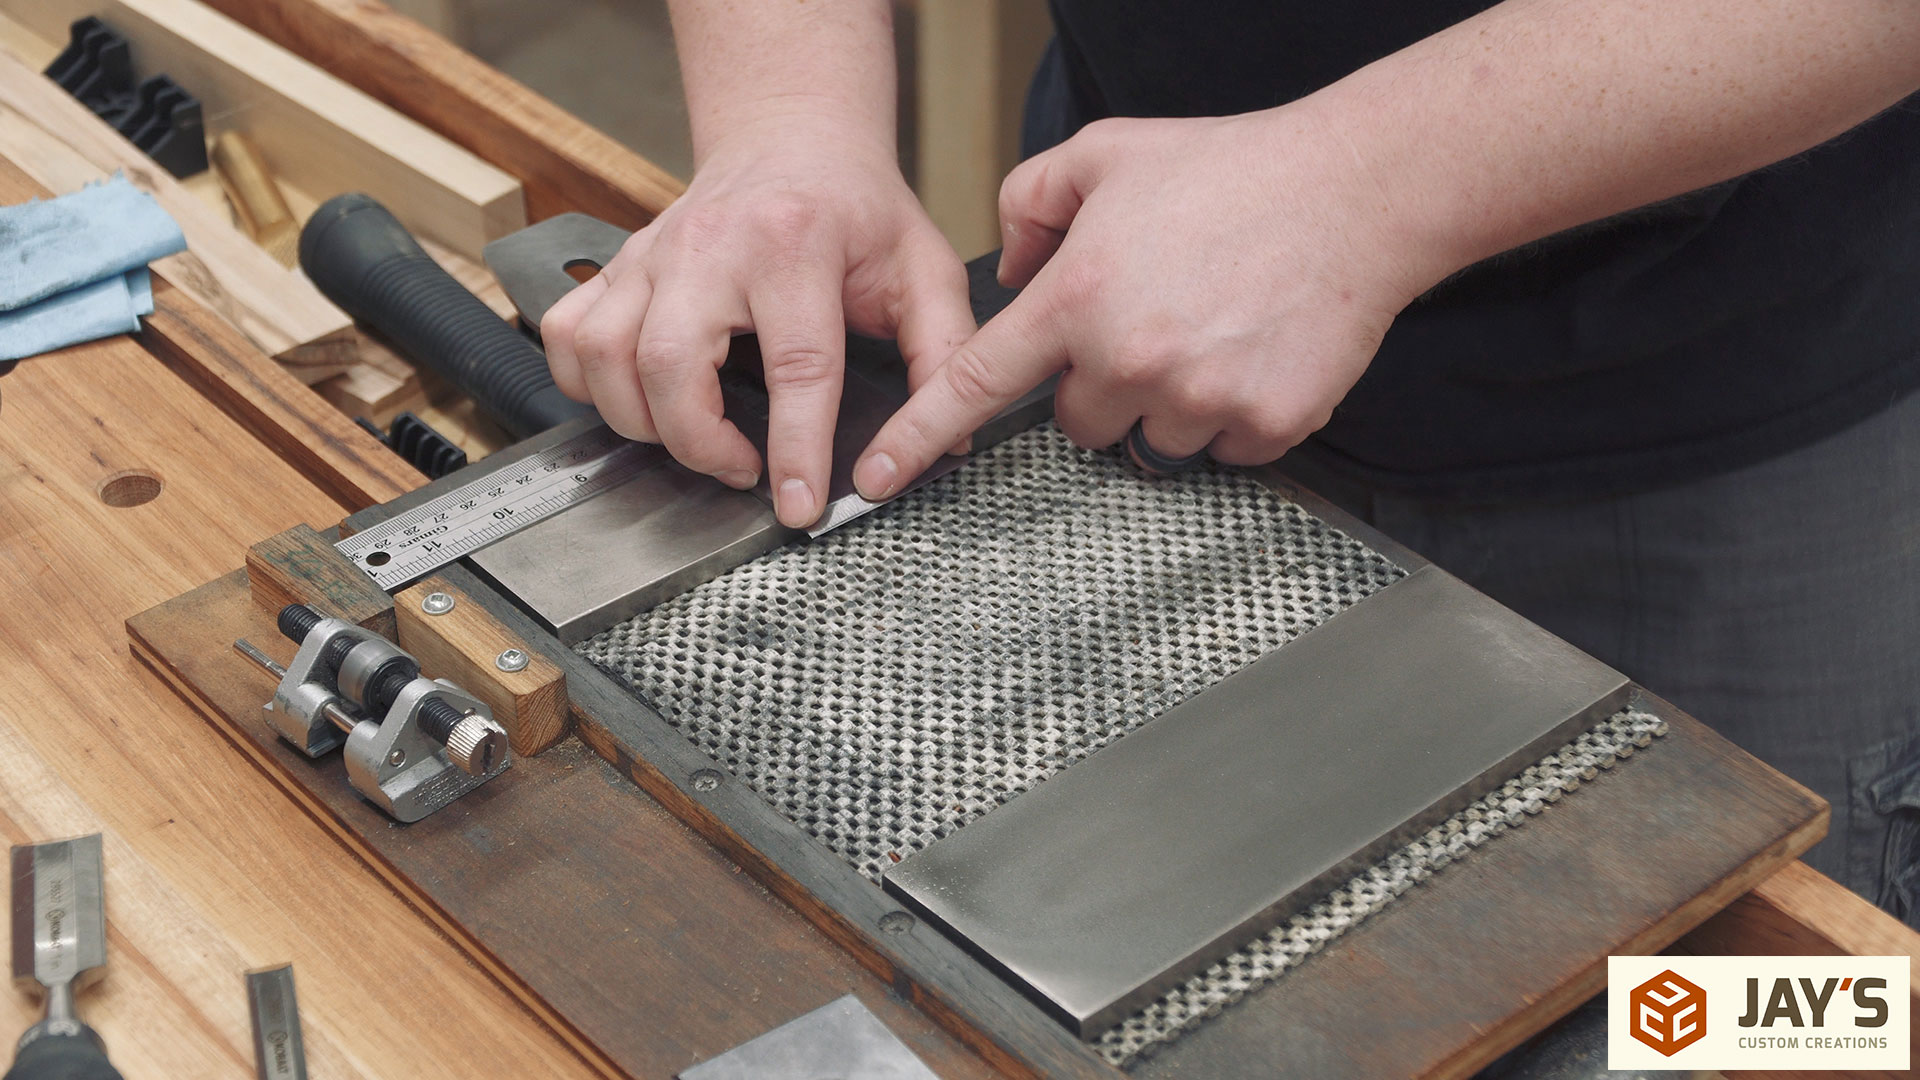
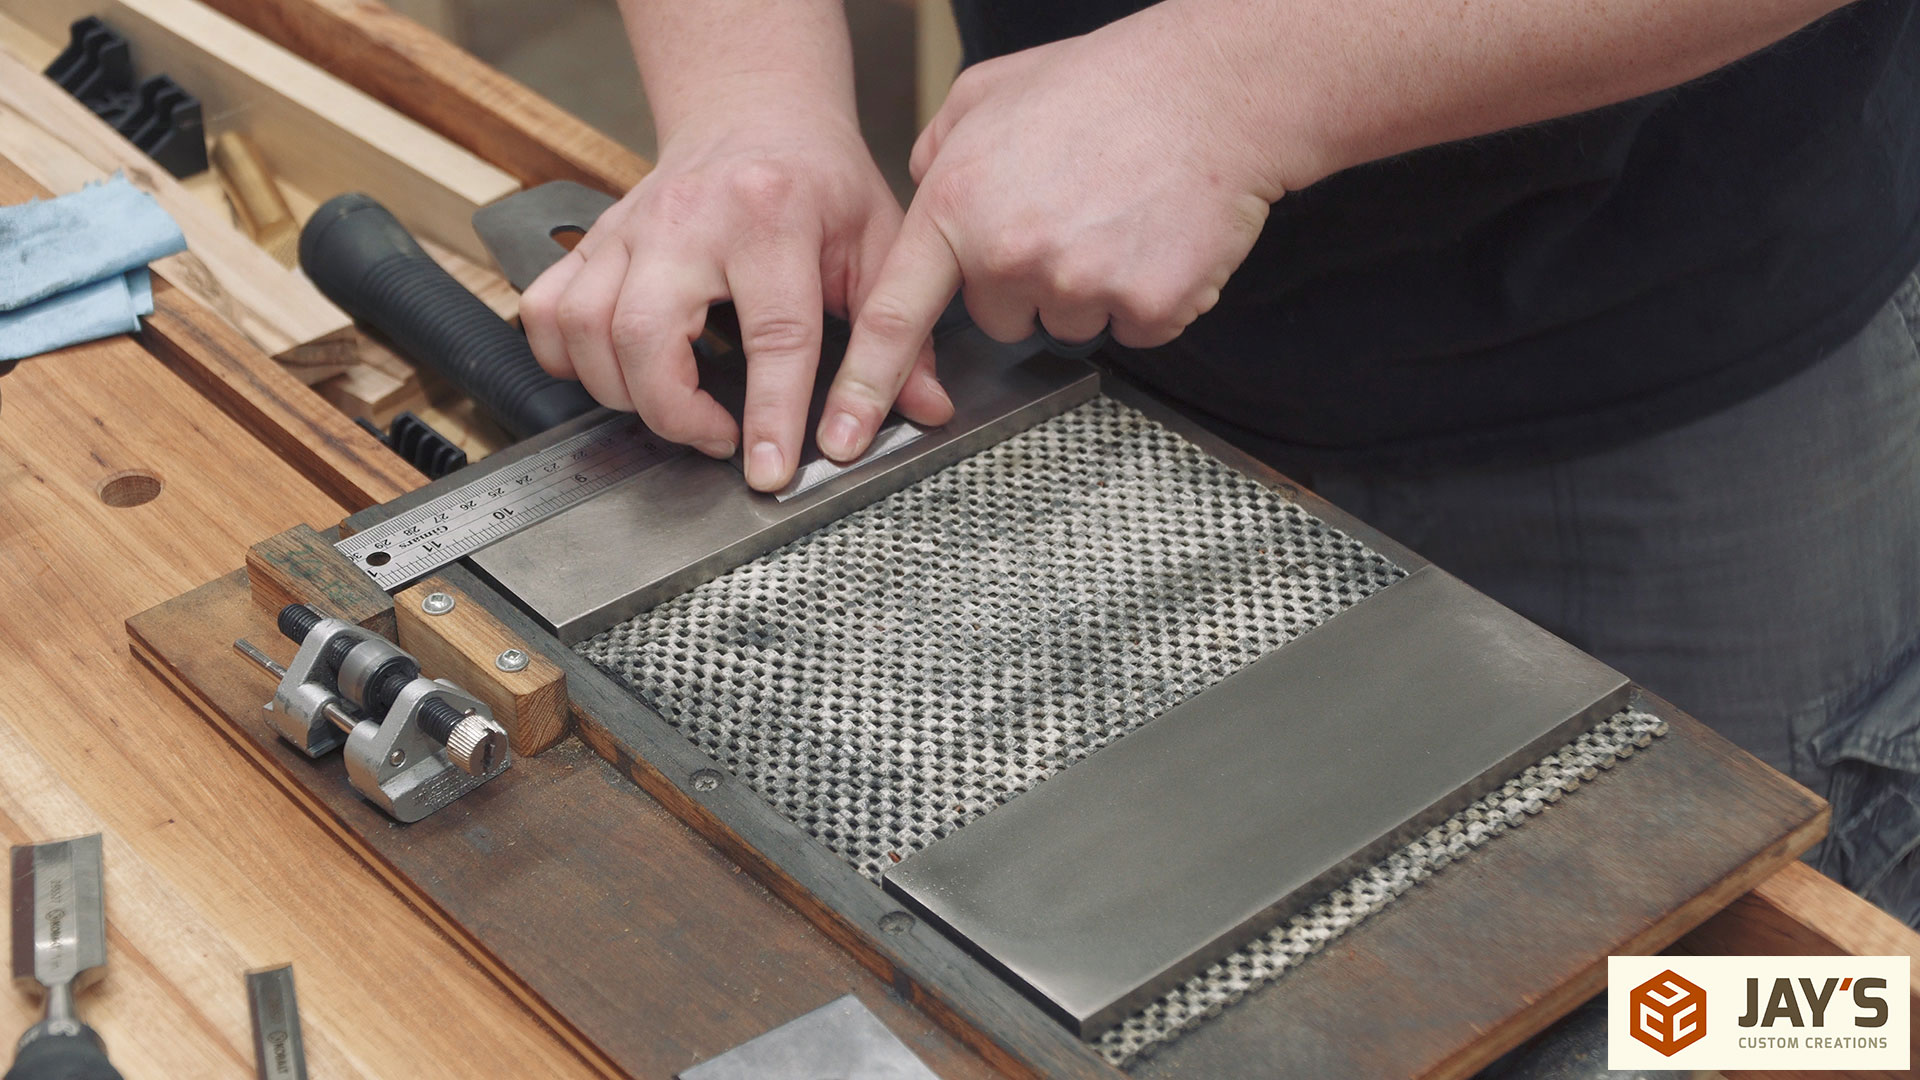
Now the edge is established but there is a definite burr on the back side. To remove the burr I use the David Charlesworth ruler trick. This trick allows you to quickly establish a very tiny flat bevel on the back side of the plane blade instead of flattening the entire back of the plane blade. To start, I place a metal ruler on the right side of the plate to elevate the back side of the blade slightly. It’s more important that you use the same thin object to elevate the blade every time more so than the exact thickness of that thin object. The blade is placed over the plate and ruler so that the front edge of the blade is hanging over the left side of the plate. Then the blade is pulled back onto the surface of the plate and moved back and forth staying close to the left side of the plate. This removes the bur and creates a small flat bevel across the entire back of blade which ensures that the cutting edge is perfectly straight. Don’t get carried away with this step. A small flat area the entire width of the blade is all that is necessary. DO NOT use this ruler trick with chisels as it is important that there is no bevel on the back side for them to work effectively.
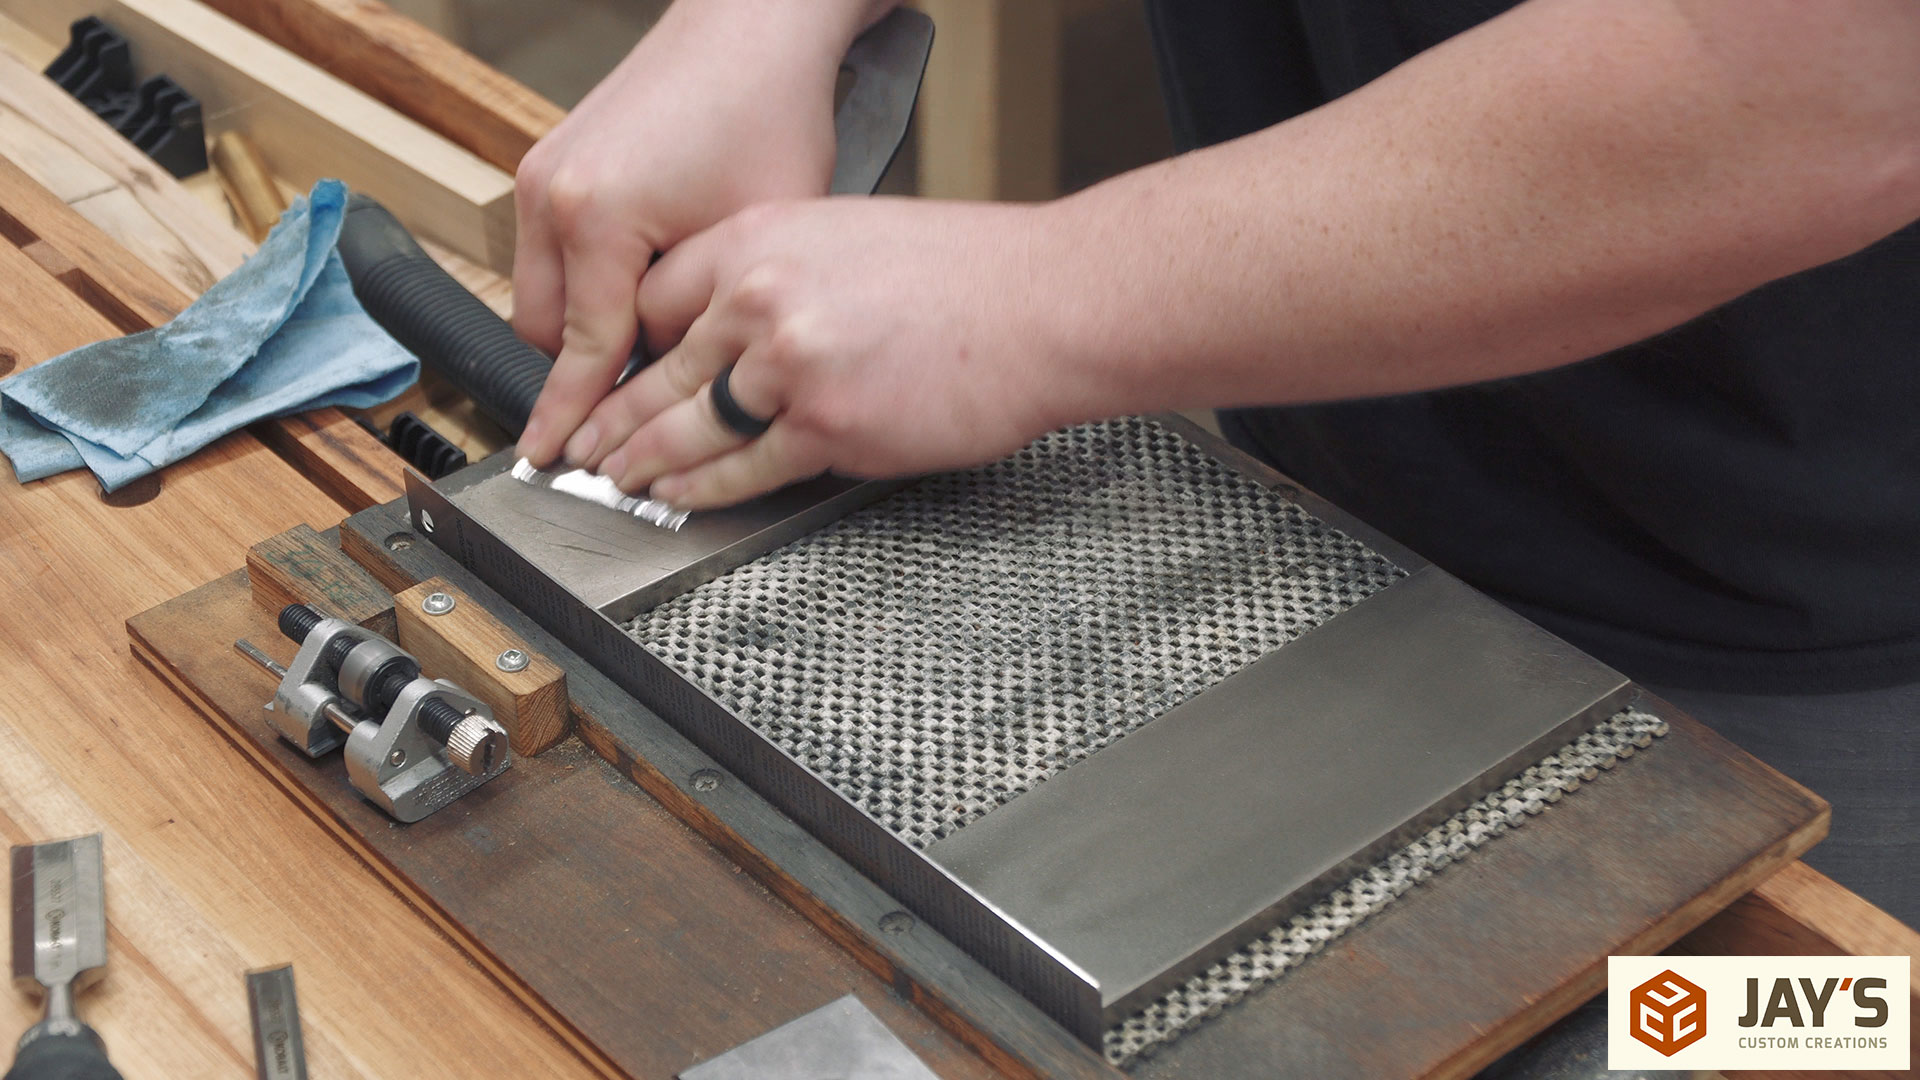
Finally on to the step that will get 90% or more of use in this entire sharpening process. After a straight edge is established on the plates I like to use a leather strop to polish the cutting edge. I also use the strop to maintain the cutting edge while I use the tool. It’s MUCH easier to maintain the edge with a strop the instant you feel it starting to dull under use than it is to use the tool until the edge is broken down enough that it requires the rest of the sharpening process. You can also expect more consistent performance out of the tool when you maintain the edge.
Any piece of leather on a hard, flat surface will work. I’ve heard of some people using polishing compound directly on MDF with good results. In this example I have a piece of leather cut in half and attached to a machined flat surface. The half that has the green polishing compound on it was attached with the rough side up. The other half was attached with the rough side down. The plate itself was a gift from Shawn Graham of wortheffort.com. It’s a product he calls the Convenient Sharpening Appliance. The key word there is convenient. He sells these and has a video showing all the details as well as another video showing you how to make your own if you don’t want the convenience of buying one. Links are at the end of this article. It has many uses but for this demonstration I’m only using it as a leather strop.
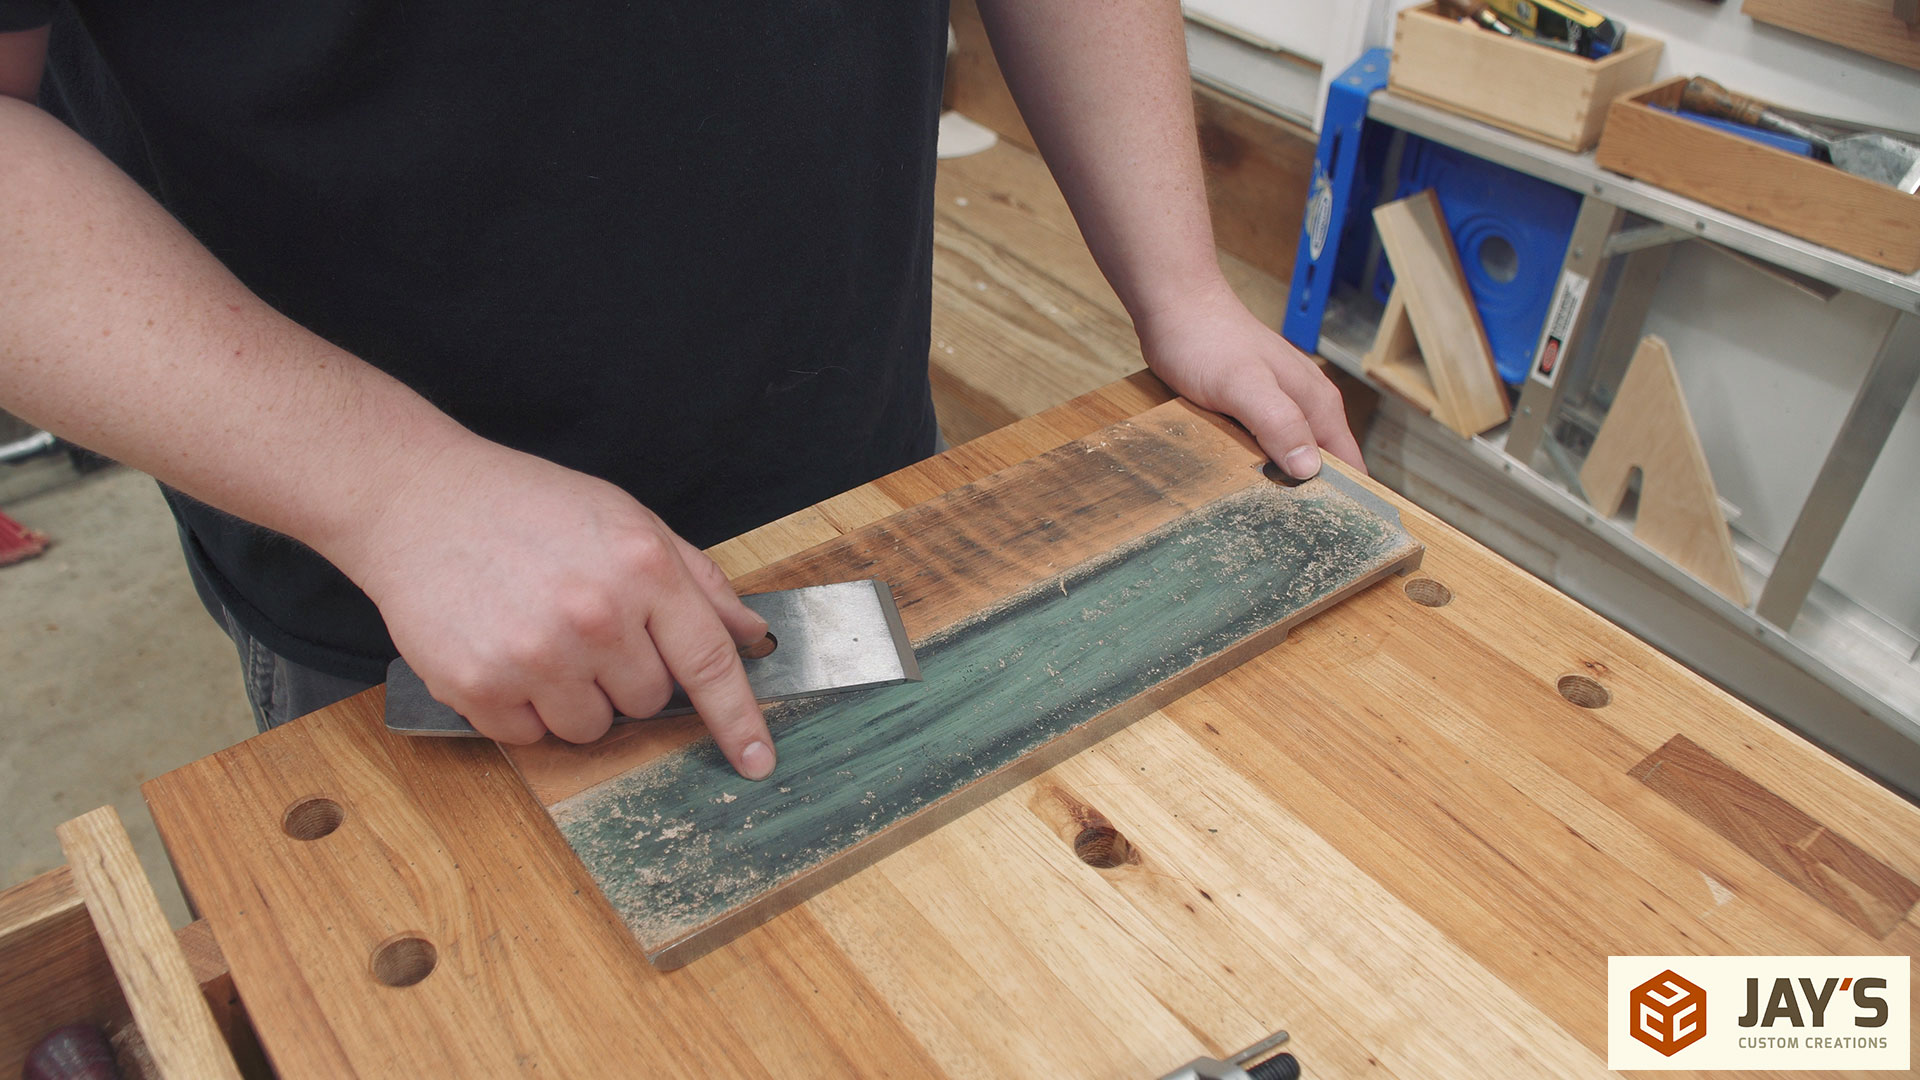
With a little bit of green polishing compound rubbed onto the surface I can start stropping. I use the same technique to hold the blade and the same method to find the angle of the blade. I try to keep the angle as low as possible so that only the cutting edge is being polished. With my wrists and elbows locked I use my body and shoulders to move the plane blade with the blade contacting the strop only on the pull stroke.


Then a couple passes on the back side with the blade flat.
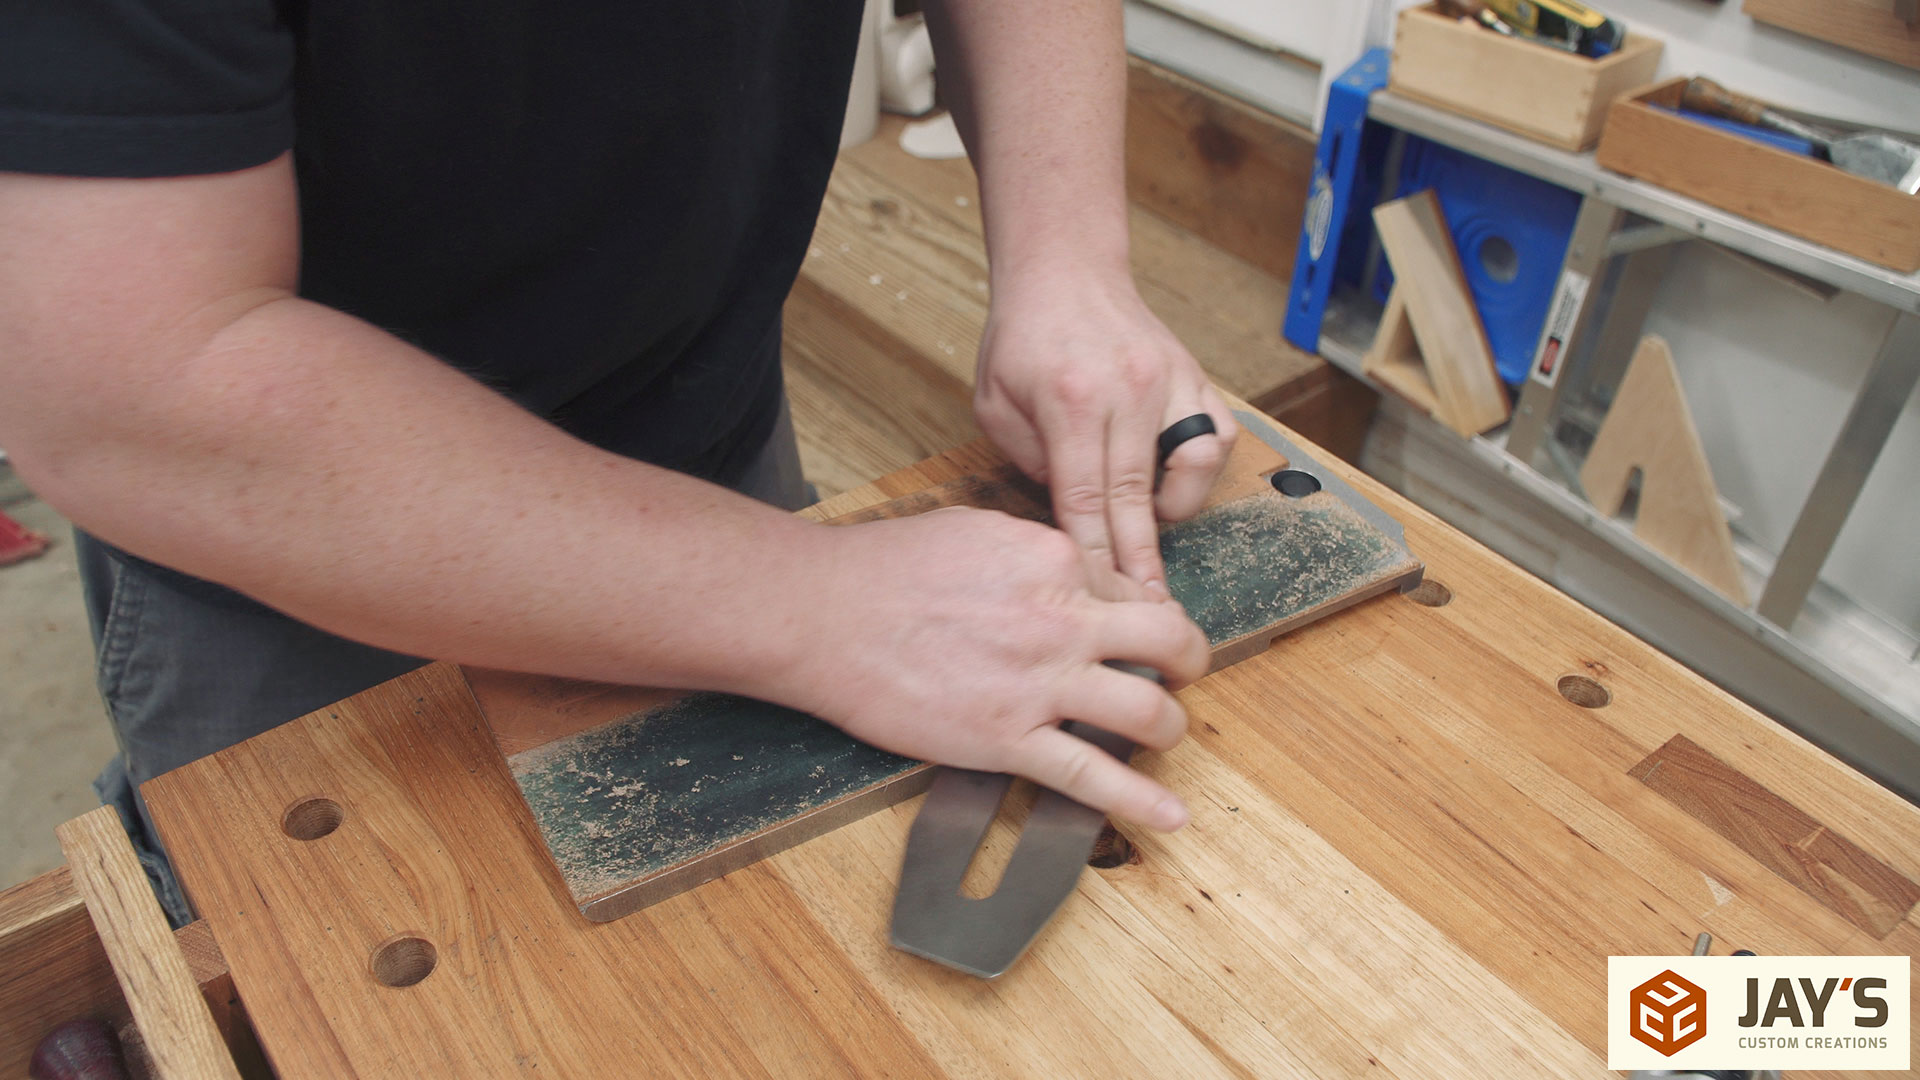
It’s not entirely necessary but I also make a few passes without the polishing compound on the side that has the smooth leather side up.

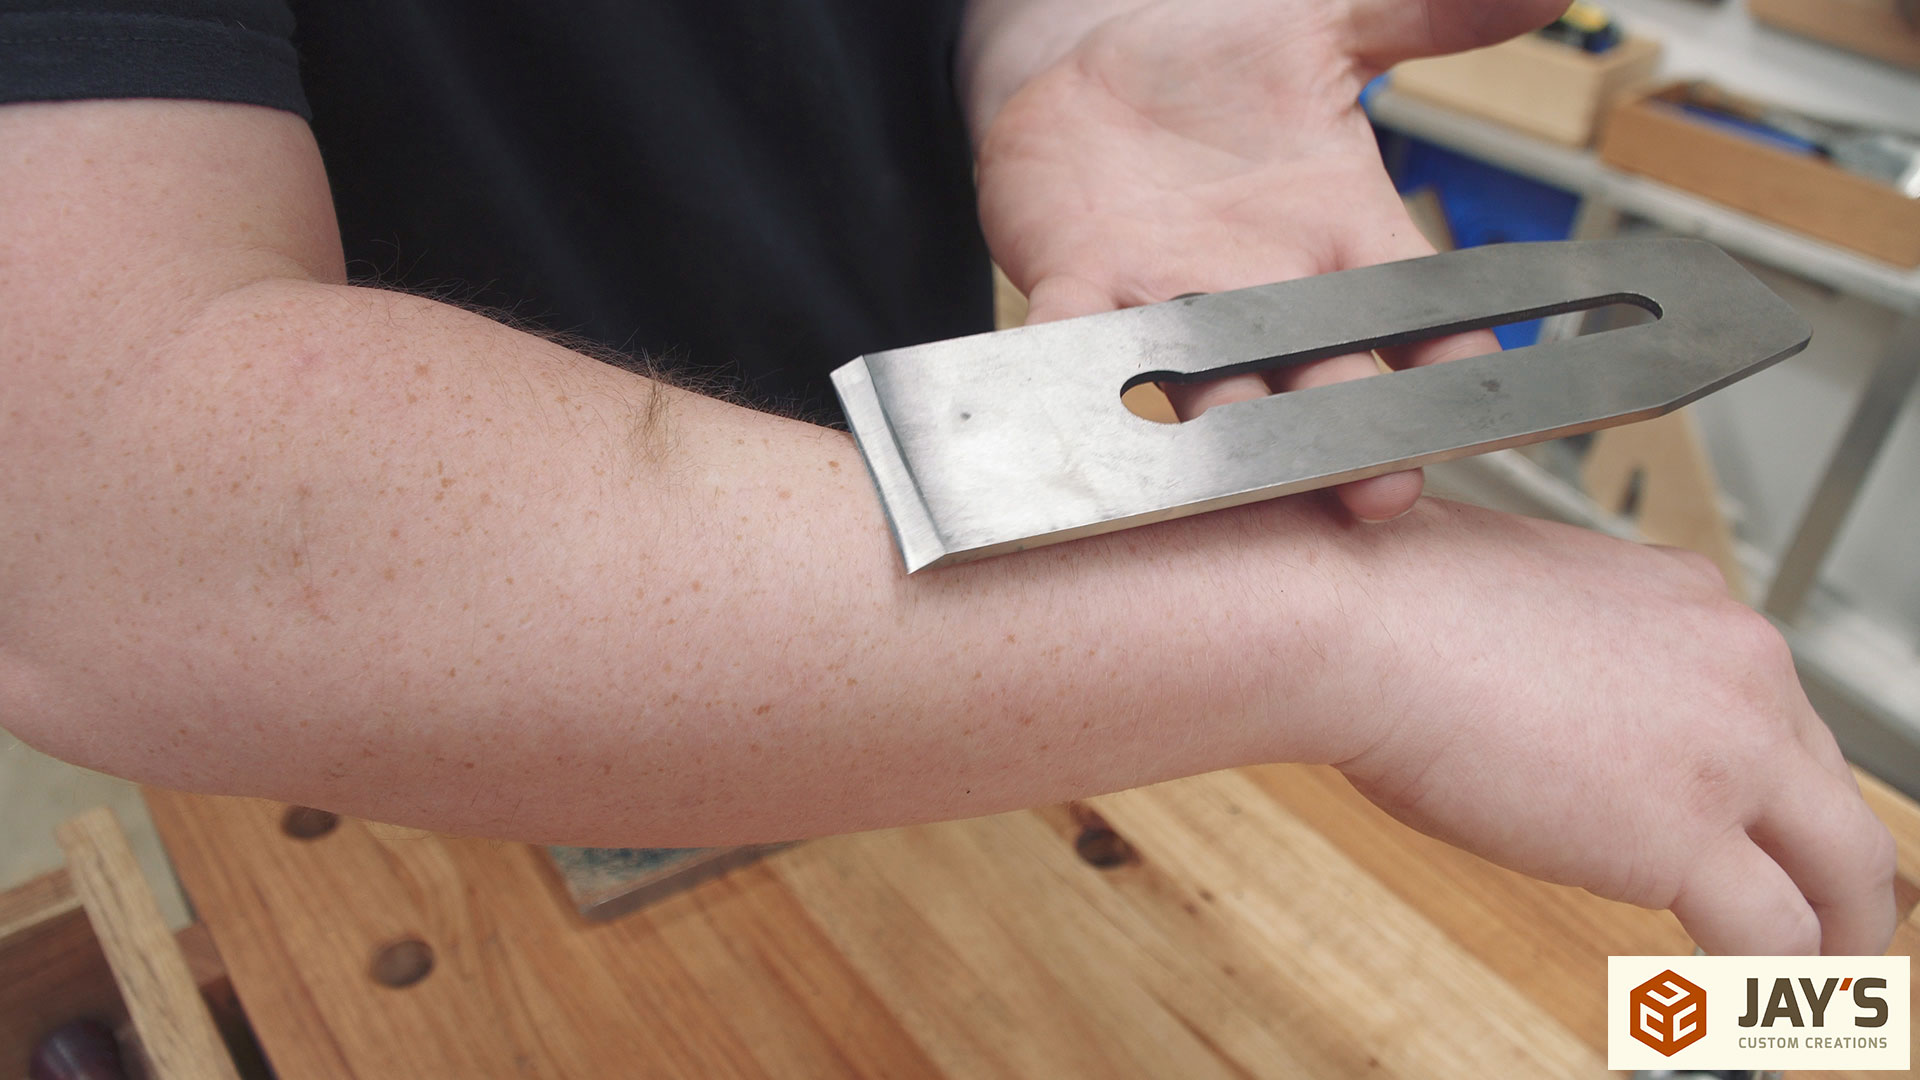
Sharp is binary. It’s sharp, or it’s not. I’m not looking for anything in between. A common test to see if something is sharp is to see if it will shave hair. Some people may think it’s a bit barbaric but I’ve found this to be a good gauge to determine how the edge will perform on wood. If it will shave hair on my arm then it will always perform great cutting through wood. If I’m using a chisel or plane blade and it doesn’t shave hair then it’s time to strop it to bring it back to life.
It’s obvious but…don’t dig the cutting edge into your skin. Just use gravity and the weight of the plane blade or chisel. You can see that this one shaved my arm hair easily. It’s sharp. Also, the more I use hand tools the less hair I have on my arms…
To recap; I use a grinder to do the grunt work and reduce wear and tear on my diamond plates, diamond plates to establish a cutting edge, and a leather strop to polish and maintain the cutting edge. Again, the key word there is maintain. Maintaining the cutting edge with a leather strop and polishing compound is quick and easy, will reduce the time spent sharpening, and reduce the wear and tear on your sharpening products.
I want you to understand the how and why to the process rather than the actual products but I know some of you are interested in the exact products I use. Here’s a helpful list of links for this article:
- Rikon 8” slow speed grinder – https://amzn.to/2uoI7Rz
- CBN grinding wheels – https://woodturnerswonders.com/collections/cbn-wheels
- Tool rest for grinder – https://amzn.to/2Lfz6k9
- DMT Coarse plate – https://amzn.to/2mhdt8f
- DMT Extra Extra Fine plate – https://amzn.to/2NTPYyq
- 3-in-1 oil – https://amzn.to/2uprBkf
- Rob Cosman YouTube channel – https://www.youtube.com/user/robc45
- Paul Sellers YouTube channel – https://www.youtube.com/user/PaulSellersWoodwork
- Shawn Graham YouTube channel – https://www.youtube.com/channel/UCxOSP6n0wTzGIDWfNHqHCgA
- Bill Schenher YouTube channel – https://www.youtube.com/channel/UCDjDZT2lA0usyizJh_s6_Dw
- David Charlesworth ruler trick – https://www.youtube.com/watch?v=nykVPKbUGTo
- Wortheffort Convenient Sharpening Appliance – https://squareup.com/market/wortheffort-woodworking-store/
- Video for the Convenient Sharpening Appliance – https://www.youtube.com/watch?v=7PDkJ0i_5bA
- Homemade version of the sharpening appliance – https://www.youtube.com/watch?v=O2c5lFFTz6w
- Video to modify an inexpensive honing guide – https://www.youtube.com/watch?v=QBHd7x6ySSQ
- Green polishing compound – https://amzn.to/2uqO7co


Some good tips.
PS, After waiting on China for 8 months, my new 0490X will be here next week!
Excellent information, Jay!! I know people who go buy new chisels because they do not realize that they can sharpen the ones they have – what a waste of money. Sharpening and maintaining an edge on an any blade is not that difficult once you understand how to sharpen; this video is an excellent step-by-step tutorial!
Jay, thank you for sharing your experience and know how for us all. You have helped my mediocre woodworking go to a level I didn’t think was possible. I was just wondering what grit bench stones you use on your bench grinder and why so…I apologize in advance if you have already touched on the matter.
Bravo, Jay! Thank you for simplifying what I’ve watched on many other peoples’ videos!
Glad you’ve found the information useful.
Any thoughts or opinions on glass stones (eg, Shapton) vs diamond plates? Love your videos – thank you for continuing to produce high level content!
I’ve never used the Shapton stones so I can’t speak from experience. They seem to work well and last a long time from what I’ve researched.