→ Flattening bit https://bitsbits.com/product/bitsbits-sf525-surfacing-router-bit/
→ Fuji HVLP sprayer https://amzn.to/3MLH9Wy
→ Milk Paint https://amzn.to/3TiT00H
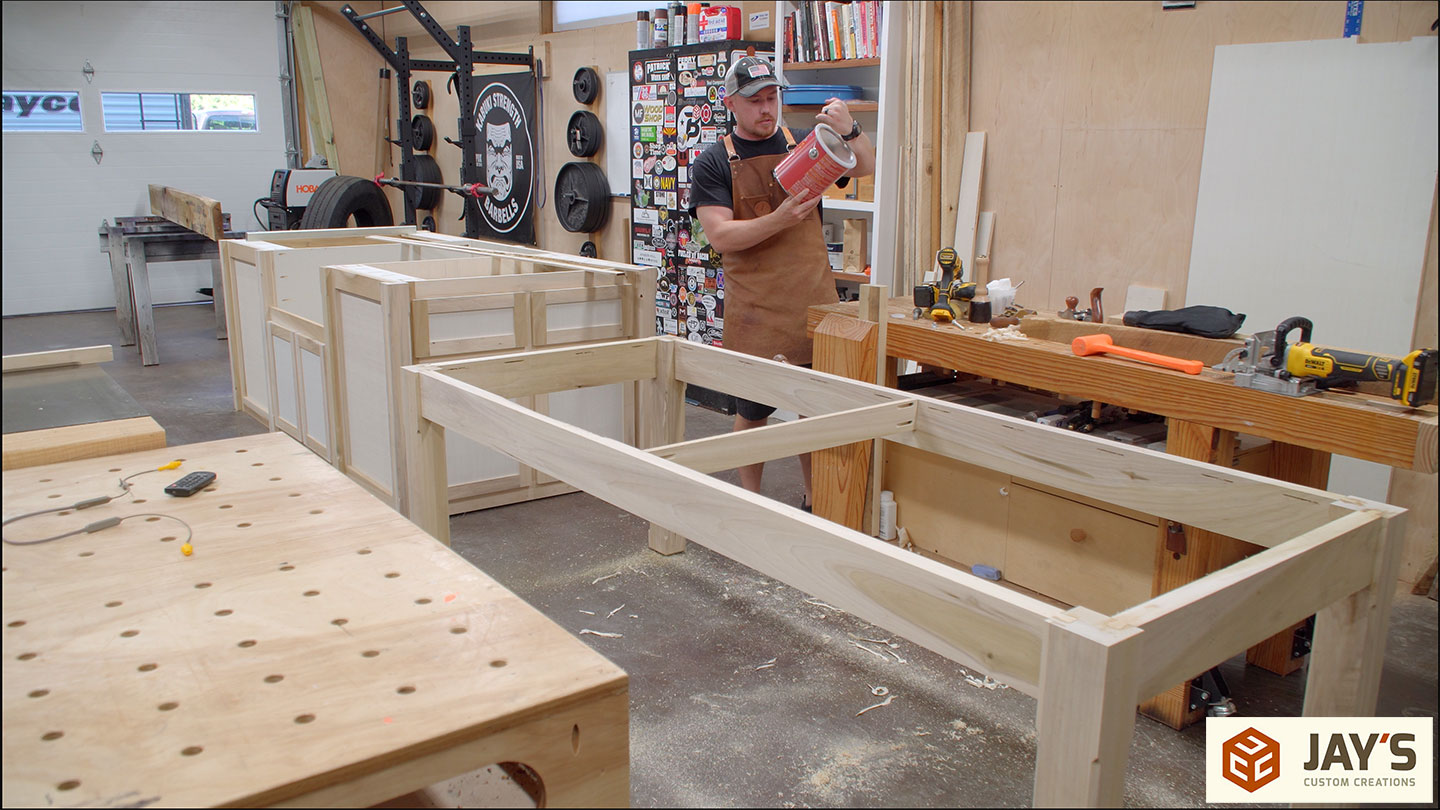
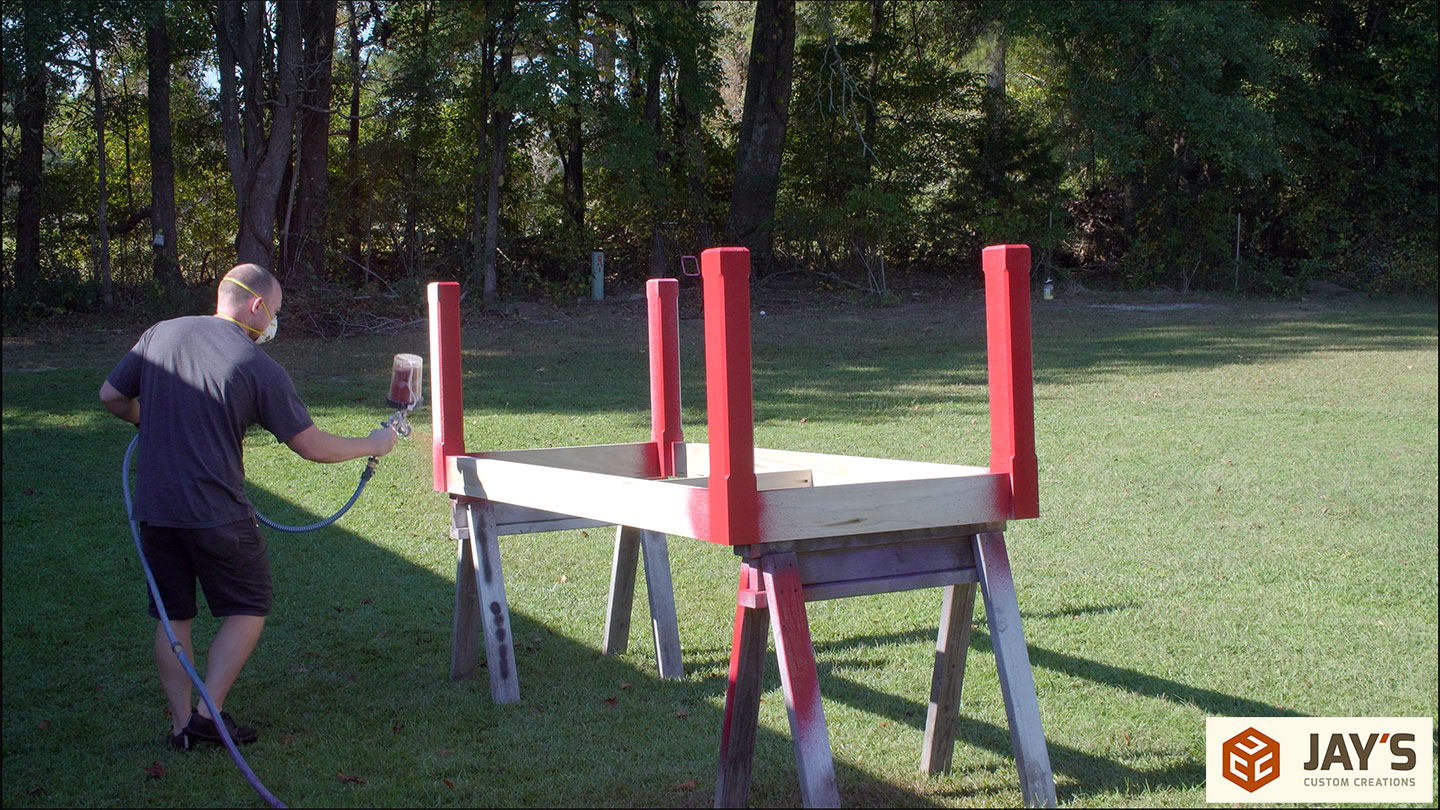
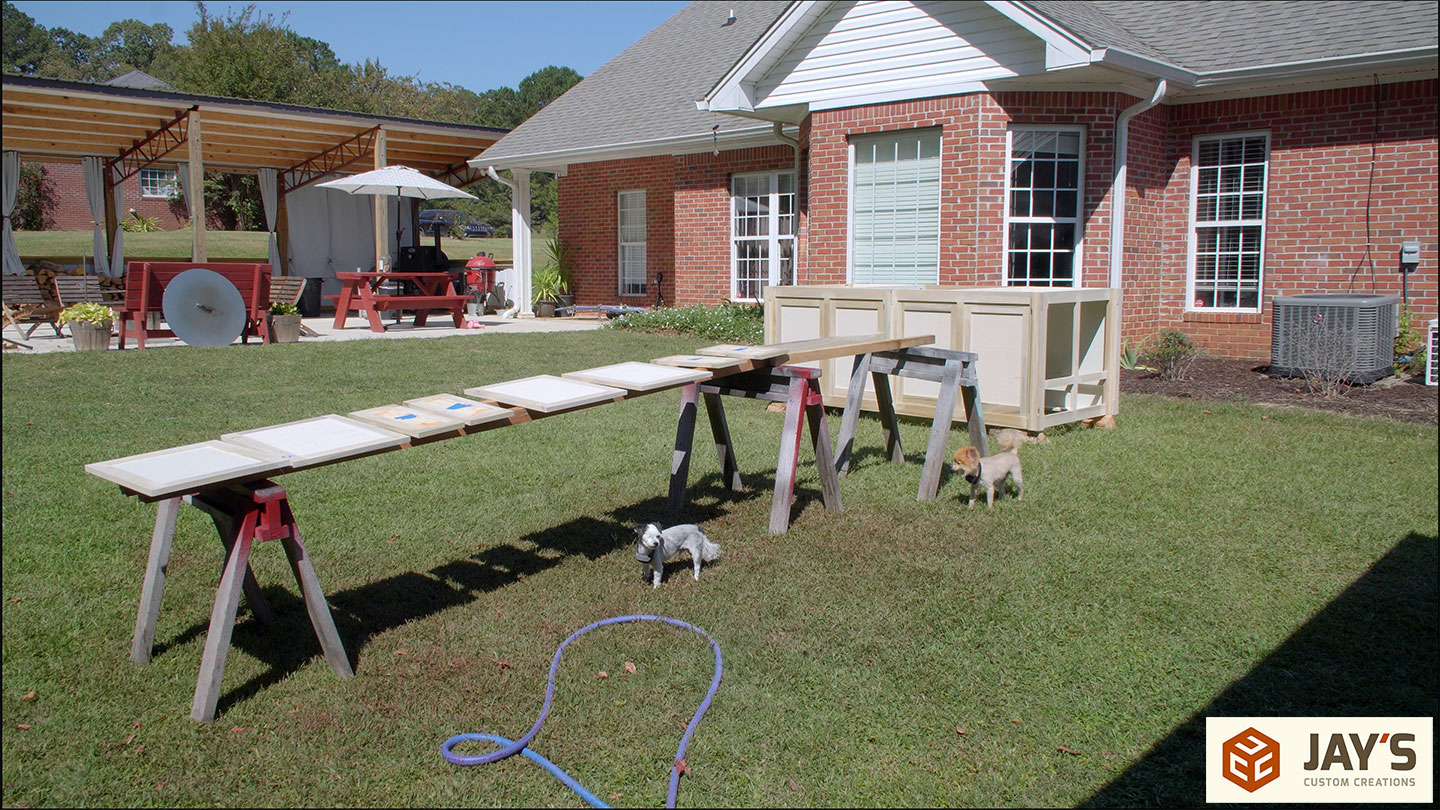
I recently completed a matching farm table base and an outdoor kitchen sink island. I timed the build of these so I could spray them simultaneously. For the color, we chose Tuscan Red Milk Paint by General Finishes. The can provides a lot of info on how it can be applied, including instructions for spraying, which is the route I’m taking. With a 1.8mm tip installed I can load the sprayer and get to work.
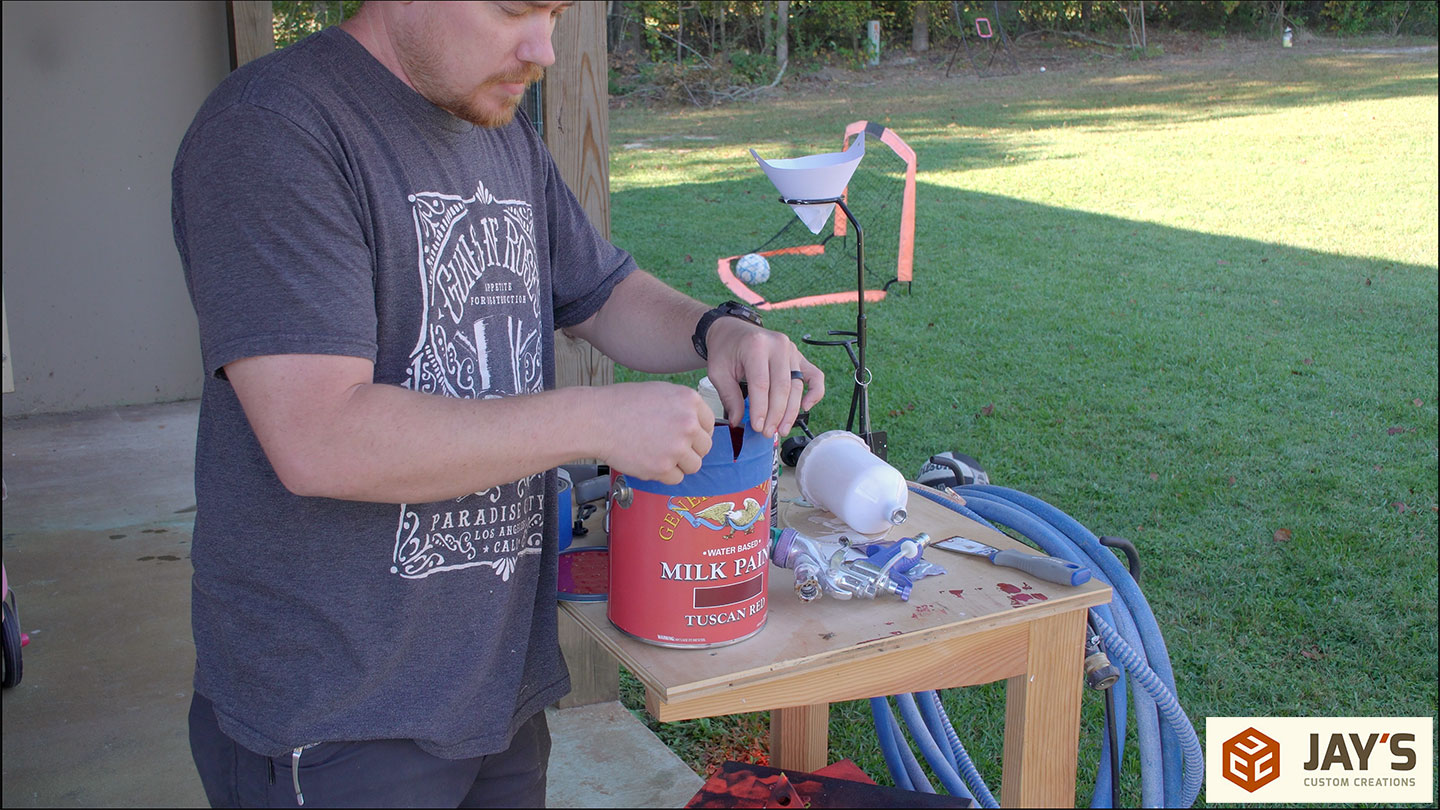
Here’s a tip for pouring from a can. Use a wide strip of tape to act as a spout. Cut a V notch where you want to pour, and use an awl, knife, or screwdriver to poke a hole in the rim of the can. Now, when you pour, the tape will act as a spout and drain the majority of the excess back into the can. The hole in the rim will allow it to drain back into the can if you want to place the lid back on loosely.
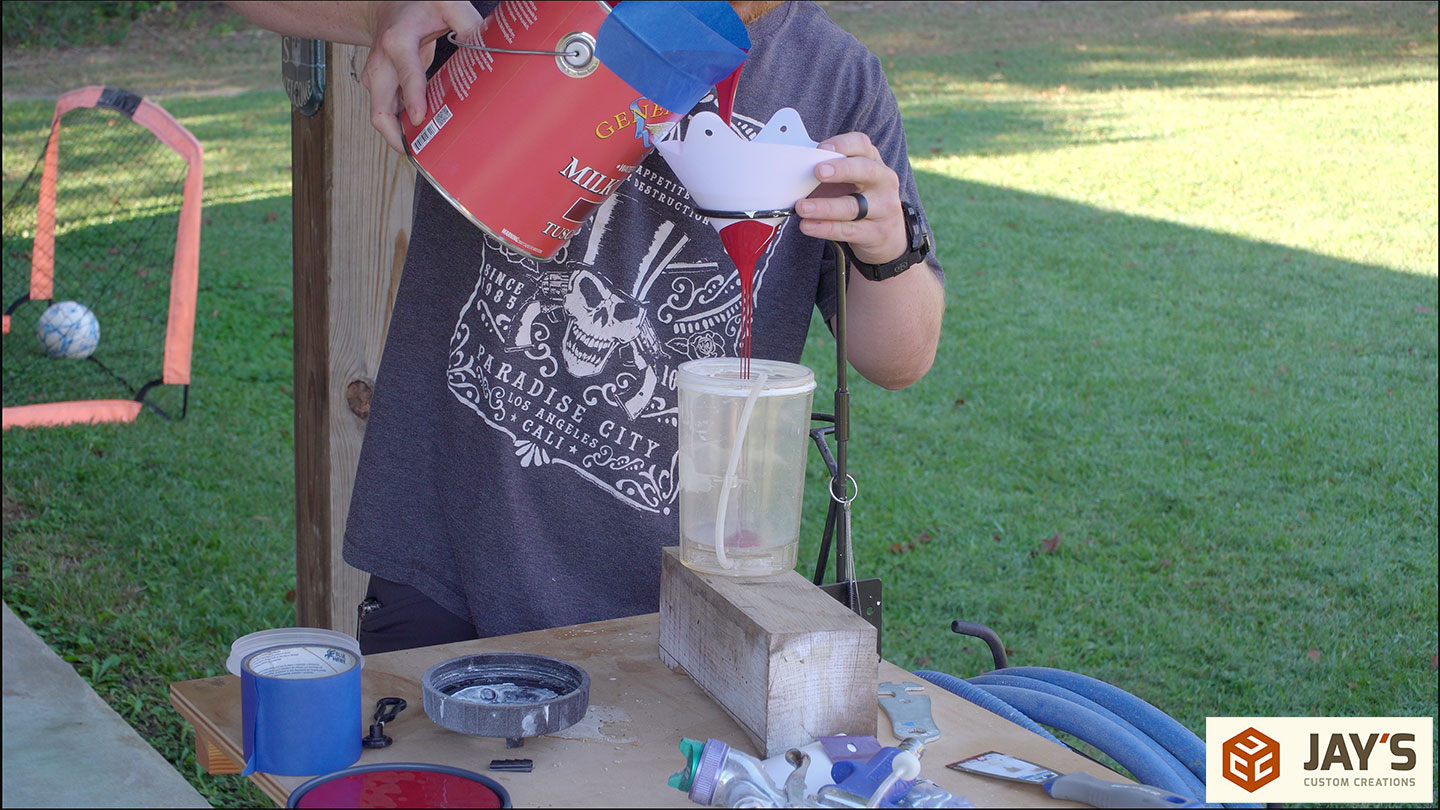
The strainers I’m using make the pouring process a bit long. In this case, it’s OK because I’m trading my CNC labor for some moving labor to help get these projects sprayed.
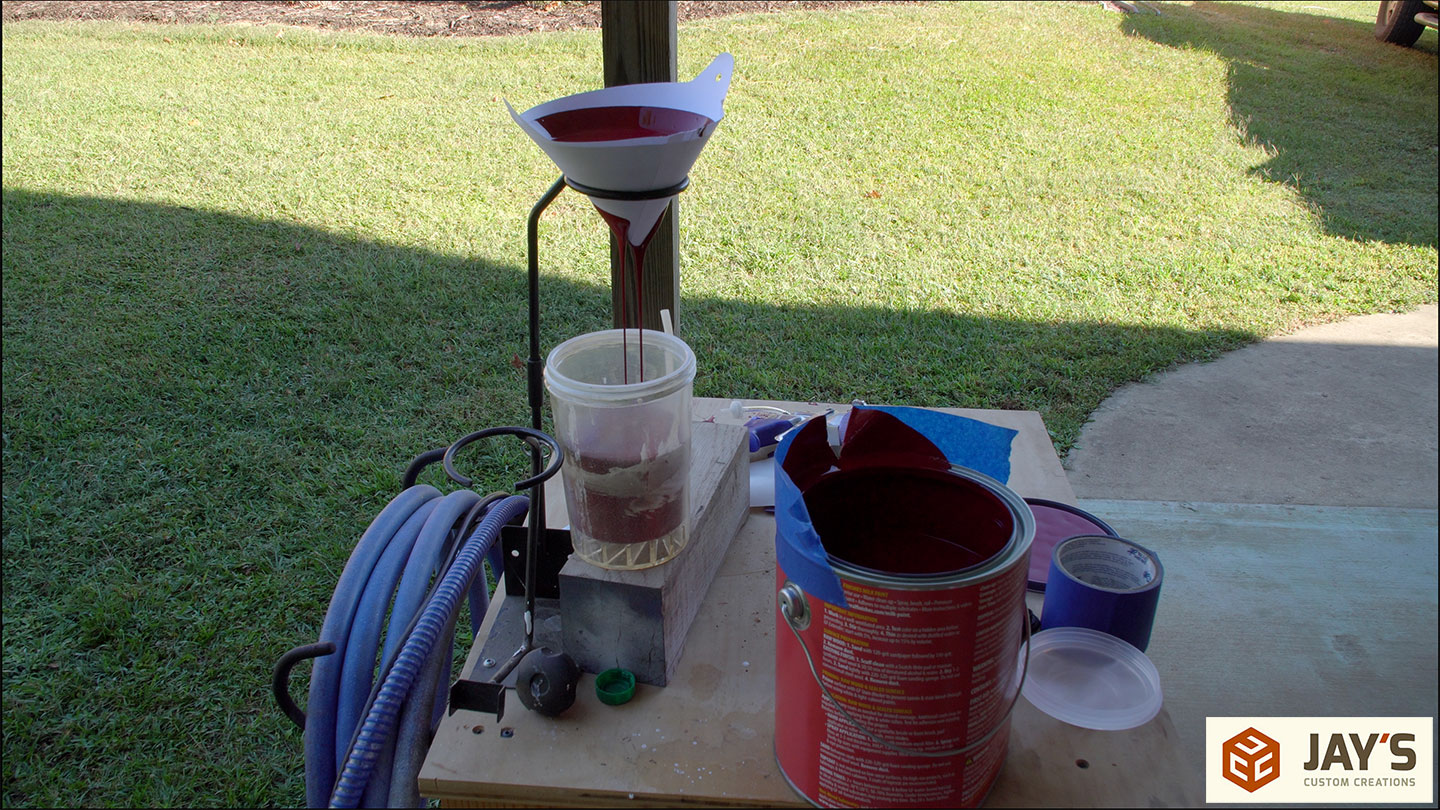
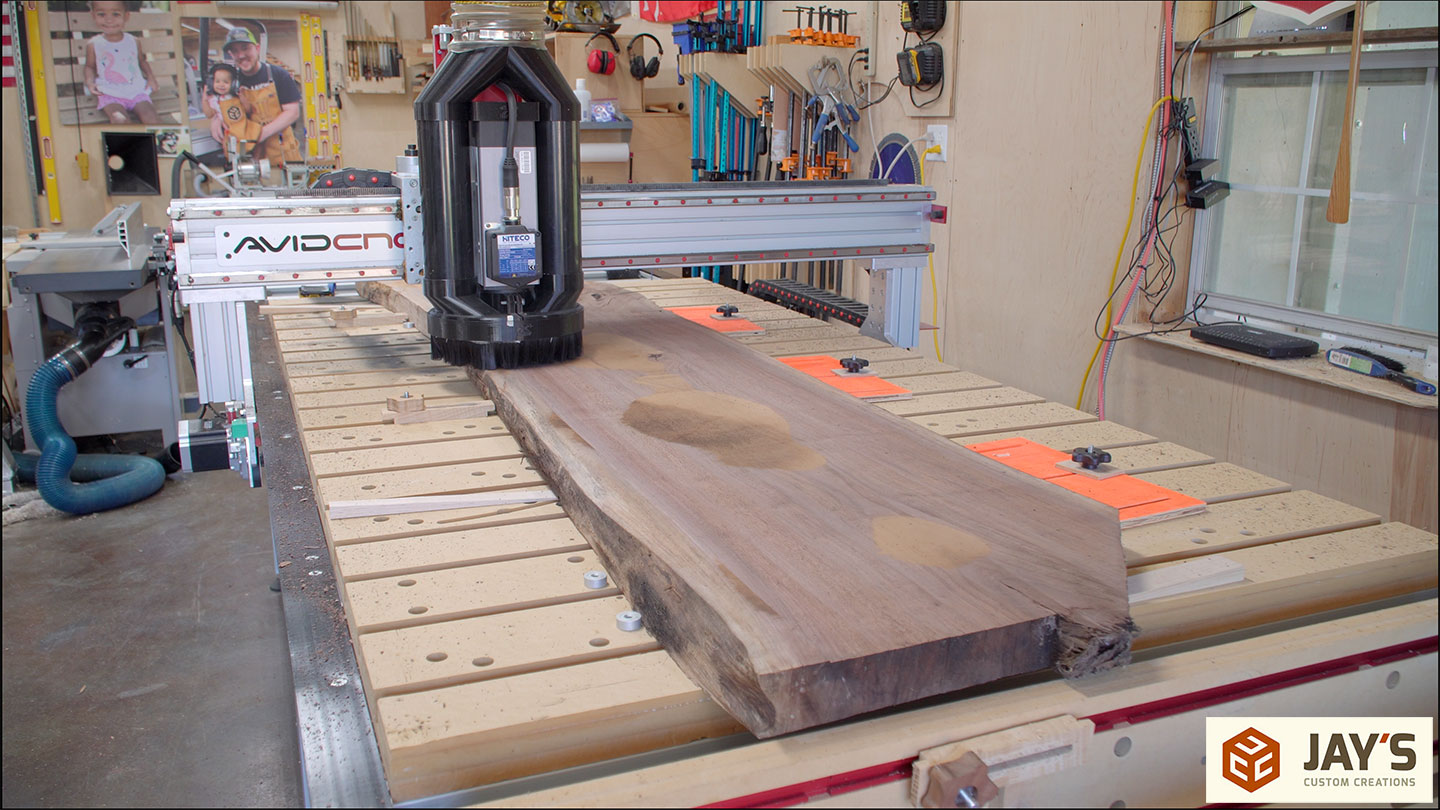
While the milk paint drips into the cup, I started some of my CNC work. Zach and Jason are from Back 40 Customs in Tupelo, Mississippi and they make a lot of epoxy river tables. These walnut slabs will be for tables but before the tables can be poured they like to slightly flatten the slabs so they will rest flat on the bottom of the forms.

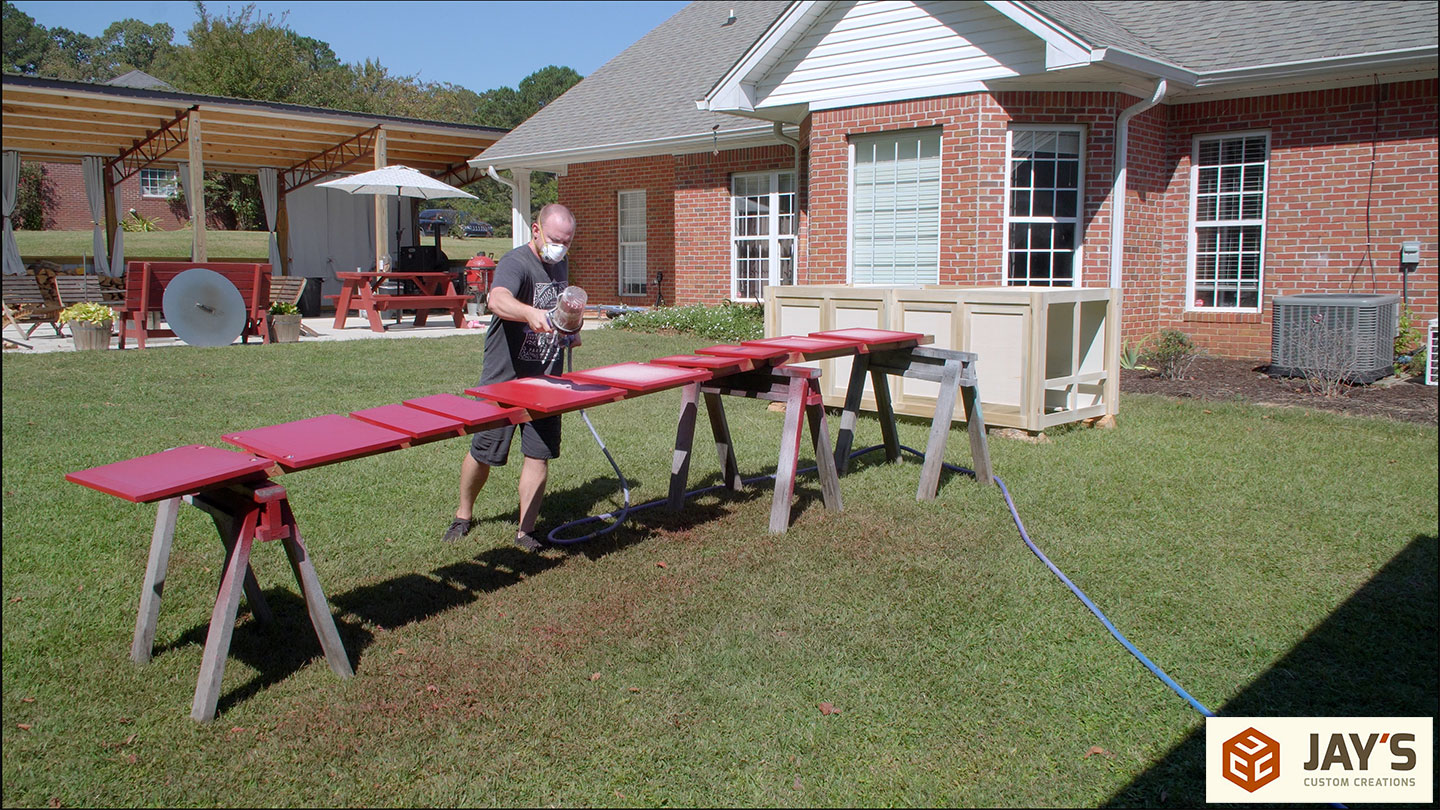
After one slab, we’re back outside to start spraying. First, the table base. I found out quickly how well the coverage is with this milk paint. I’m spraying outside with a slight breeze on a rare low-humidity day, so the paint is drying fast. I could probably have gotten away with spraying the second coat immediately after the first, but because there is other work to be done, I switched back to the shop to keep moving.
Another slab with the same goal. Flatten without removing a lot of material. The SF525 bit I’m using is flying through the material, so through the rest of the cuts, I gradually increased the aggressiveness.
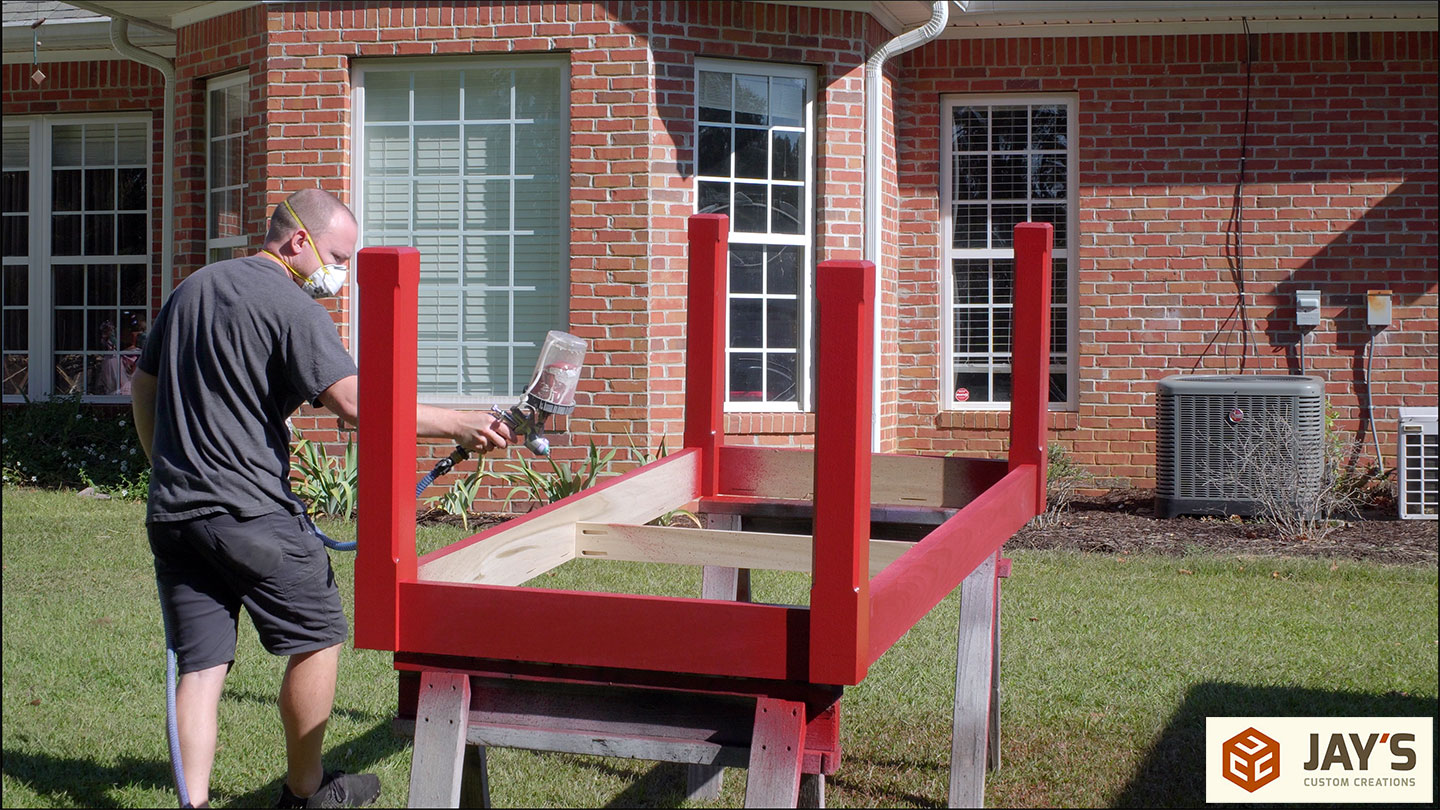
Back outside for a second coat of Tuscan Red, also making sure to seal the bottom of the legs. I’ll have leg levelers installed so they will never be sitting in water, but I want to seal them good anyway.
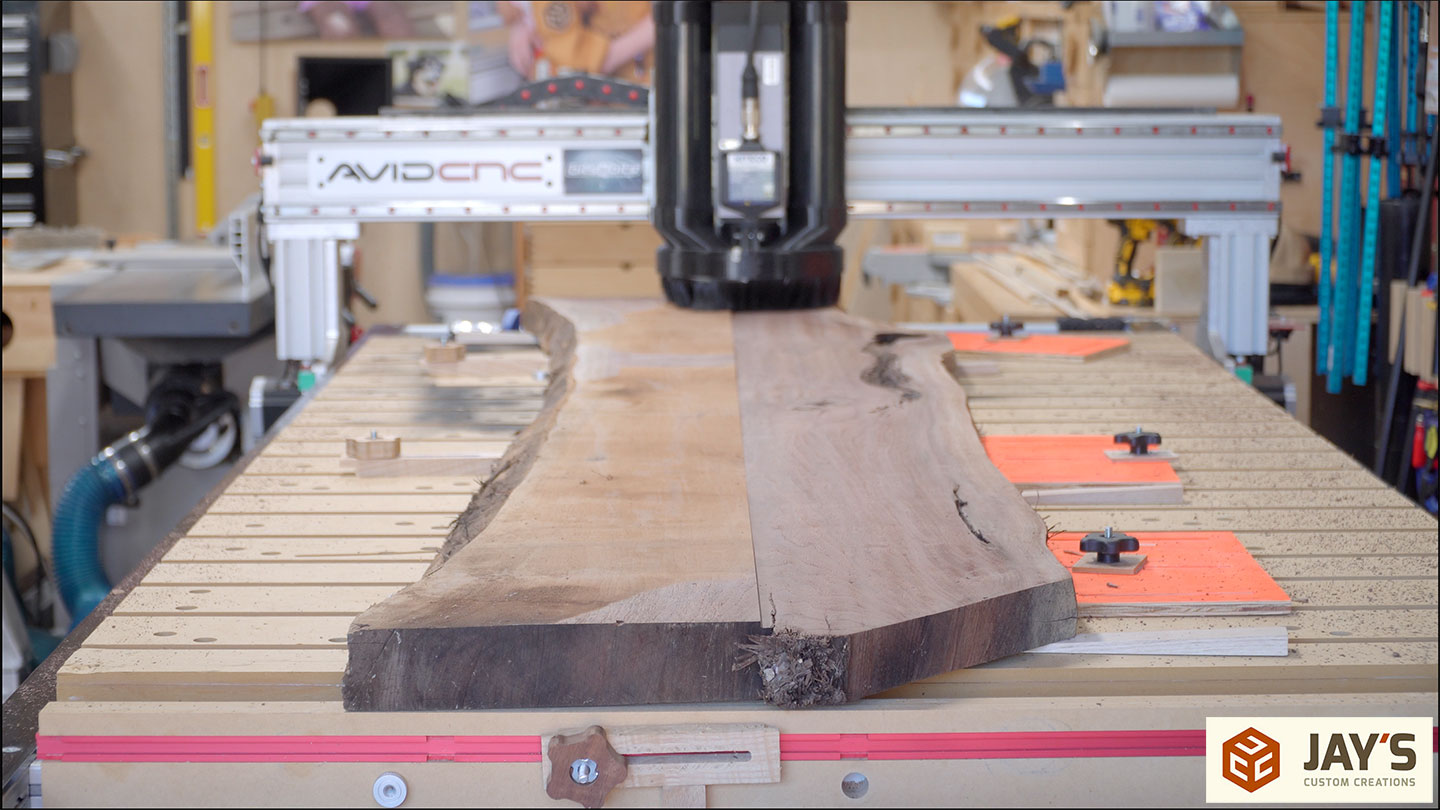
Slab #3 gets flattened, and by now, I had a pretty good idea of how many passes and how much material to remove. This was the most aggressive cut at .200” DOC, 1.5” stepover, and 500 IPM. At this point, I’m maxing out the machine’s travel and can only increase the depth per pass. Another thing I noticed is how much harder epoxy is on surfacing bits. It cuts the epoxy just fine, but it cuts through this walnut like a hot knife through butter. It is an impressive bit.
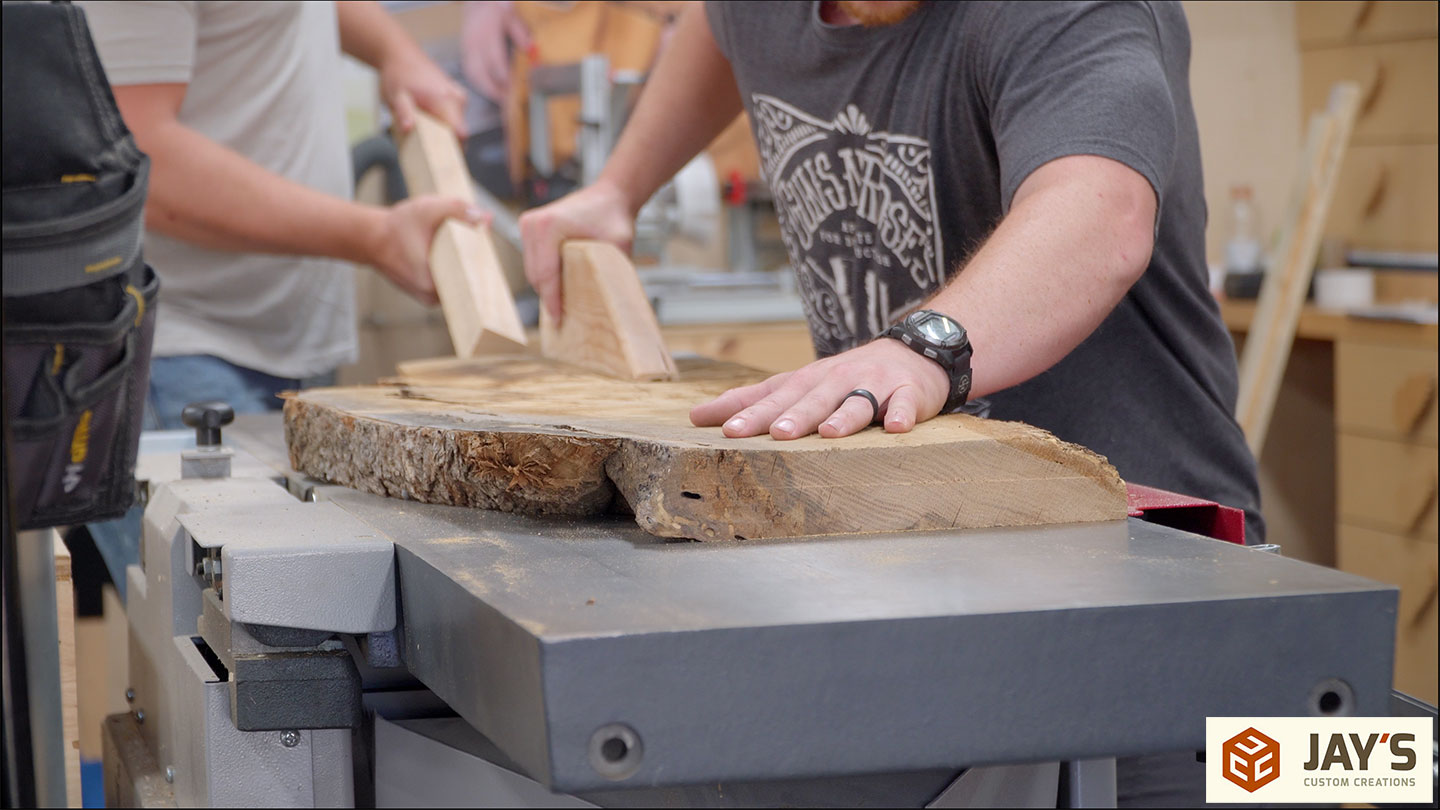
They also brought three smaller slabs to be used as floating shelves, which were small enough to use on the jointer. This is a Hammer A3-41 jointer planer combo machine with a 16” long cutter head. Rarely does a job come up needing the full width, but when it does, it’s incredibly satisfying. Flattening with the jointer will always be faster than with the CNC. The CNC has a much greater capacity.
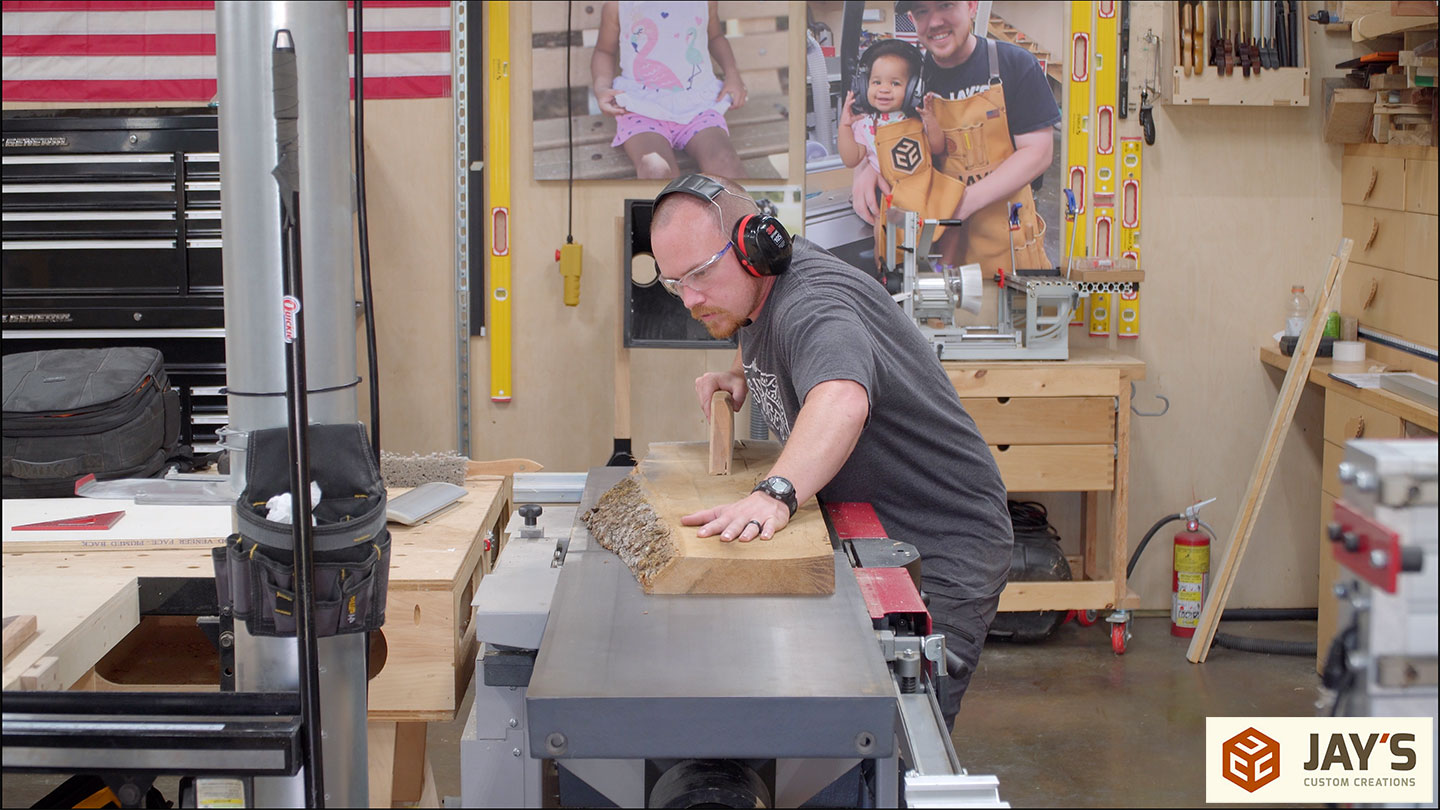
After the first couple of boards, a little extra push was indeed appreciated. Of course, the guards were removed for photographic clarity, and you should never take the guards off your machine just because you saw some dufus like me do it in a video.
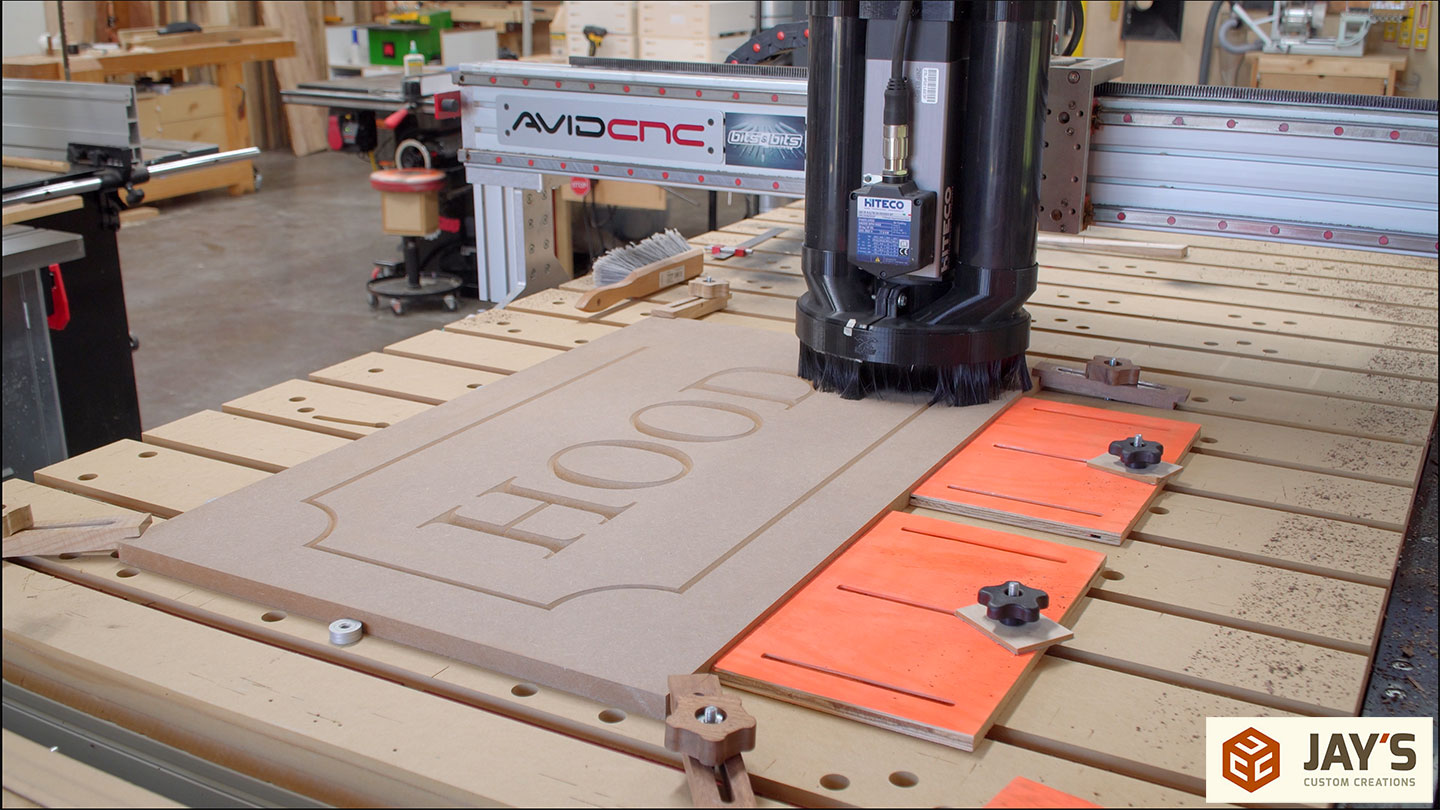
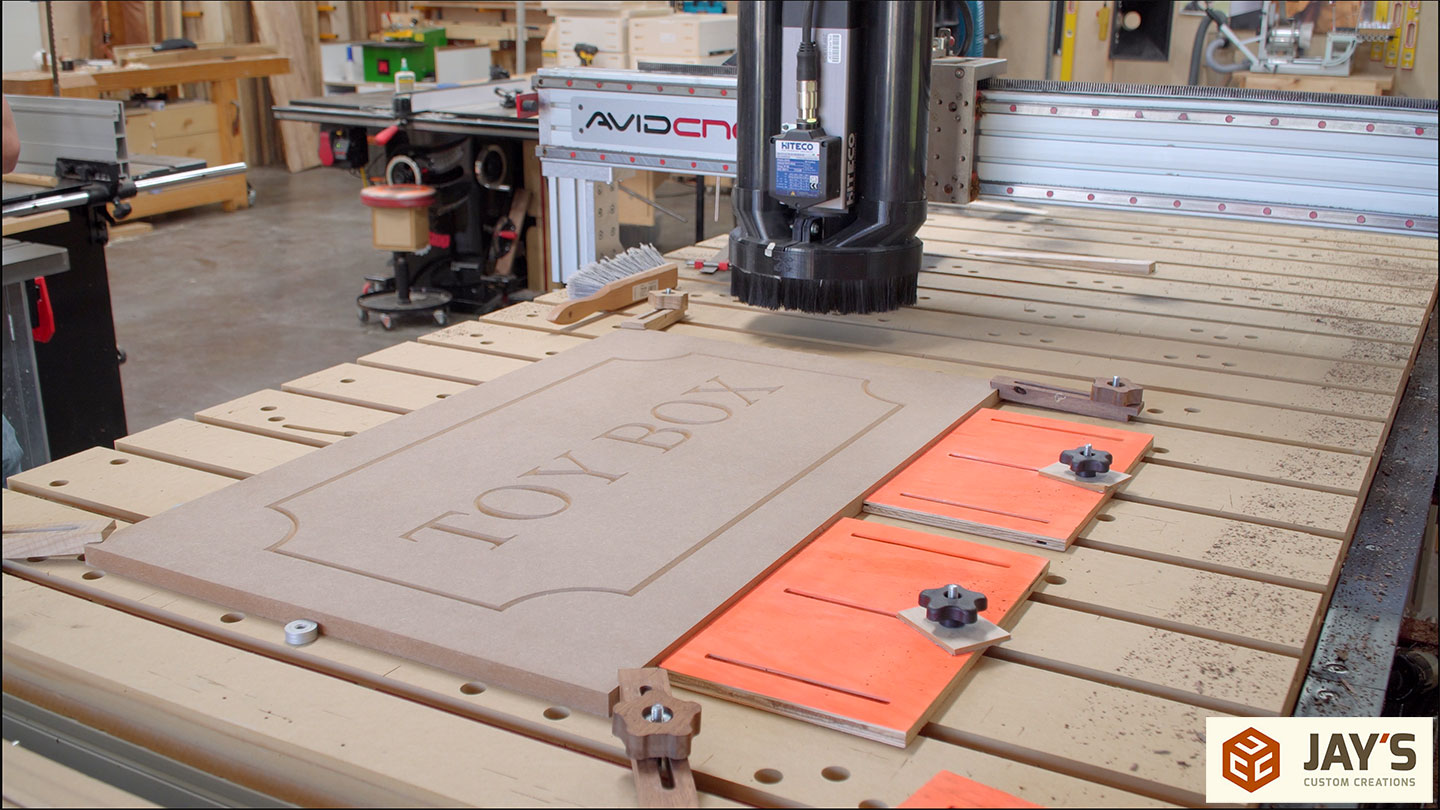
Toybox fronts were up next. These are paint-grade projects with a personalized front. The first said Hood, the second said Toy Box, and we waited on the third for spelling confirmation.
Now the time I was waiting for. Watching other people move the heavy stuff I made. That’s the best way to move stuff; Watch other people do it.
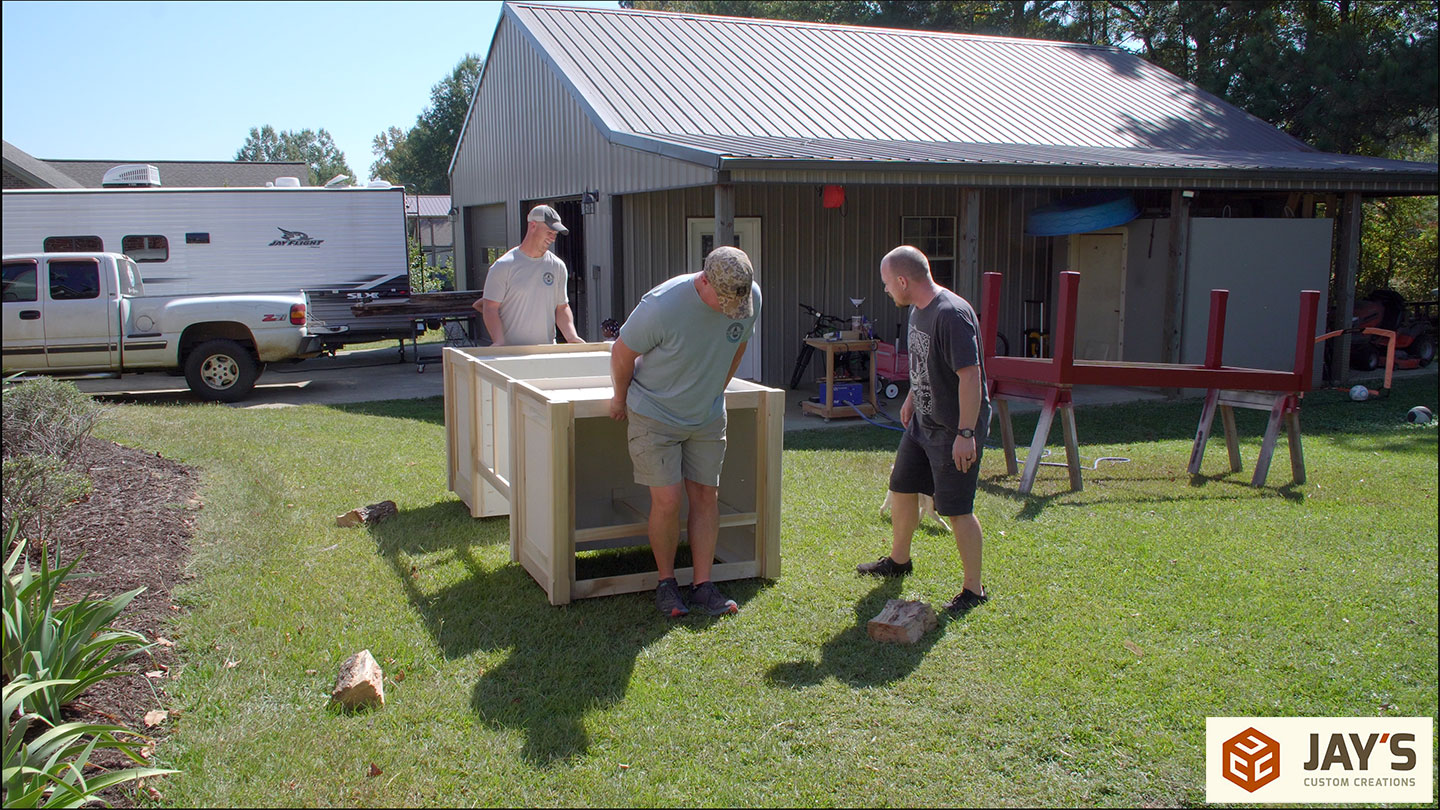
Four chunks of firewood were used to keep it off the grass. And we rolled it upside down for spraying. That way, just like the table base, I could spray the bottom to get better protection from ground moisture. Of course, the leveling feet will be in contact with the cement floor, not the actual wood.
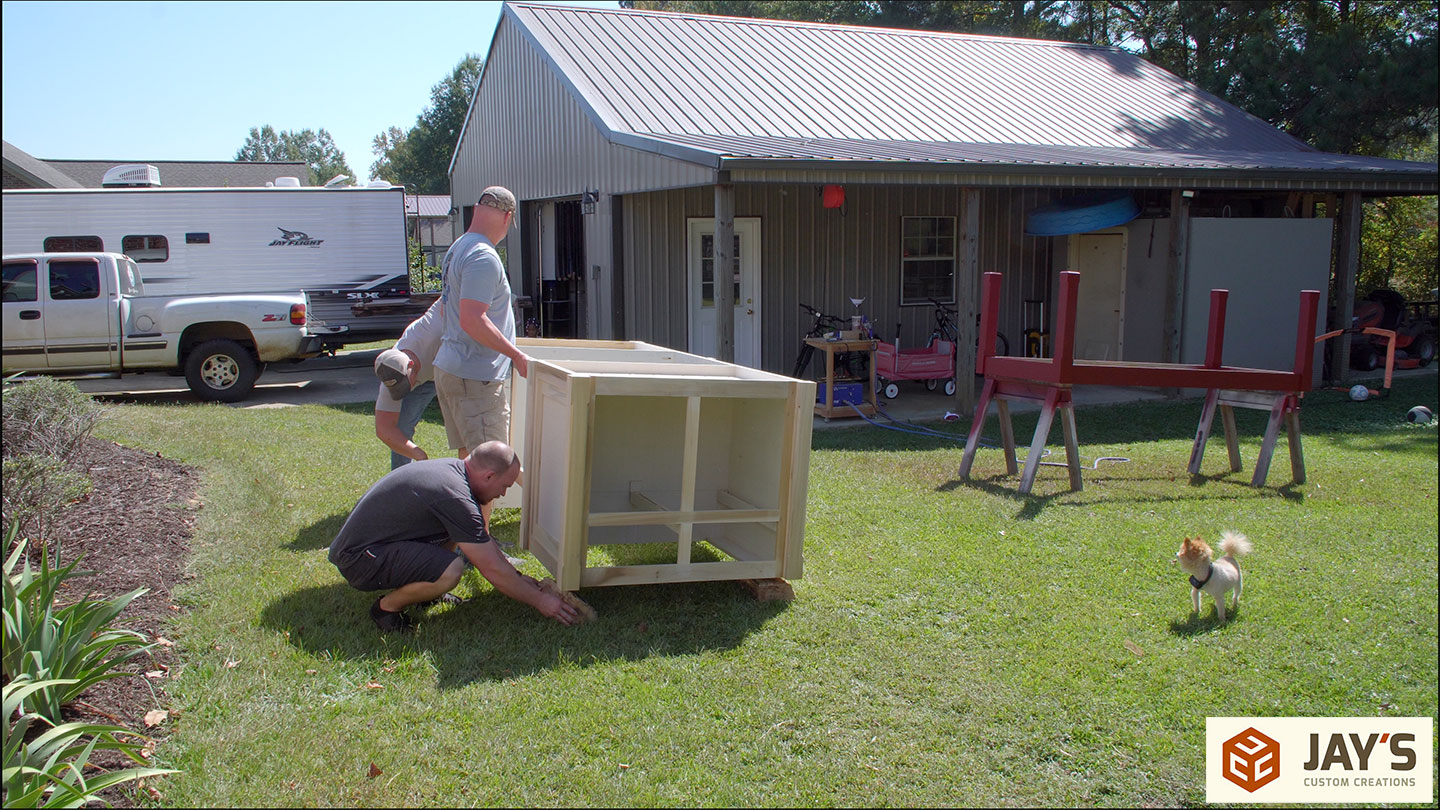
A quick note about my dogs. They pop into the frame here and there but know that my wife was outside, keeping them back while I was spraying.
More business as usual. One base coat for the initial coverage and a second coat to ensure total coverage. Overall, I’m very pleased with how well this product covers. This is my first experience with General Finishes Milk Paint, so I’m curious how well it holds up long term. I read that it does quite well outdoors, so I’m looking forward to minimal, if any, maintenance over the next few years.


Excellent article. Well written and illustrated as usual. Wish I had a friend like you.😁