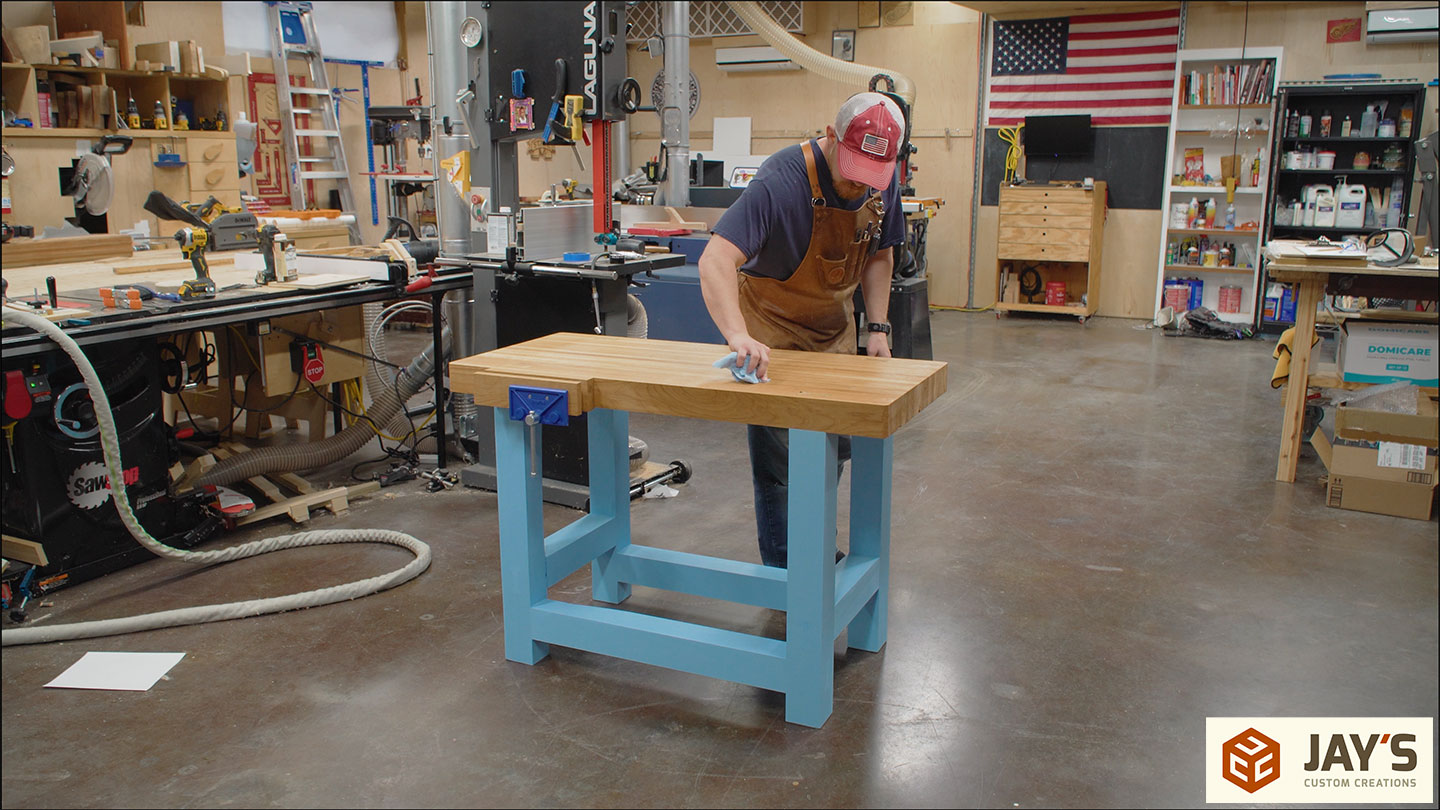
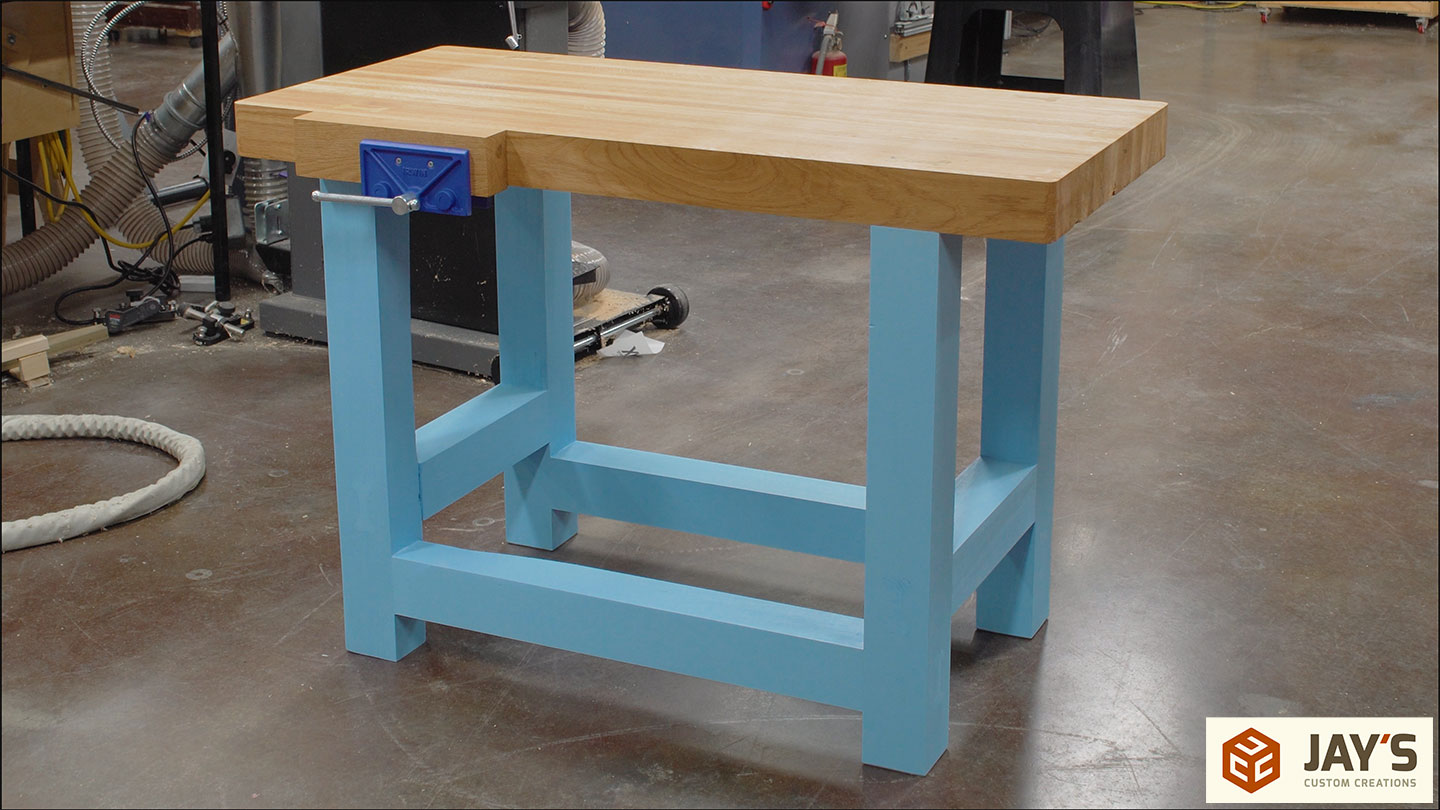
Last week, I made this workbench for my daughter. The top is white oak and the base is poplar. All of the joinery is through mortise and tenon joints. In this video/article I’ll cover the base fit and finish, the vise installation, and applying a good finish for workbenches.
If you’d like to purchase the CNC files I used to make this, click here.

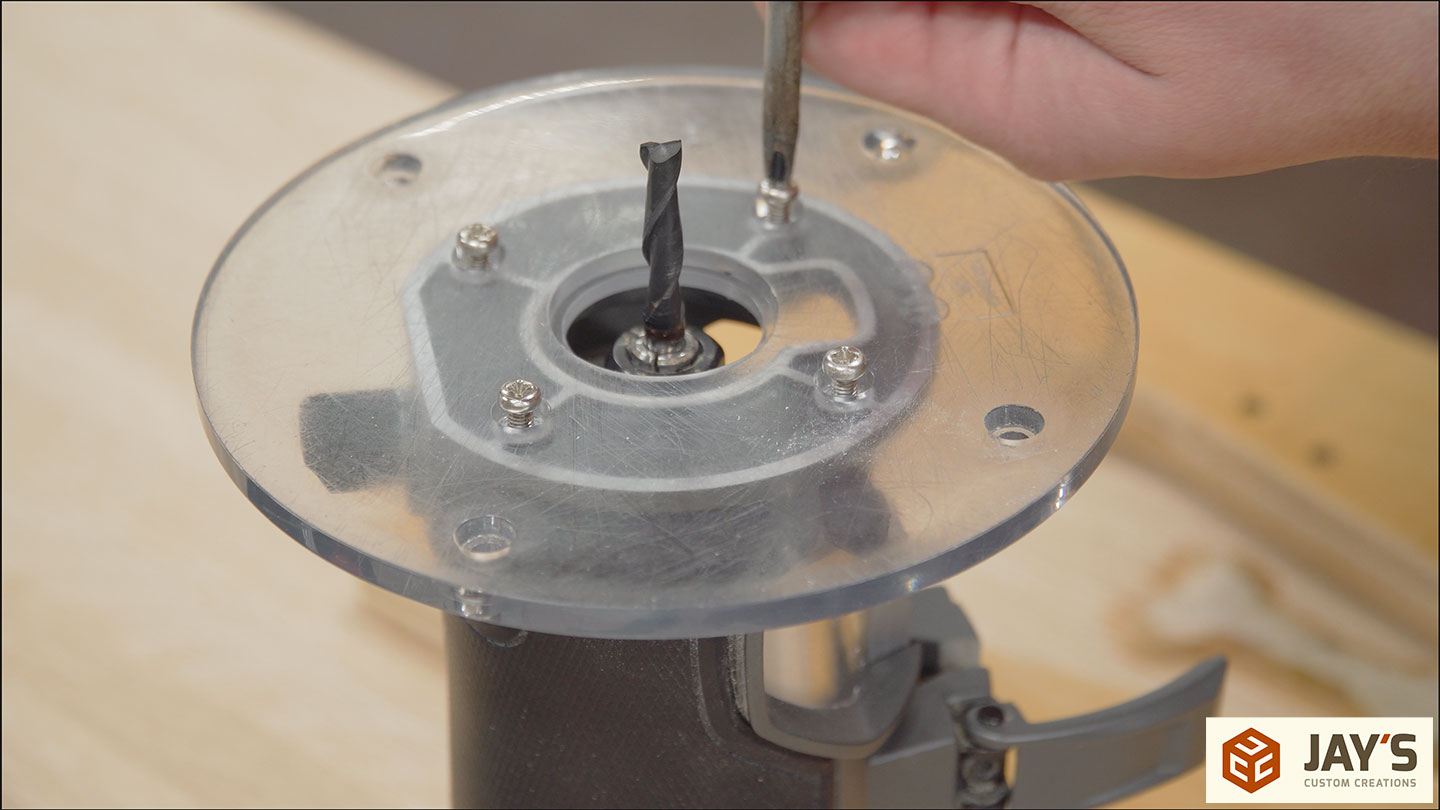
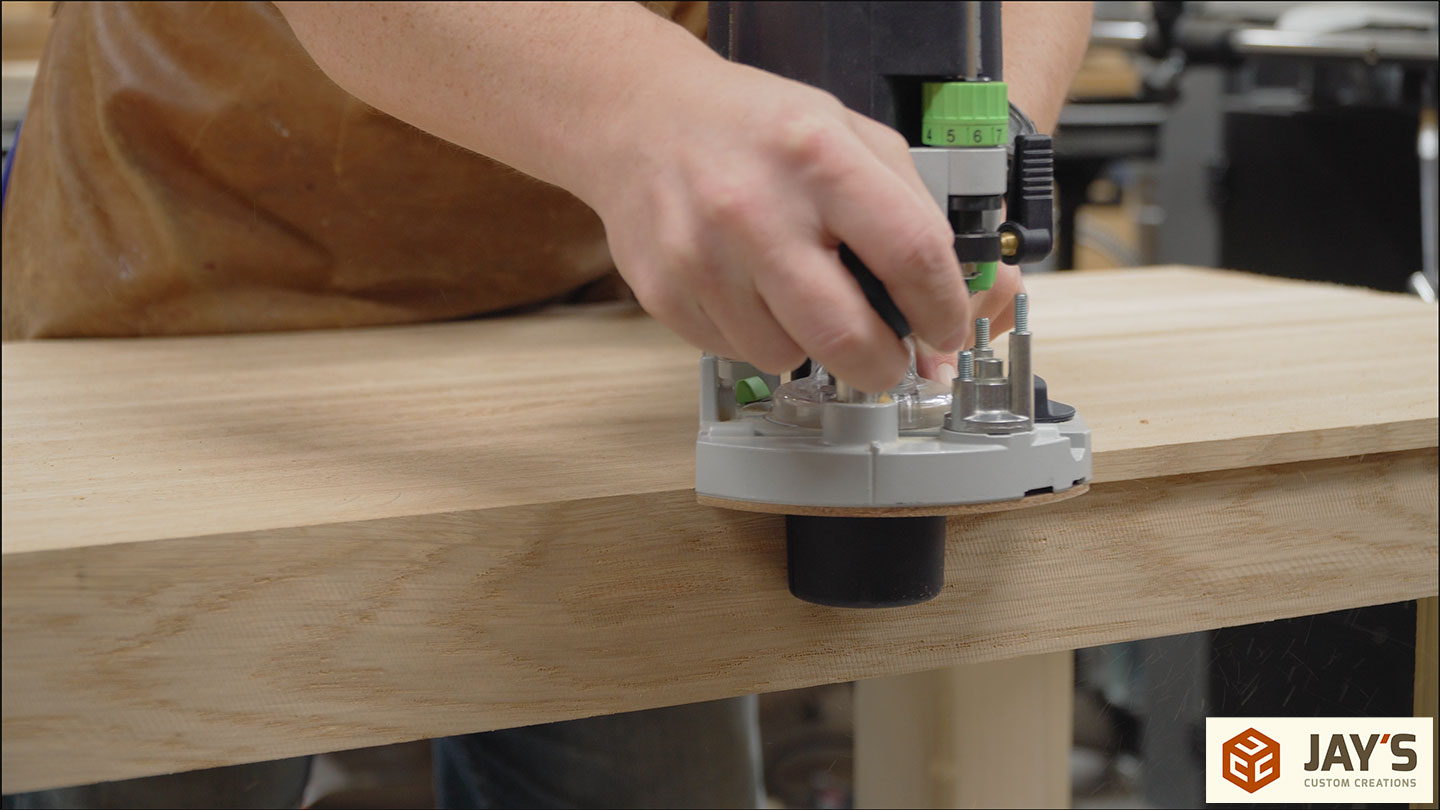
The first order of business is flushing all of the tenons. I thought about making a flush-trim router base plate that allows the router to hang over the trimmed surface. However, in this case, it really isn’t necessary, as I already have a wide base plate that will work just fine.
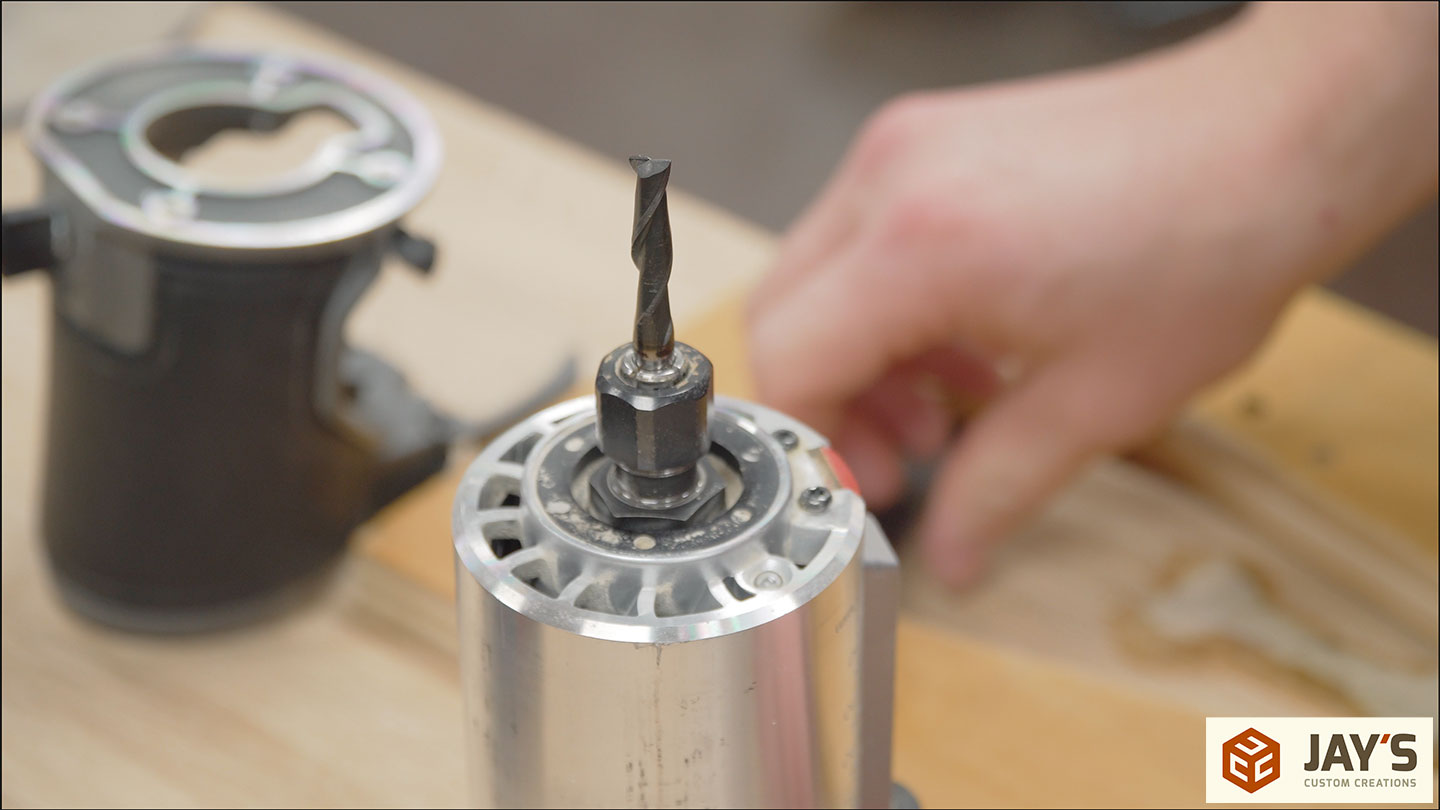
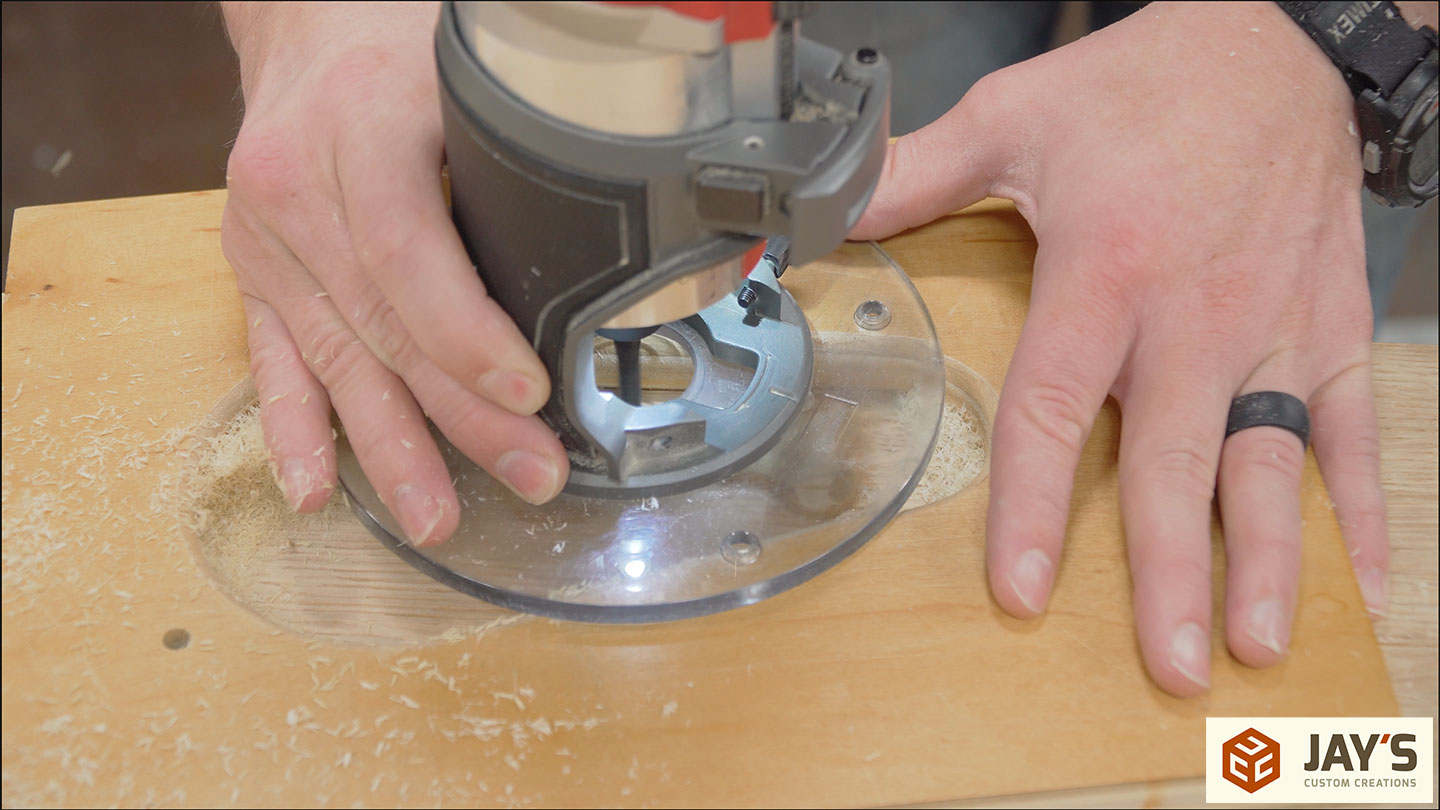
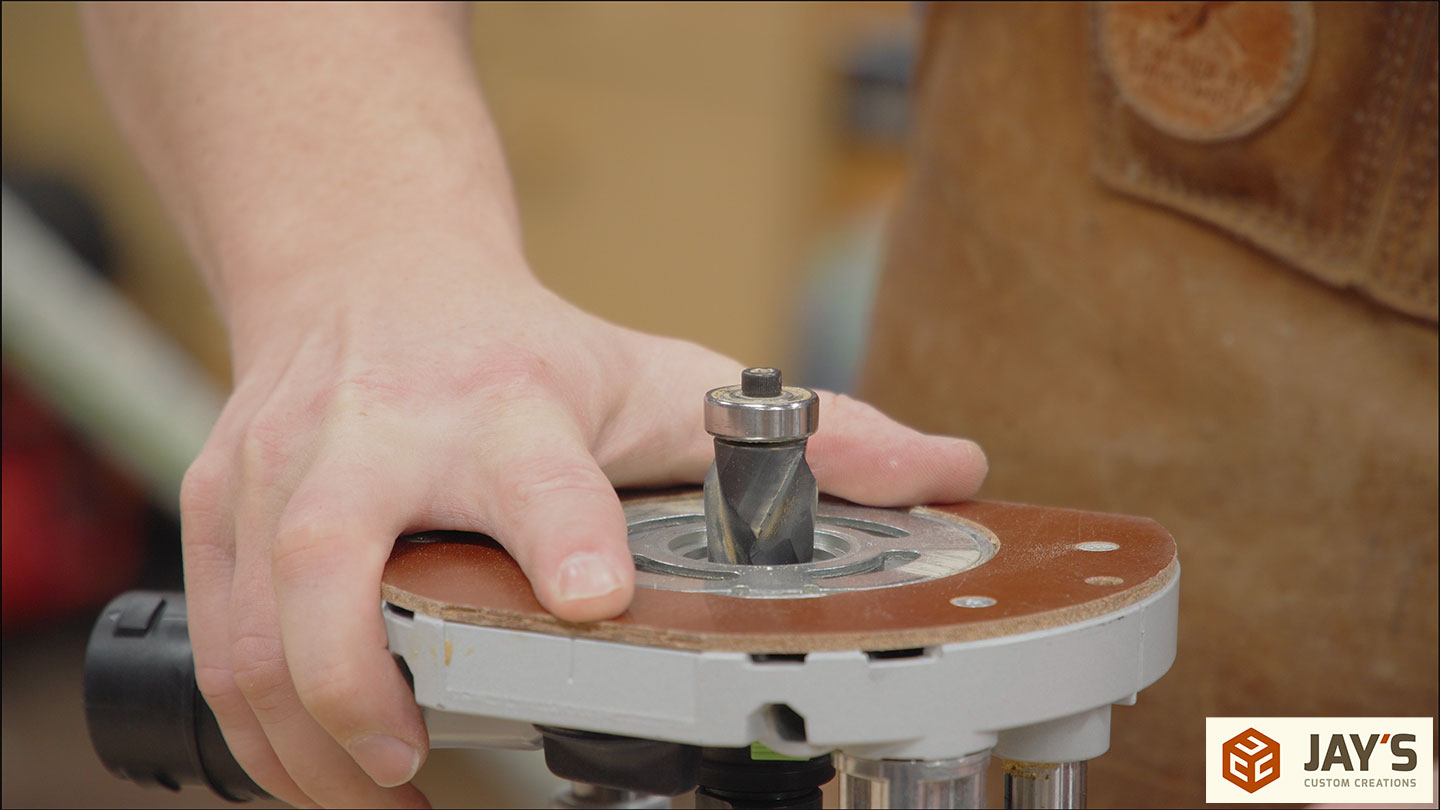
The bit of choice is a 1/4″ flush trim two flute end mill. This is a great, long lasting router bit with many uses in the shop. If you haven’t already picked one up, head on over to bitsbits.com and get one. Use my code JAYBATES to save 10%.
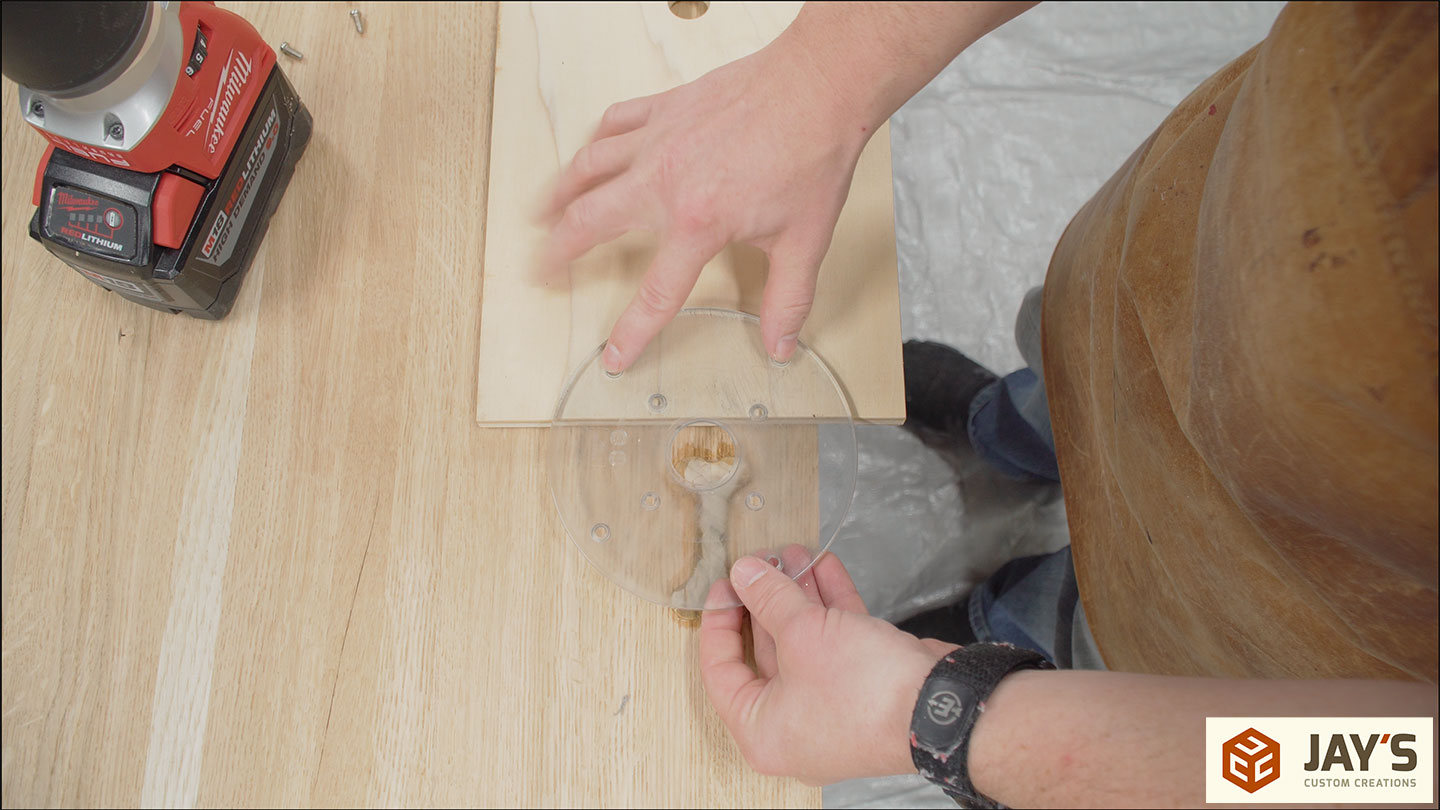
The bit height is set with the base plate on a piece of 3/4″ plywood. A piece of paper is used to make sure the bit is just barely kissing the surface, or a touch high.
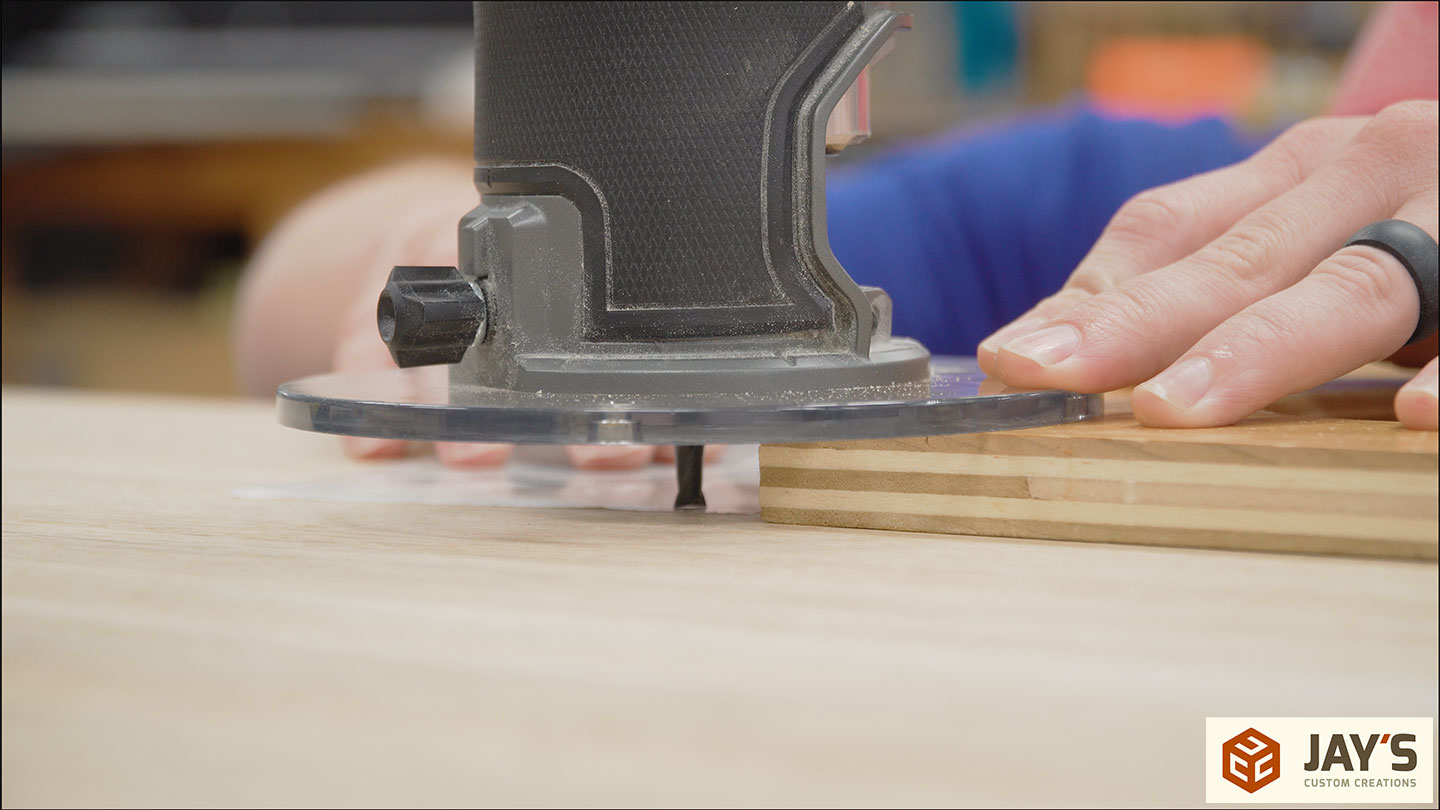
This piece of plywood is actually the insert plate for my lever router lift. It’s convenient because of the hole in the middle. With the base plate of the router resting on each side of the hole the tenon is trimmed flush with the surface.

Each leg has a total of three tenons. Four legs times three tenons means the process is repeated eleven more times. Twelve total.
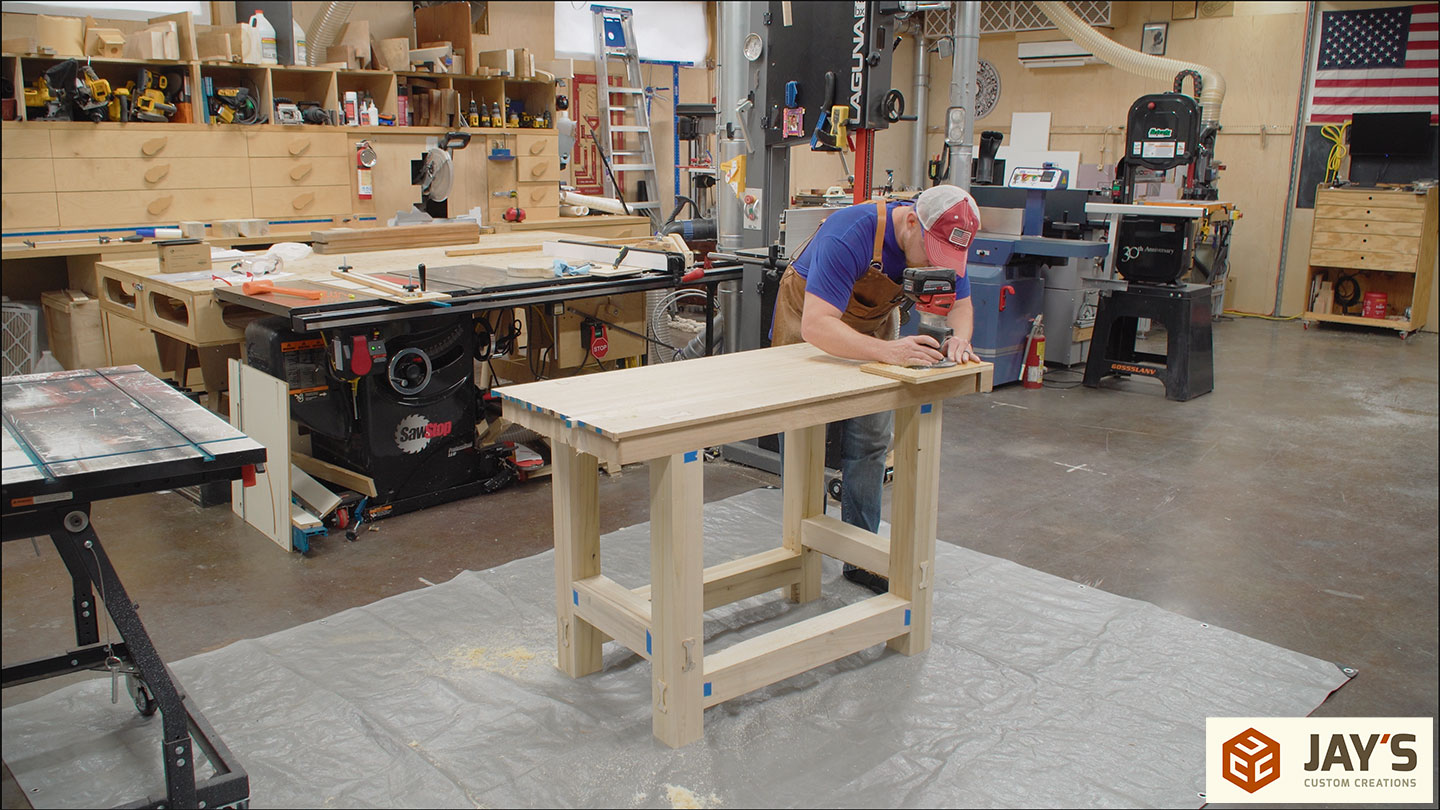
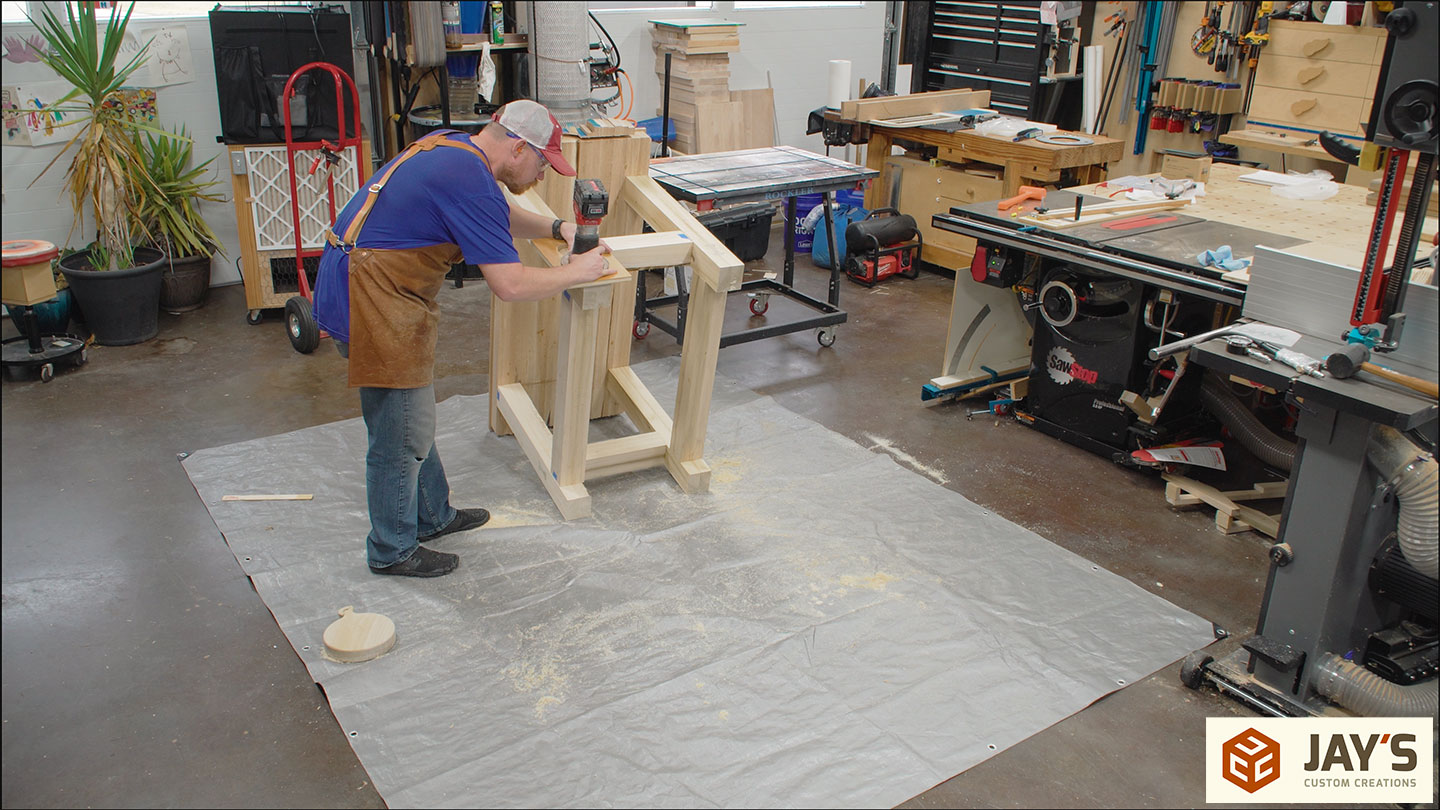
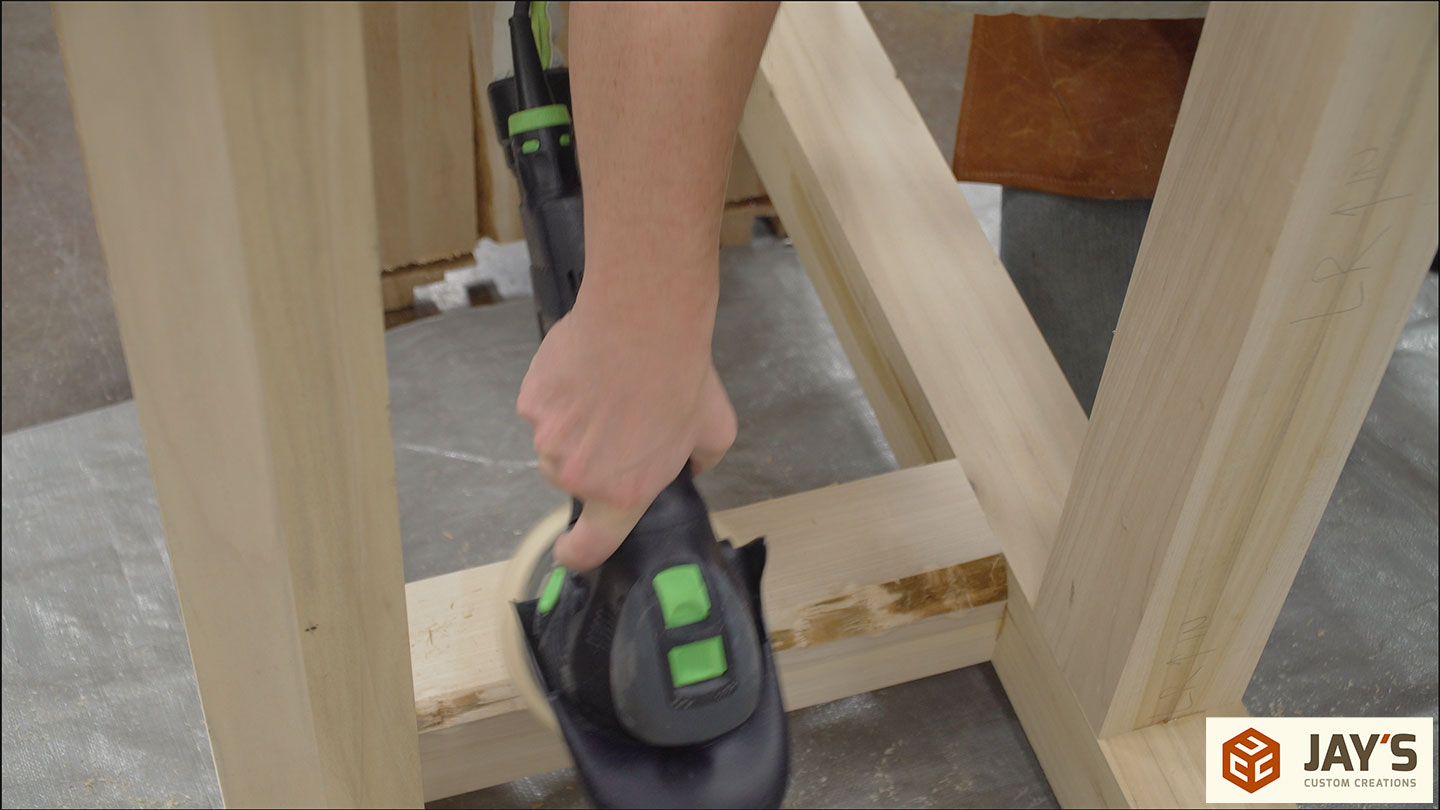
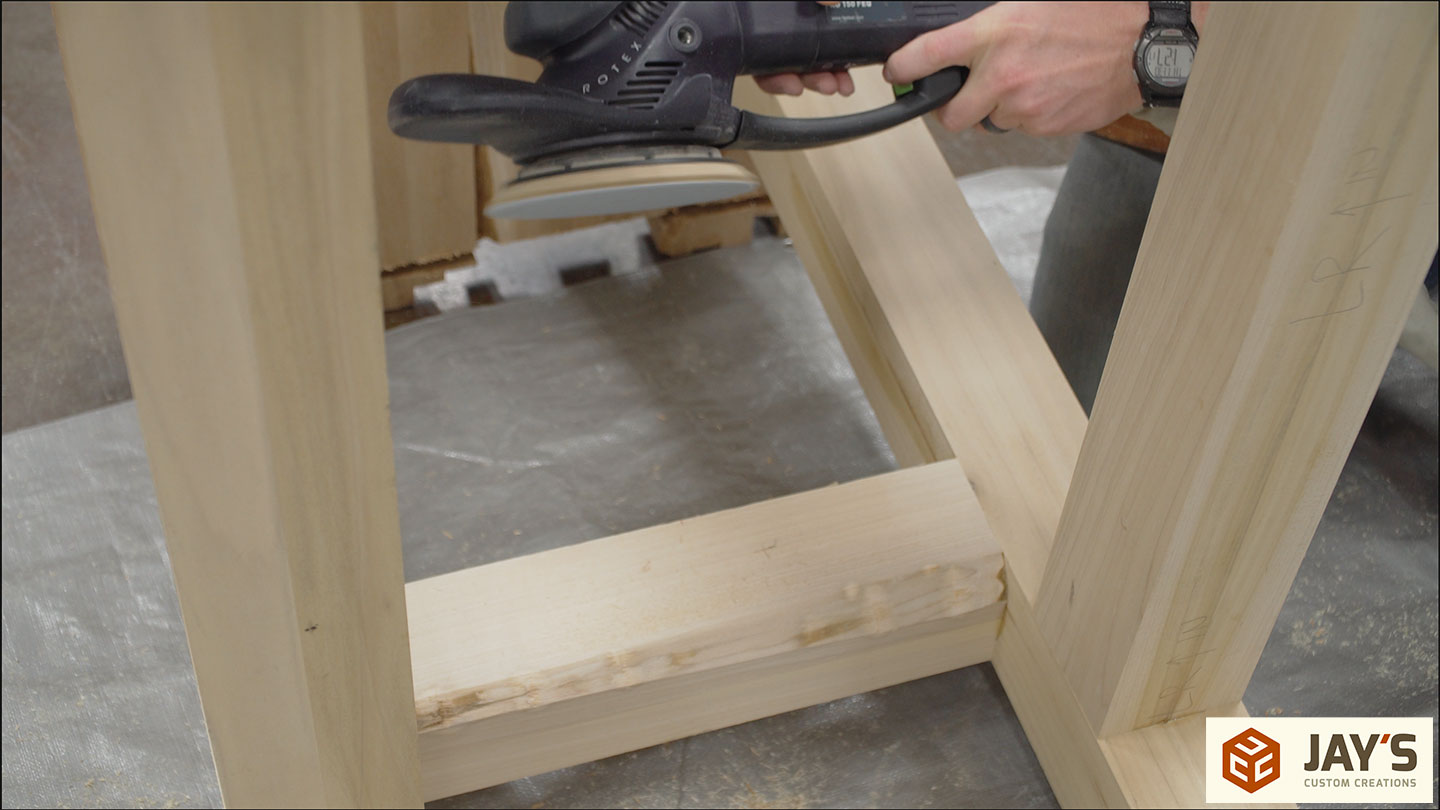
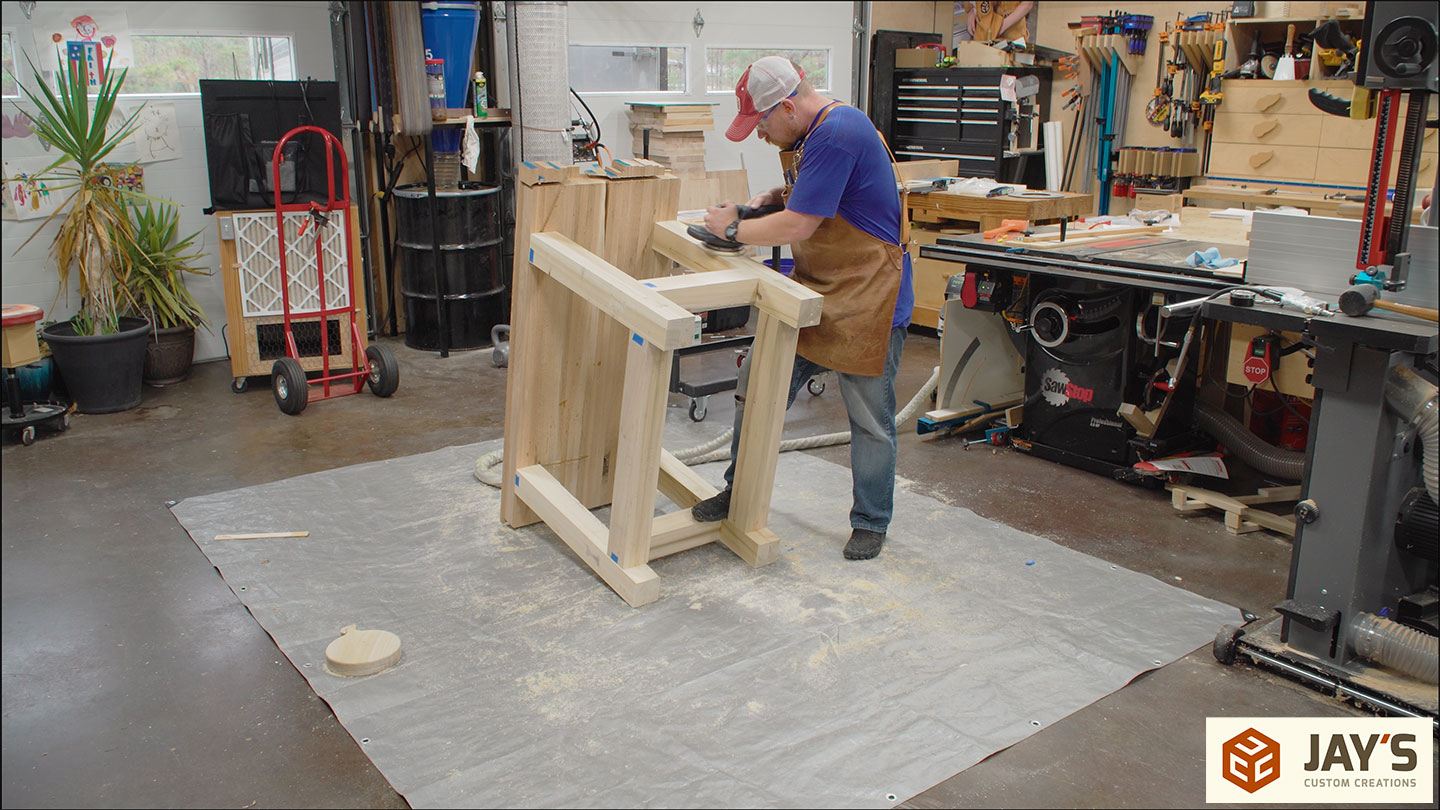
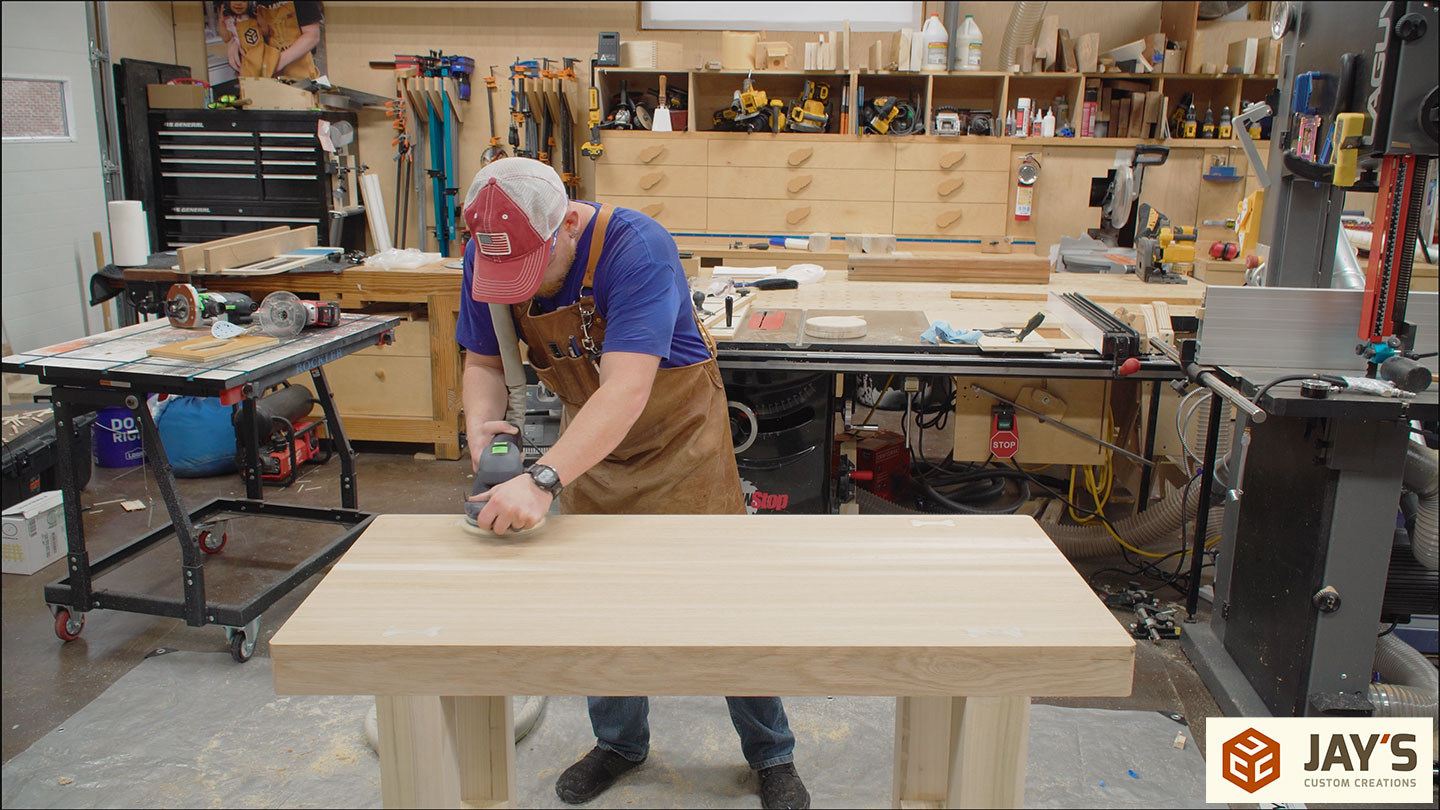
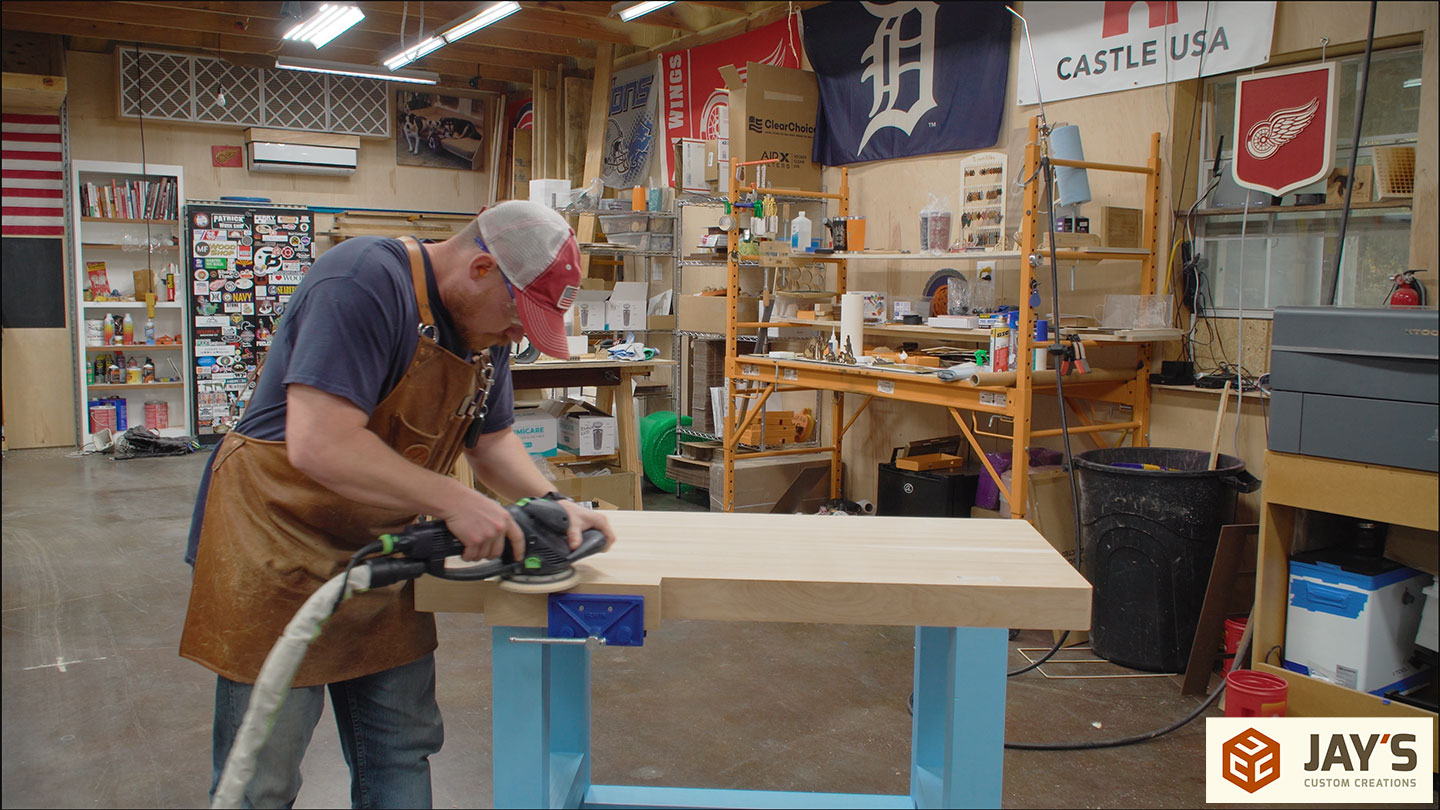
After trimming the tenons, the entire base gets sanded. I didn’t go too crazy here. Just 80 grit to get all the surface transitions smooth.
I also needed to address the bad edges on the interior of the base. When I build the bench I didn’t have enough perfect wood so a few of the pieces had one edge that was sub par. No worries. I removed all the fuzzies to prepare for paint.
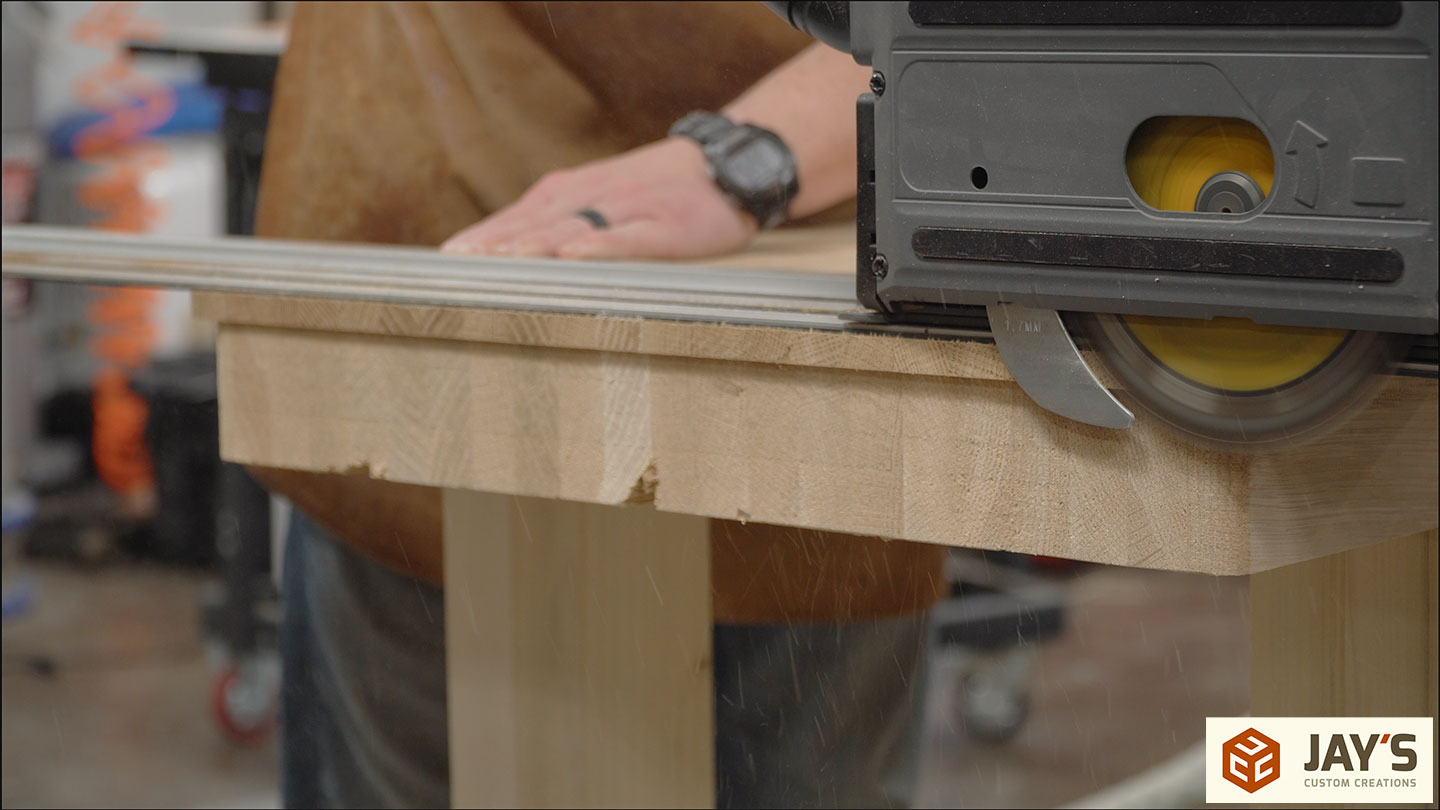
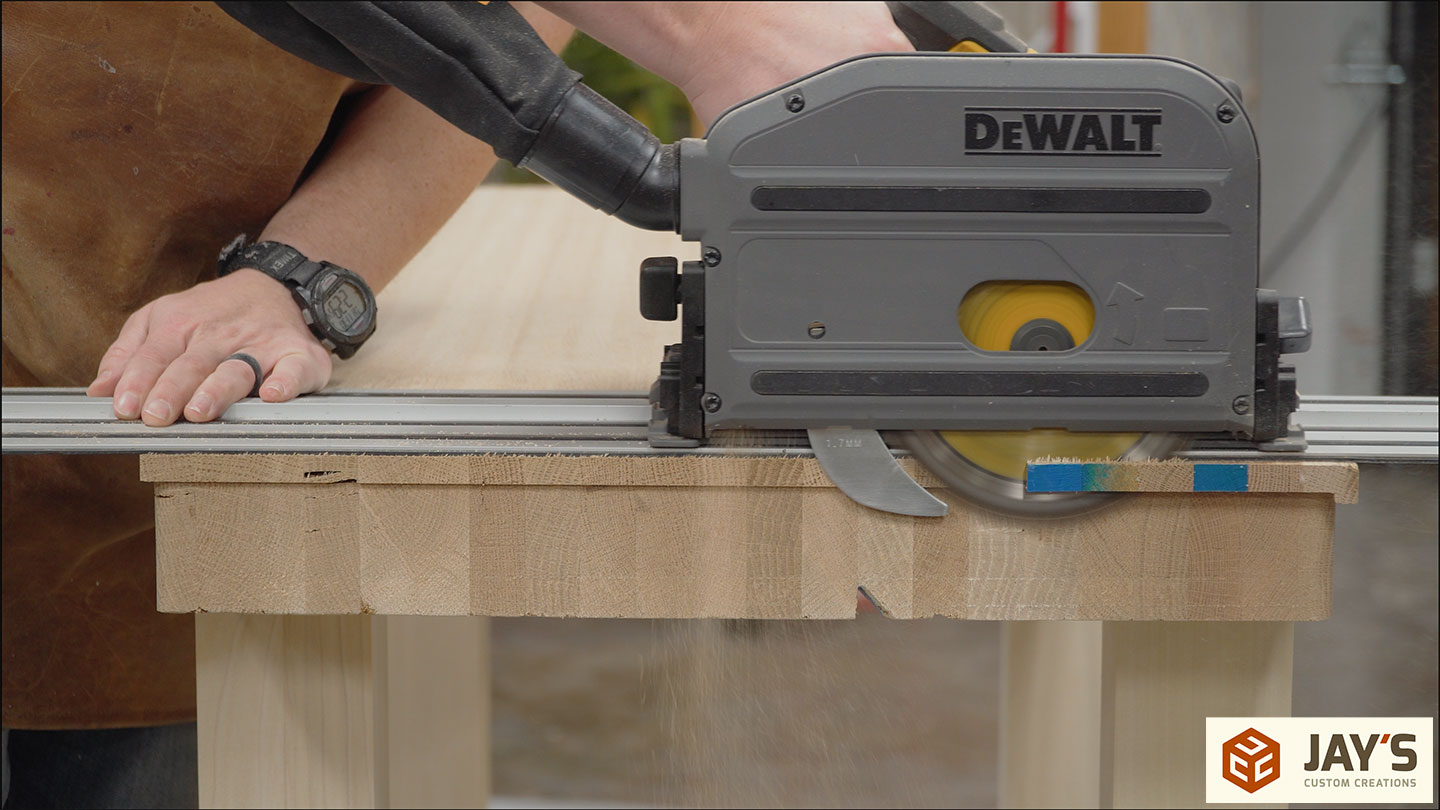
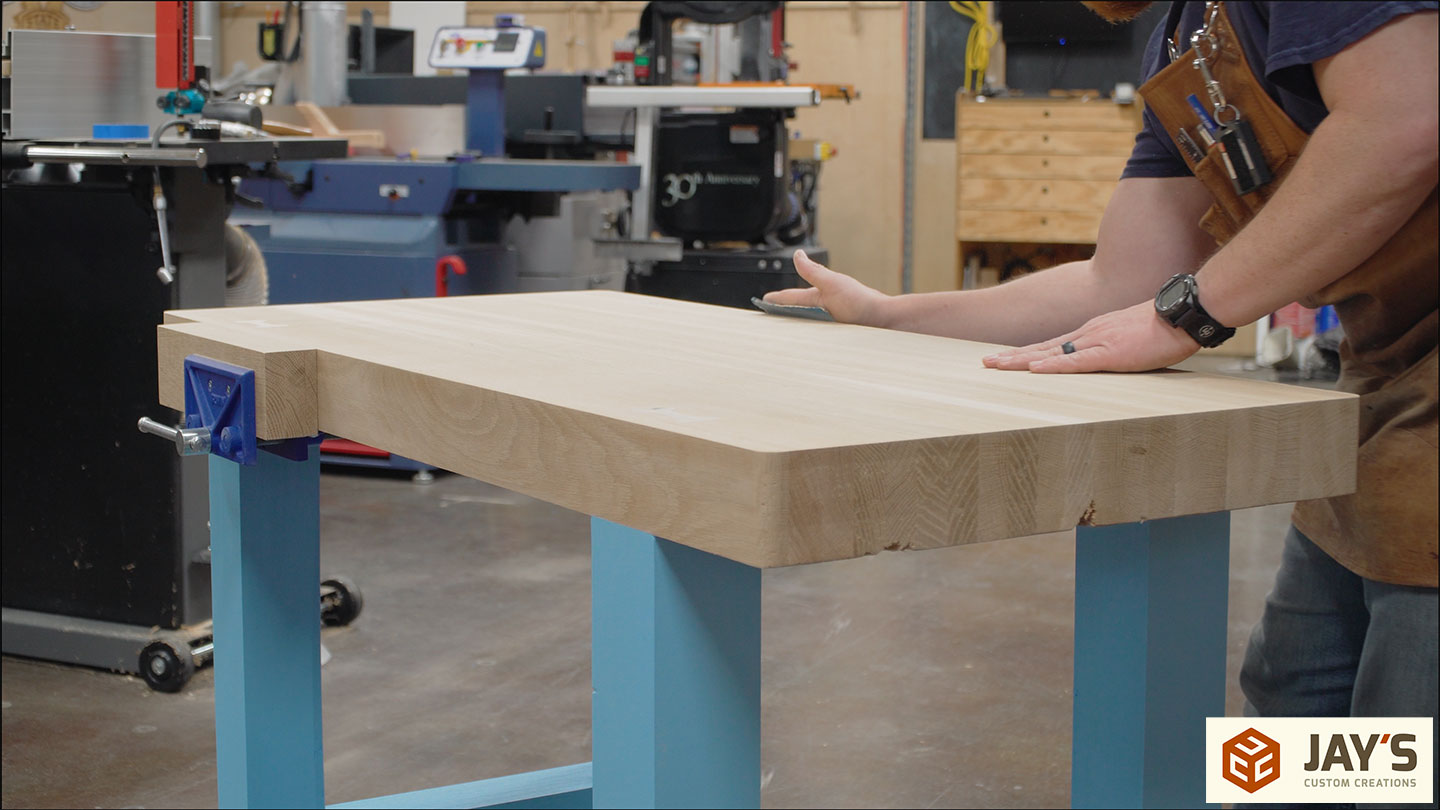
At this point the top is still too long. I never flushed up the perimeter of the top on the CNC machine. Instead, I stopped 1/2″ shy of going all the way through, due to the way I had it mounted to the CNC. A circular saw cut gets rid of the excess bulk that the router it cannot get.
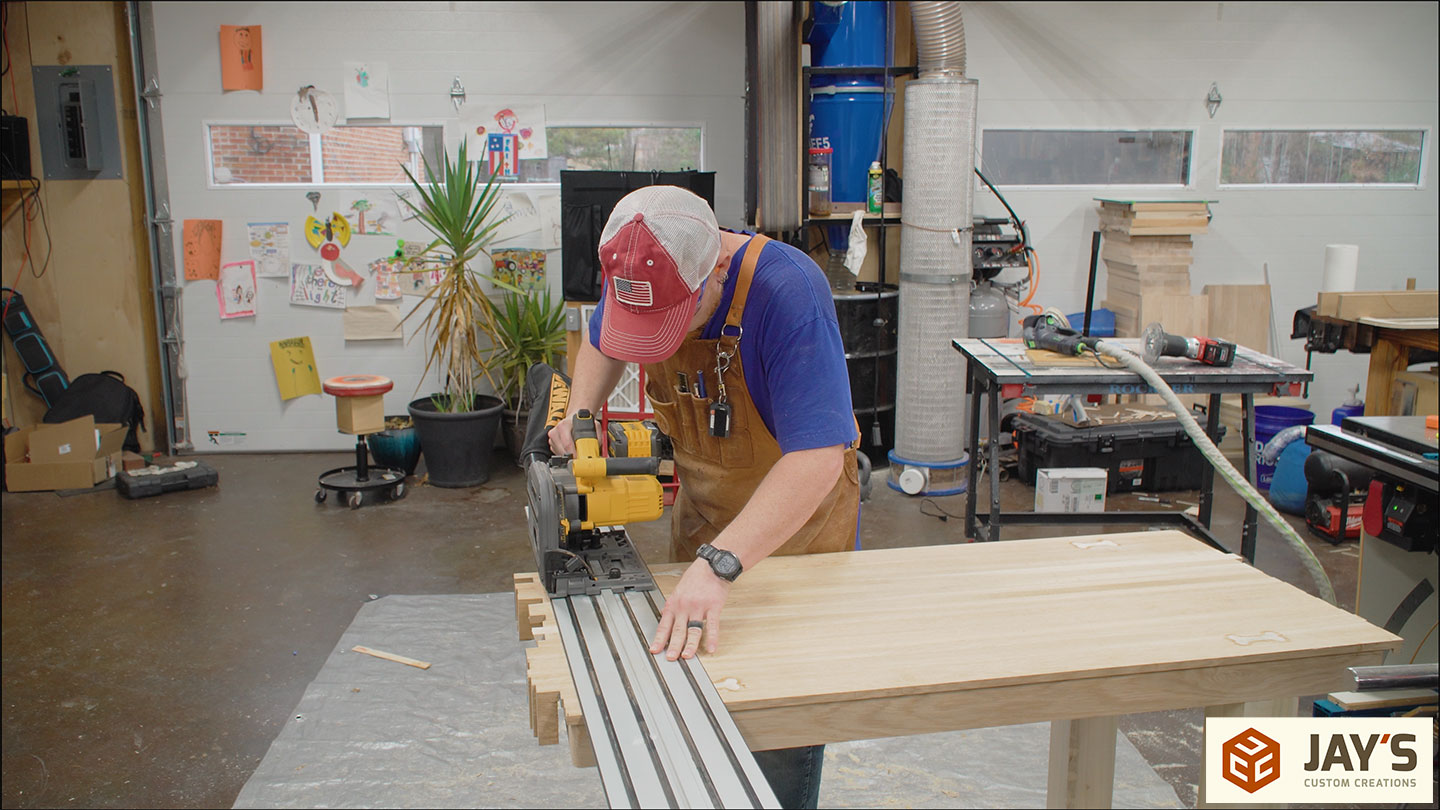
Then the flush trim bit can do its job.

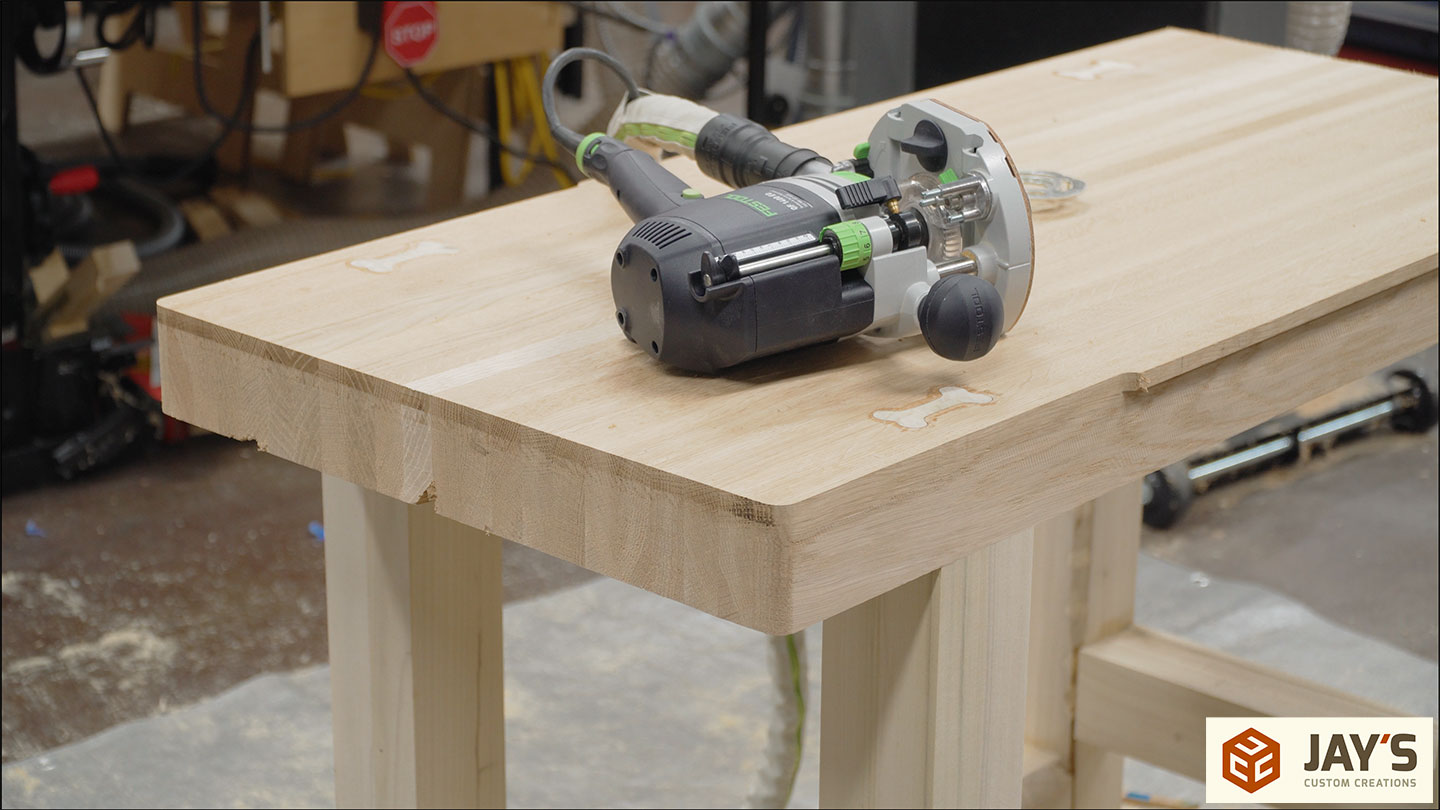
A bit more sanding on the top surface…
And the sides of the top…

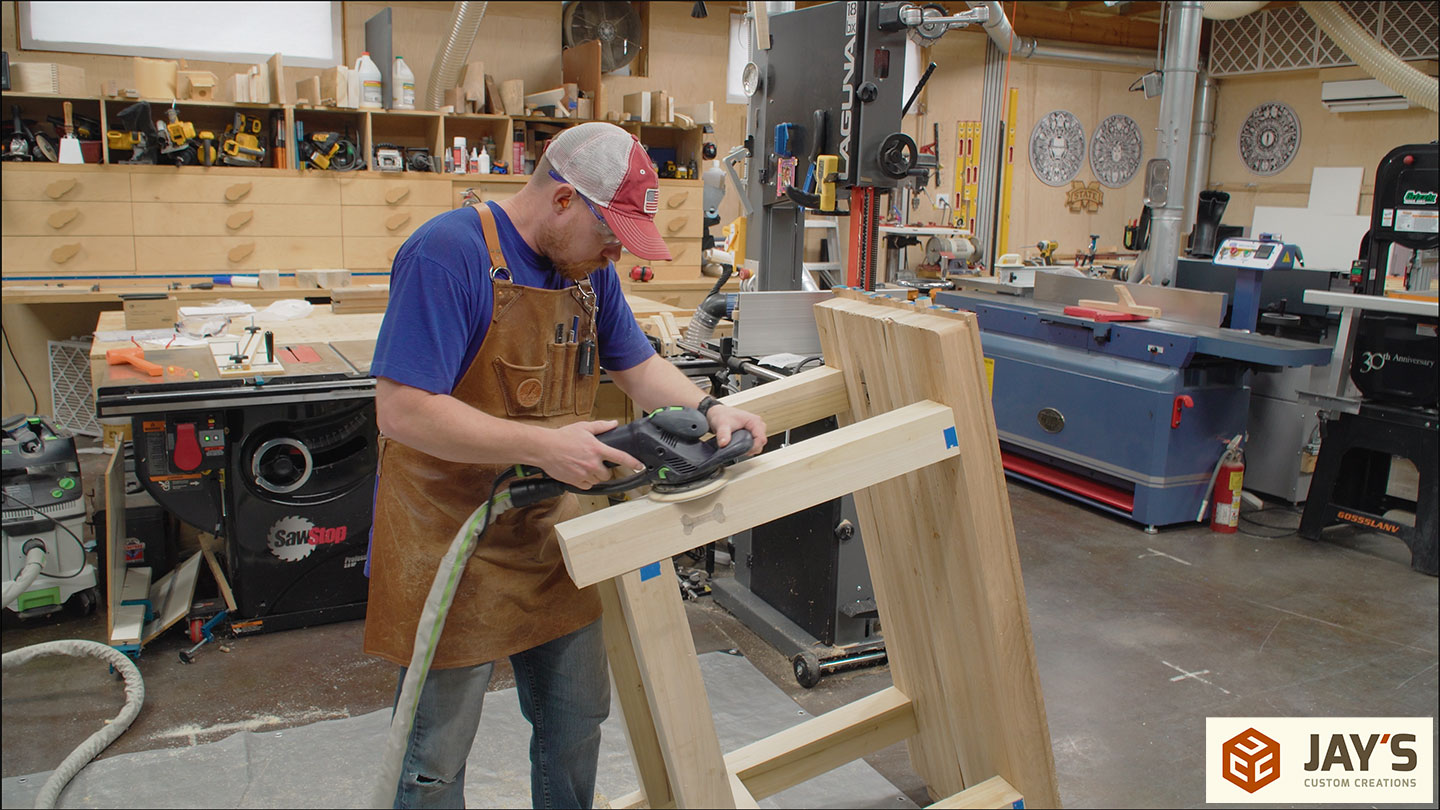
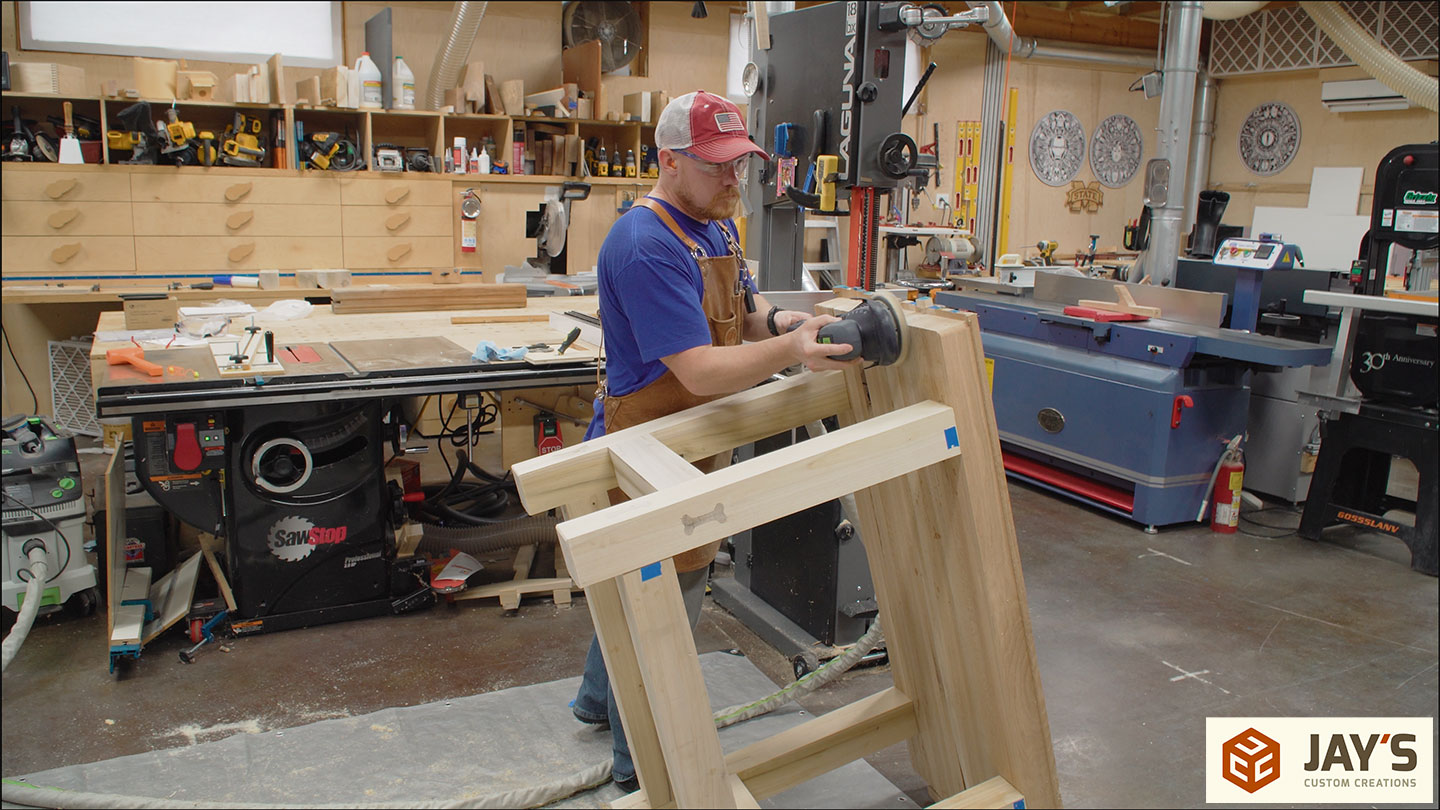
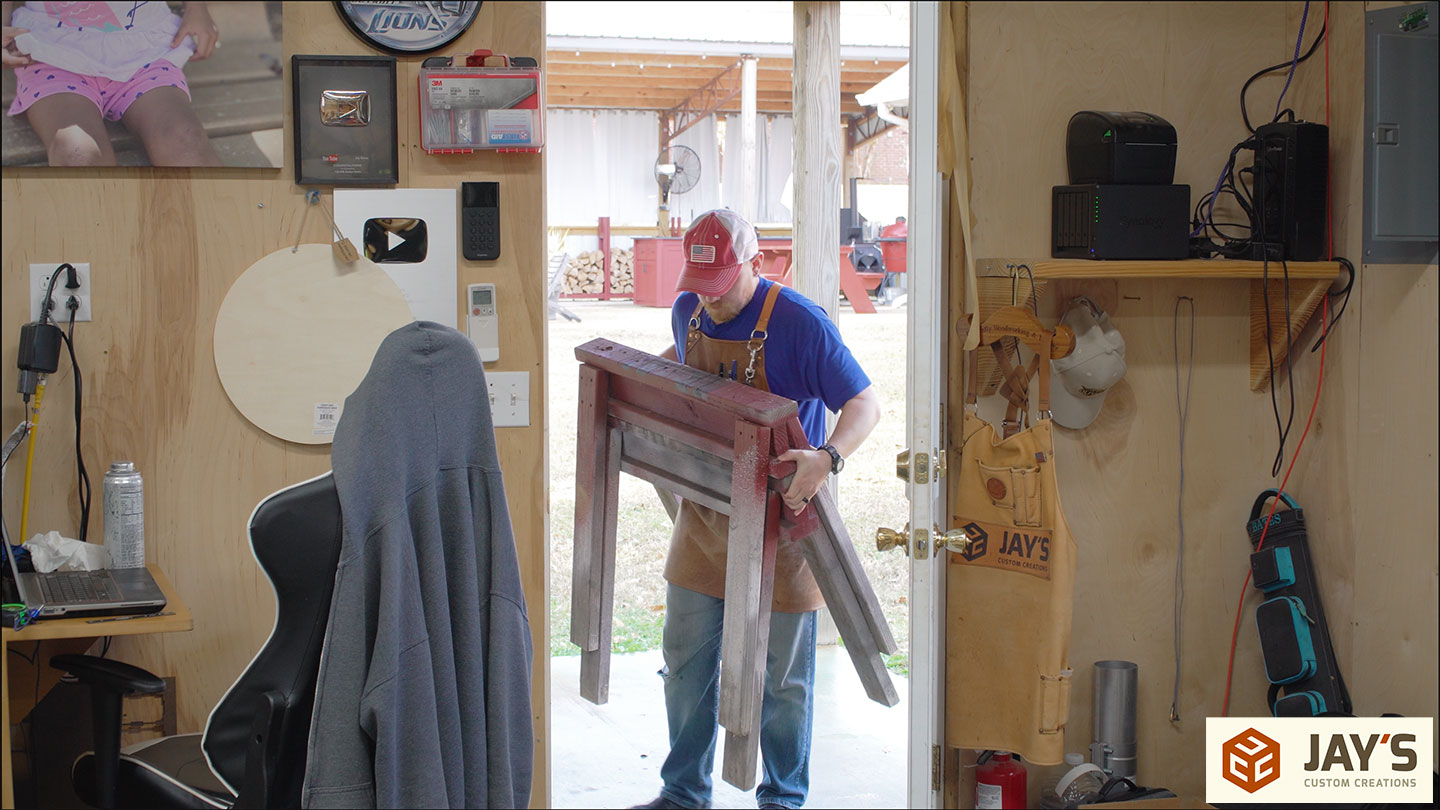
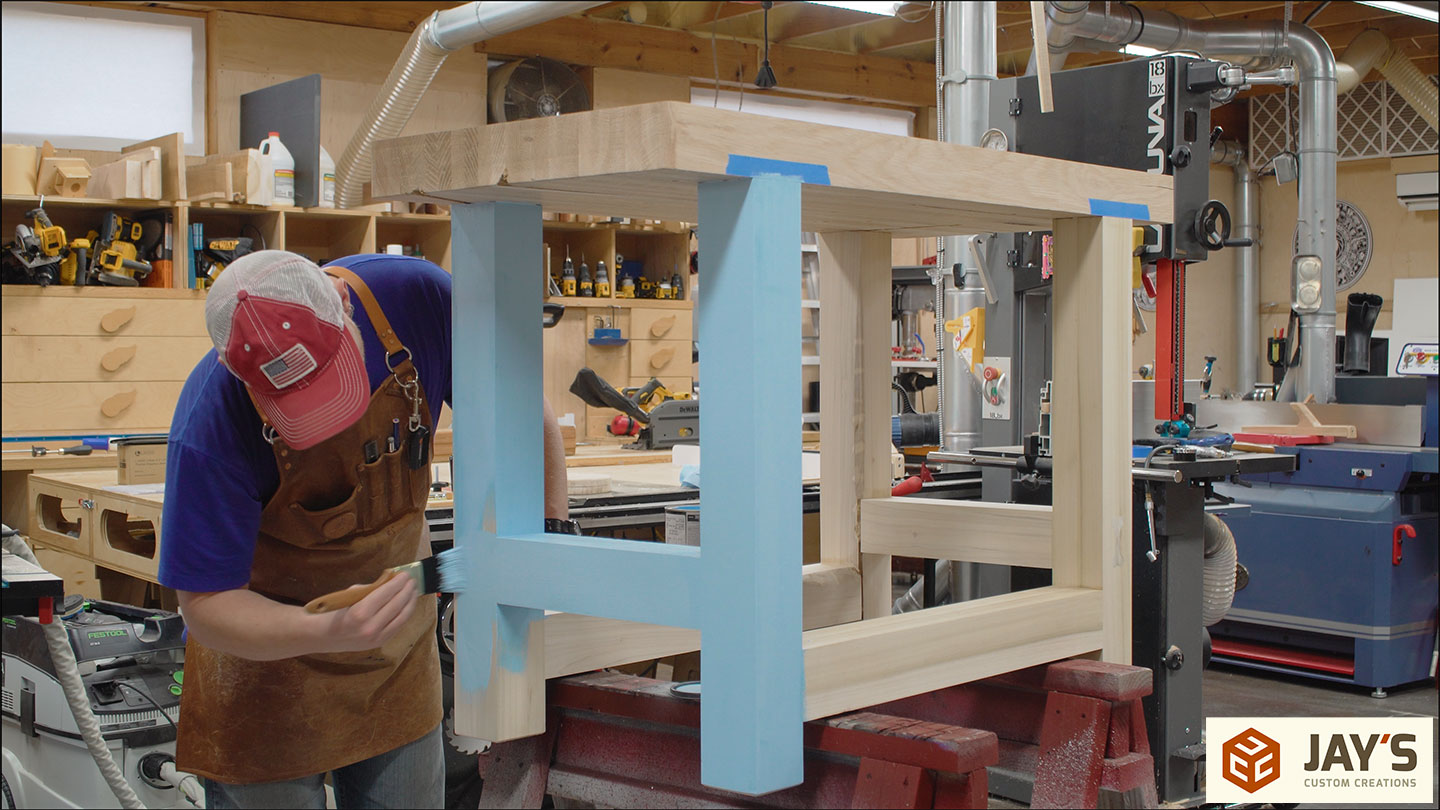
Do you remember these sawhorses? I made these a decade ago and have abused them since. They are incredibly easy to make and they stack for storage. I recommend making some if you haven’t already.
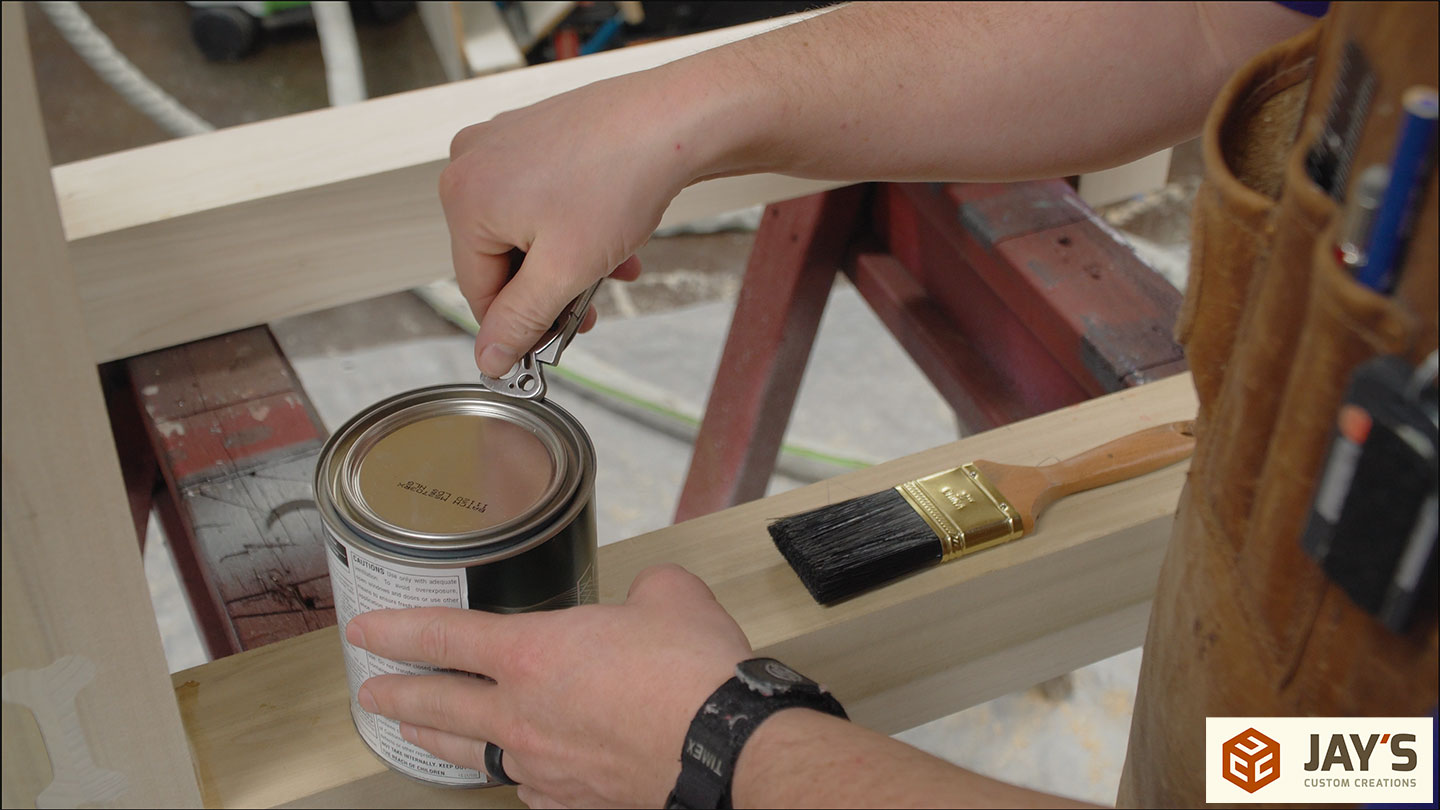
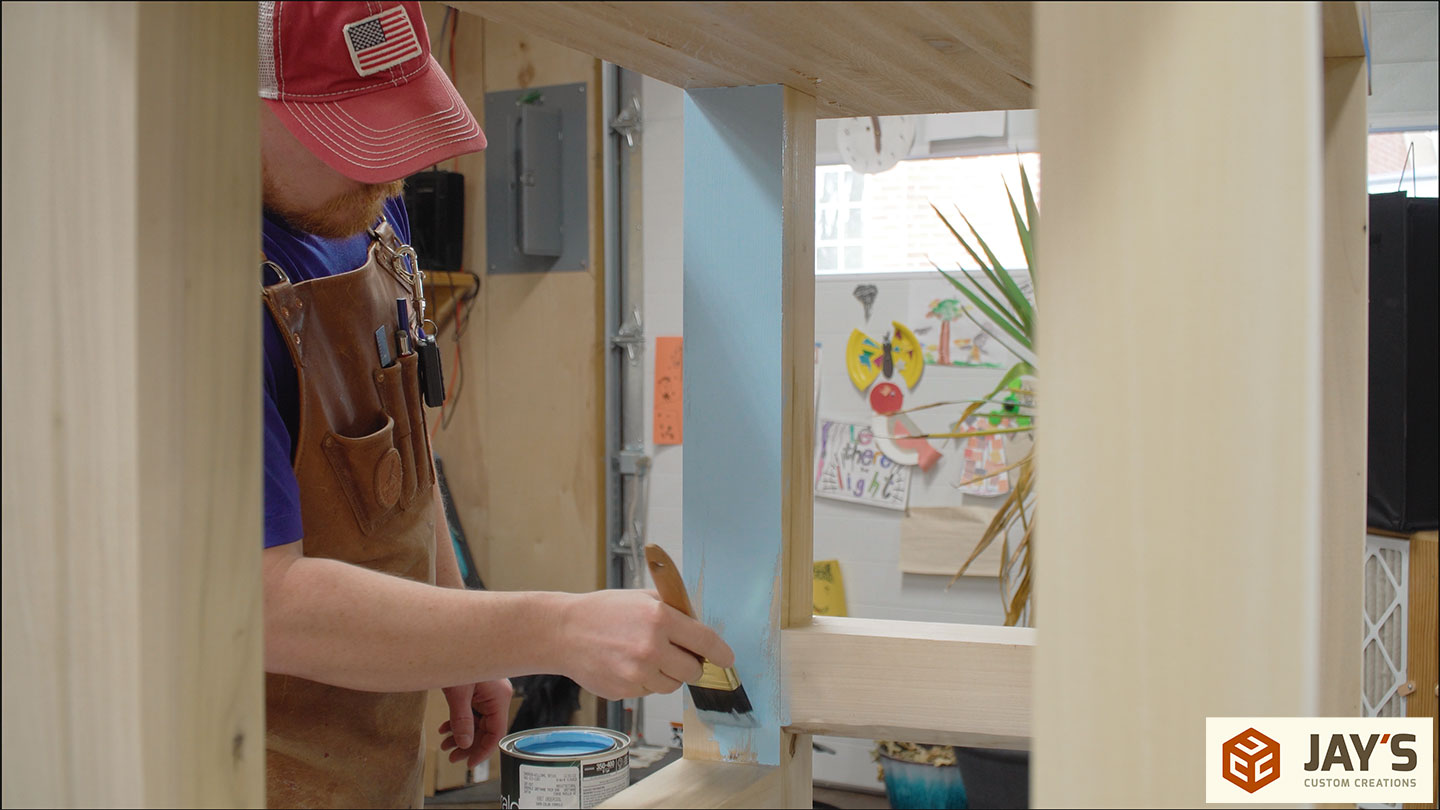
I had every intention to paint this red, but it’s my daughters workbench, so I had her pick out a color. Her favorite color is blue and she went with a sky blue.
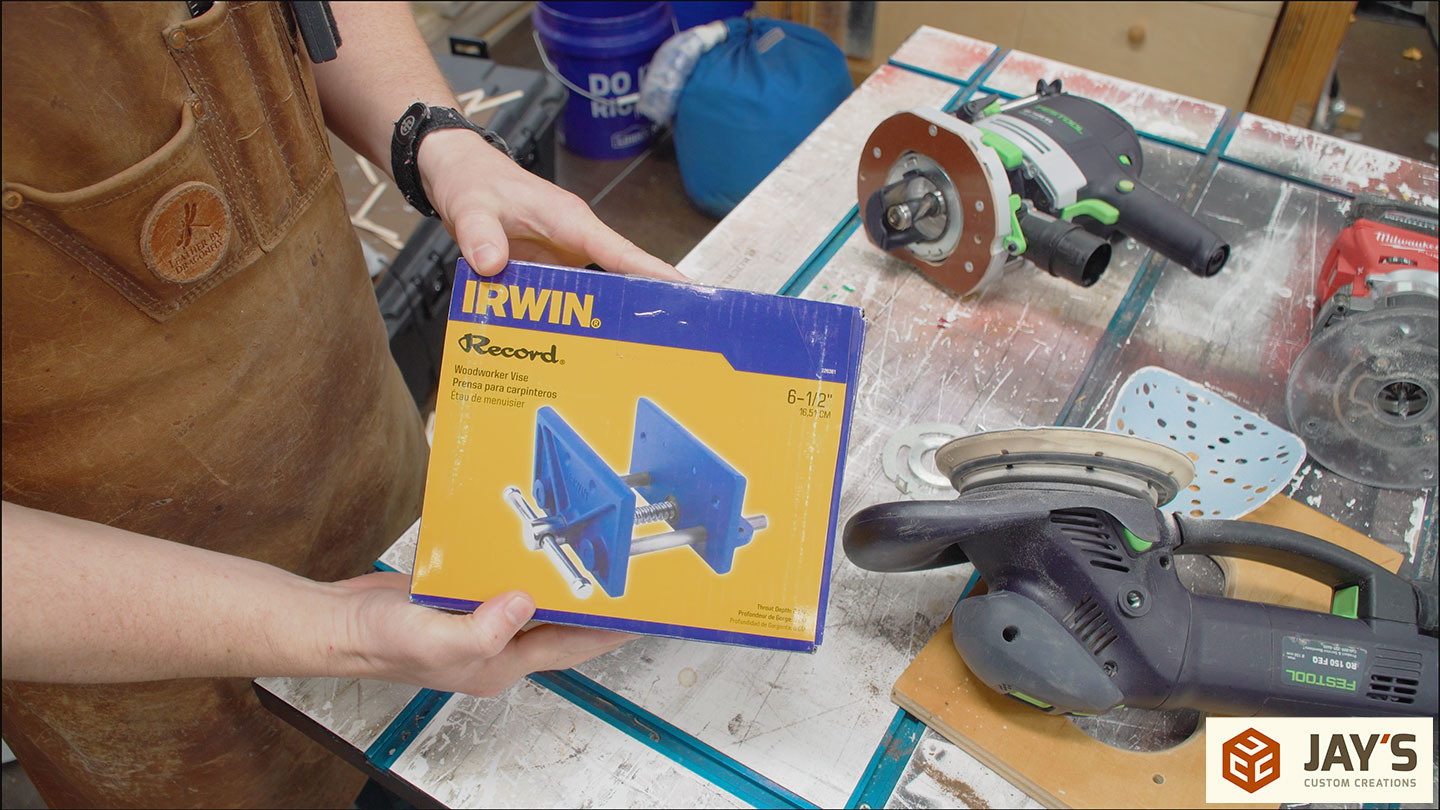
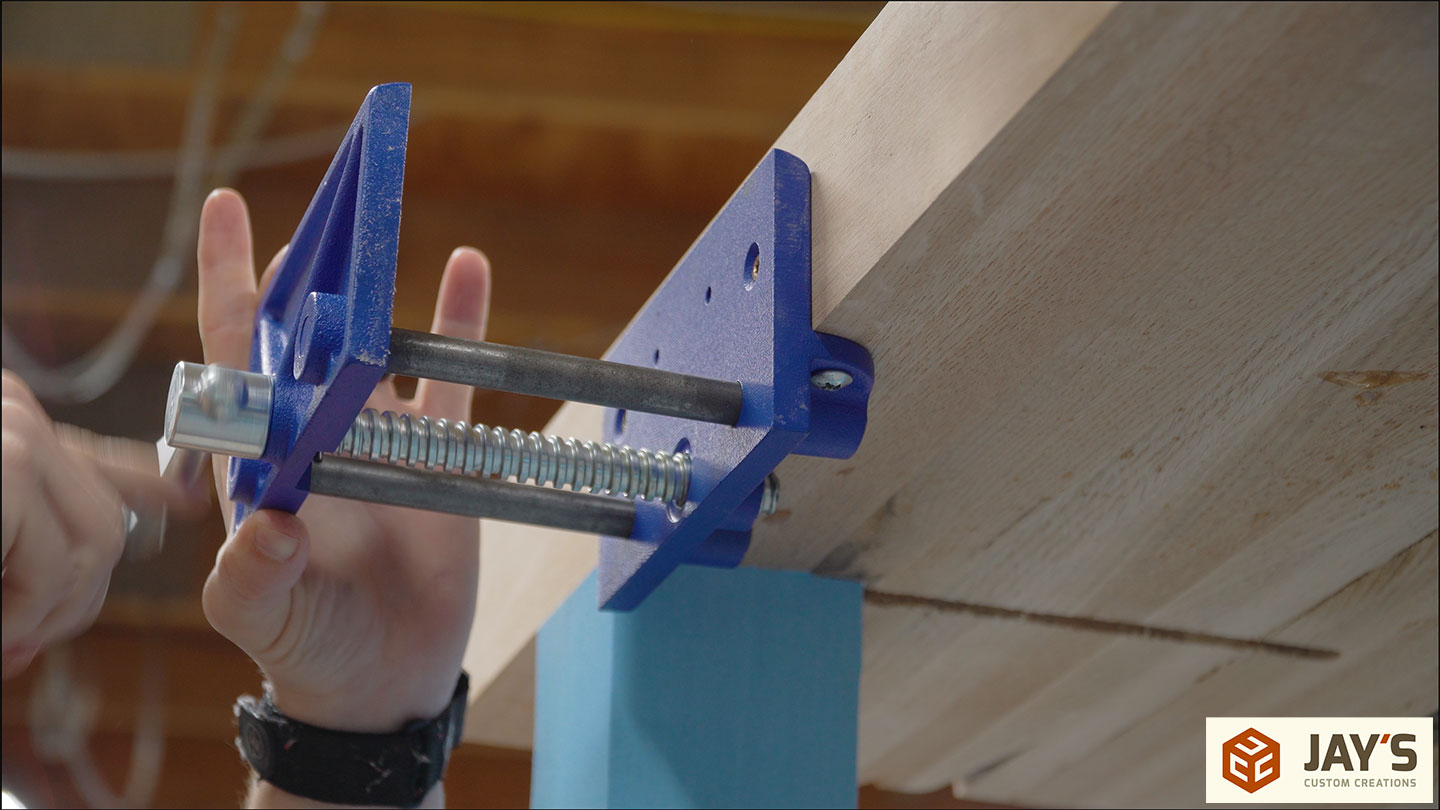
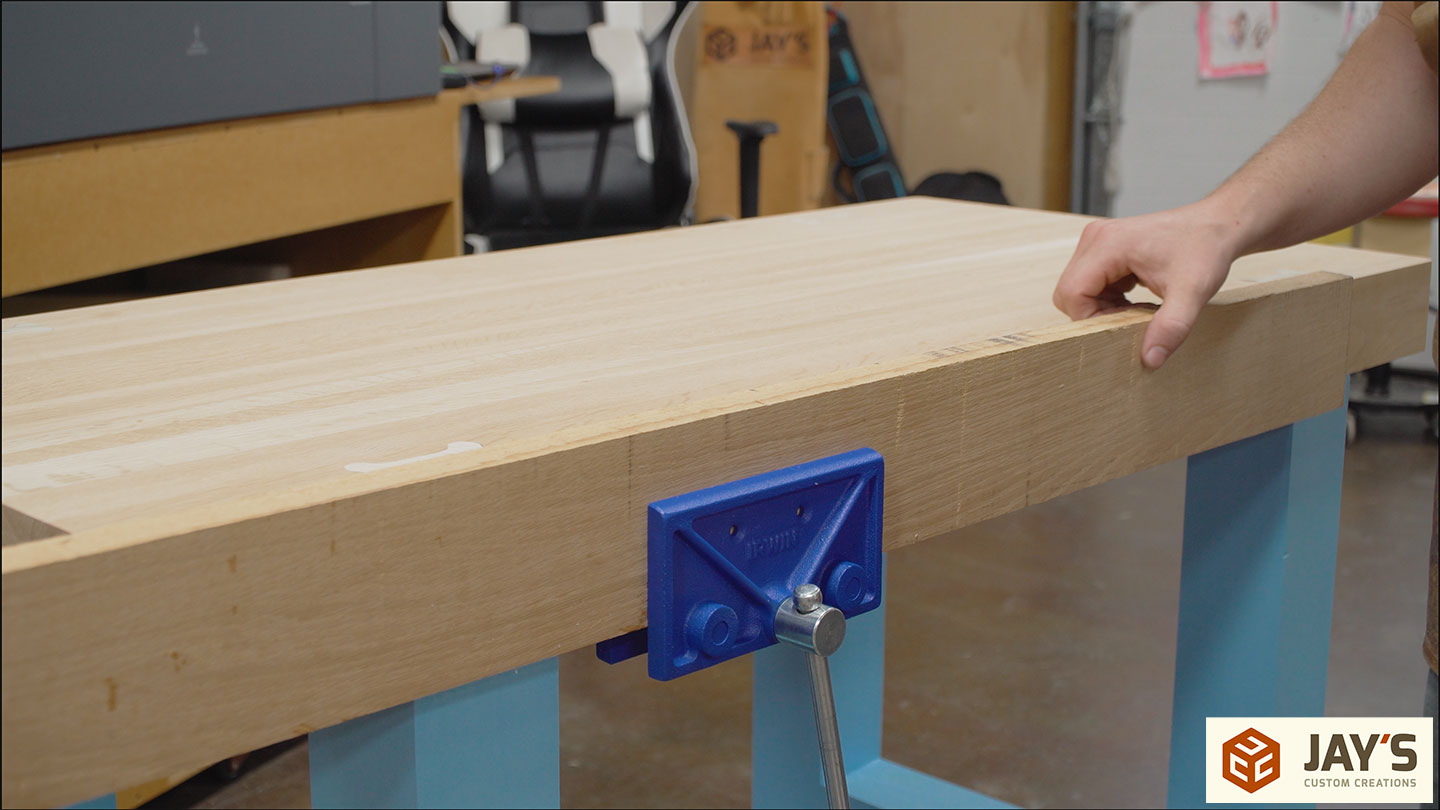
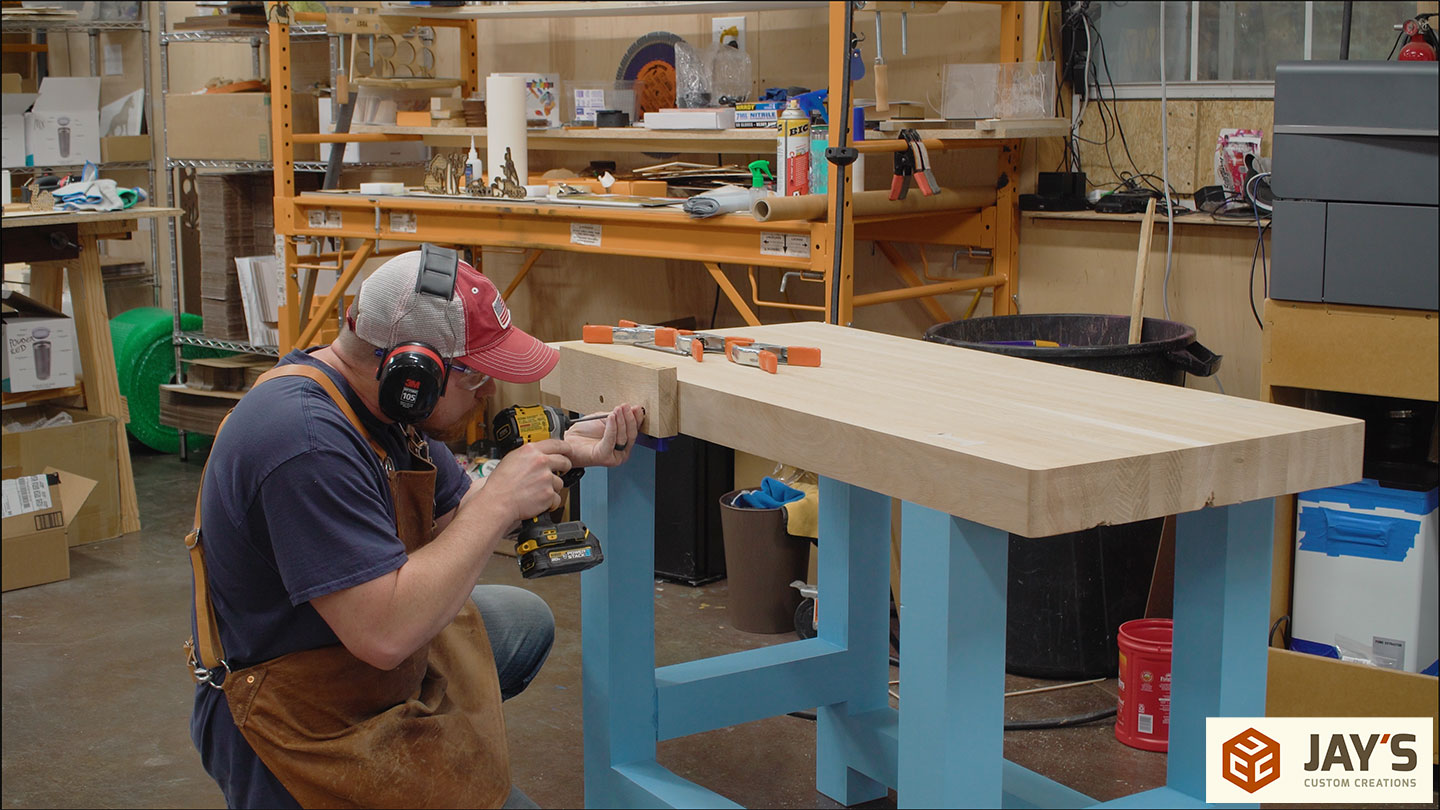
A basic vise will do the job just fine for her. This is the only vise my local hardware store had on hand.
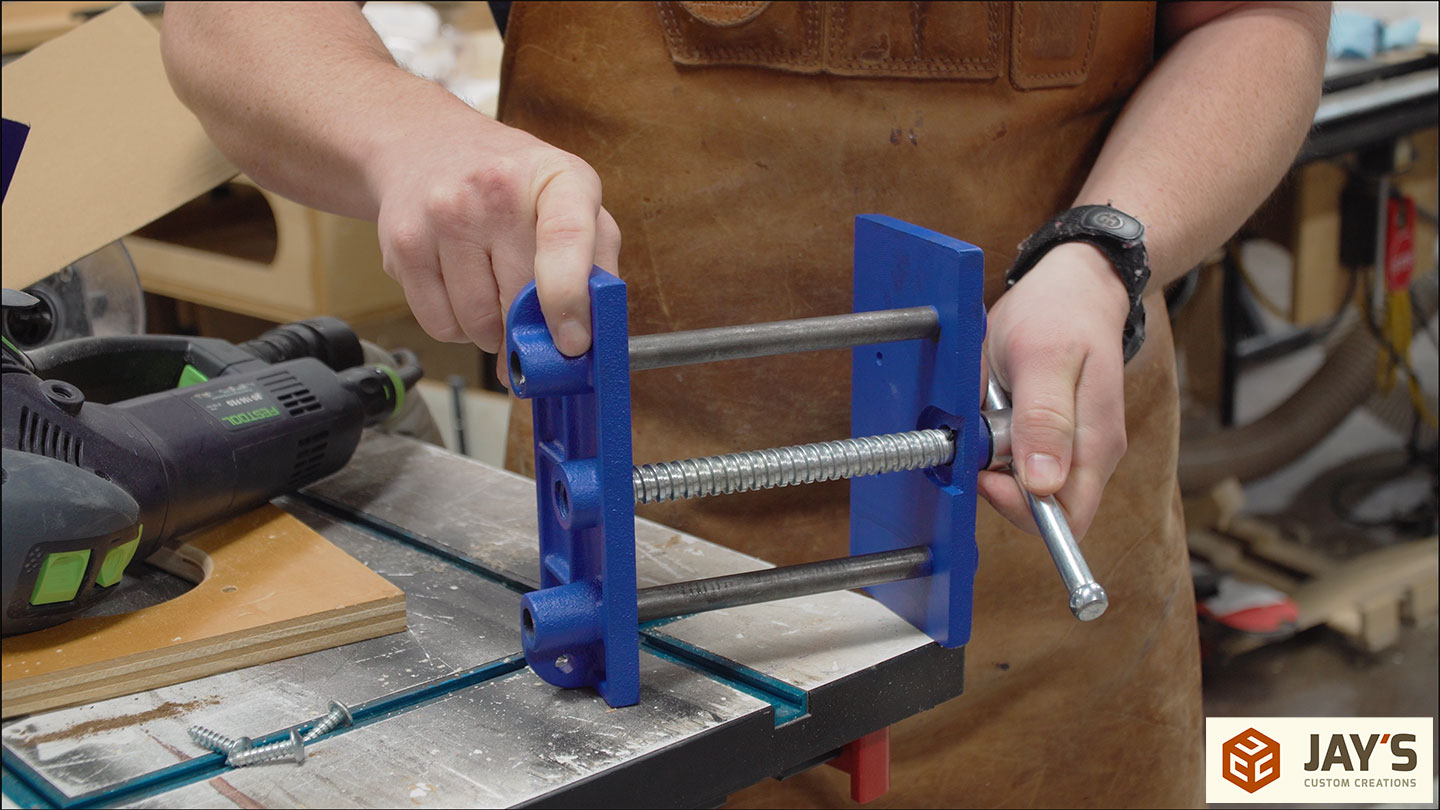
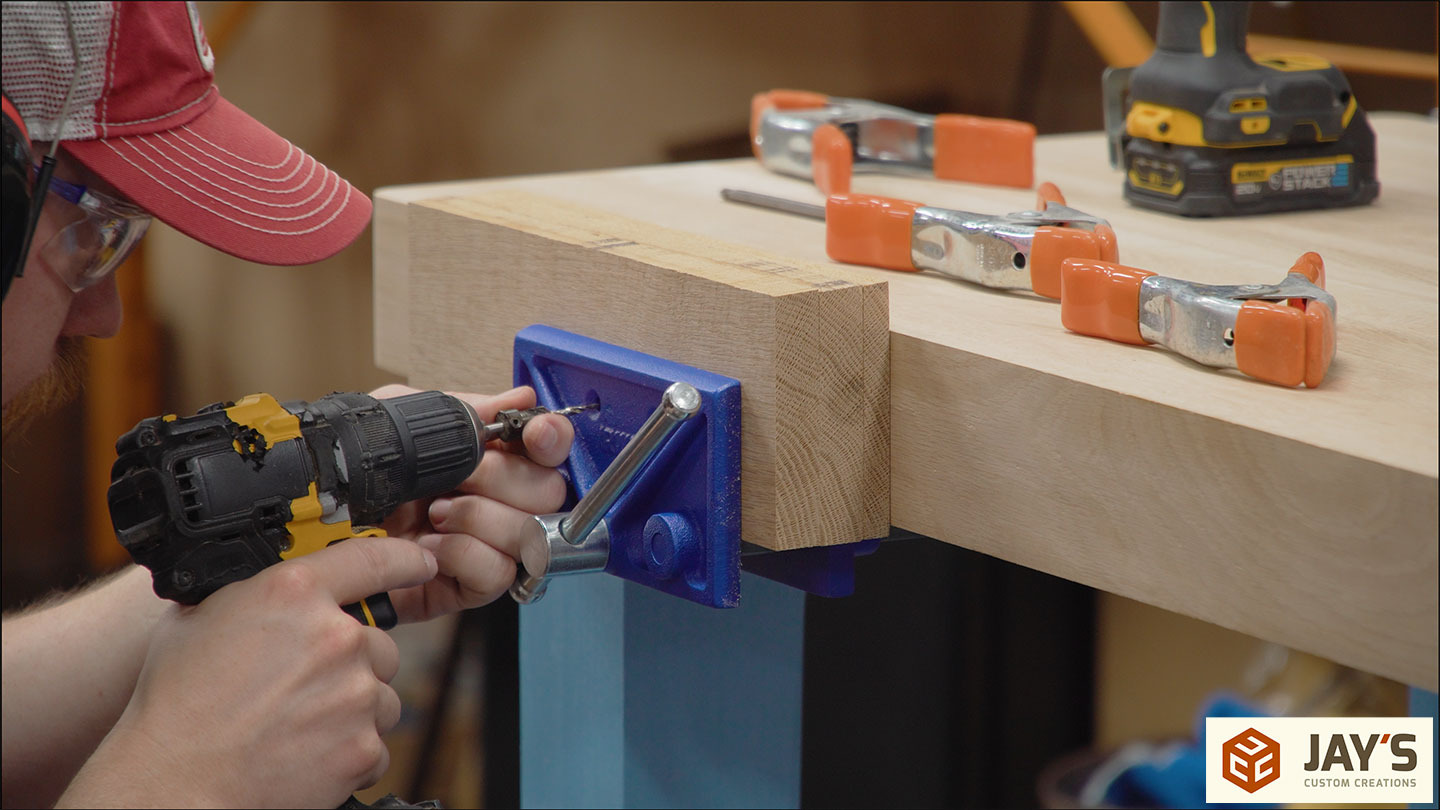
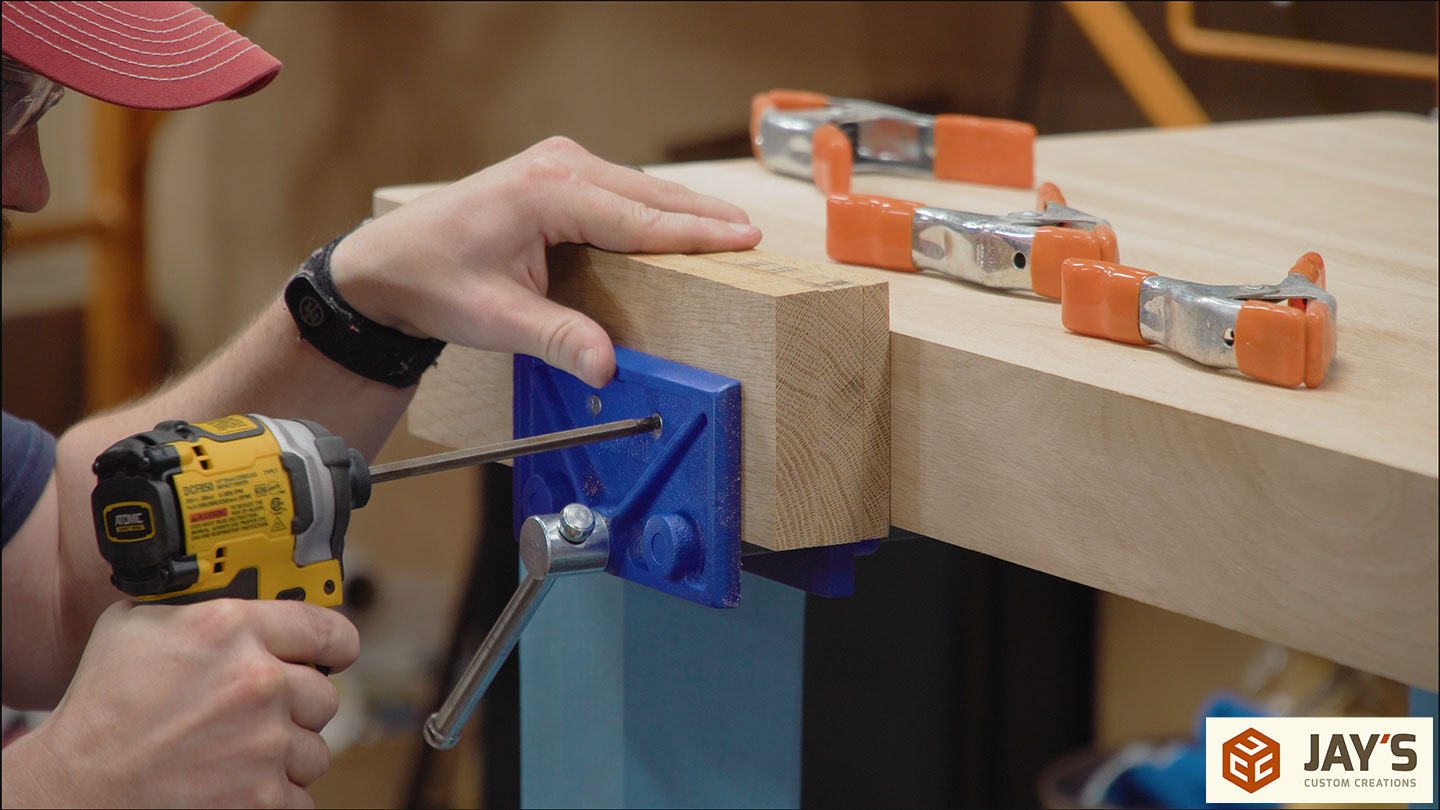
Removing the rear jaw makes mounting it to the bench a lot easeir.
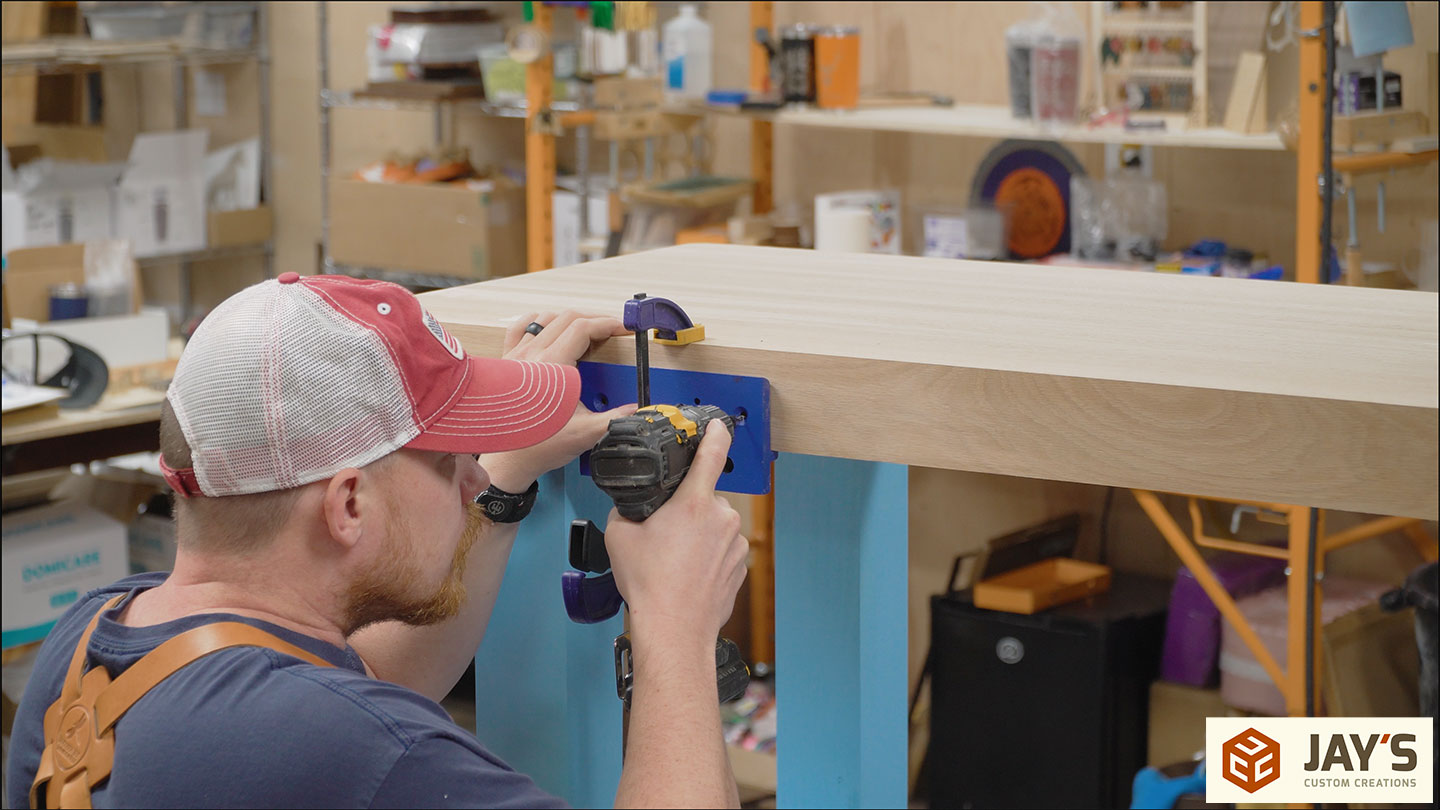
Two wood screws in the face and two larger diameter screws down below.

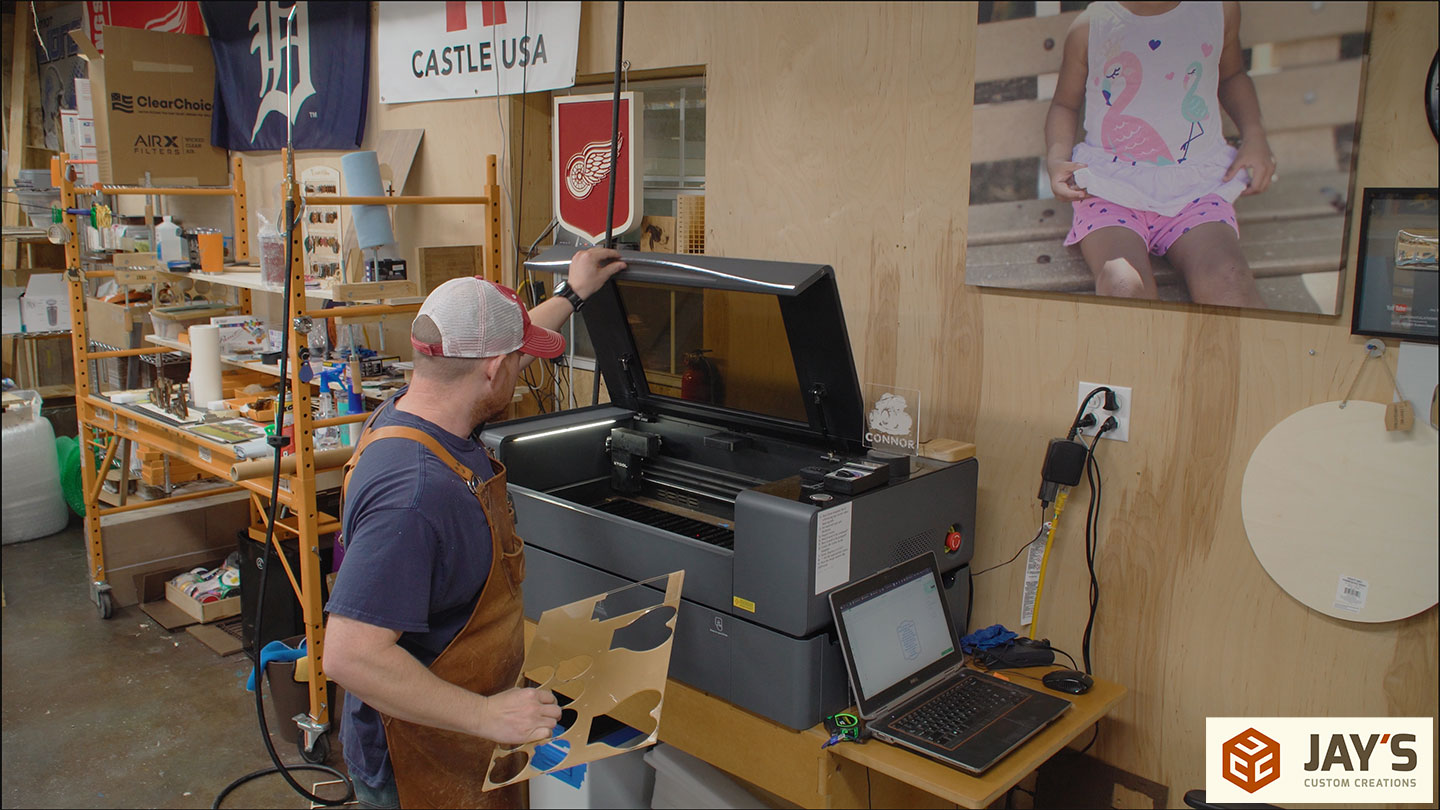
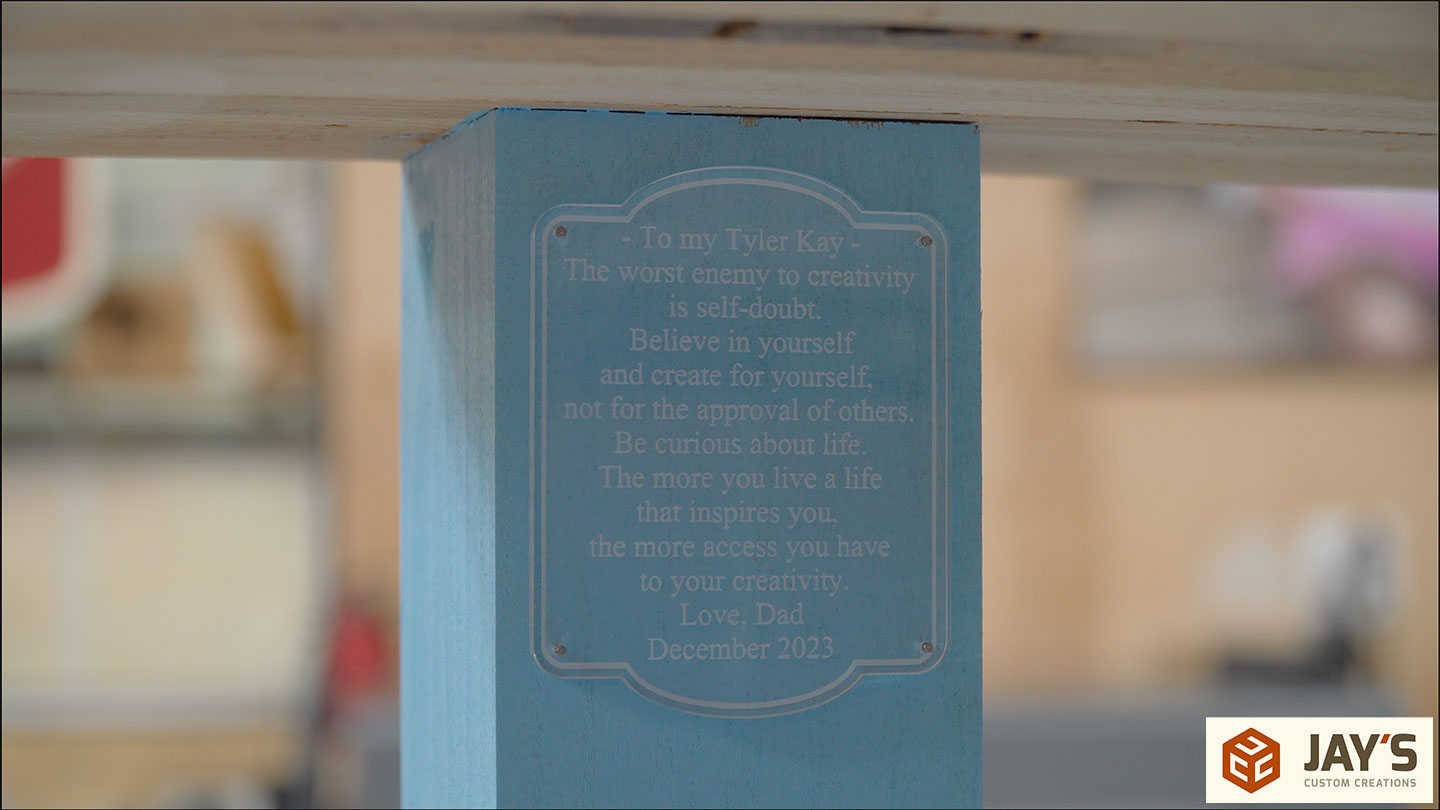
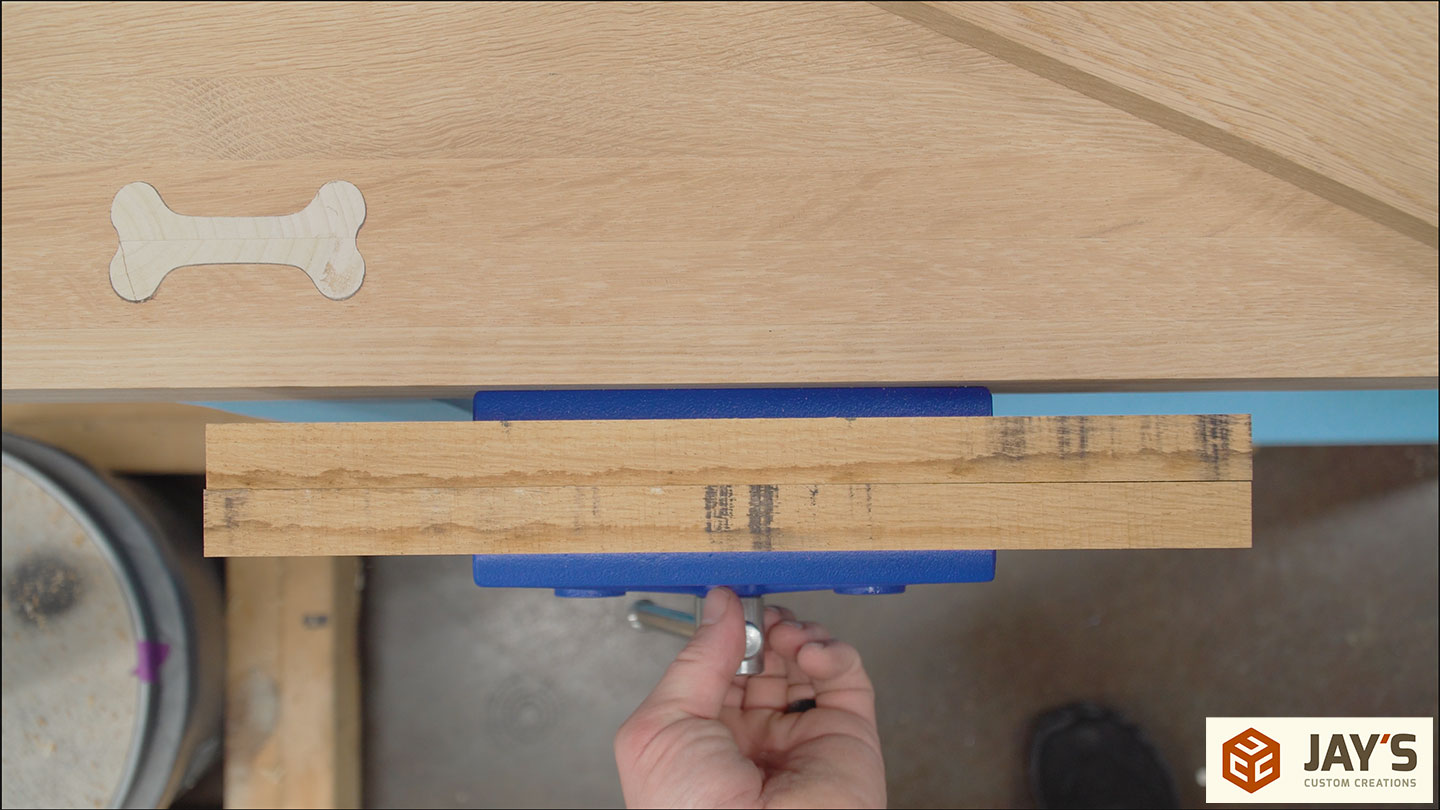
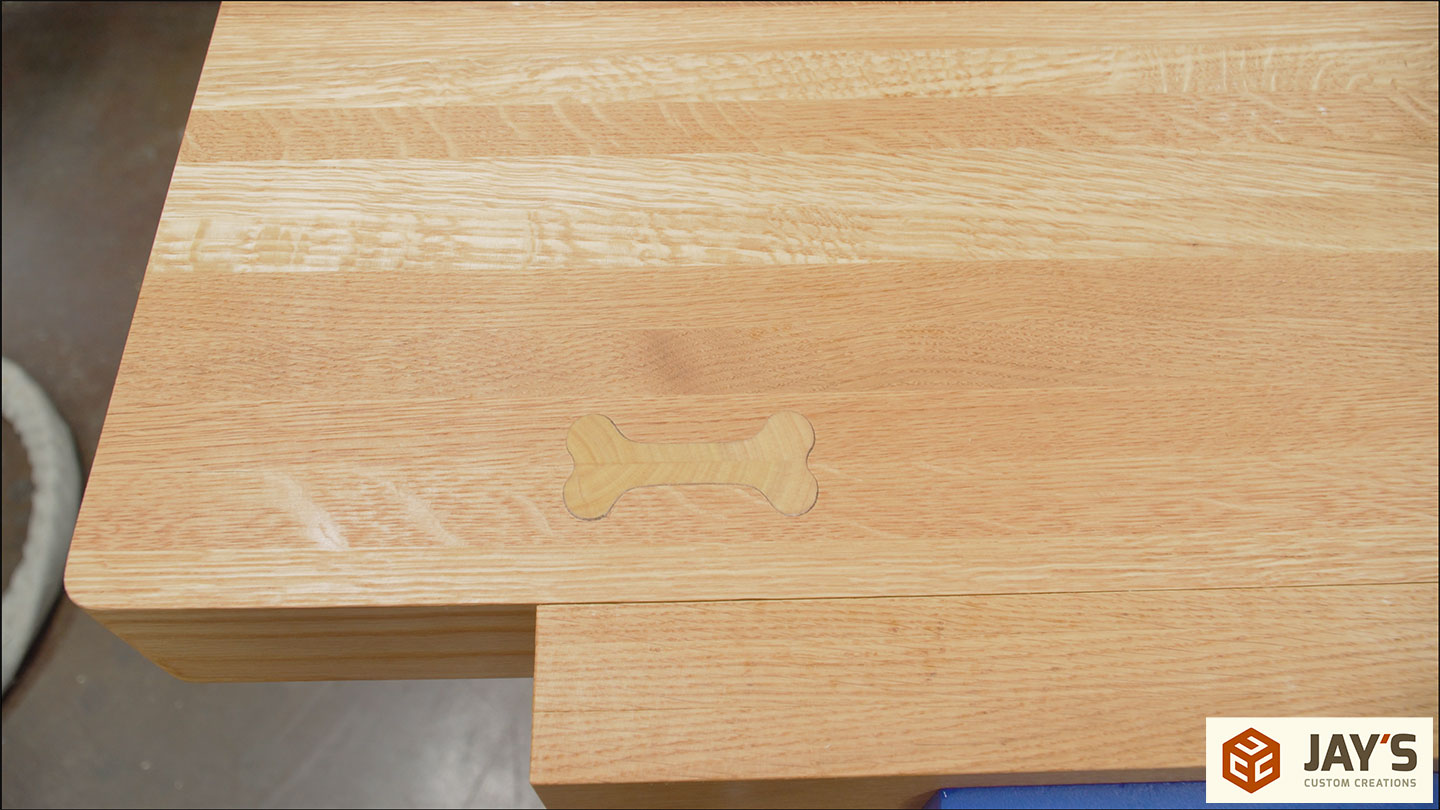
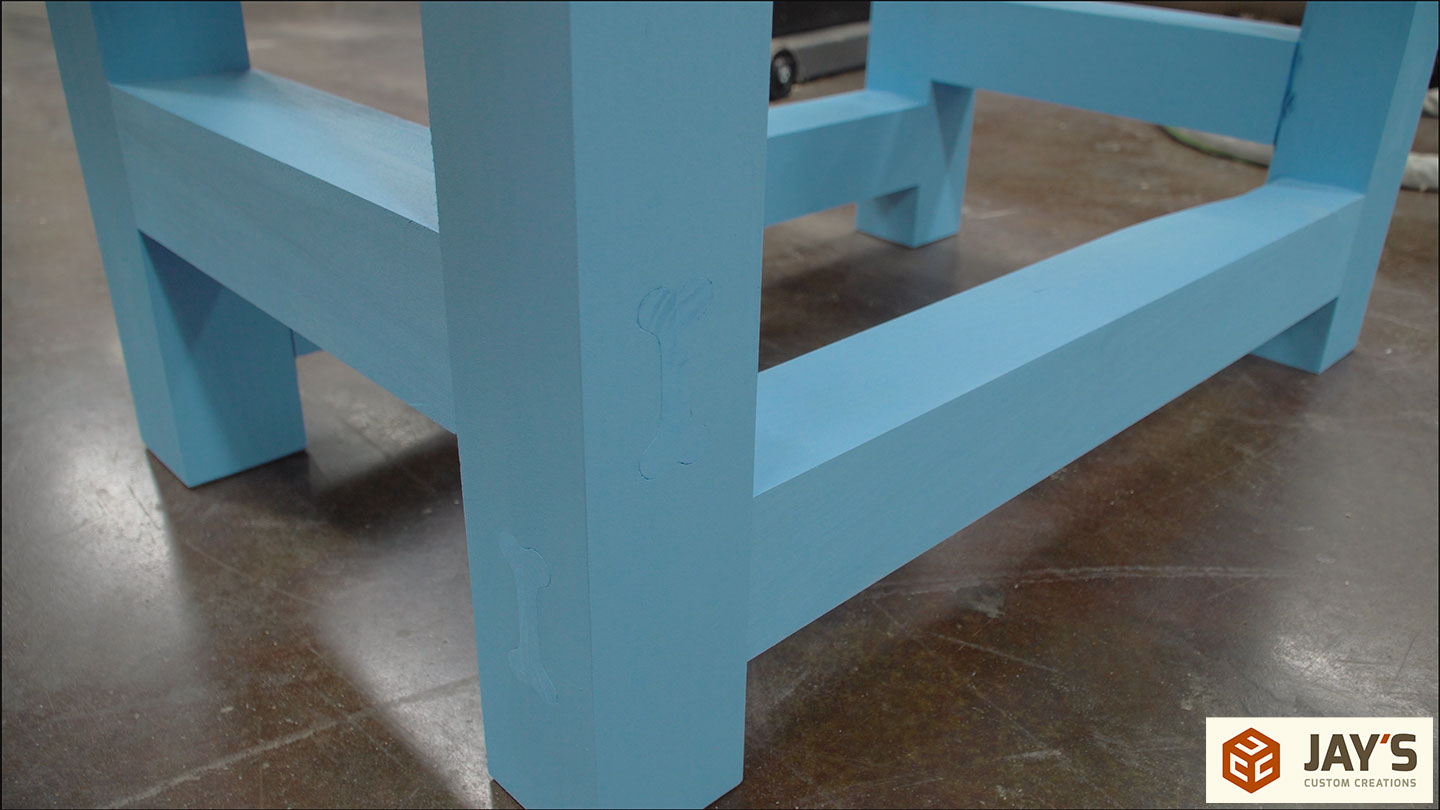
I wanted to add a personal note to the base for my daughter. Something a bit cleaner than just using a maker on the bottom of the workbench top. This is a really handy use for a laser engraver.
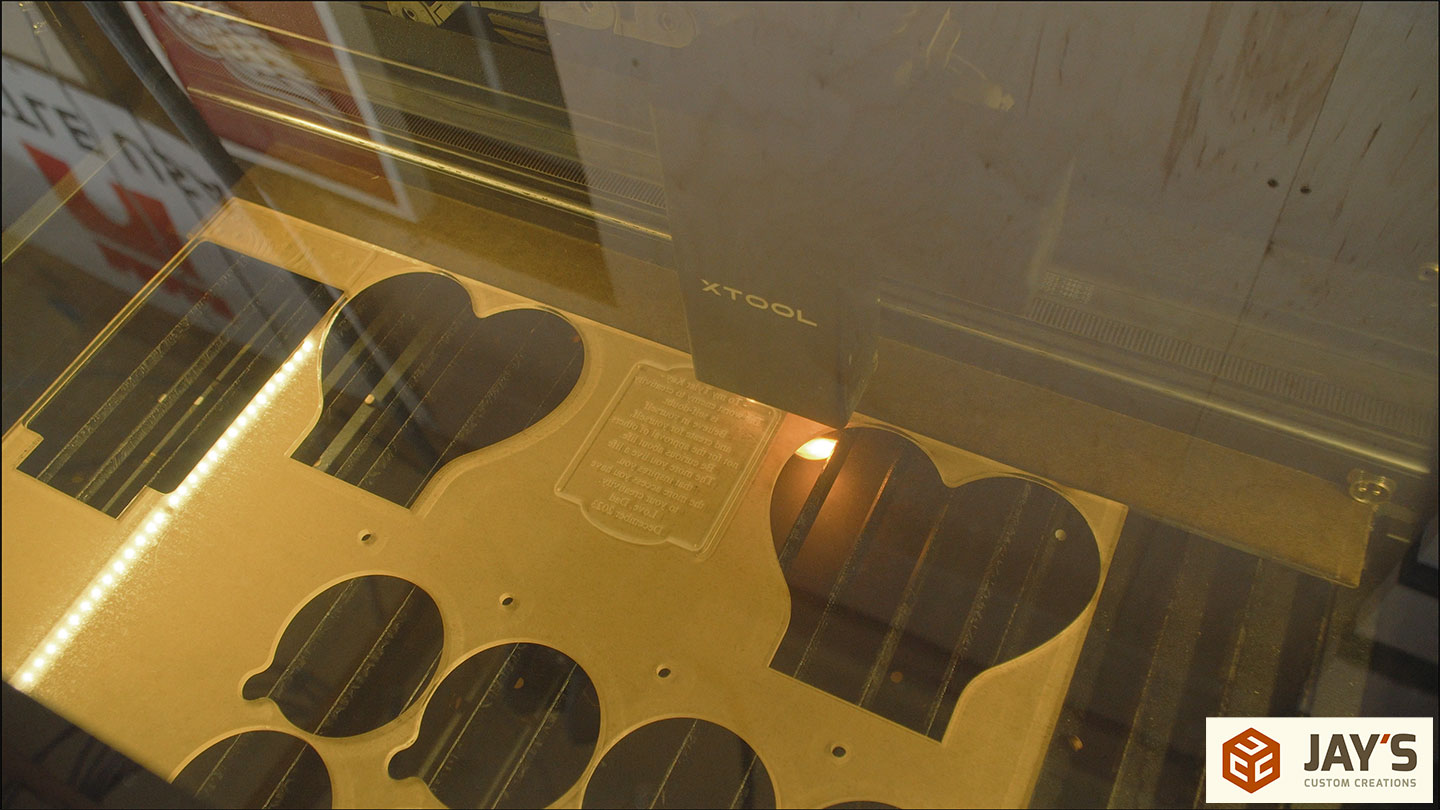
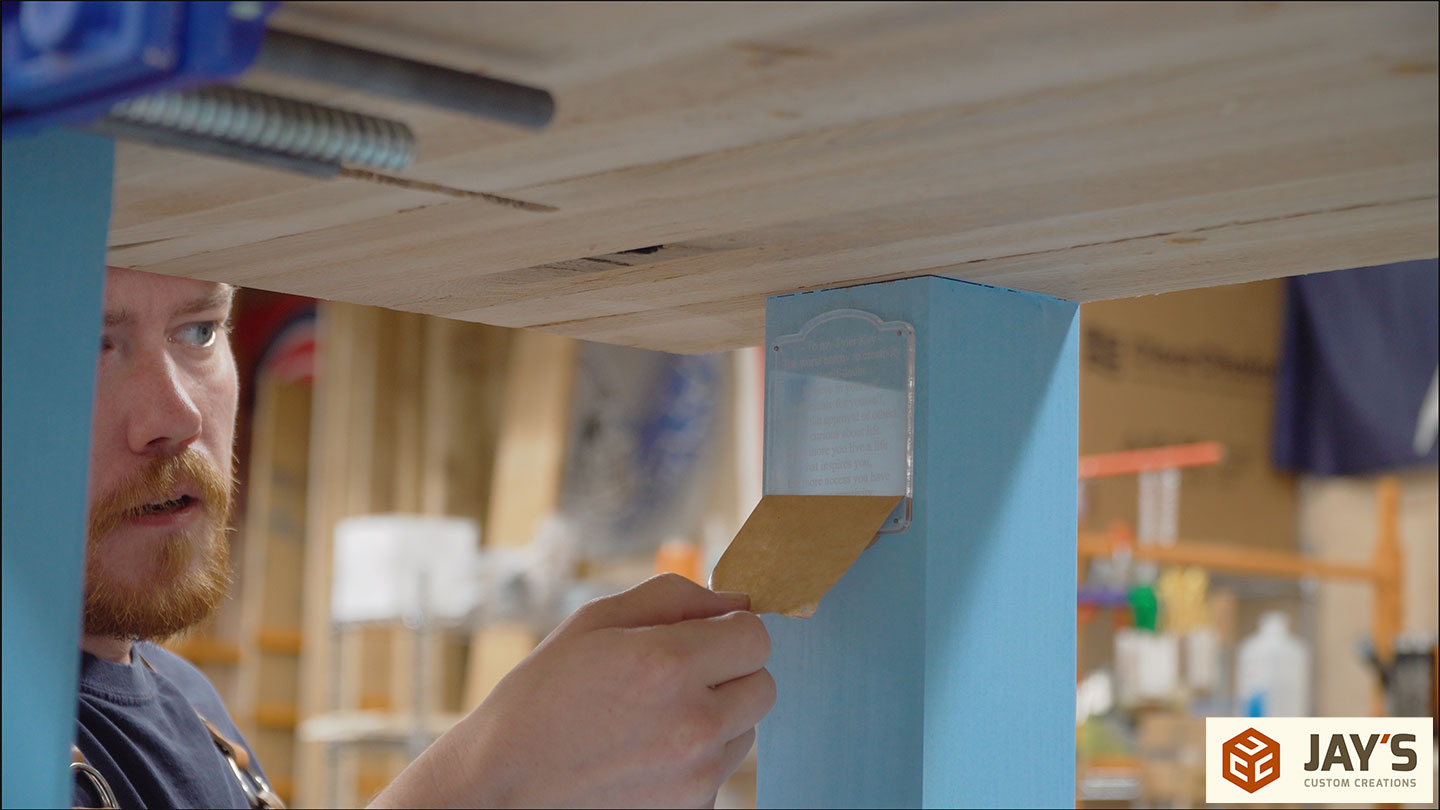
I engraved a message for her to find. It’s visible if you look for it but it blends enough to not stick out like a sore thumb.

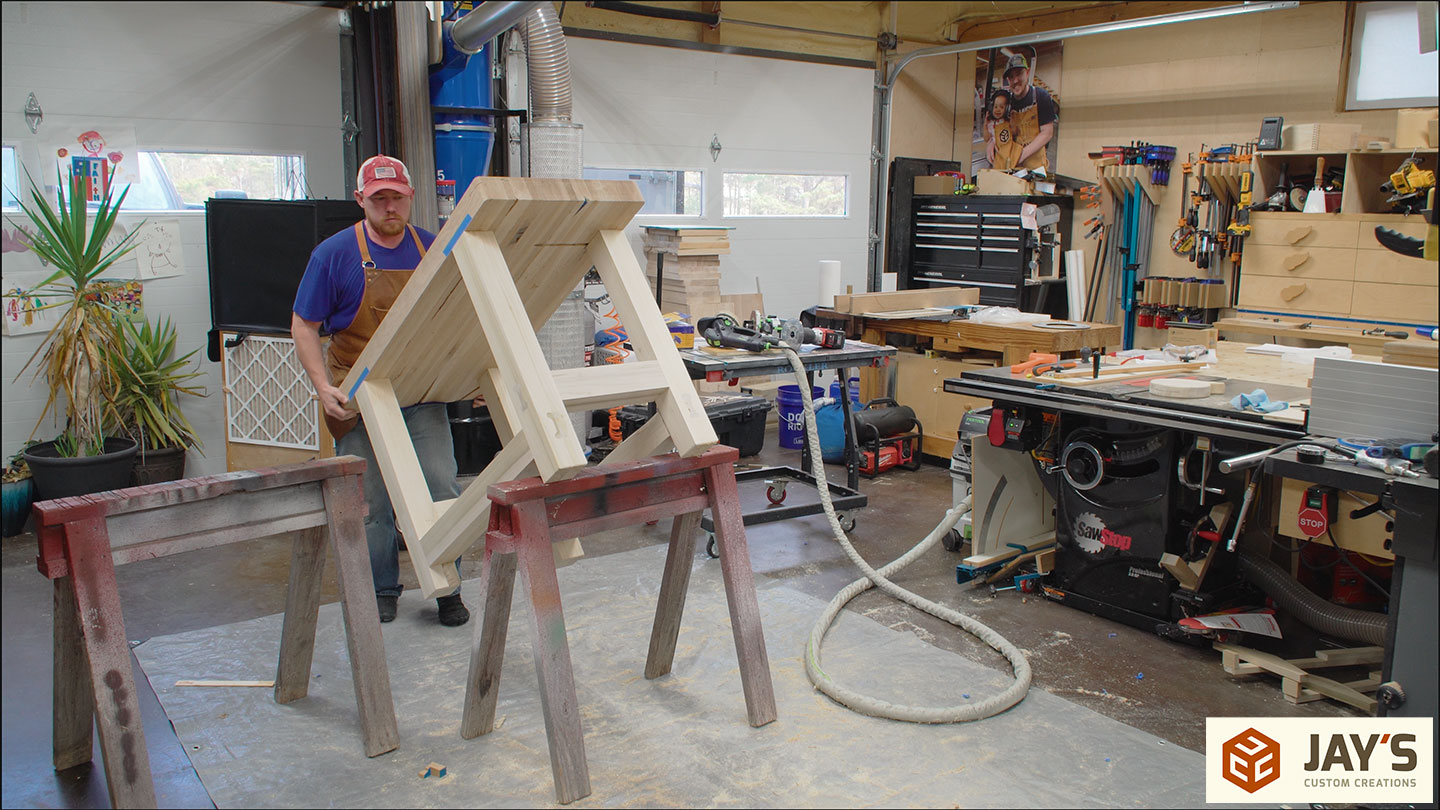
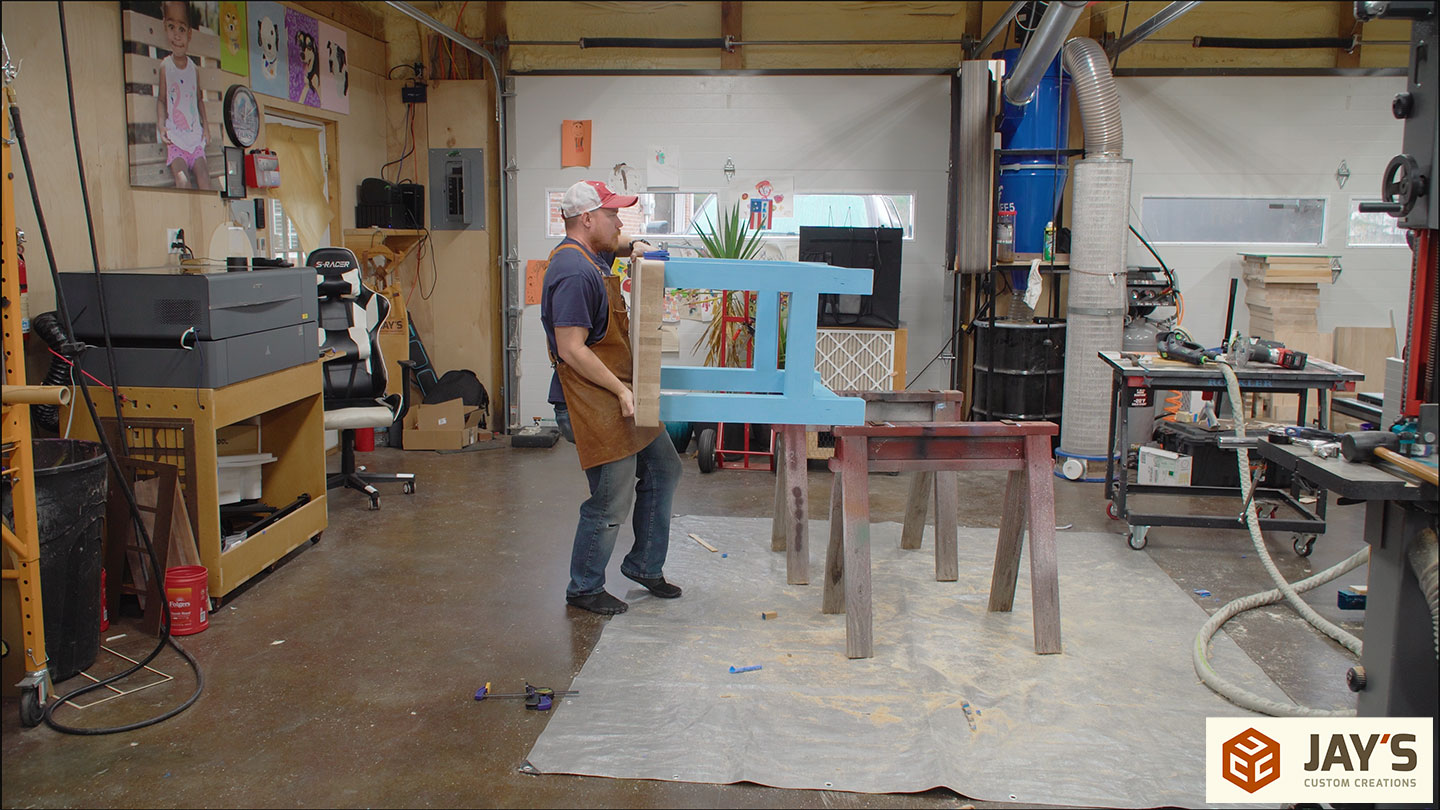
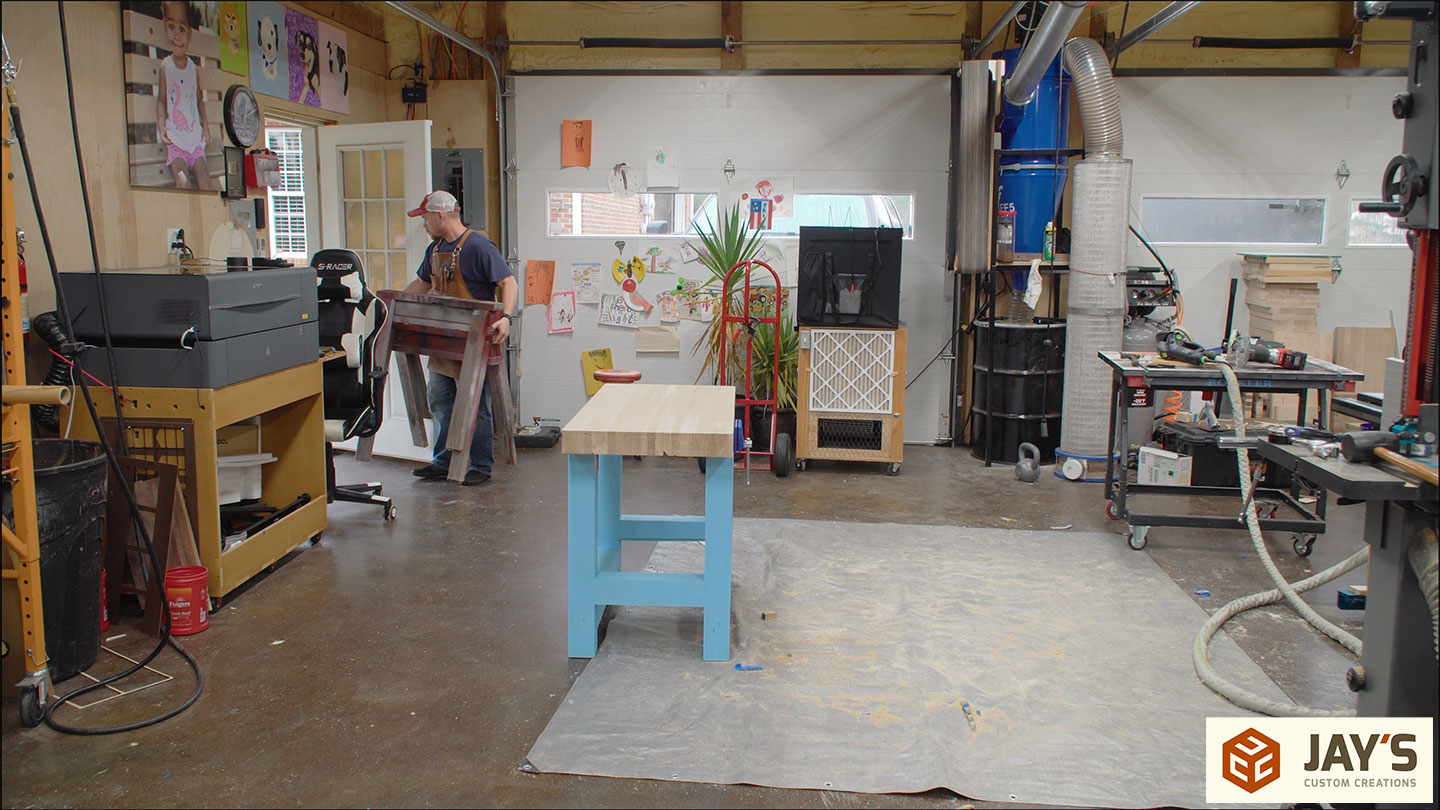
With all of the base work completed, the bench can come back to reality…or the ground.
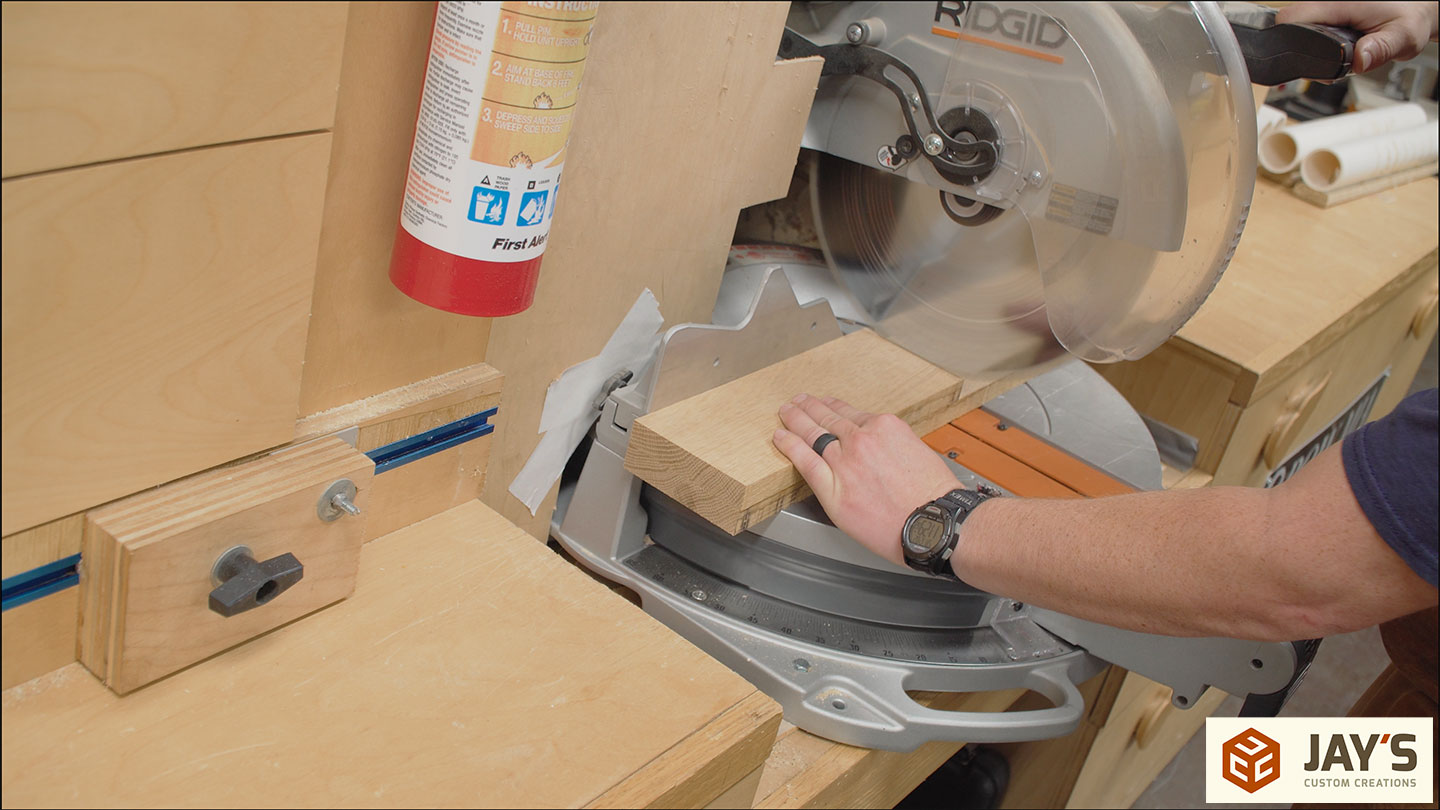
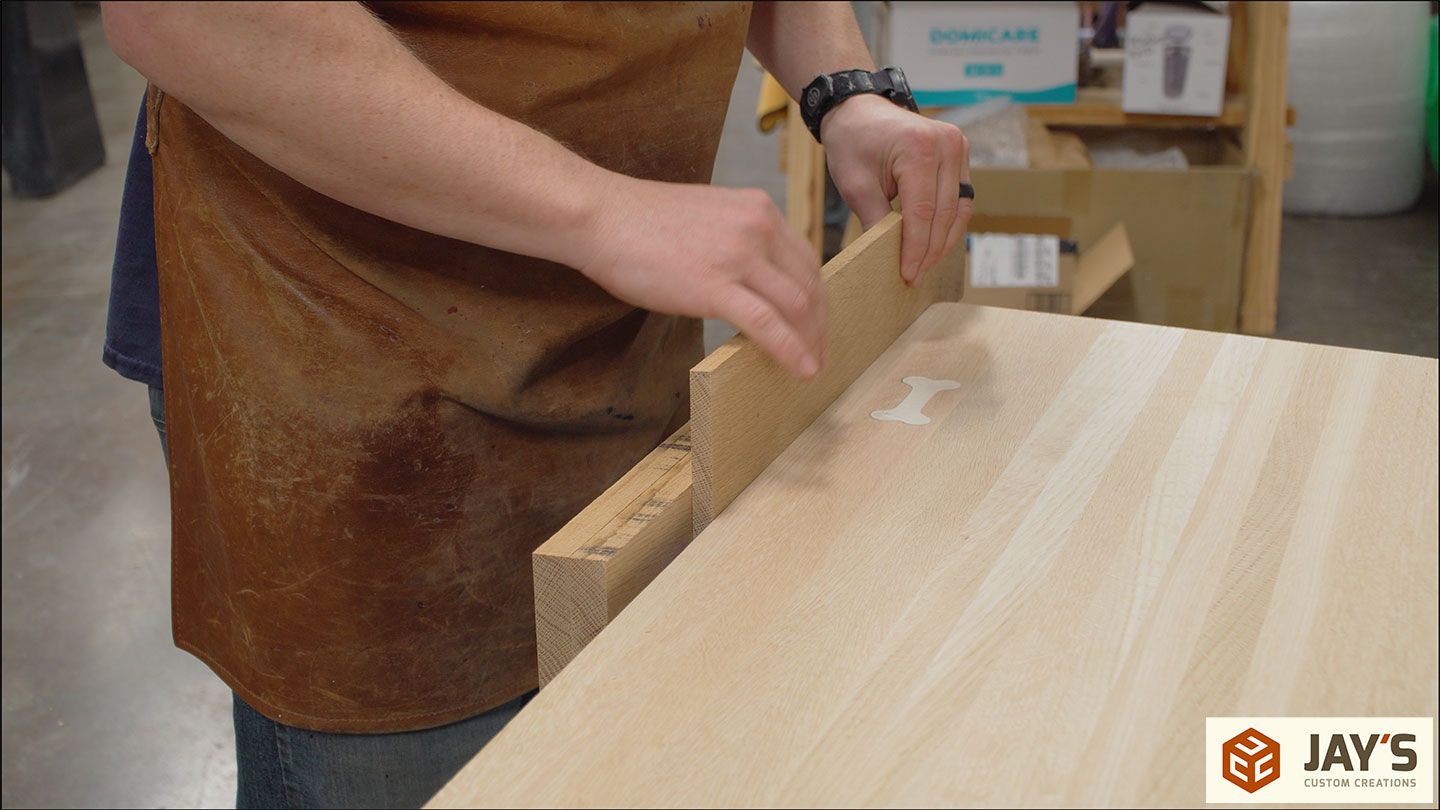
I had one clean, knot-free board for the top assembly that wasn’t long enough to use for the top. I should be able to get the vise jaws out of it, easily.
The vise is 6-1/2″ wide. I made the jaws 12″ wide.
With the jaws in place the gap between them and the top can be addressed. Leave the gap there or fill it? I decided to fill it. That can be done by either mortising out a pocket on the back of the back jaw or plane down material to fit the space.
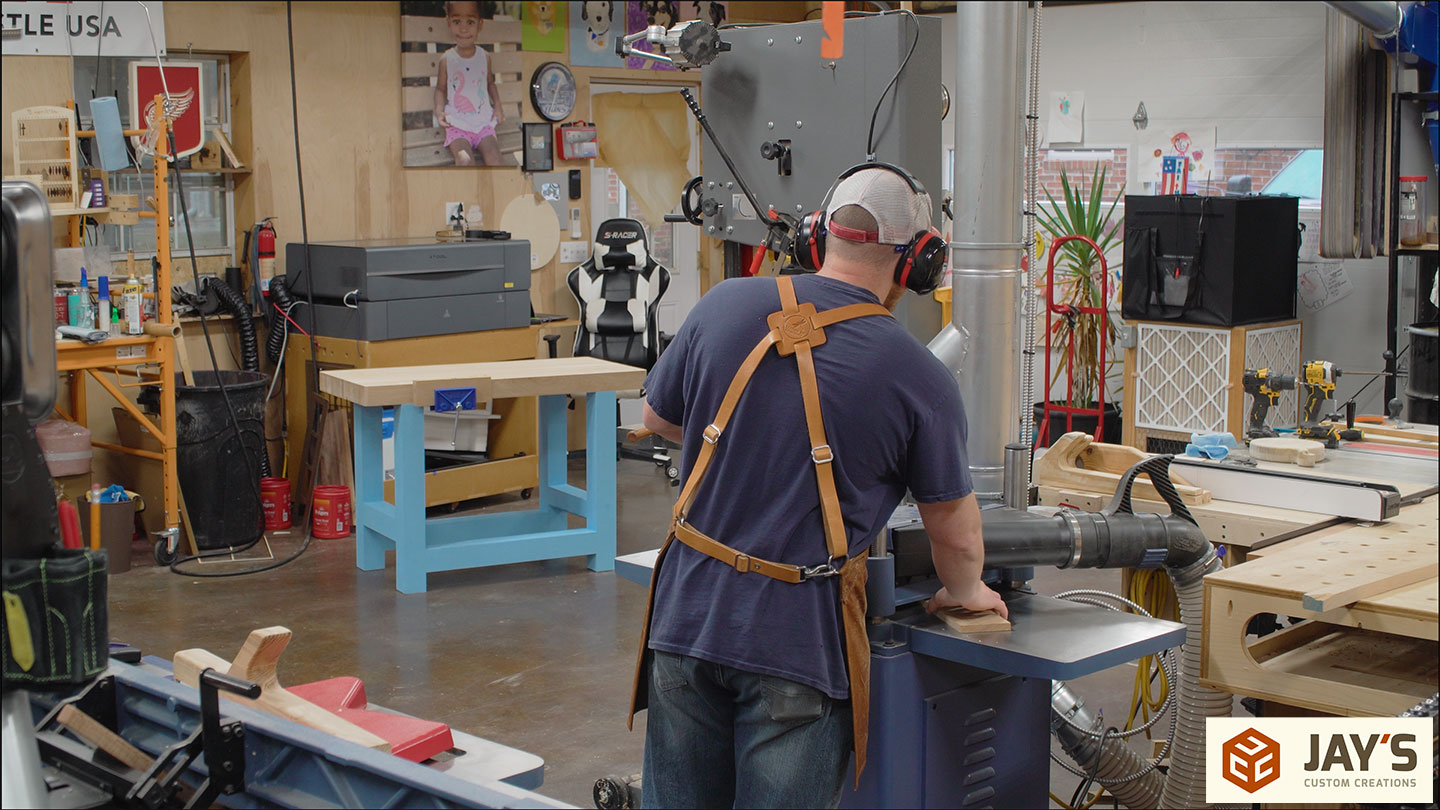
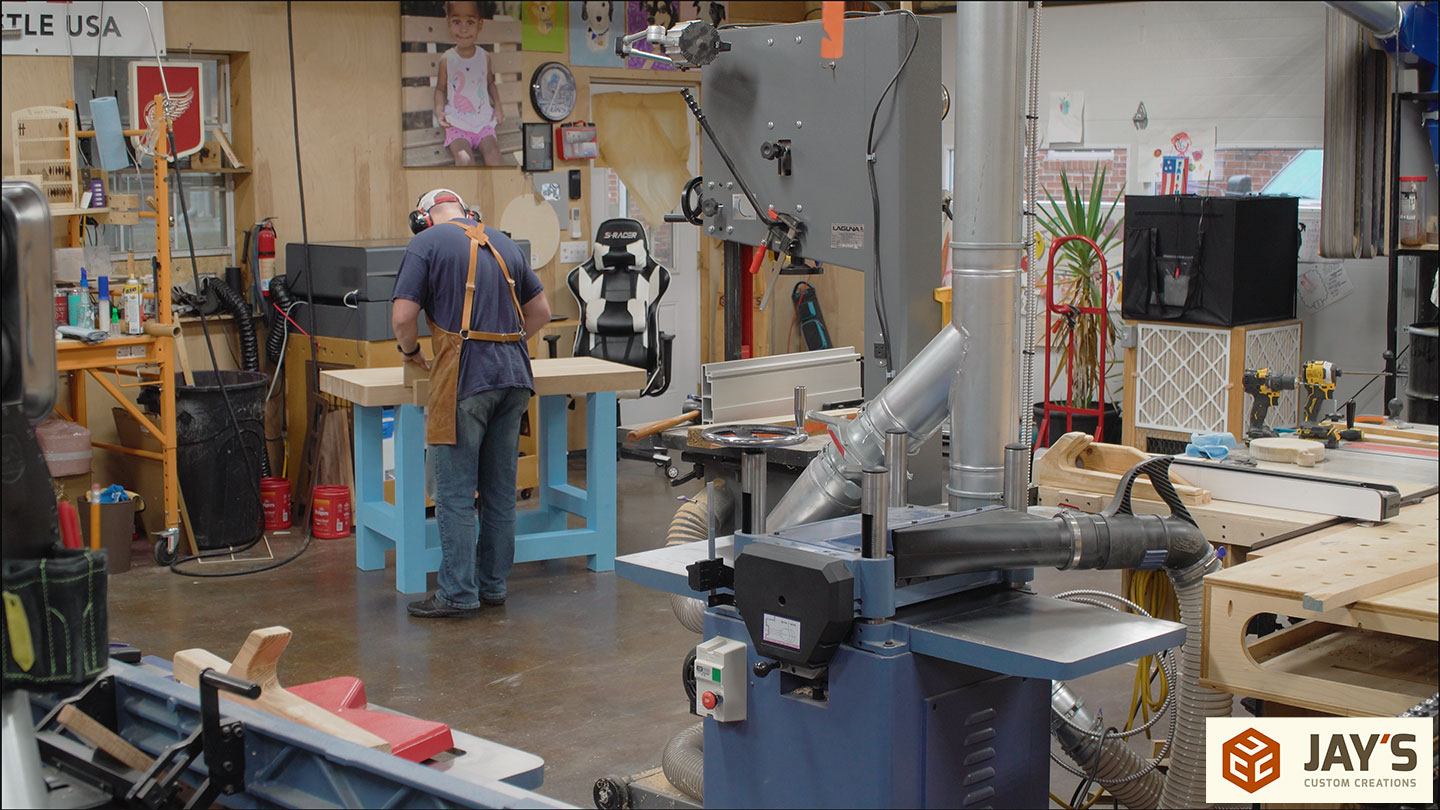
I opted to plane down more material to fit the space.
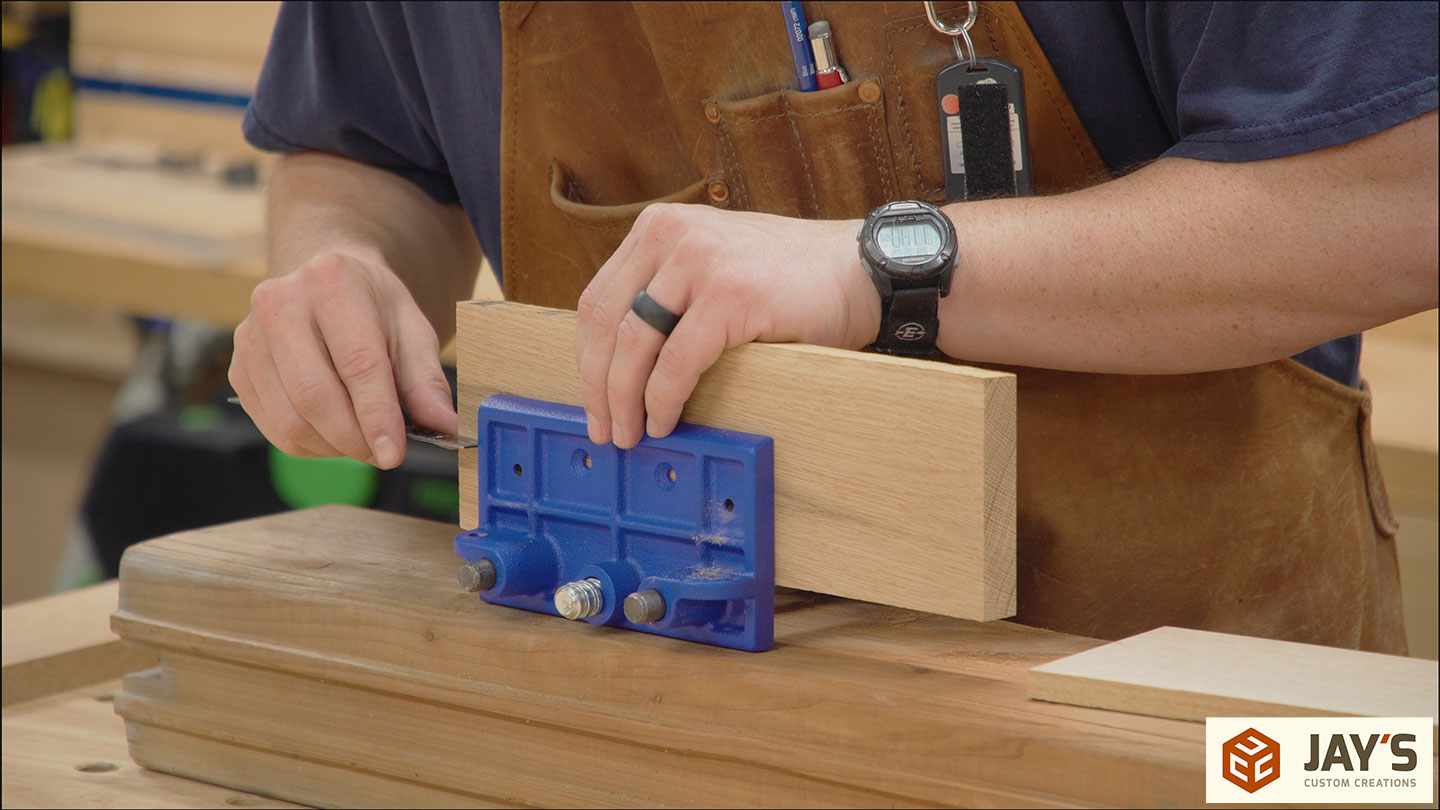
With all of my jaw pieces established, I can remove the vise to mount them. The rear jaw is positioned 1″ away from one end and screw holes are drilled.
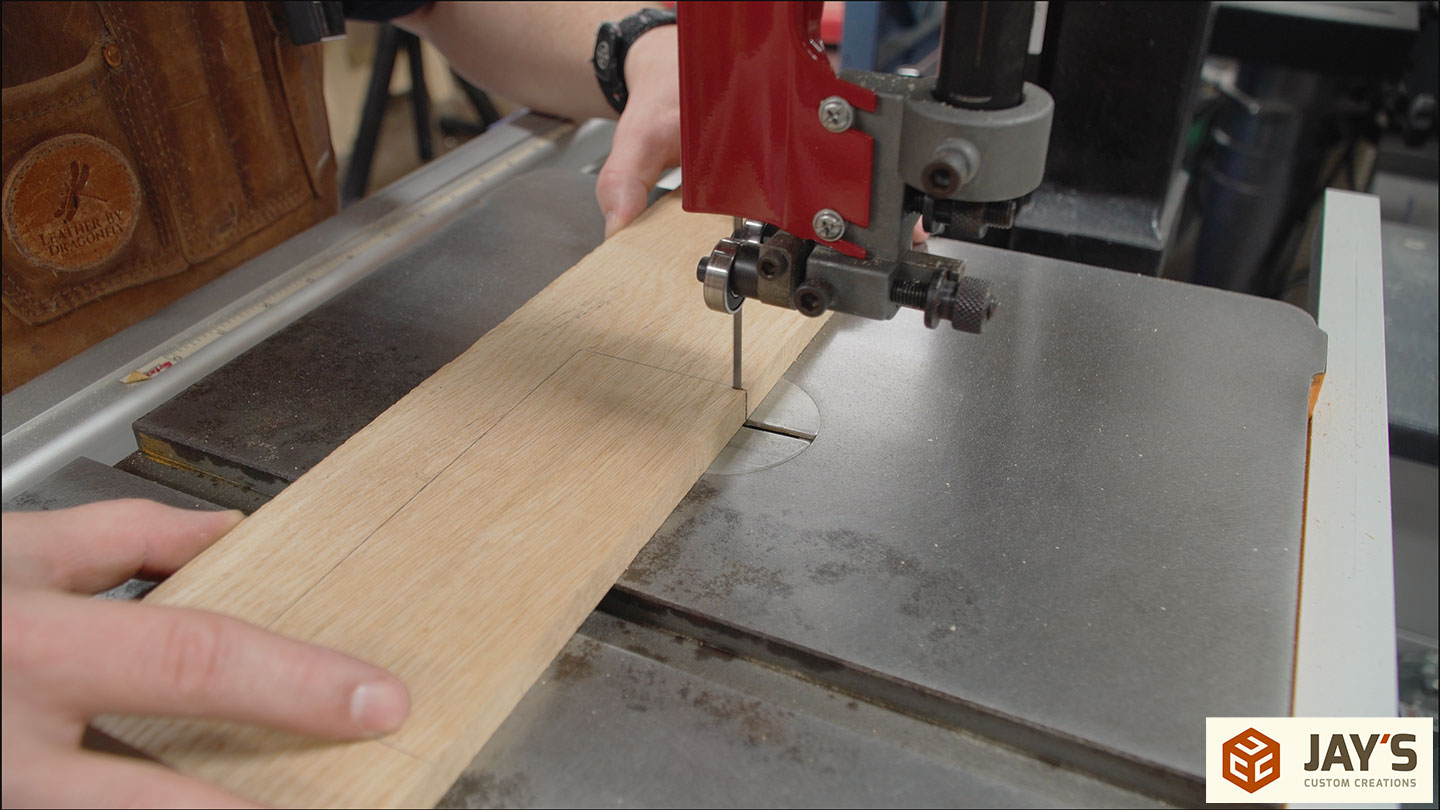
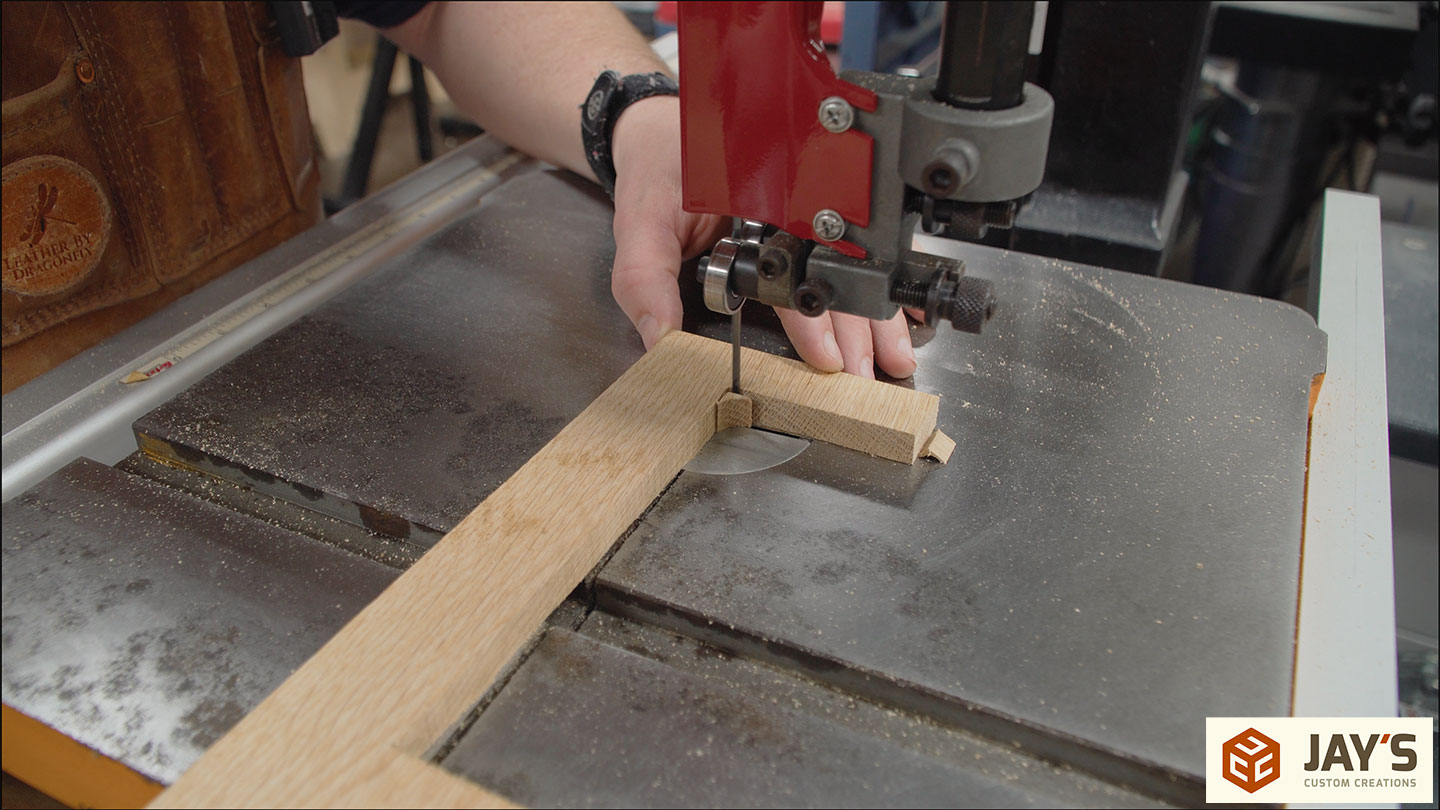
Then the thinner piece is set in place, wit the same 1″ overhang, and the iron jaw is traced.

Then removed with the bandsaw.
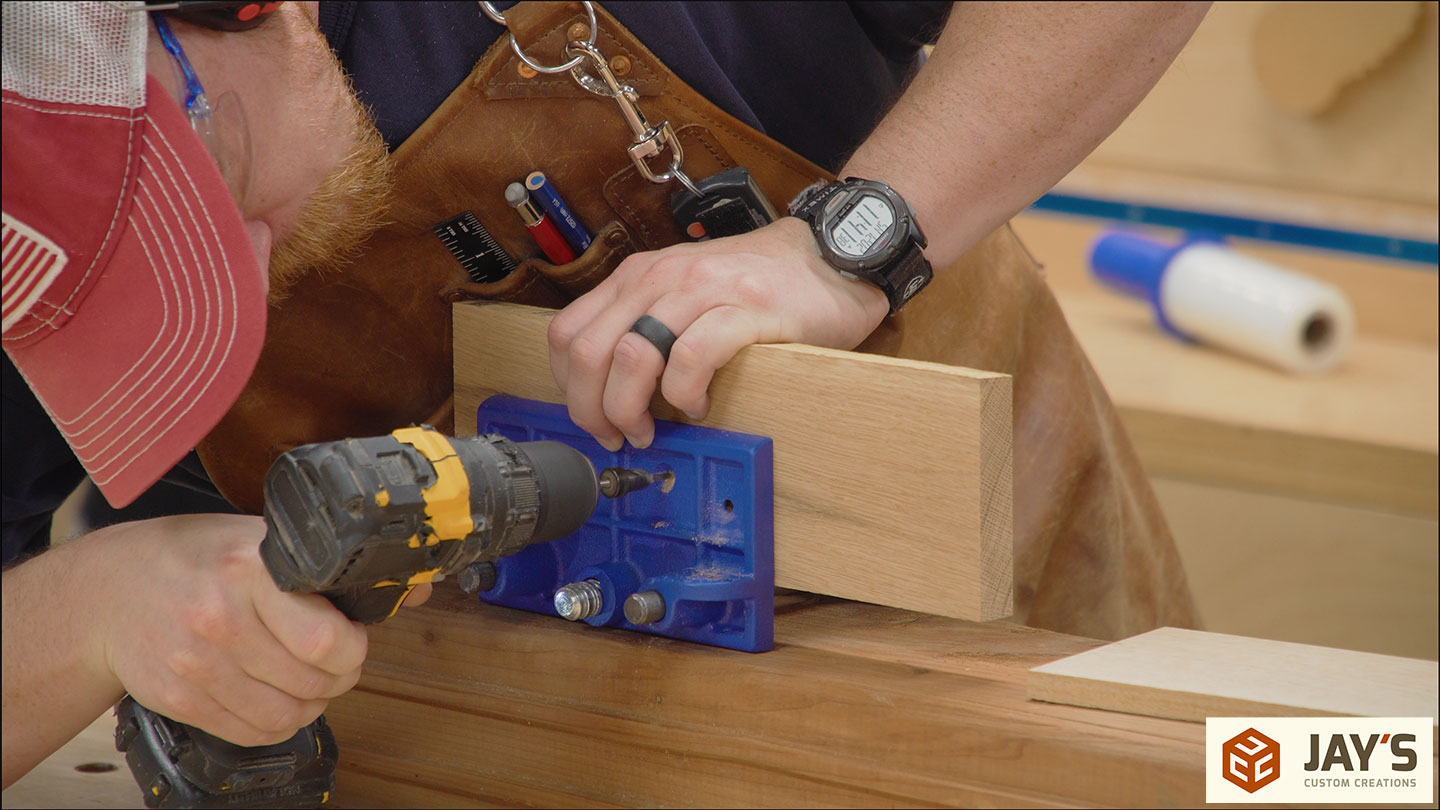
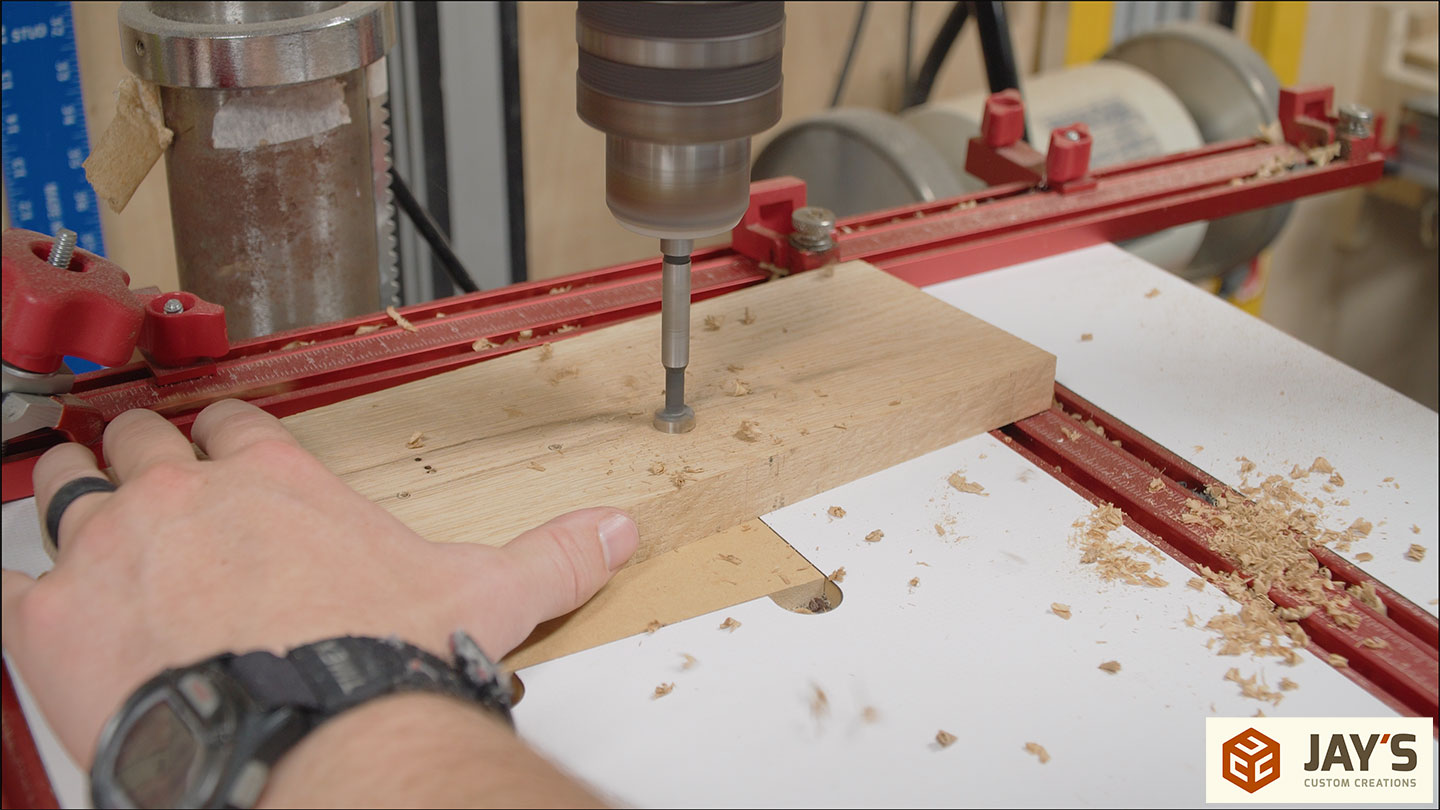
I almost forgot this step. Two holes are needed on the inside of the back jaw for the mounting screws to pass through.
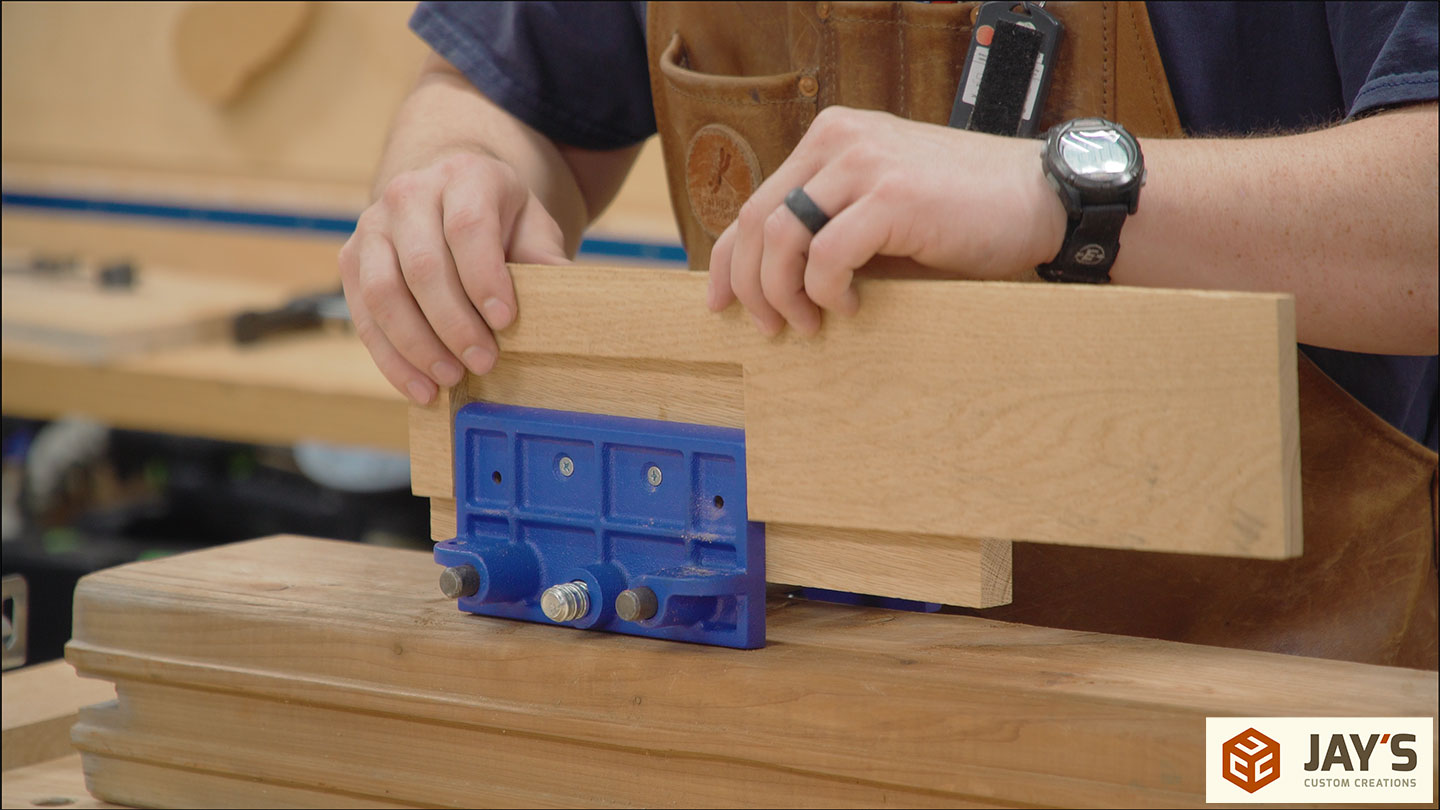
Here you can see the thinner piece as it will straddle the iron jaw. The fit is good so I marked the length and cut it to size.
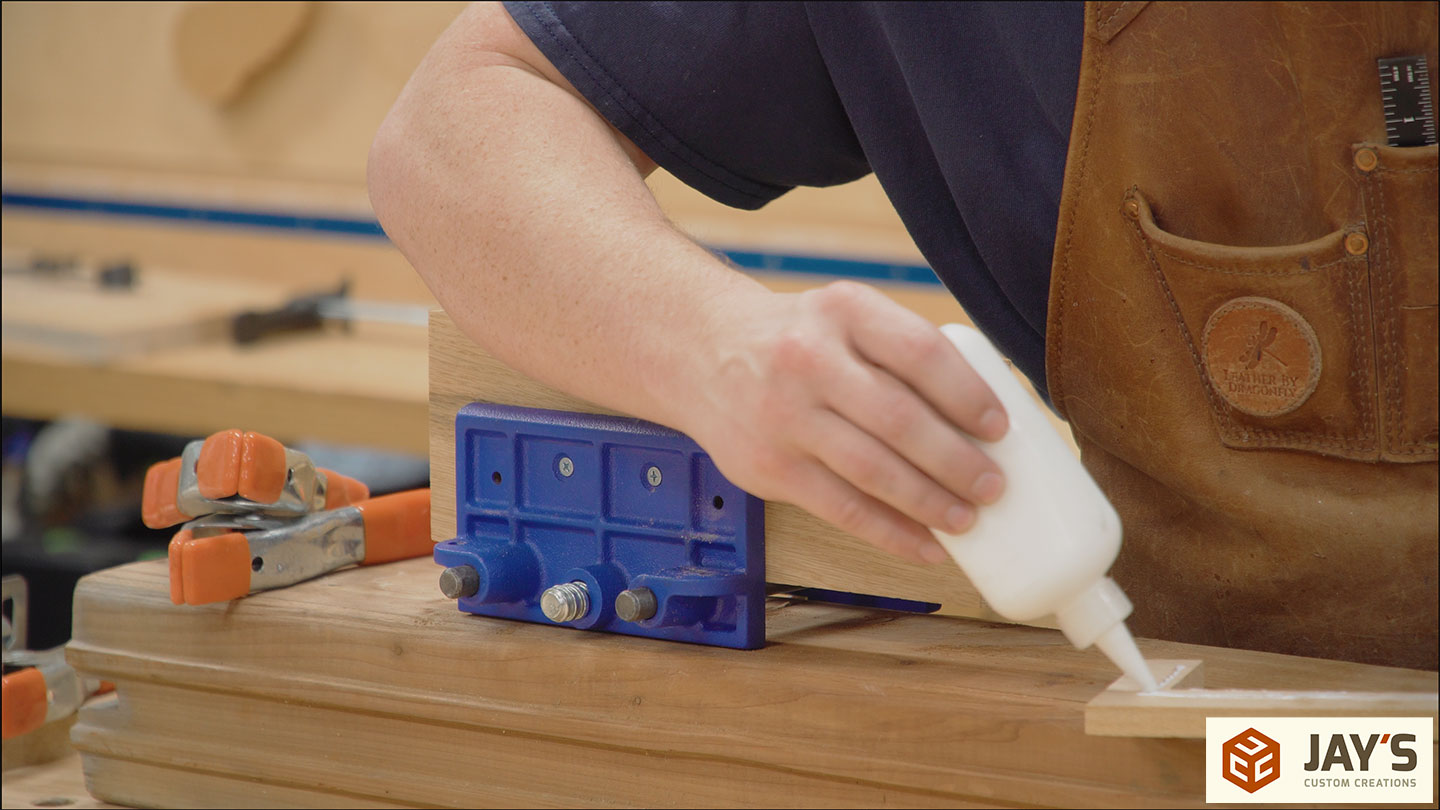
A bit of glue and spring clamps to complete the rear jaw.
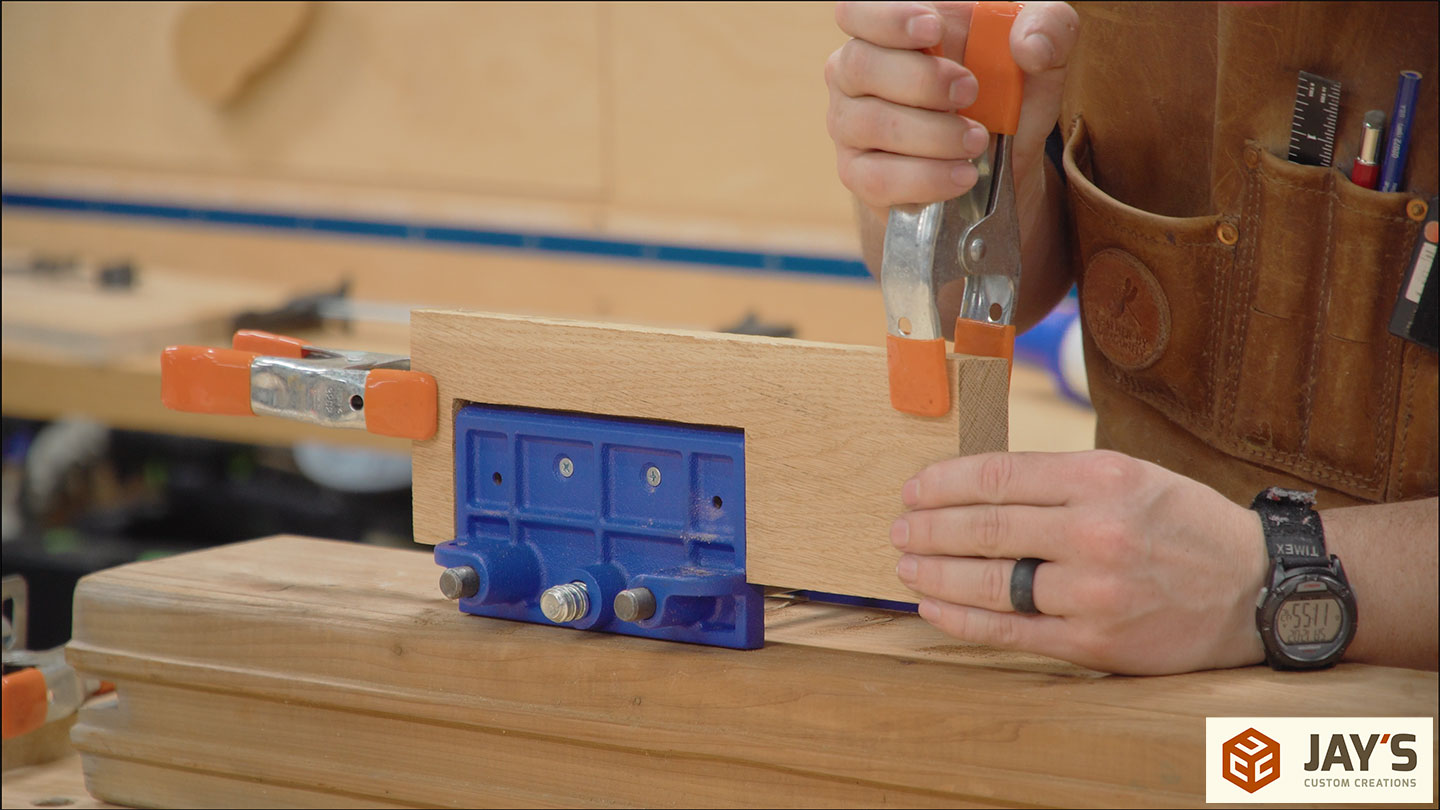
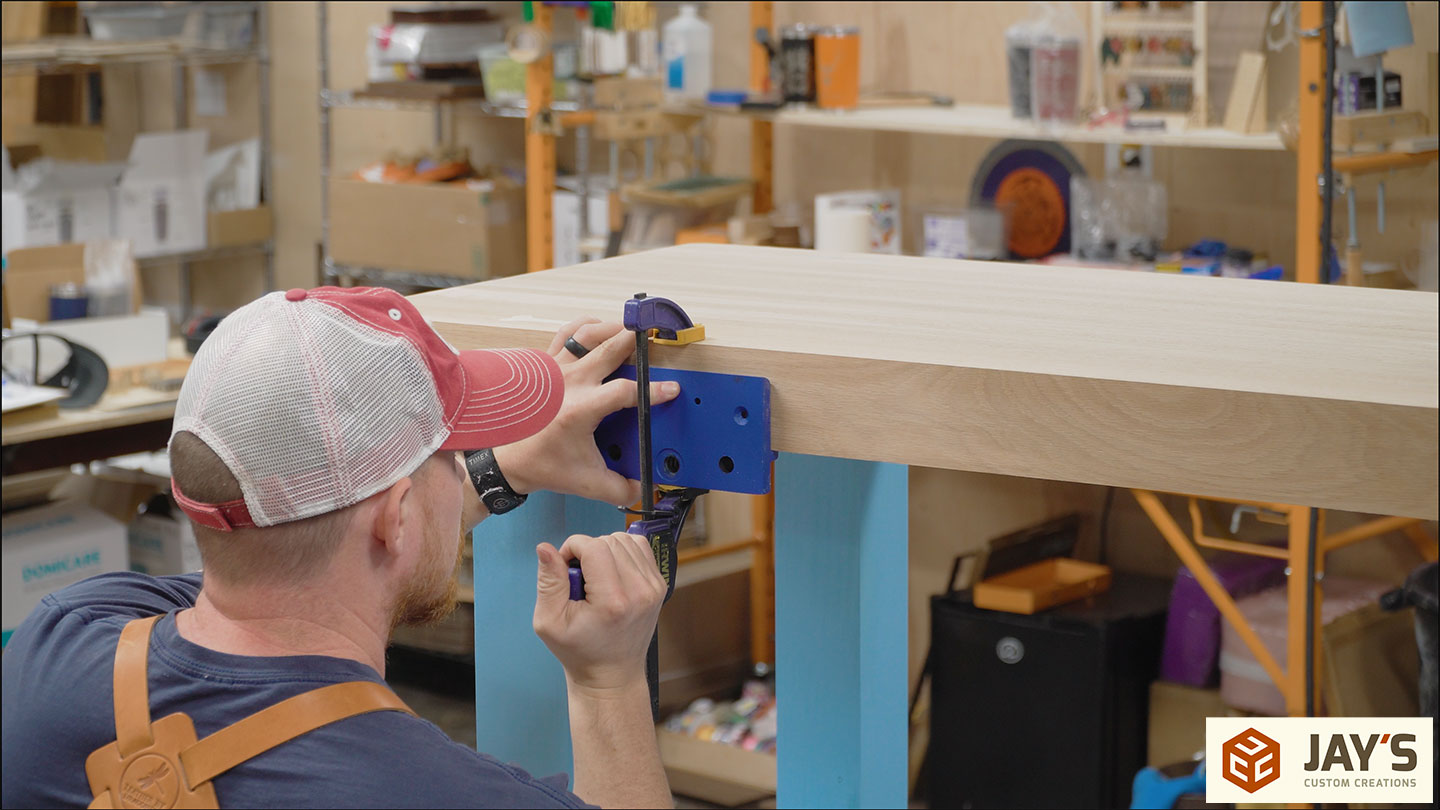
The clearance holes allow the vise to be mounted to the workbench after the rear jaw is mounted to the vise.
And the front jaw is the easiest of the bunch. Just two small screws through the front.
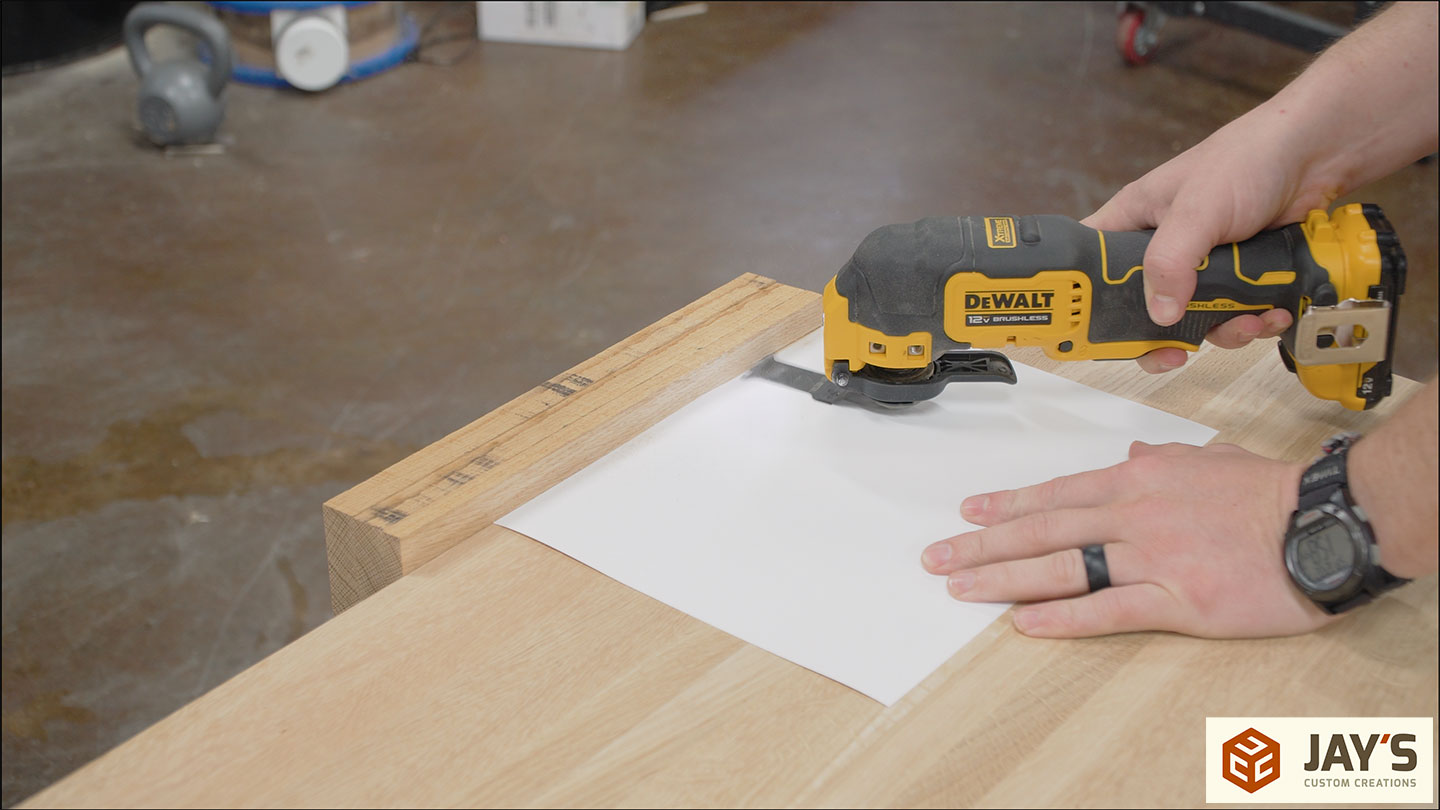
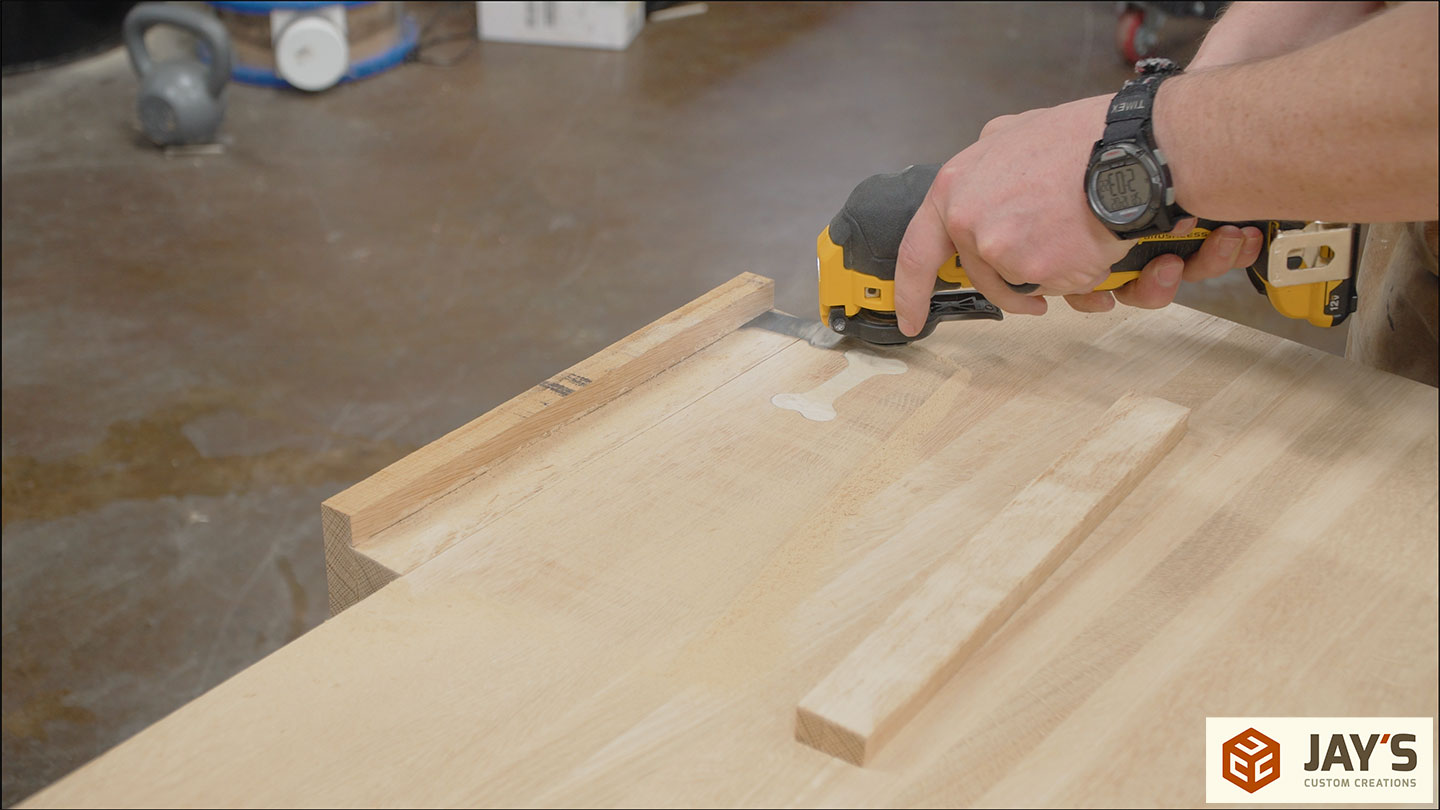
I tried using my oscillating tool to cut the jaws flush with the top of the workbench. This worked surprisingly well. Much better than I had anticipated.
A bit of sanding is still necessary after the cut.
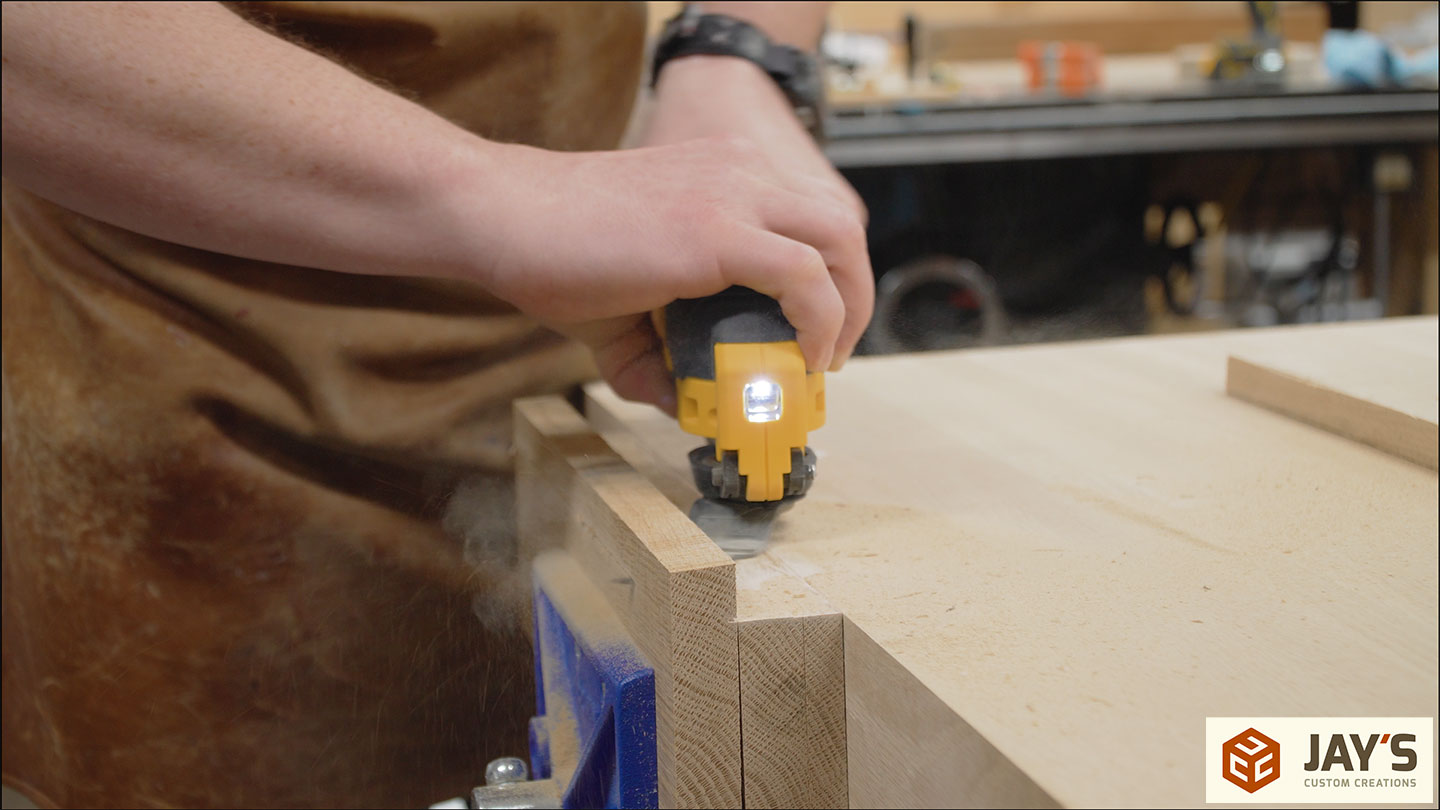
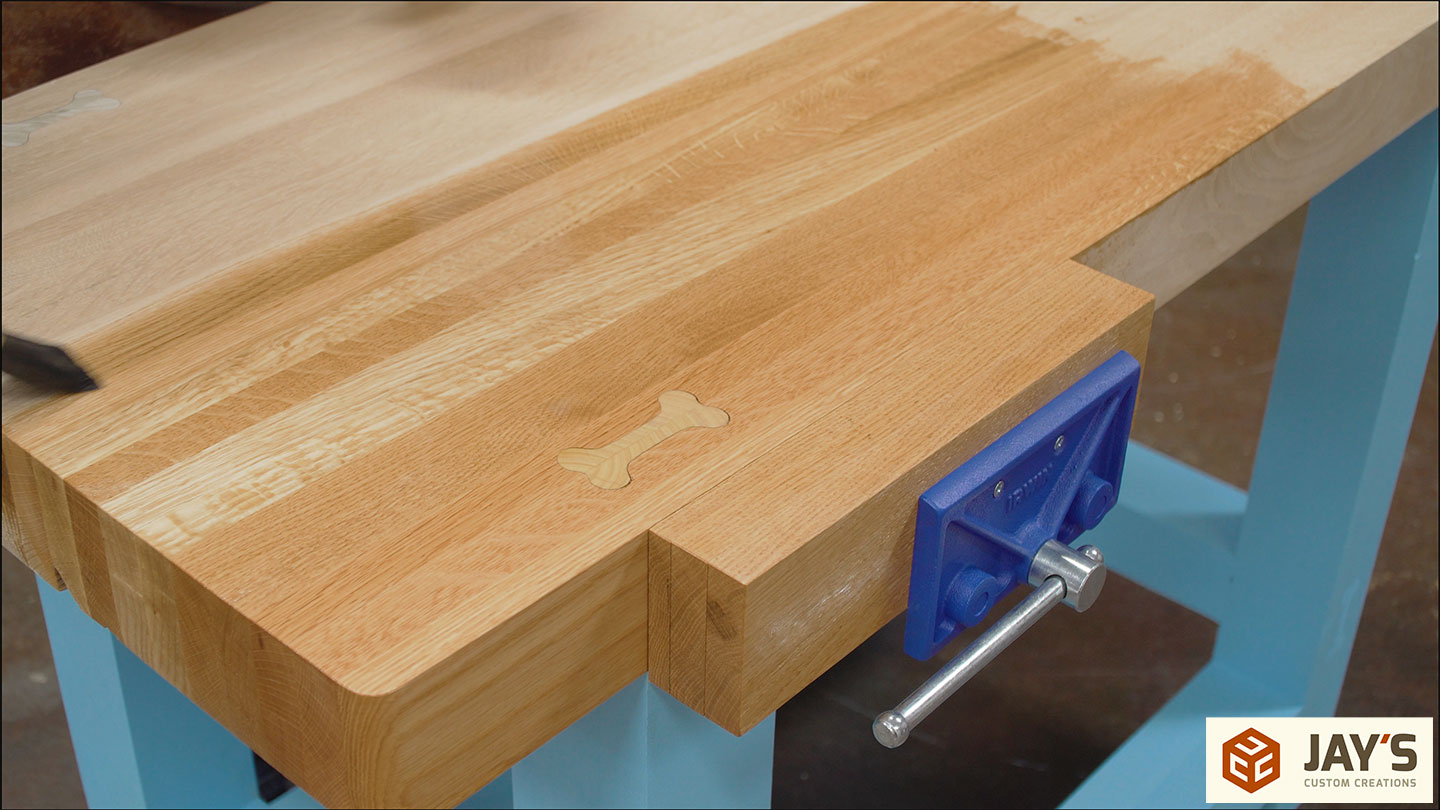
And finally, the edges are broken with sandpaper. I only sanded just enough to prevent splinters. This is one area in woodworking where I don’t think a roundover or chamfer is advantageous. I want as much workable area on the top as possible, right up to the edge.
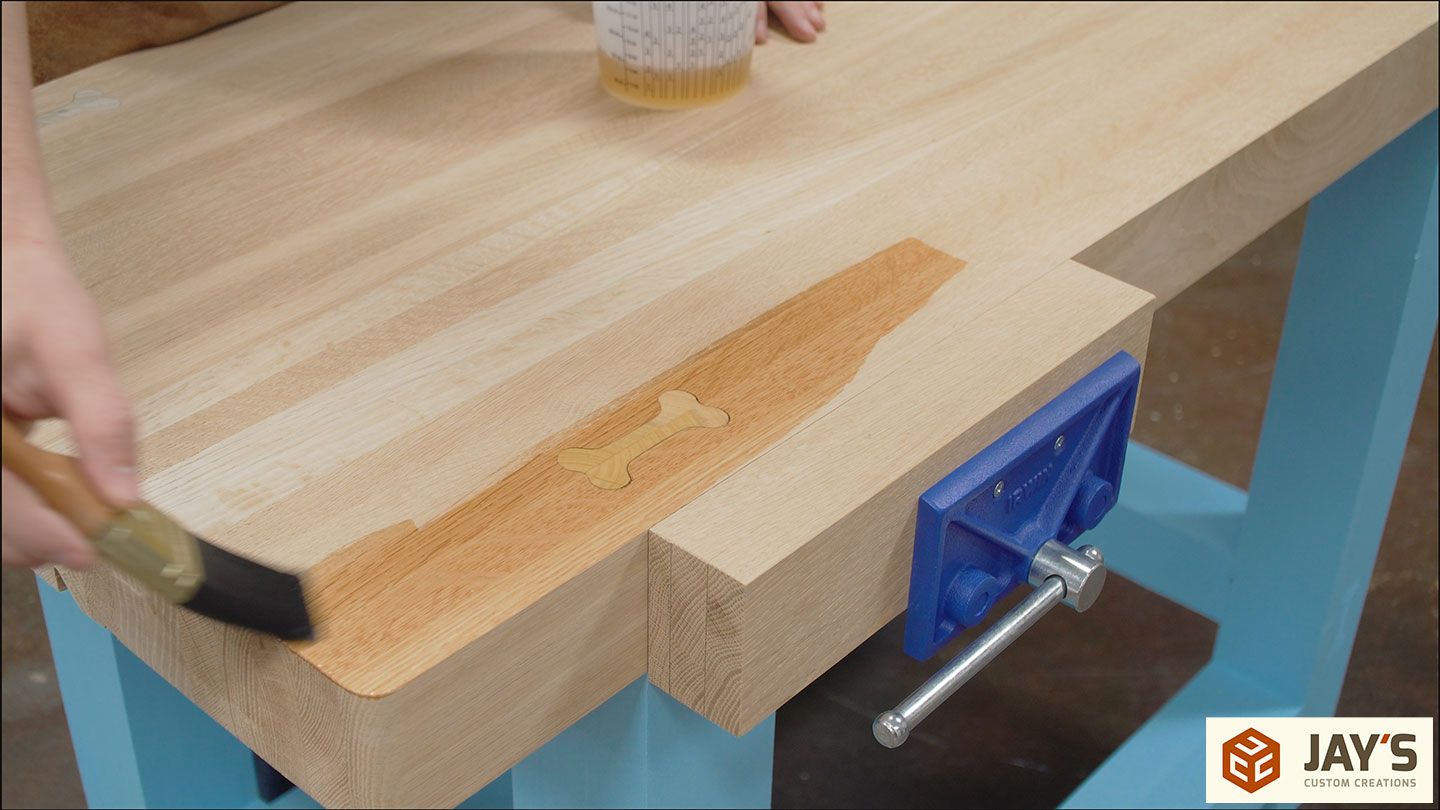
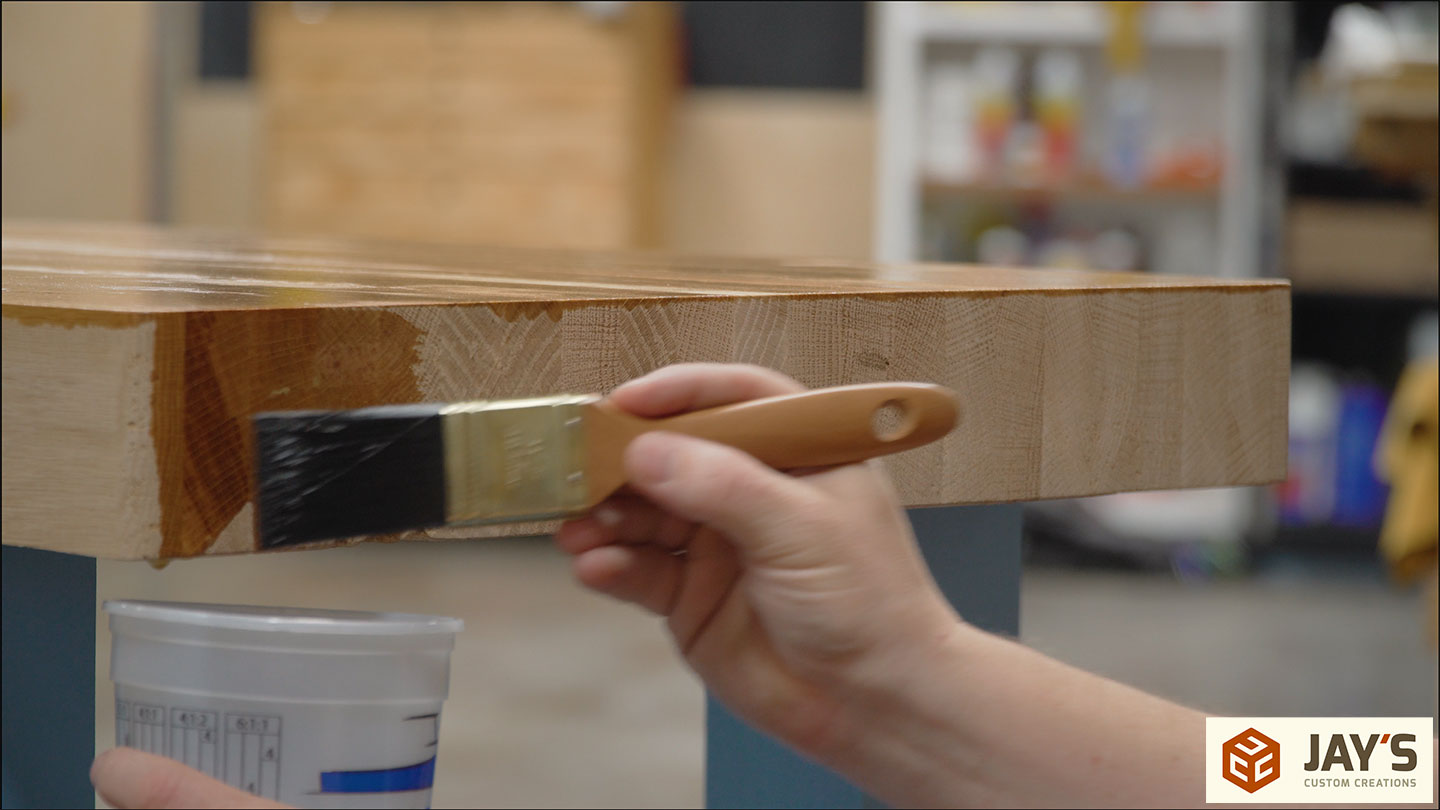
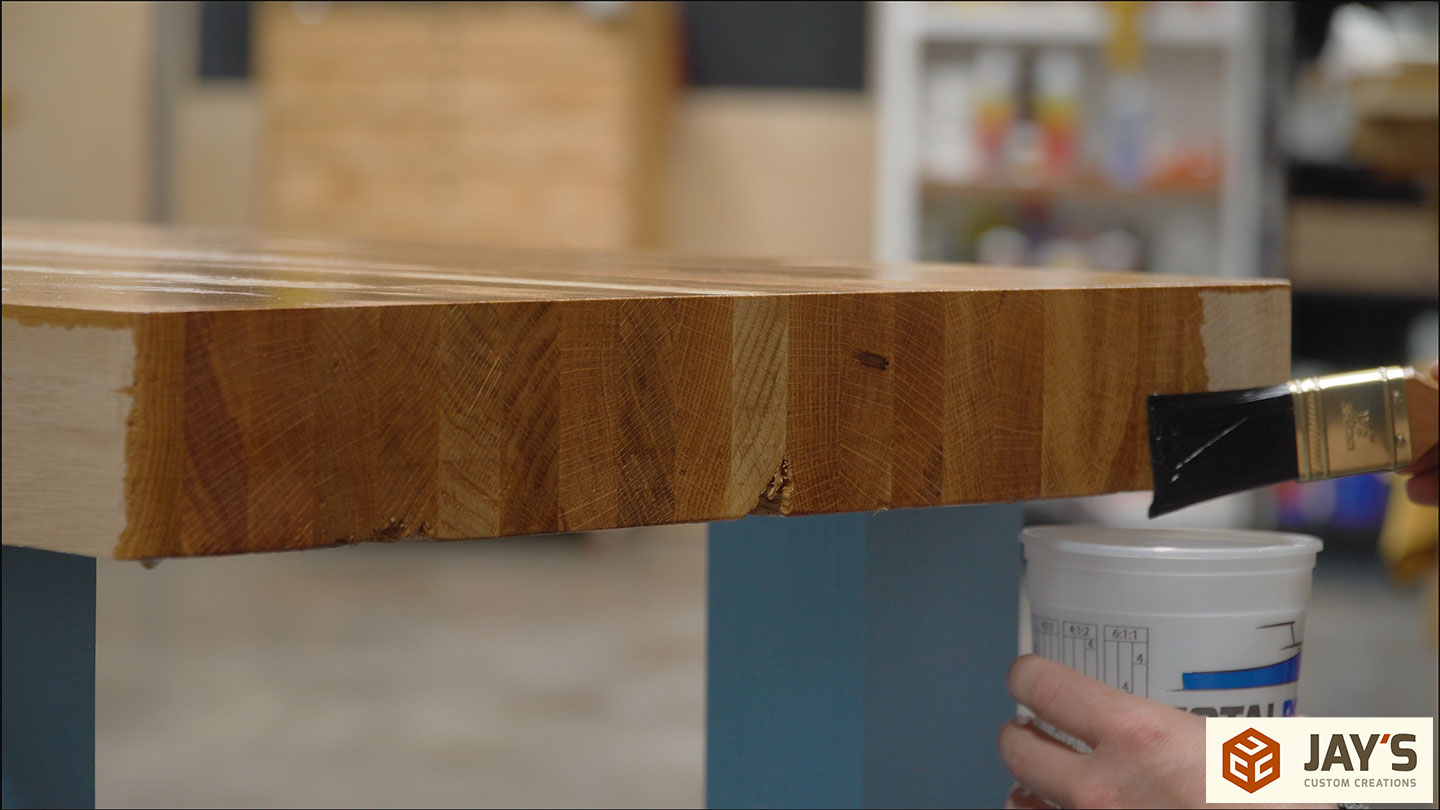
For a finish, I went with a natural color Danish oil. It will offer more protection than a simple oil finish while also not being as slippery as a film finish, like polyurethane. It really brought the oak to life.
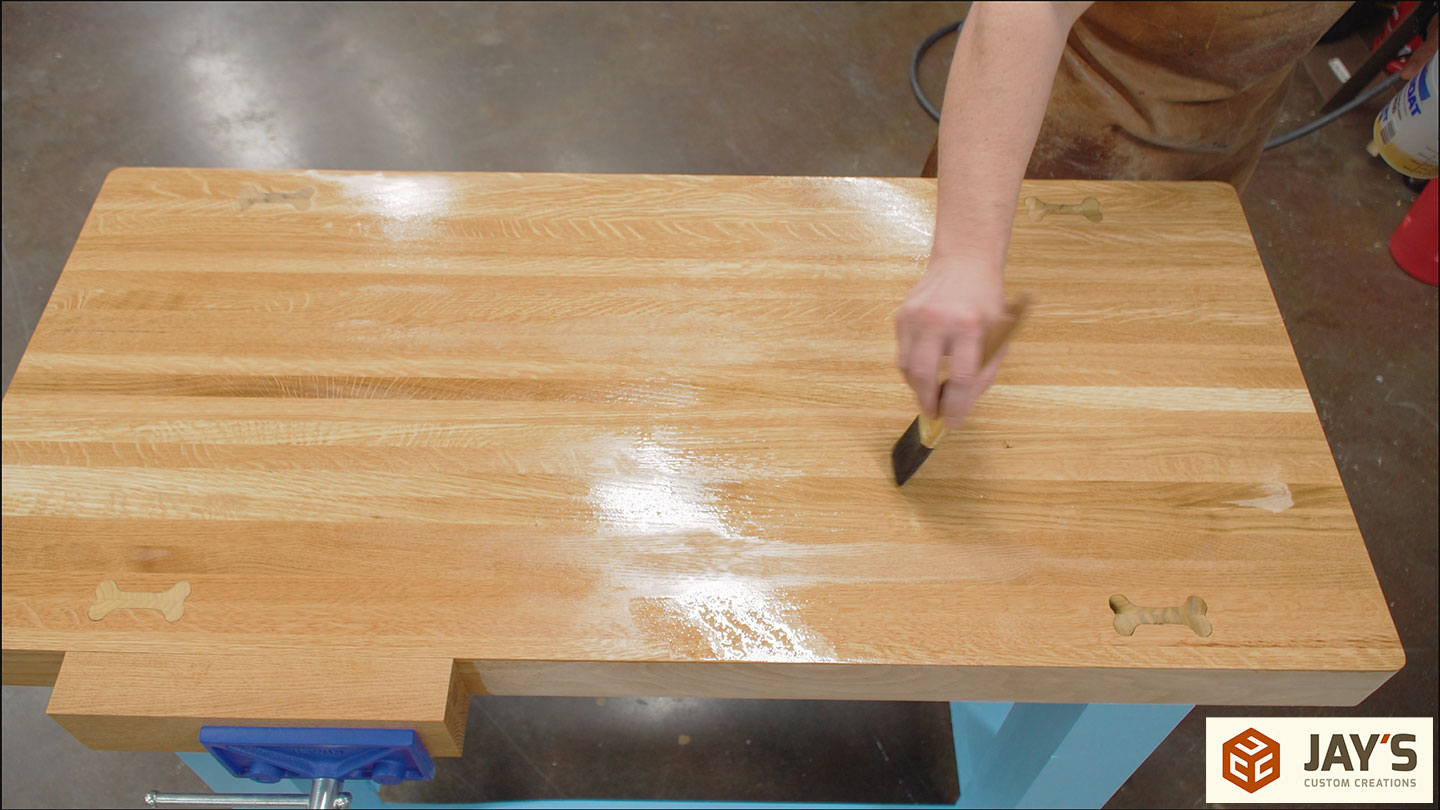
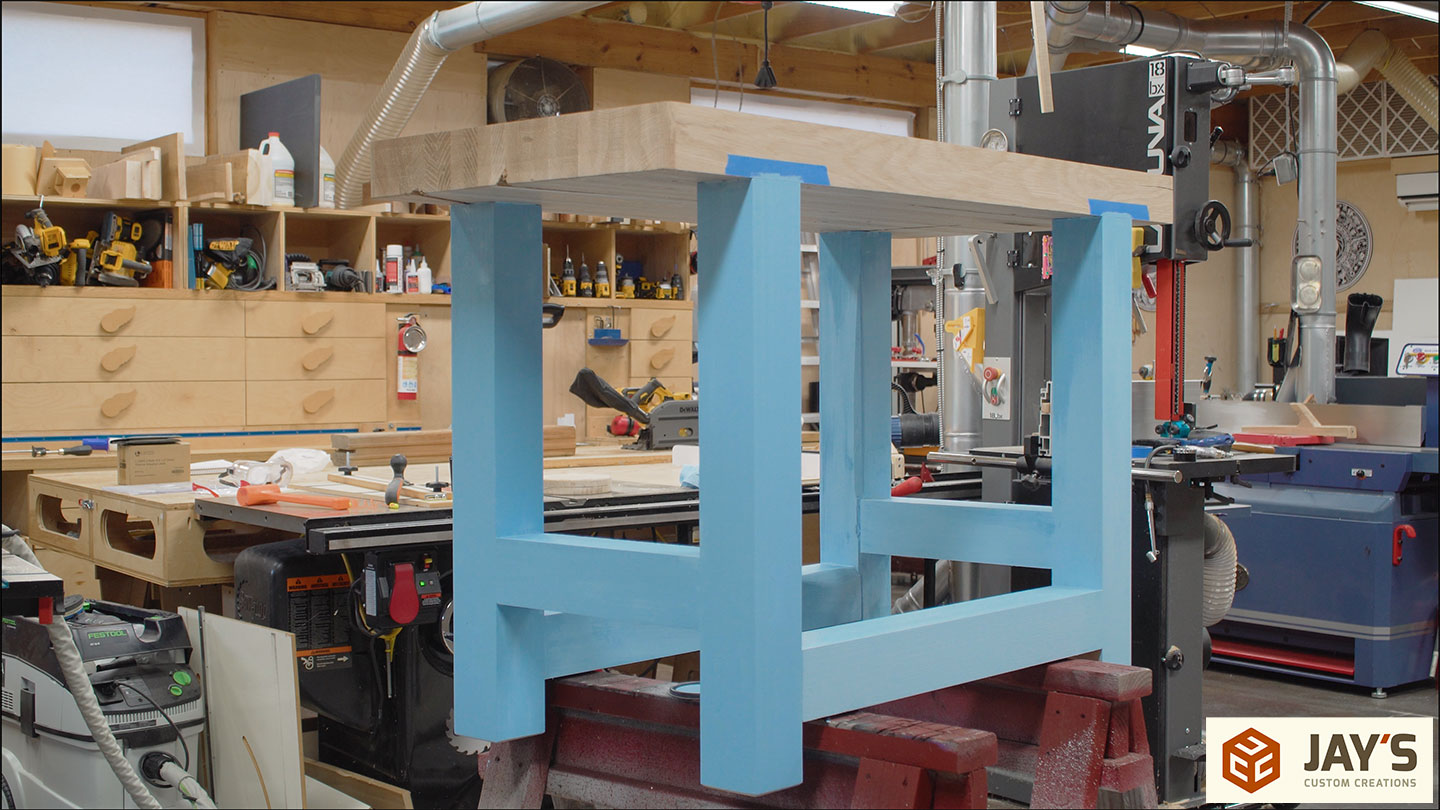
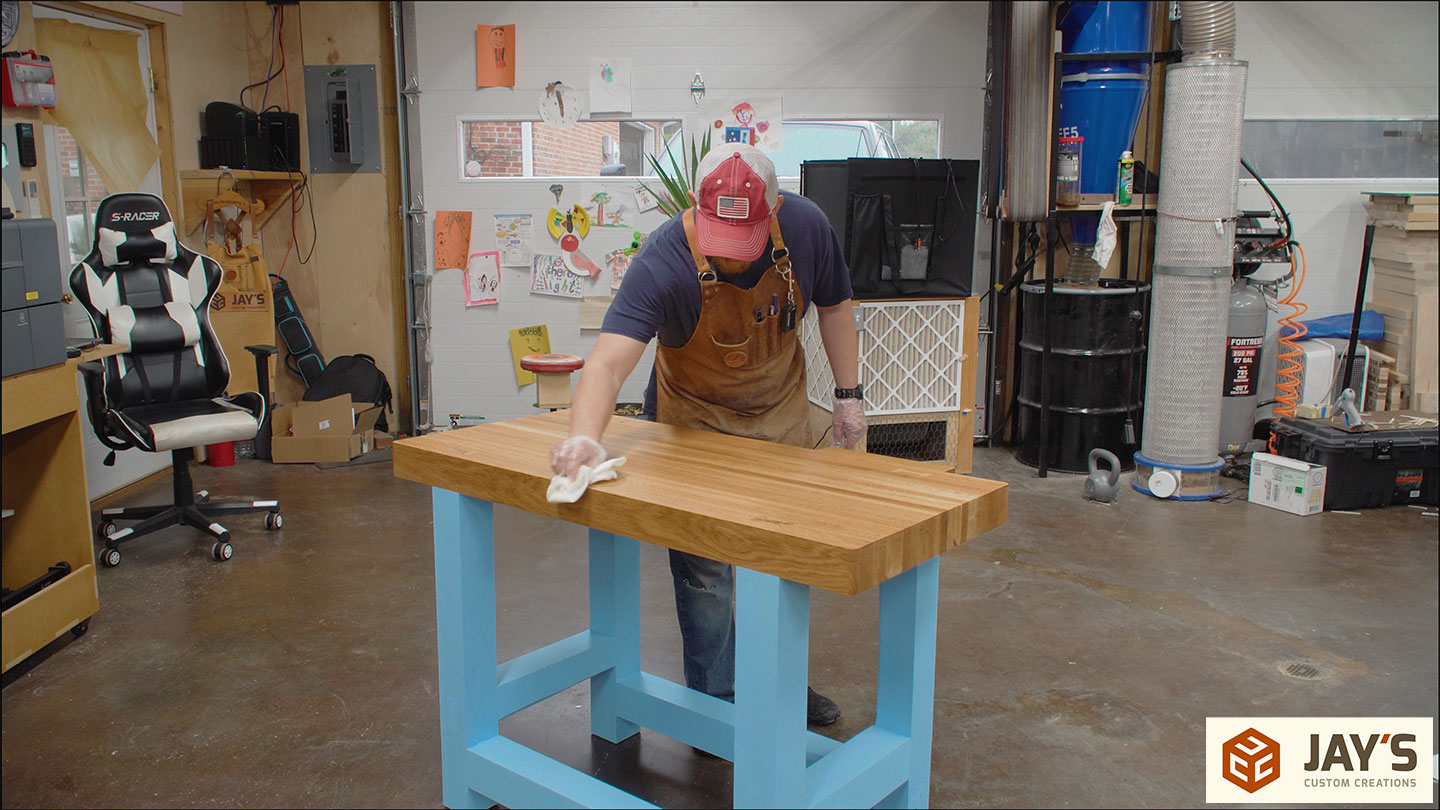
After about 20 minutes, the extra is wiped off and left to cure. I wasn’t a fan of the blue at first. After seeing it complete with the finish on the top, I really like it.


She will have that the workbench for a life time and maybe use it for a piece of furniture
Very nicely done. I think it was Stumpy Nubs that commented about the federate when sanding that caused the swirlies. The older I get, the more I sand, the faster I go, the more swirlies i get… Re-watch the Sanding part of your presentation. It is difficult to go slow enough.
Great work as always.
Awesome bench for your daughter !!
Bad news with your Festool sander .. I have the 1/2 sheet sander and absolutely love it !! Happy New Year !!