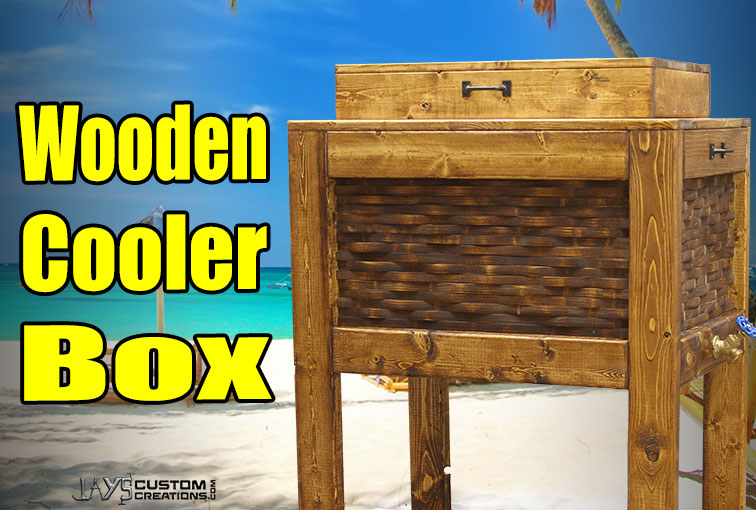
My boss at my last job asked me to make a wooden cooler box and I agreed. Fast forward 8 months and I’m just now getting around to it. Most of the cooler boxes you see out there lean towards a rustic appearance. The goal for this one was to make something not-so-rustic as it is going to be topped off with a 12” circular sports team tin.
It’s one of those projects that I have been randomly been thinking about in the back of my head for several months. And after all that time I really didn’t come up with any original design or ideas to incorporate so the design I went with was not one of my own. The best looking design I have seen is from BeachBumLivin on YouTube so that’s where the inspiration for mine came from.
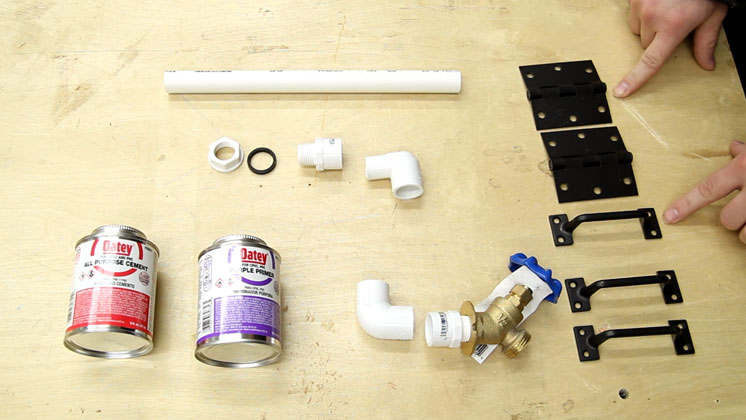
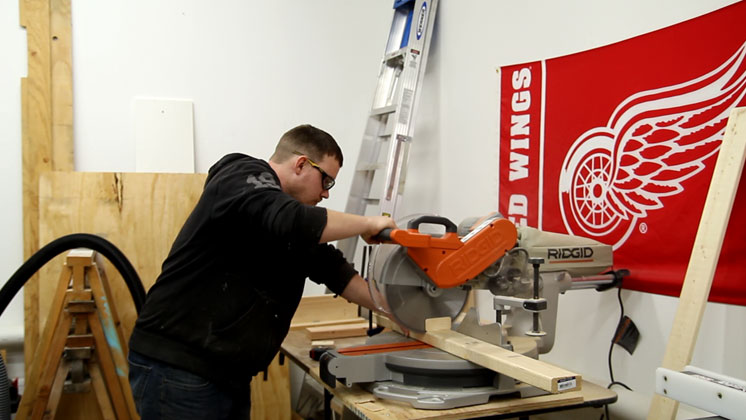
To keep the cost down I used regular construction grade pine 2x4s and a few 1×4 furring strips. I also used two 3” outdoor hinges, three handles, some 1/2” PVC, two 1/2” PVC male adapters, one 1/2” PVC slip elbow, one 1/2” PVC elbow, one 1/2” female thread spigot, and some PVC primer and glue. The cooler I used was a 52 quart Igloo brand cooler.
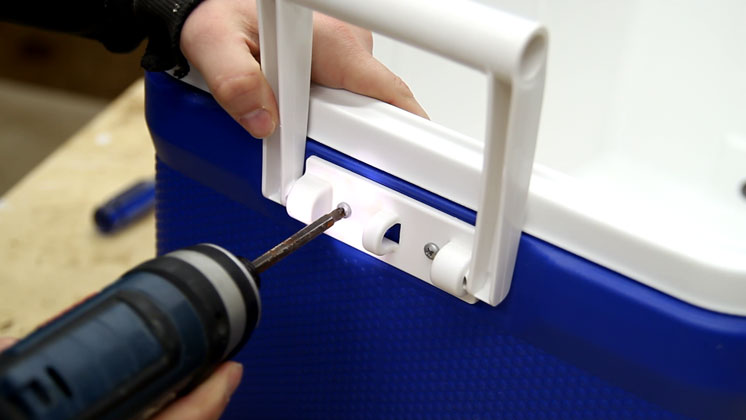
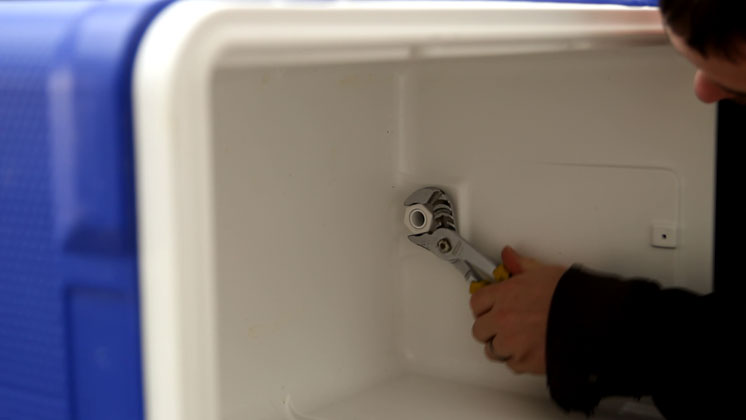
To prep the cooler all of the handles and hinges need to be removed from the cooler. My friend Robert Blanford mentioned in his cooler box video that you could sell the handles and hinges as a rebuild kit for the cooler on Amazon or Ebay.
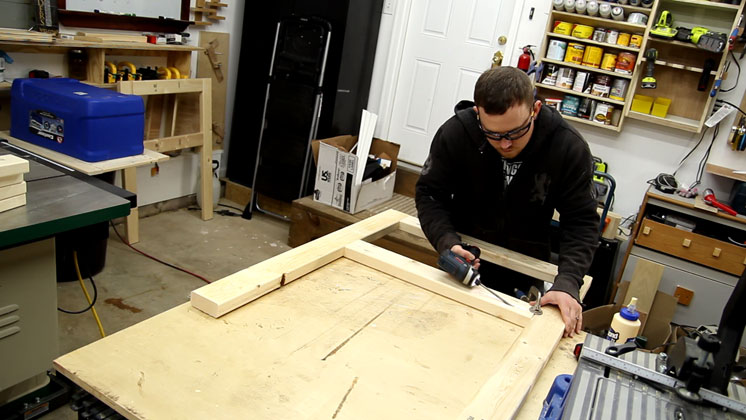
The first bit of construction on this was to make a top frame for the cooler to sit in. I used 1×4 furring strips here.
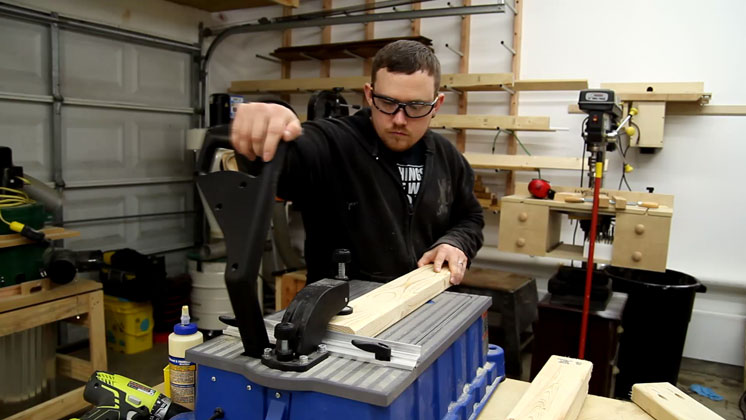
To make quick work of this project I used pocket hole joinery for the structure. Each short piece on the top frame received two pocket hole screws on each end.
I sometimes get asked if glue is necessary when using pocket hole screws. Depending on the area where the pocket holes are to be used it may or may not be necessary but I always recommend using wood glue. It sure won’t hurt anything.
A quick test fit in the frame to see if it fits. The fit needs to be nice and snug so the cooler won’t wobble around in it when the box is complete. This frame will also determine the overall size of the project.
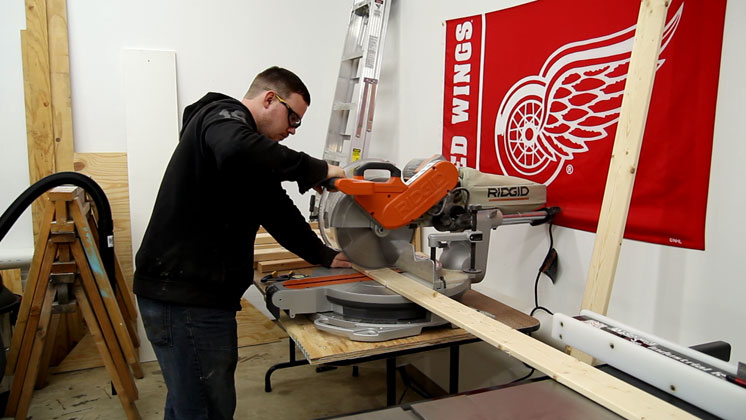
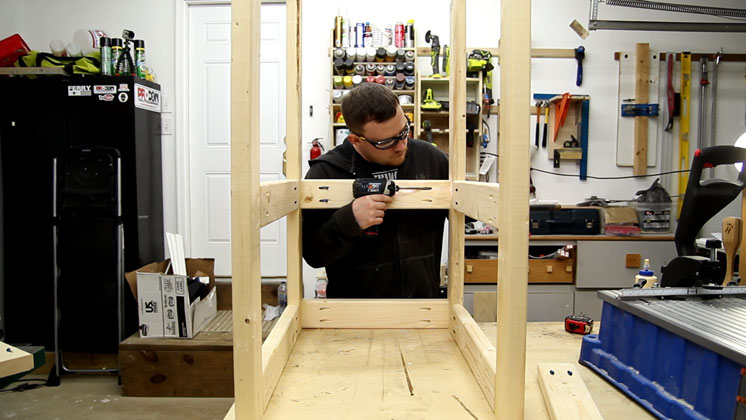
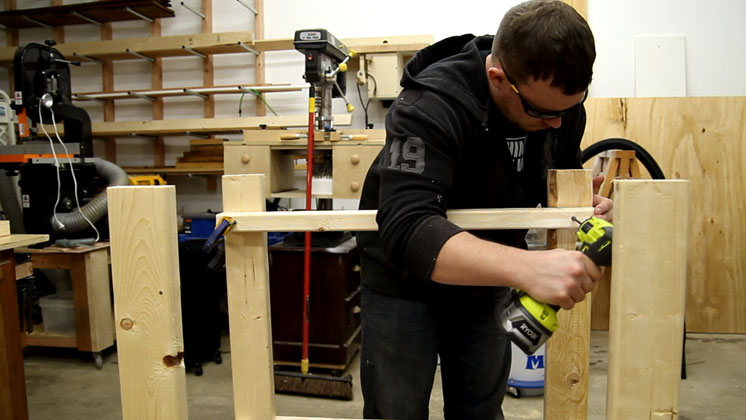
I used regular 2x4s for the structural frame. You could probably get away with thinner material such as 1x4s though. I went with the thicker 2x4s to get a deeper recessed panel for the wavy trim I was going to use later.
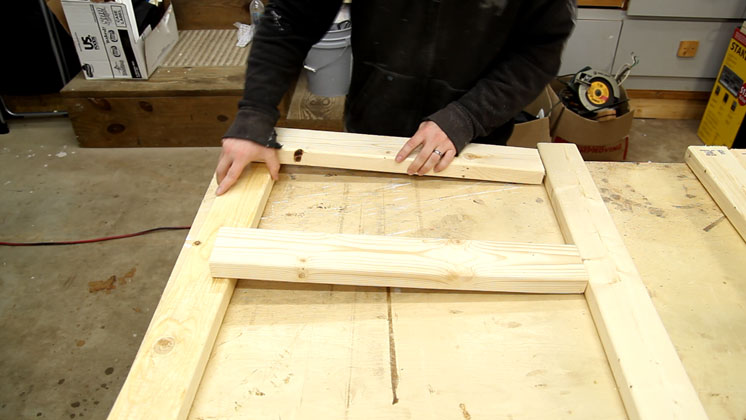
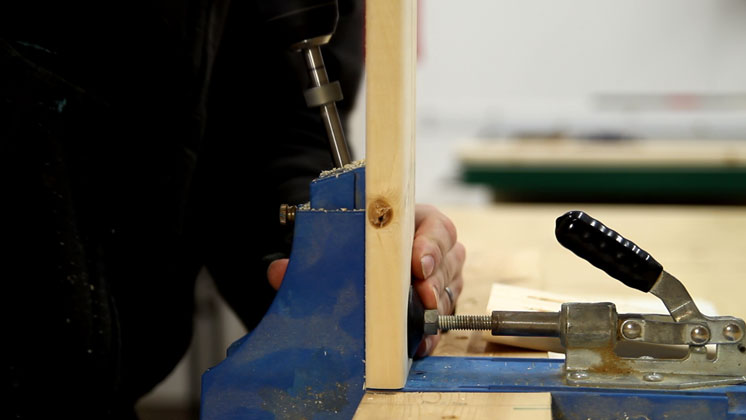
Again, pocket holes are used for the 2×4 frame pieces. My Foreman machine was already setup for 1-1/2” thick stock so I used it instead of my K4 jig.
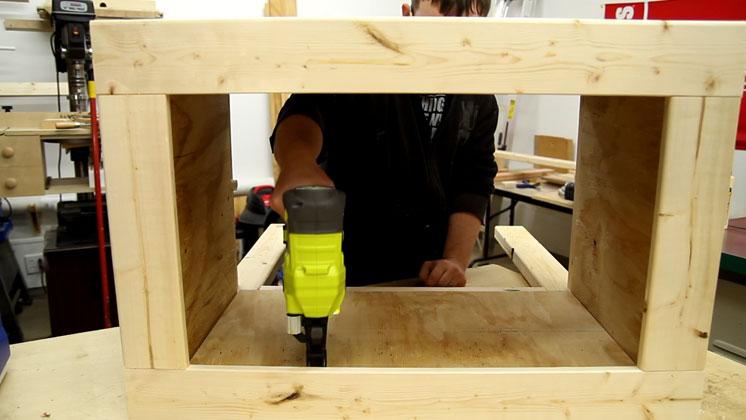
Pocket holes sure do make the process go by a lot faster. Two larger frames are needed for the front and back.
The two larger frames are connected with four shorter pieces. Everything was sized to match the perimeter of the top 1×4 frame I made earlier.
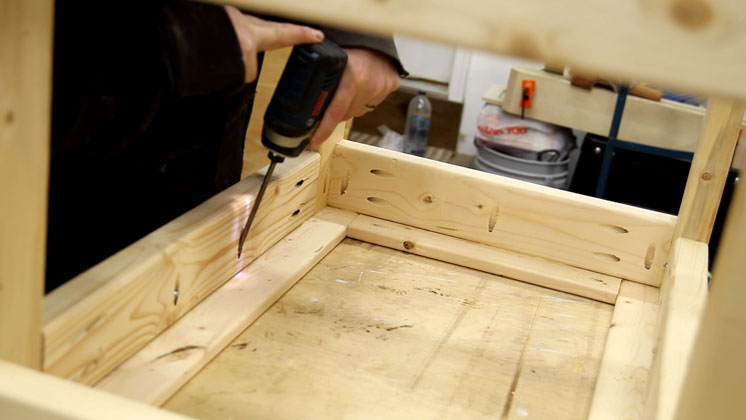
My original plan was to attach the top frame to the base with wood glue and brad nails but I ended up not going that route to reduce the number of nail holes showing on the project. Instead I used a small pocket hole jig to drill holes right on the assembled frame.
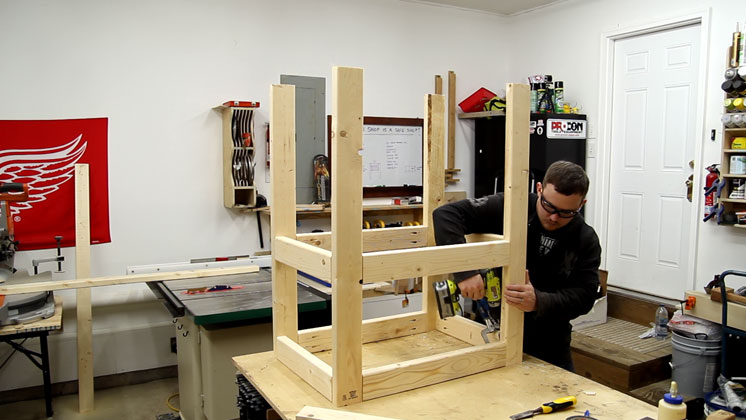
Wood glue and 1-1/4” pocket hole screws were used to attach the structural frame to the top frame.
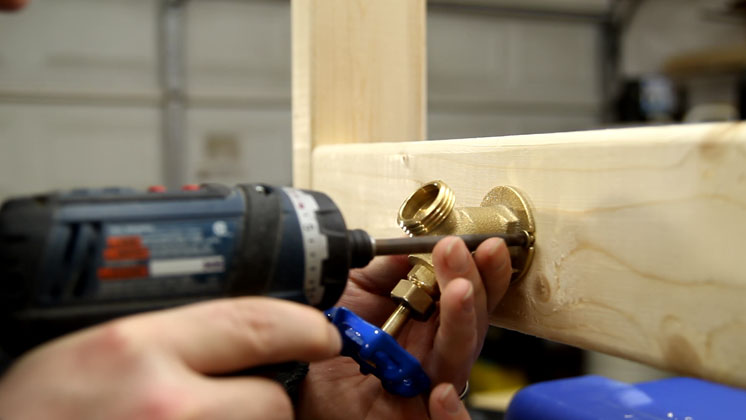
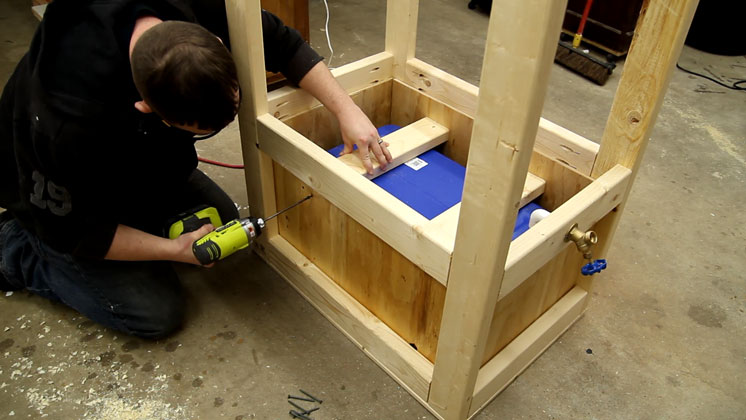
The original drain was replaced with a 1/2” PVC male adapter to give the PVC a connection point on the outside of the cooler.
The drain will end and be controlled via a 1/2” female thread spigot. Another 1/2” PVC male adapter will fit into the back of the spigot. I drilled a hole in the lower horizontal 2×4 frame piece and mounted the spigot with a coupe brass screws from an old door handle.
Regular 3/8” pine plywood was used for the interior panels. I really didn’t care how bad the panels looked because I knew they were going to be covered soon. They just needed to be glued and nailed into place.
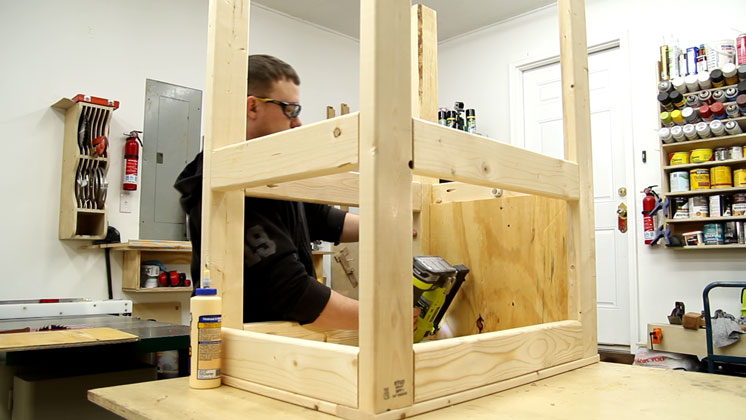
The short sides went in first followed by the long sides.
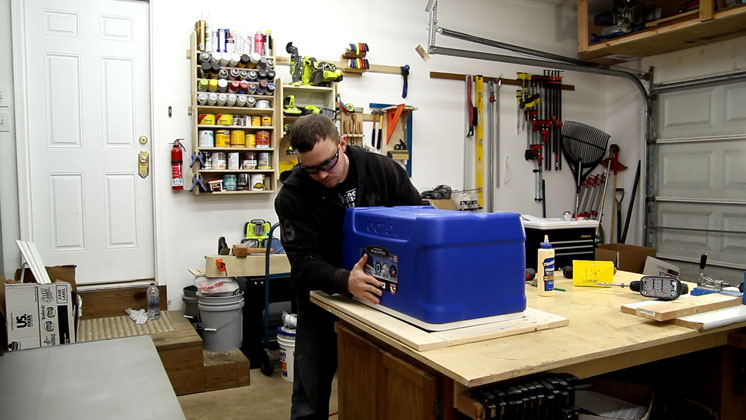
To secure the cooler in the frame I needed to add a couple lower braces for the cooler to sit on. I went with 2x4s for these pieces.
To make the cooler kinda hold onto the 2×4 bracing I used my hot glue gun to lay a bunch of glue on the cooler before adding these braces. To secure them to the frame I used two 3” wood screws through the plywood panels.
The lower shelf cleats were made from ripping a 2×4 in half. Essentially it’s just a 2×2.
More 1×4 furring strips to make the lower shelf. Wood glue and a couple brad nails will hold everything in place.

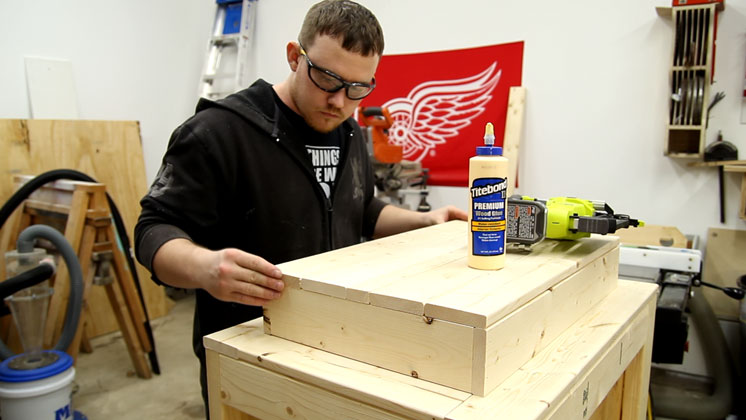
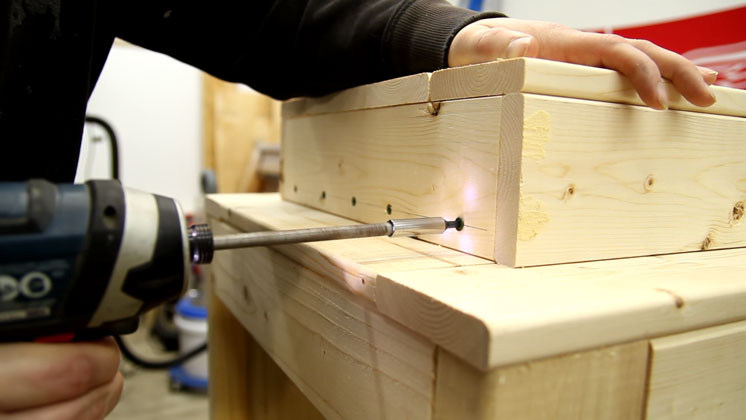
The lid of the cooler box is nothing more than a 1×4 box. First a frame is made tightly around the lid while it is in the closed position on the cooler. Just regular butt joints with wood glue and brad nails. Then a series of 1×4 strips were glued and nailed on top. Two 1×4 strips in front and in back with a smaller filler piece in the middle. Each strip was not only glued to the 1×4 frame but also glued to each other. A couple brad nails on the perimeter will hold everything down.
To secure the lid to the cooler lid I drilled 5 holes on each side and used 1-1/4” outdoor screws. This should hold the lid with no problems.
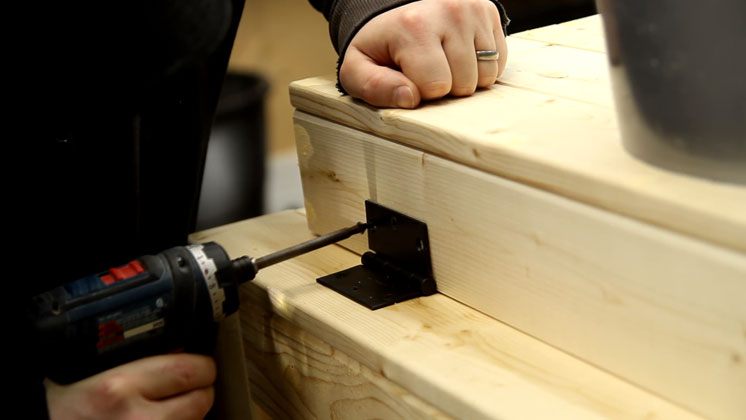
I used two regular 4” outdoor hinges for the lid.
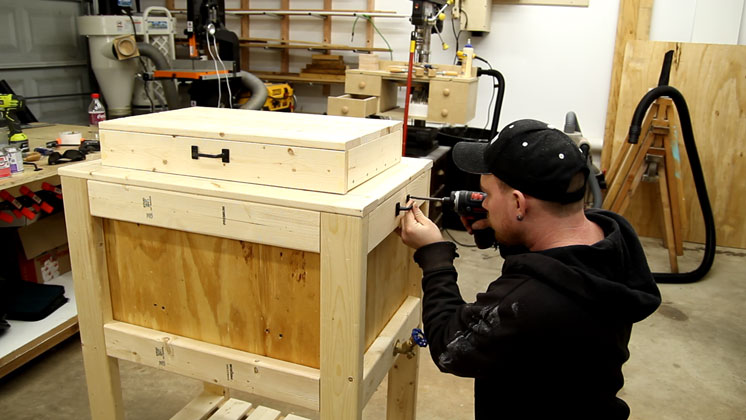
One handle for the lid and two handles on either end to help move the cooler box around.
Here’s where the BeachBumLivin inspiration comes into play. He has incorporated a nice wavy line pattern into a couple of his projects and that’s what I’m going to do with this one. I first ripped some 1×4 boards into 3/4” x 3/4” strips. Then I used the bandsaw to make a random wavy pattern right down the middle.
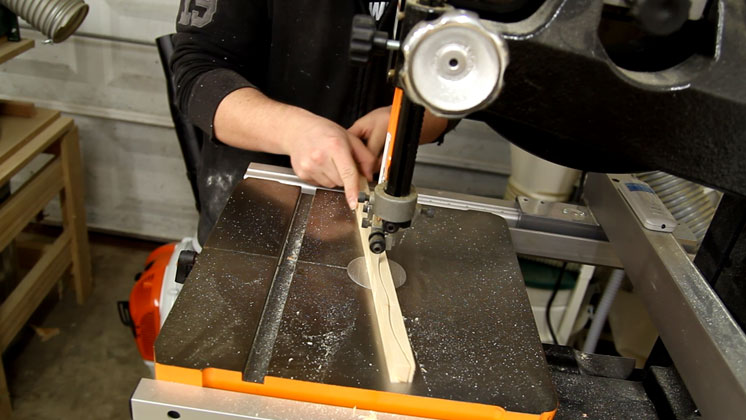
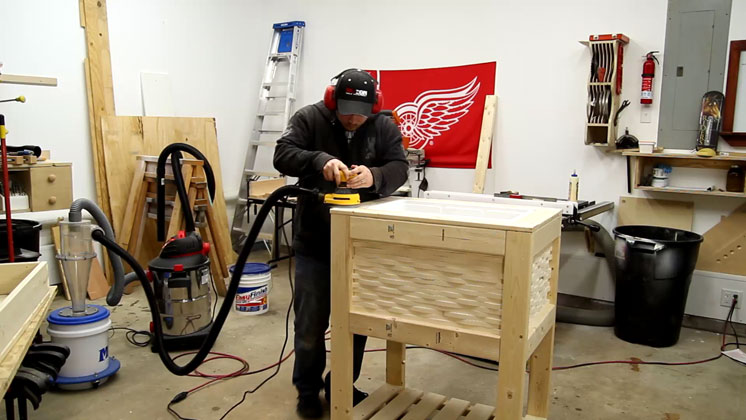
I ended up making a lot of them actually. Each one had to be sanded too. That was a really crappy process.

My original plan was to use my pin nailer to hold them in place while the glue set up but I ended up not needing to. I just used a bead of glue and held them in place for a second.

I think Steve Carmichael has a shirt that says something like “Woodworking: 20% fun, 80% sanding.” Lots of sanding for this project.
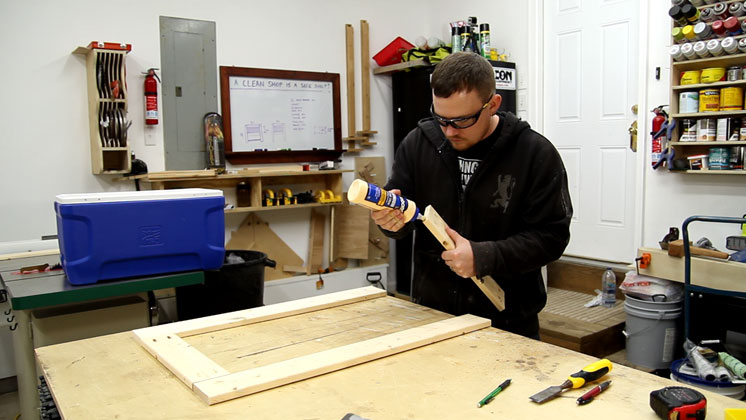
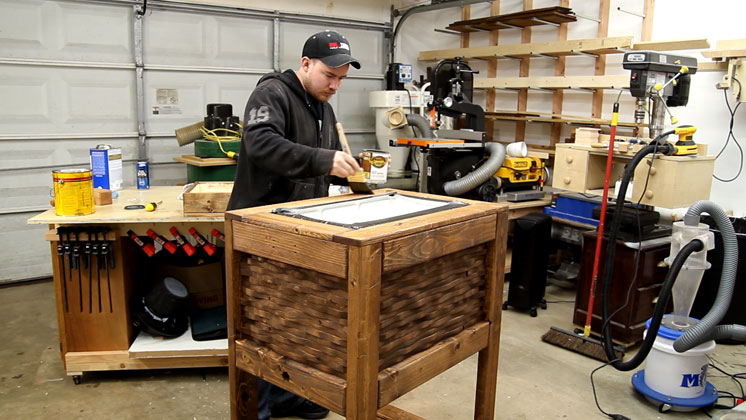
Because this project will probably end up outside I used a spar urethane by Cabot. I’ve never used spar urethane before and I wish I would have done a little more research on the front end. I didn’t realize it took 10 hours to dry.
The final step was to glue in the drain pieces.

In the end I’m quite pleased with the results. I really like the way it turned out and am glad I got the opportunity to make one. I probably wouldn’t have made one if it was for myself because I probably wouldn’t have used it. Hopefully you can find some inspiration in not only this cooler box but also the one that BeachBumLivin originally made. I don’t have a set of plans for this but I do have a dimensioned diagram as well as the SketchUp file available for those who are interested. Thanks for stopping by and have a great week folks!


Nice build brother.
For 2 X’s and Plywood, that cooler stand came out great !
Really like the trick photography/video enhancements.
Kinda looked like you were dancing to the build-beat ! ha ha
Thanks.
(and no thanks because now I’m thinking of buying one of those pocket screw drillers from Kreg…) ha ha
Eric
central Florida
hahaha! Thanks for stopping by Eric. I appreciate the feedback.
Really nice one Jay, what stain did you use ?
And yes outdoor urethane takes forever to dry and gives of a smell for a LONG time, specially if it dries/cures inside…
I know this because I used it on my dishwasher + stool project, i used your stool plan, love it man thx.
My set http://imgur.com/l3kxw7S made with 2X4
And i made another one a bit smaller made in maple finish with Shellac, I love it. http://imgur.com/BMrvGQl
You are the best man.
Those look awesome Philippe! Well done! We use mine daily.
Nicely done and unique. I looked at the dimensioned diagram PDF and it looks like two pages overlayed each other.
Sorry Jim. That was an error on my behalf. Somehow a dead link to an old file was included in the PDF export. I stayed up till 7am working on all of this to get it ready to post and got a little sloppy at the end. That’s one area I should have checked but didn’t. The correct version is up and thanks for letting me know!
Nice job, really liked how this turned out
Elaine? Is that you?
Gonna make this right after I make the perfect dado jig.
Great video. Really liked the sync-ing of music to screwing. Must be hard to do but love the affect . . Or is it effect?
Great build. Don’t know if the dope tape is required for PVC threads but probably doesn’t hurt.
Thanks Dorald! The video took a solid 7 hours to edit. I think the results are worth it. Not something I could do every week though.
Great job Jay!!!
I’m from Brazil and see your channel on YouTube.
Kind regards!!
Daniel
Nice build Jay, fortunately we are close enough to the fridge not to need one, but I may well pinch the wavy effect finish, looks great!
It really came out great. This is going on my “must do” list.
Thanks and keep up the good work.
Thanks for posting this Jay. I built one and added a twist by inserting a Harley Davidson sign on the front and lid and added the wavy boards to the top as well. Loved building the project for the first time. The amount of sanding is crazy but the finished project is well worth the effort. I am building additional boxes with sports team logo’s on the front and lid.
Nice. The amount of sanding is definitely huge on this one.
Thanks so much for this Jay, i’m a big fan of your site! This was the first time I had ever built an wooden cooler and your post made it easy for me to follow. I made a few changes but other than that I really loved this design. http://imgur.com/0KoG93l http://imgur.com/y9zk8T4 http://imgur.com/kHSvEsn http://imgur.com/AZ3VG5P
Oh and by the way I like that Red Wings banner in the background…I’m a Stars fan but I love to watch the Red Wings when I can.
Jay i really like this cooler iam thinking of making one i like it can come really handy when making partys or bbq’s…. But iam wouldering if you can help me by making one but i want to put some speakers on the bottom or with a sketchup it would be really hepful thank you. Very nice
Jay,
This sounds lot of work , yet interesting and engaging. Loved the final output. Thanks so much for sharing the steps in so much detail :-)