This project has since been completed. Here are the links to all parts of this build:
Fustion 360: Designing the project
Part 1: Case construction
Part 2: The base
Part 3: The details, assembly, and finish
Part 4: The drawers
Project Plans: Click here
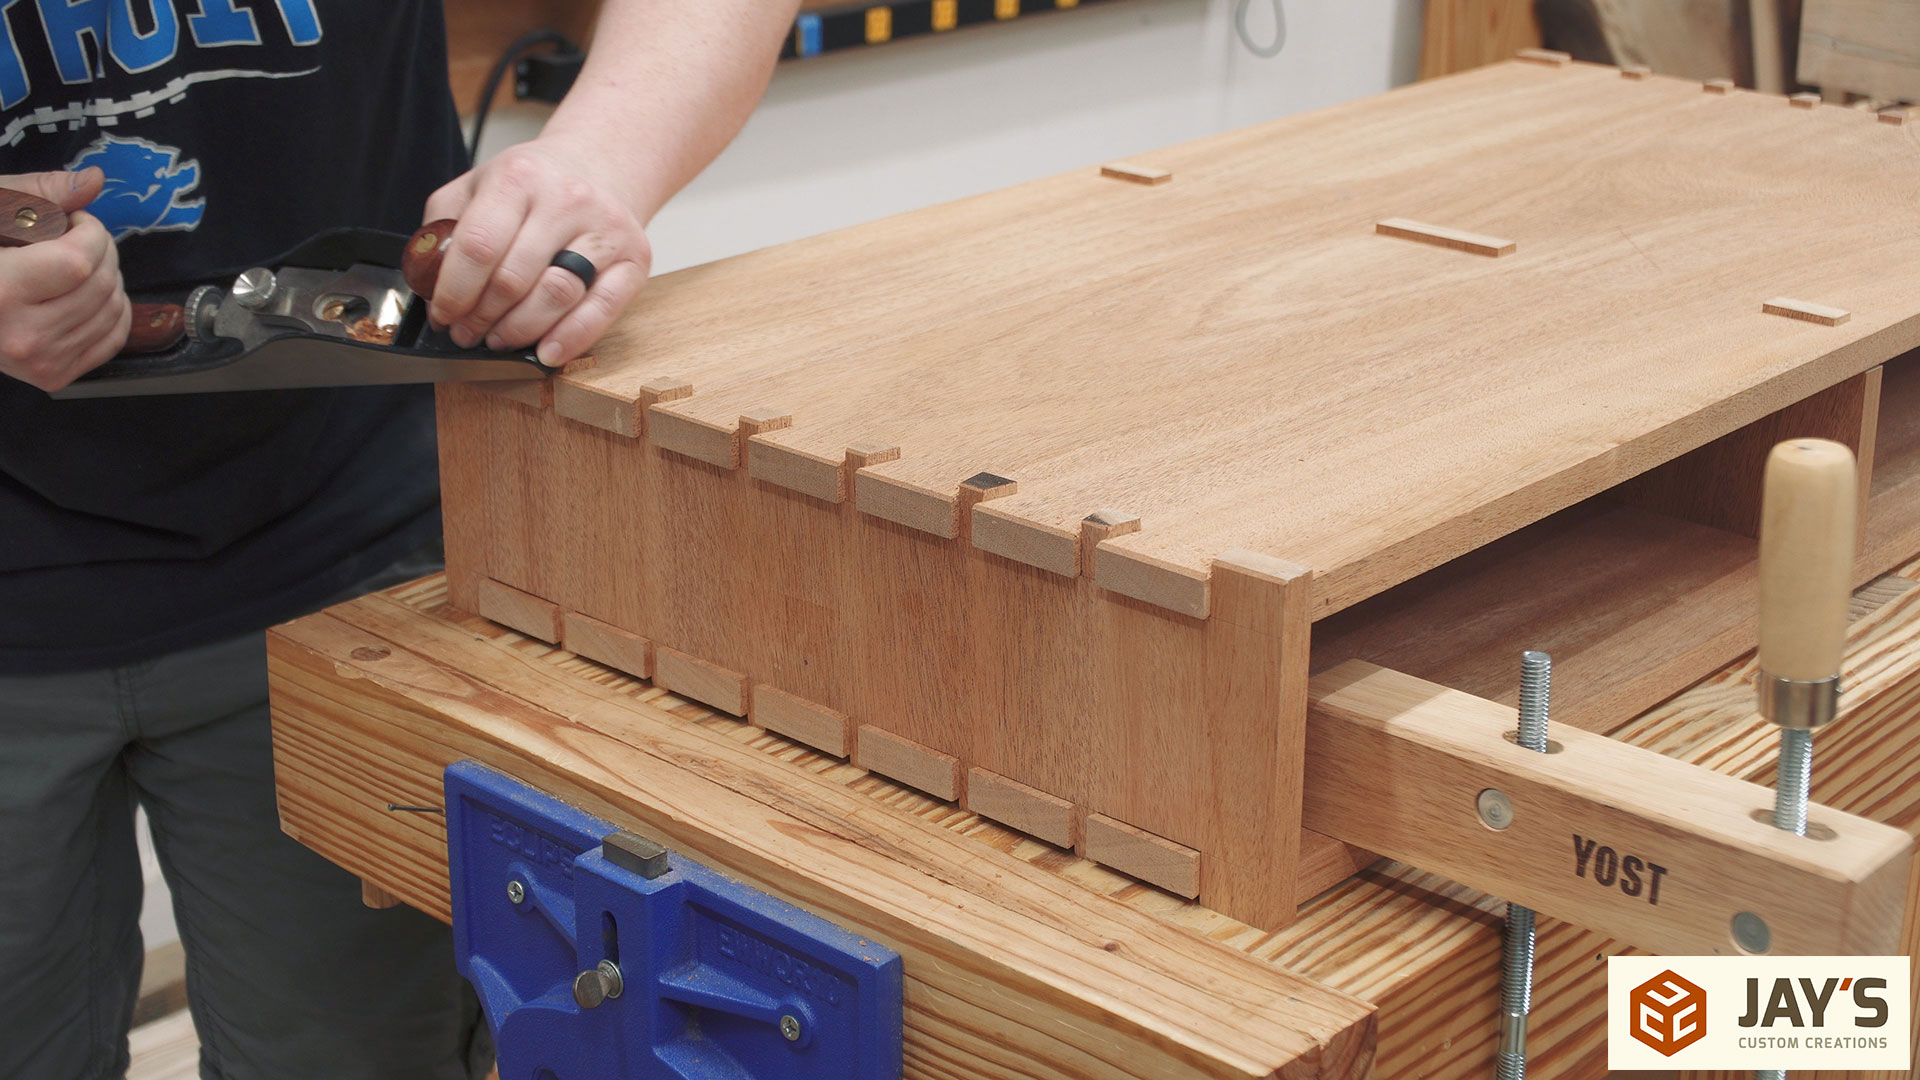
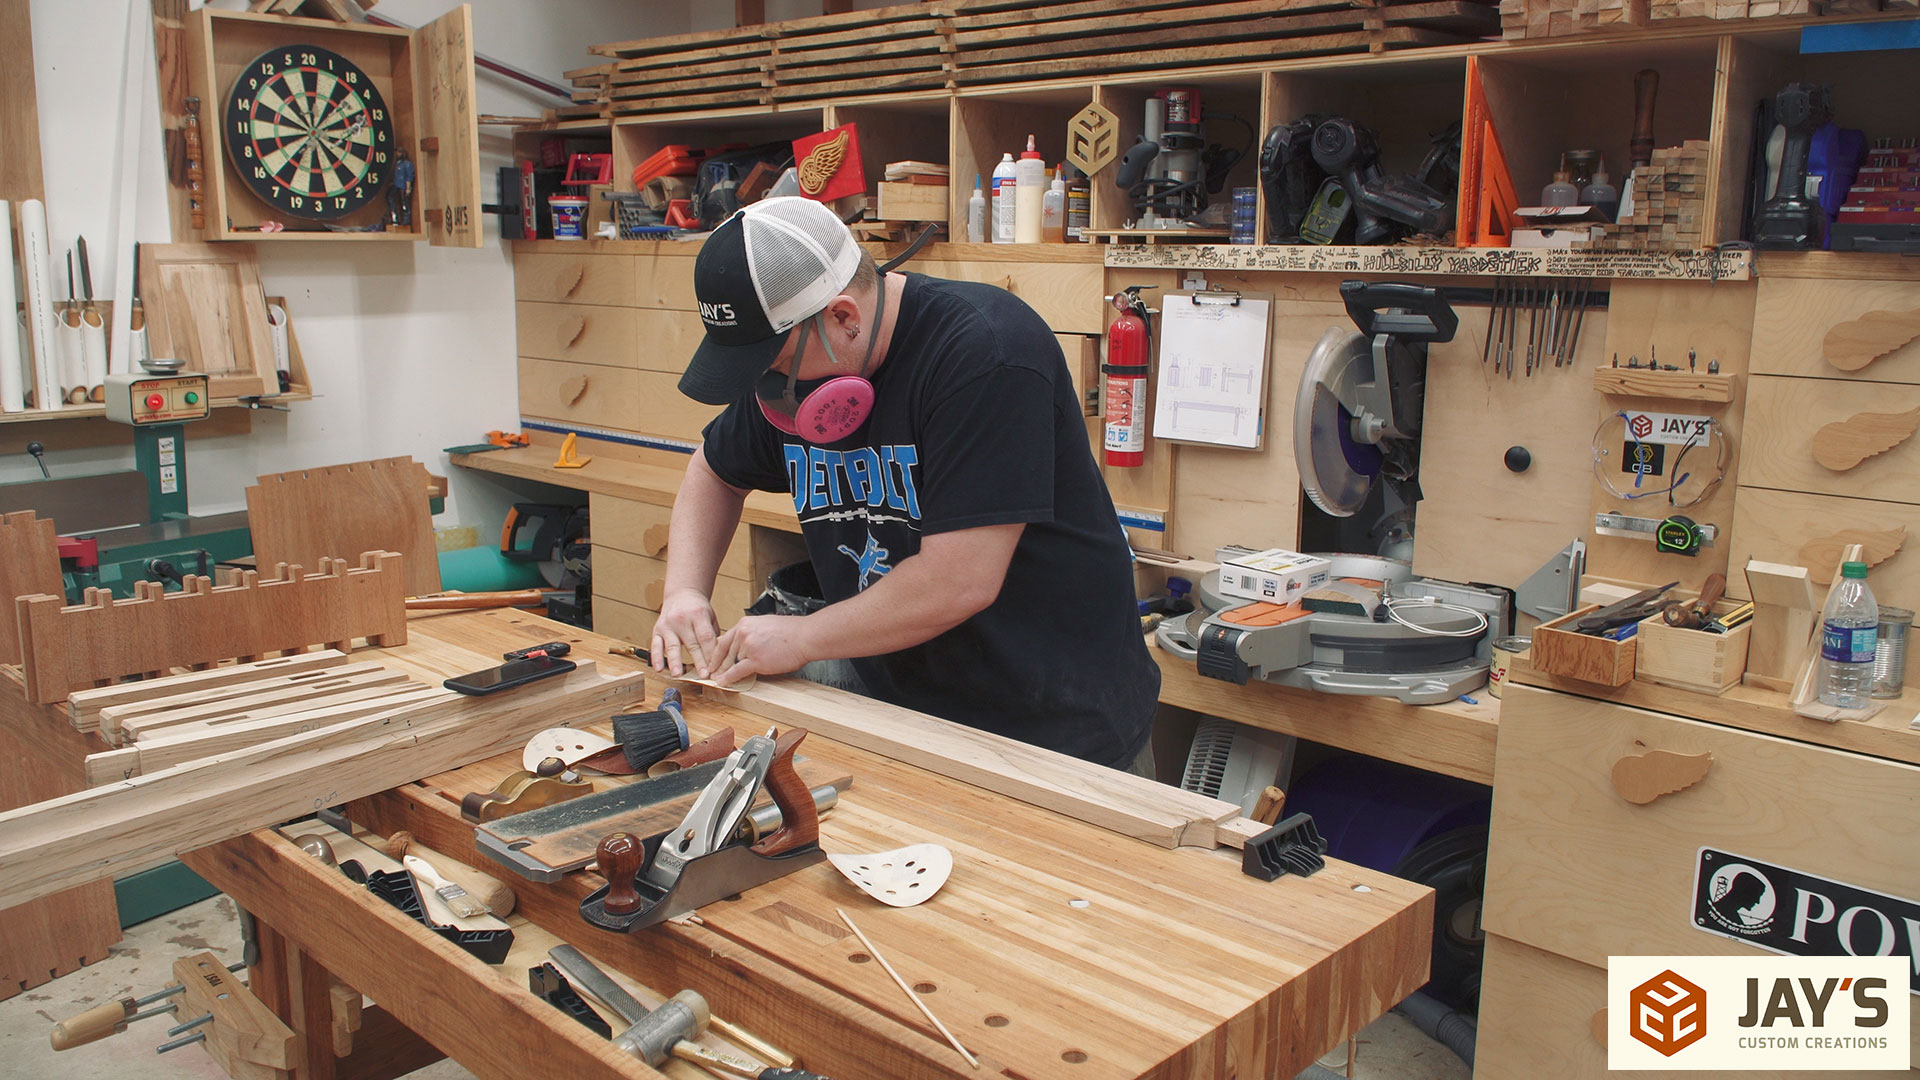
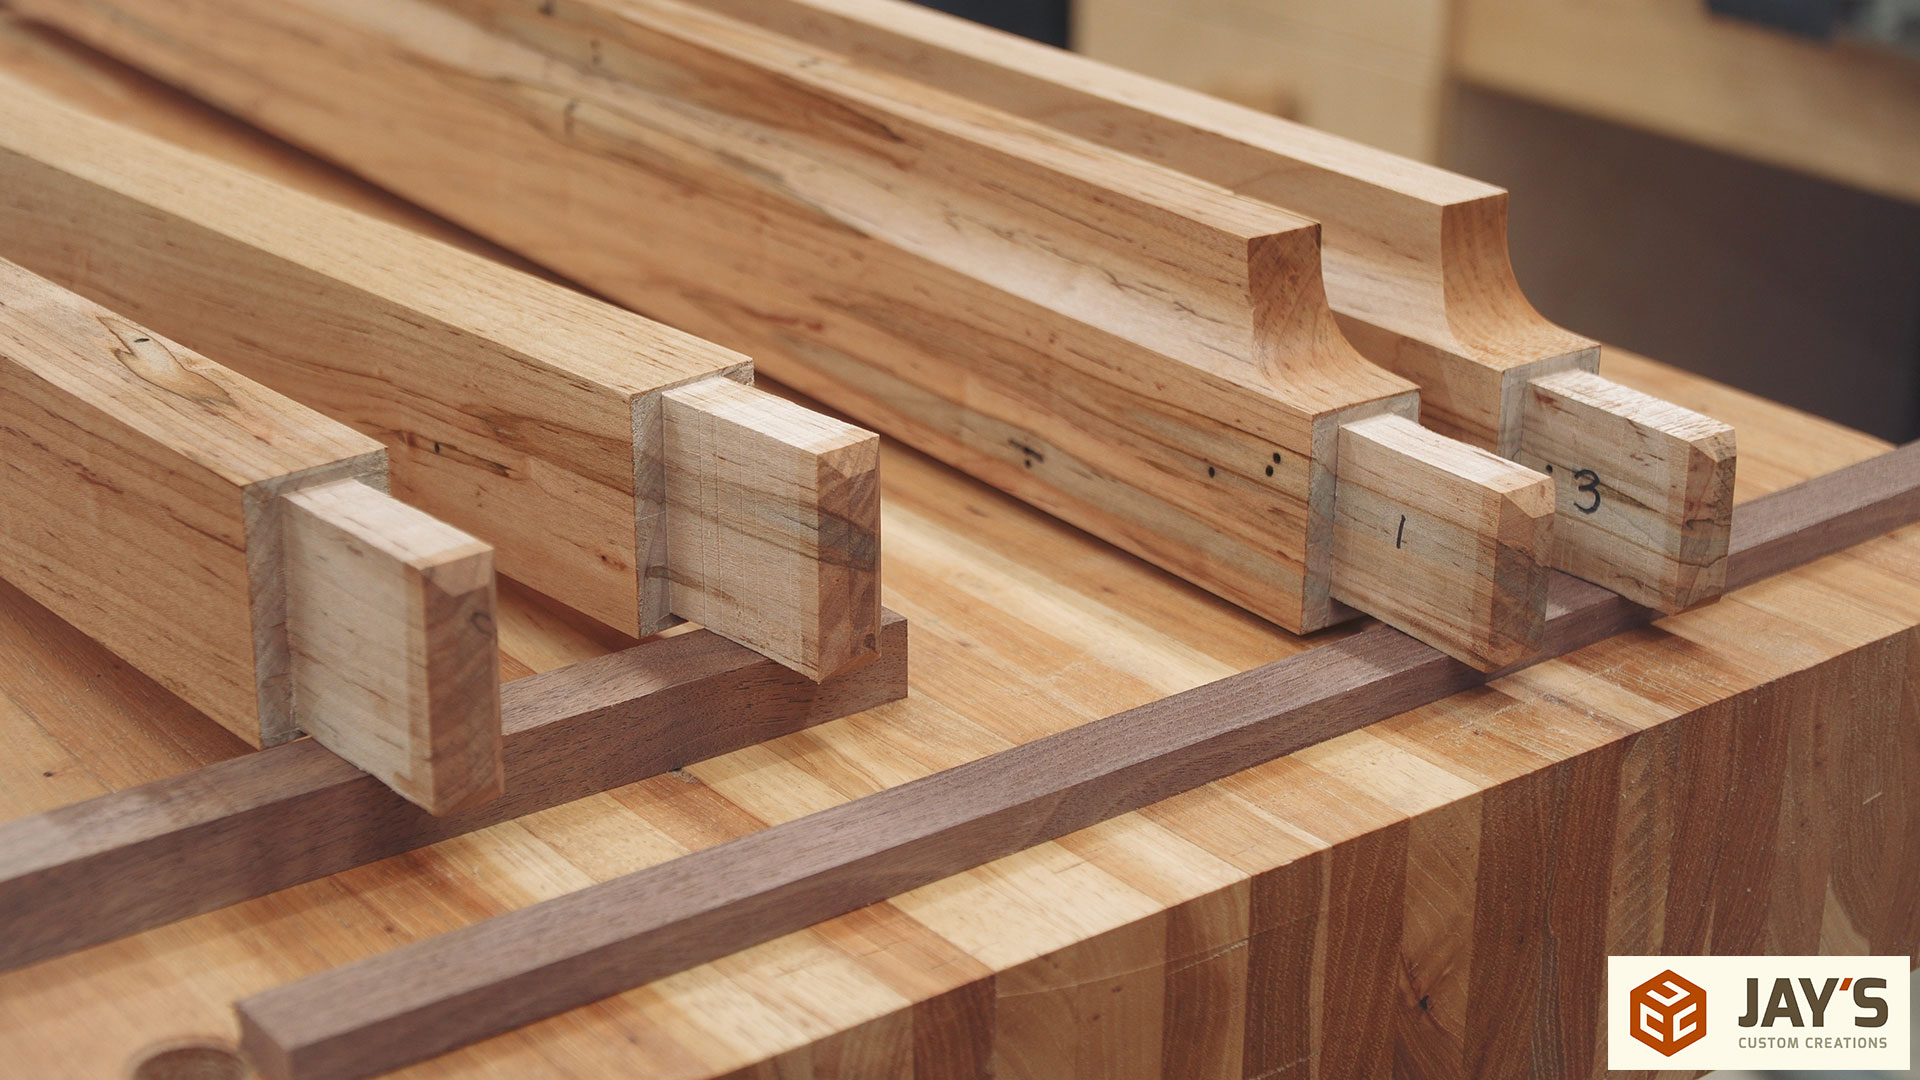
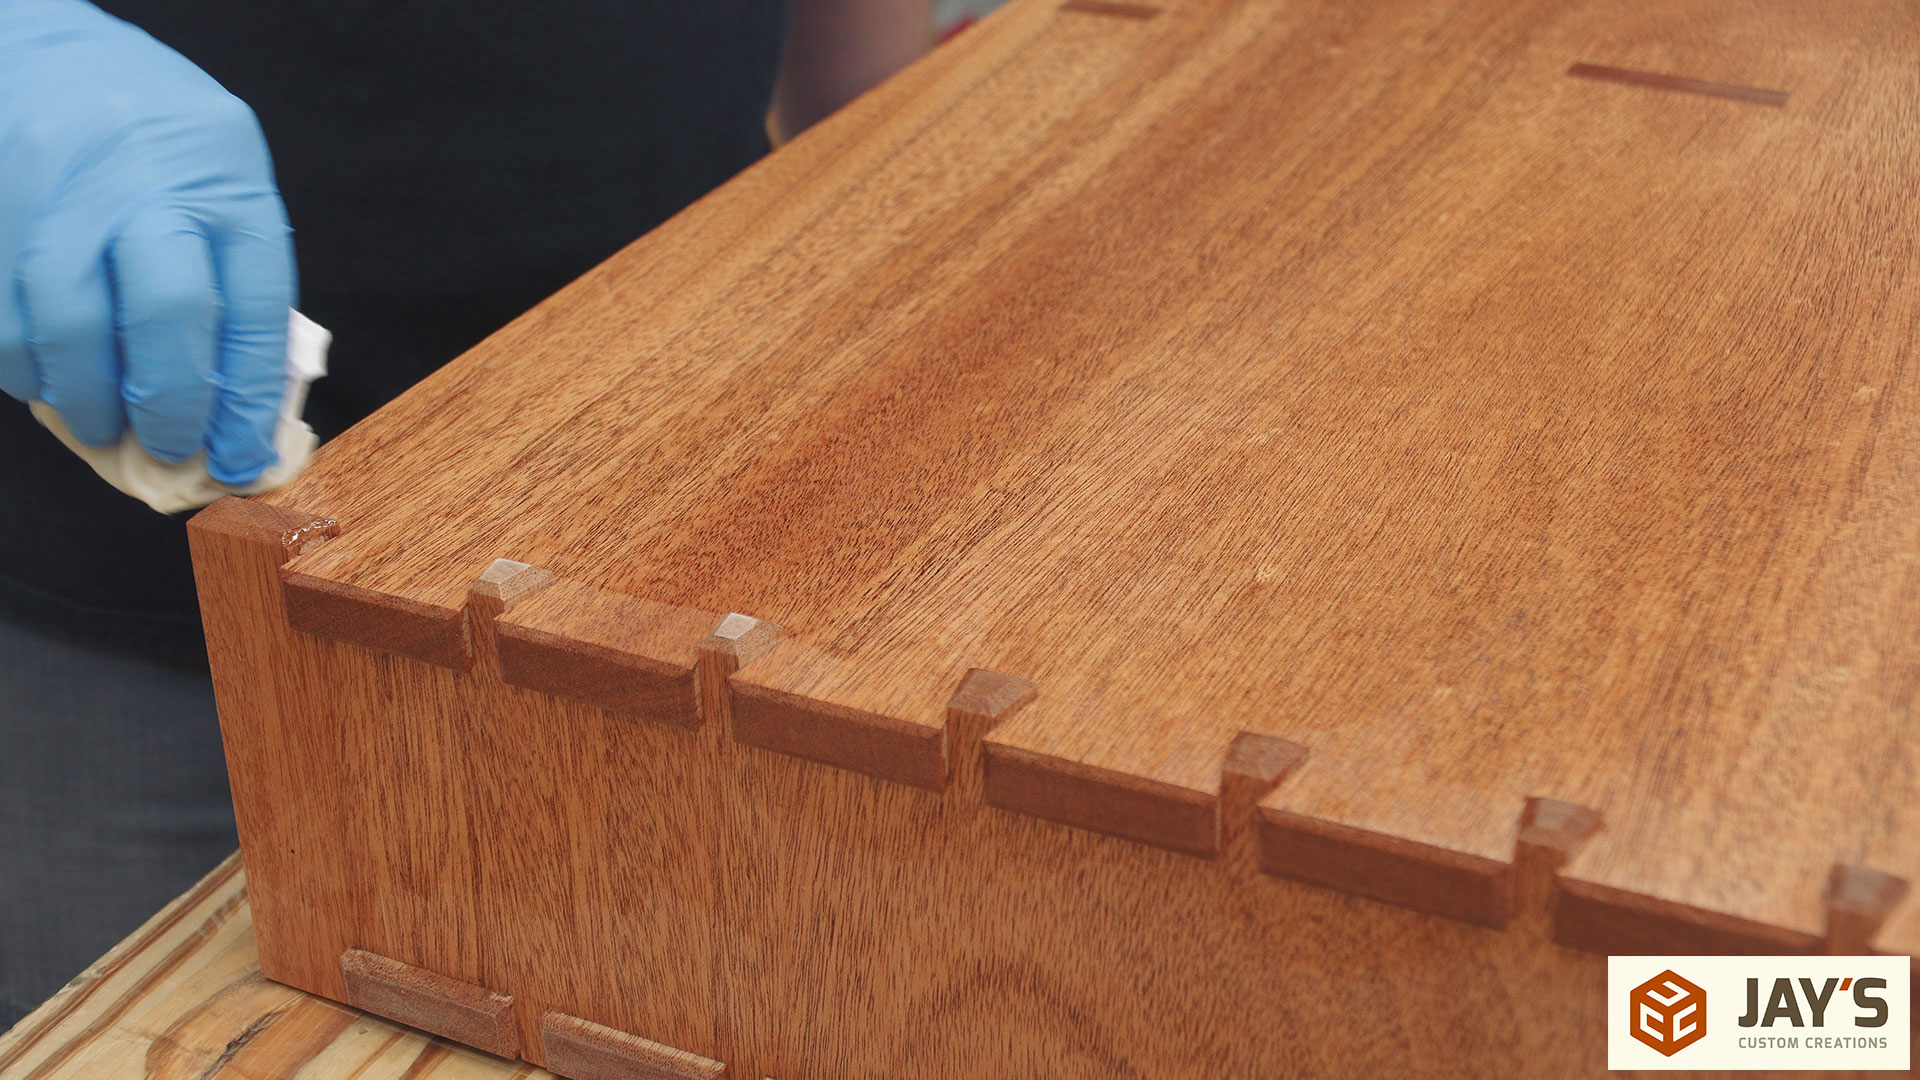
All of the outside edges of all of the proud joinery will get a chamfer. And with the case still in a dry assembly it was a good opportunity to run a plane over both the pins and tails at the same time. I won’t be able to plane the chamfer around all edges while assembled but this will give me a good idea of what looks good when it will be assembled and how deep to cut the rest of the chamfers when it’s disassembled. I also used a chisel to cut half of the opposite direction chamfers just to get a better feel for how it would look.

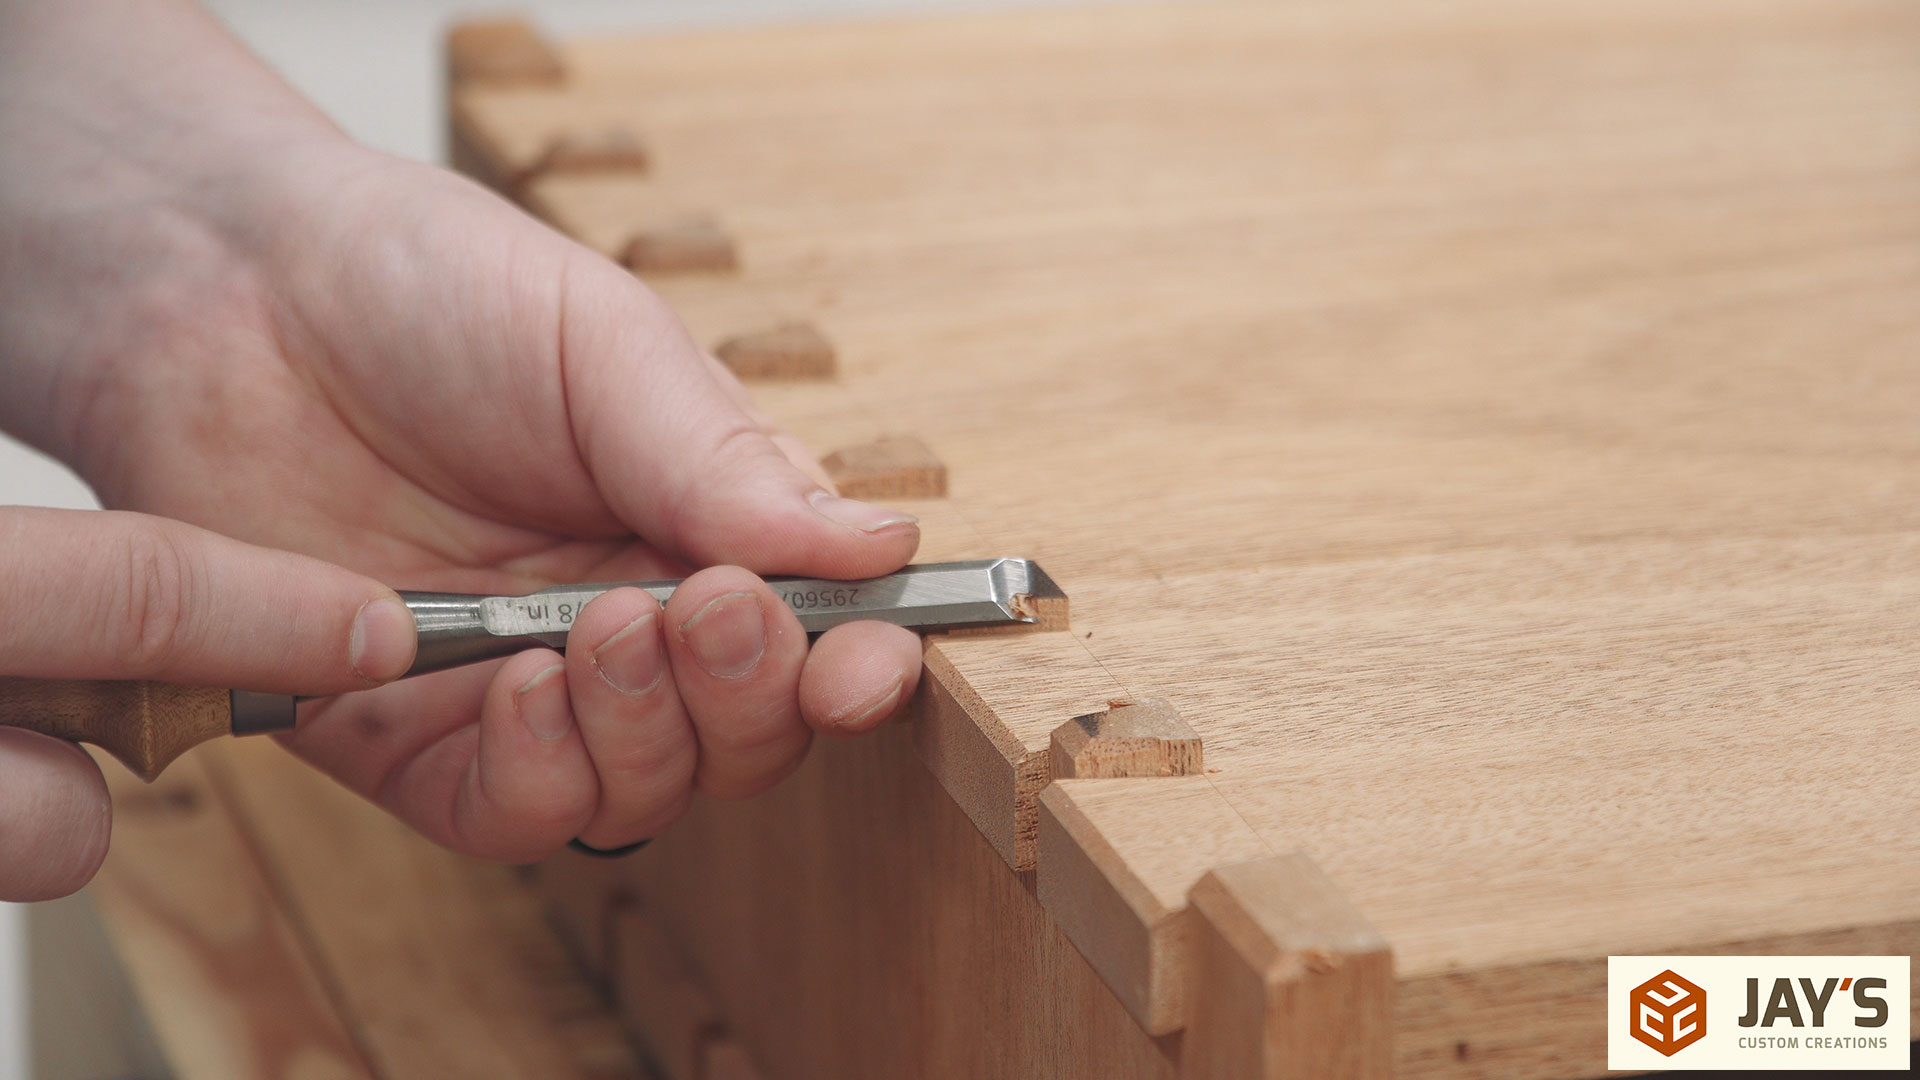
Once I was happy with the chamfer depth I used a straight edge against the outside of each joint to draw a reference line. This is just a visual guide to keep me mindful of the joint depth when I cut the chamfers.

These joints were really tight when assembled and there isn’t much vertical space on the inside for disassembly. Luckily the joints were cut proud which gives just enough material to break apart the joint.

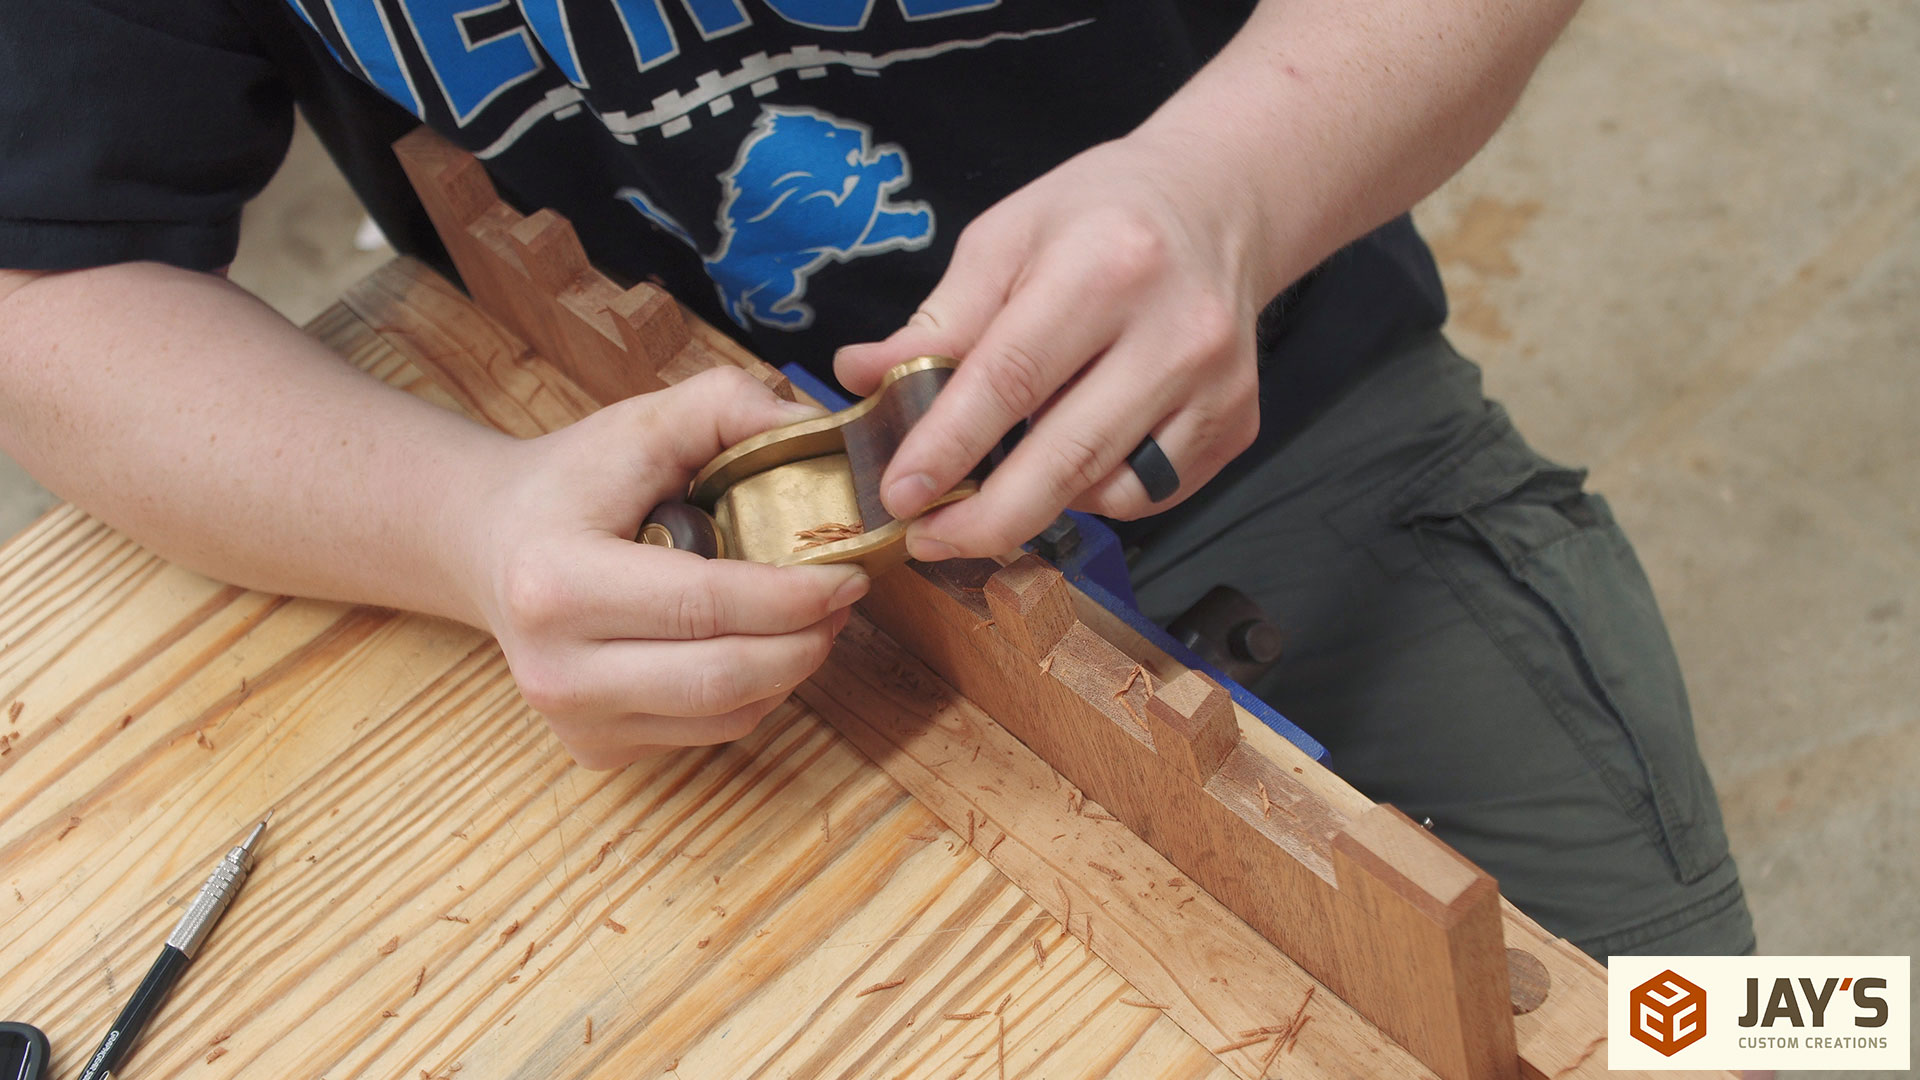
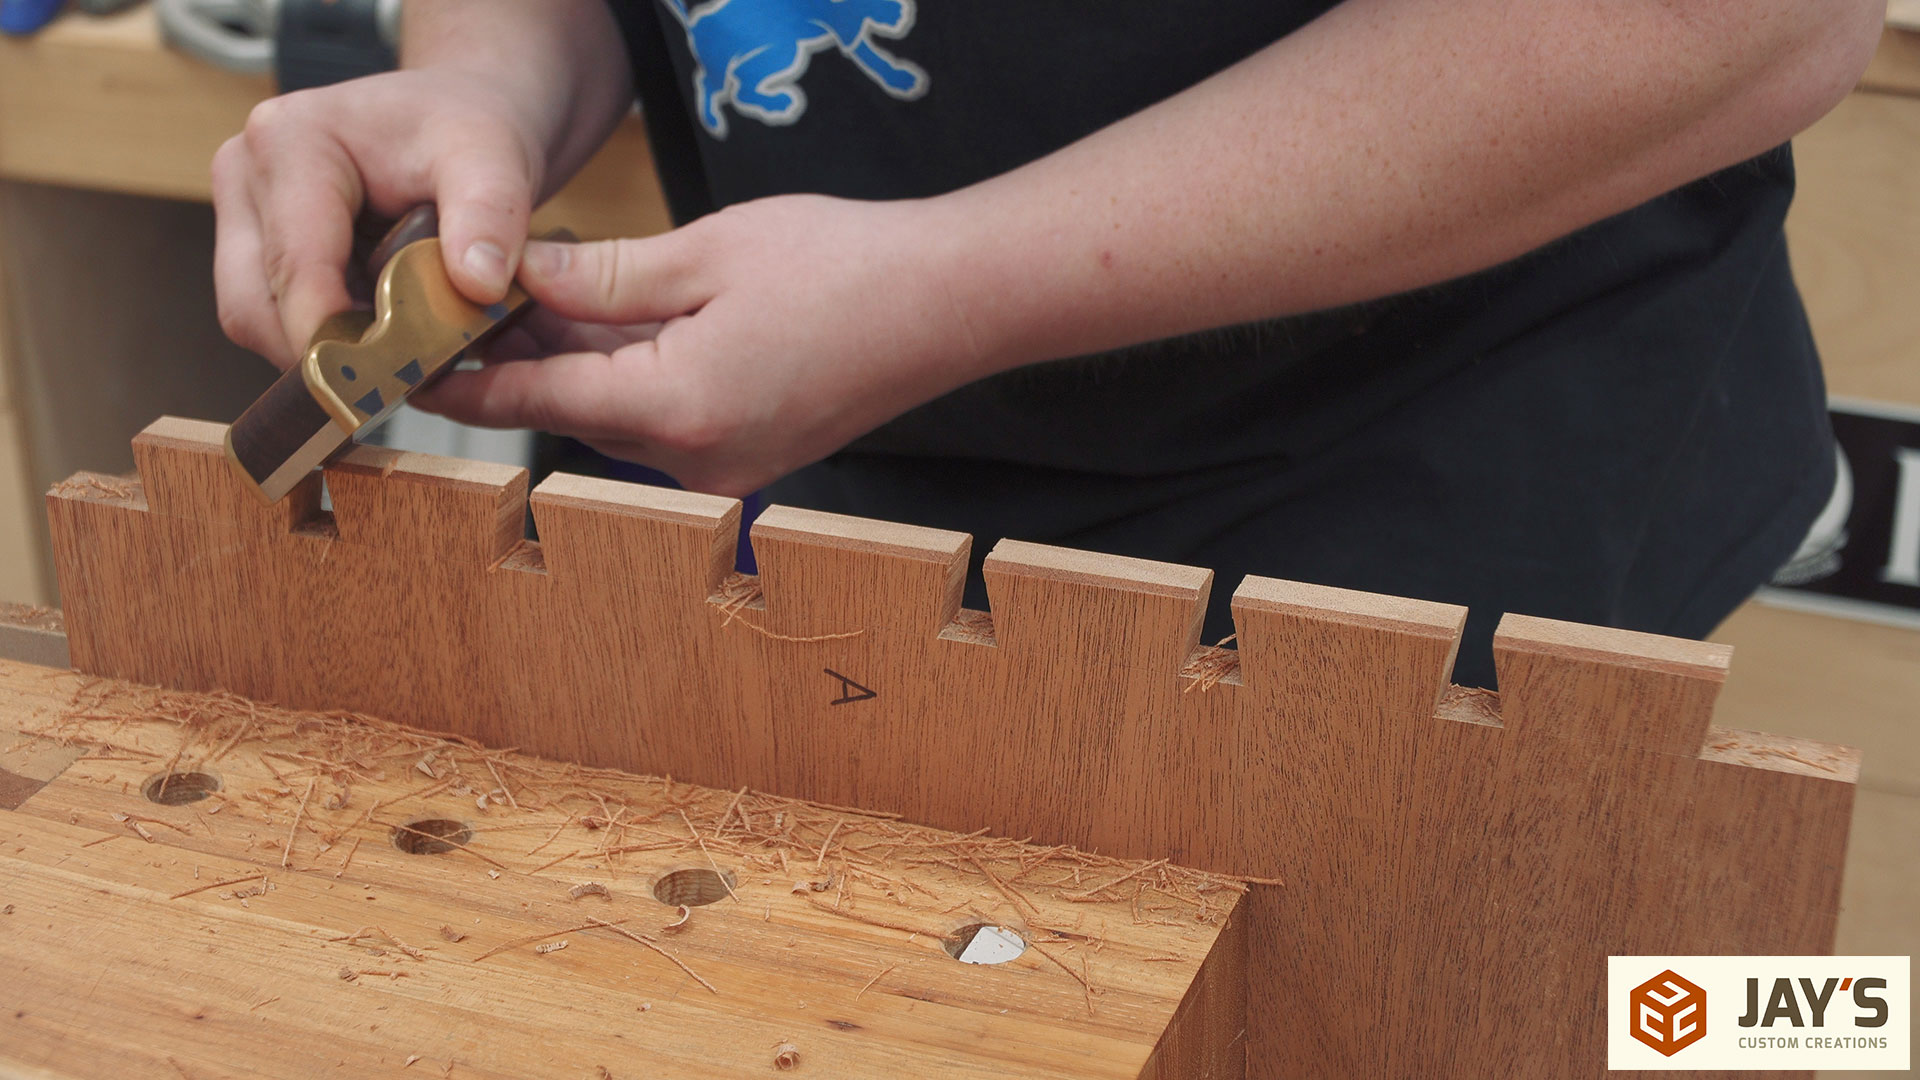
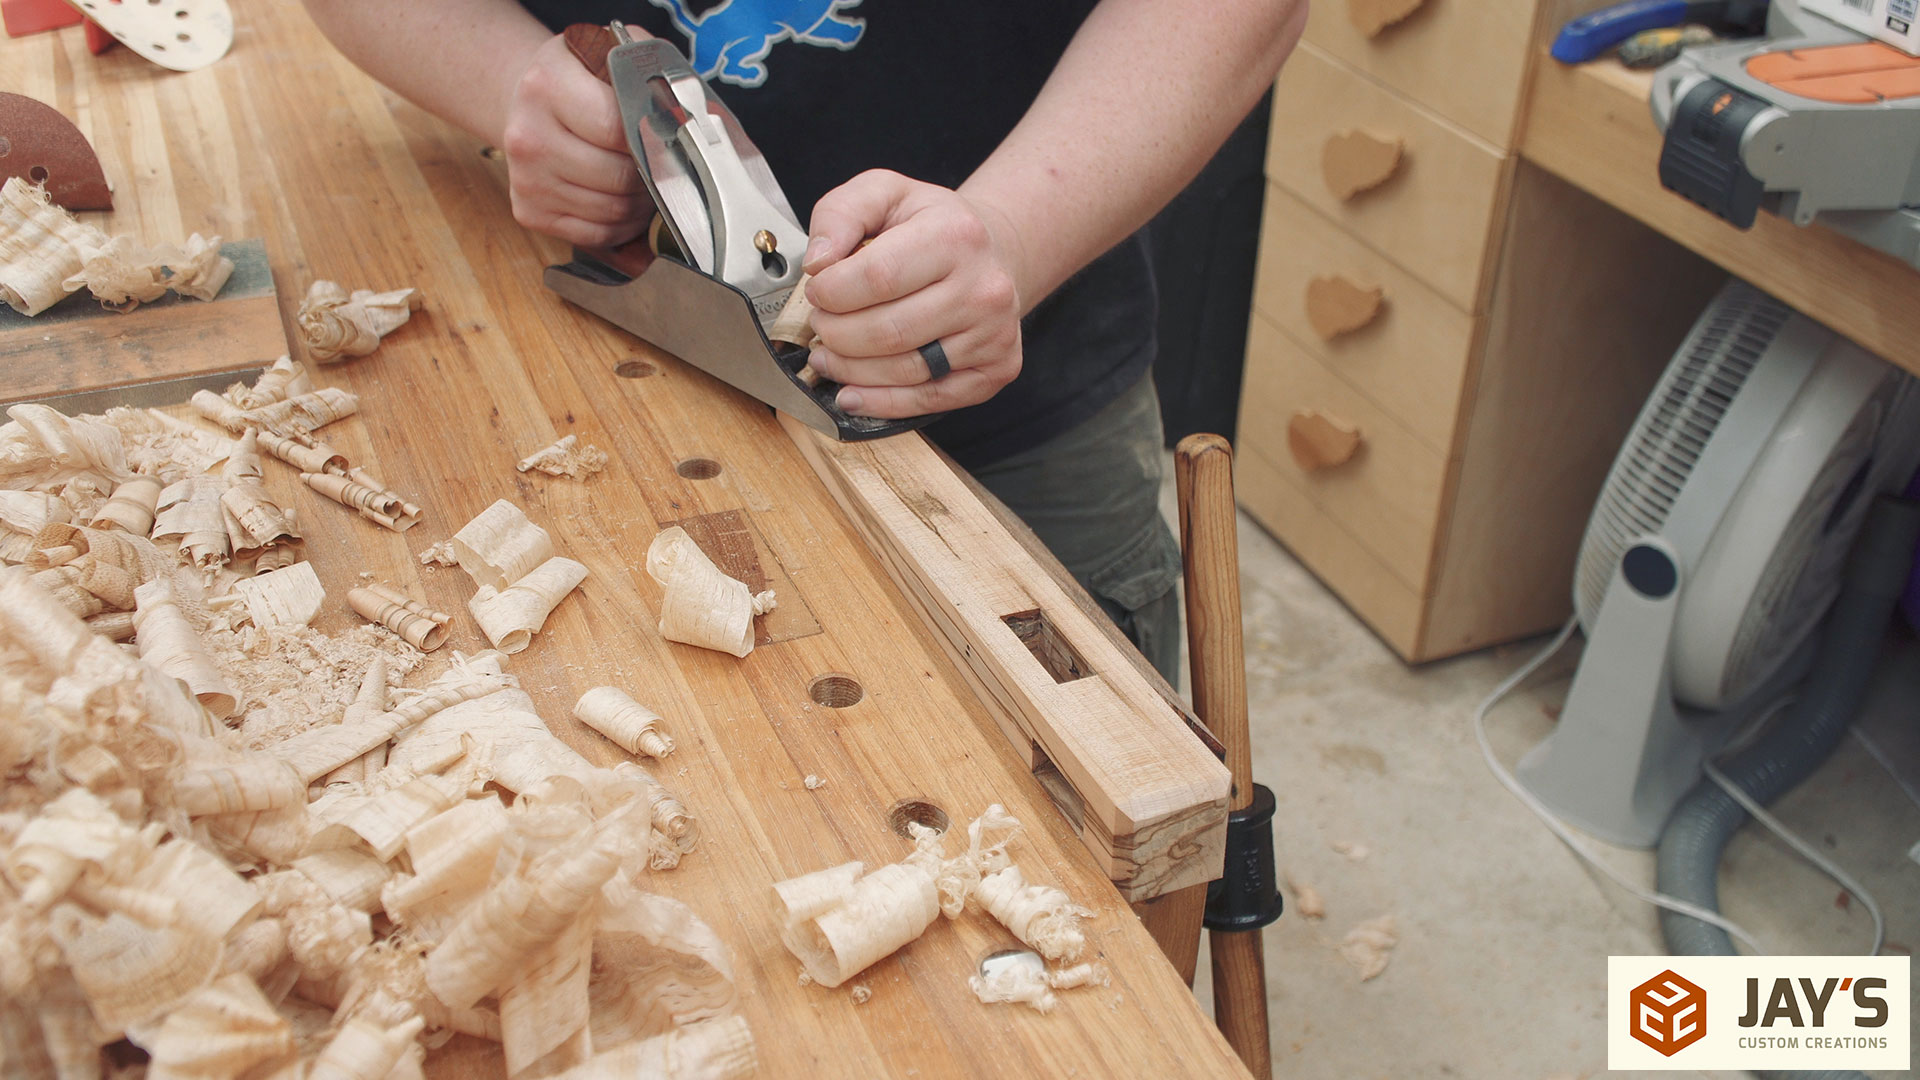
I started with the pins and I went back and forth with a chisel and a block plane. I used a chisel on a previous project to cut the chamfers but this mahogany wasn’t cooperating too well with the chisel. The mahogany was cutting great but it was a little more delicate than what I was used to and I was getting a little bit of tearout on the back side. So I switched to the hand plane for everything. It’s pretty easy to get very consistent results so long as you lock your wrist and only use your elbow or shoulder to move your hand. The more you change the angle of your wrist the more you will accidentally change the angle of the chamfer face.

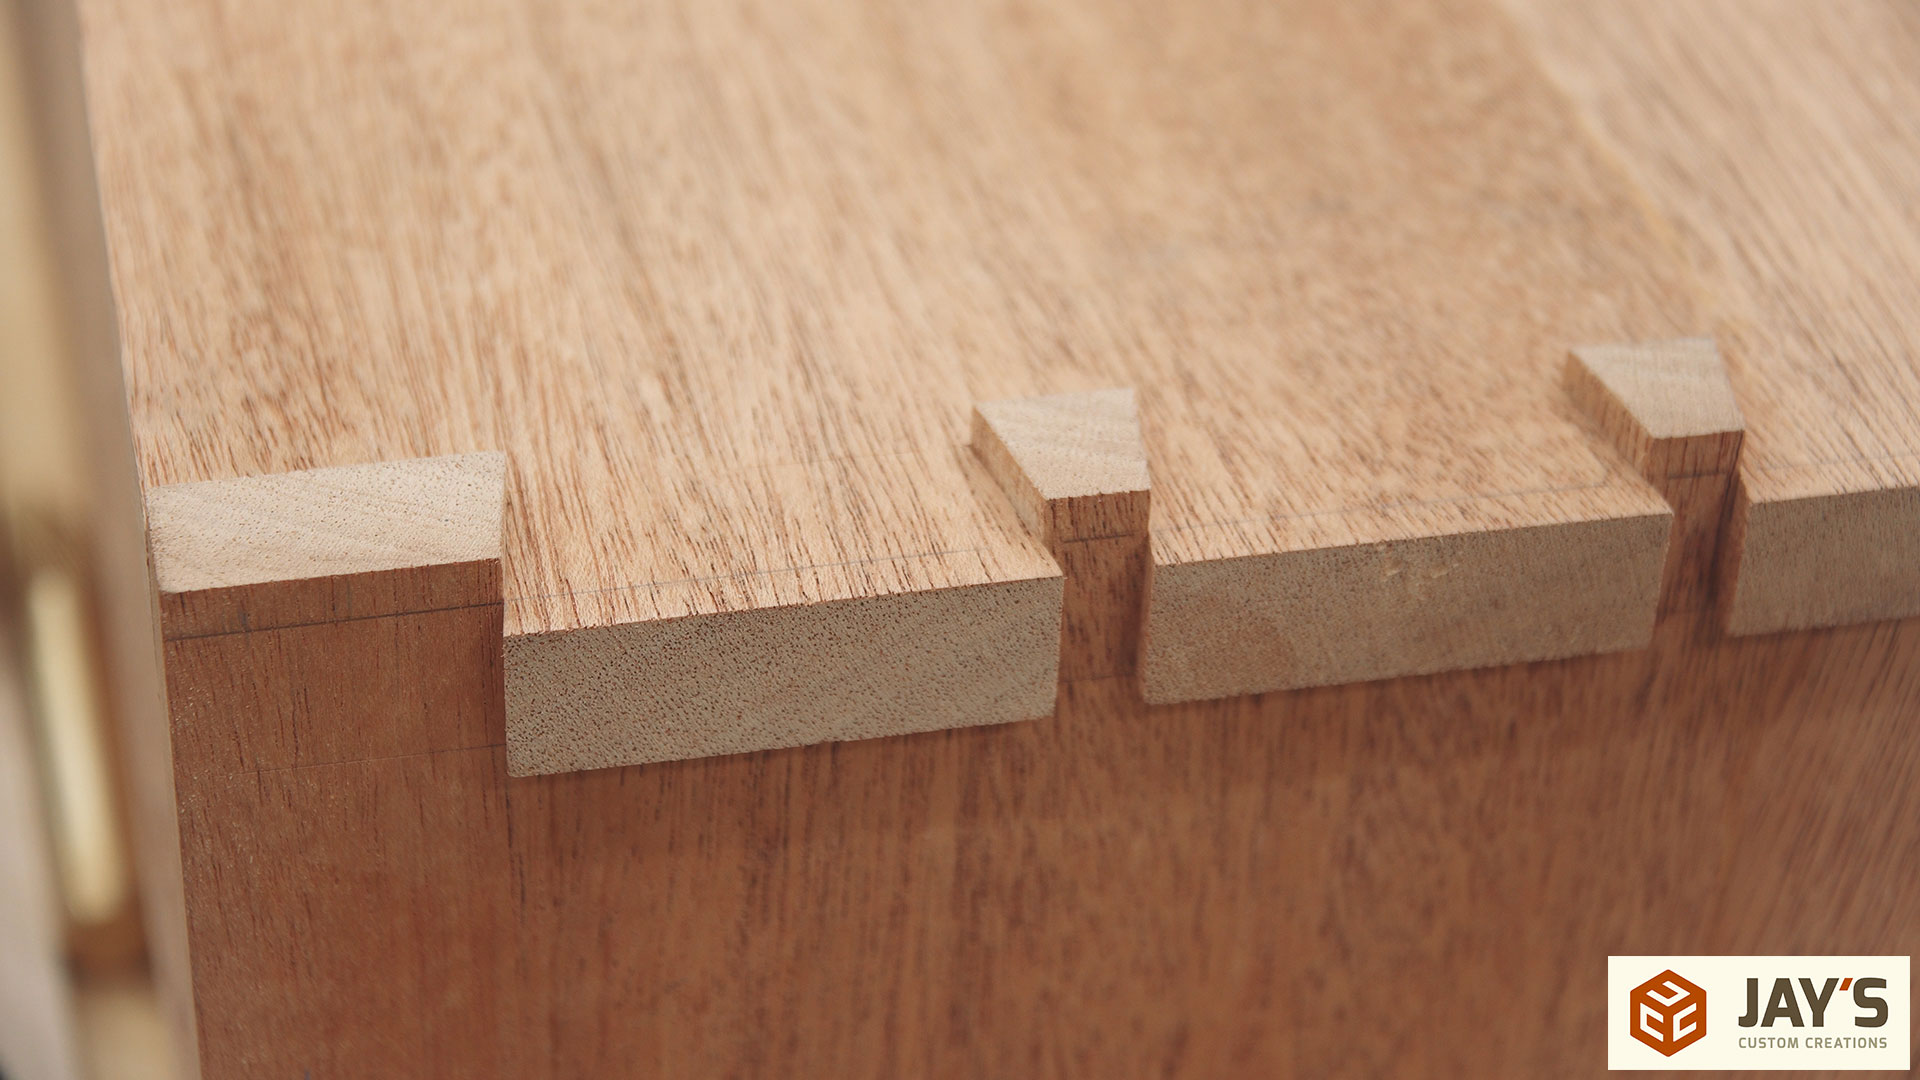
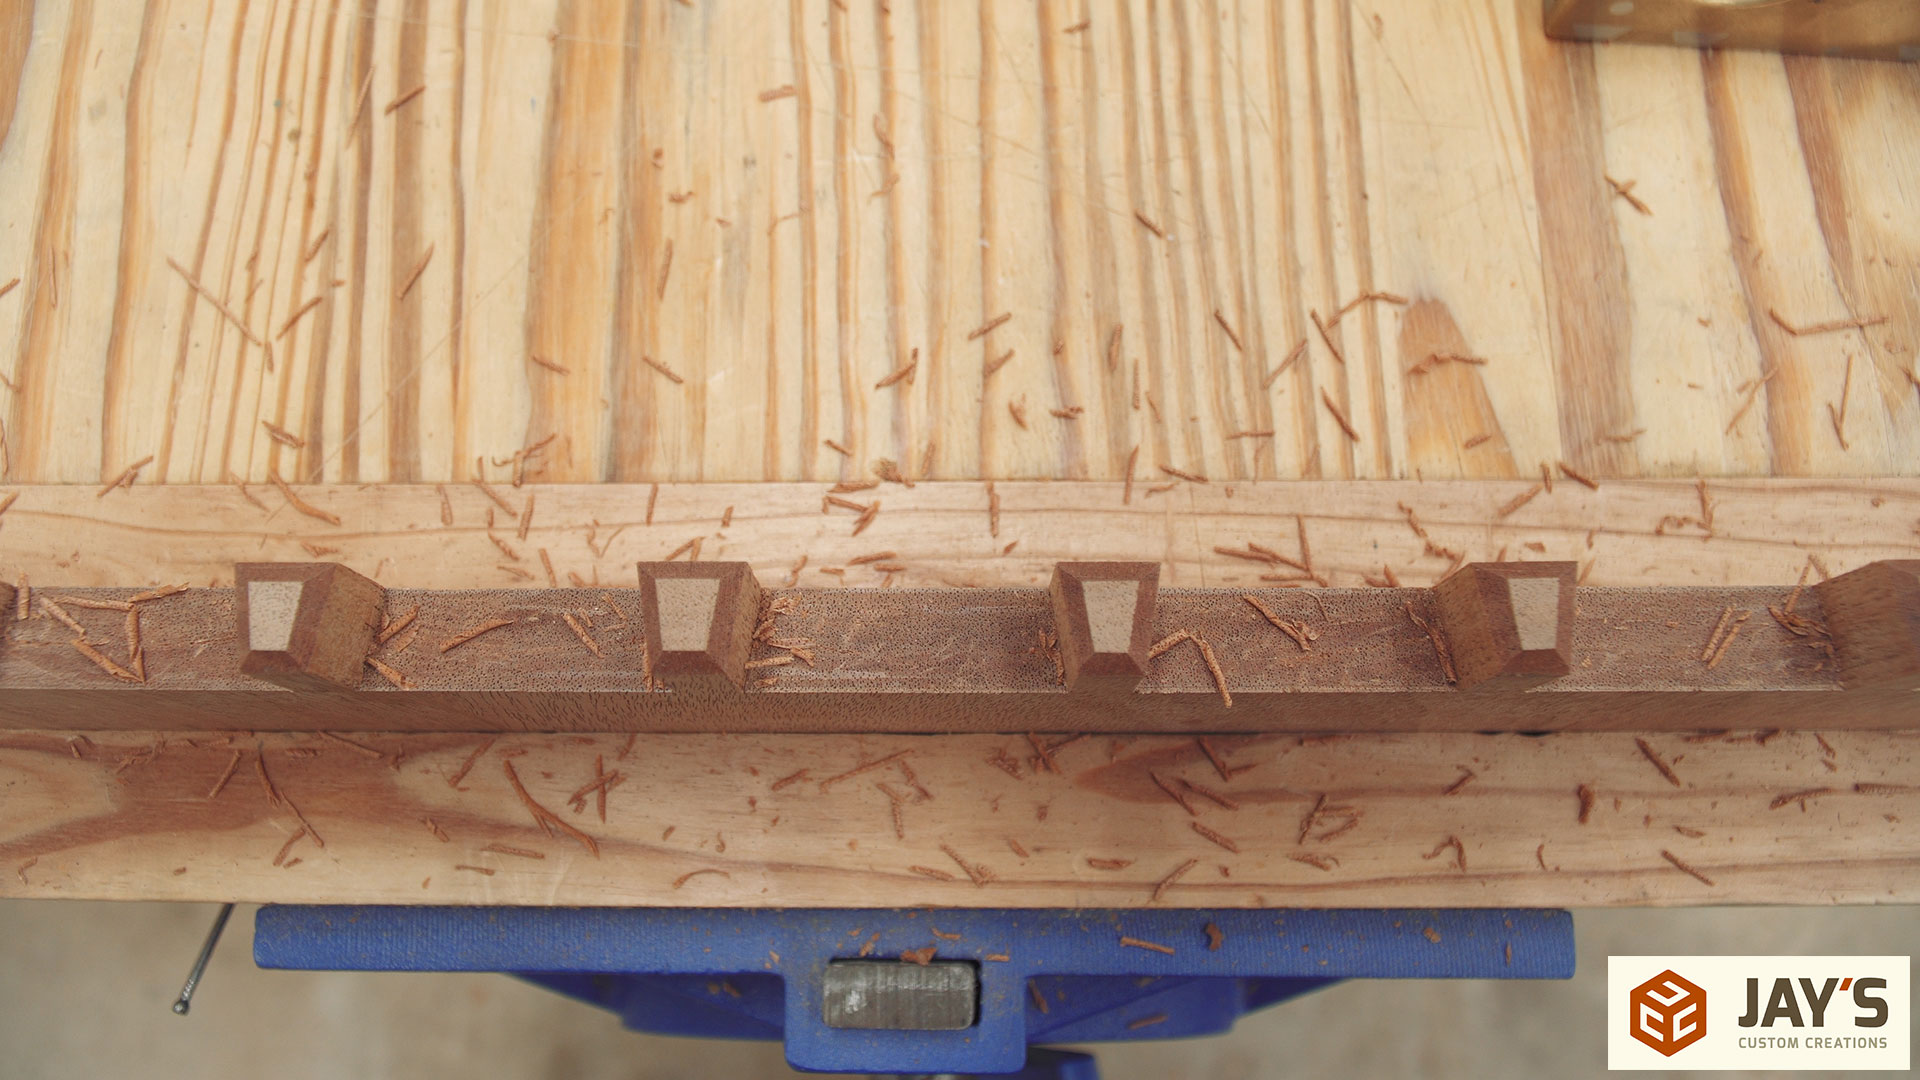
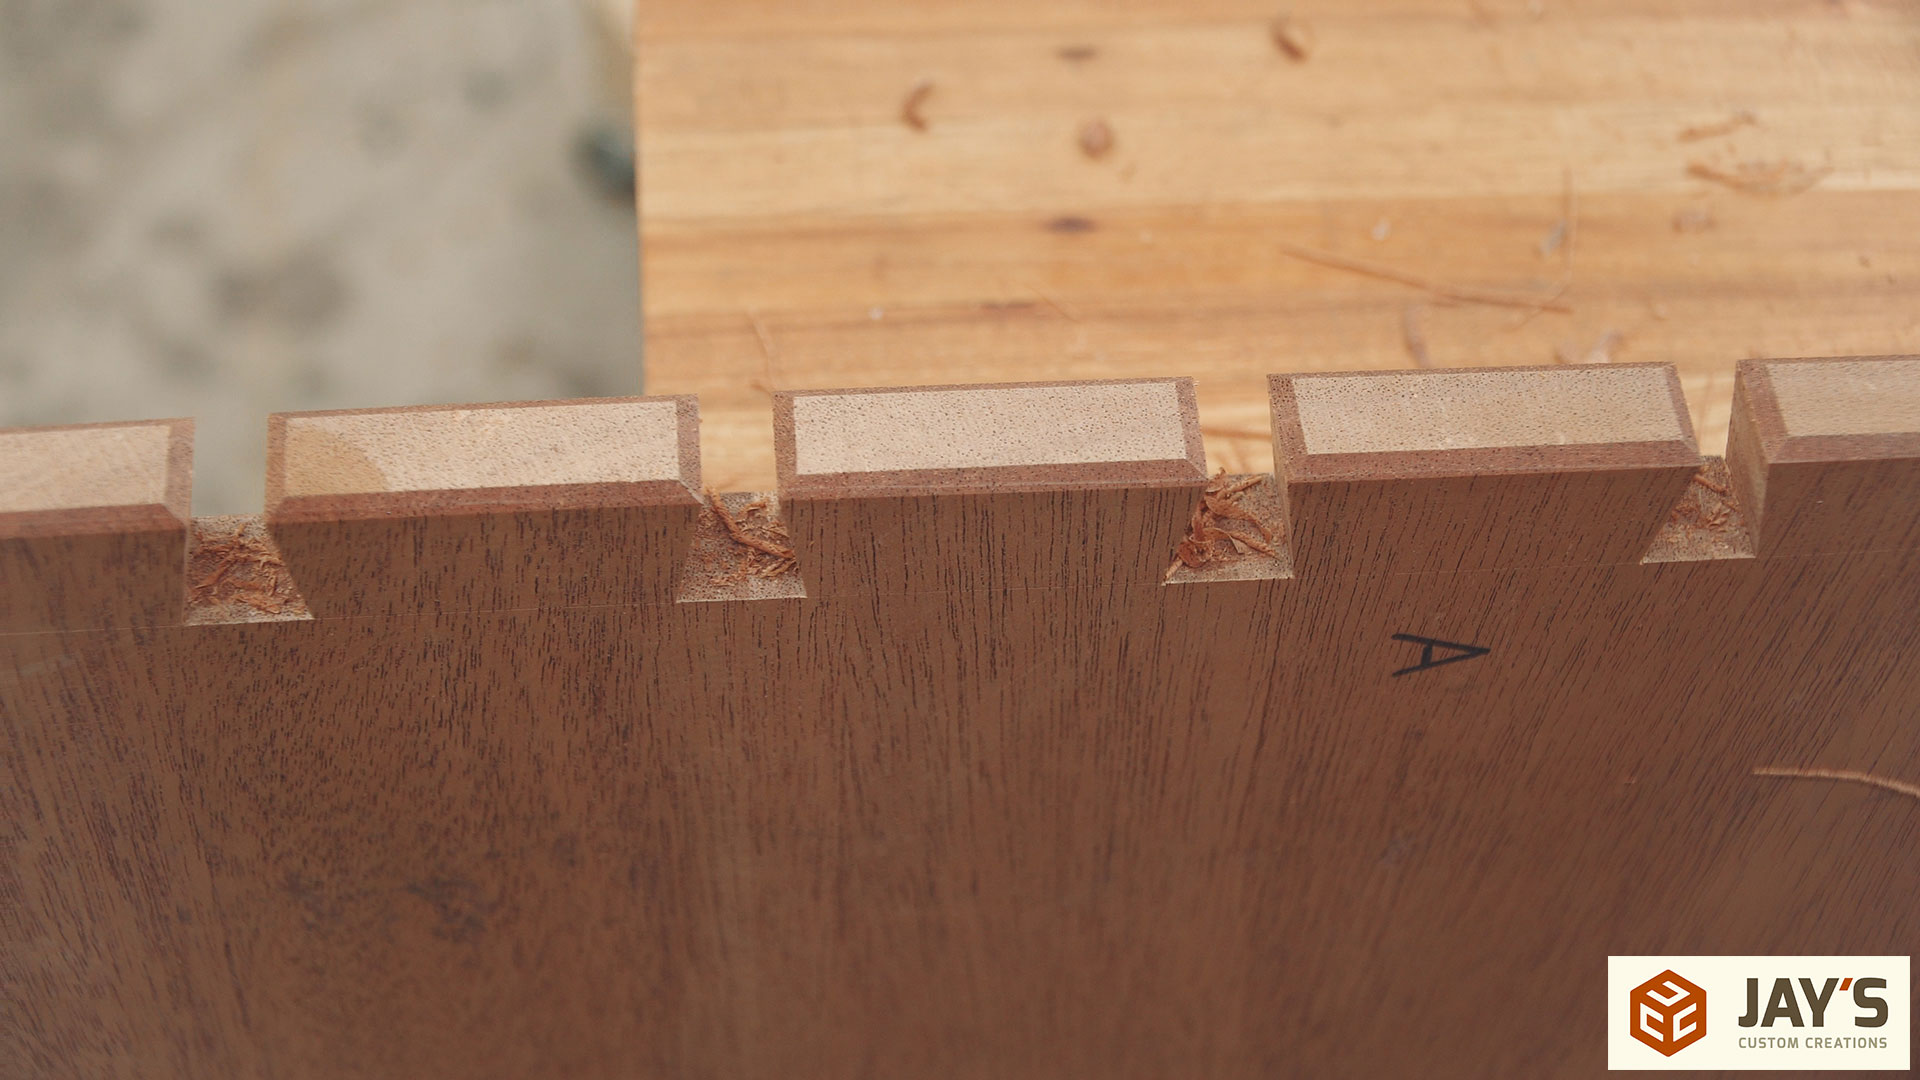
And here’s a good look at the pins completed.
I did have one casualty though. On one of the side half-pins I had a nasty tearout that I think was caused by tiny crack in the wood that I didn’t see. I wish I would have recorded the repair process but I instantly went into repair mode and forgot all about the camera so here’s the repair being glued in place. For this I made a straight cut with the dovetail saw to remove the tearout completely and leave a flat glue face. Then I cut a similar wedge piece out of a previous offcut and glued it in place.
Then trimmed it flush as needed.
If you take your time to really look at the grain to find the best grain match then the patch will pretty much disappear. If you really look closely you can see the patch…..but you have to look really, really close which is exactly what you want. Nobody is going to know this was patched.

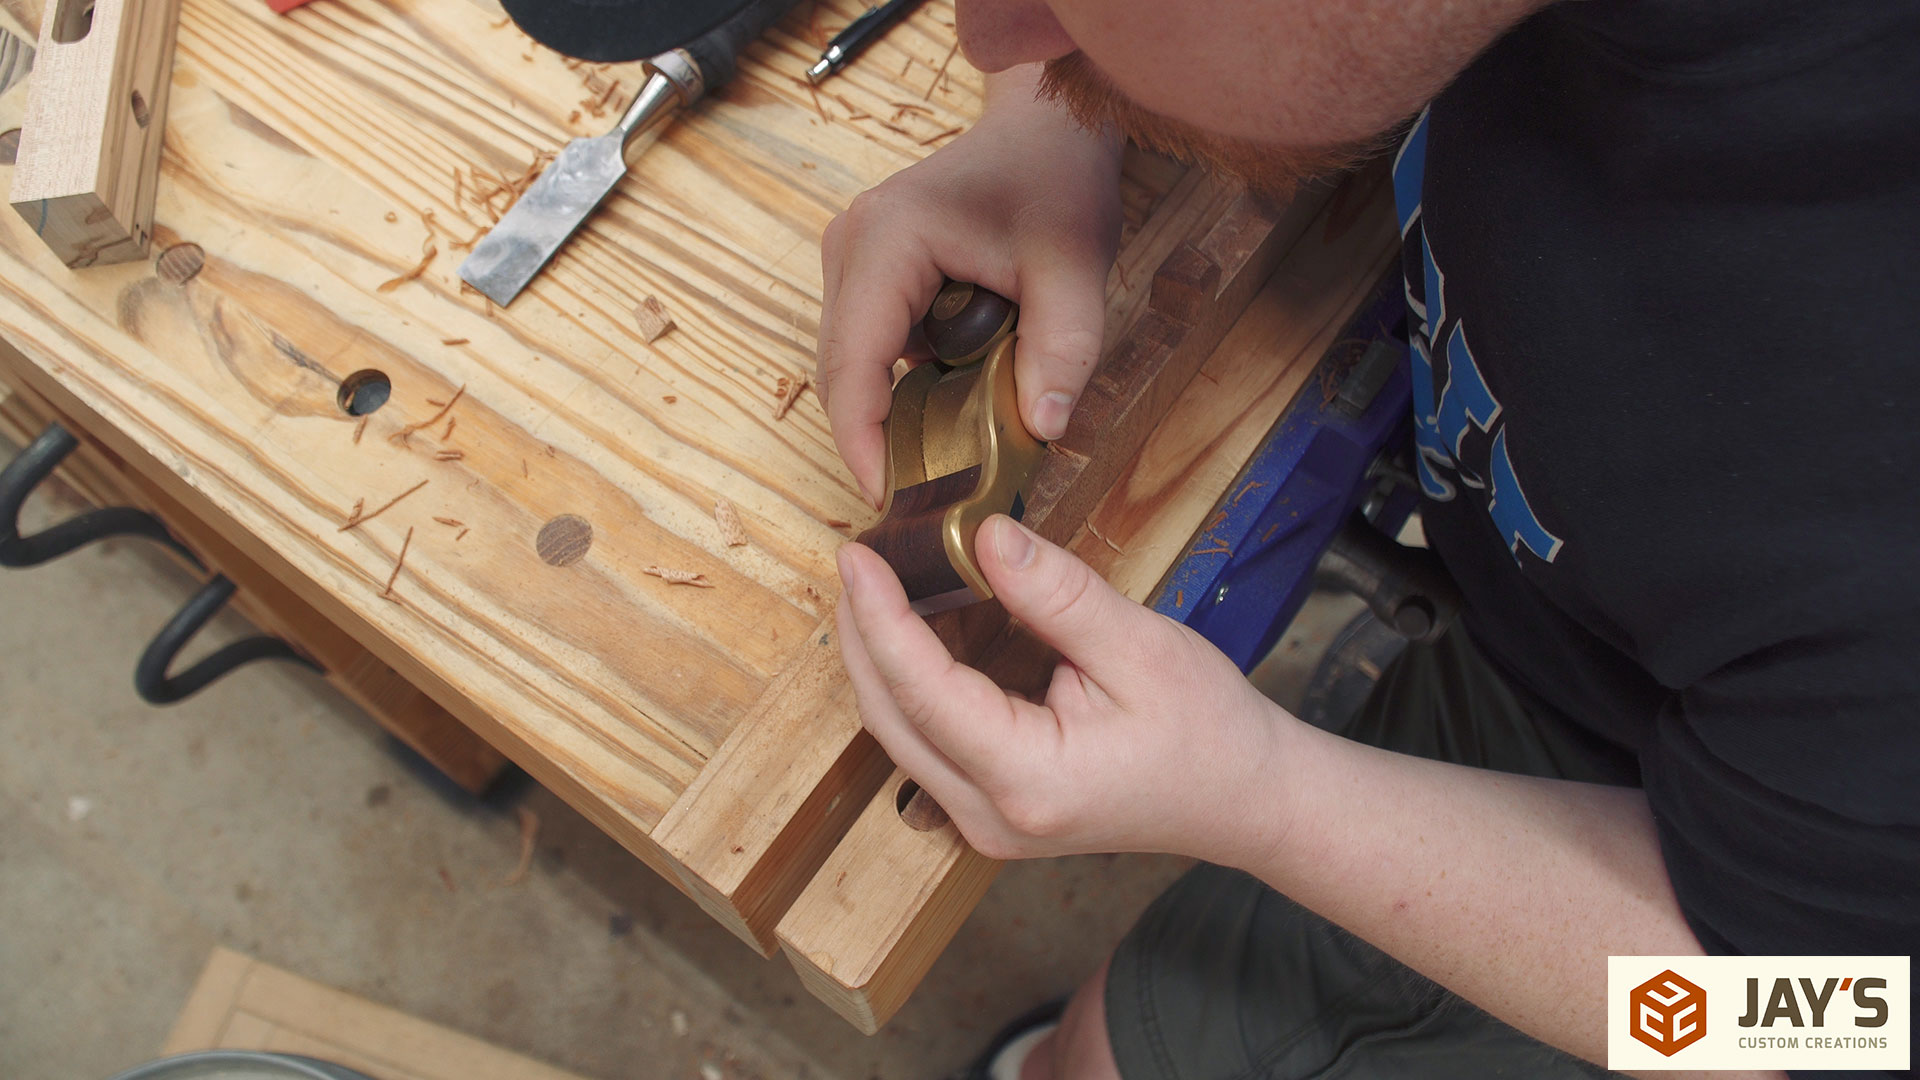
It’s rinse and repeat for the tails.
And here’s a look at the tail chamfers.
And here’s a look at the case tenon chamfers.
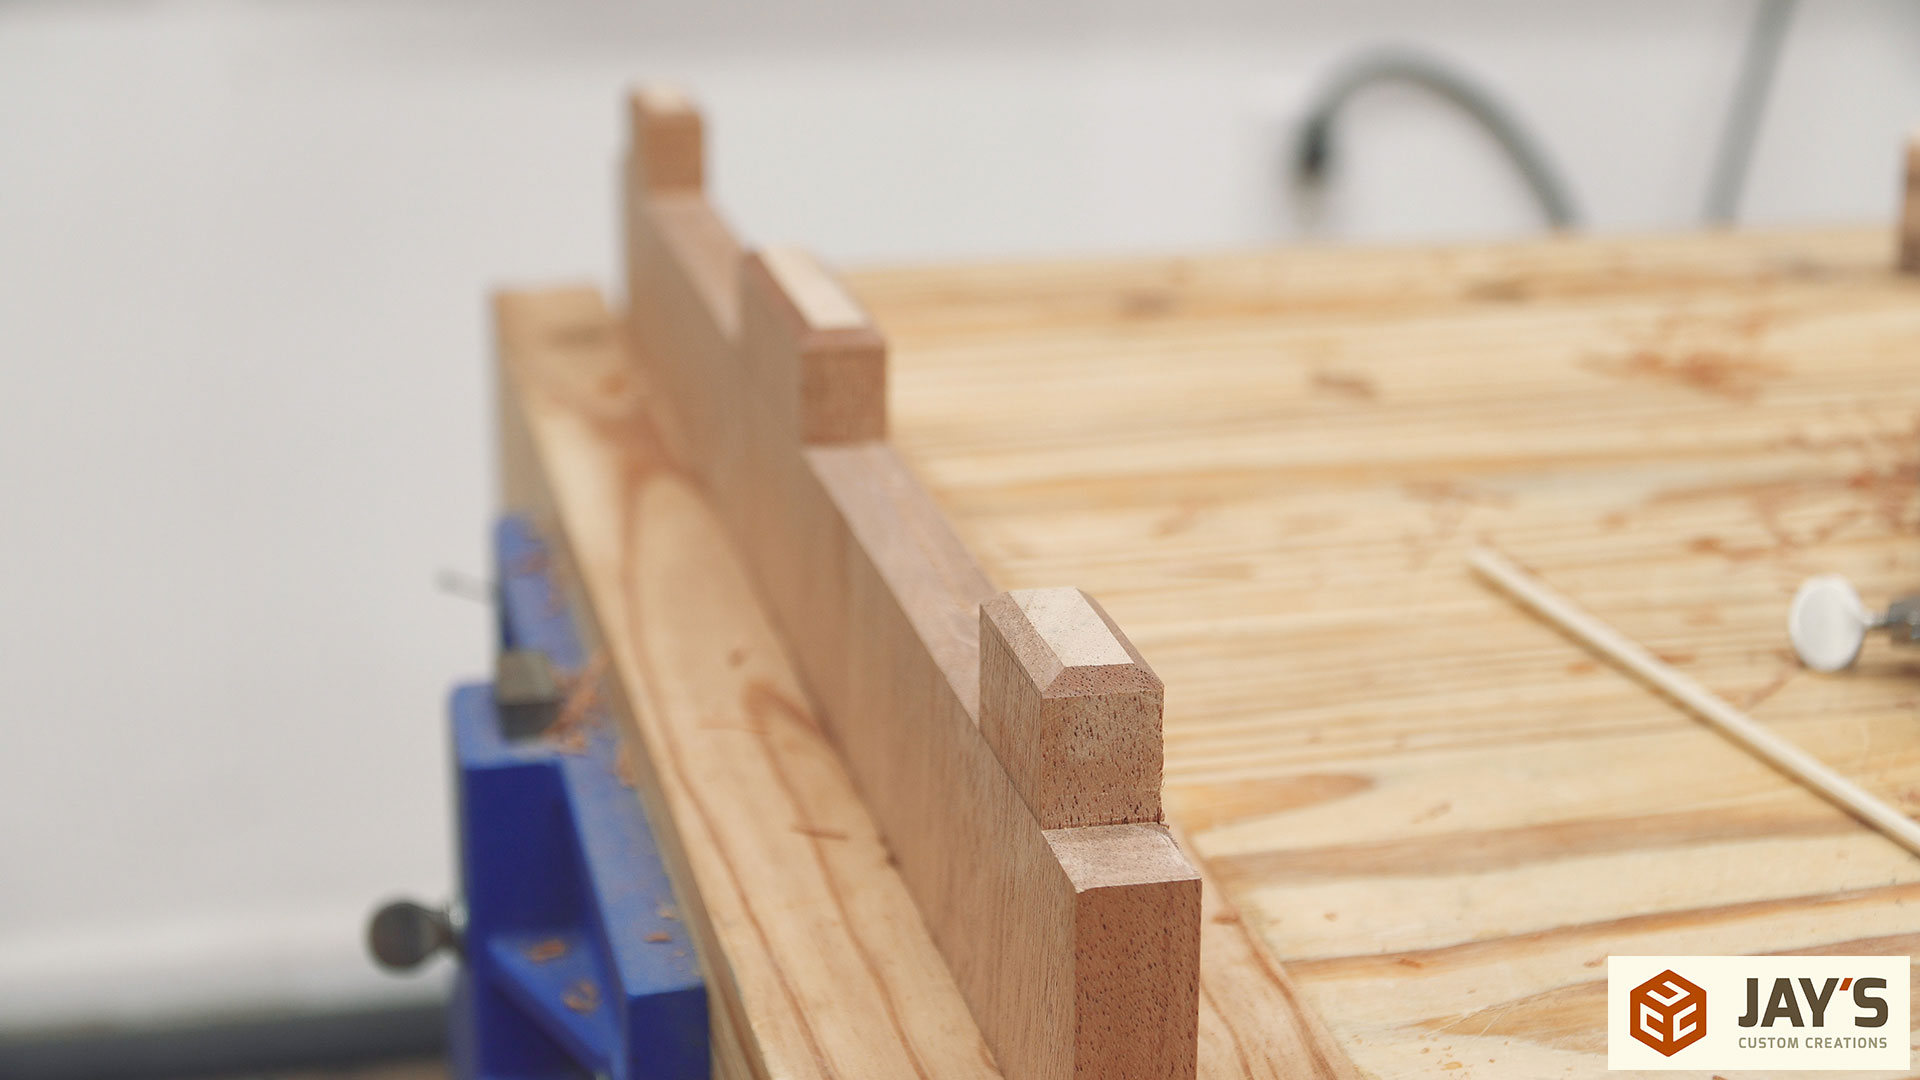
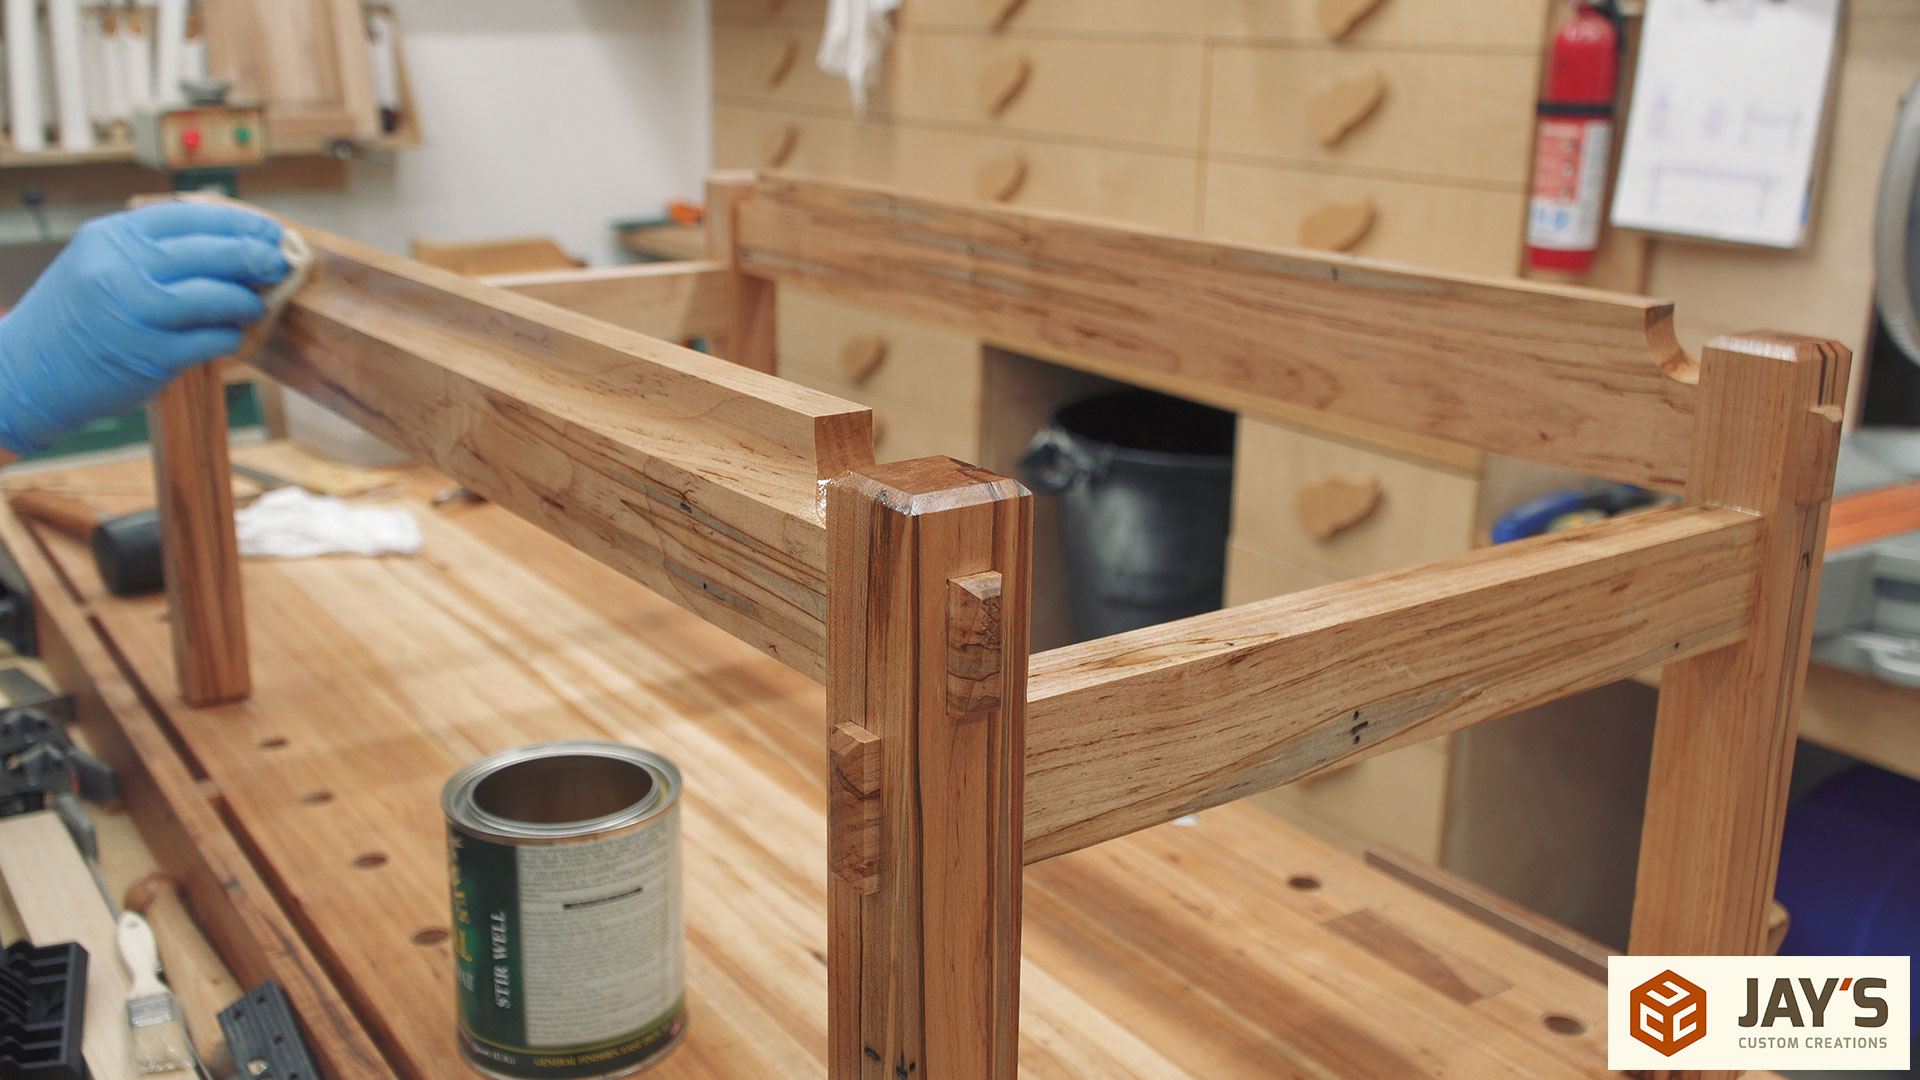
More of the same with the base tenon chamfers.
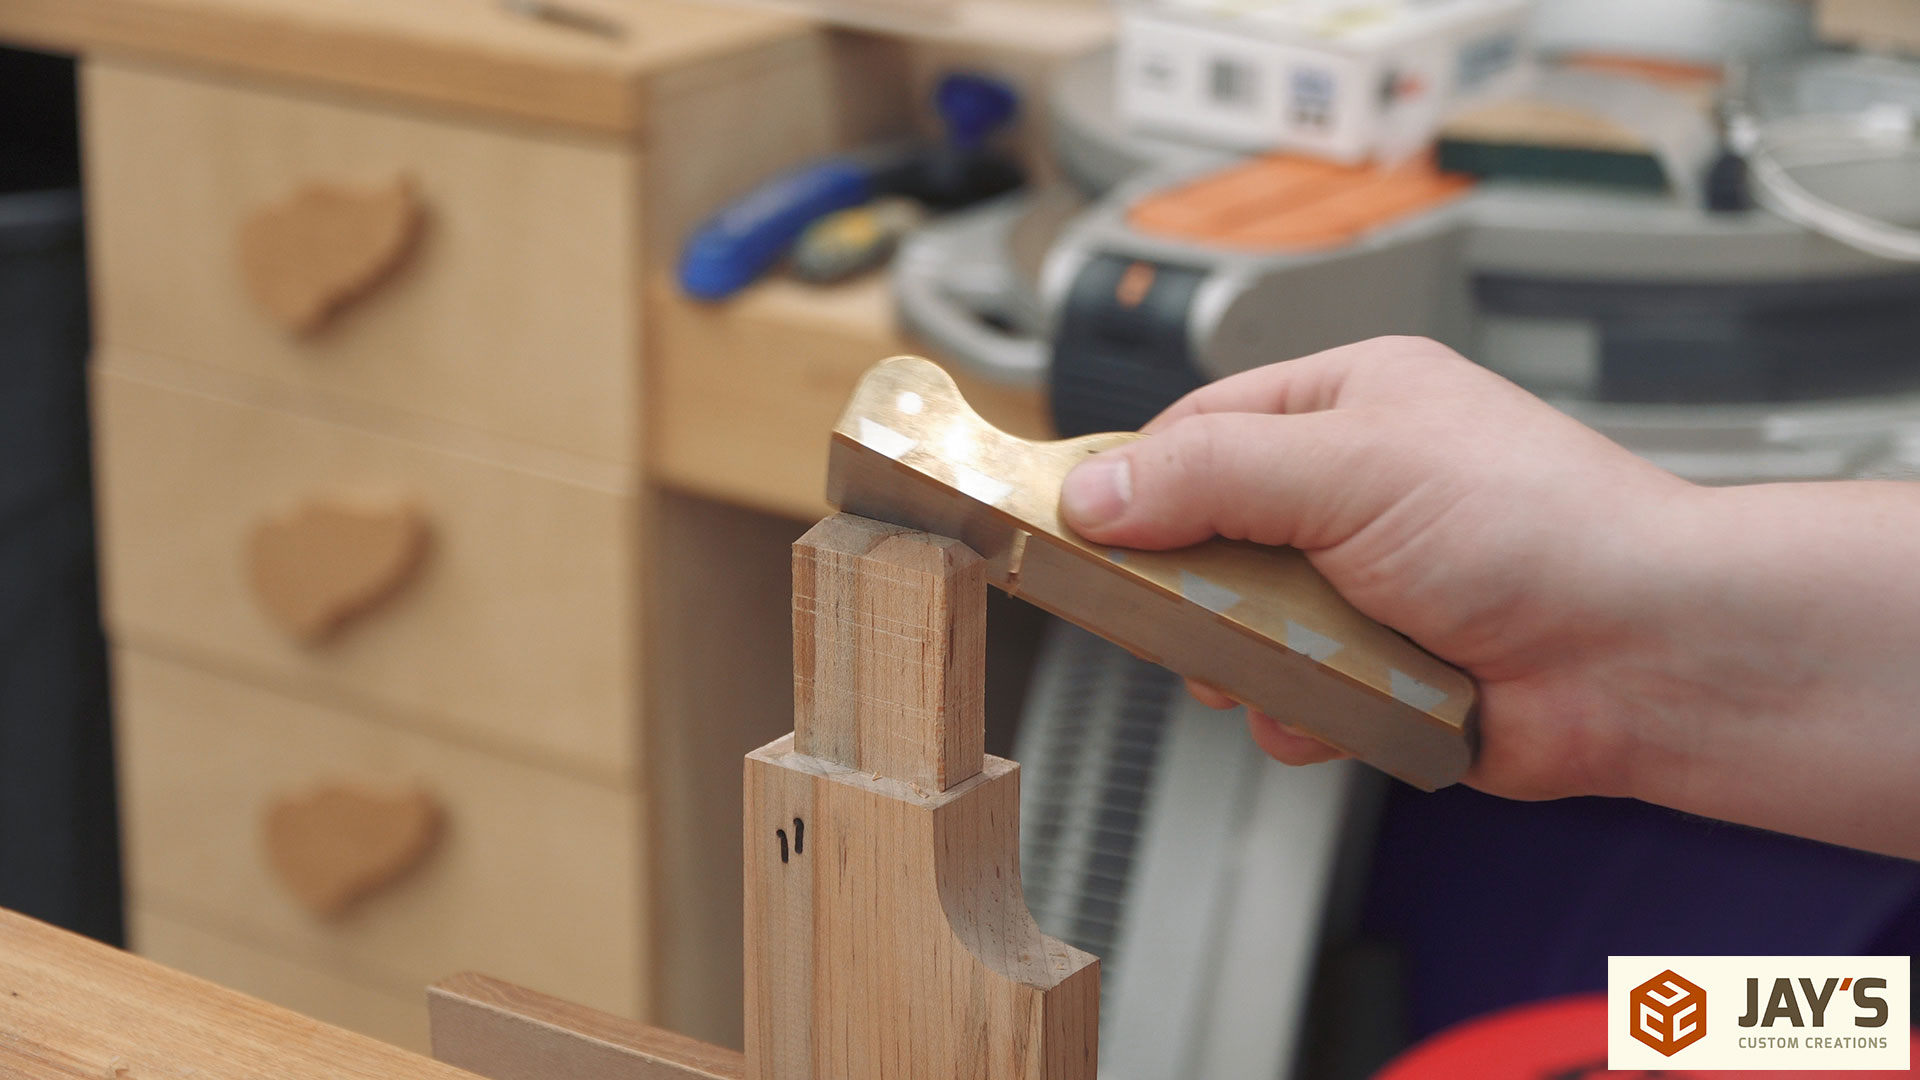

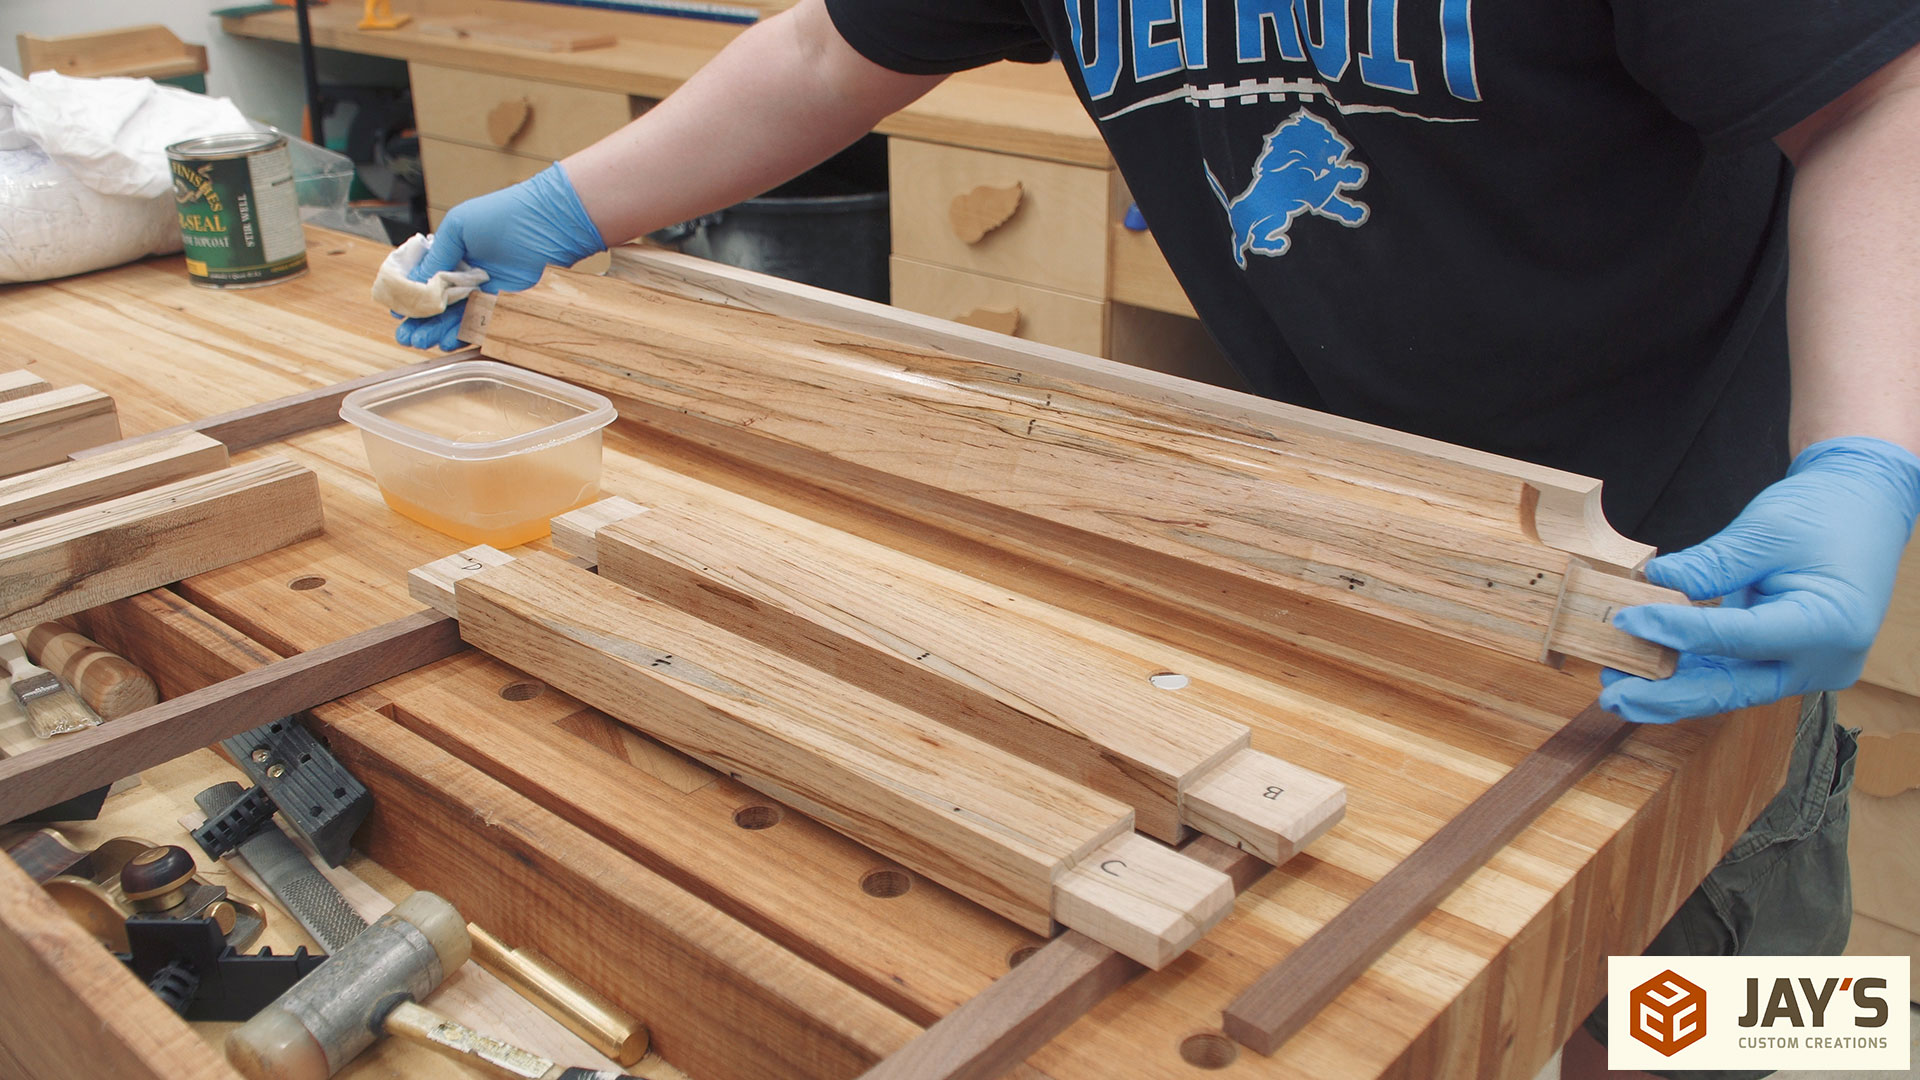
Finally all the chamfers are complete and the surface prep can begin. The long rail coves are sanded by hand starting with 80 grit and working up to 320 grit.

Then every flat face on the base pieces is planed with a smoothing plane. I try to do as much surface prep with hand planes as possible. It’s soooo much faster than sanding, even when using electric panders. Also, imagine if all those shavings were on the bench in the form of dust! Not saying to throw away your sand paper or sanders… Just use them as little as possible :)
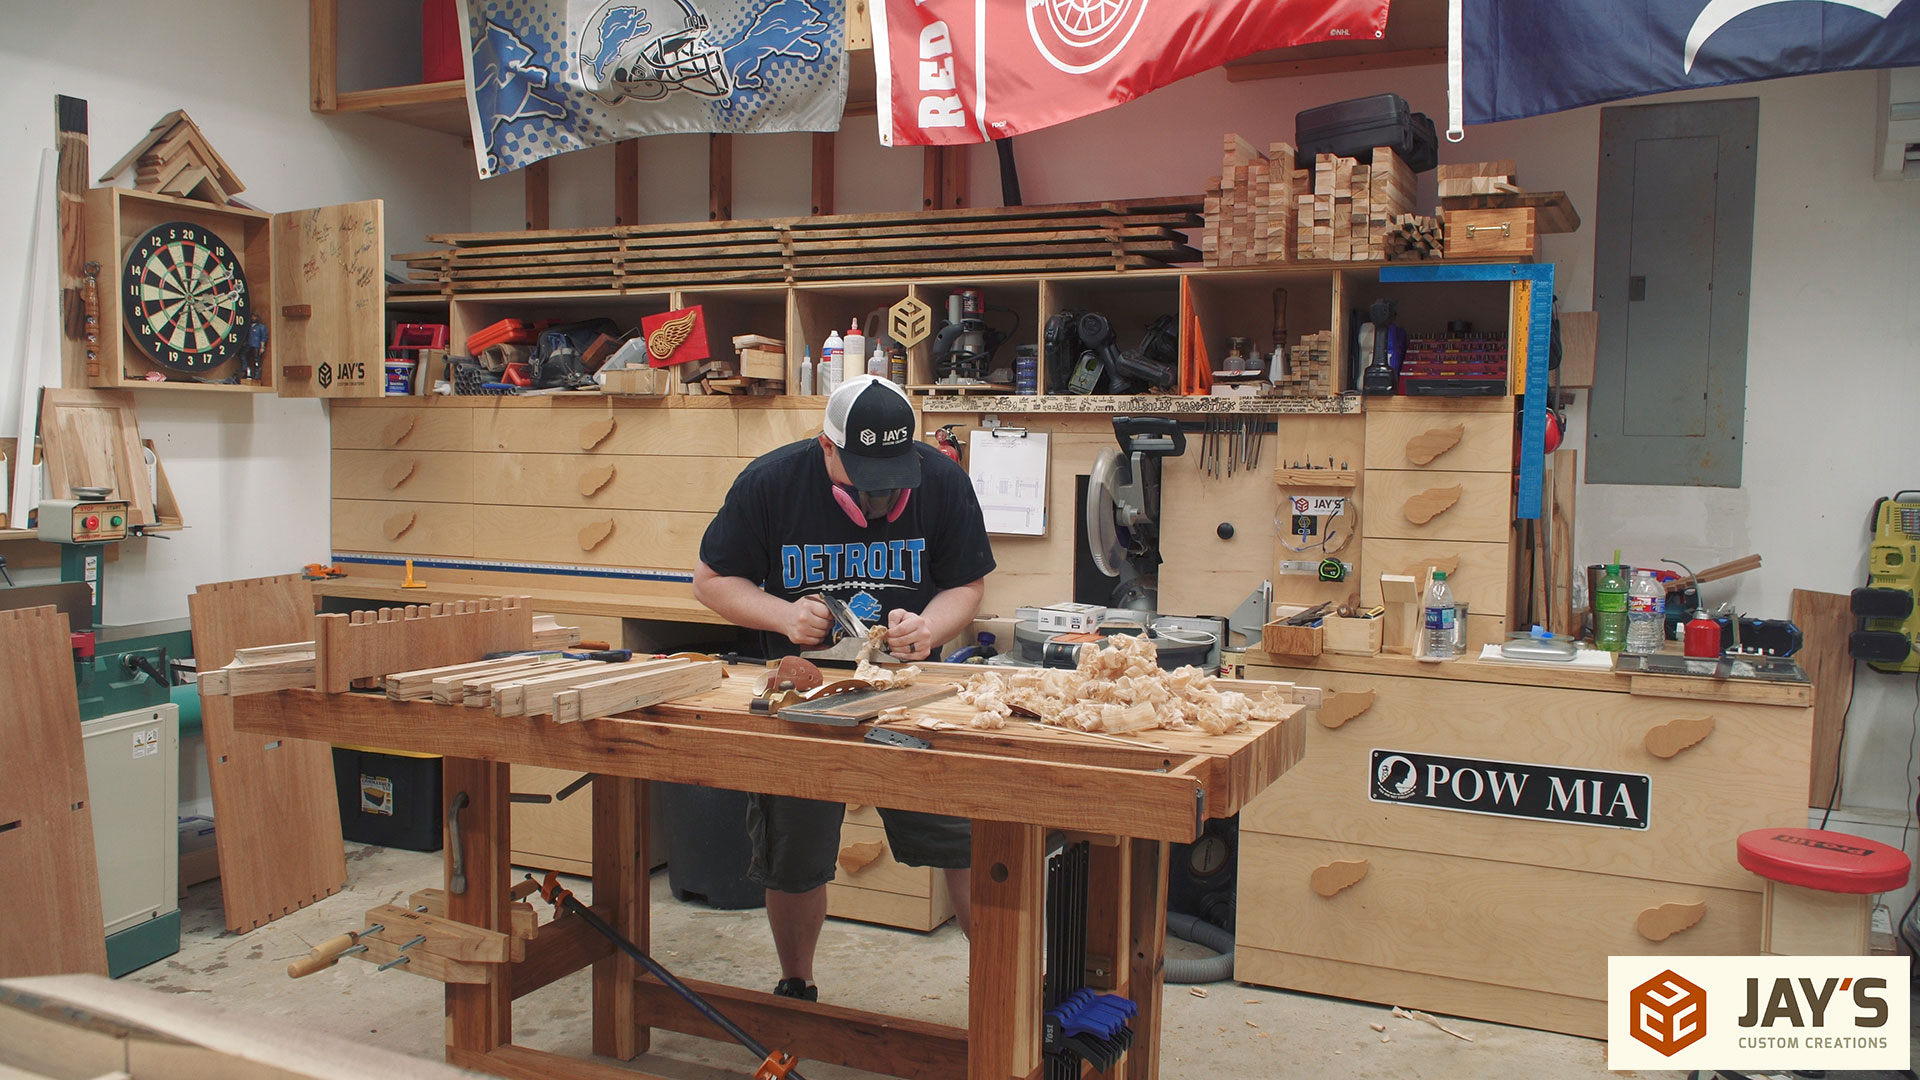
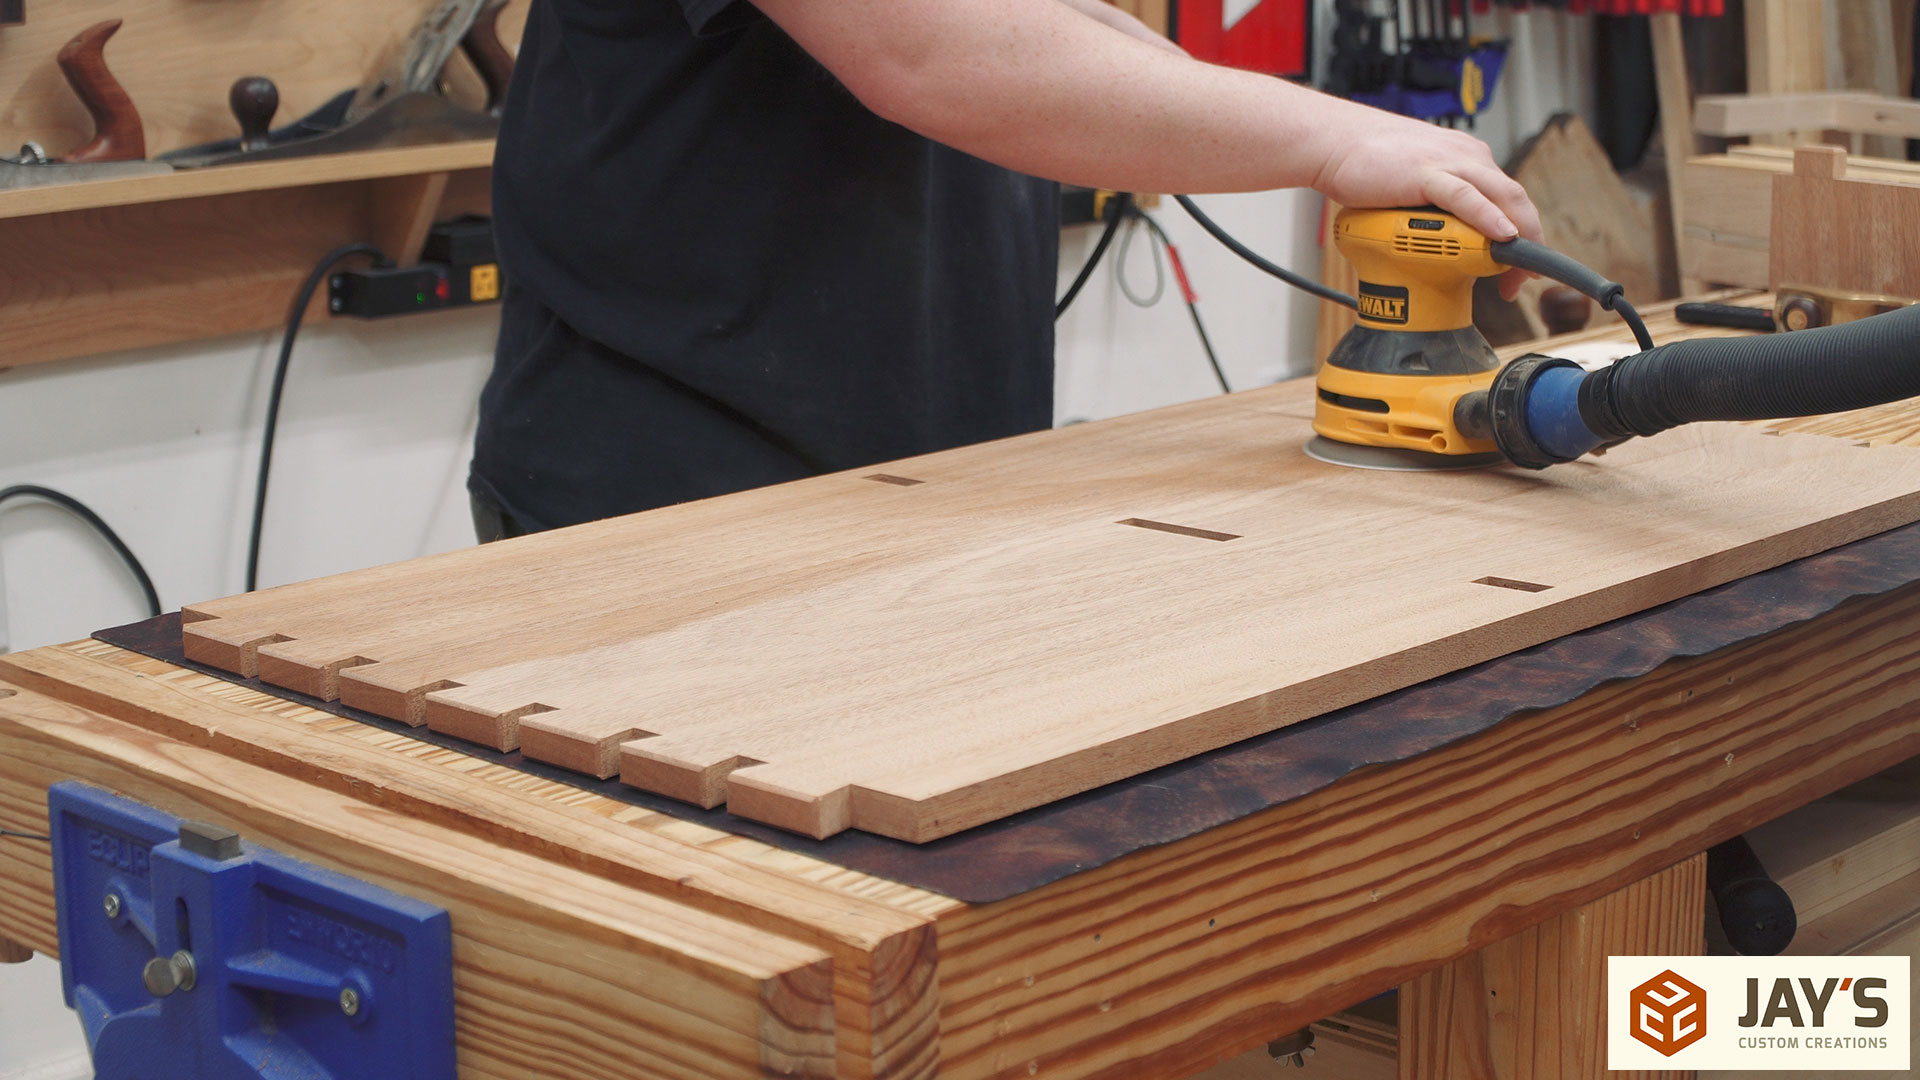
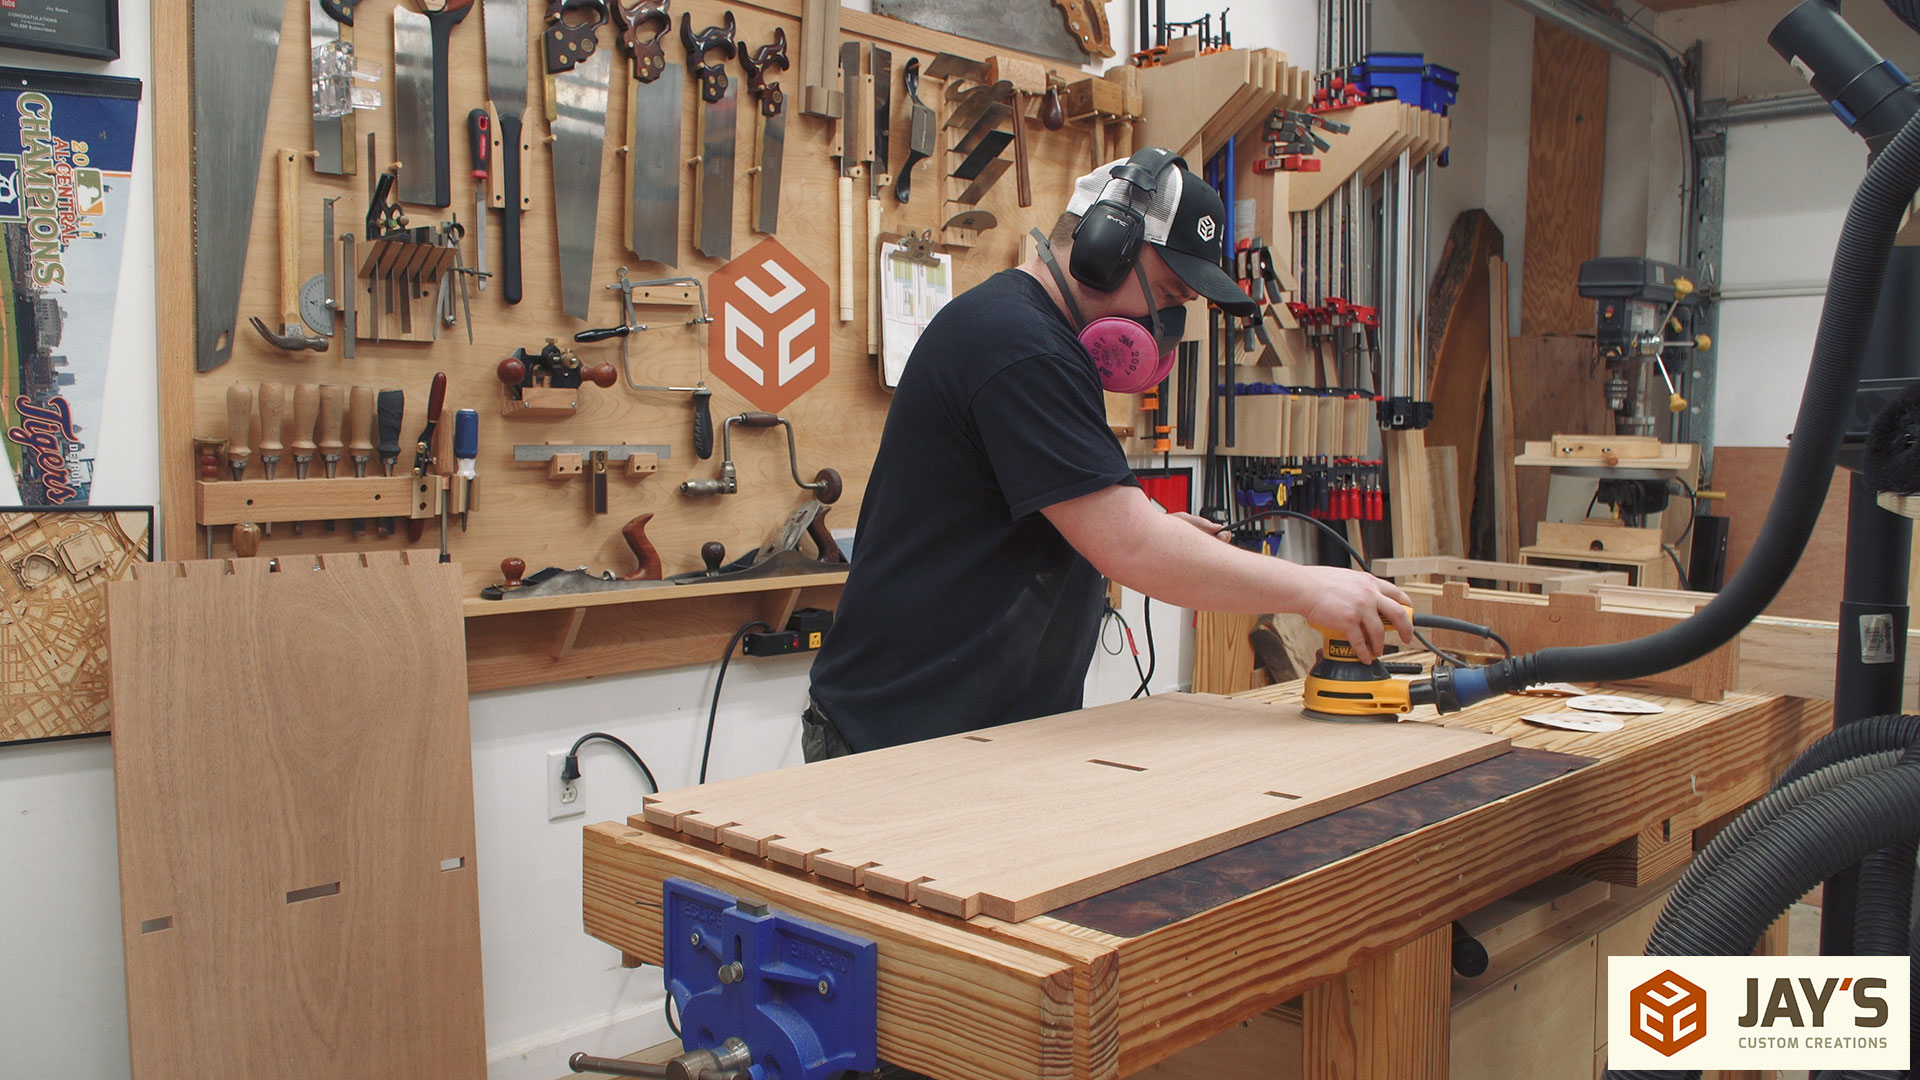
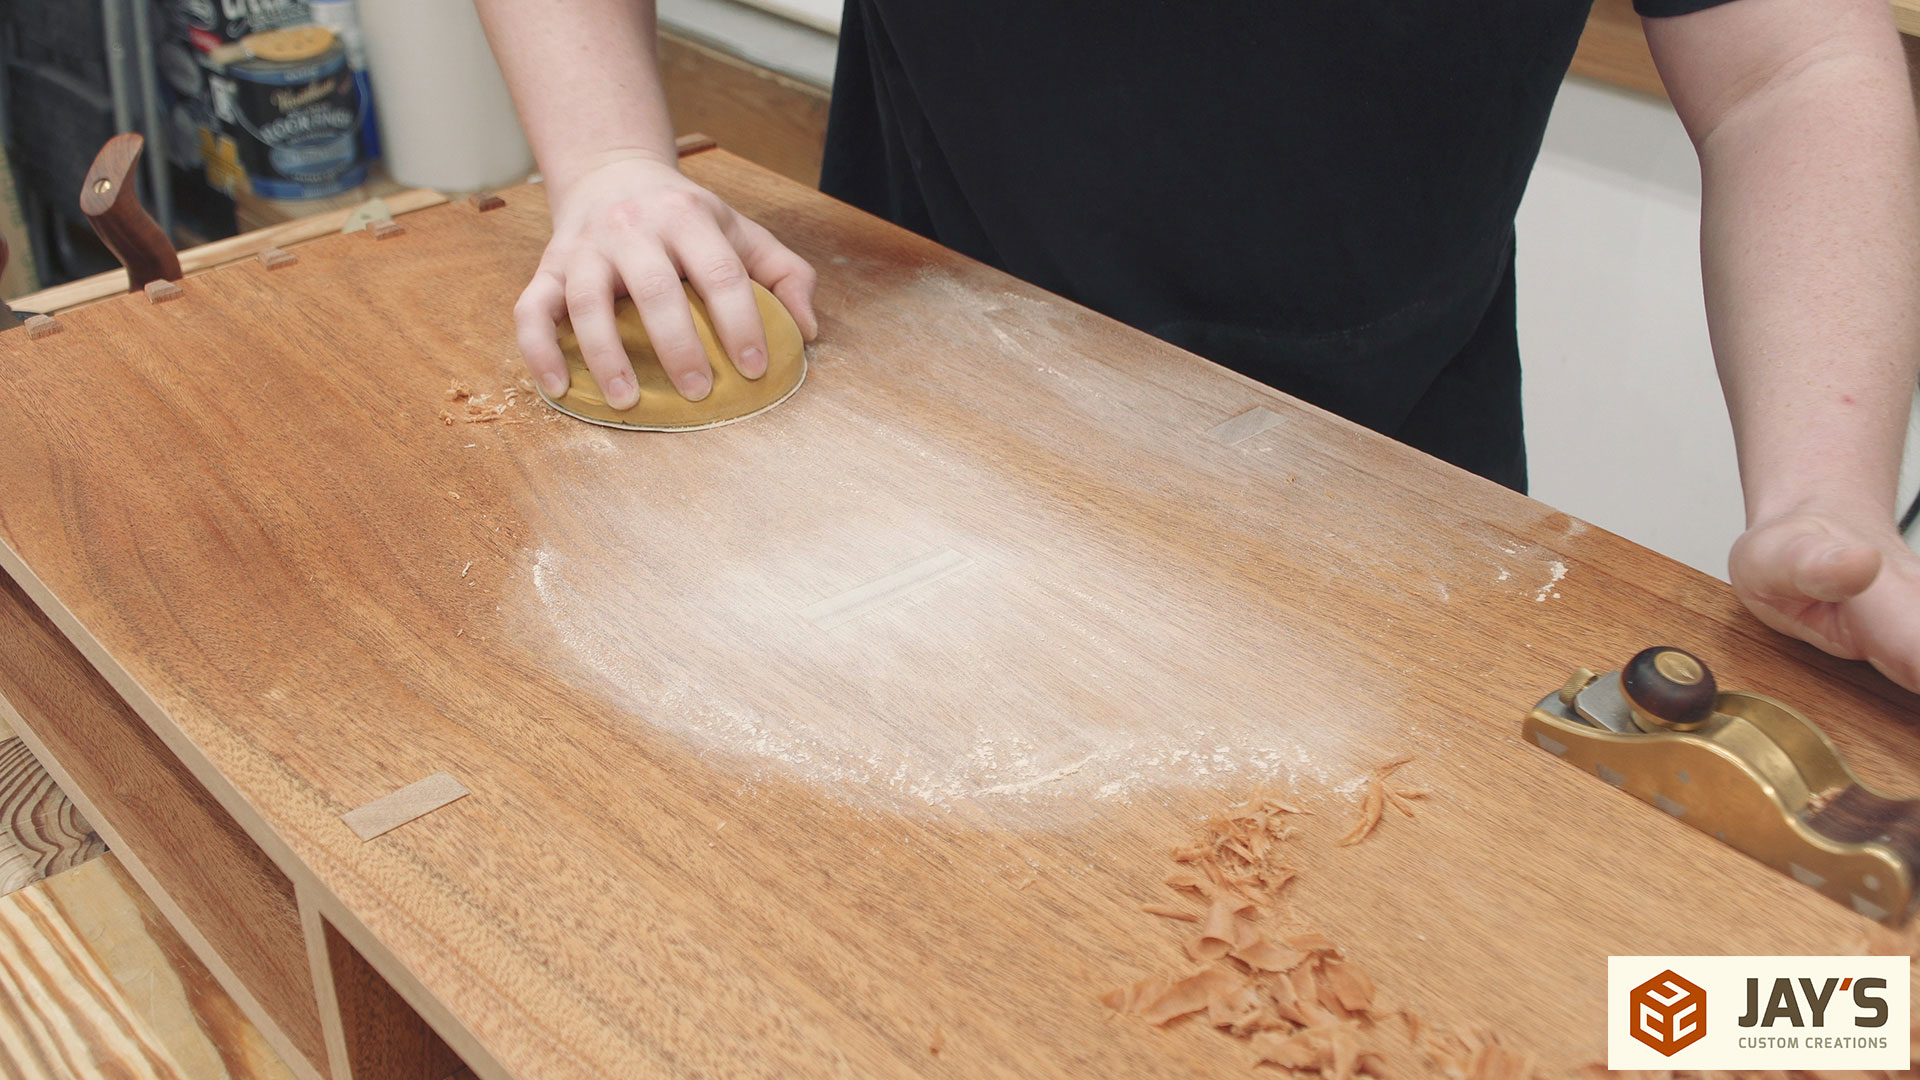
And right after saying all of that I get to tell you that I used my random orbit sander for all of the mahogany pieces. I tried my smoothing plane first but wasn’t liking the resulting texture on the quarter sawn areas of the mahogany. It just wasn’t planing evenly across the panel.
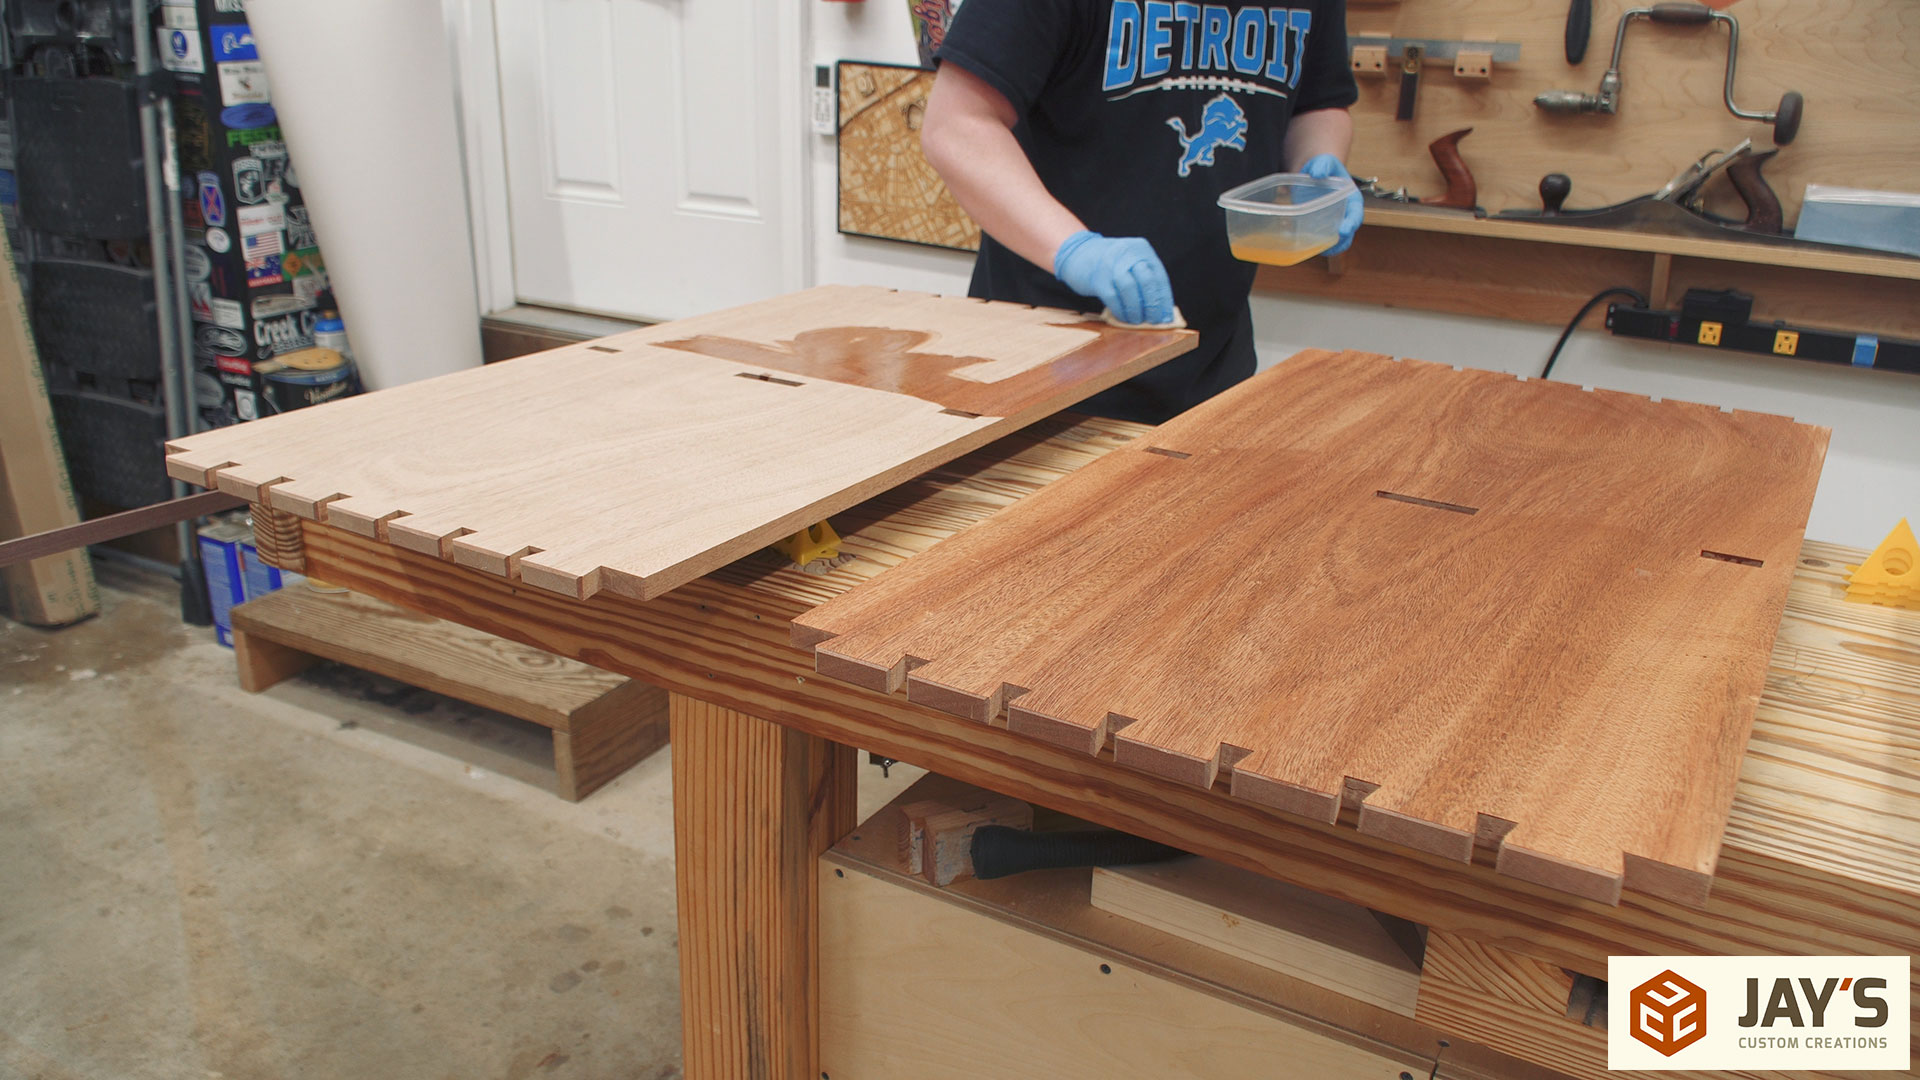
Next up is the finish. I wanted to do as much finishing as possible before assembly. Once assembled there will be a lot of hard to reach interior corners and with finish applied before assembly any glue squeeze out will be a lot easier to remove. For a finish I’m using Arm-R-Seal satin. My wife and I feel like a gloss finish feels too much like plastic and a satin feels closer to not having a finish. Almost like it allows the wood grain to do more of the talking.
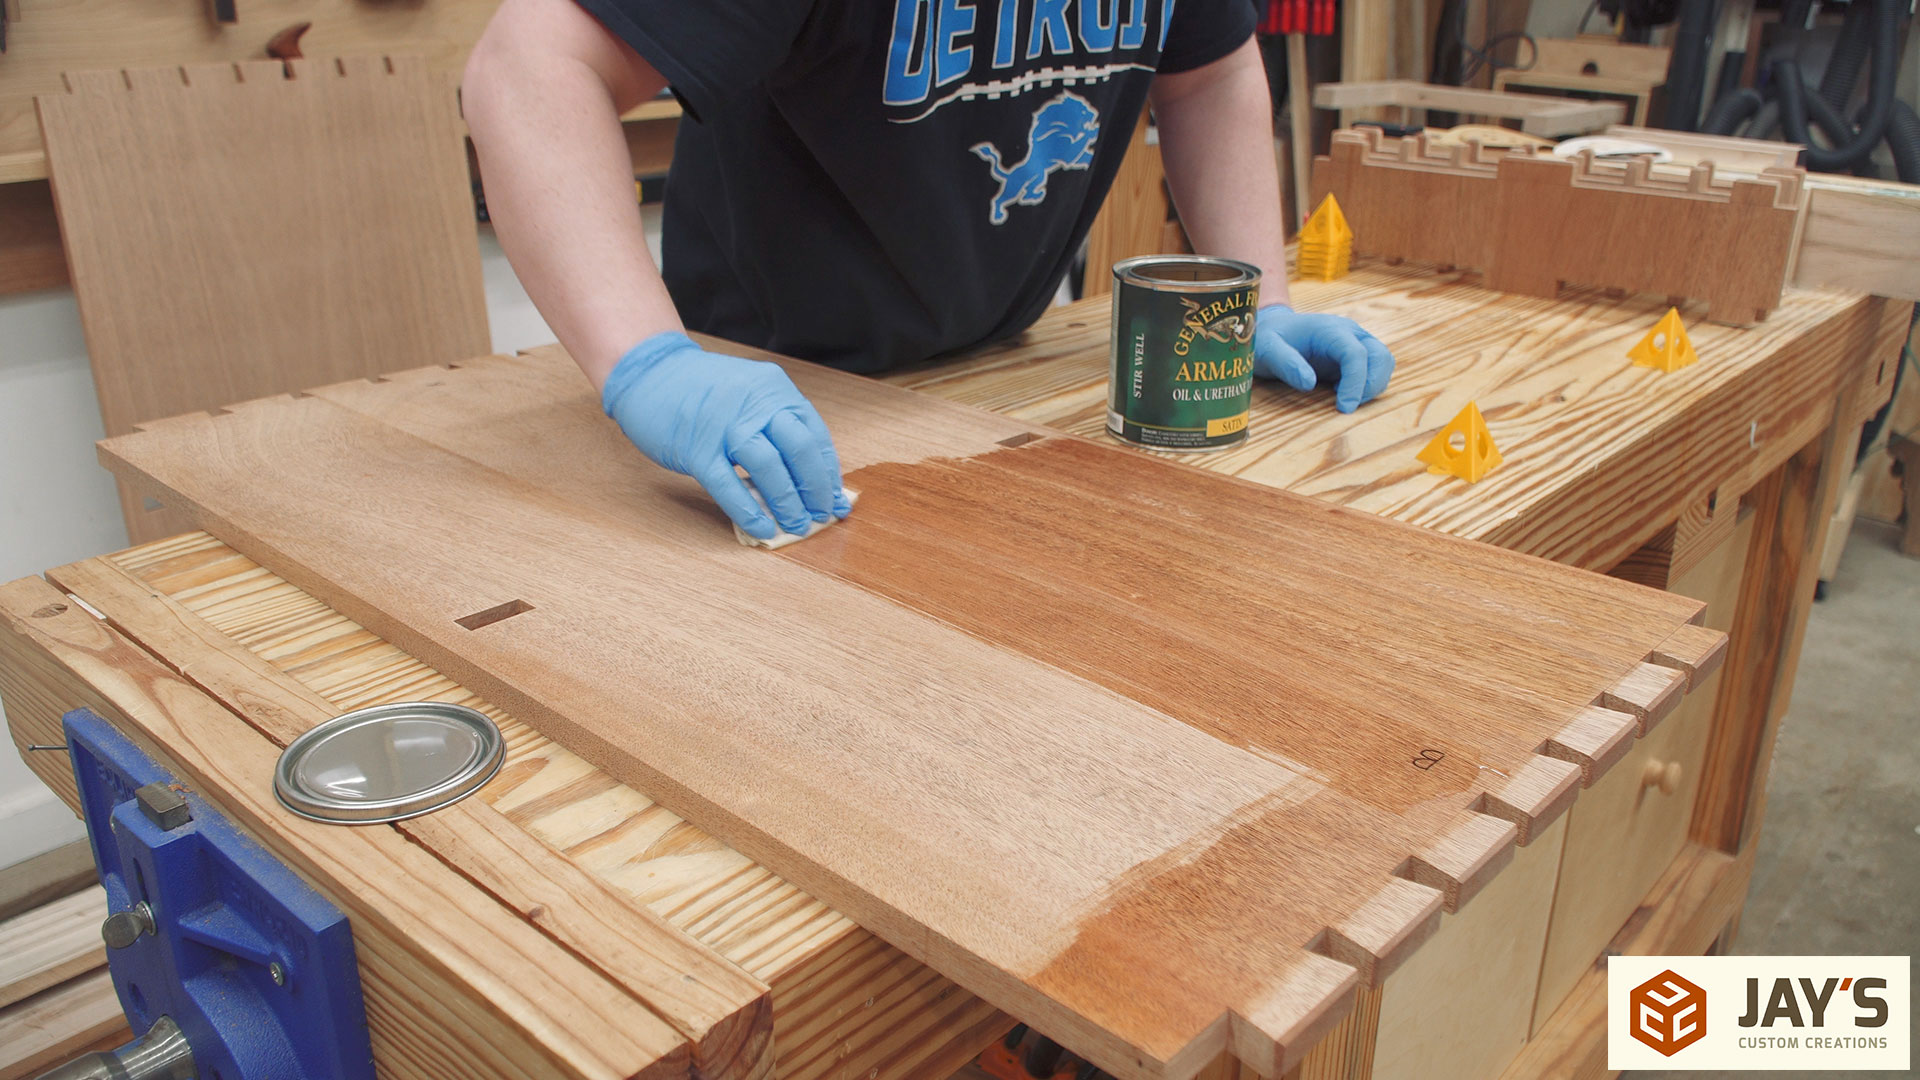
Obviously I made sure to not put any finish on the glue joints but I did put finish on the proud areas of the tenons. This, again, will make glue clean up a lot easier.
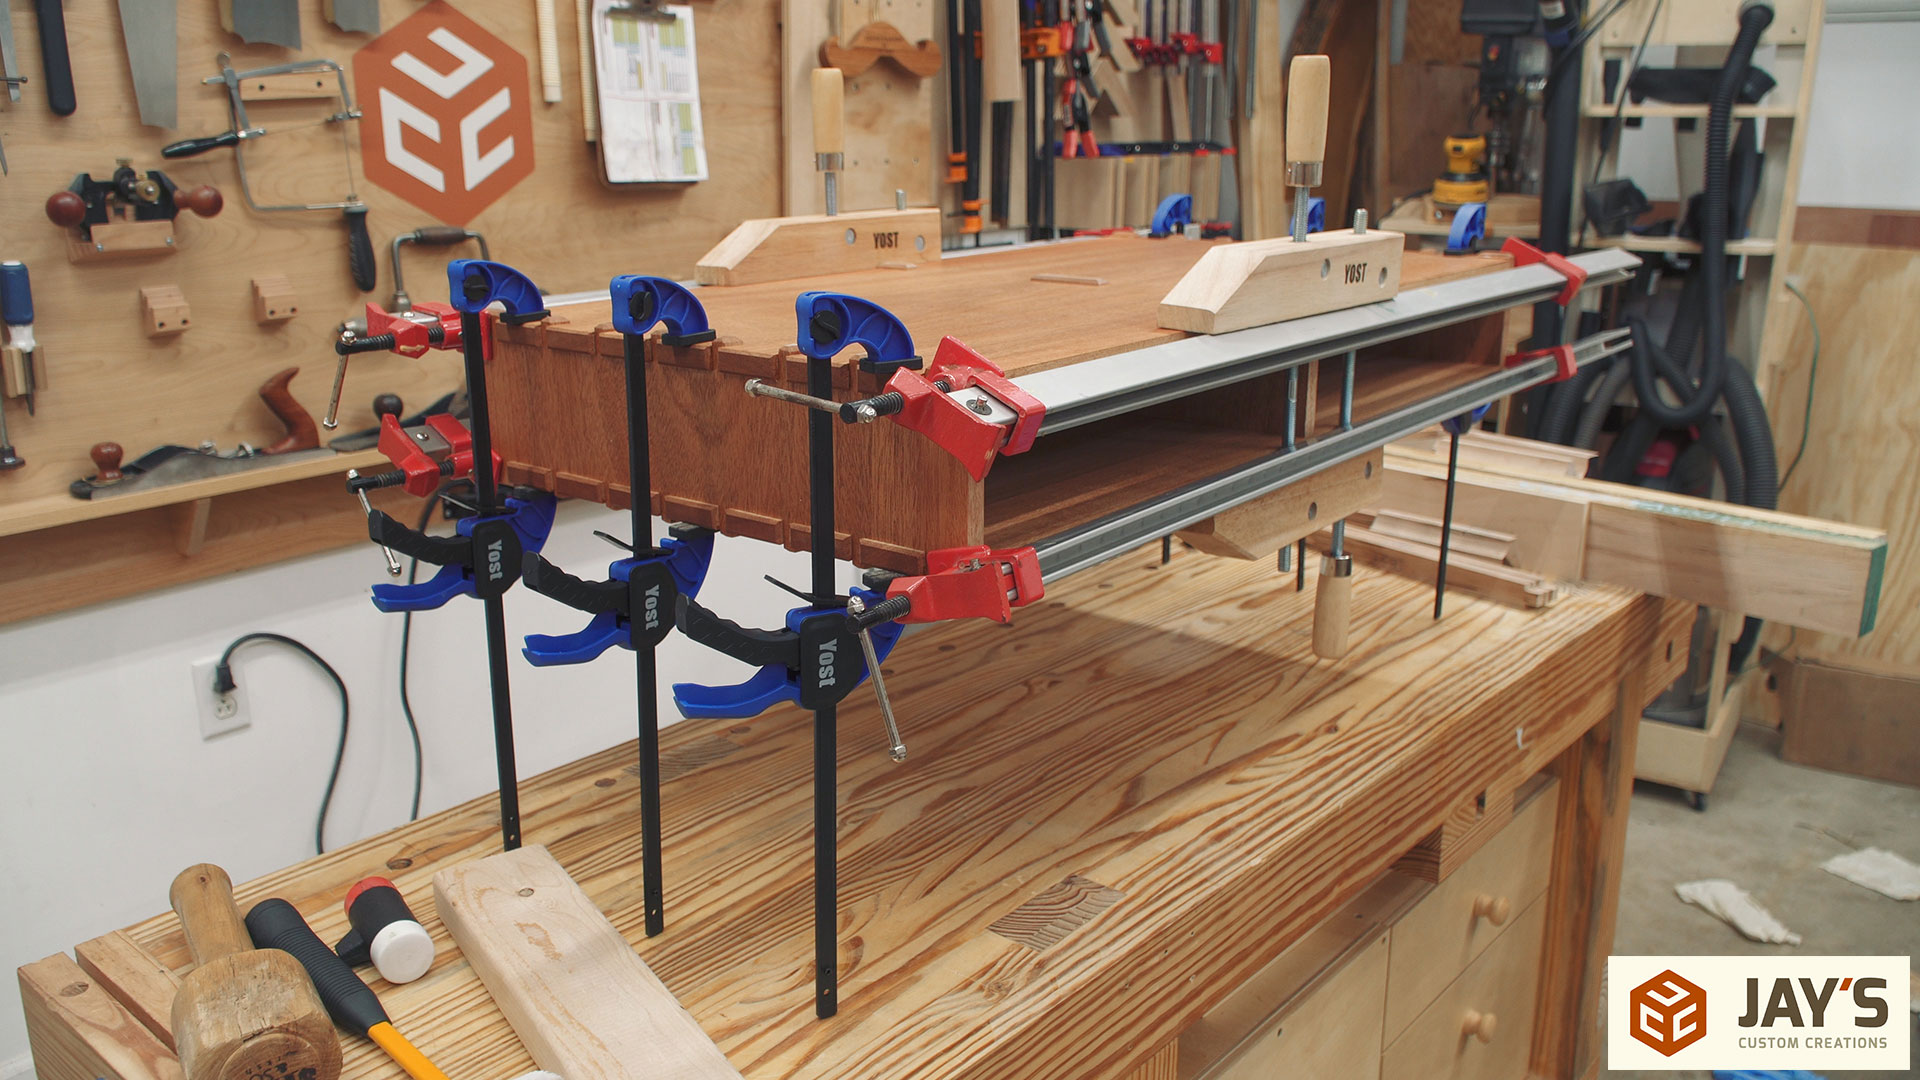
After two coats of finish the glue up can begin. All of the joints on this project were pretty tight to begin with and required a mallet to seat them so if a water based PVA glue was used the joints would swell slightly and be even more difficult to seat. Instead, I used hide glue which somewhat acts as a lubricant to help seat the joints. I was actually able to assemble all of the base joints by hand.

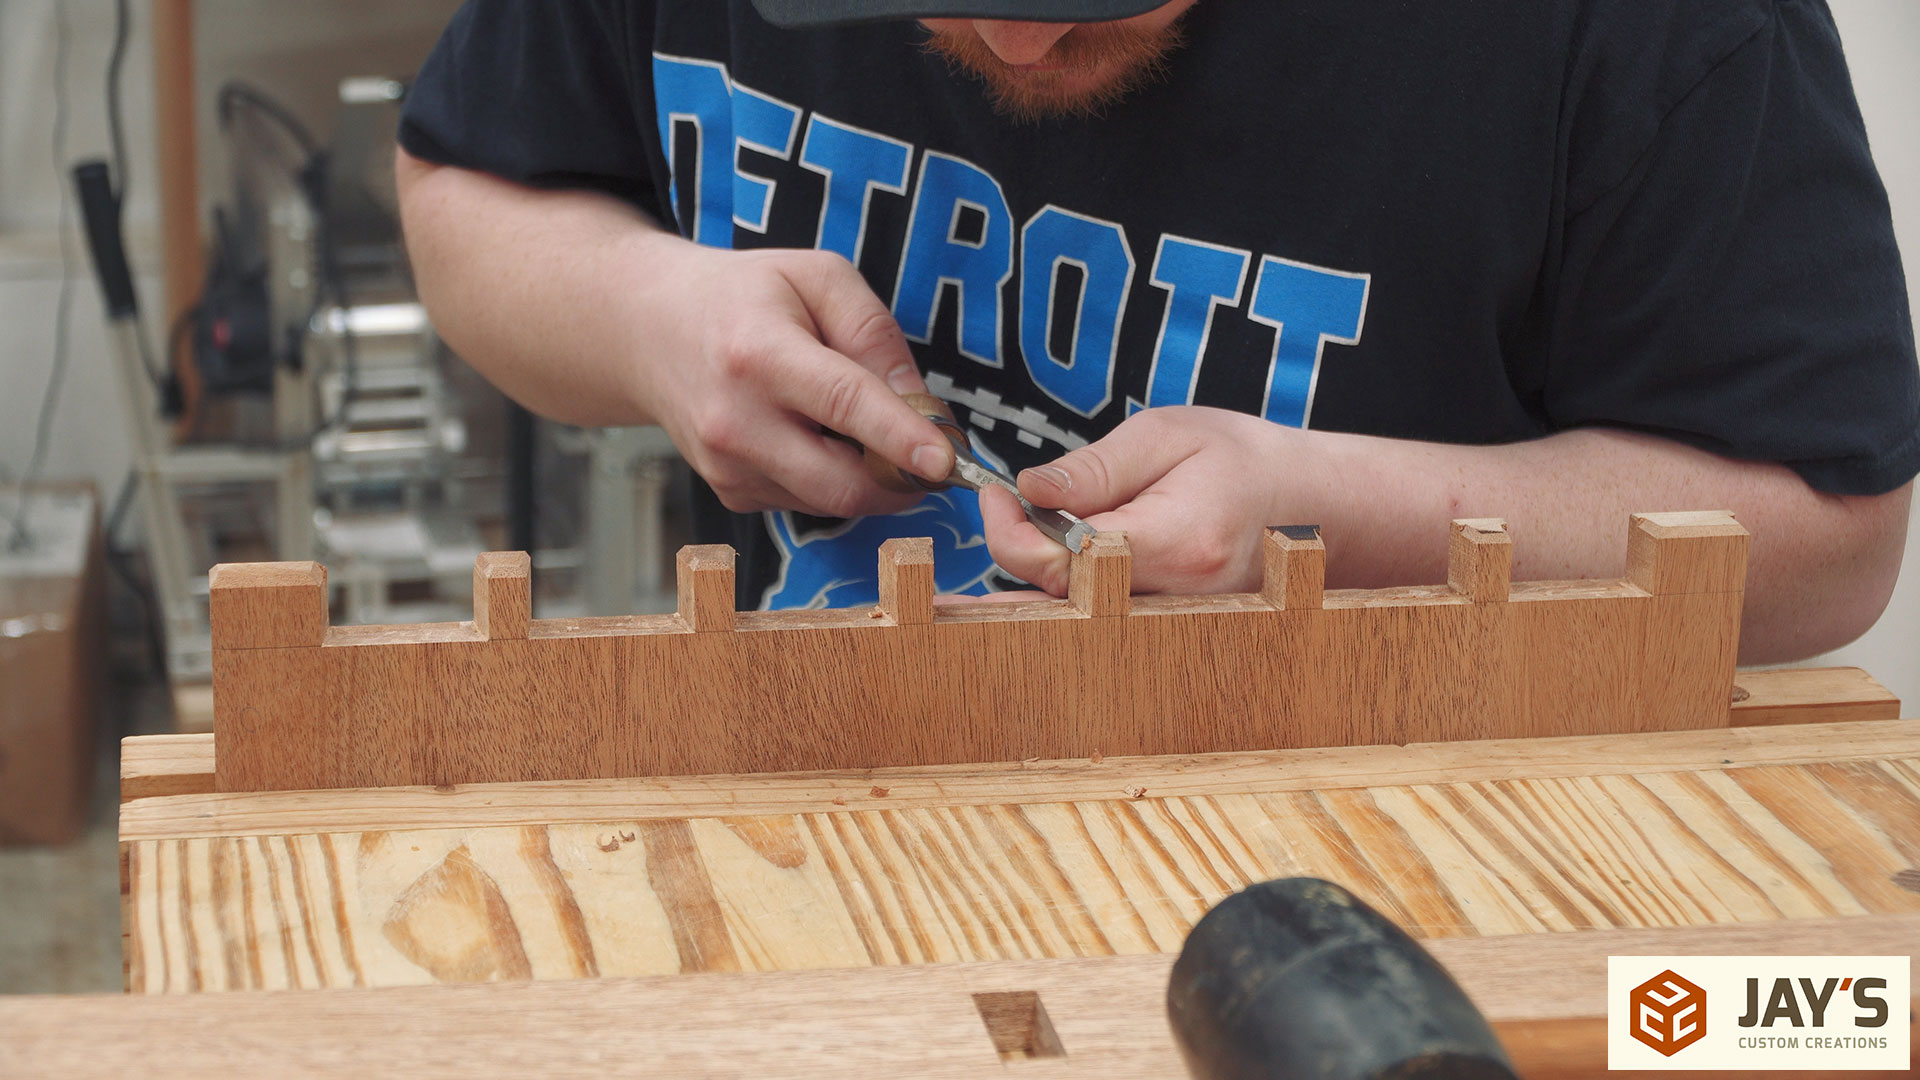
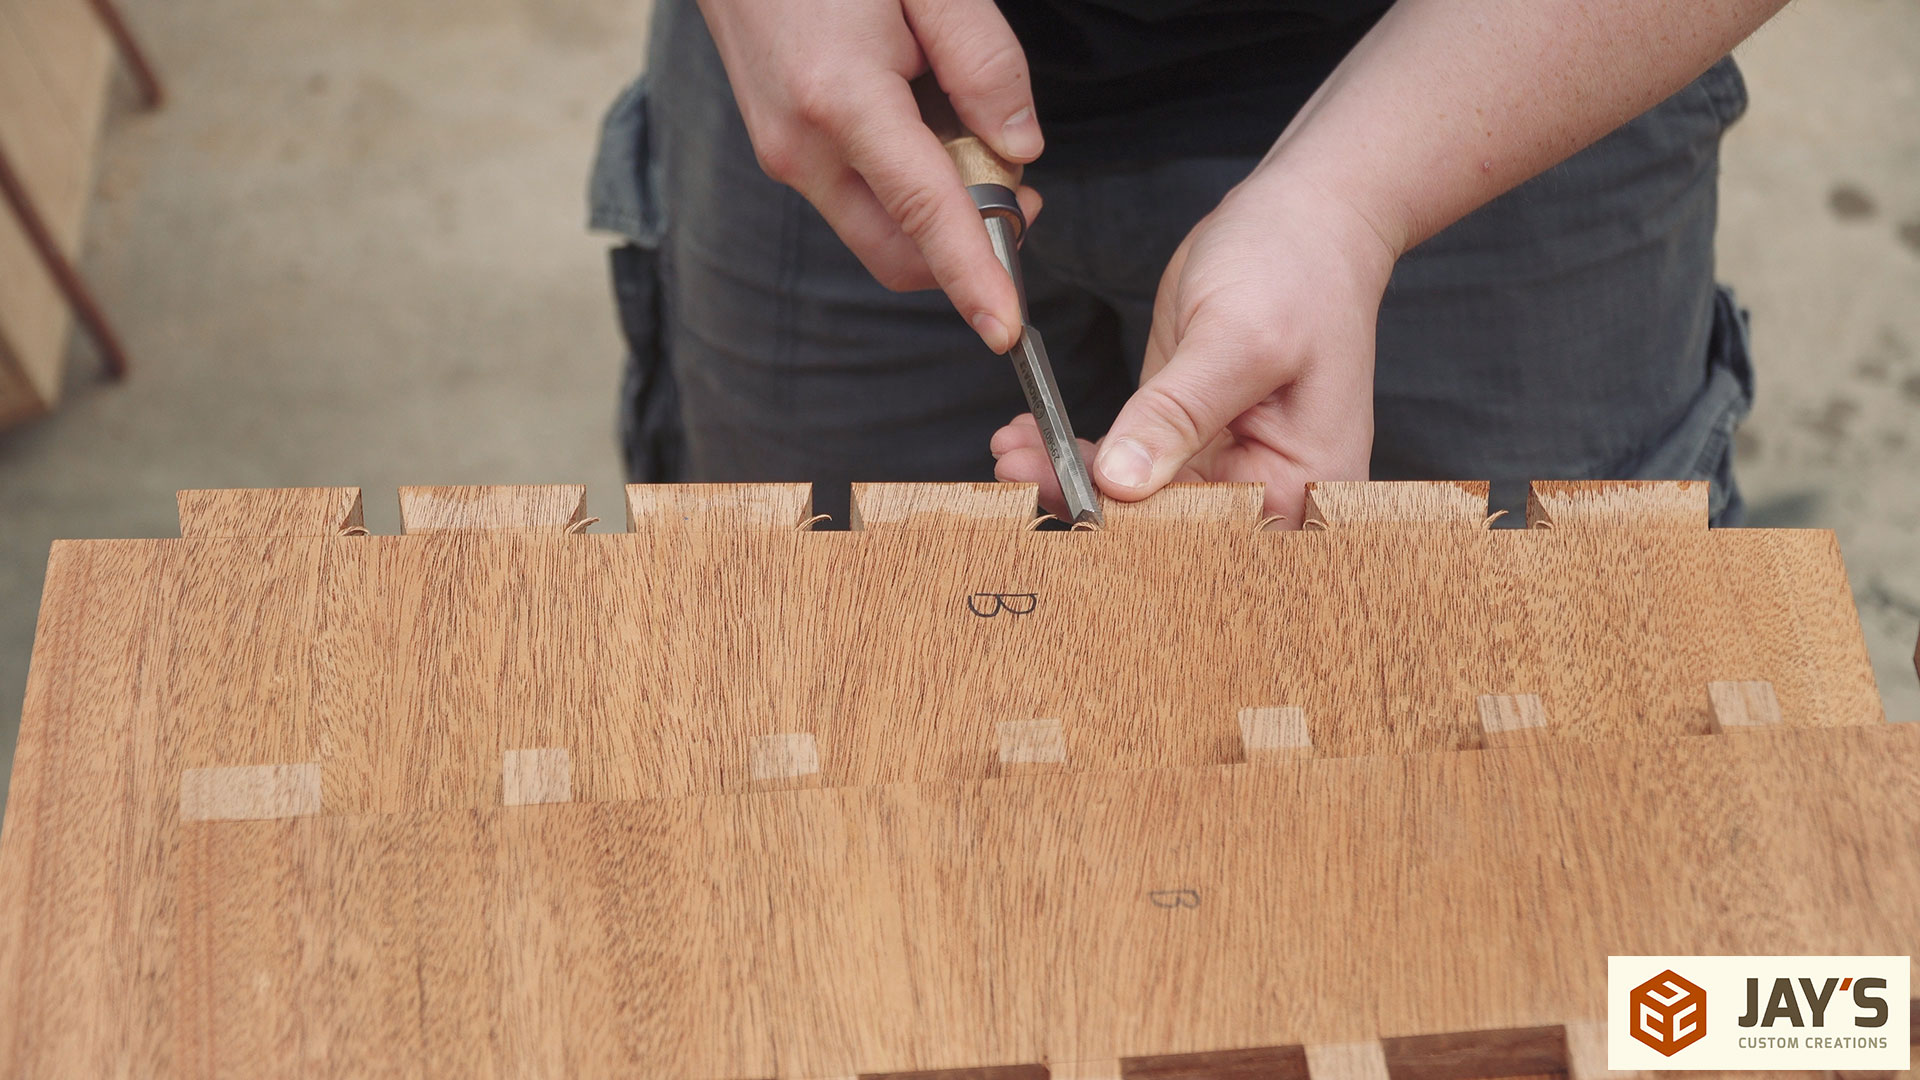
One final thing to do on the case before assembly. A little relief cut is made with a chisel on the inside edge of each of the tails. This doesn’t really affect the strength of the joint but it does allow a little bit of glue relief area. Sometimes, if the joint is really tight to begin with, excess glue will prevent the joint from seating all the way without the relief cut.
Even with the hide glue the case joints were still pretty tight and required a bit of persuasion to close up.

Oh yeah, my brand new Harbor Freight two-sided mallet fell apart. That was fun.
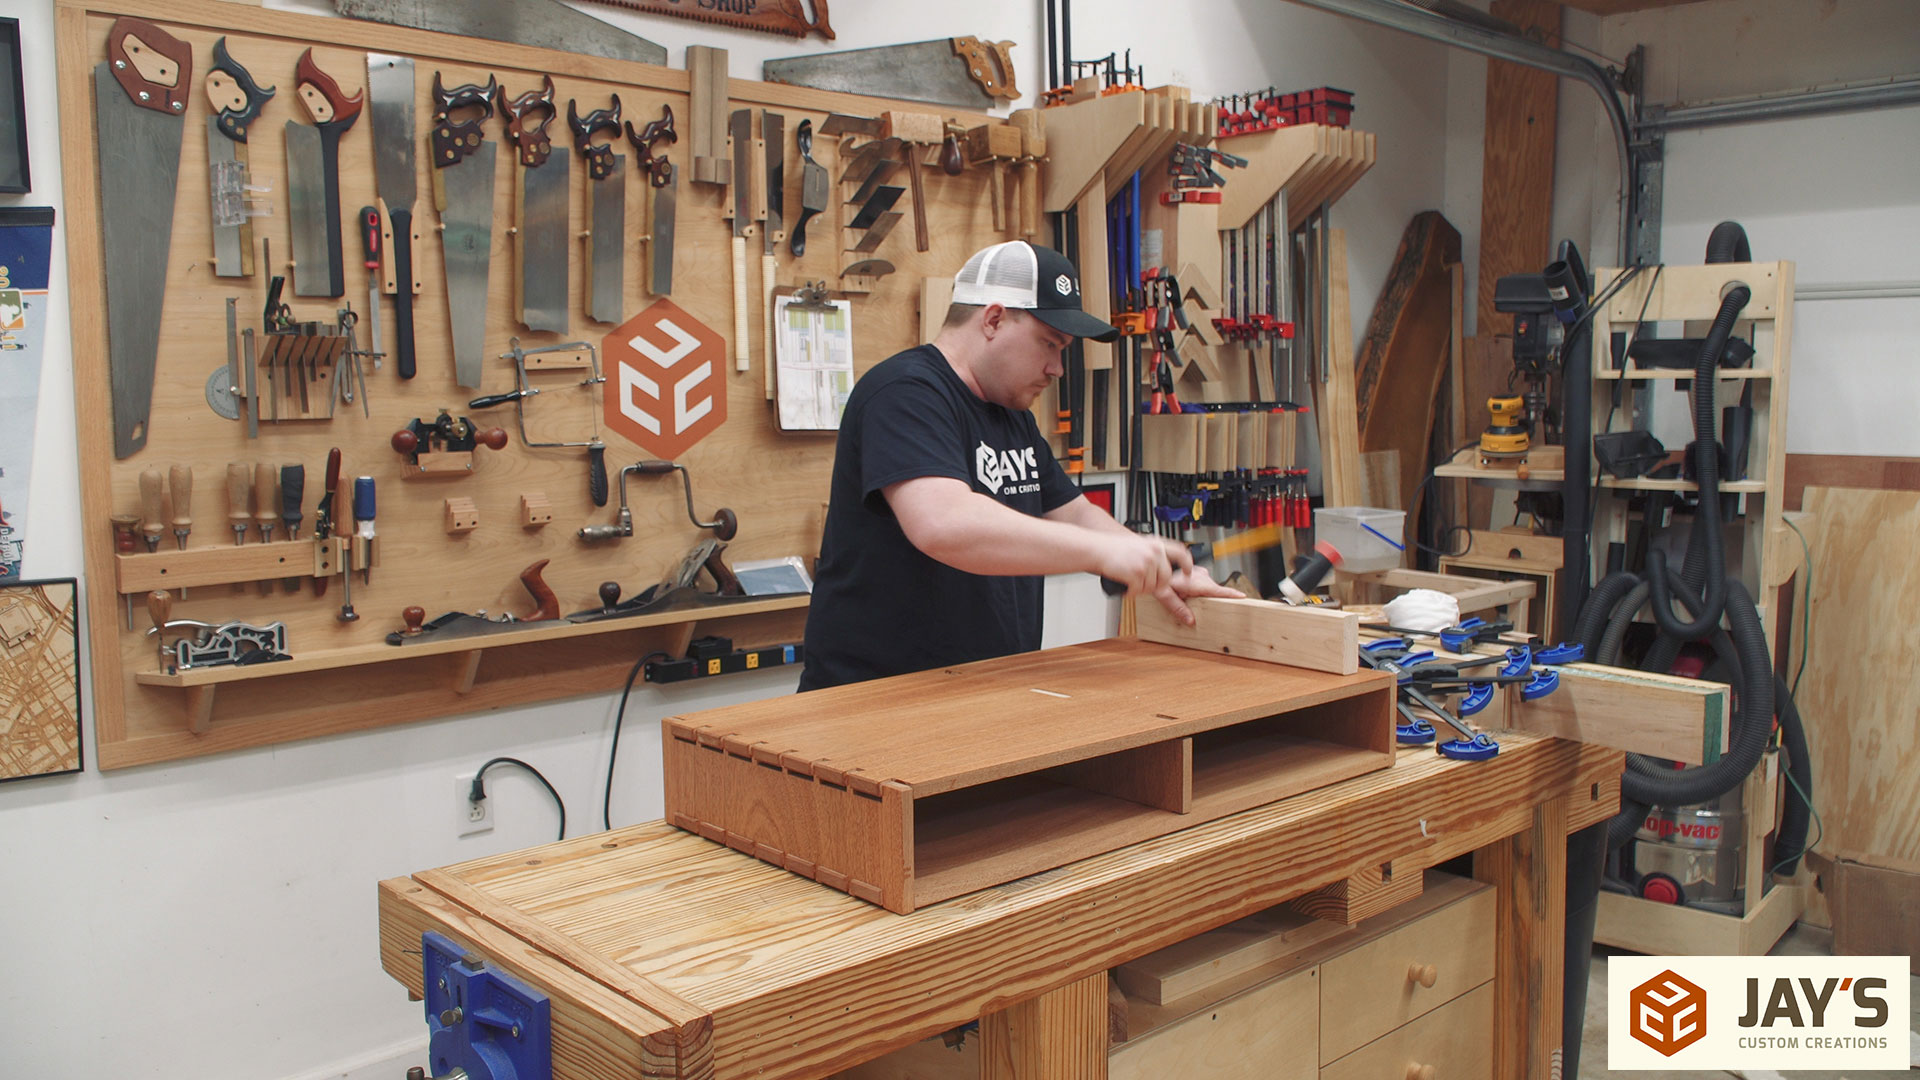
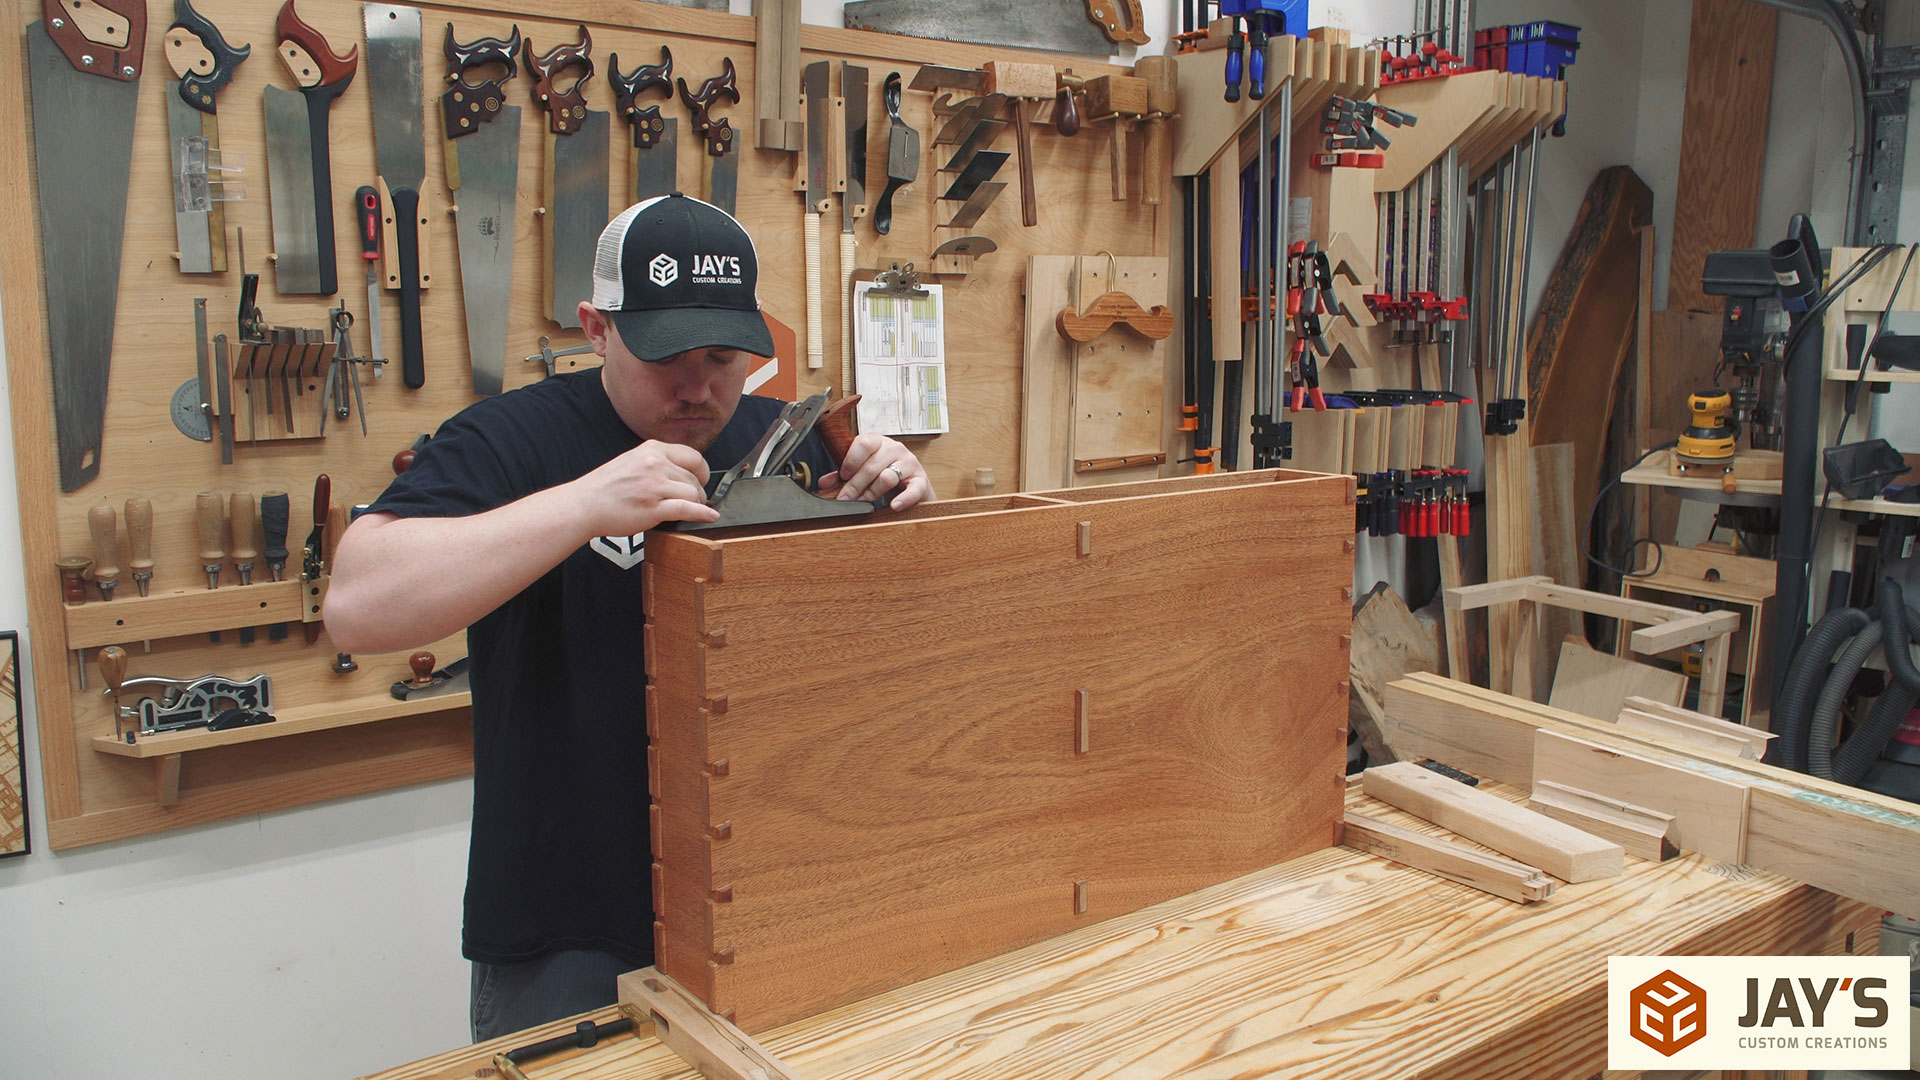
After assembly all of the joints on the front and back face of the case were flushed up with a smoothing plane.
And then all of the edges were broken with 320 grit sand paper.

I decided to leave the top tenons proud, as I could always flush them later if I didn’t like it, but on the bottom they were planed flat and then sanded to blend better with the bottom of the case.
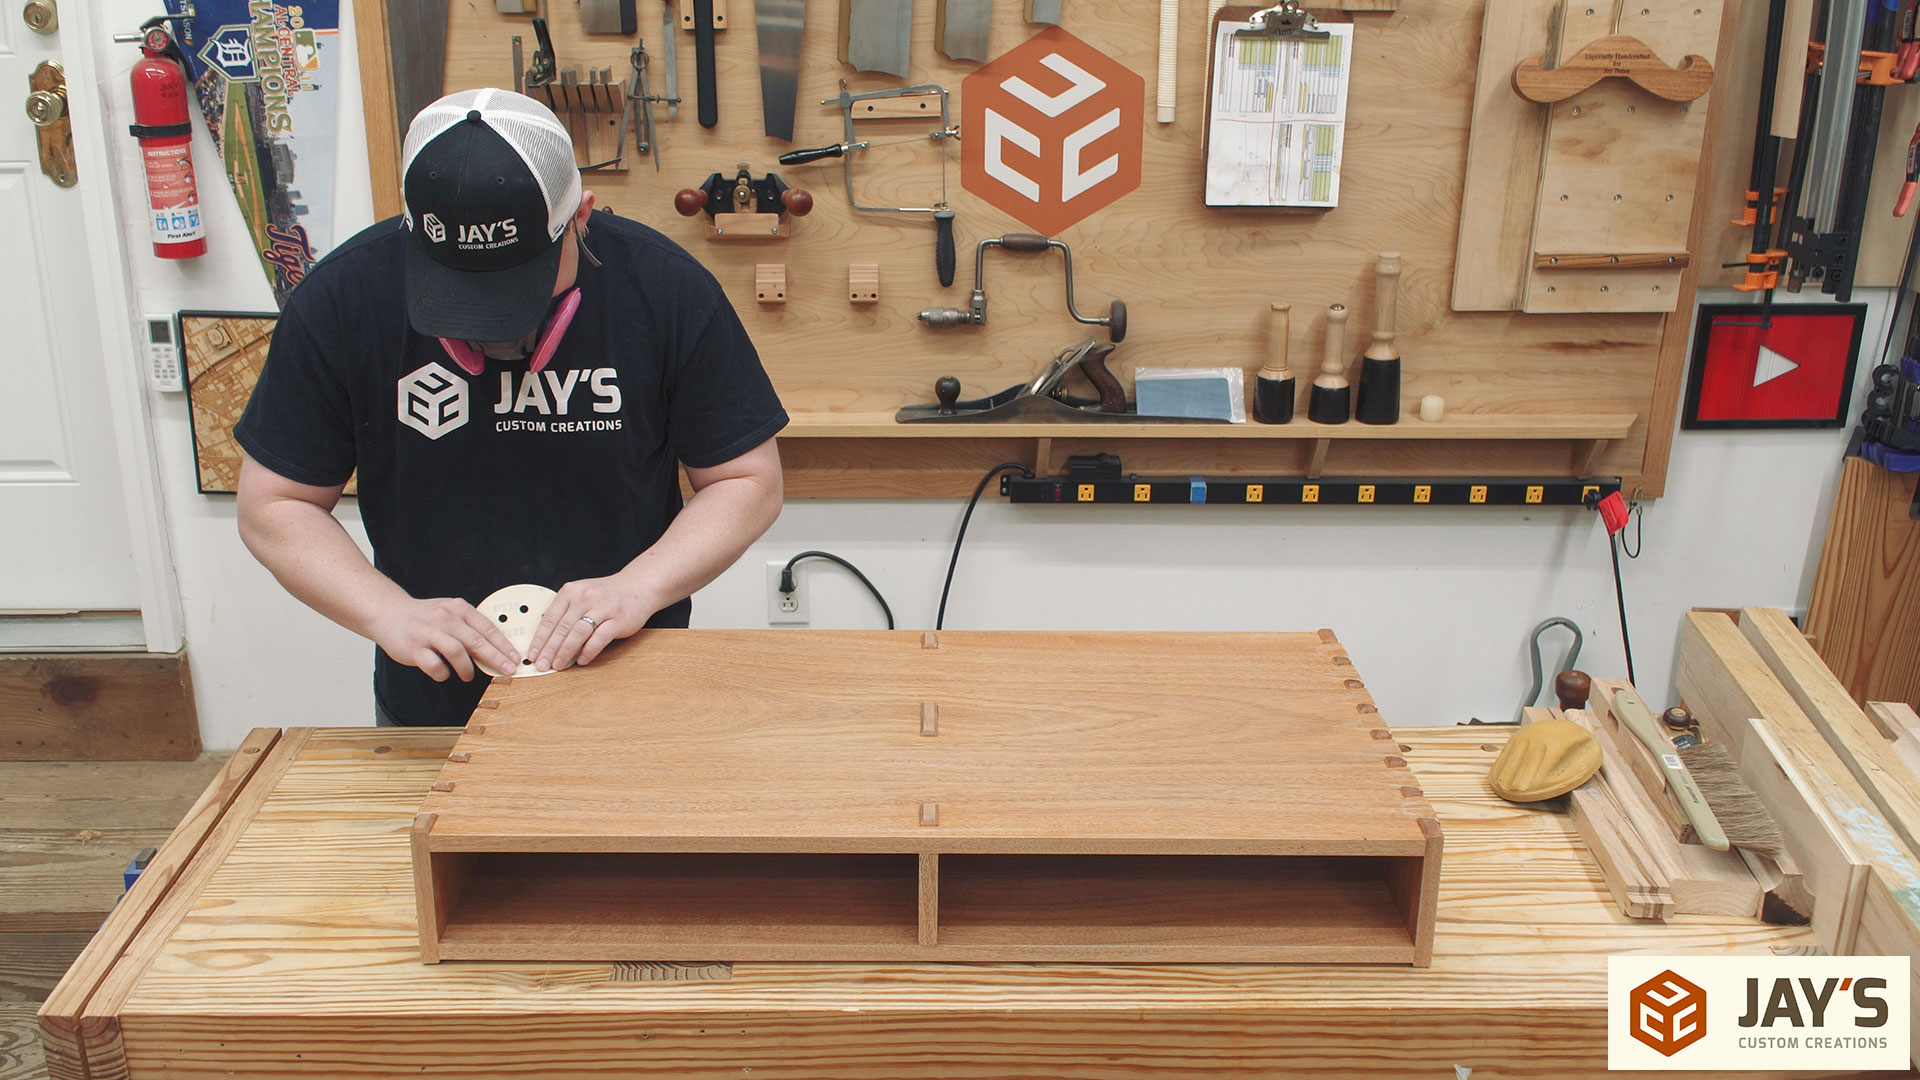
A couple more coats of finish are still needed so every assembled exterior face on both the case and base were gently sanded with a fresh piece of 320 grit sandpaper and then vacuumed off before applying two more coats of finish.

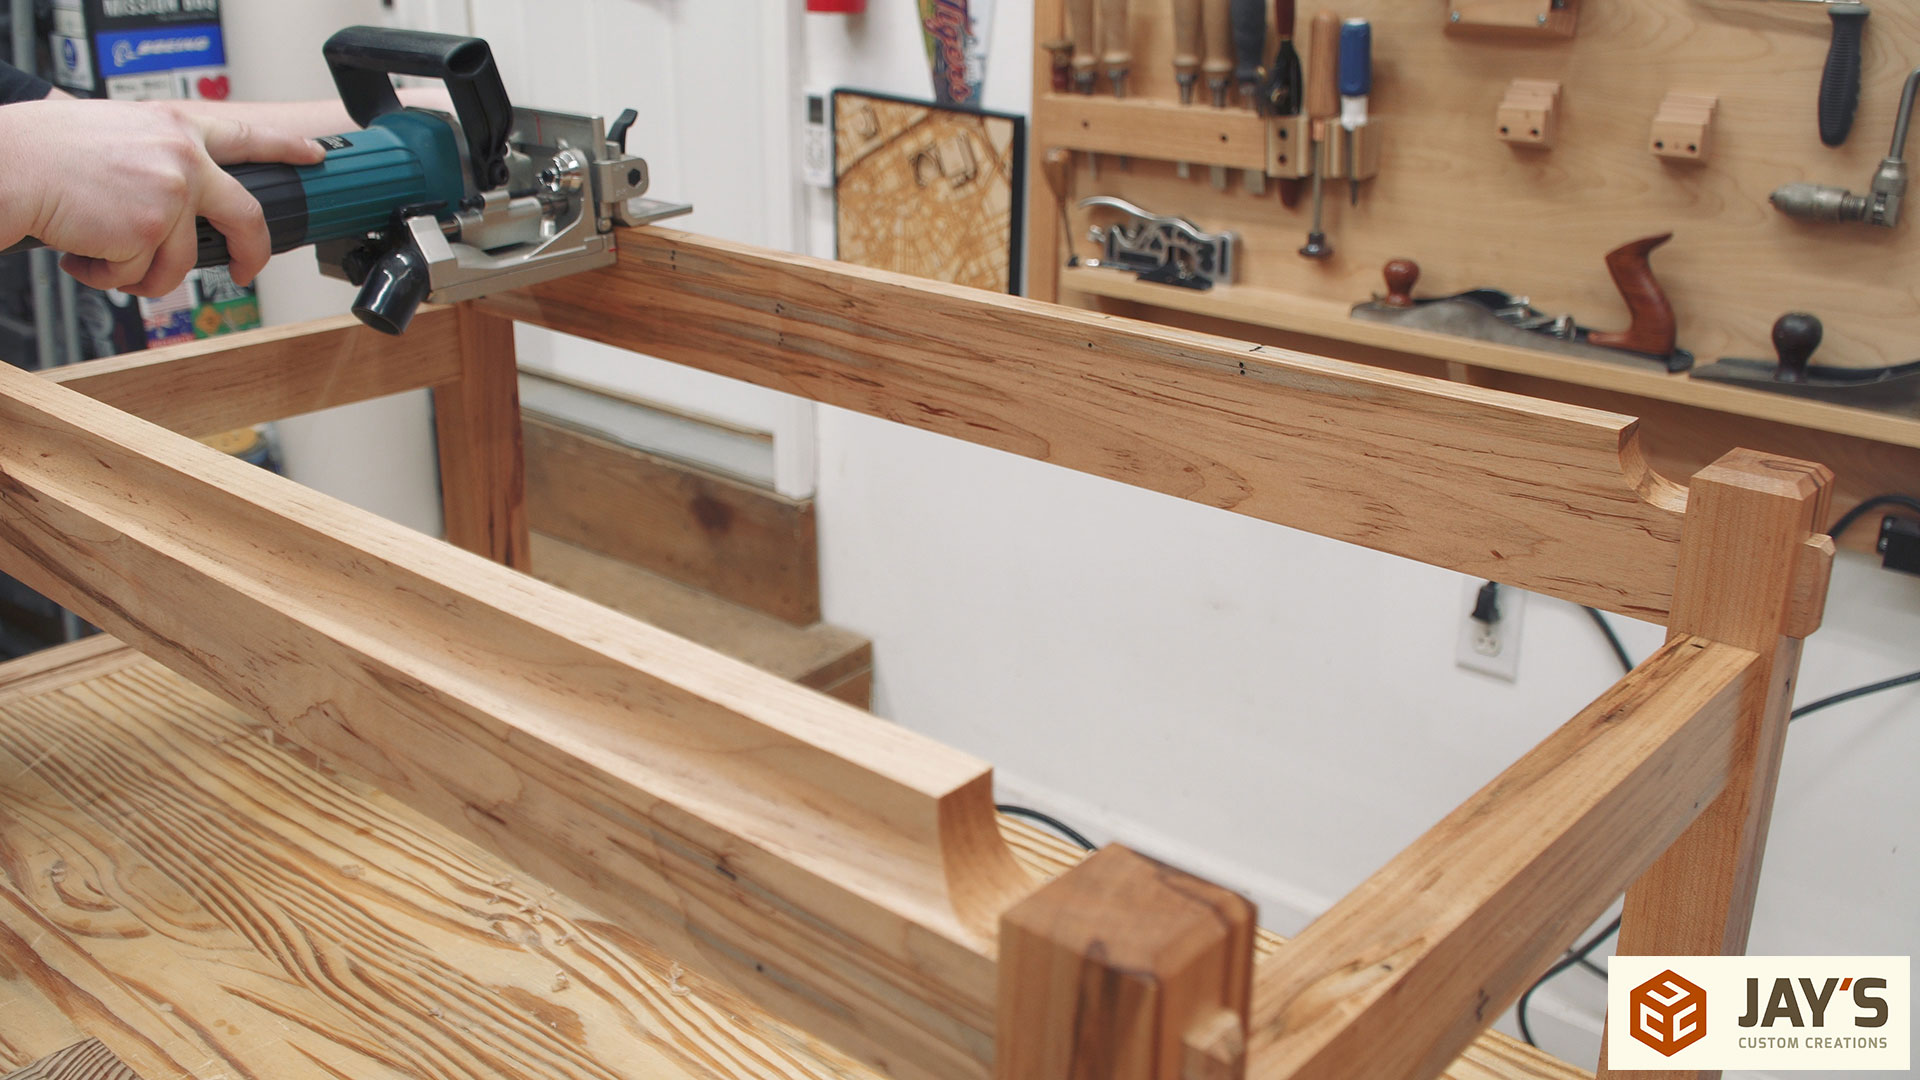
To attach a top to a base I always use these table top hold down clips. A biscuit joiner is used to cut the slots and here you can see one cut in a scrap block to verify that the biscuit joiner is setup correctly. The clip goes into the slot and is secured to the bottom of the table top with a screw. The slot connection allows the clip to not only hold the two pieces together but allows for movement of the top as it expands and contracts with seasonal changes.
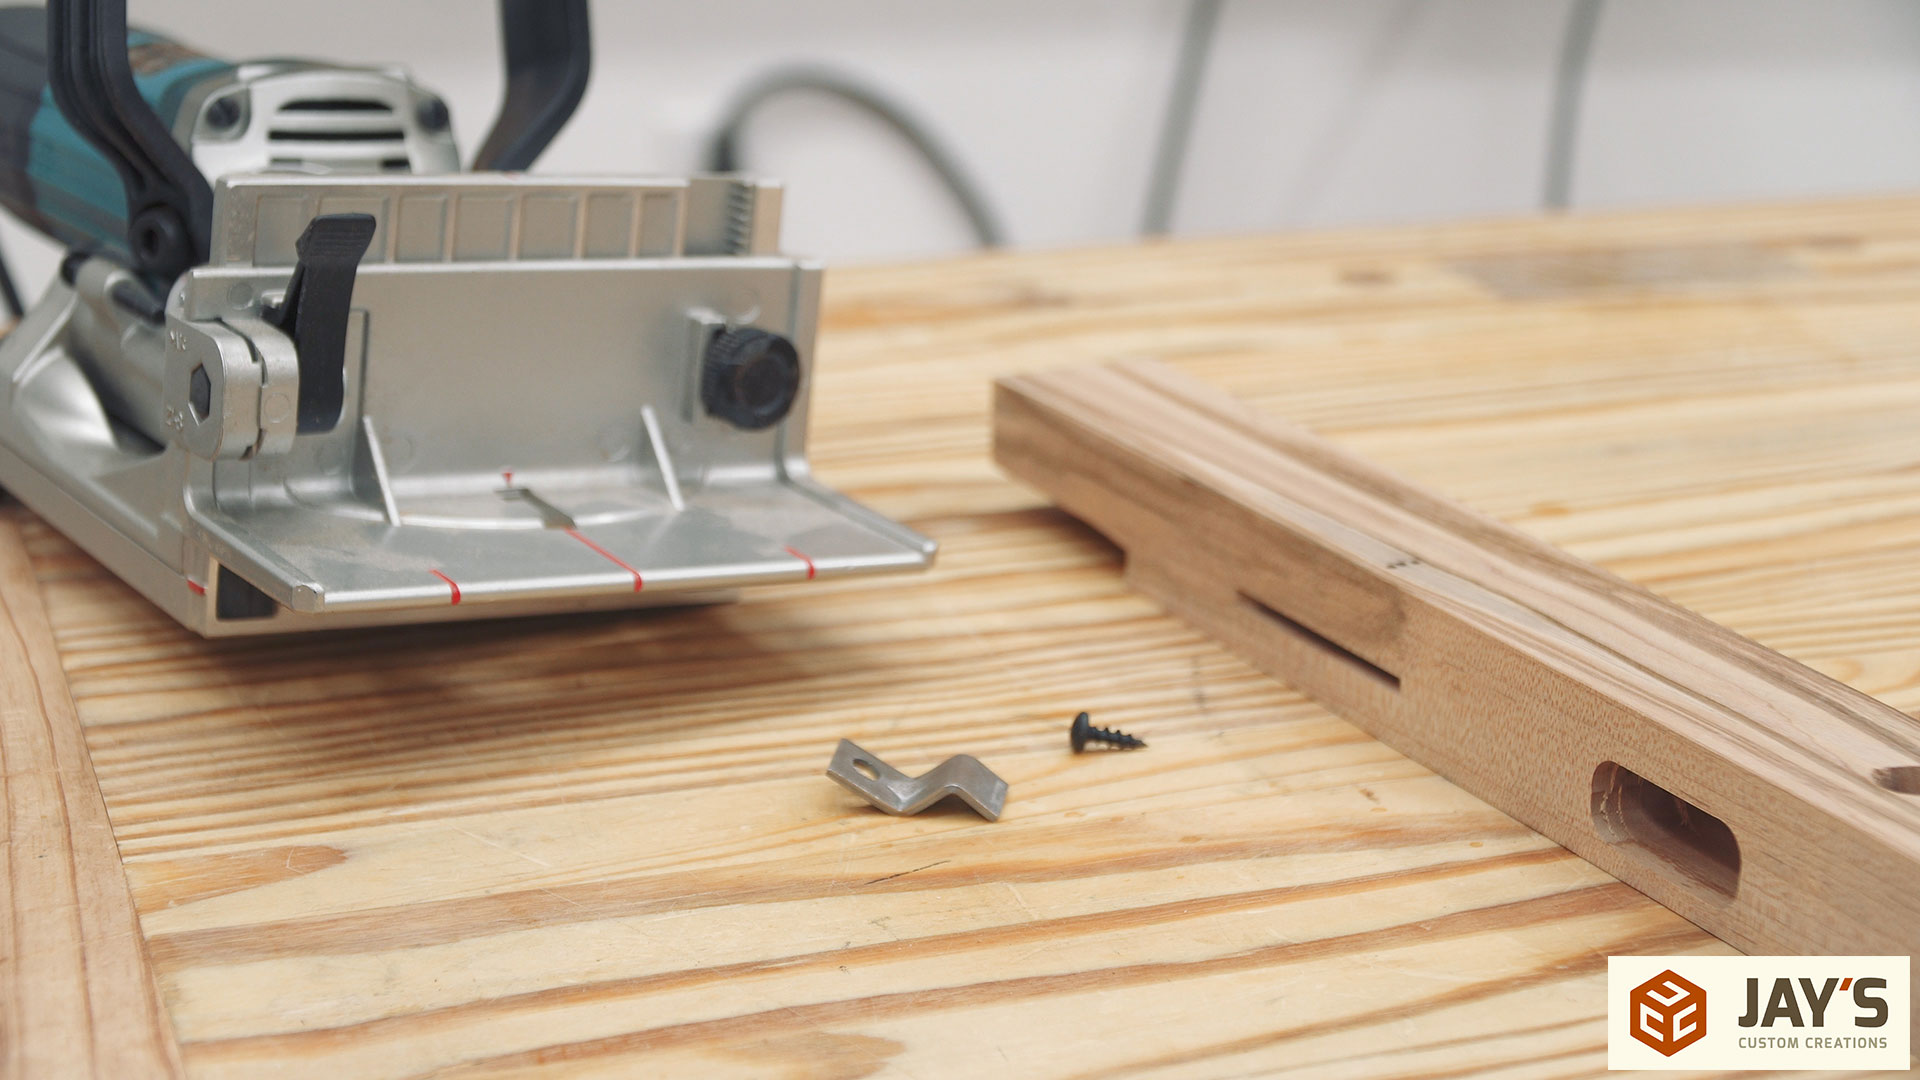
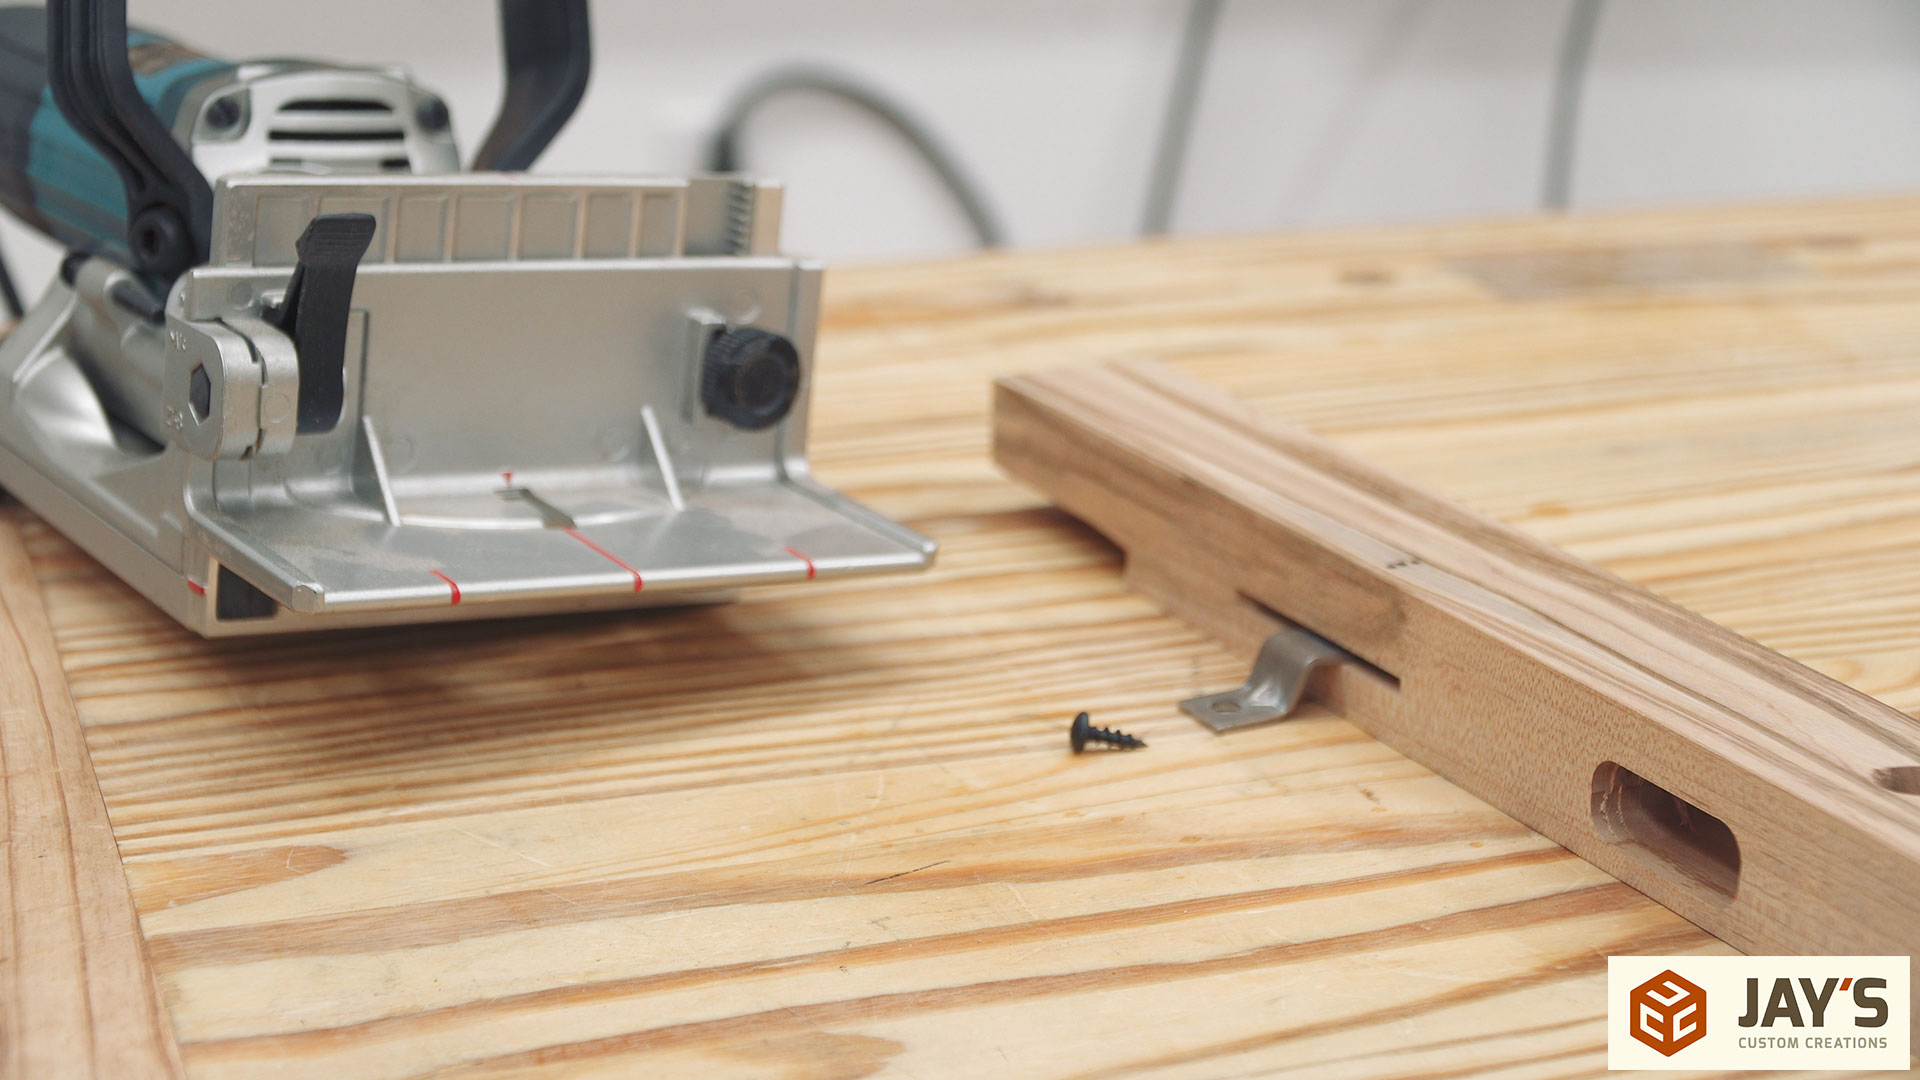
There’s a few different ways to make the slot but I’ve found the biscuit jointer to be the simplest and most efficient.
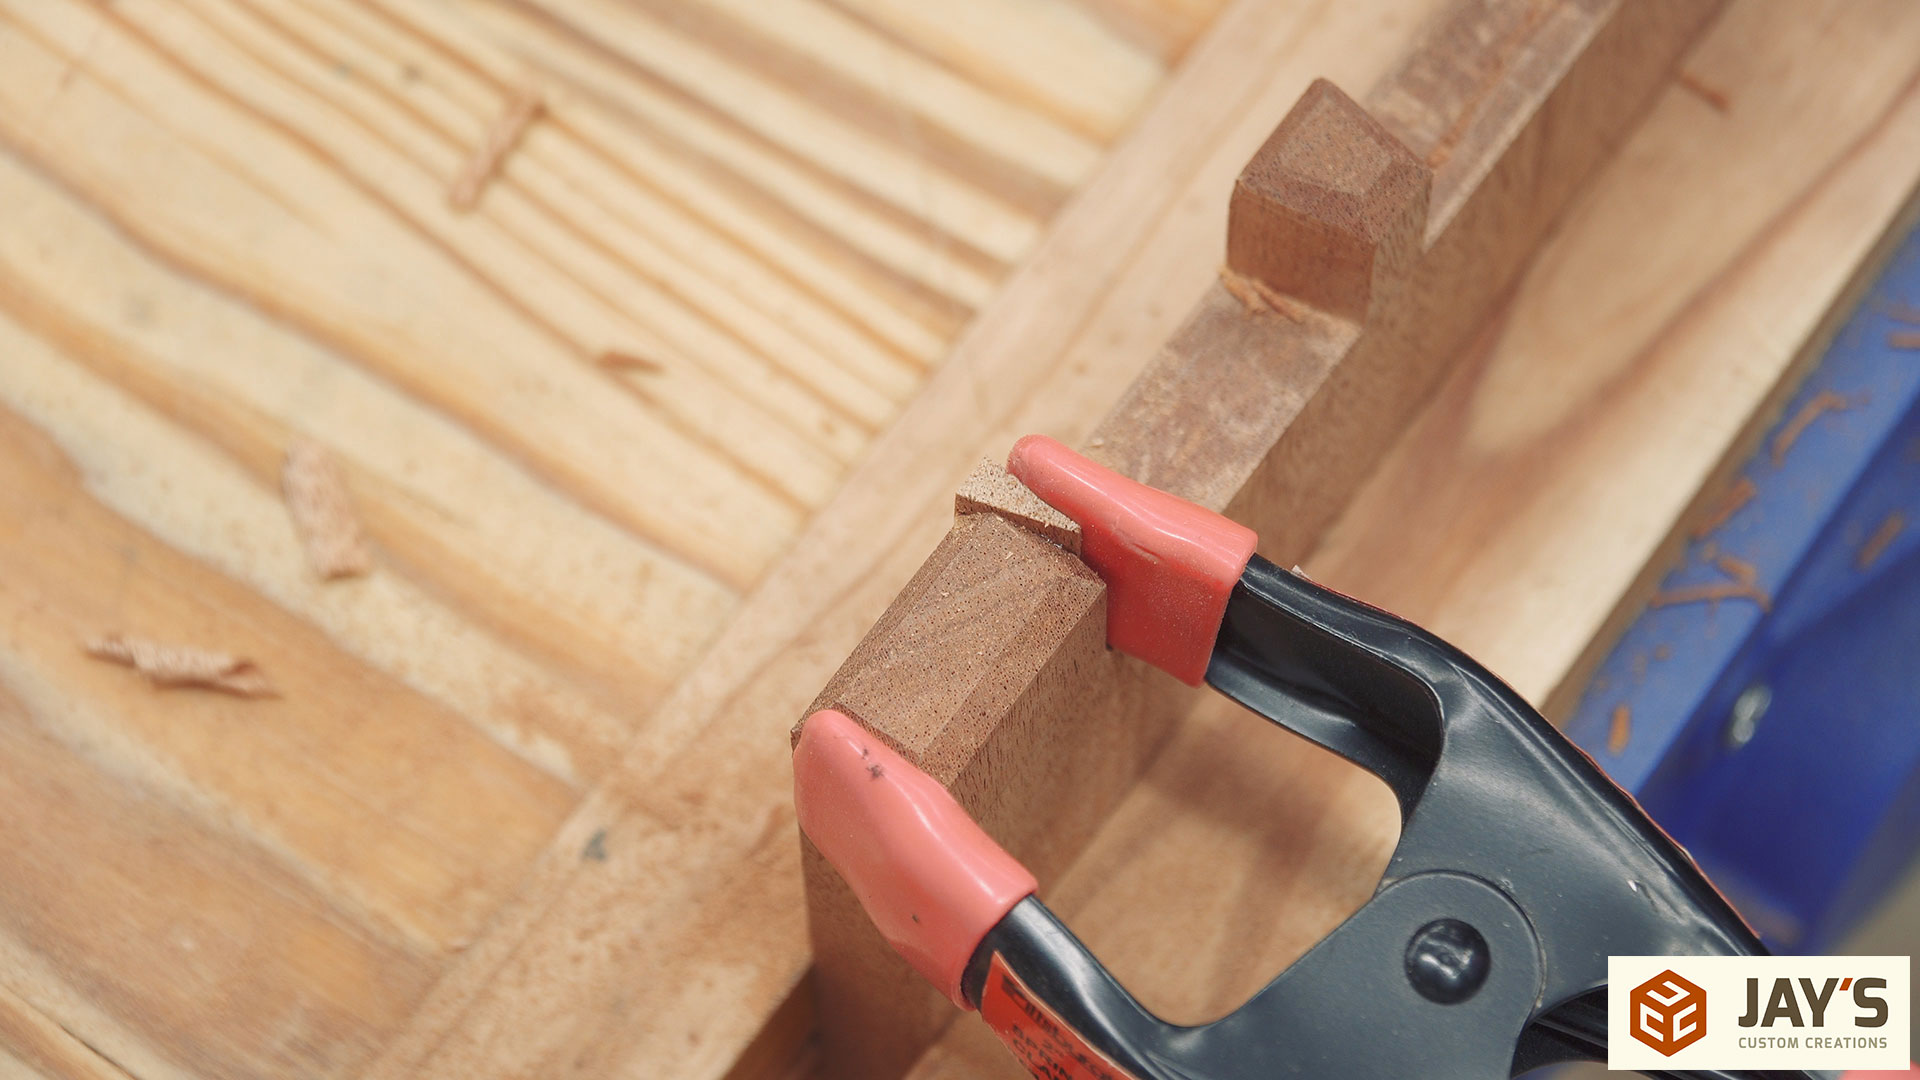
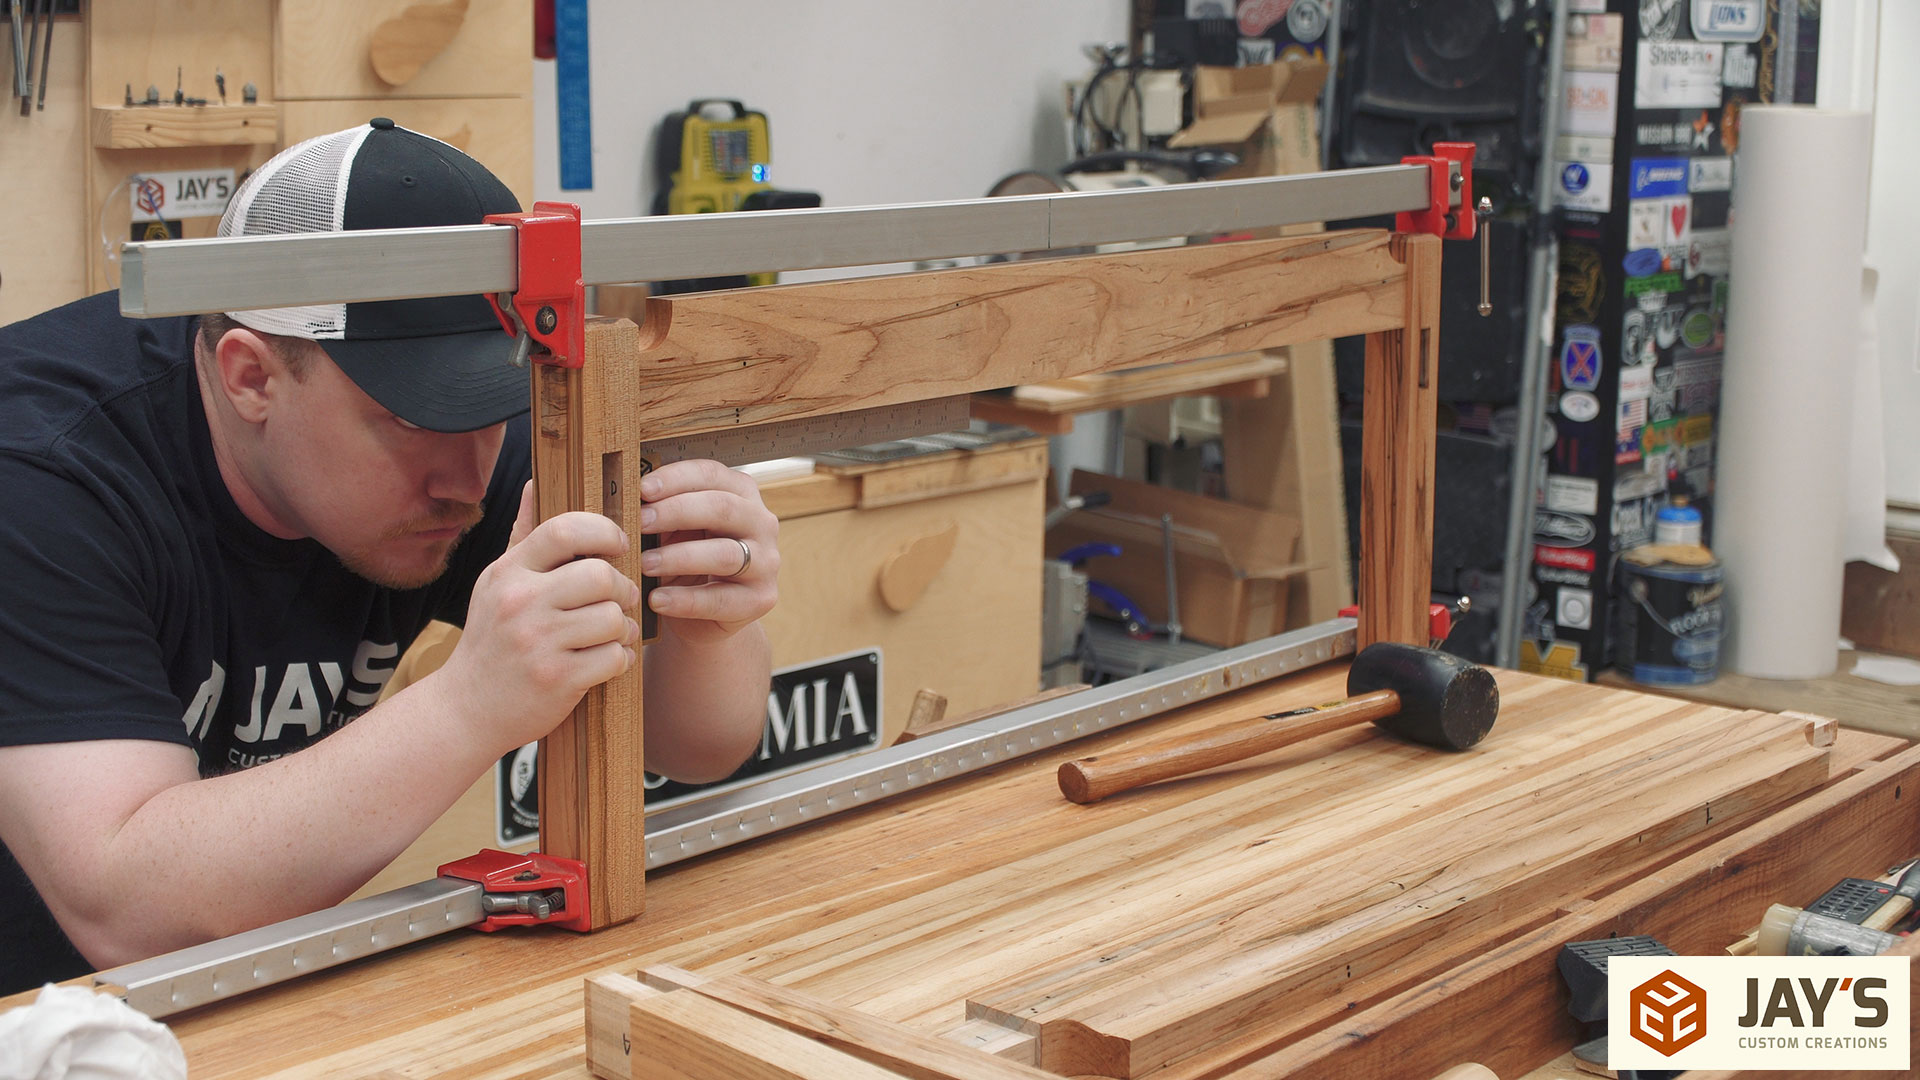
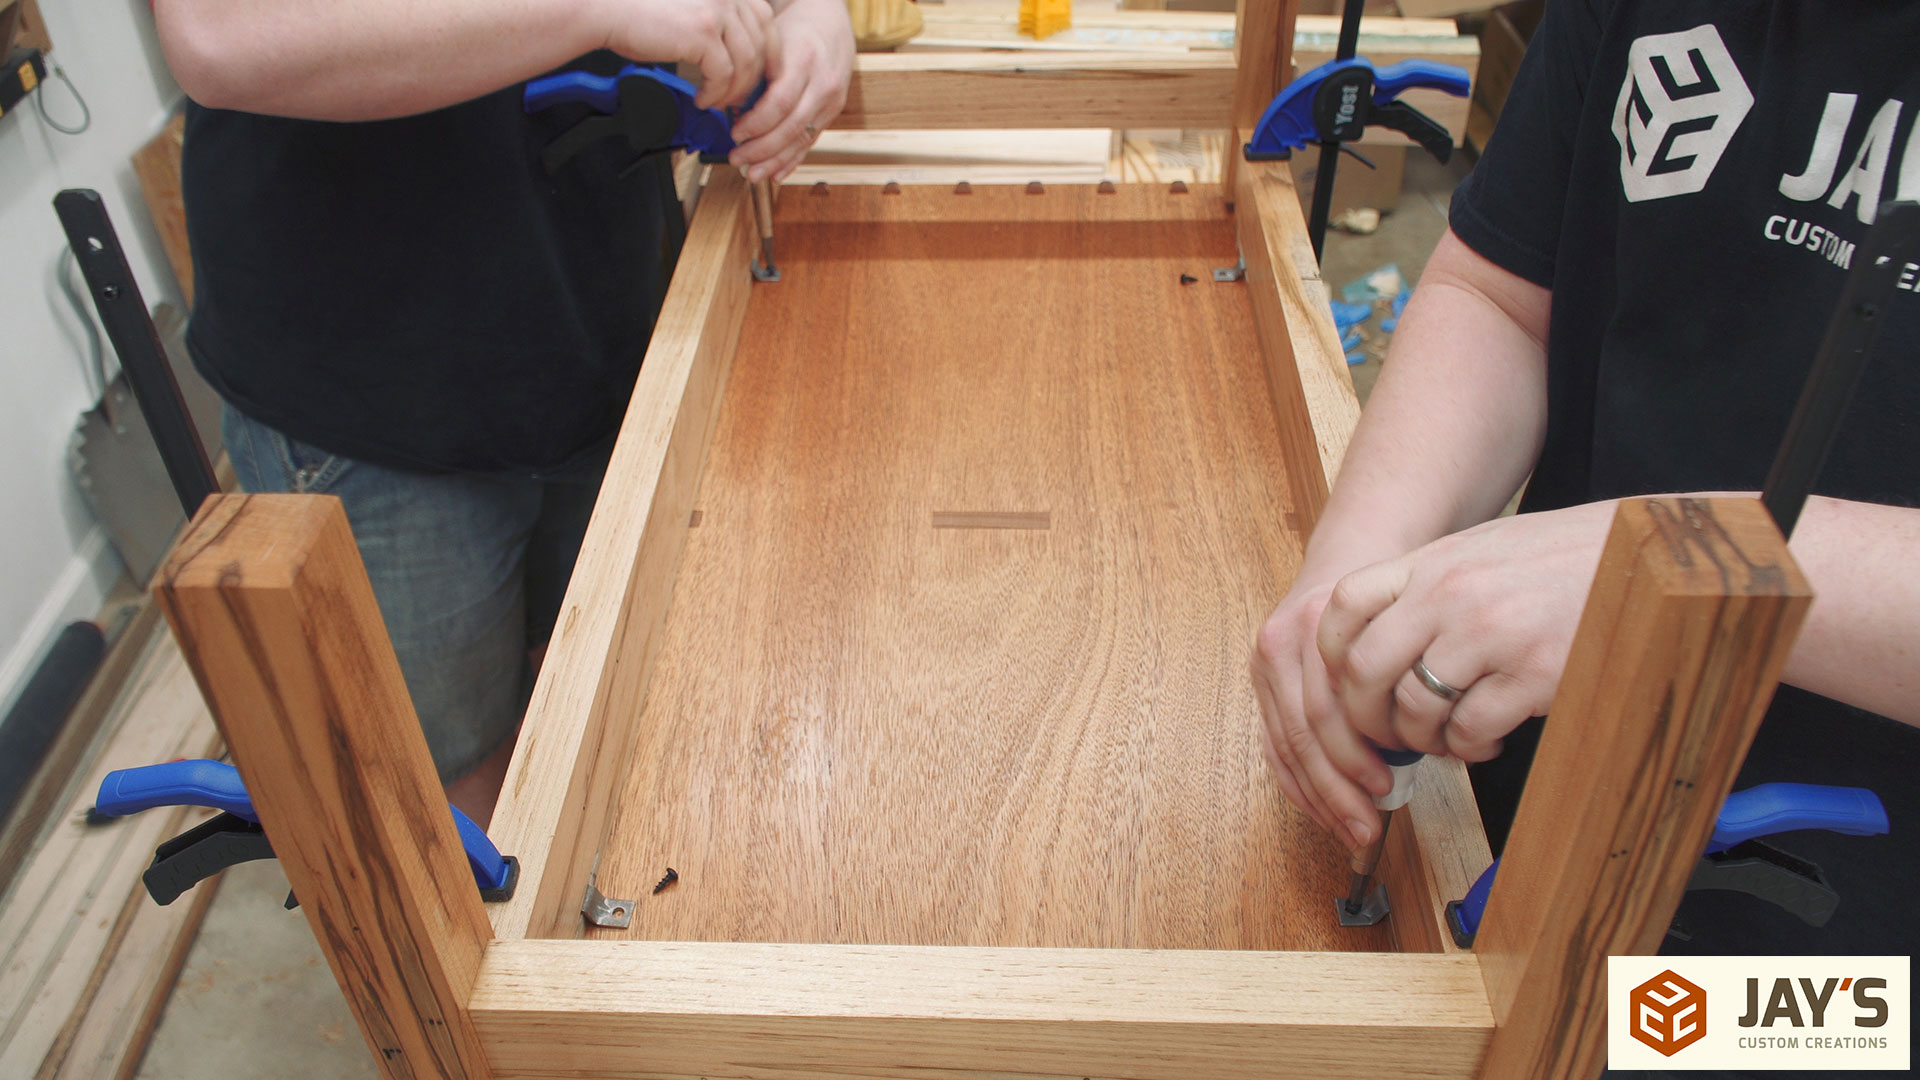
Once the base is positioned on the top is a good idea to clamp it in place to make sure it’s exactly where it needs to be as it’s secured.
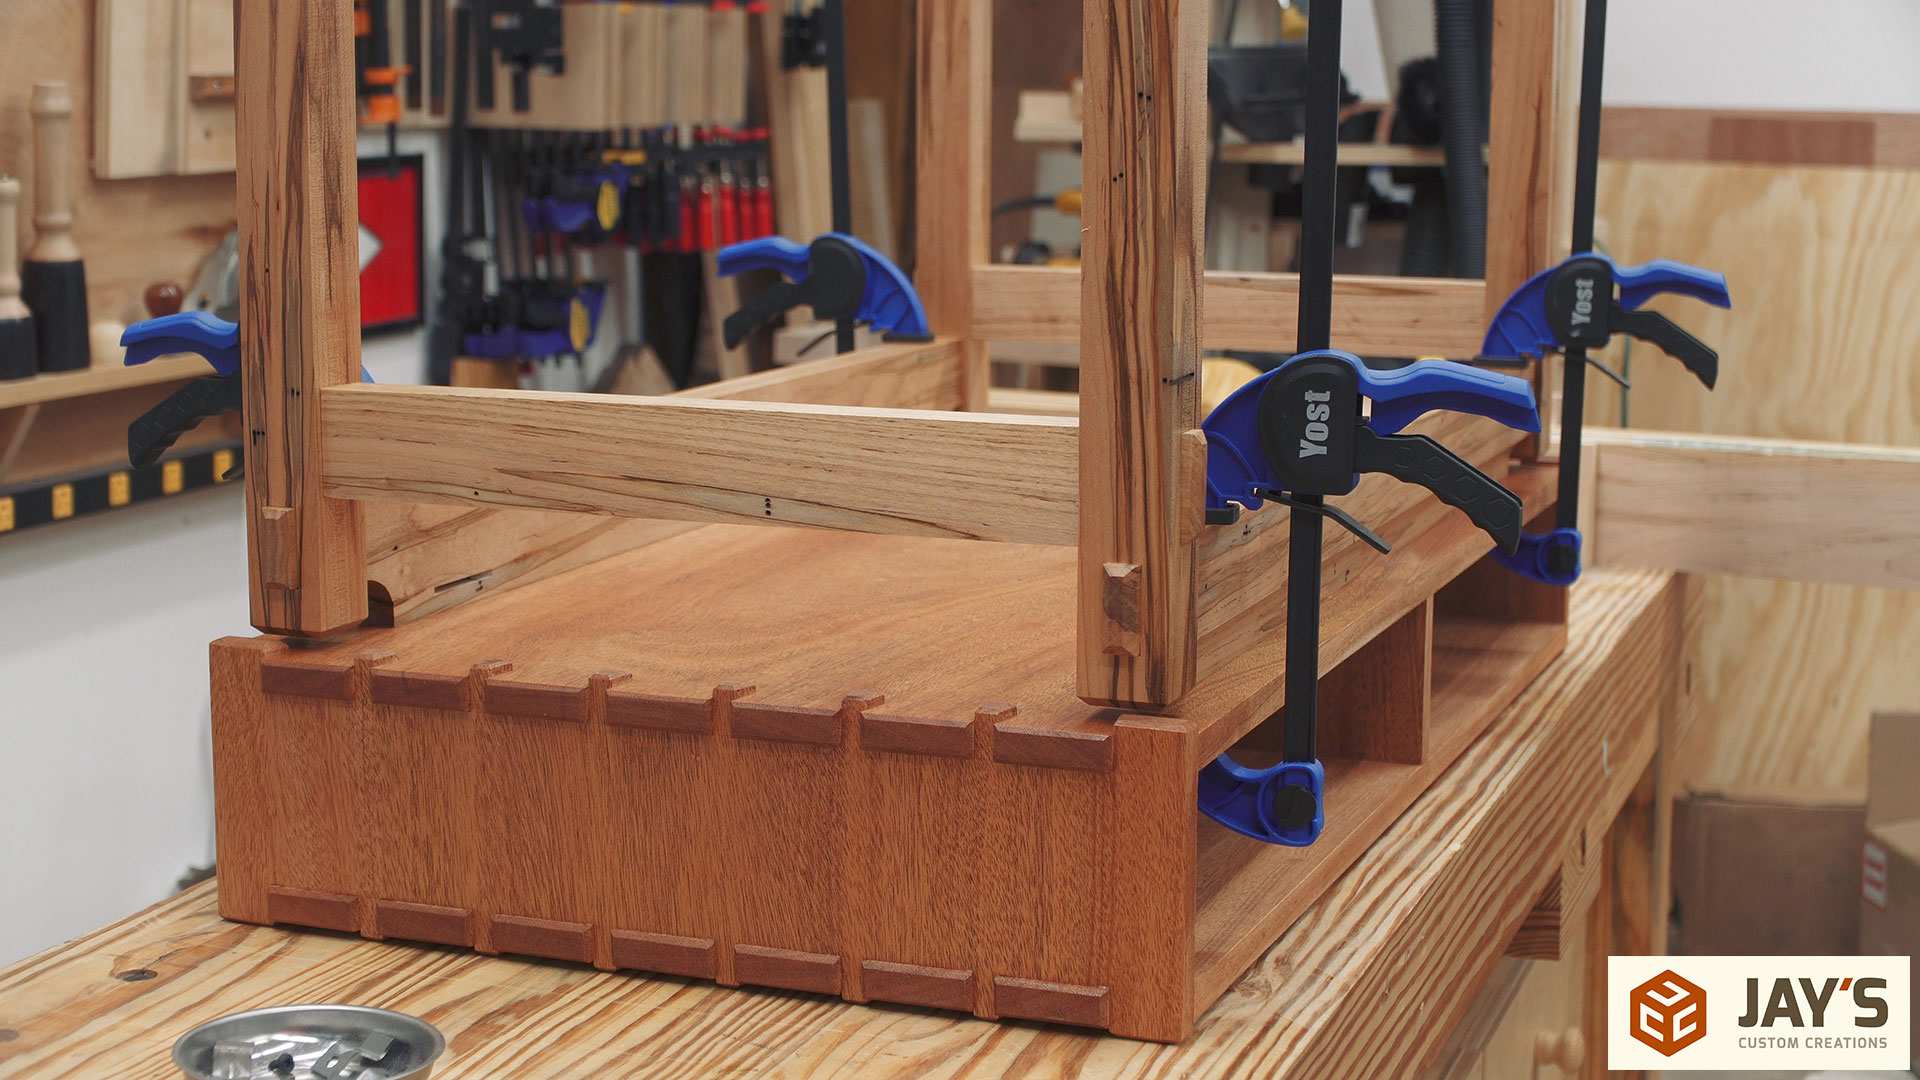
And finally the project becomes a piece of furniture as the base is joined with the top.

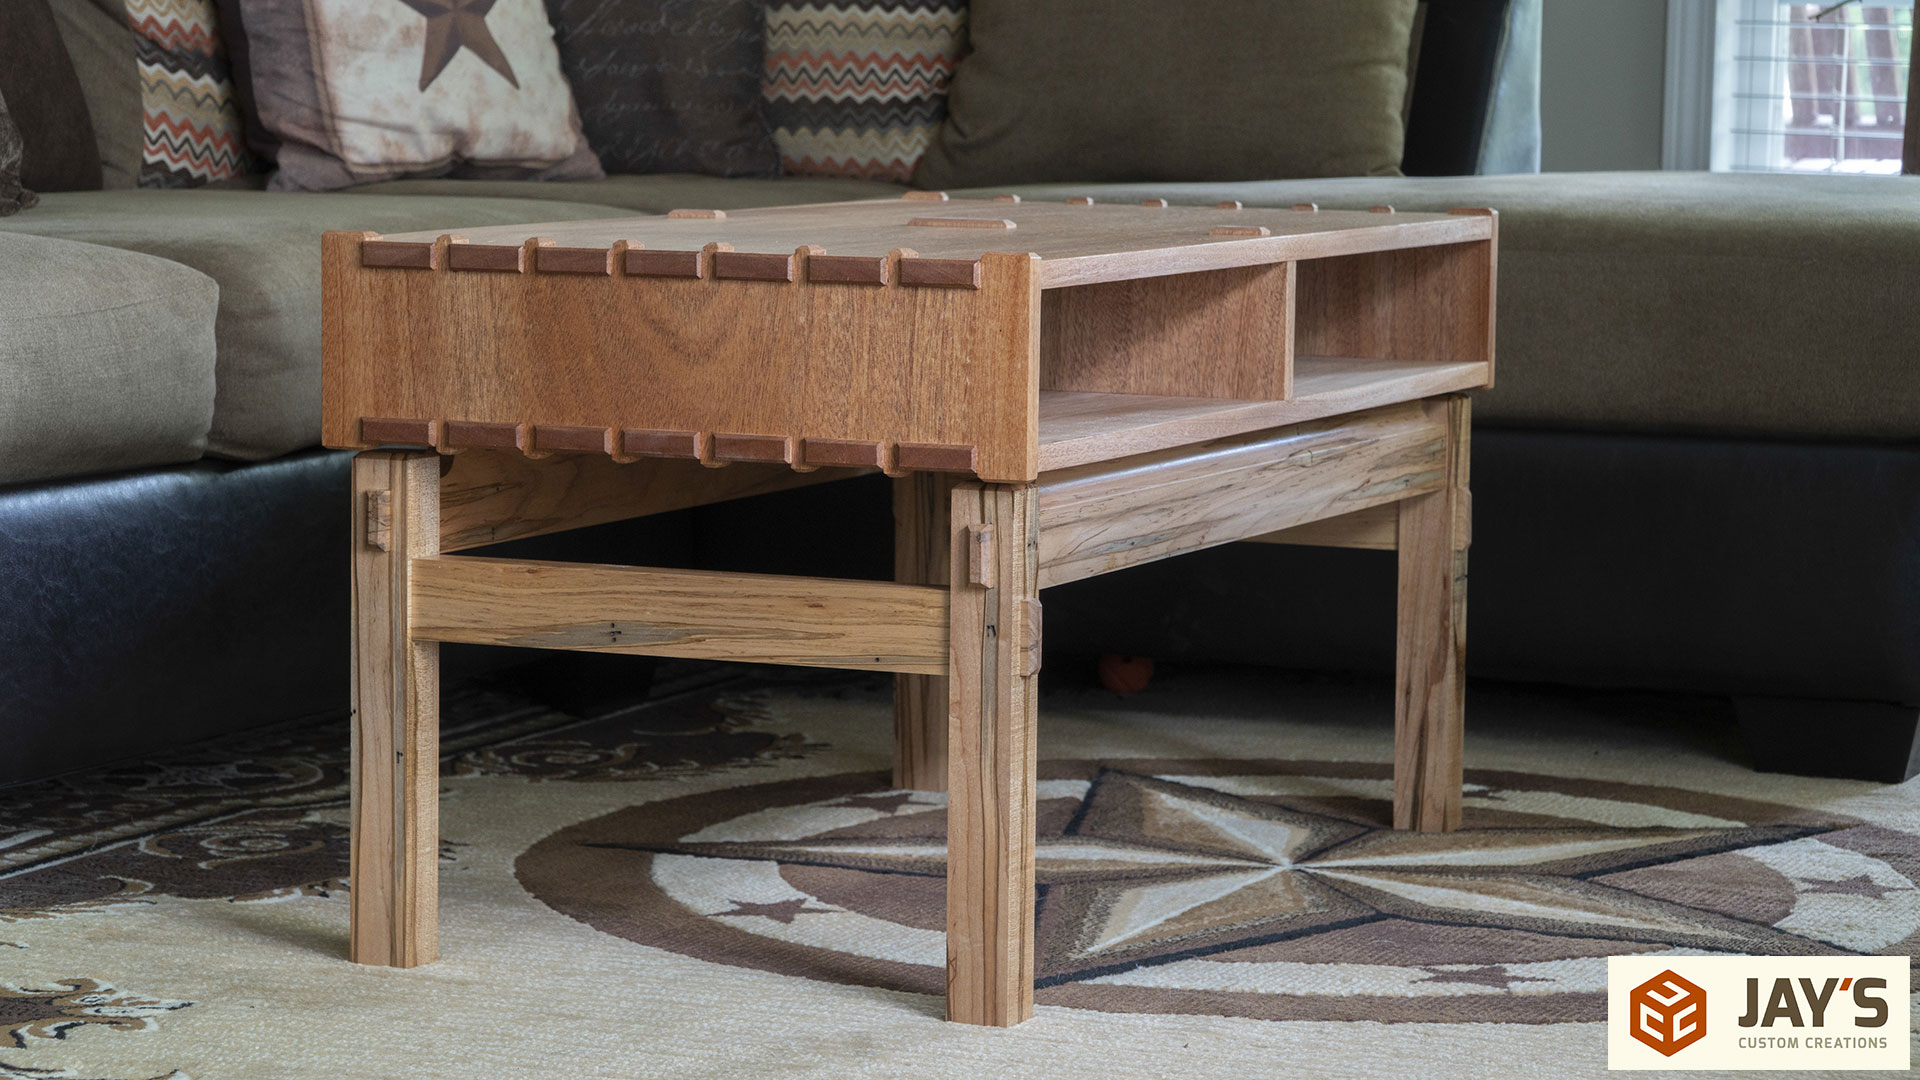
I recently had a conversation with a good friend of mine about this project and he asked if I was nervous or apprehensive about making it due to all the design elements and all the opportunities to make mistakes. My answer was an immediate and confident “no.” Probably the most involved piece on this project is the long rail with dual coves and offset, chamfered through tenons. That sounds like a mouth full and you can think of it as a complex piece on the design paper but it’s much less intimidating to approach it by saying “This is a cove cut on the table saw. That’s not too difficult. This is a simple curve cut on the bandsaw. That’s pretty easy. This is a tenon cut to one side of the board. Those are all easy straight cuts to form a rectangle. These are 45 degree chamfers. Pretty easy with a hand plane.” No matter how complex something might seem it can always be broken down into simple tasks.
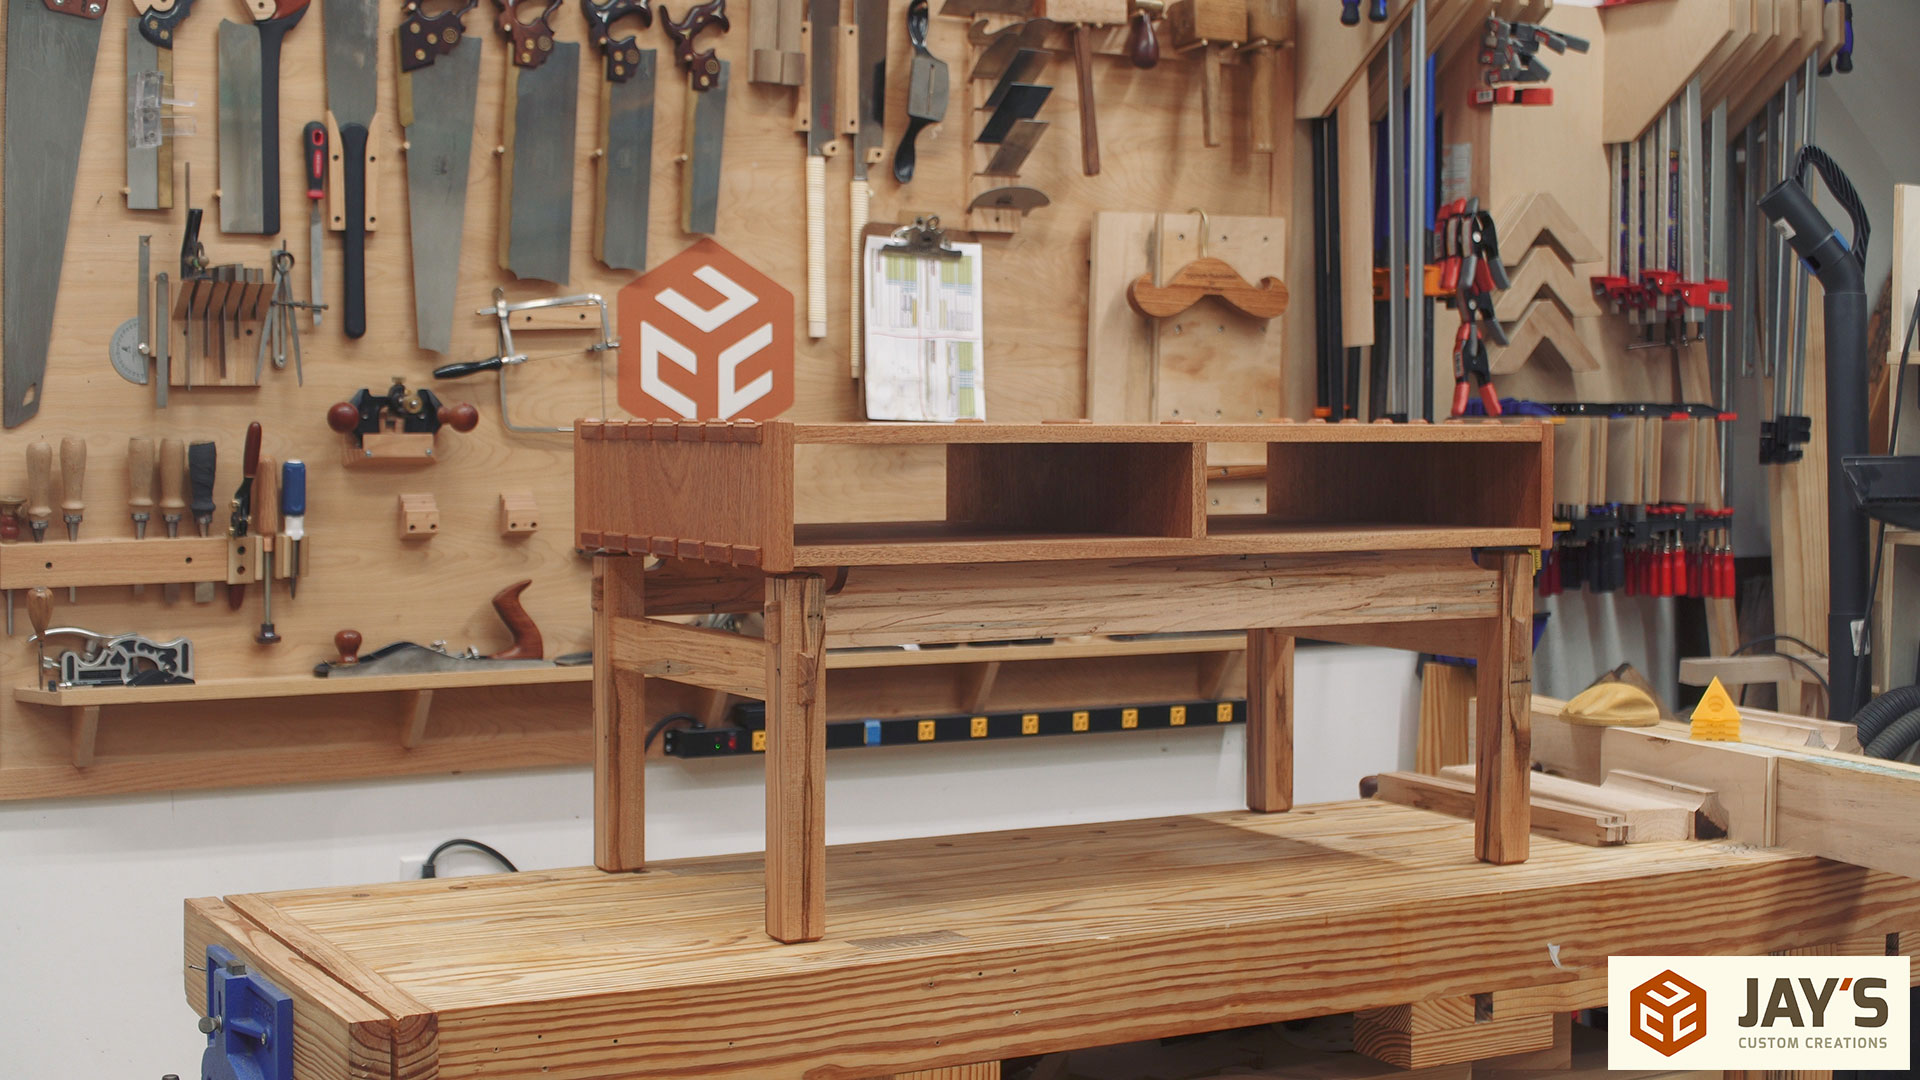
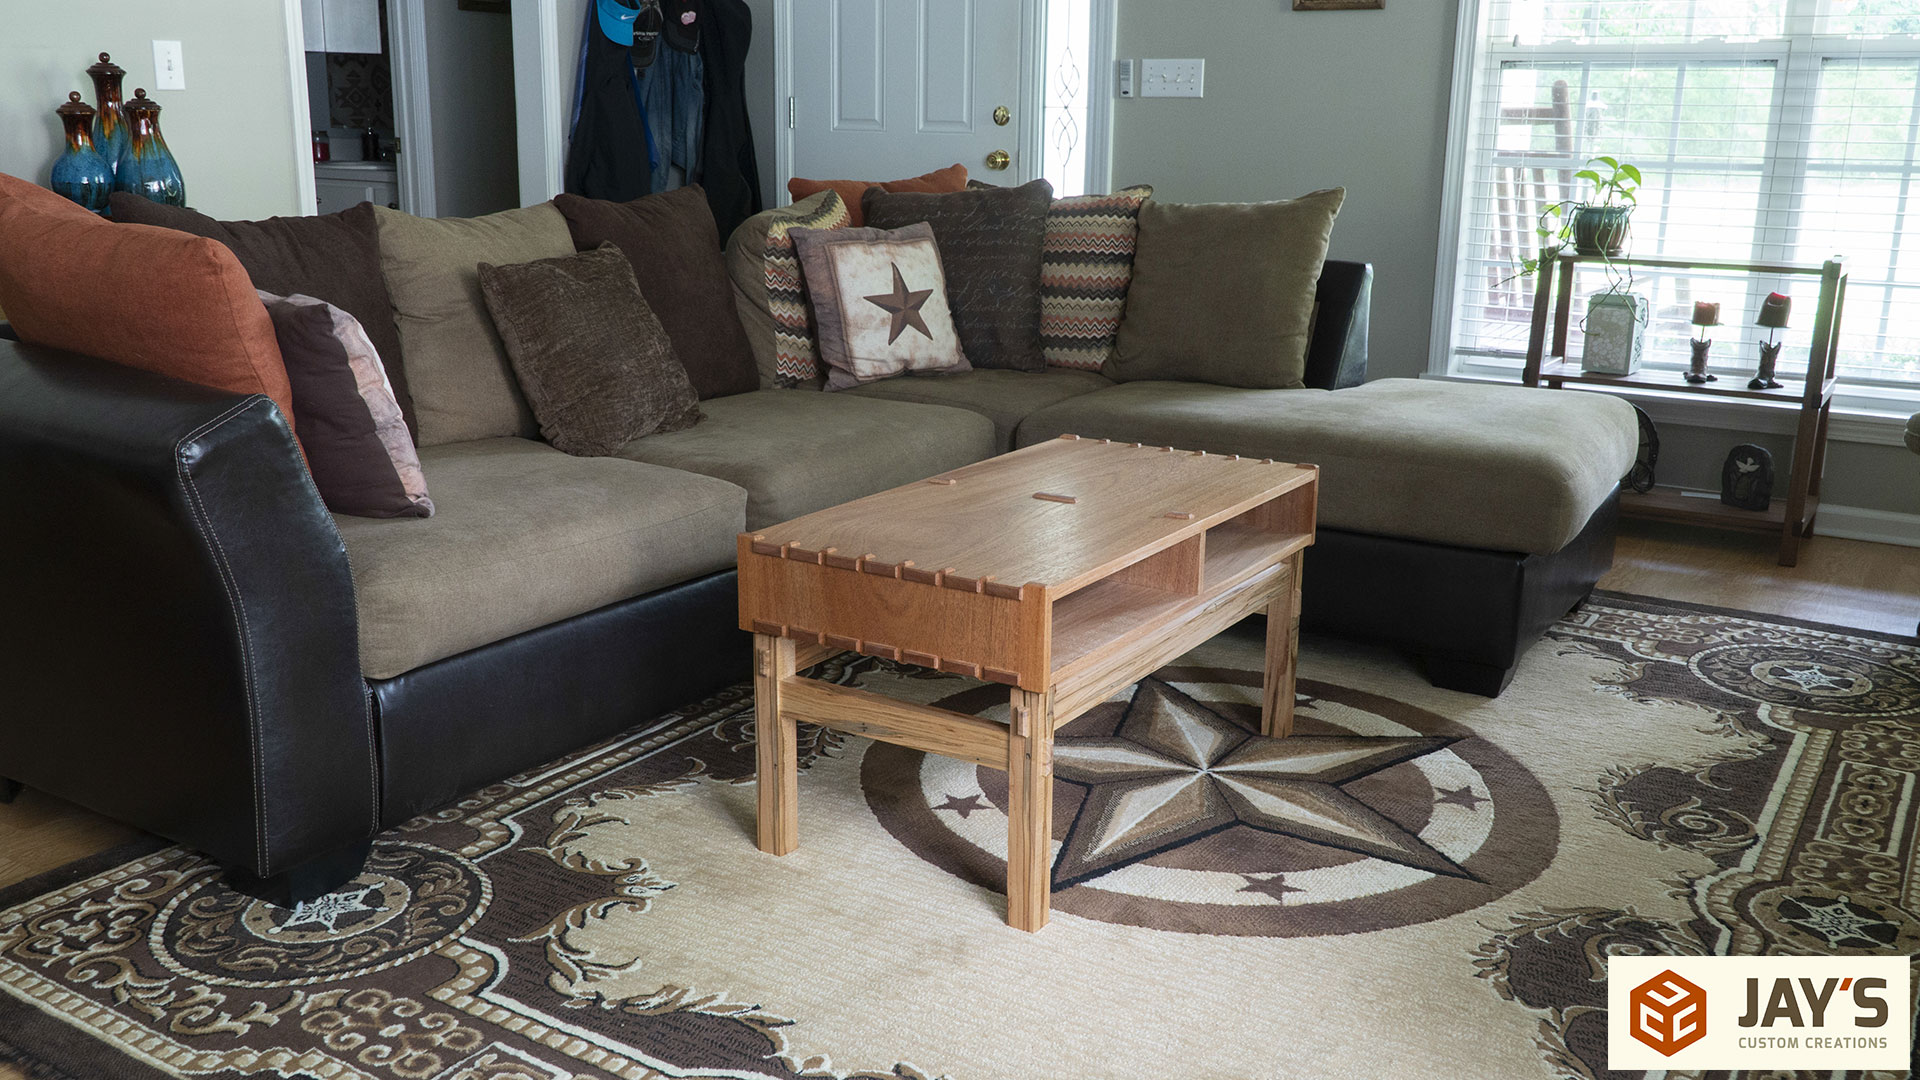
And here it is in my living room. I think it needs one or two more coats of finish but I can do that anytime. It obviously needs the drawers but I’m a little undecided on a couple of details so I’ll take a break from this project and come back to it in a little bit.


Also a shout out to my good friends at City Hardwoods in Birmingham Alabama. They provided most of the lumber and the finish for this build. So definitely check them out if you drive through Birmingham. If you’ve never been there before be sure to tell them that Jay sent ya. Not because I gain anything by doing so, I don’t, but as a small business owner myself I know that it’s incredibly valuable to know where your traffic is coming from.
![]()
That’s it for this part. Be sure to sign up for my email newsletter to keep up to date with everything I have going on. Have a great day and I’ll talk to you in the next video/article.


